My projects are generally inspired by classic designs, but with a twist. I like to build things like basses on guitar bodies, non-standard scale lengths, and occasionally originals, and experiment with materials, finishes, and electronics. One of my great interests is driving the cost out of luthiery by sourcing parts and materials from the hardware store. I prefer to build more guitars than simply more-expensive guitars.
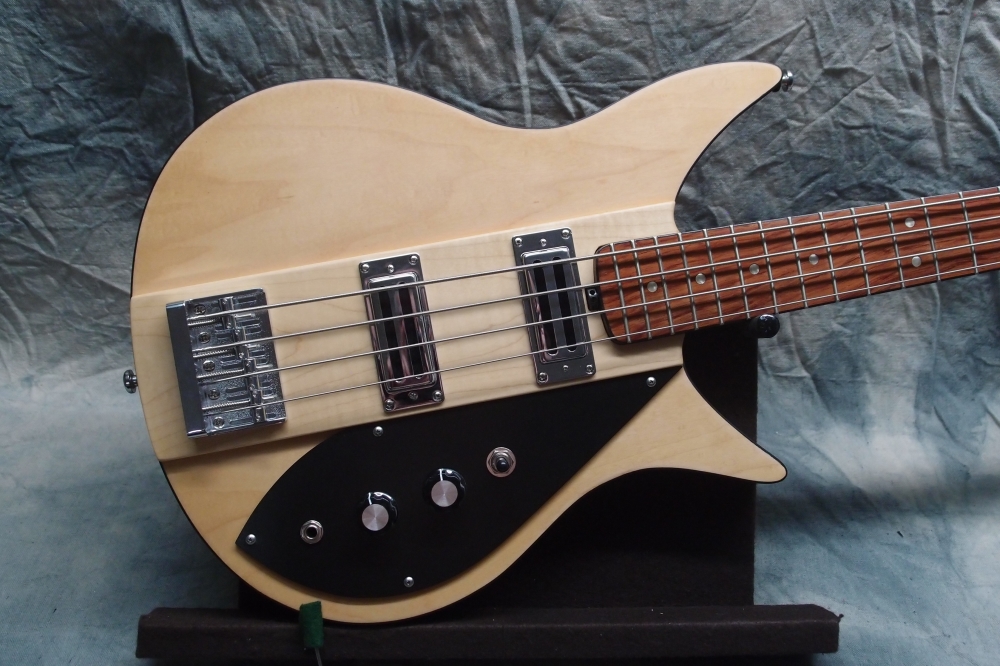
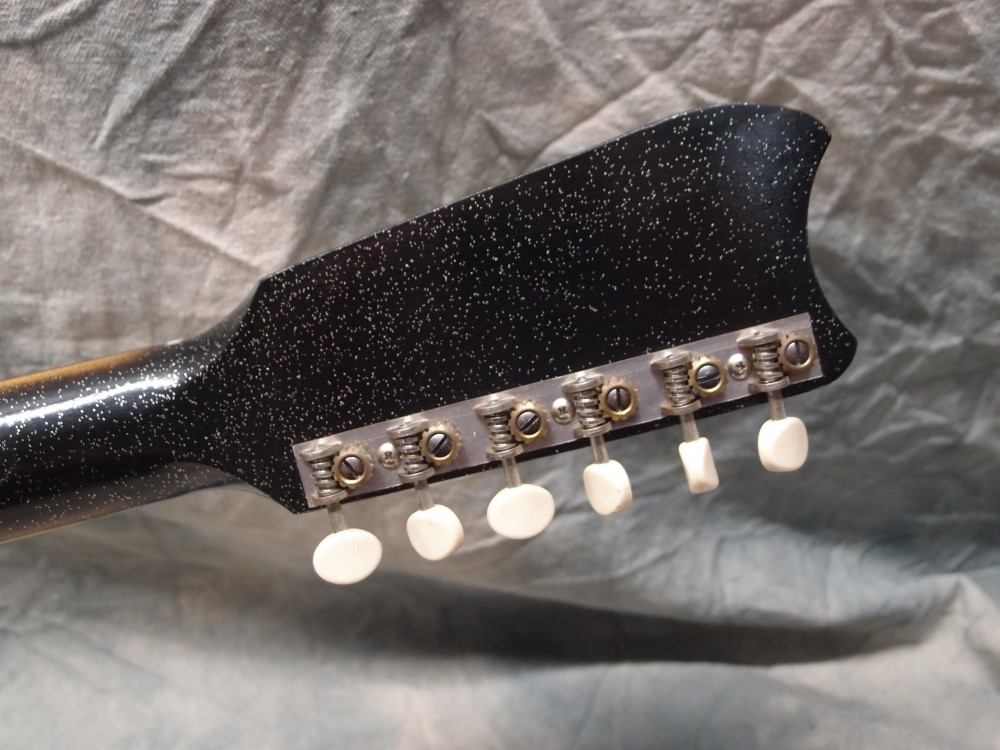
These were my first two tries at a 325 bass. Both are plywood over pine hollow-bodies. The one on the left - #1 - used an experimental neck mounting that I didn't like. The one on the right - #2 - suffered a router mishap. I took all the good parts and built the solid-body, and both of these spent years on the scrap heap.
These were my first two tries at a 325 bass. Both are plywood over pine hollow-bodies. The one on the left - #1 - used an experimental neck mounting that I didn't like. The one on the right - #2 - suffered a router mishap. I took all the good parts and built the solid-body, and both of these bodies spent years on the scrap heap.
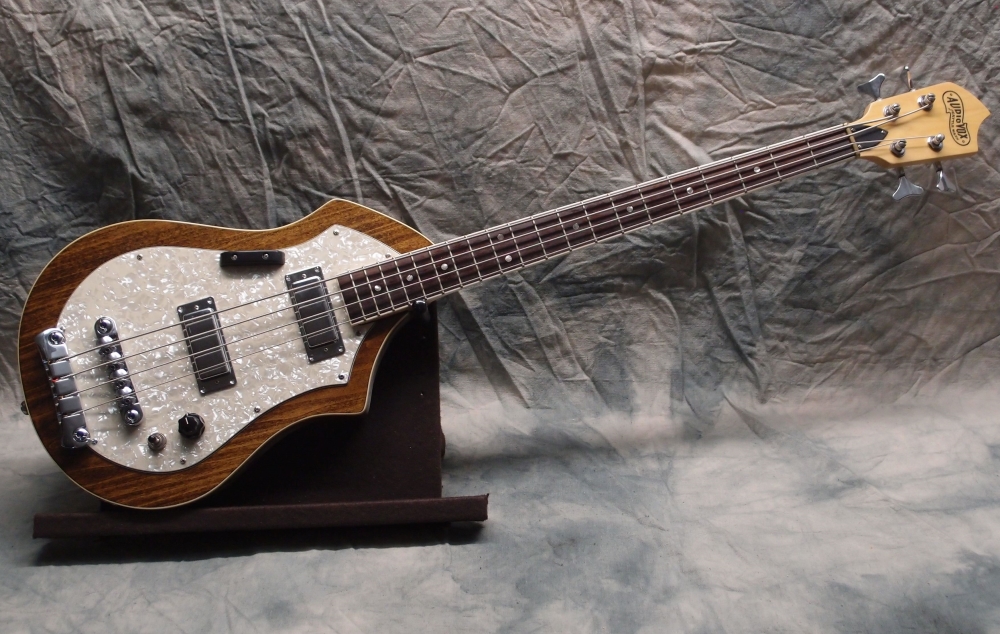
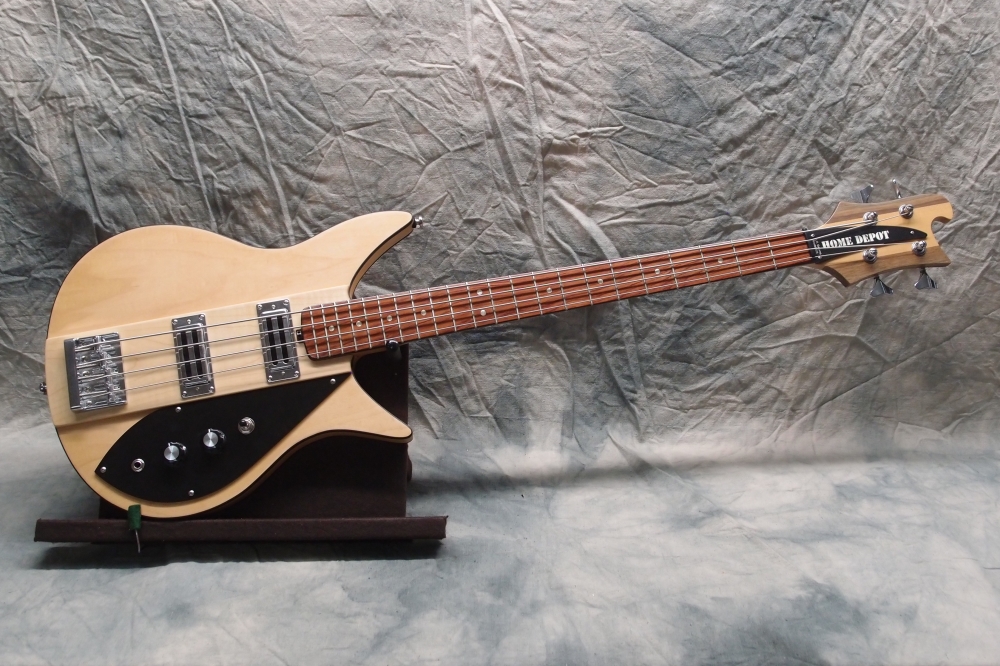
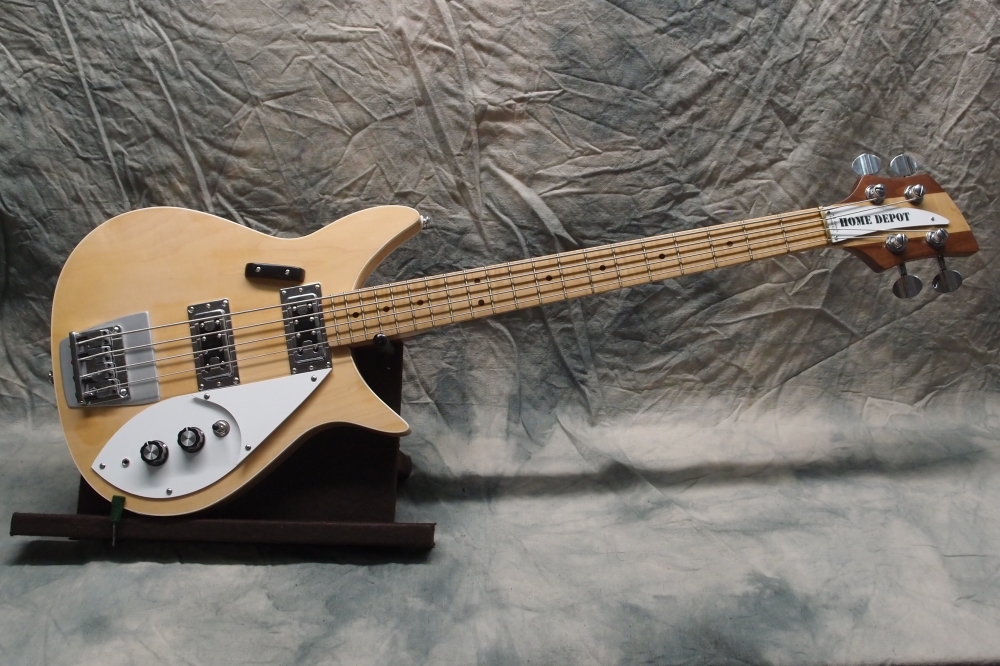
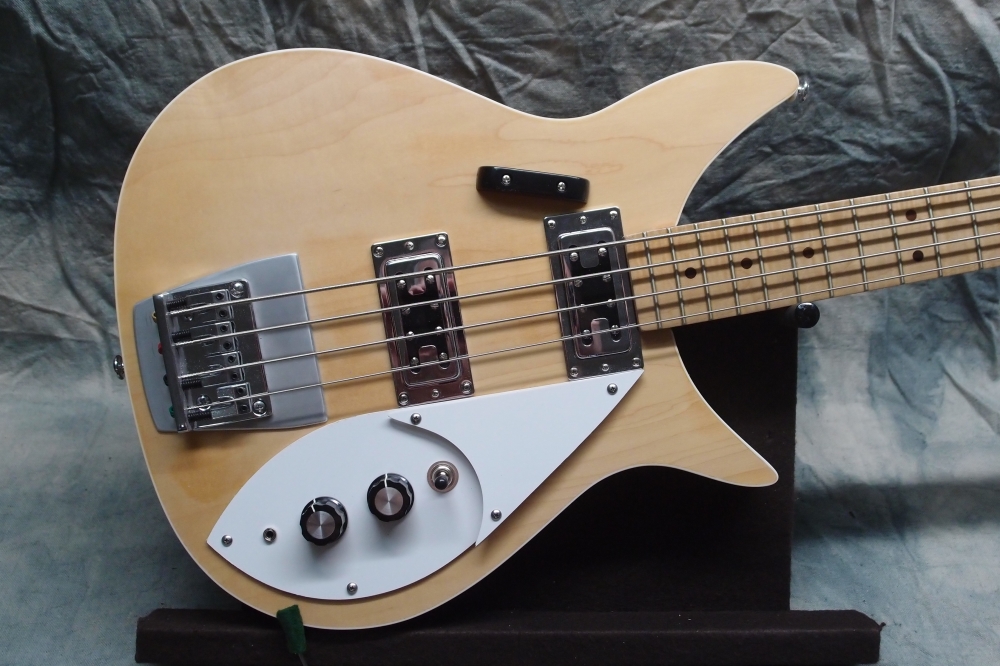
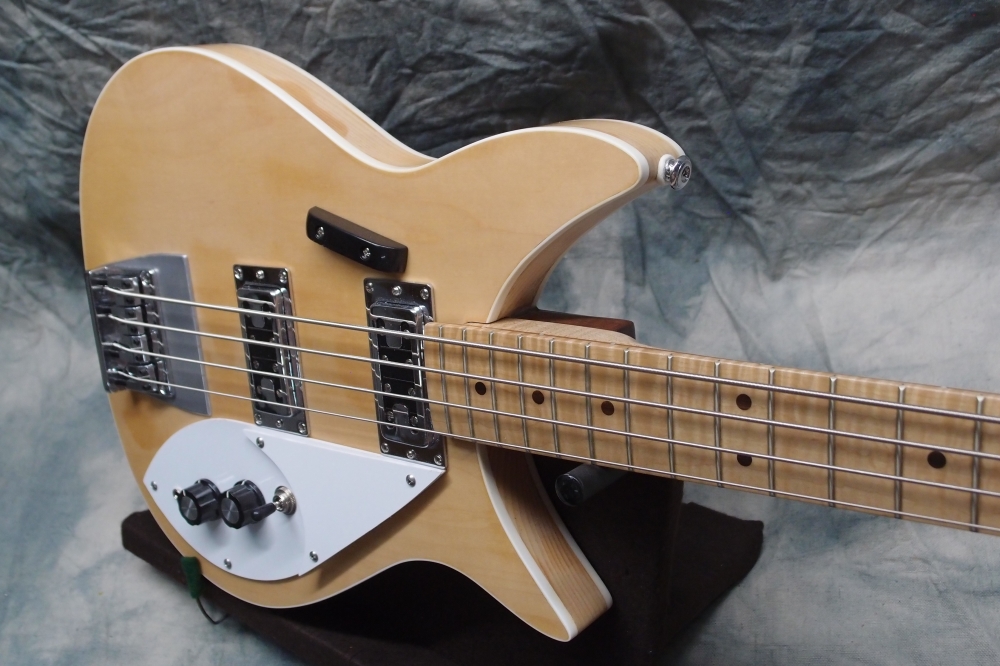
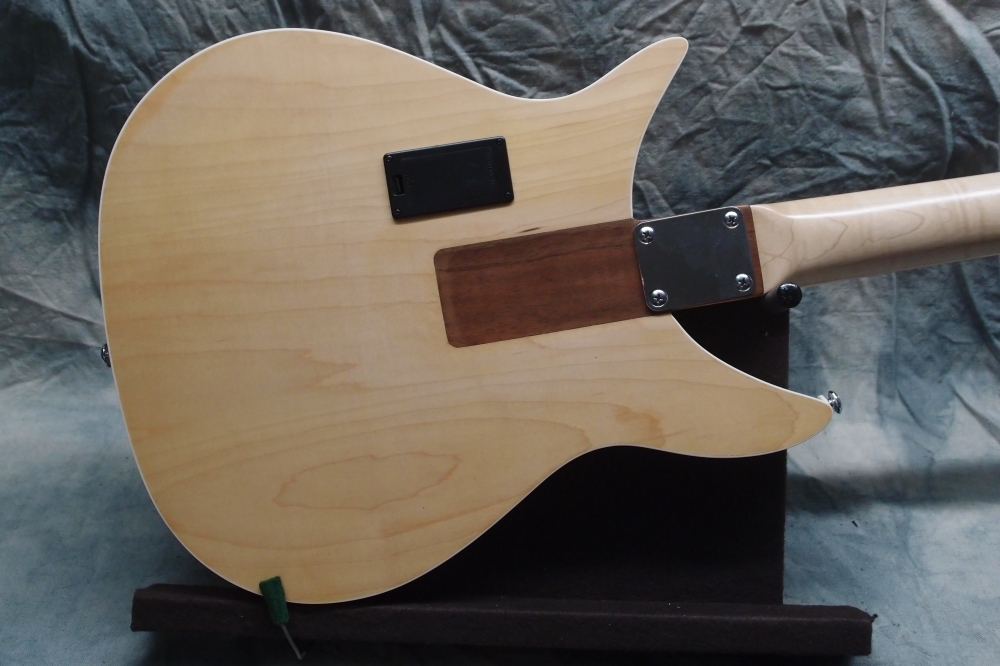
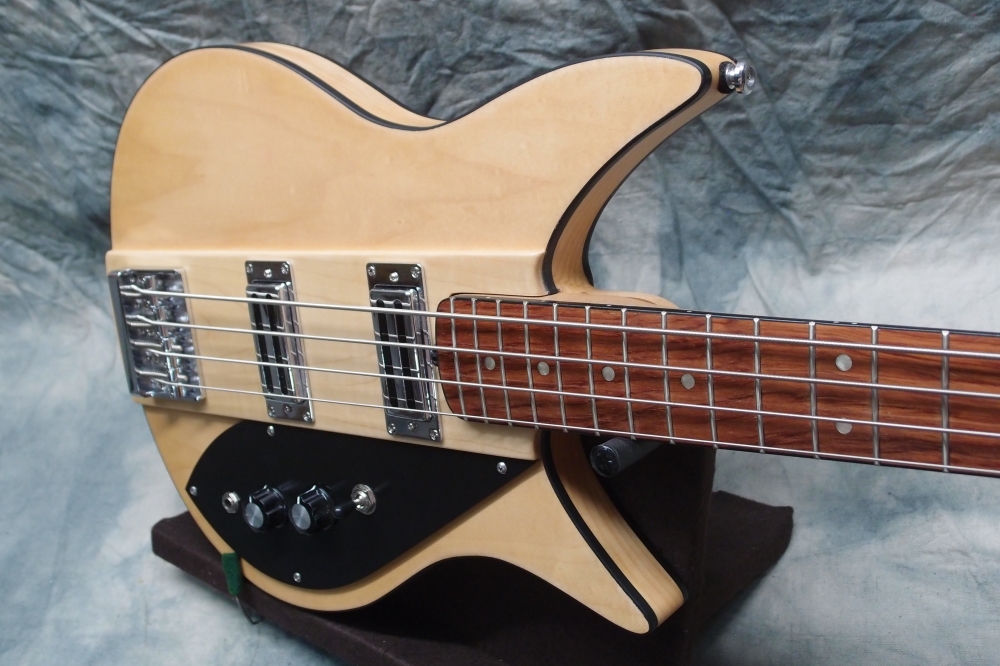
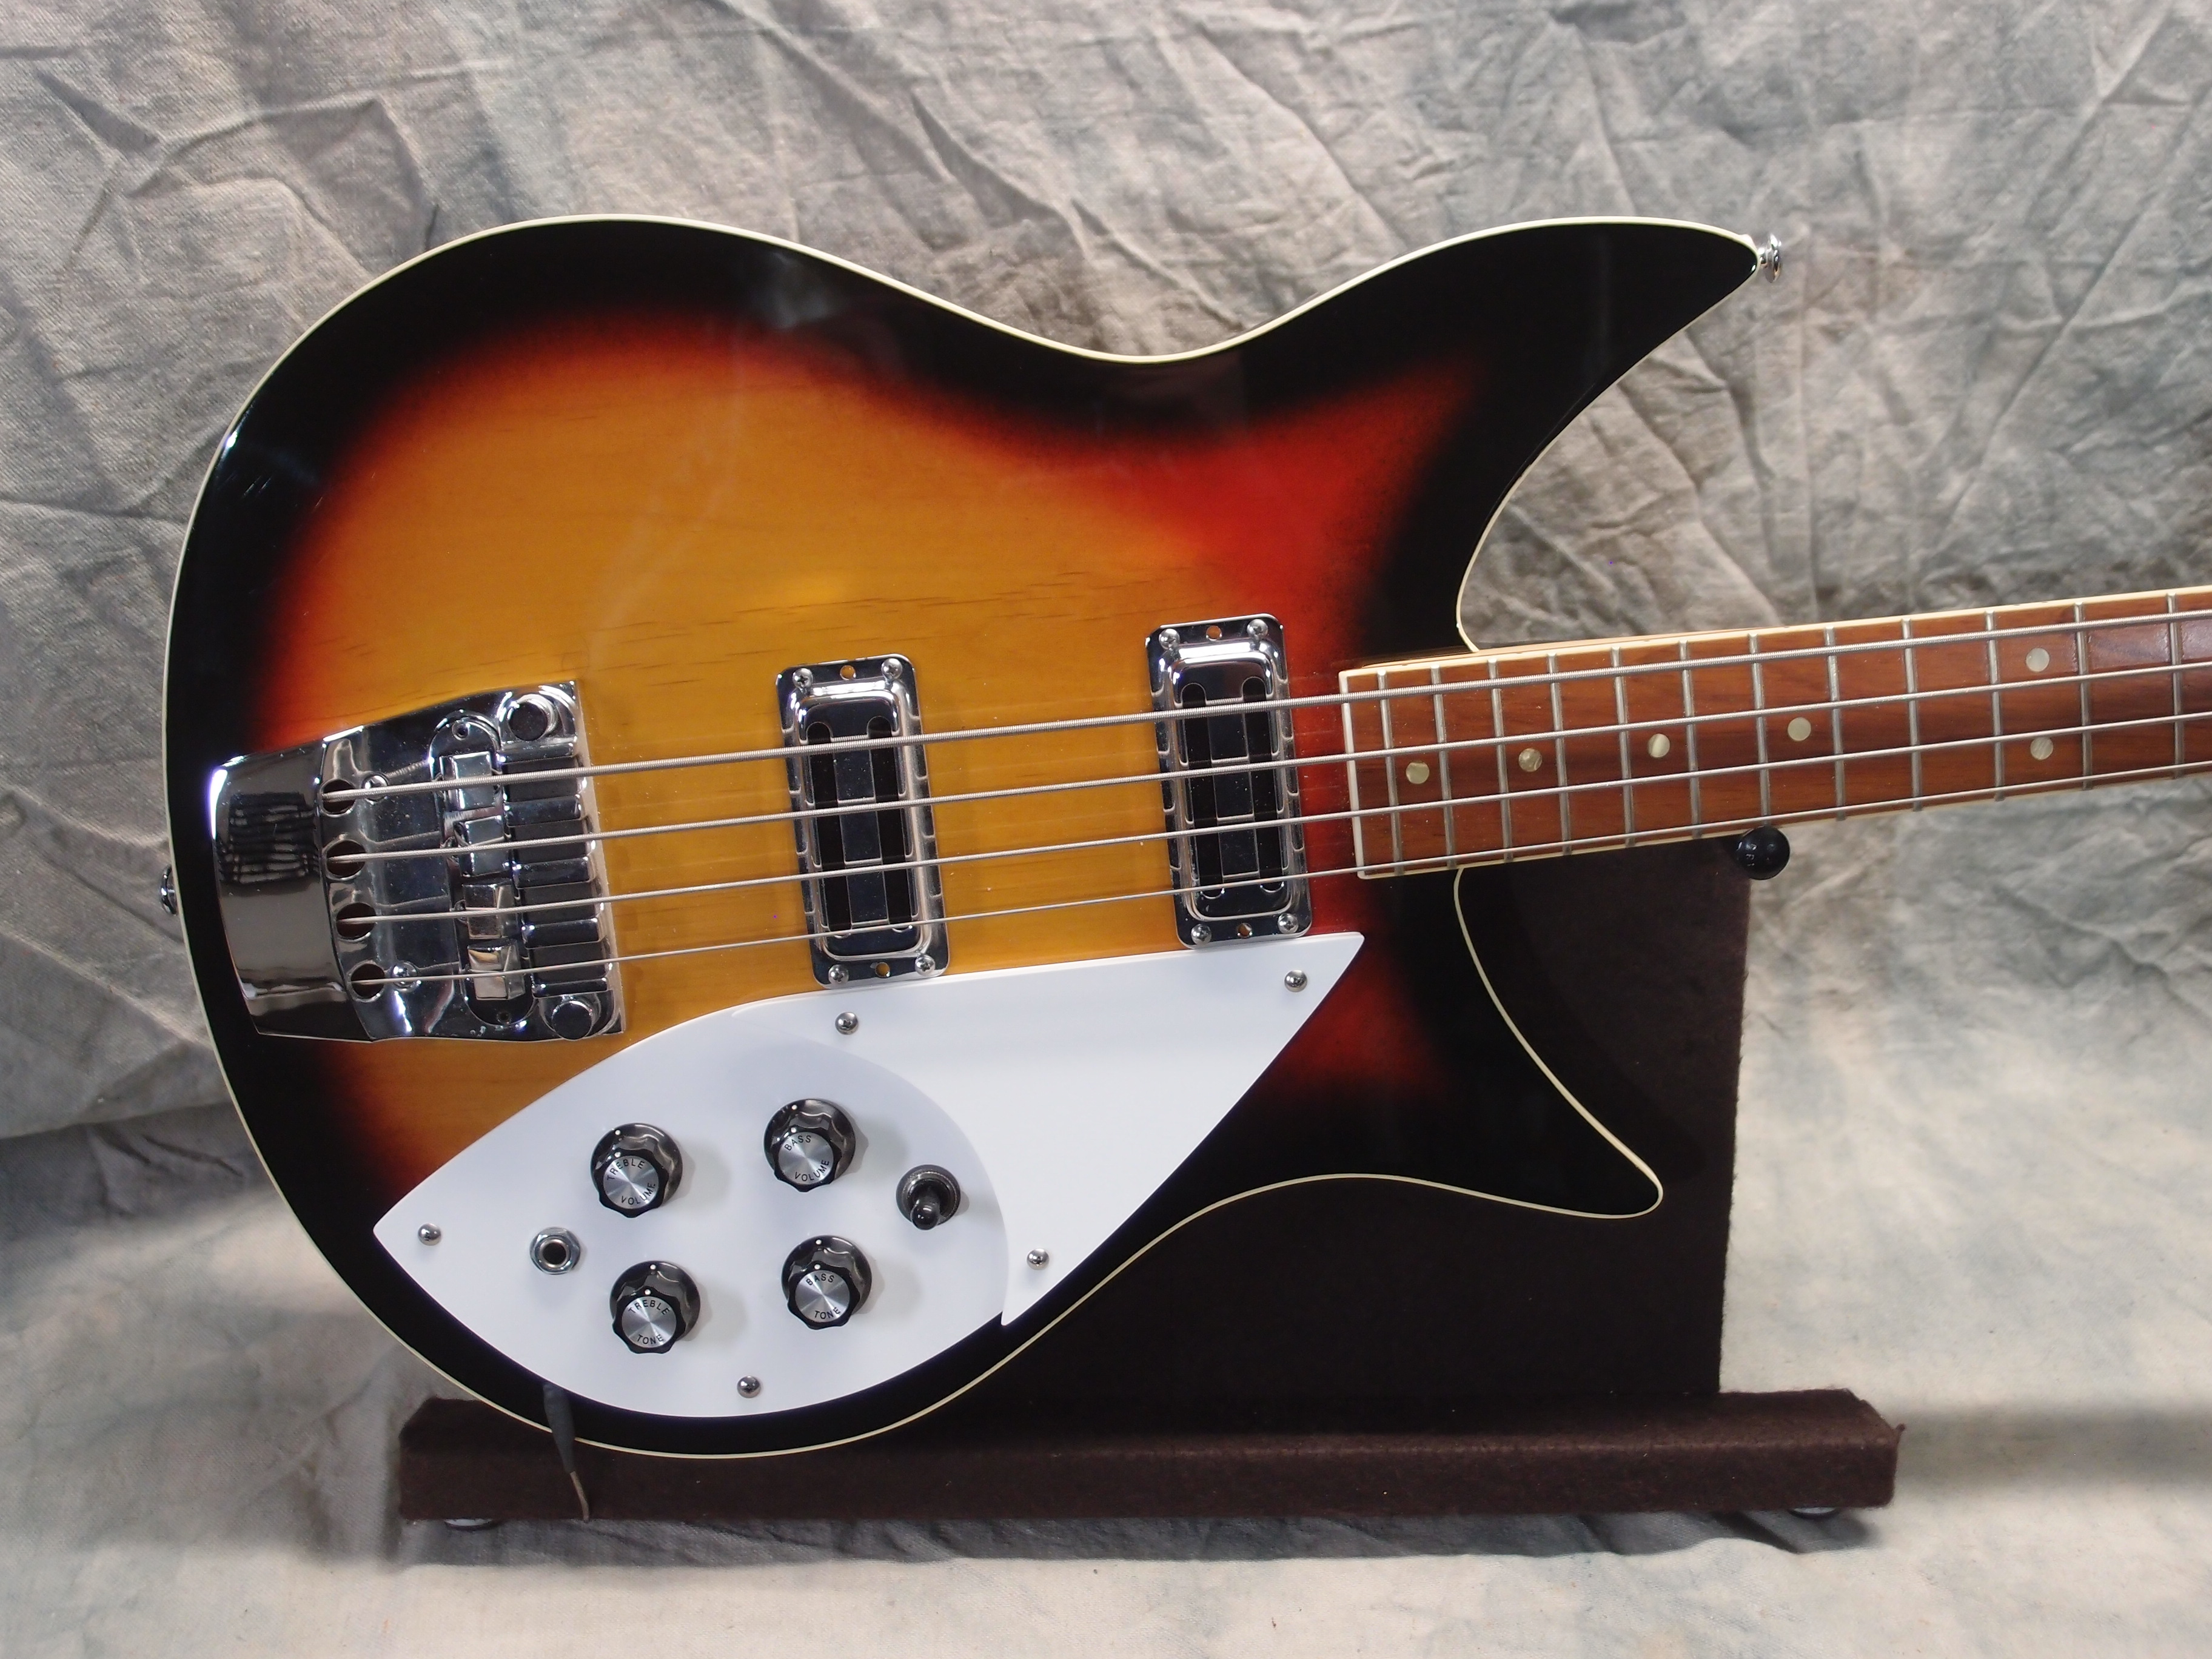
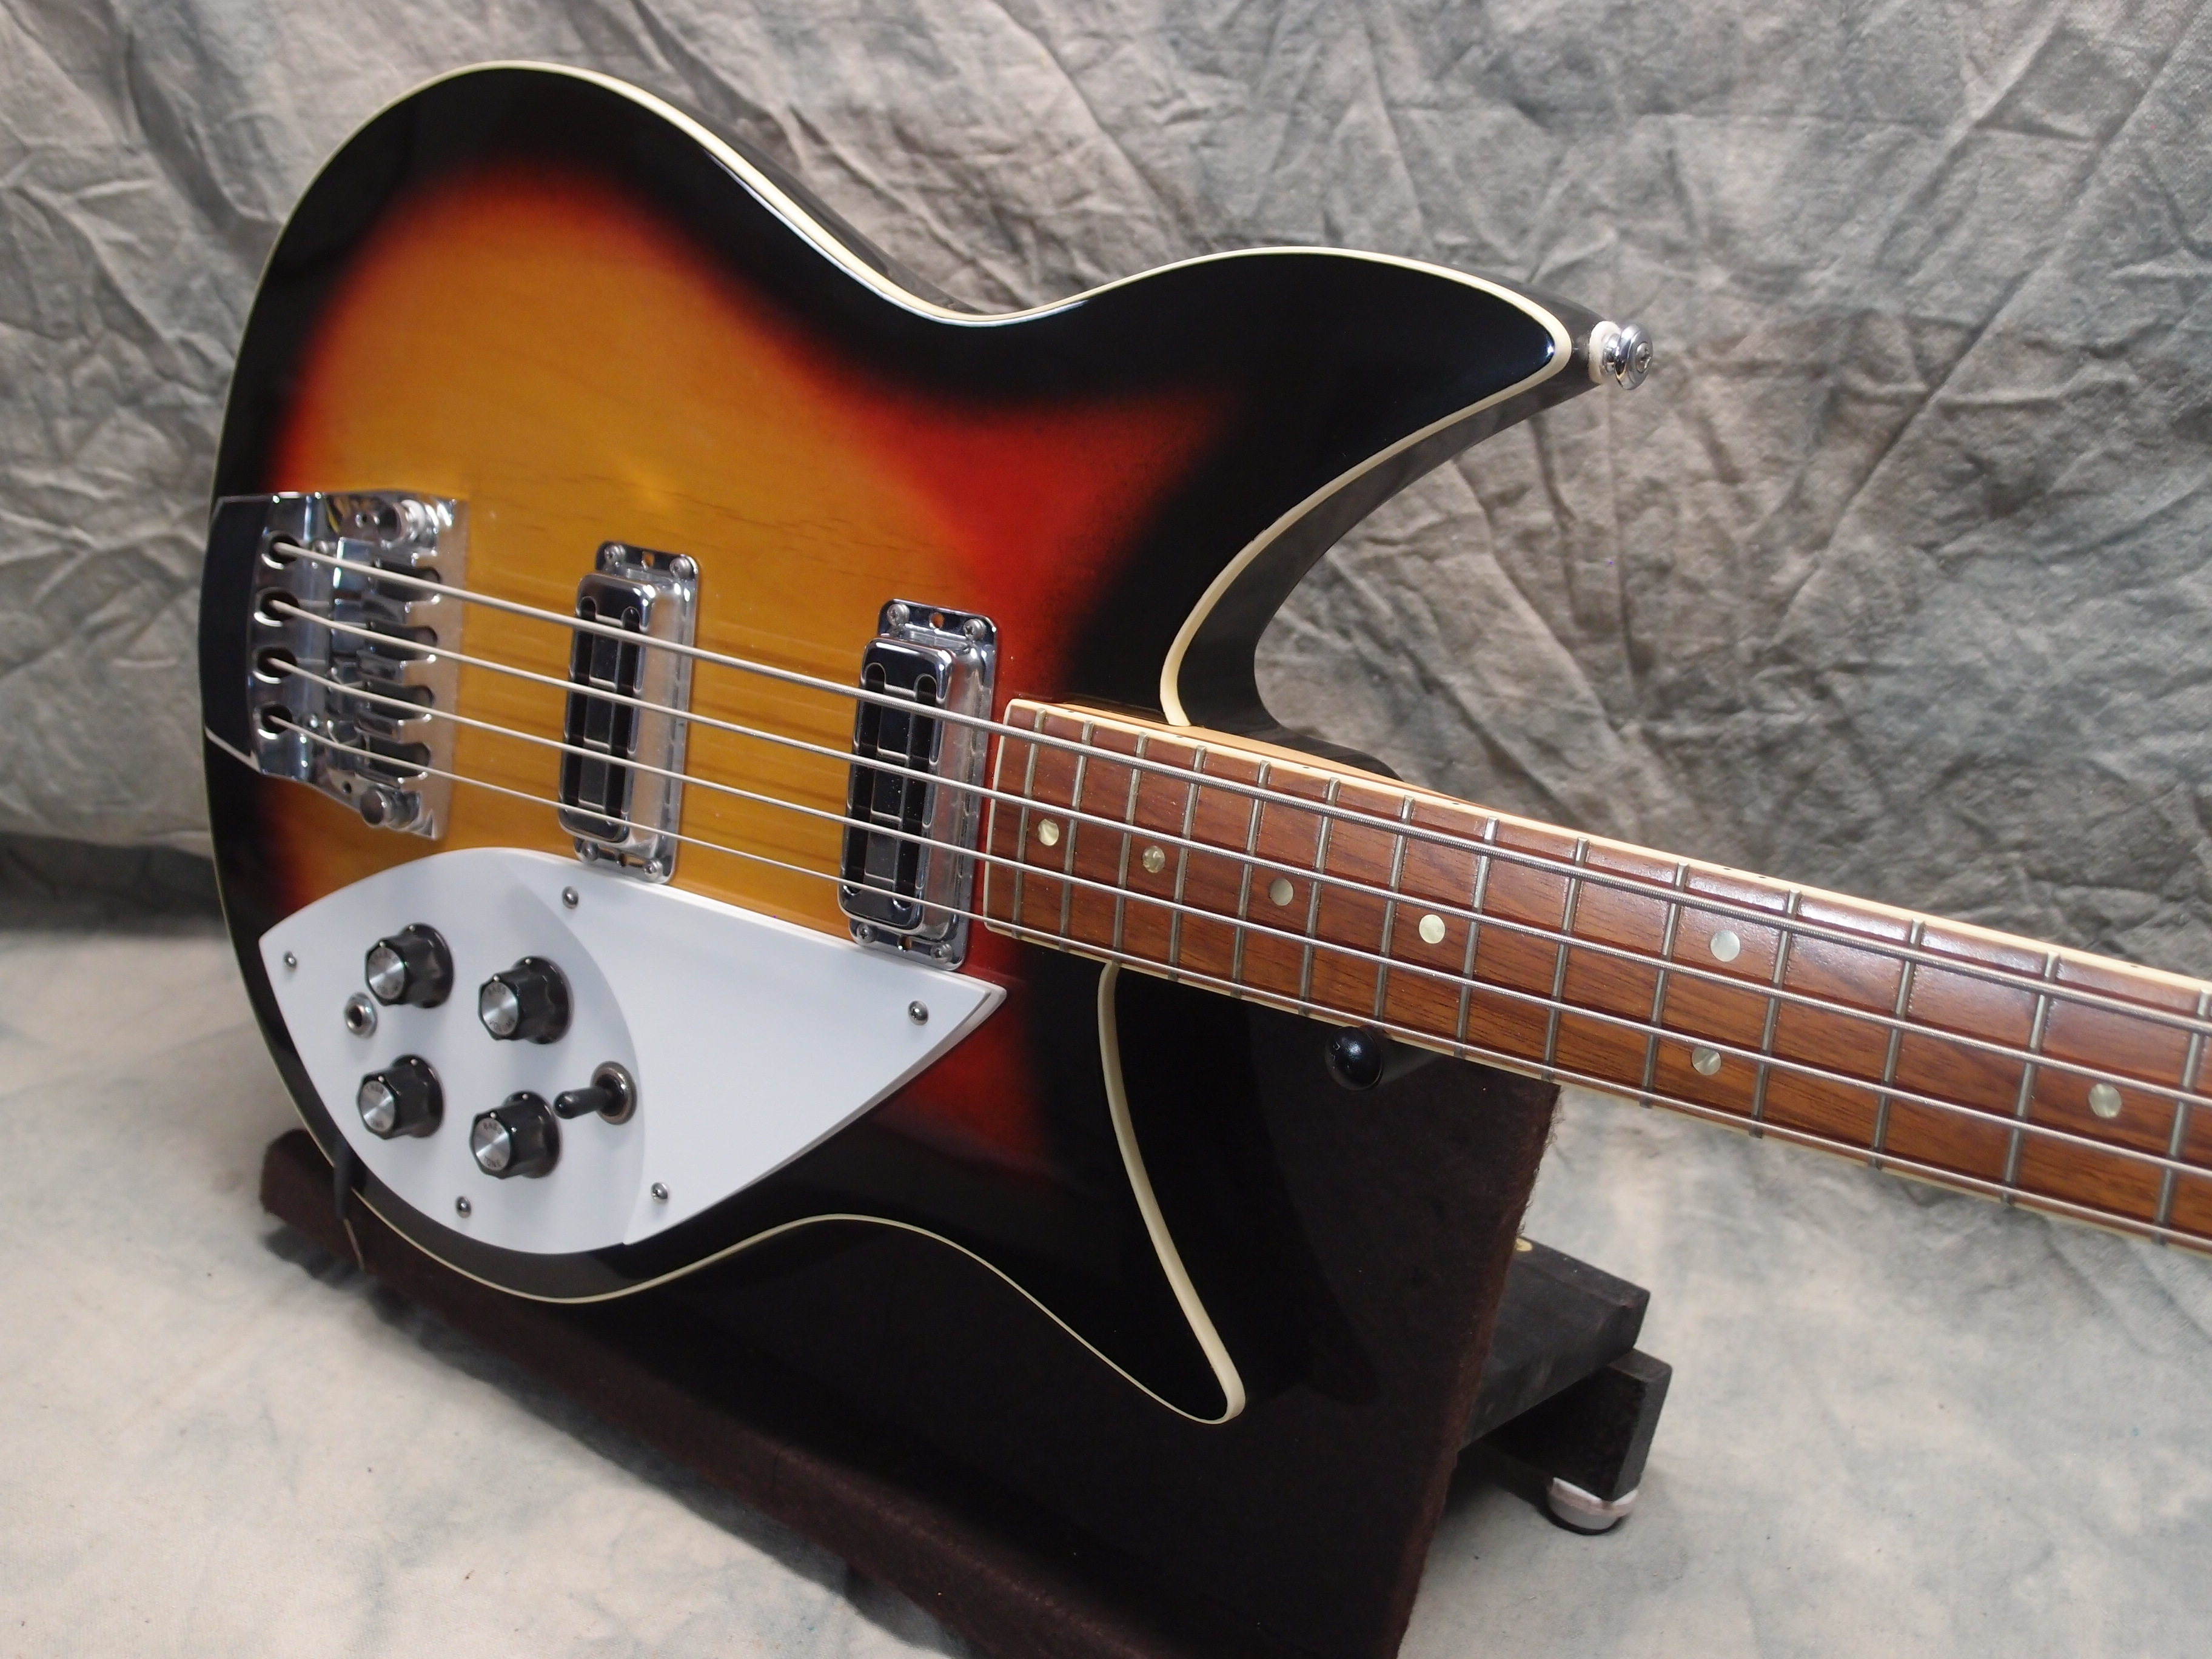
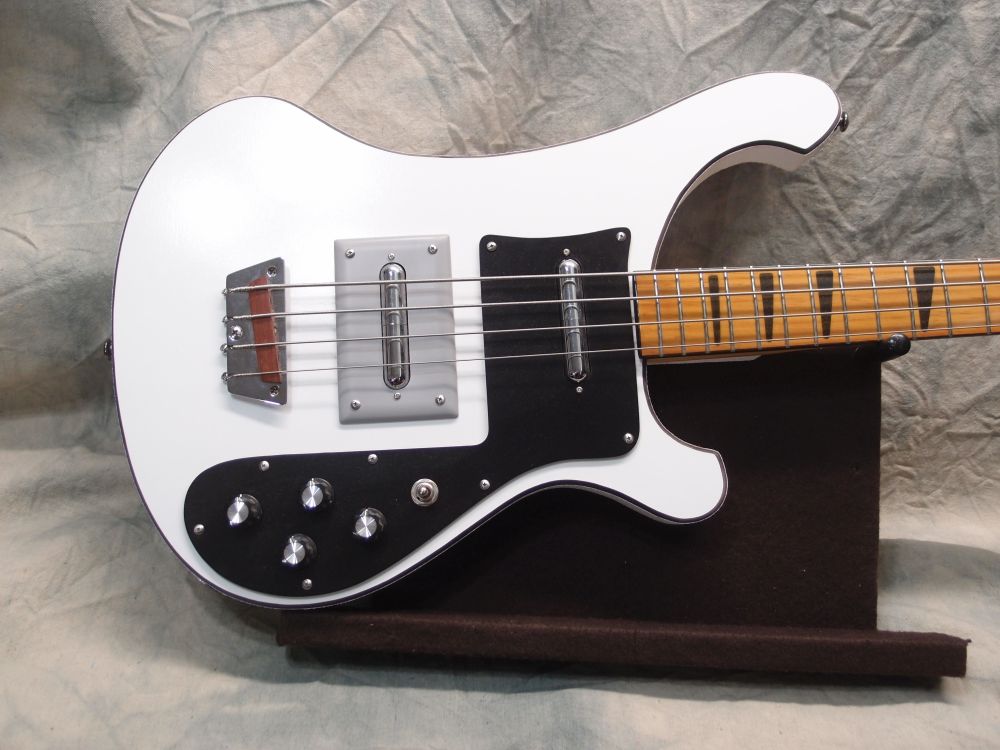
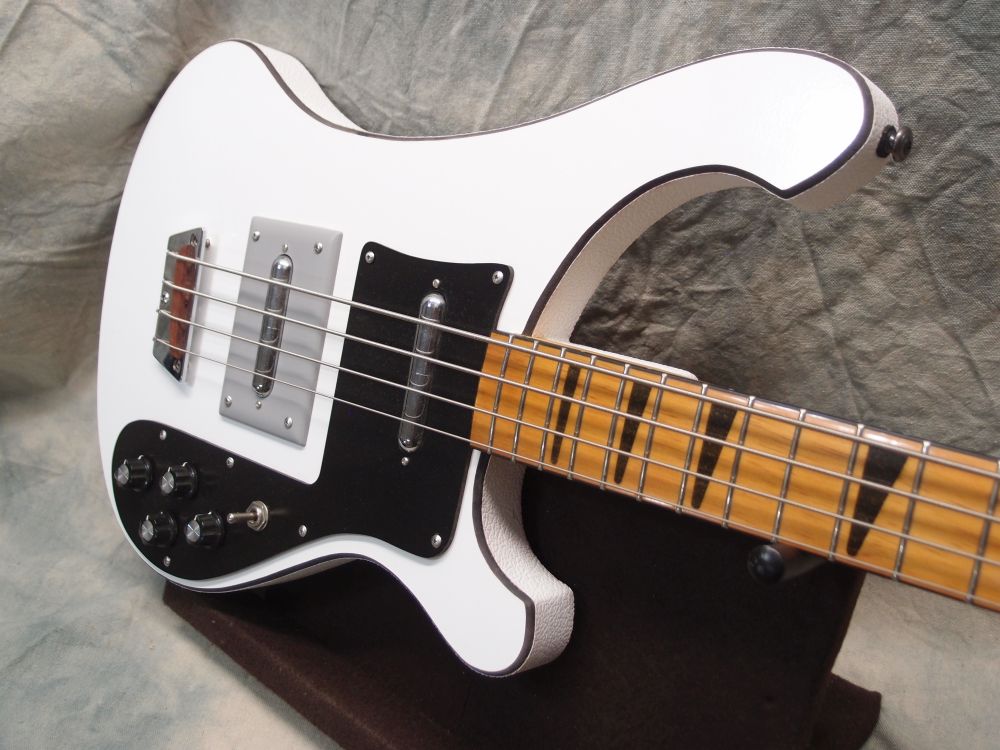
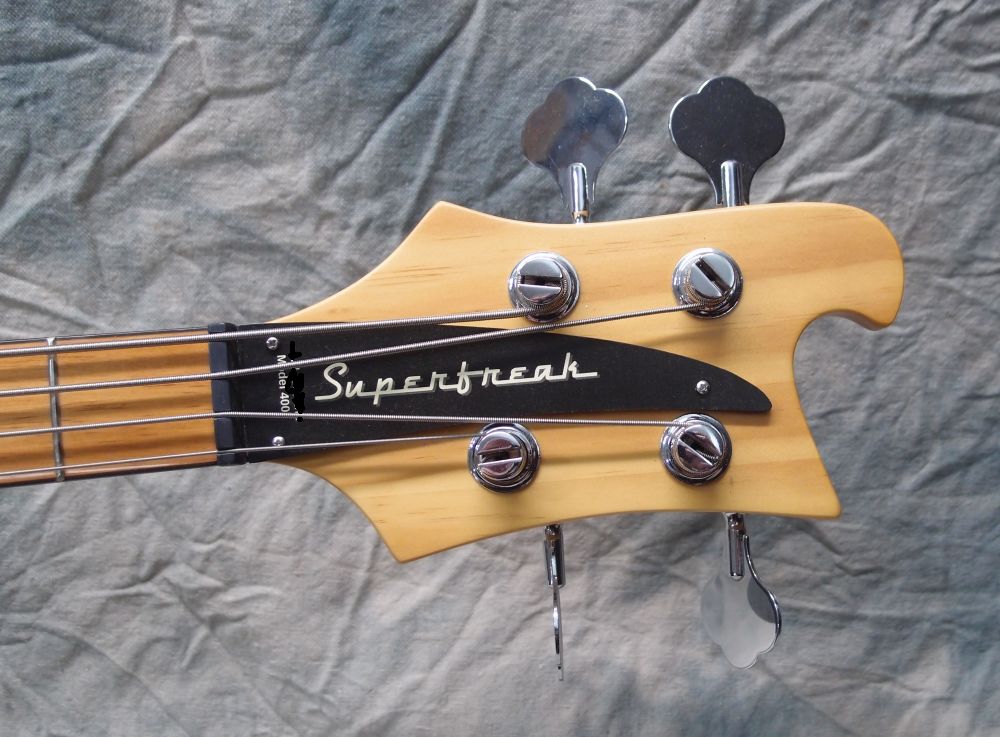
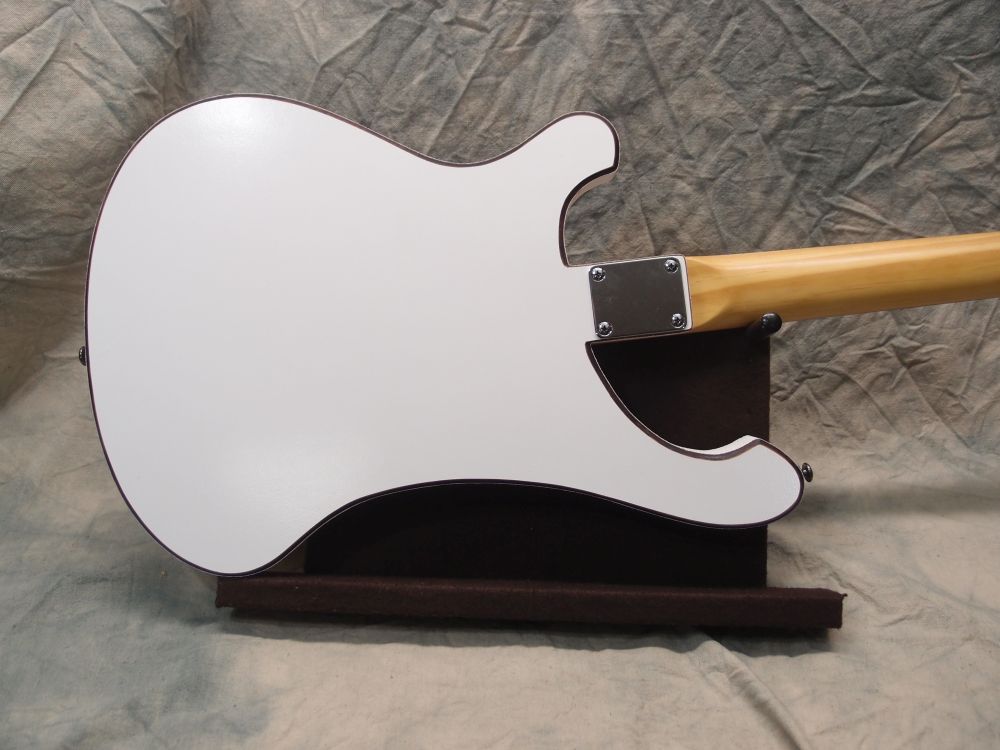
This was my third go at a 325 bass. The first one was unbalanced with this long neck, and the second suffered a router mishap. Eventually, I salvaged both of those, but first I took all the good parts and did this. Fender-type alder body with 3-tone sunburst, single binding. Surface-mounted pickups, active electronics. Finished entirely in polyurethane.
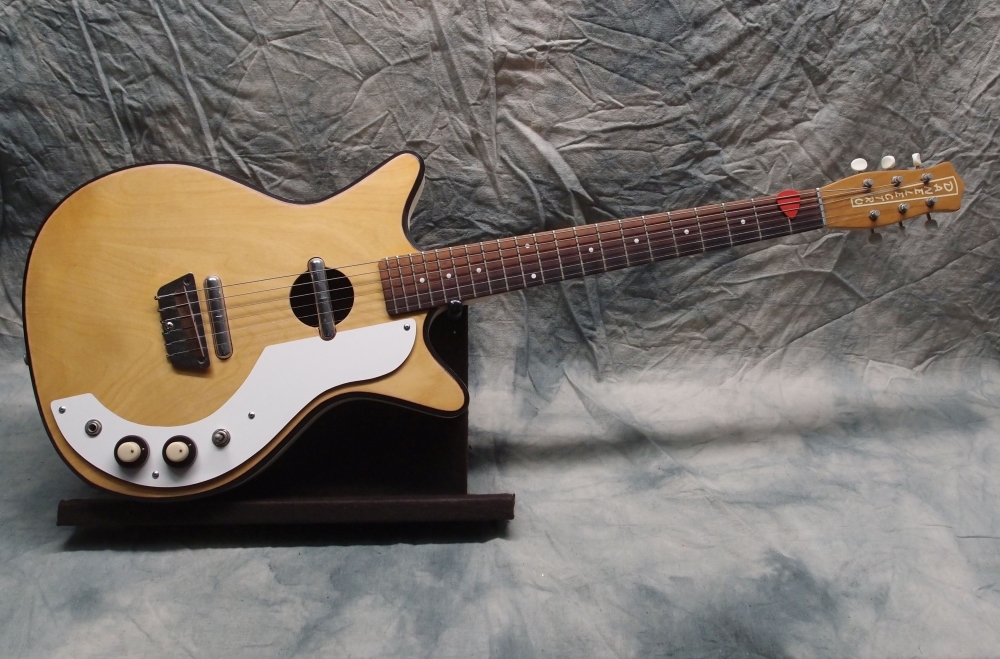
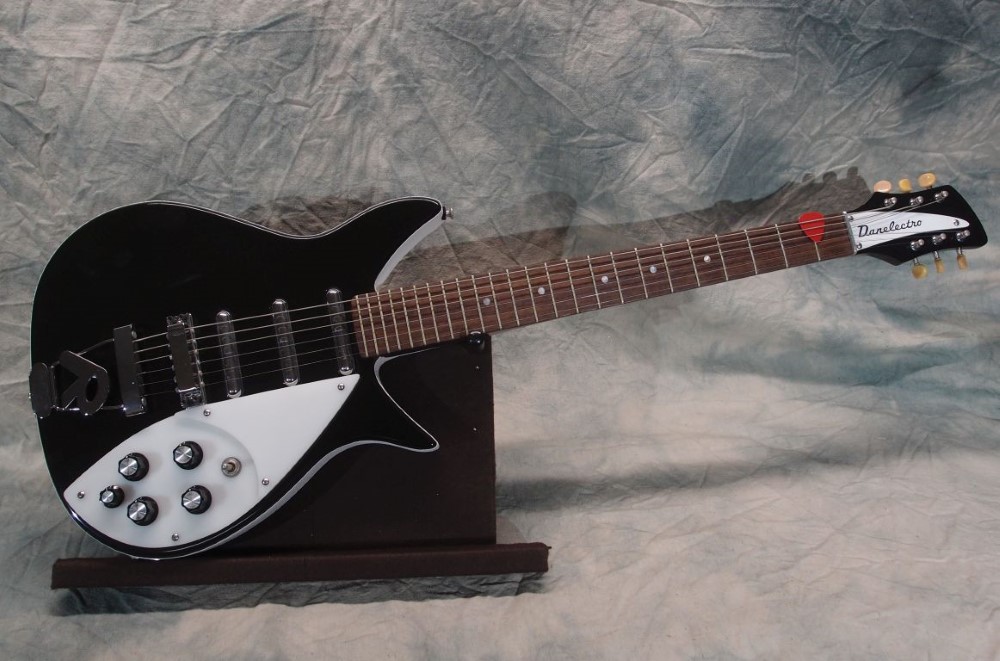
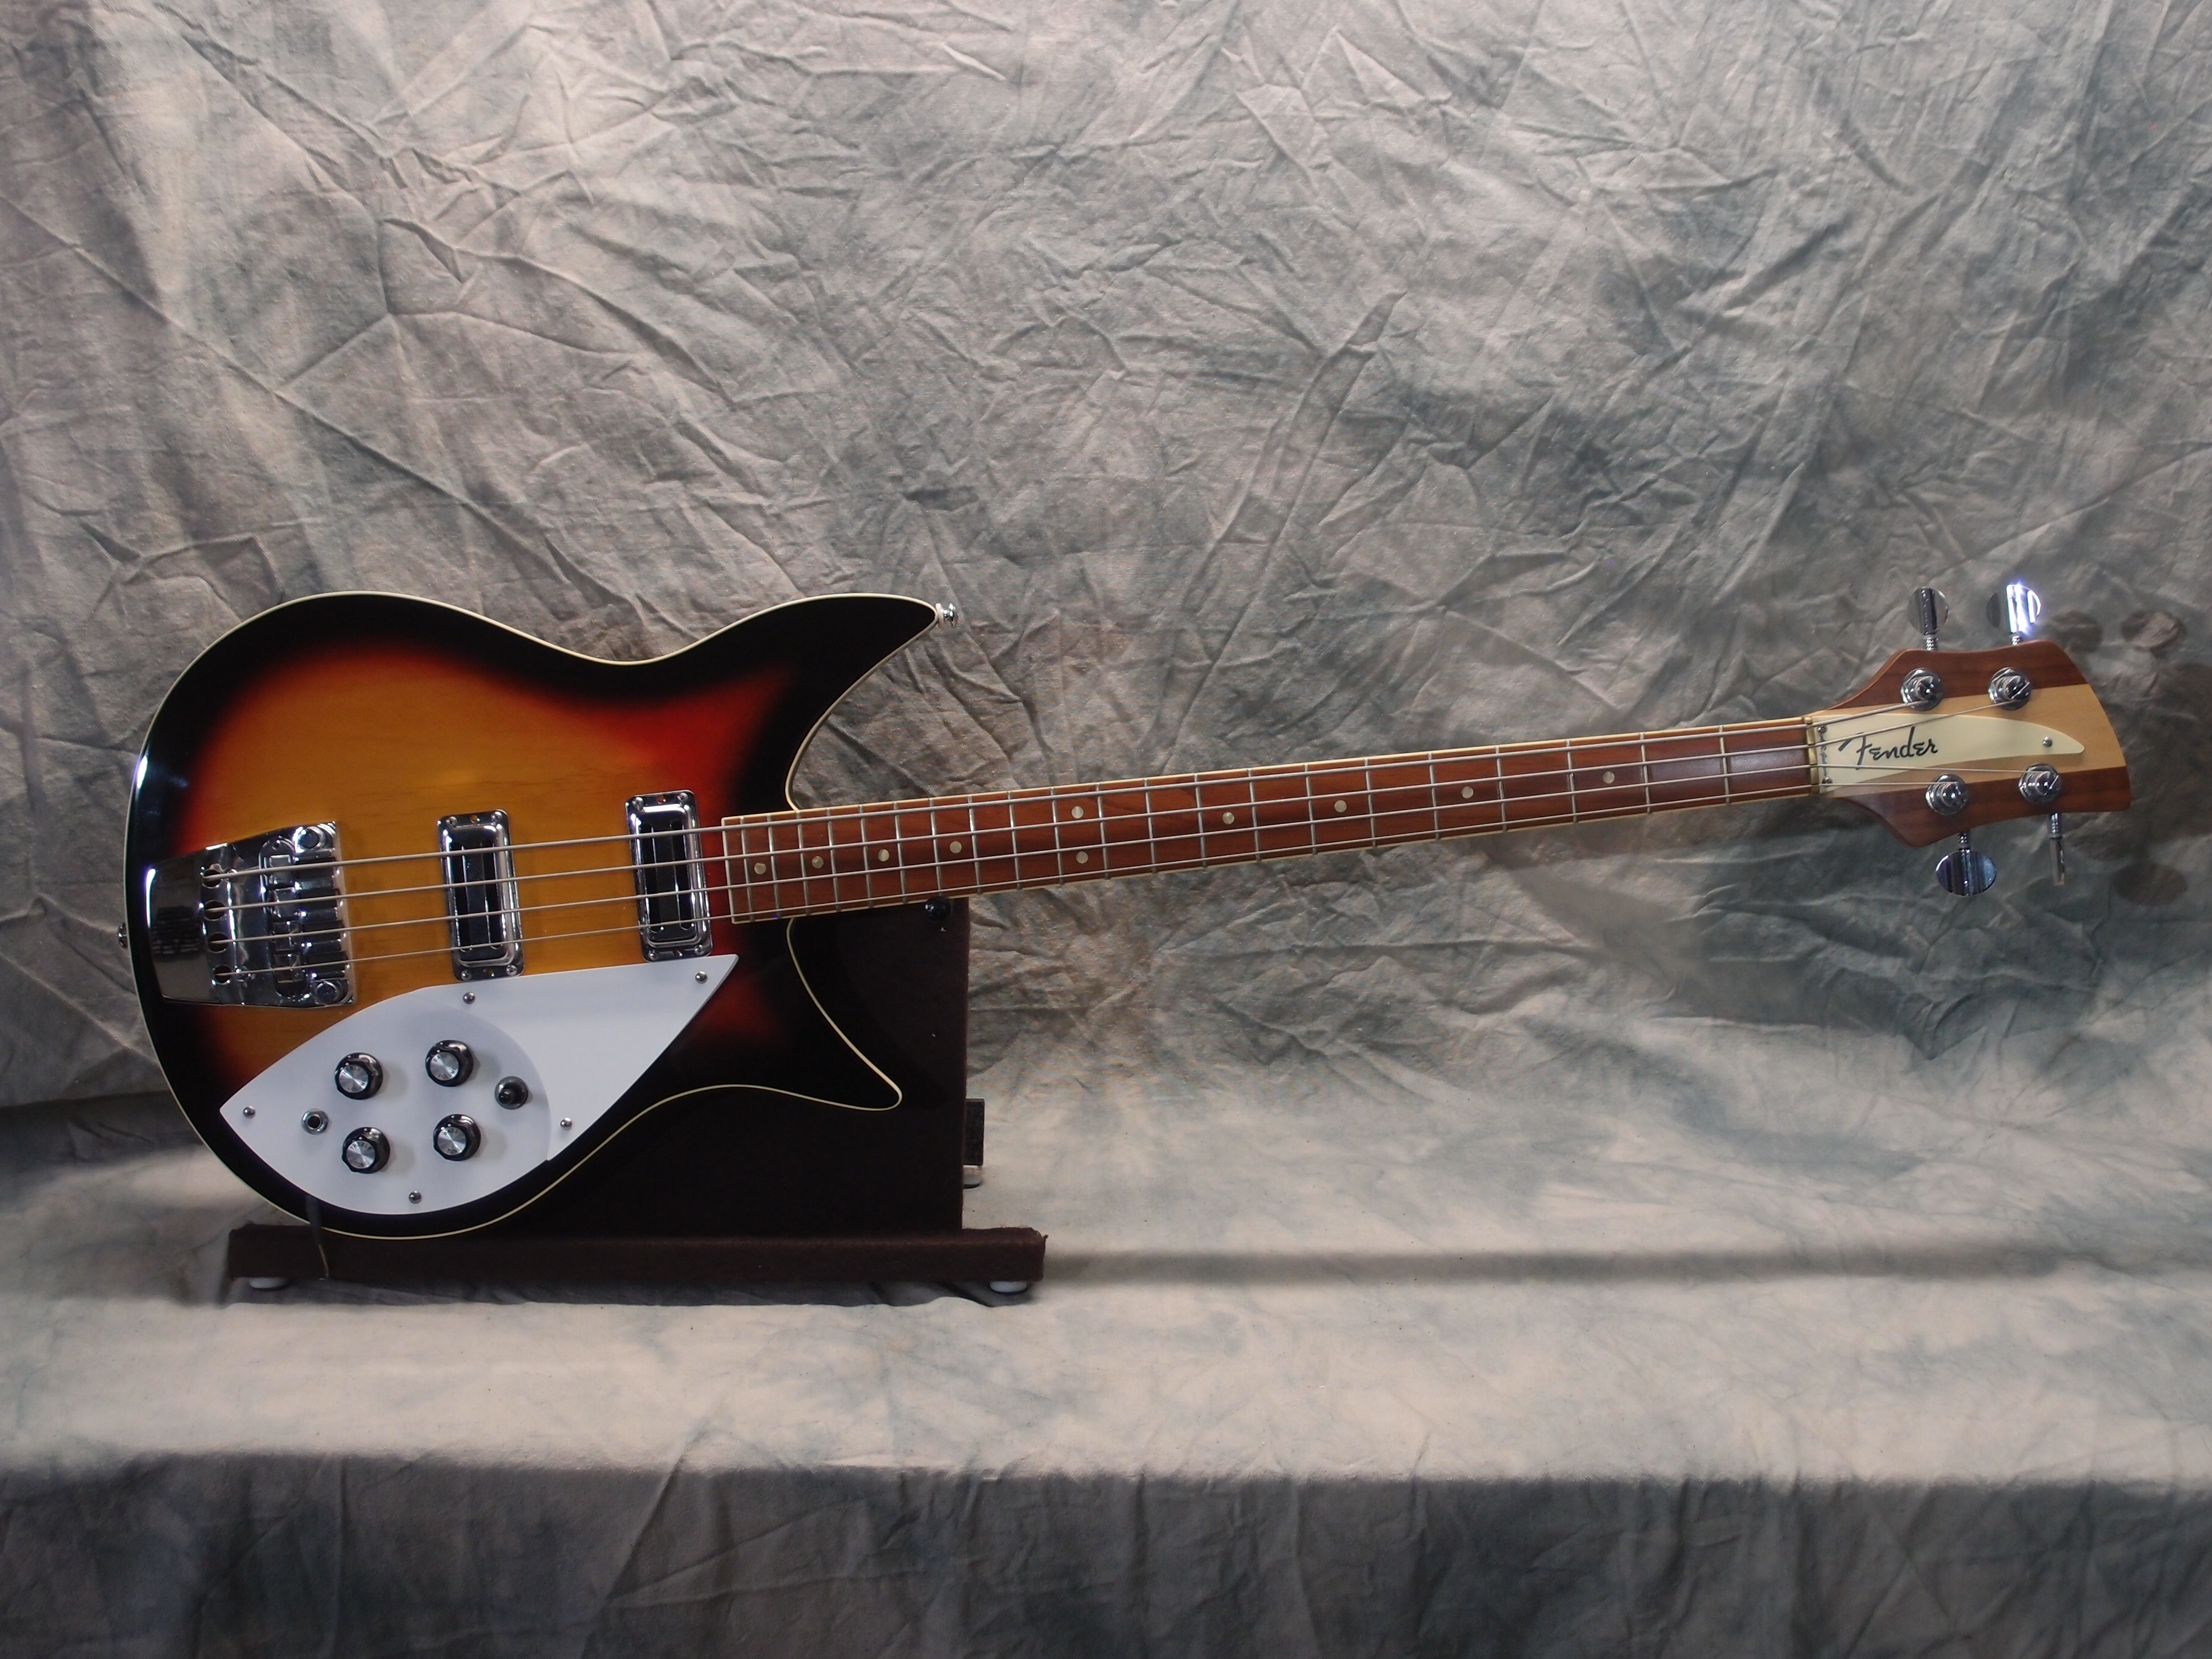
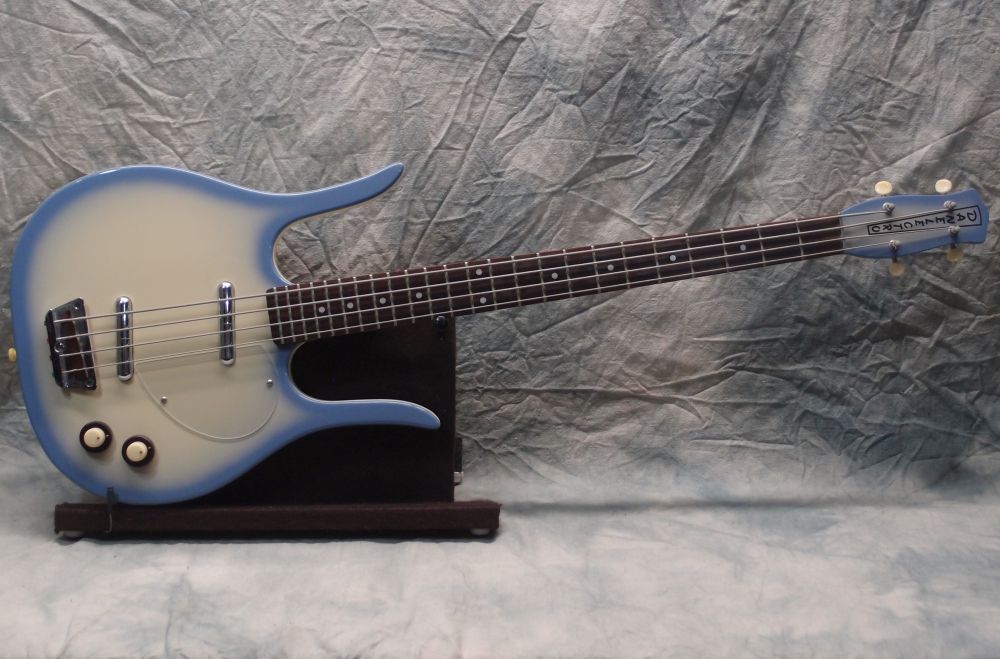
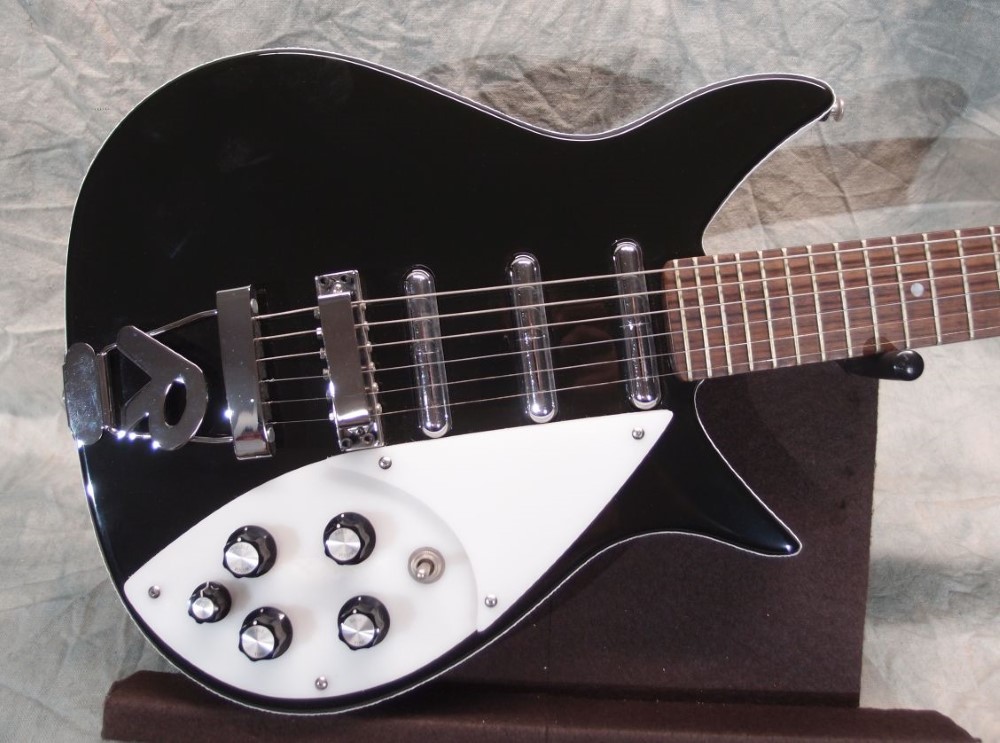
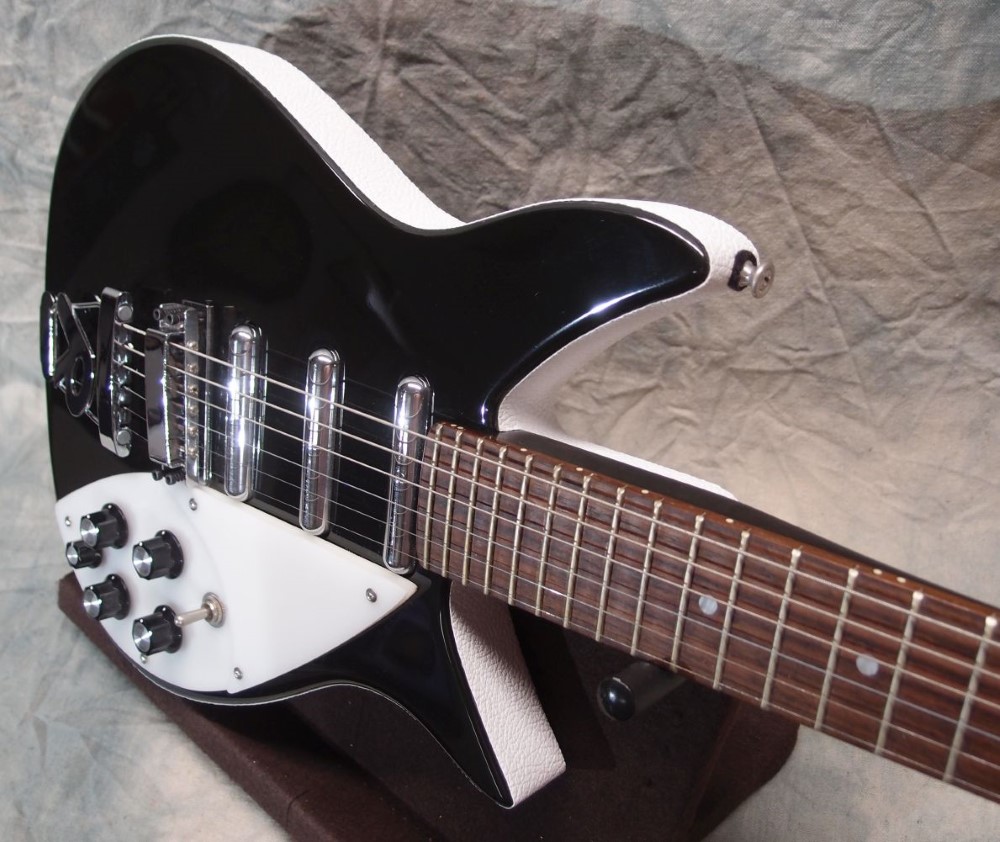
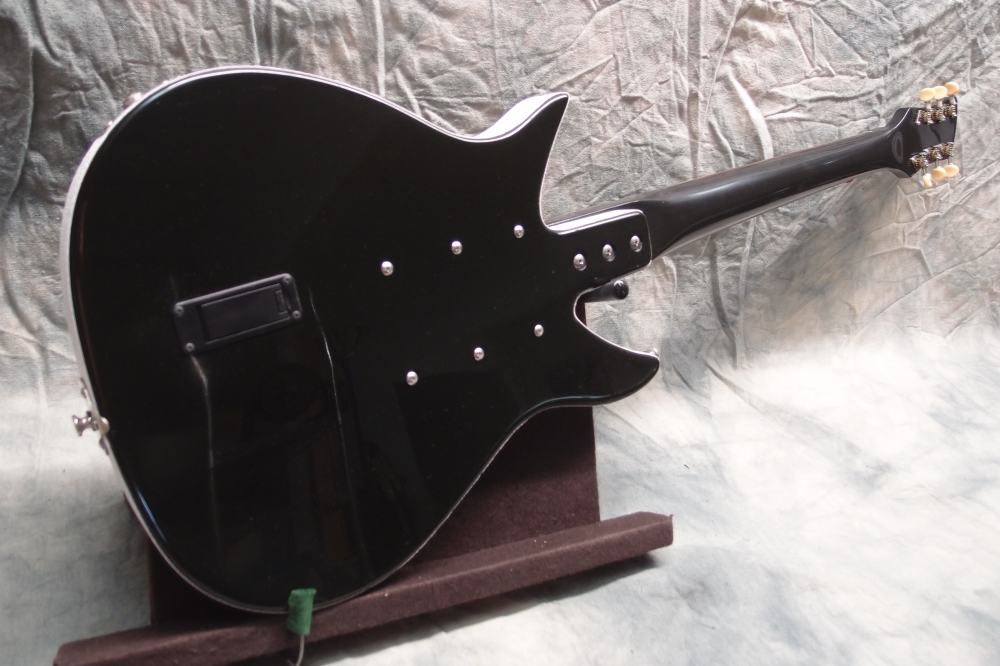
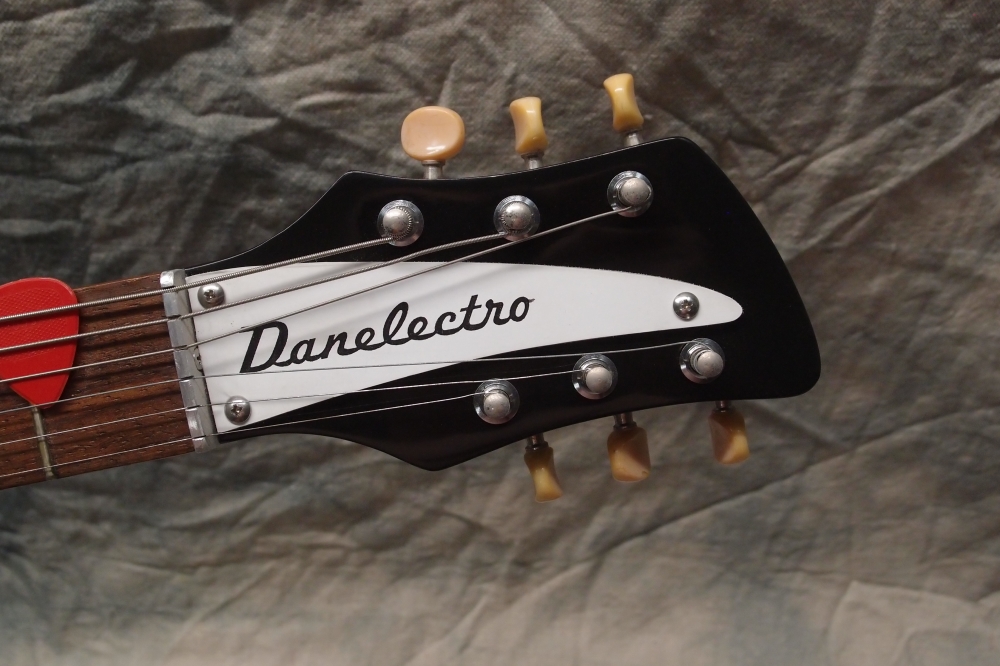
A faithful reproduction of John Lennon's Rickenbacker, but built as a Danelectro. Masonite over hollow plywood body. Poplar neck. Passive electronics with active distortion on the fifth knob.
This one is kind of a joke and an experiment in just how cheap you can build a guitar. The body is dry-erase board over plywood - no finish - with Tolex side binding. Dry-erase board is Masonite covered with Melamine. The neck is 100% Radiata pine, even the fretboard. The "inlays" are glitter and CA glue. The pickguard is the other side of the dry-erase board - 'chalkboard'. The pickup mount is a 57 cent switch plate.
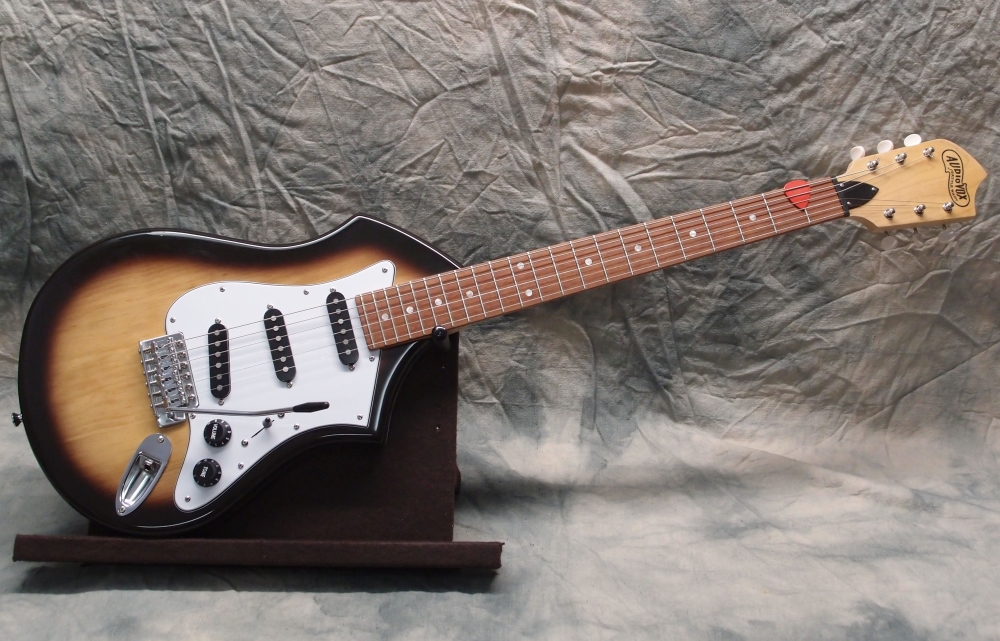
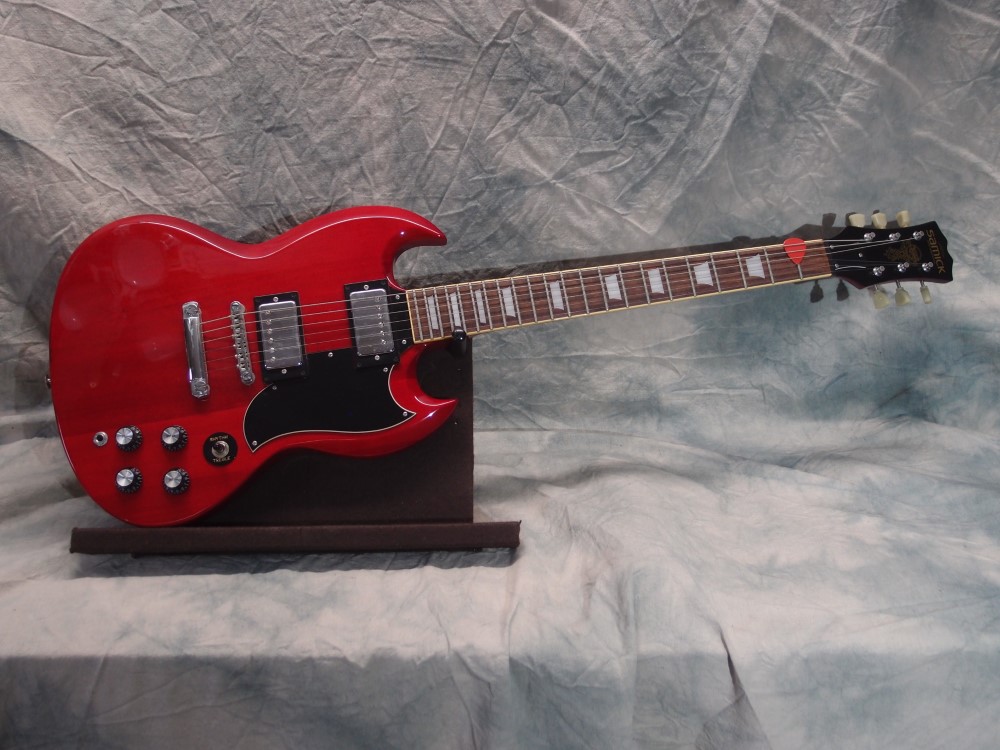
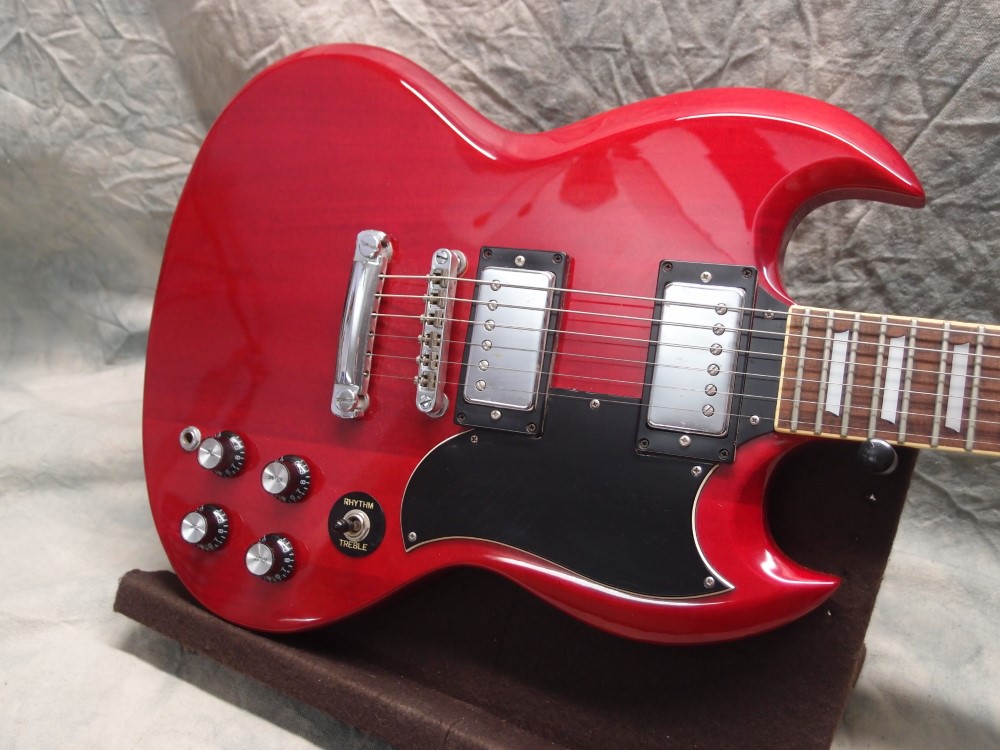
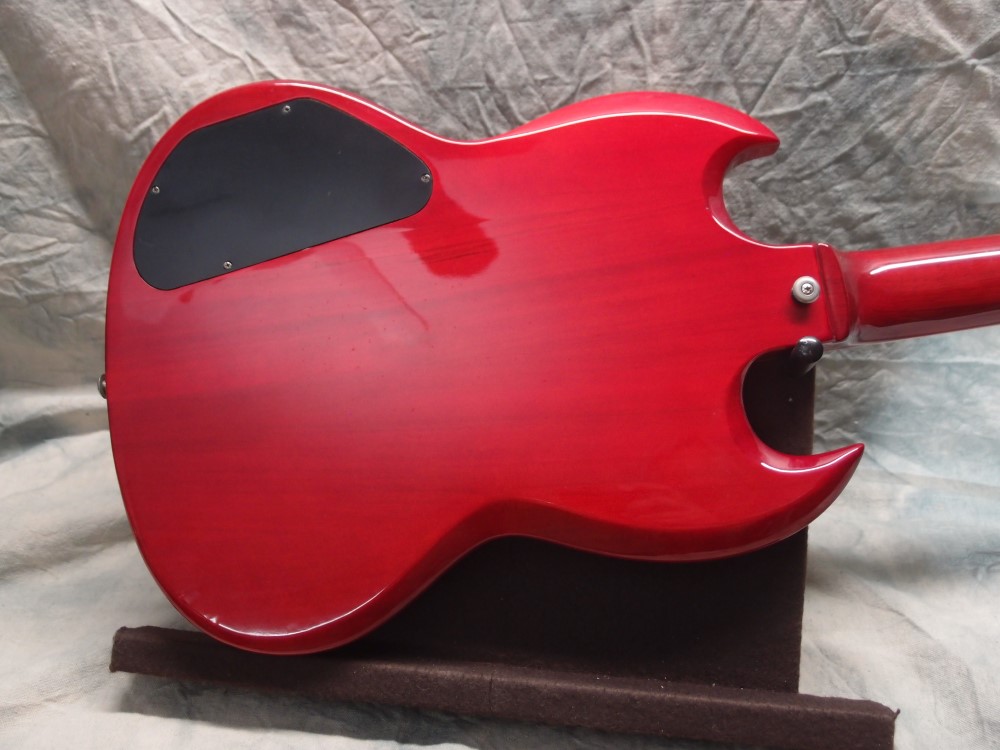
The SG, or 'Spanish Guitar', is without a doubt Gibson's best solid-body guitar design. Unlike the massive overweight Les Paul, the SG is small and light and just feels like fun in your hands. Sound-wise, the two are indistinguishable. The SG body has comfortable bevels and round-overs in place of the Les Paul's arm-gouging sharp bound edges. And the little devil horns are unmistakable.
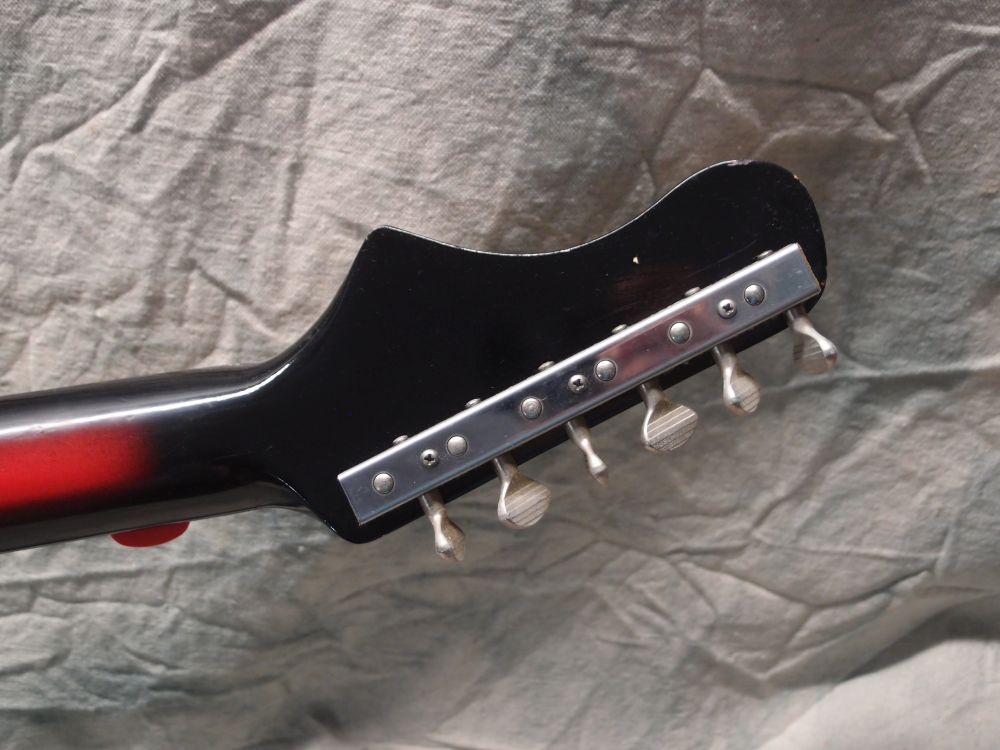
I like to let a new build lie for a month or two to settle-in before doing any serious setup work. I have four projects now that need to be set up. The first to go on the operating table will be the Mosrite bass.
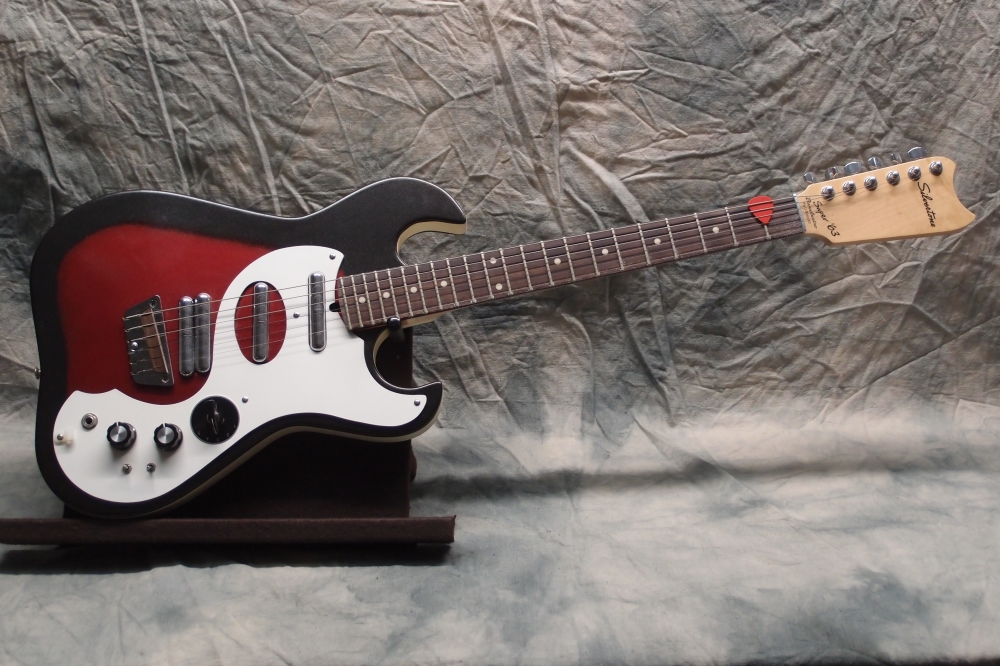
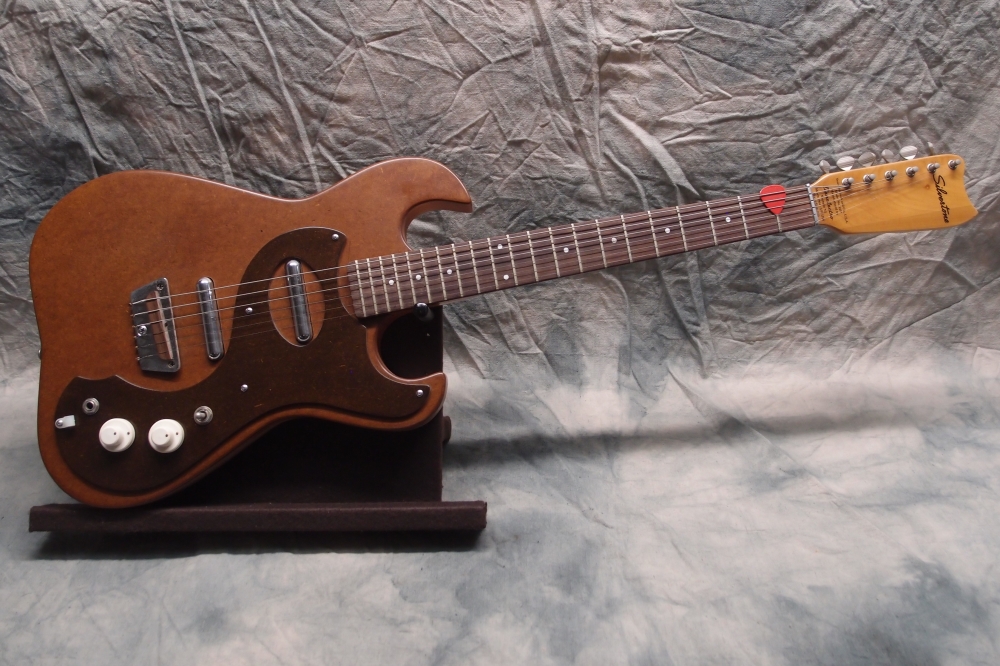
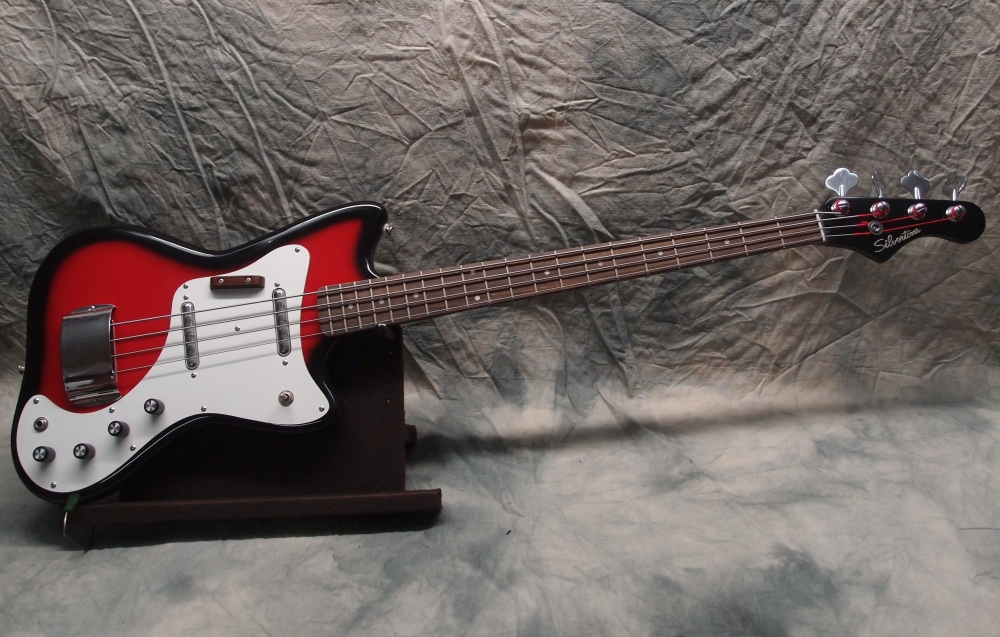
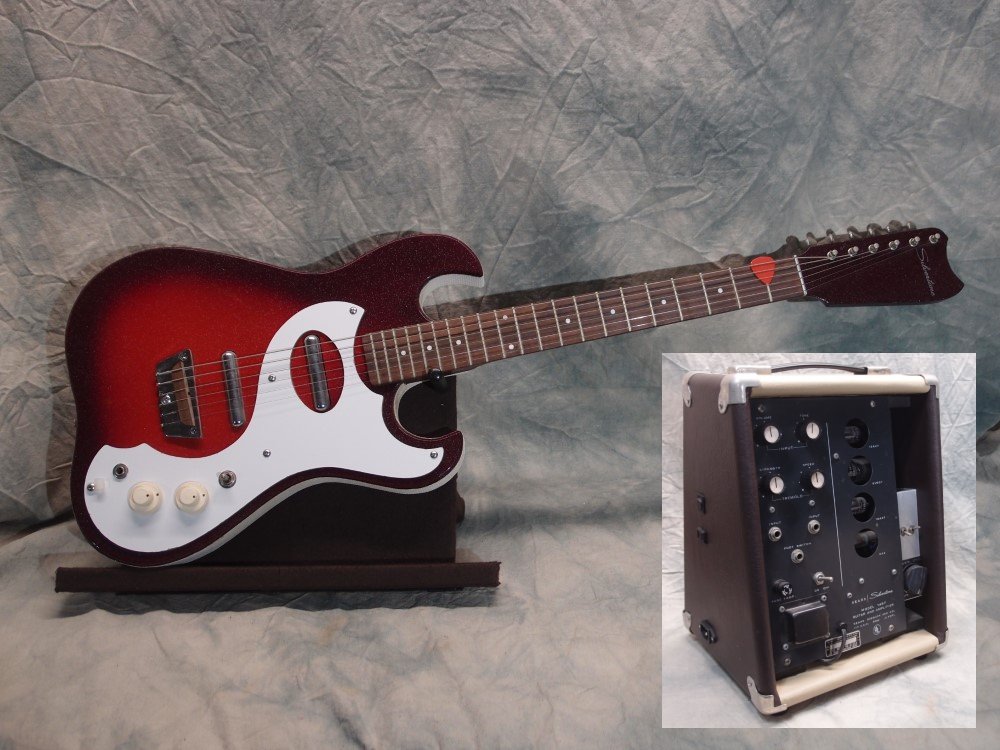
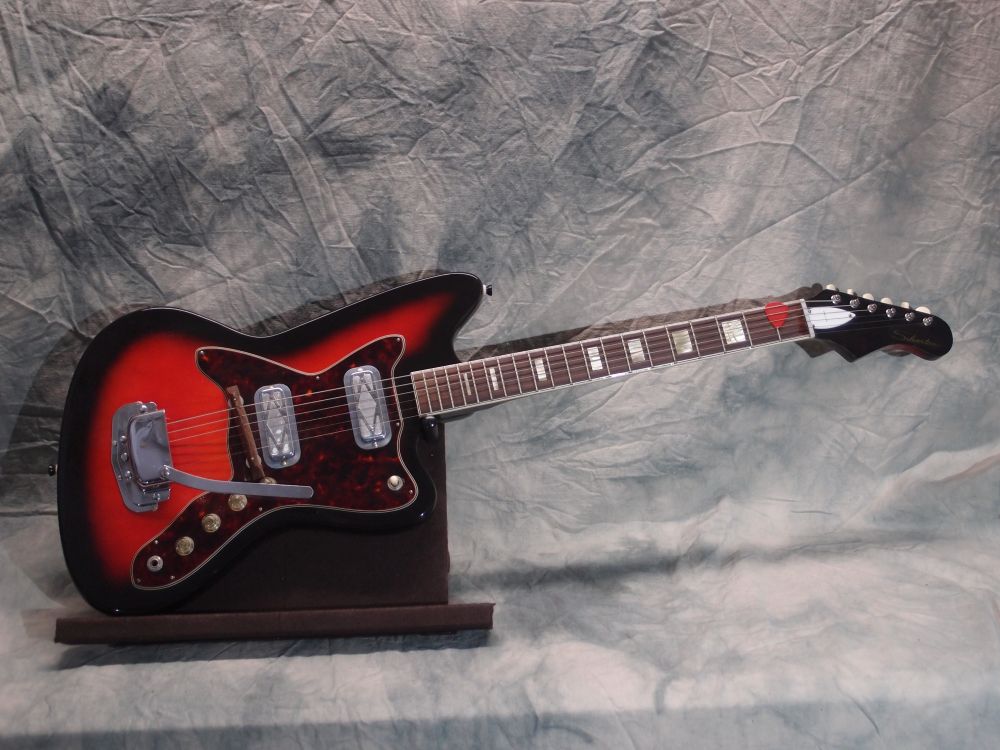
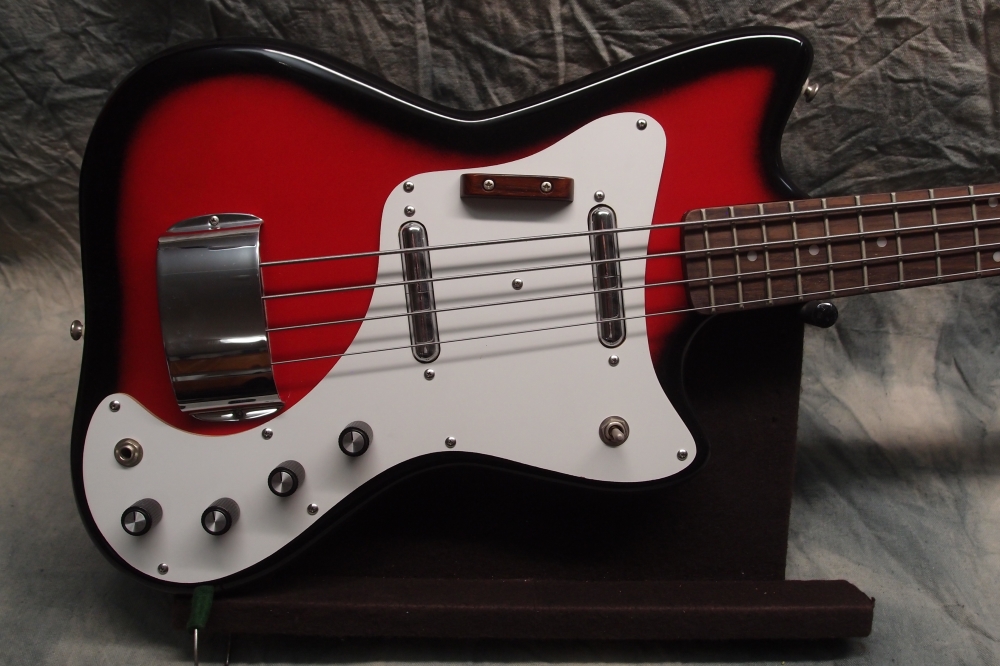
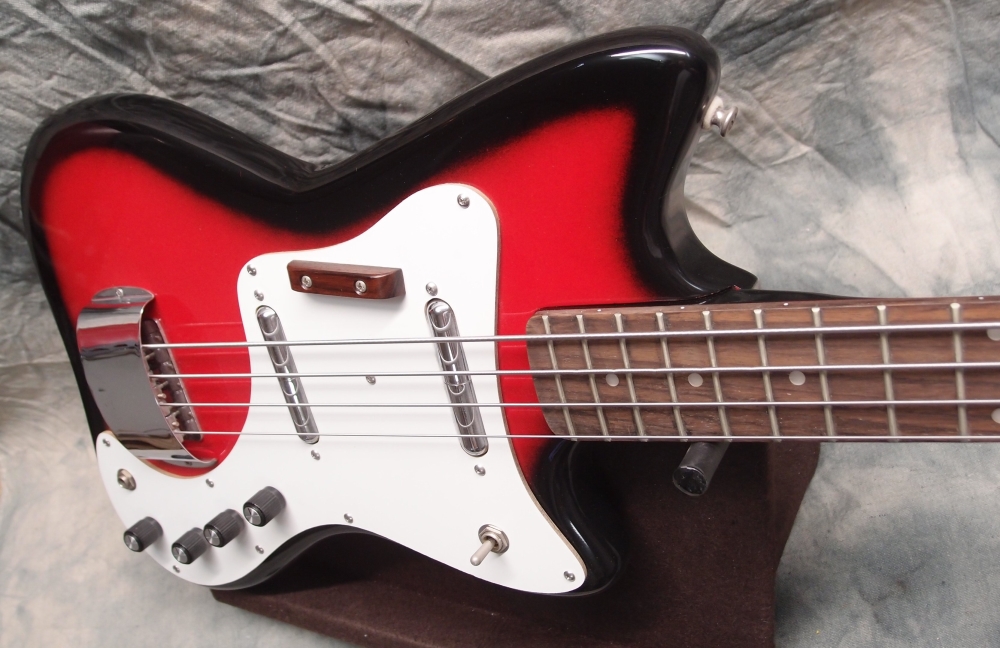
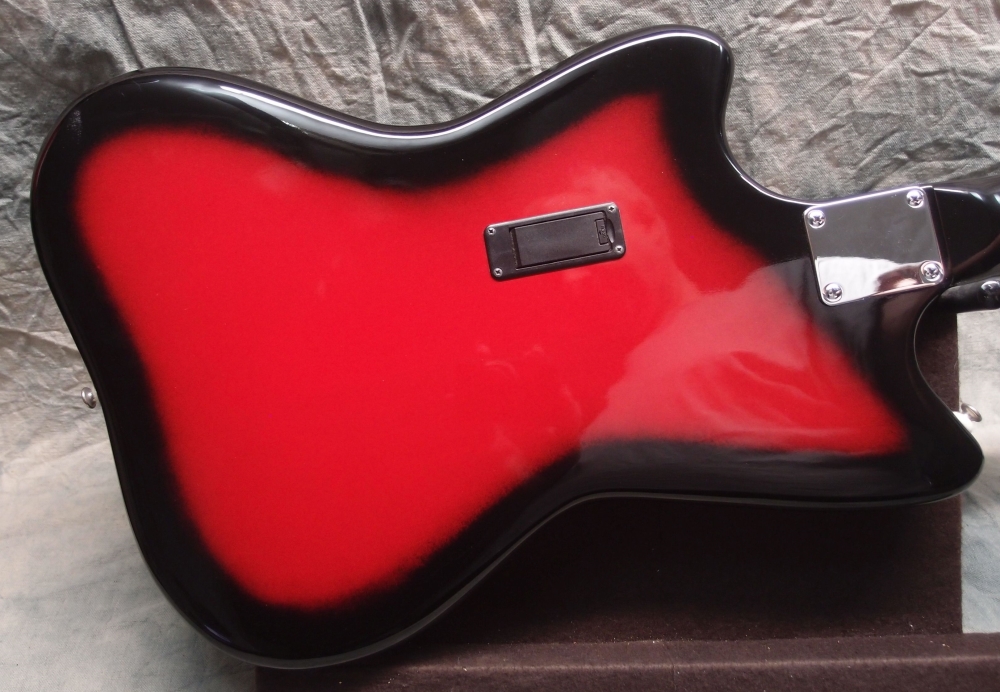
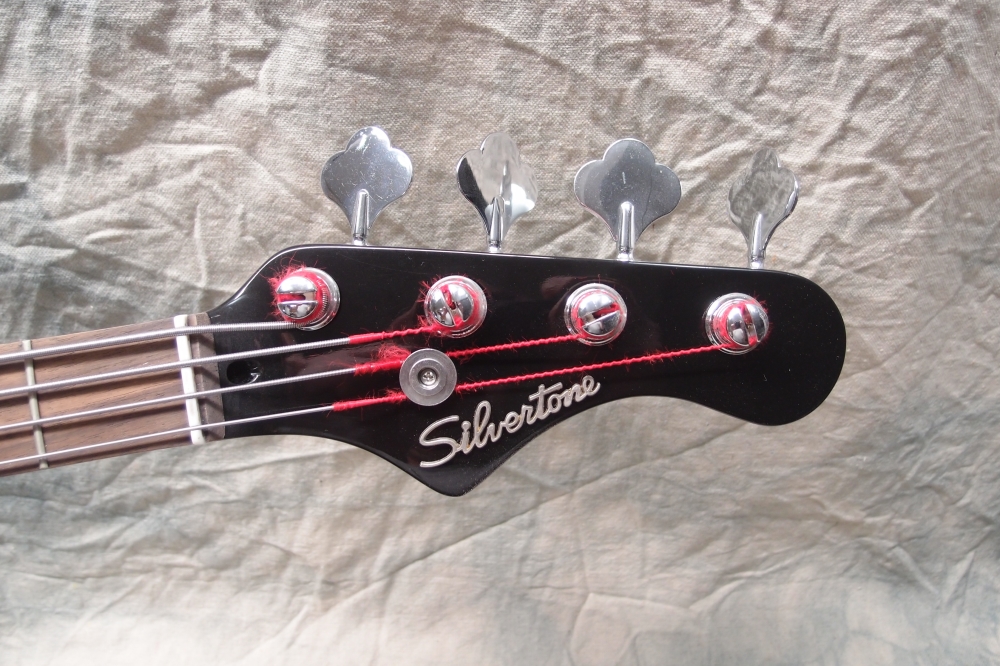
This is a project that took a long time, mainly due to the lacquer sunburst, which took several tries to get right. In the end, I even 'bursted the back of the neck. While it looks like an old Silvertone, it is actually thoroughly modern inside. 90's Danelectro lipstick pickups - the good ones, wired in series with a selector switch like they should be.
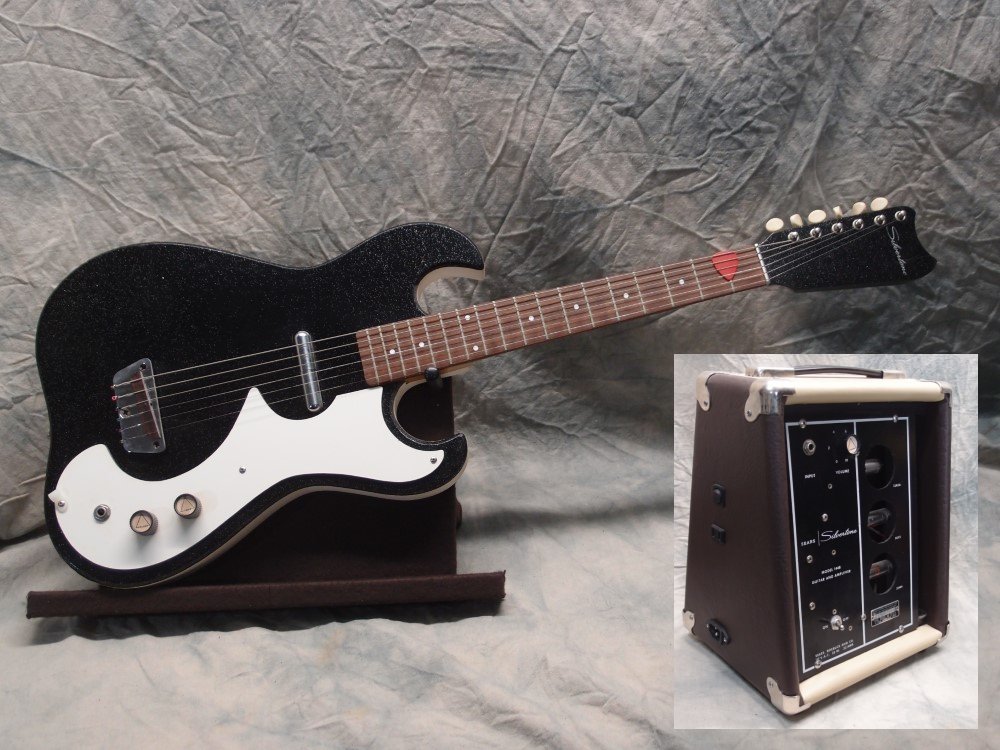
This is another factory guitar, vintage 1960s, made by Danelectro and sold exclusively through Sears. The 1448 was one of the cheapest electric guitars in the Sears catalog, but it came with something special - it's own amplifier built into the hardshell case. There is almost no wear on this guitar, I don't think it was played much.
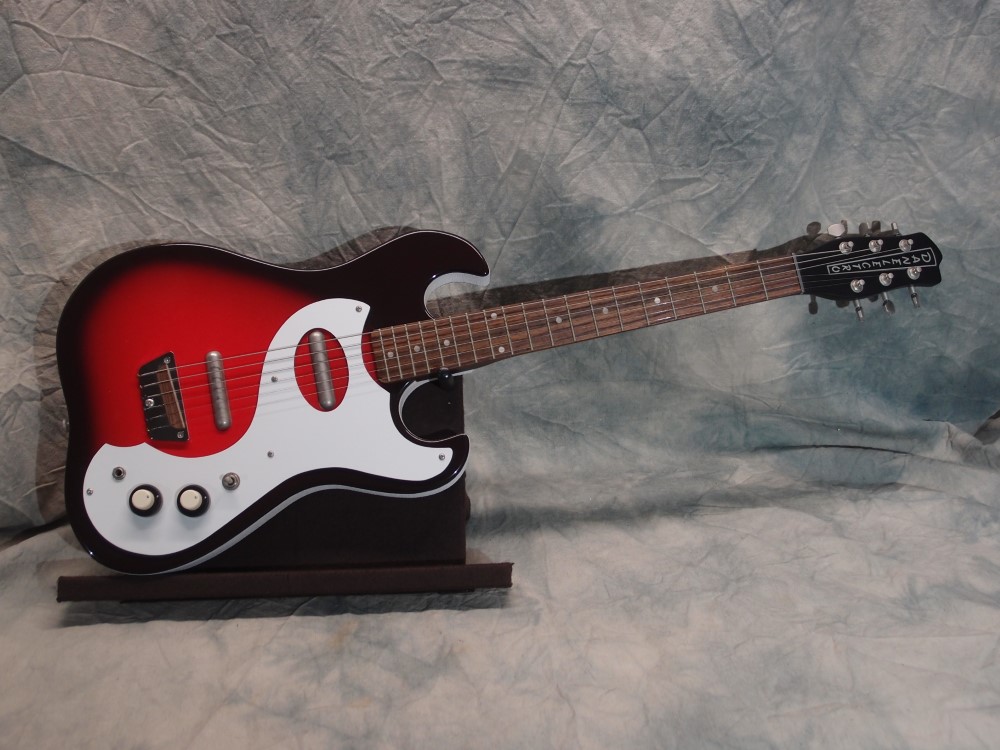
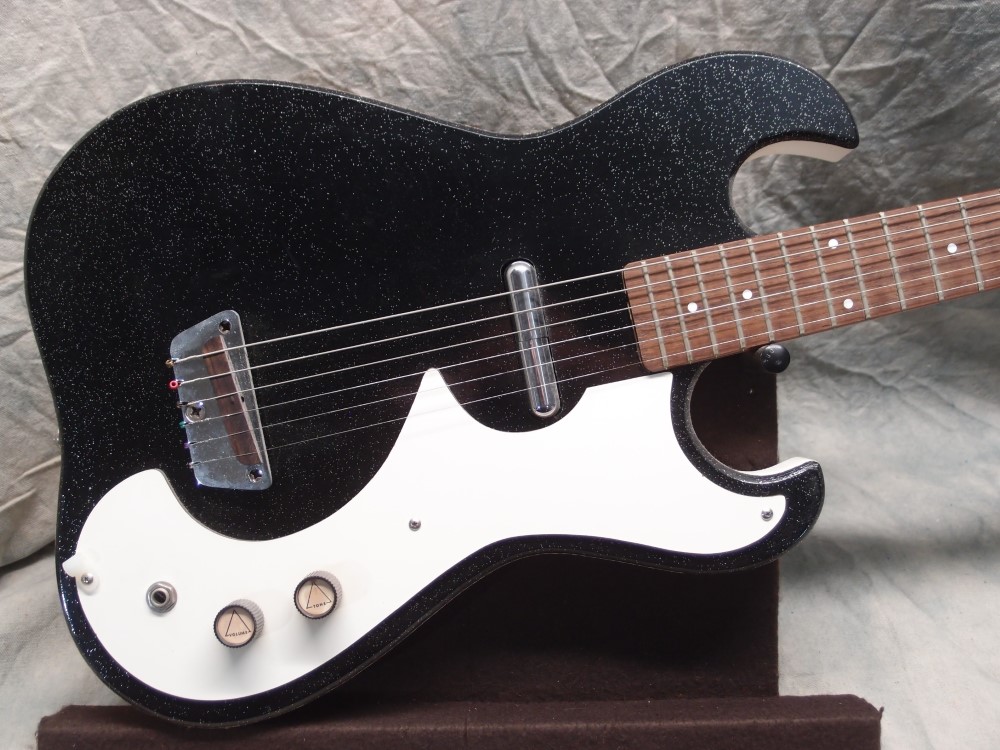
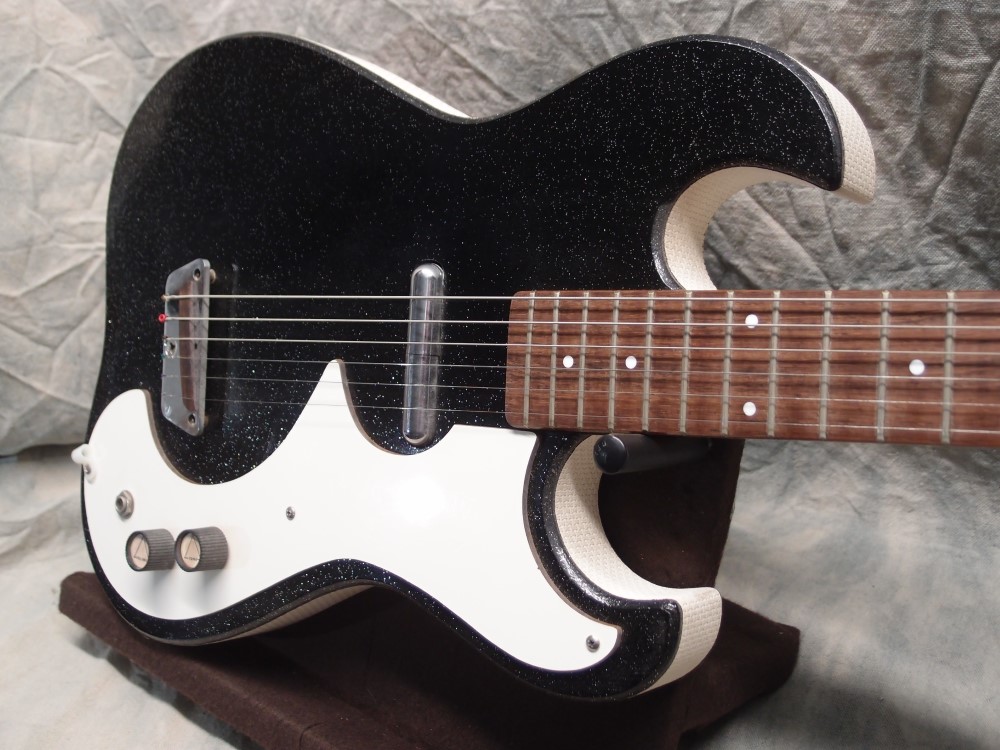
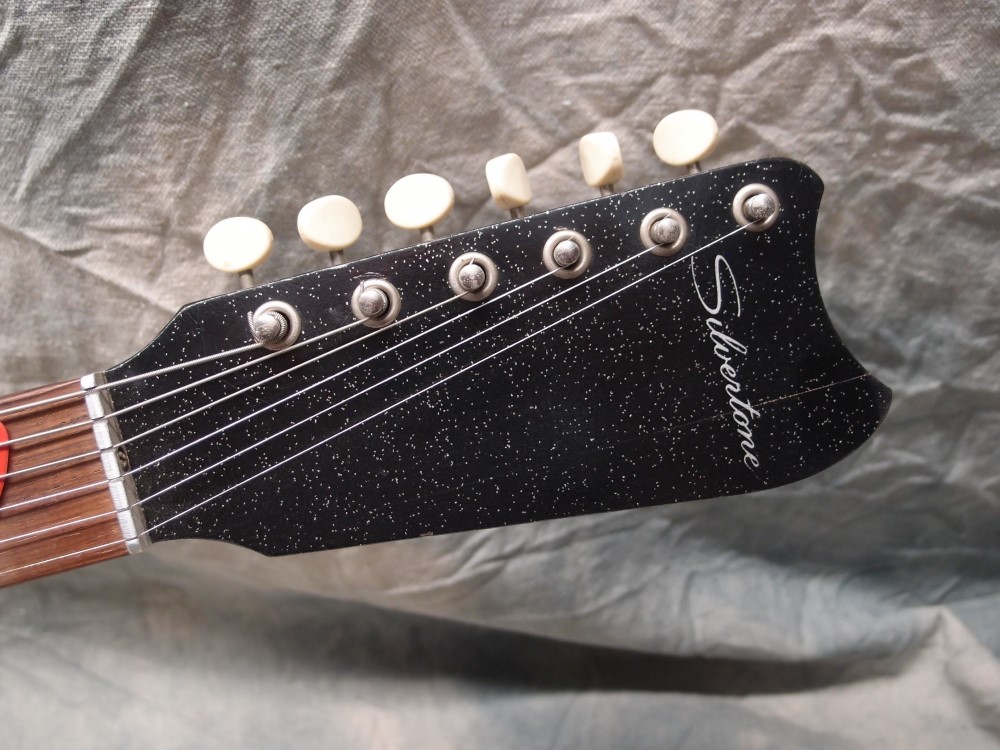
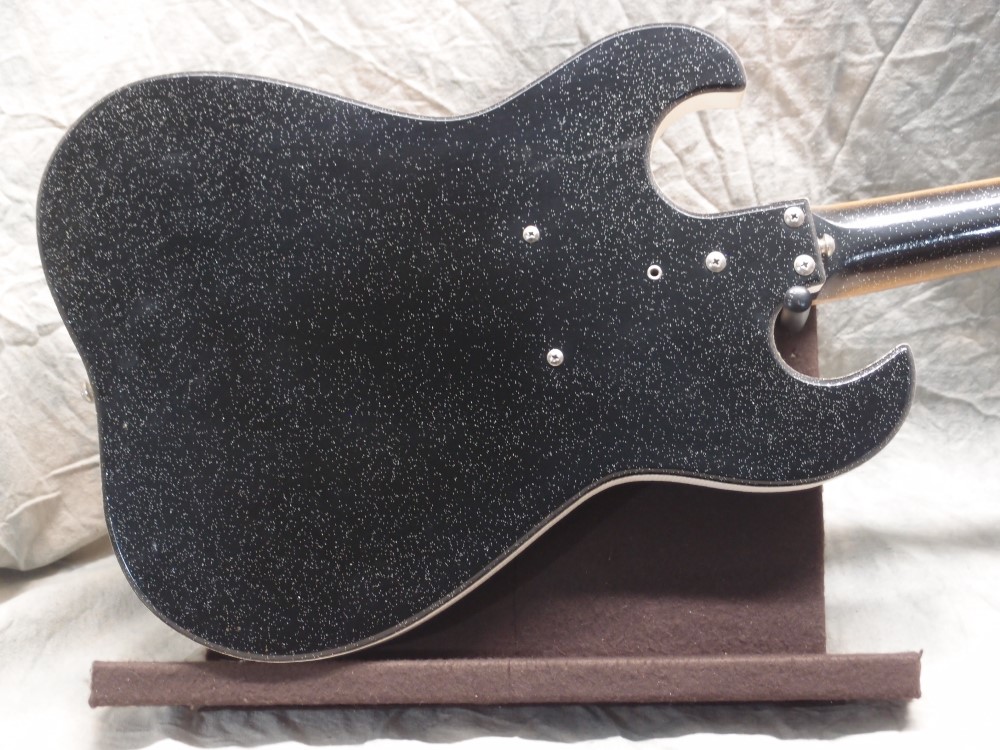
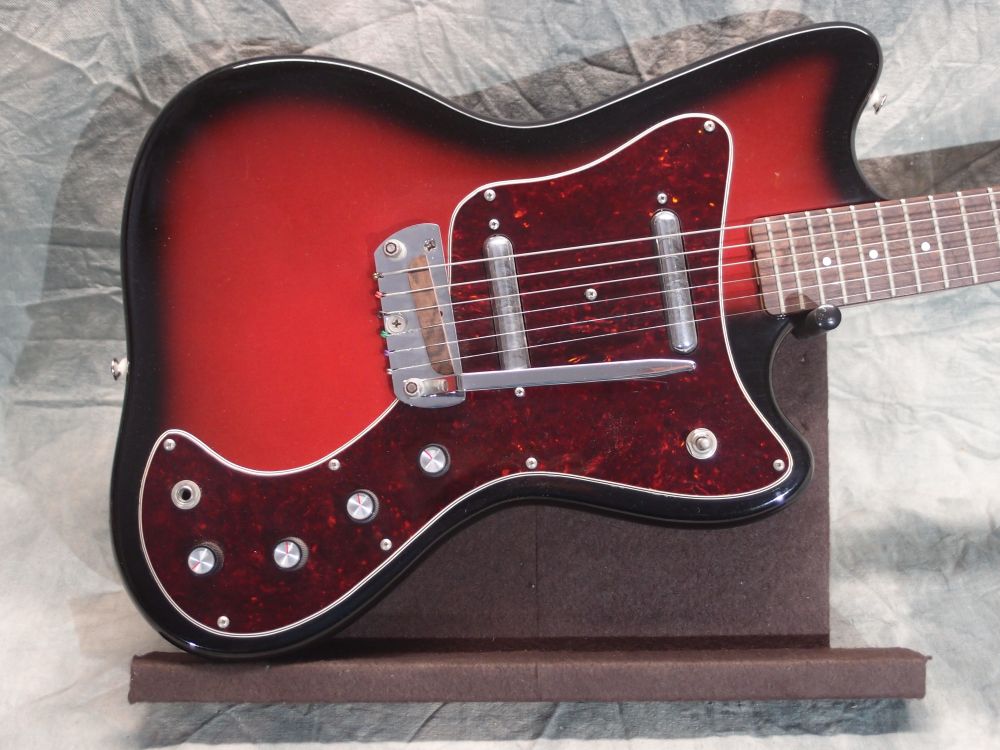
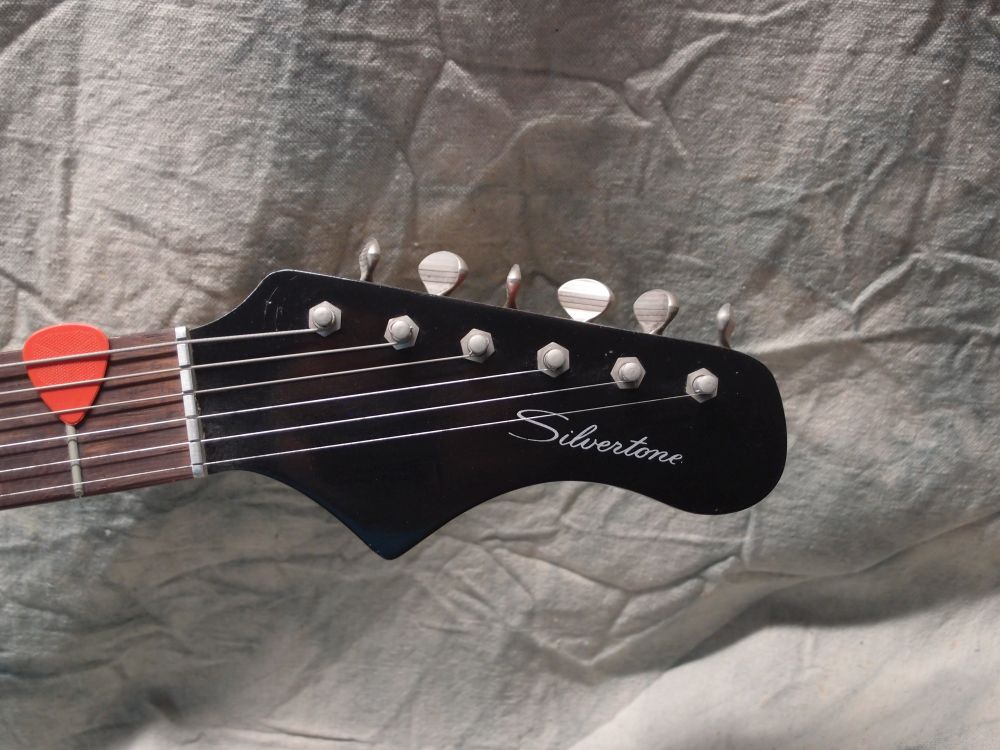
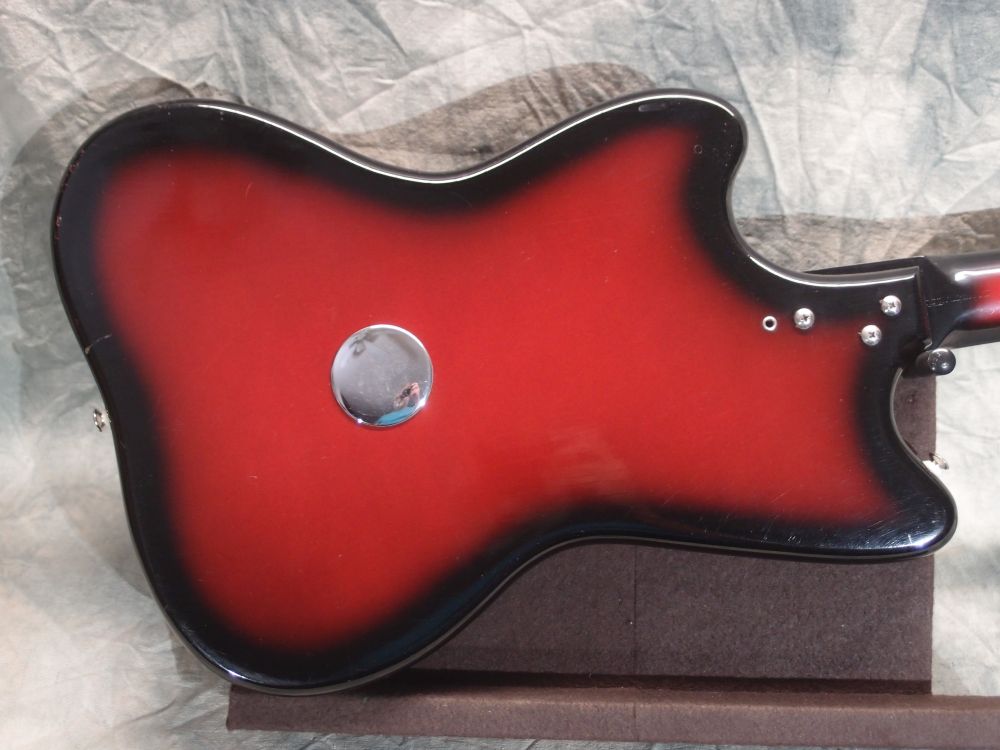
The Silvertone 1450 is a relatively rare model from 1965 to 1967. It is identical to the much more common 1452 "Amp-in-Case" model, except that the 1450 has a three-ply tortoiseshell pickguard in place of 1452's white masonite, and the 1450 did not come with an amp. The three-bolt neck attachment indicates that this is a fairly early example. There should be a date stamp inside the neck pocket, but I don't want to take it apart. For a long time I thought this was a 1452, I was quite pleased to discover while writing this that it is actually the more deluxe 1450.
All I can say is - just don't. It is easy to get absolutely gorgeous results with nitrocellulose lacquer, but they won't last. Lacquer is attacked by just about everything. Spill alcohol on it - it will dissolve. Set it on a guitar stand, it will stick to it. Hang it on the wall - same thing. It never really dries or completely hardens - anything that touches it will leave a mark, there is no way to store it except perhaps in a very loose-fitting hard case with a really fluffy lining, and even that would probably make marks after a while. And God forbid anything vinyl should touch it - vinyl devours lacquer. Nitrocellulose is the worst, if you must use lacquer, get the acrylic kind from the auto parts store. And never mix the two.