Rickenbacker 4001 Bass 1 (1/5)

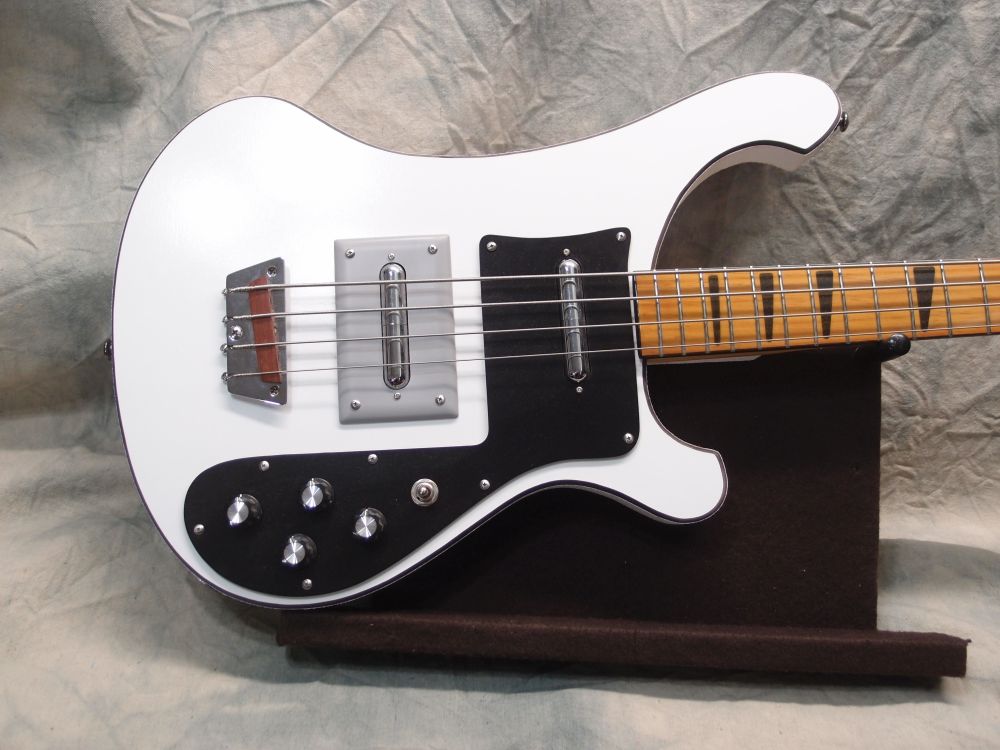
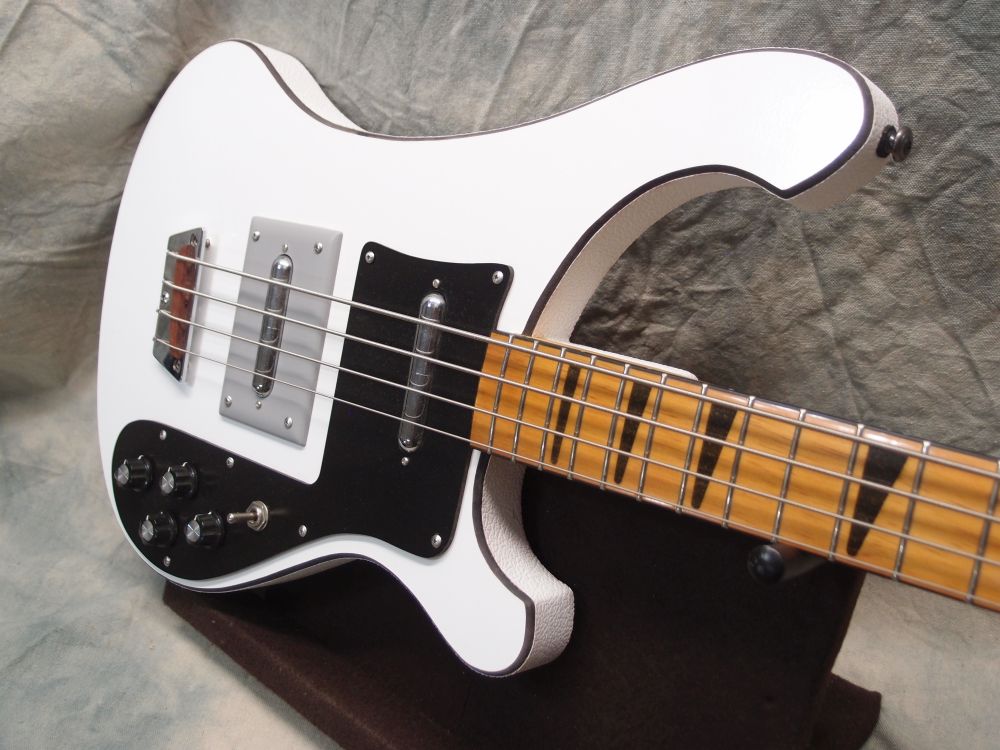
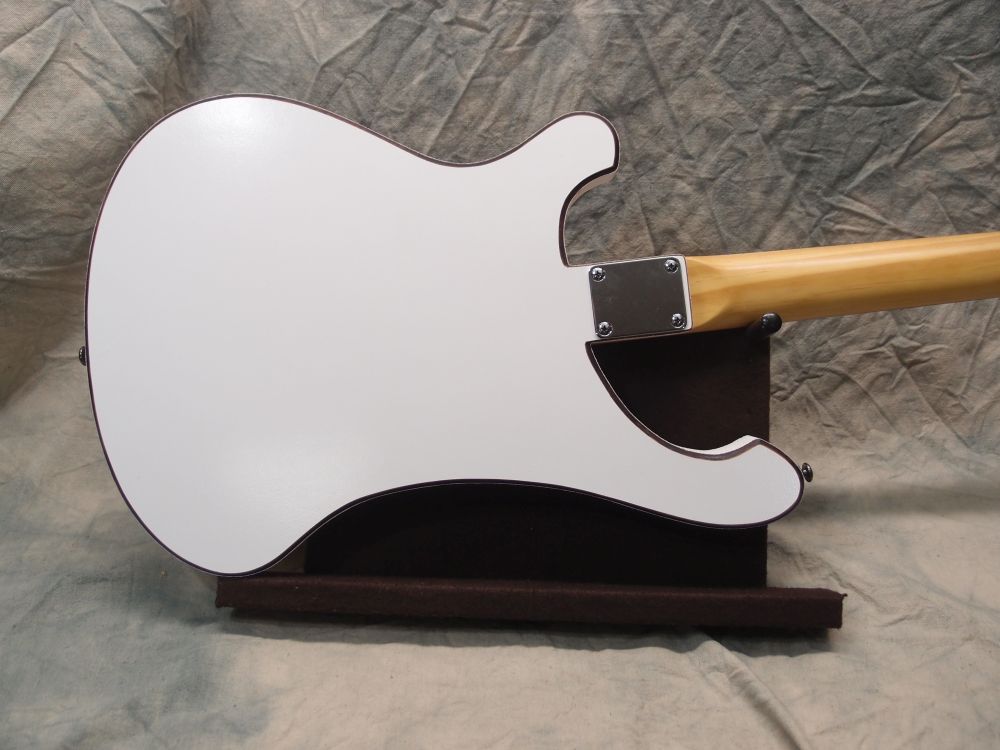
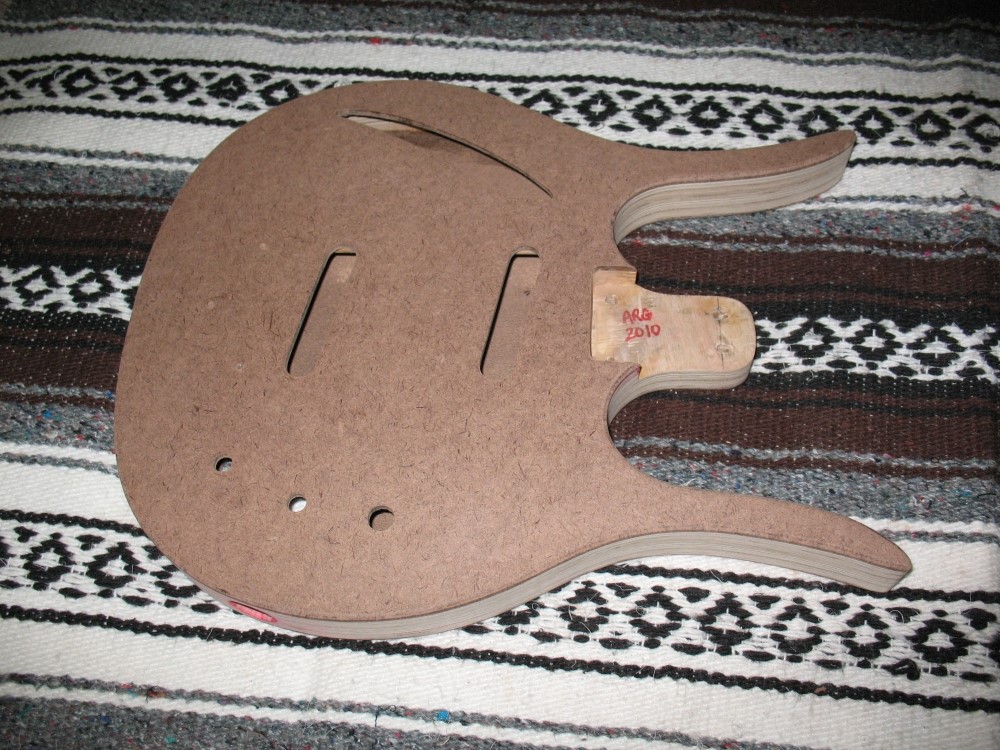
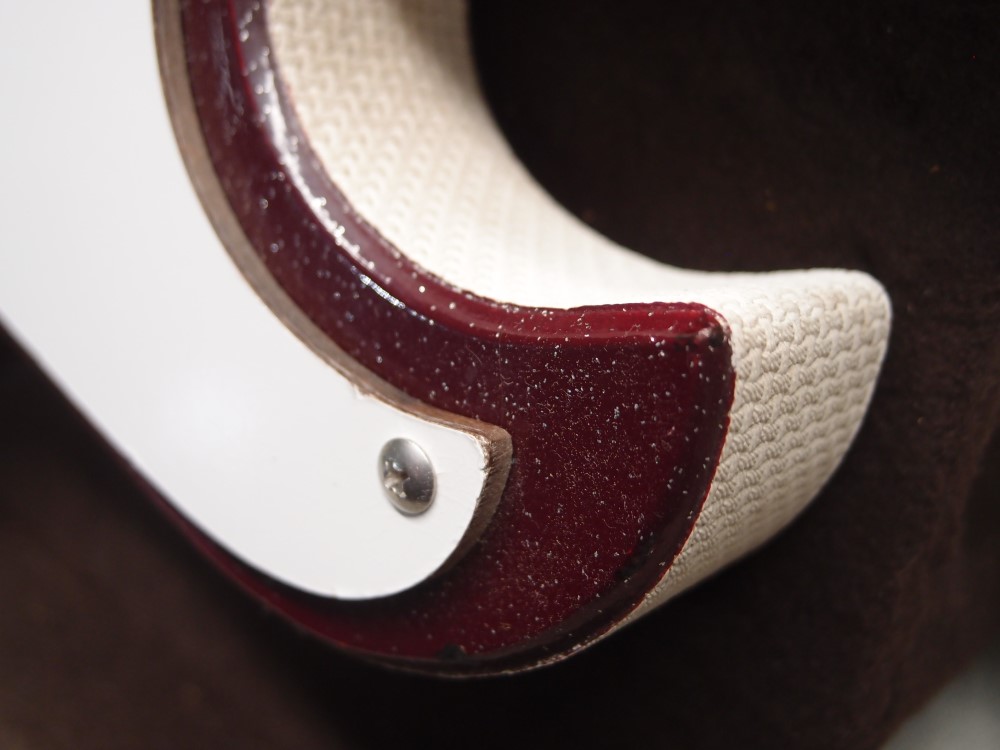
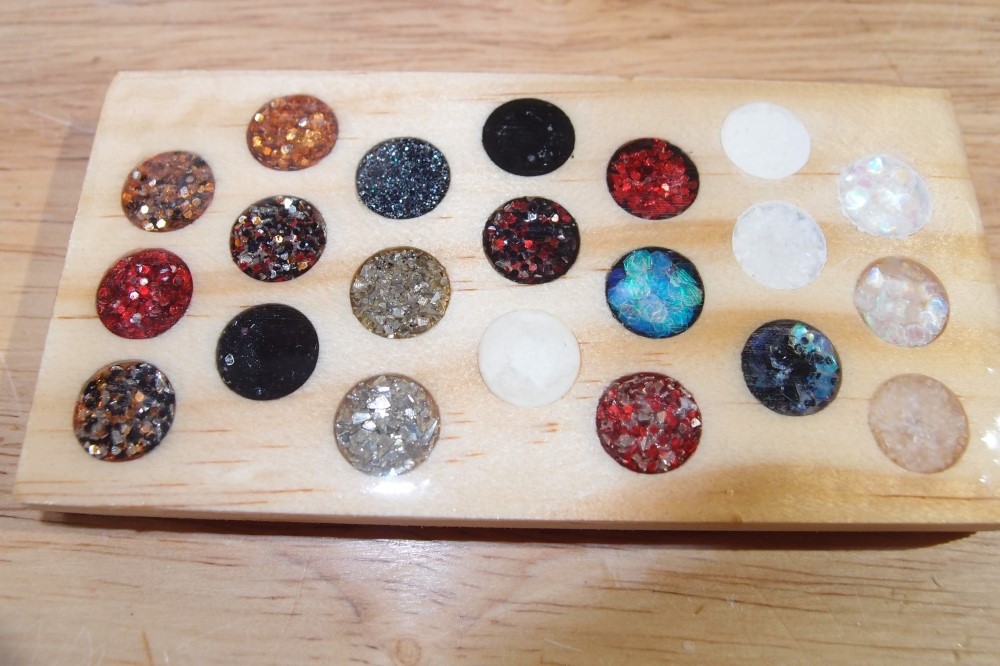
This one is kind of a joke and an experiment in just how cheap you can build a guitar. The body is dry-erase board over plywood - no finish - with Tolex side binding. Dry-erase board is Masonite covered with Melamine. The neck is 100% Radiata pine, even the fretboard. The "inlays" are glitter and CA glue. The pickguard is the other side of the dry-erase board - 'chalkboard'. The pickup mount is a 57 cent switch plate.
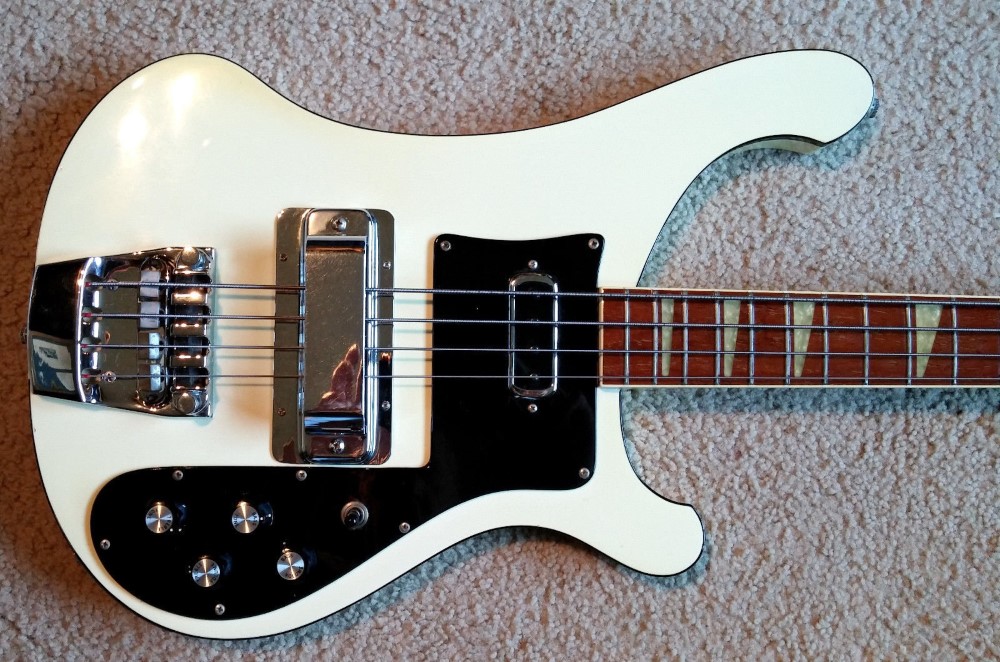

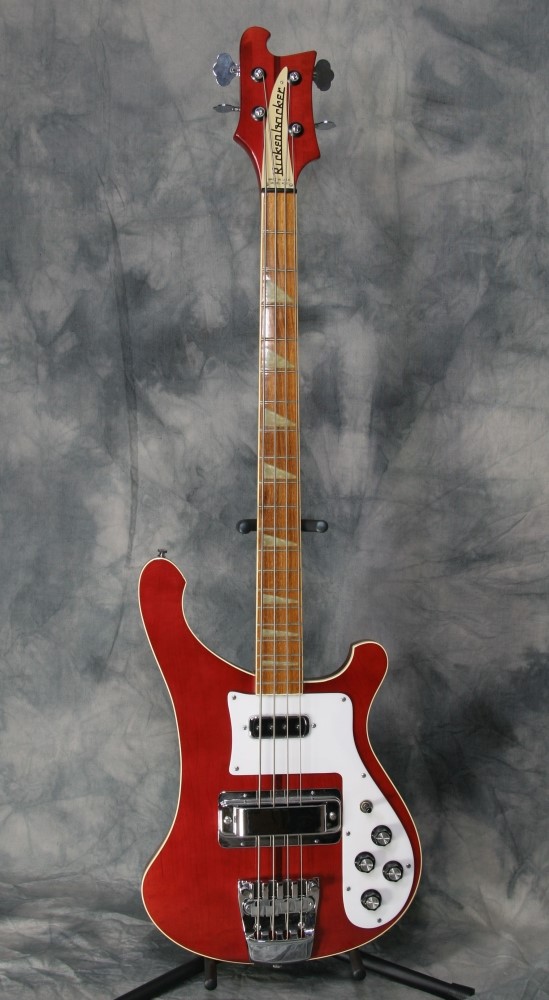
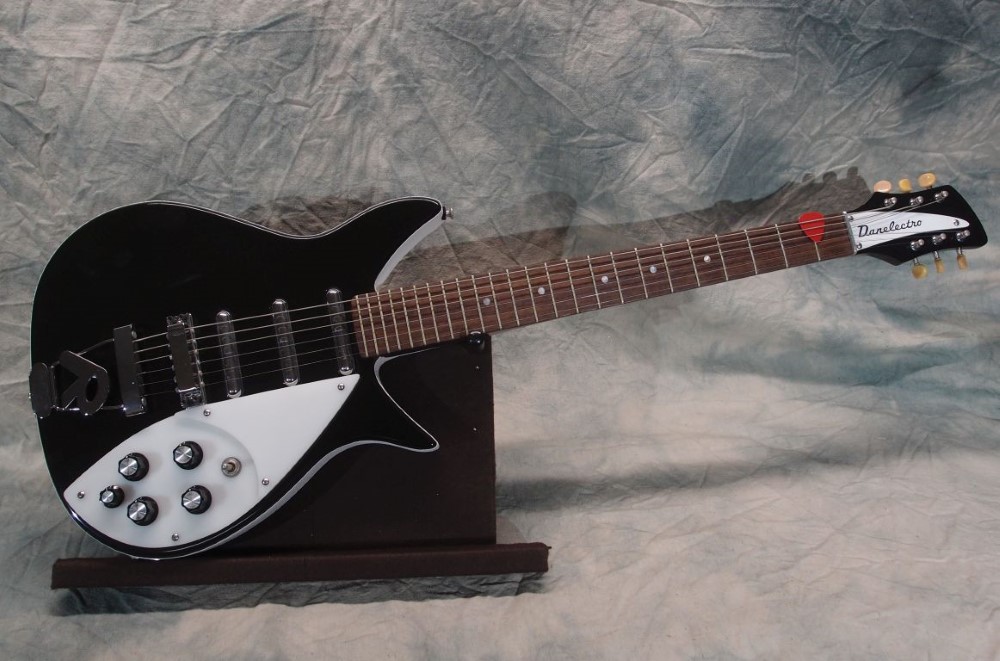
Here are the two inspirations for this project. First, Rick James' all-white 4001 from the cover of his iconic album, and second, my own genuine 4001, which I have had since high school.
Let's have some more inspiration:
is he wearing lipstick?
more videos at the end
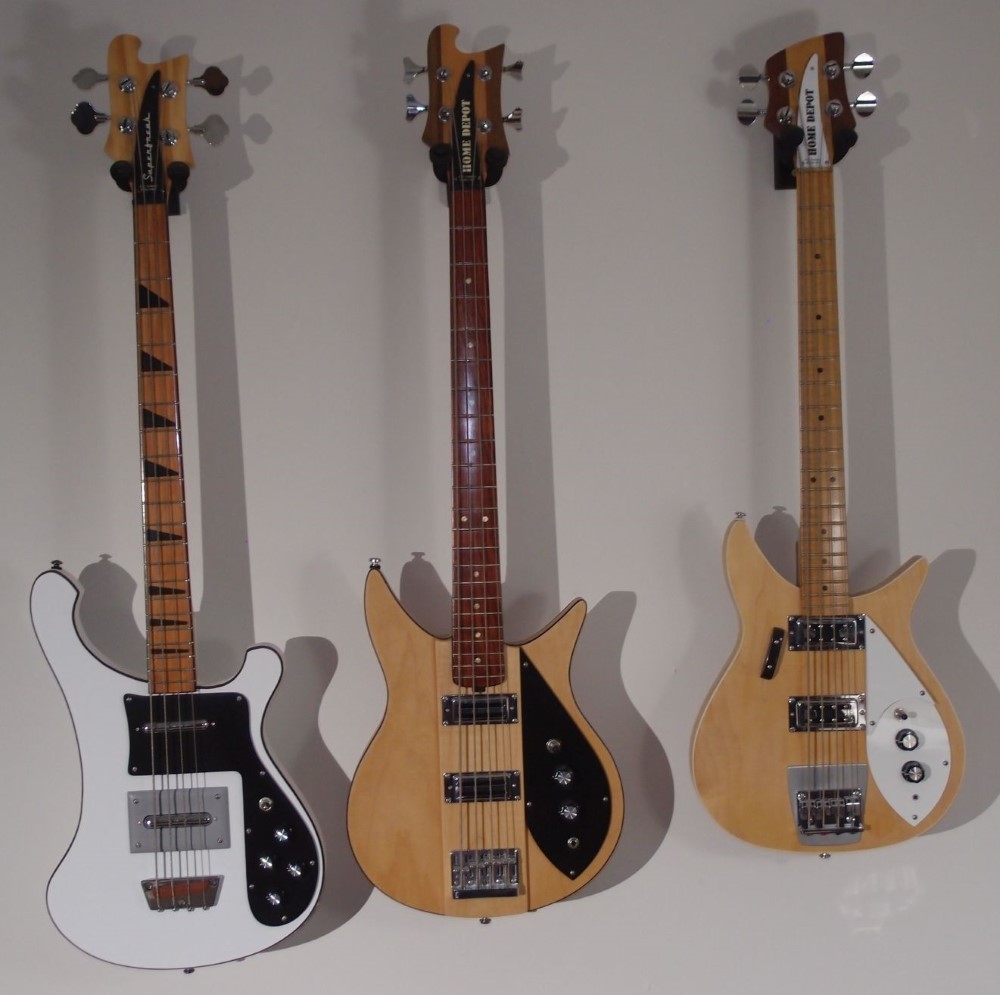
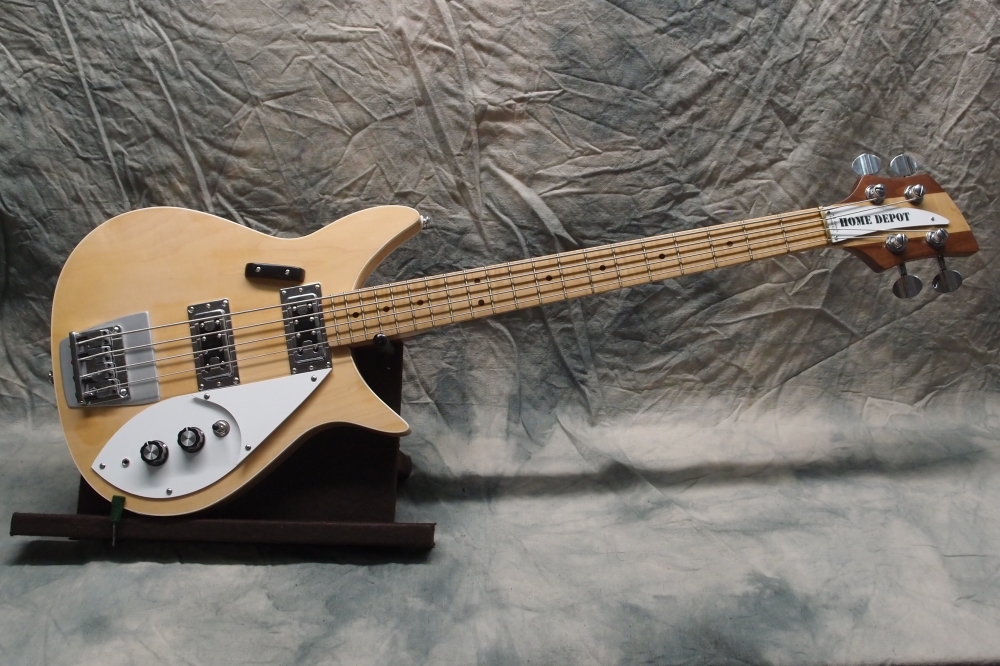
So what do I think of it? Well first, I think it came out surprisingly pretty. Considering the finish is nothing more than dry-erase board direct from the store, the neck is 100% pine with my first experiment in inlaying, and the hardware is all the cheapest available, this thing looks great. Here it is hanging on the wall with a couple of its siblings, both of which are salvages.
That being said, I would never do another dry-erase body. It is actually a rather difficult material to work with, as there is no way to repair it. You have to be extremely careful not to make even the smallest mark the whole time you are building it. Also, I have my doubts about how durable this finish will be for a body, although it does make a nice pickguard.
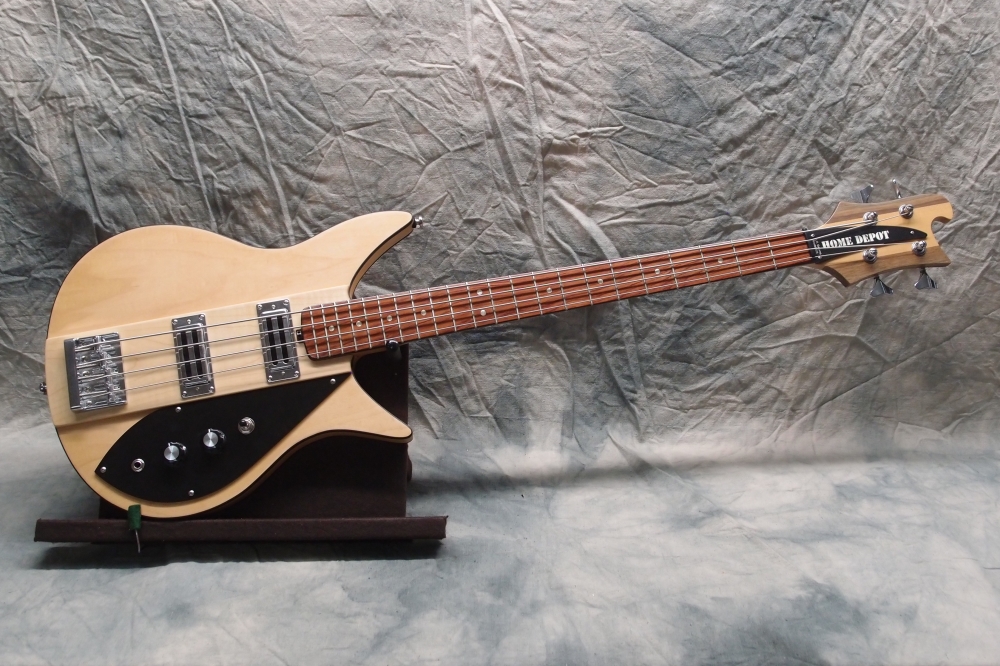
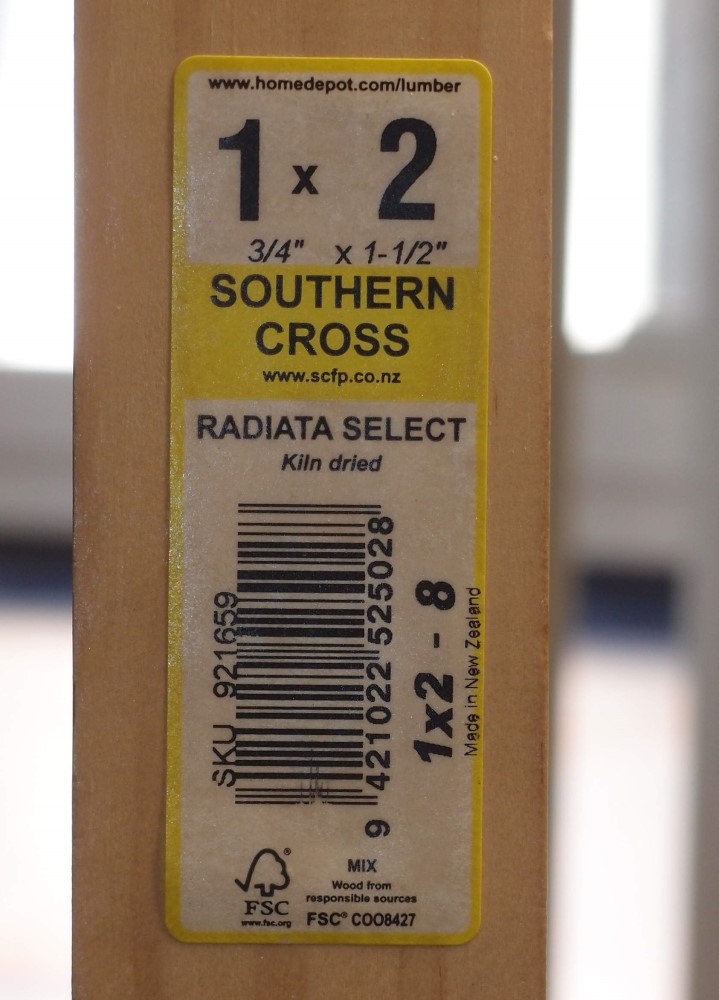
I am very pleased with the Radiata pine neck. I have another one that is a year old now and perfectly stable. This wood is fairly hard and strong, easy to work and finish, and widely available at very reasonable prices. If you can't get maple, this is the next best thing. However, it is rather soft for a fretboard. It's holding the frets just fine, but I have doubts about how well it would stand up to long-term use, even under a good coat of poly.
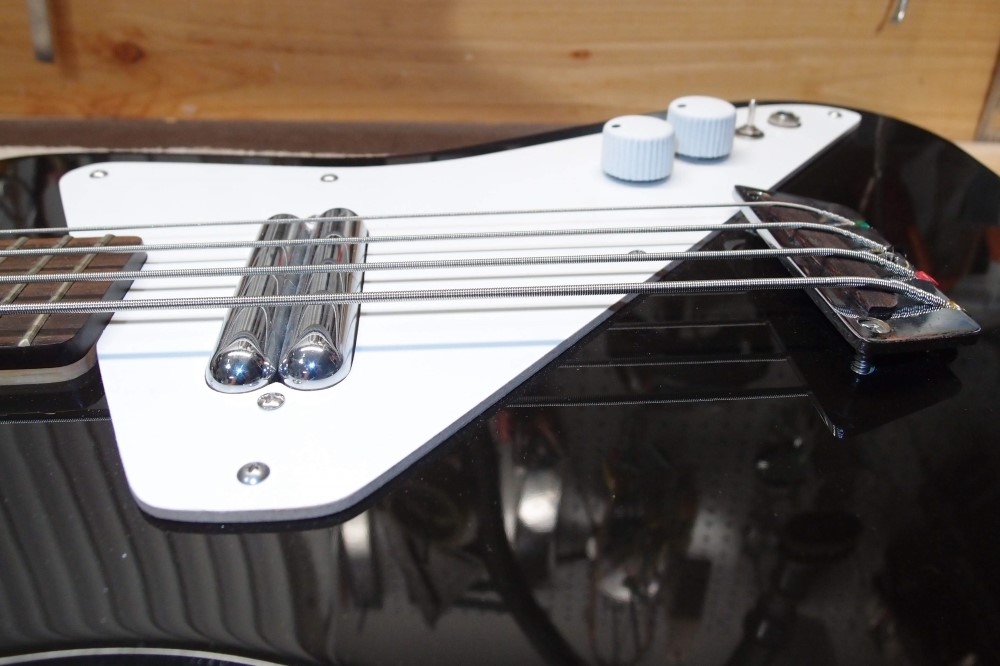
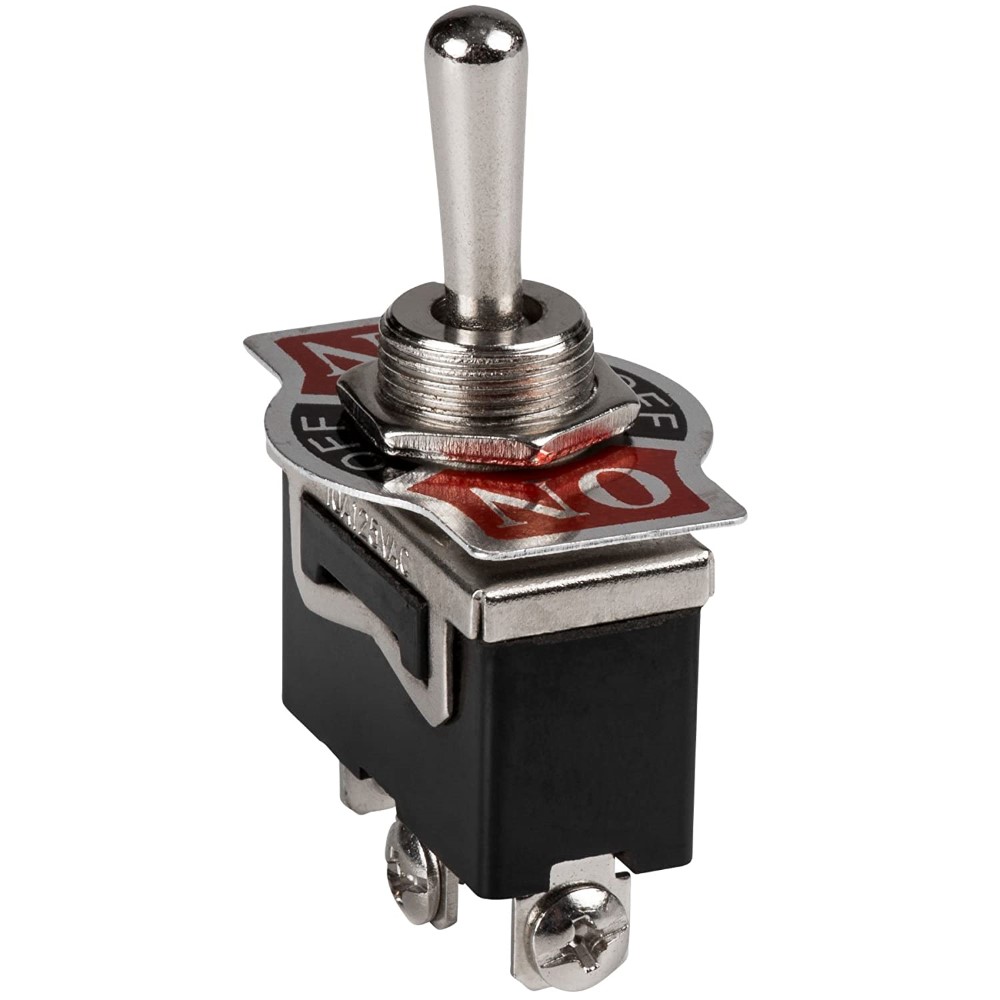
The final really obvious thing is the plastic switch plate. It actually makes a great pickup mount. It was easy to fabricate and super-cheap. If only it was chrome, although you could paint it any color you want.
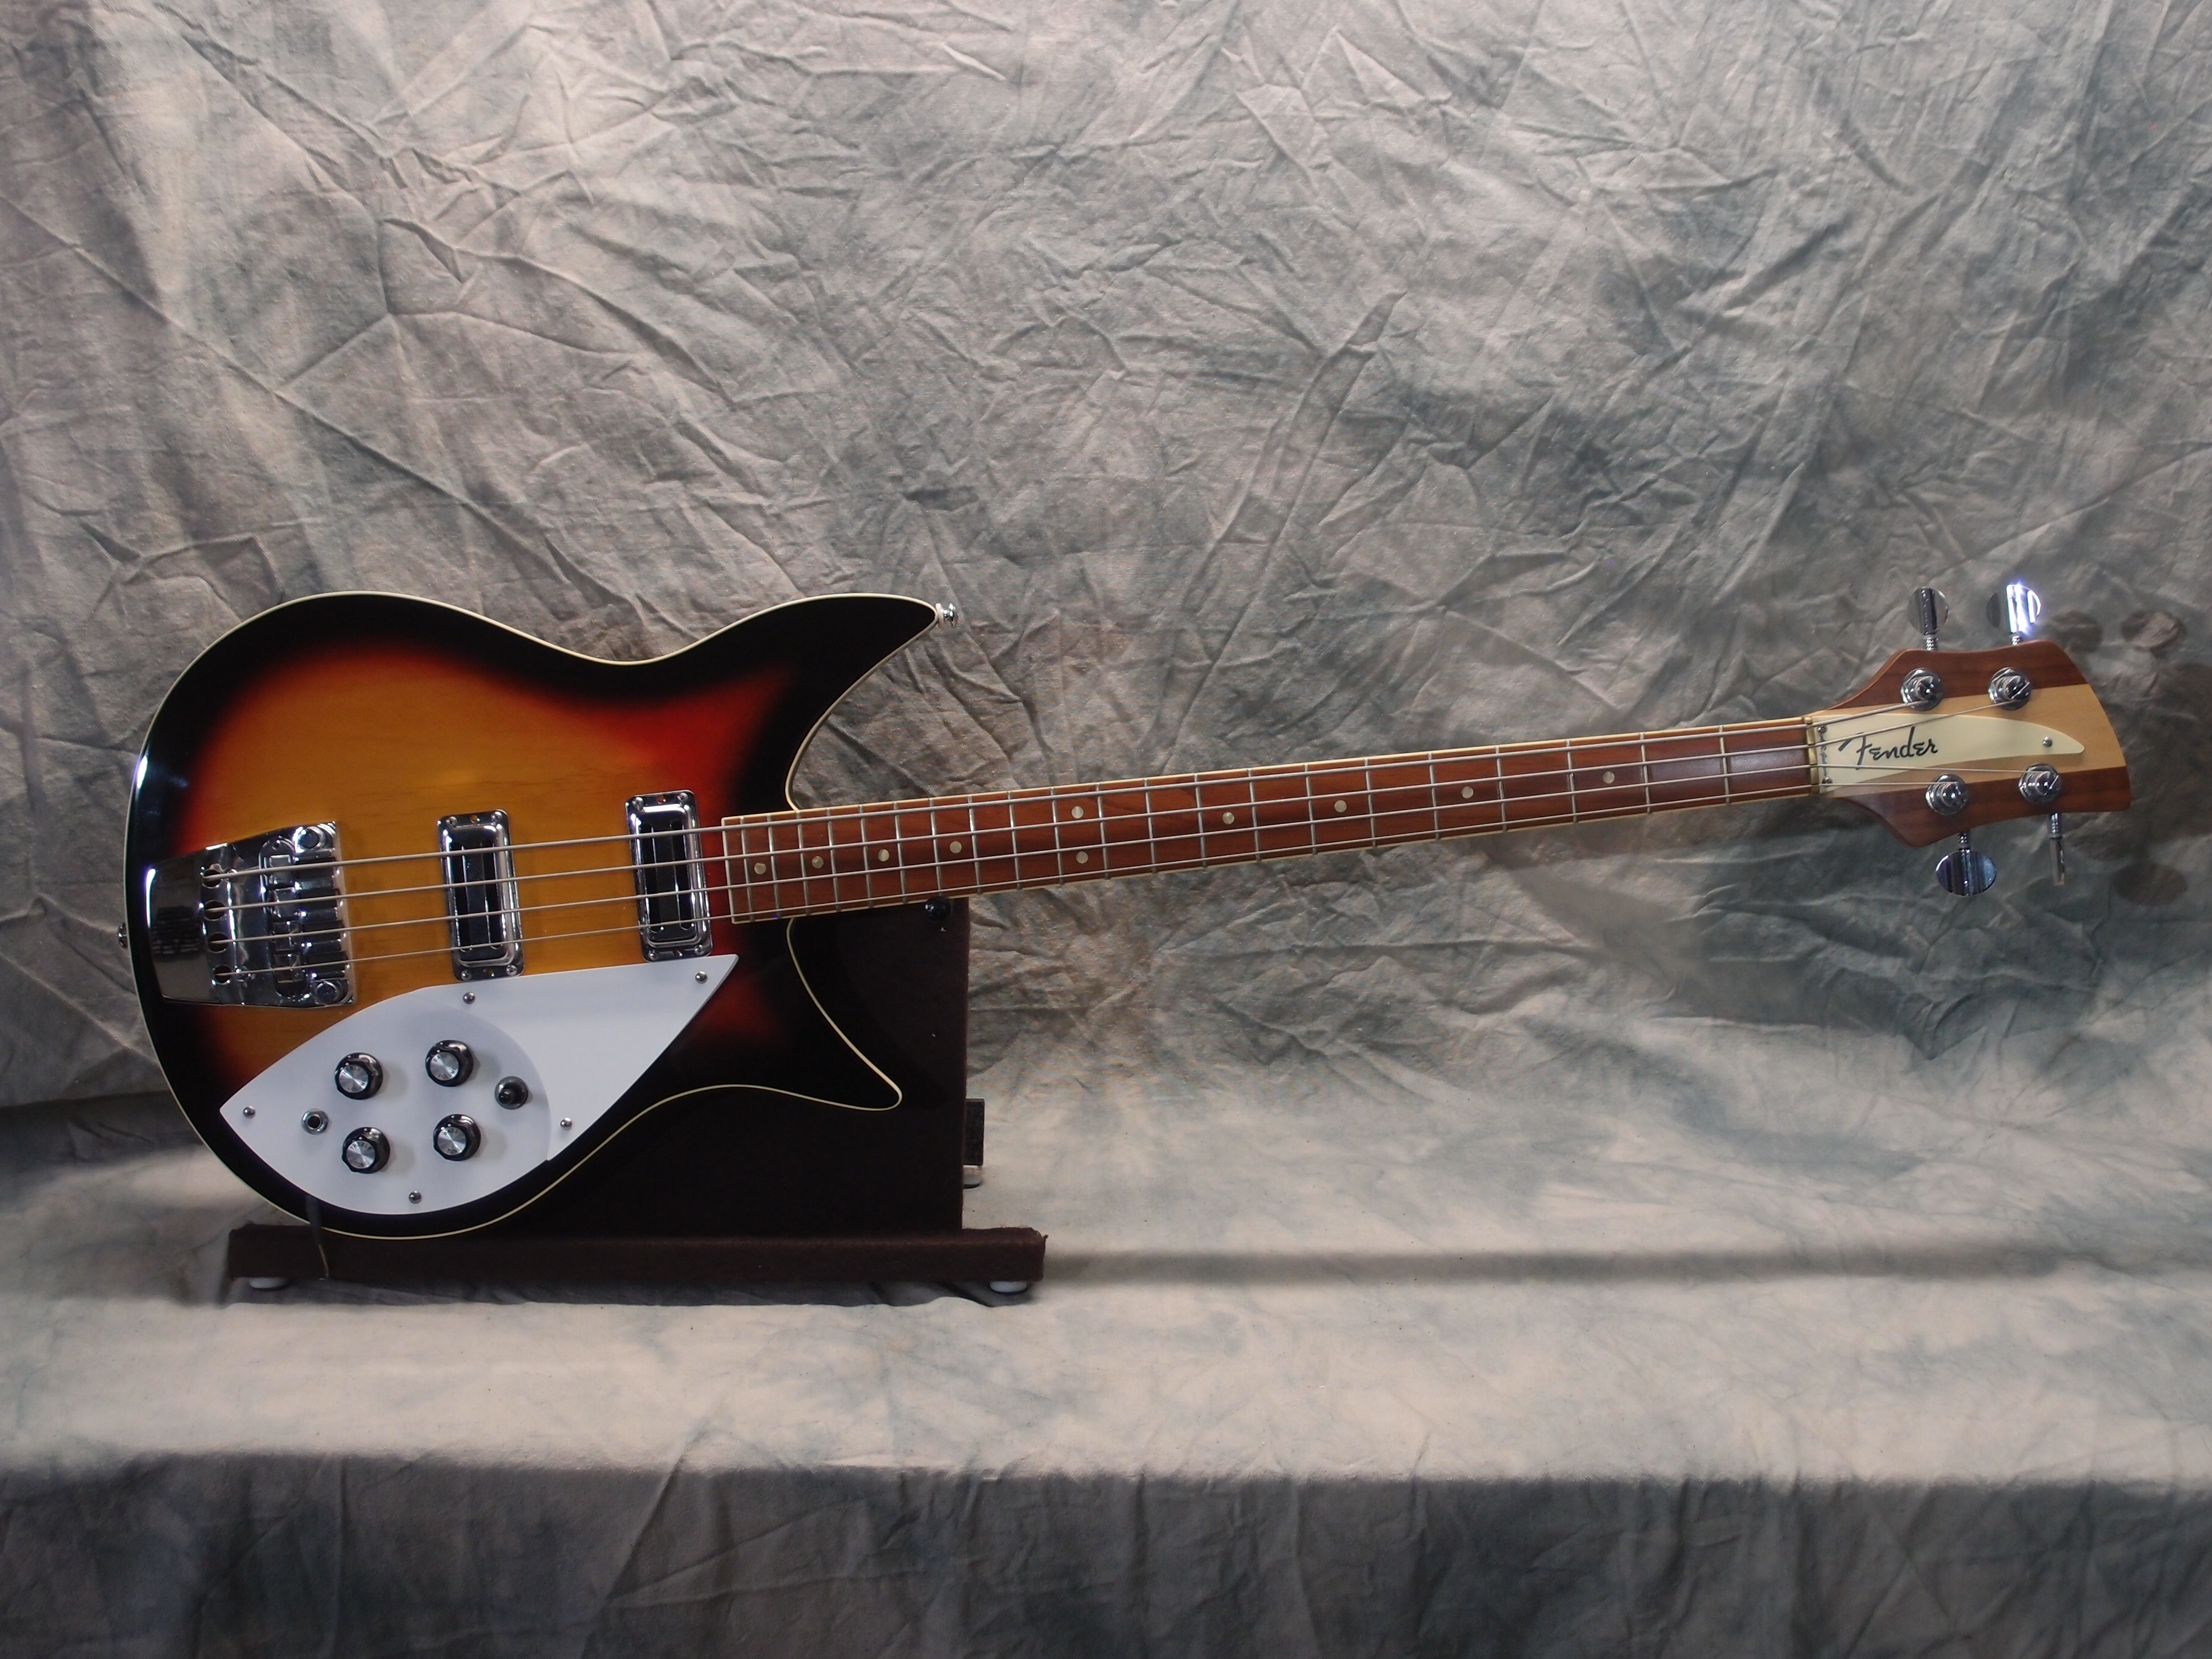
As far as sound and playability, I haven't had time to do much setup or testing, but it seems pretty good. More on that later.
Dec 14, 2018
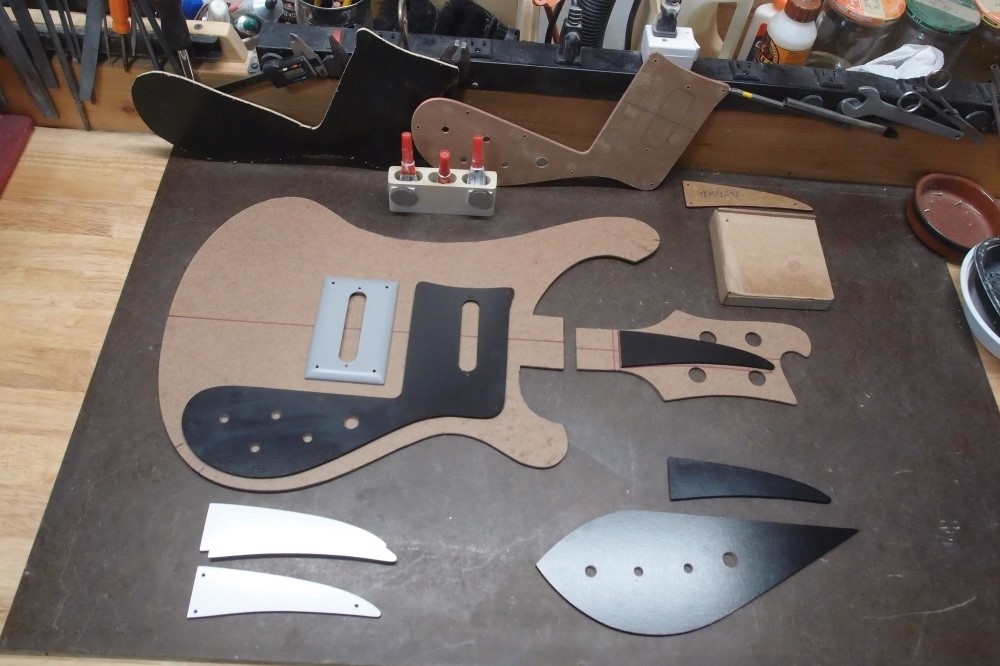
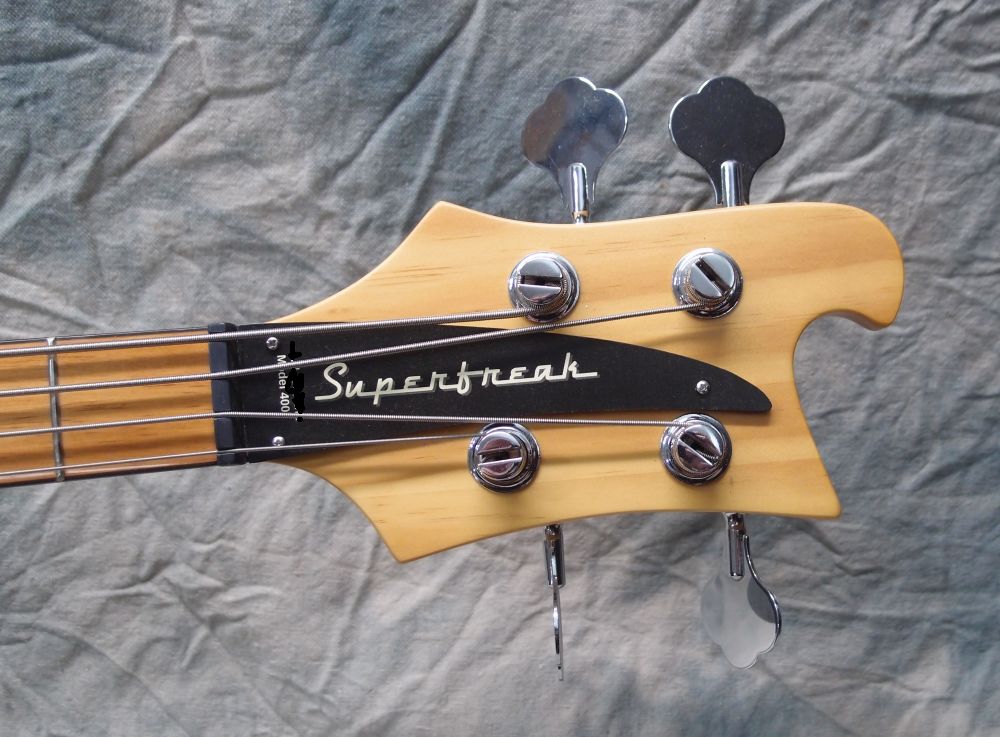
Parts for various projects. I made a new headstock template, as the tuner locations in the old one were a little off. The pickguards and truss rod covers are dry erase board, one side or the other. The edges are blackened with a Sharpie, then sealed with brush-on poly. The faces clean up easily with mineral spirits.
The pickup mount is a plastic switch plate from Lowes. I took a magnet to the store, and discovered that many of the plates I assumed were castings were actually steel. I could work with zinc or aluminum, but steel would be much more difficult. I found this part just as I was going to give up. The alternative would have been to make something out of dry erase board.
Plastic is ideal - you can rout it, which is exactly what I did. This part came out perfect, which is a relief. Otherwise, I'd have to go shell out another 57 cents for a second one. I wanted shiny, but this will do, and really fits the theme of this build.
The dry erase board routs very nicely. One pickguard ended up in the trash when some masking tape I had put on it pulled away some of the finish at a freshly cut edge, so the stuff is not indestructible. That's why there's a partially-made pickguard in the background, just in case the second one went south too. The great thing about this material is that it is cheap and readily available, so mistakes are easily recovered from, not like ruining a sheet of tort or something.
At the top are some more templates and tools. At the left is a quick little Crazy Glue holder. Once you open a tube, it is best to store it upright, so I made this out of a scrap of poplar, with magnets so I can stick it anywhere. At the right is a drill guide I made to drill the corner holes in the pickup mount.
Questions or Inquiries?
Just want to say Hello? Sign the .