Fret Slotting Jig (1/3)
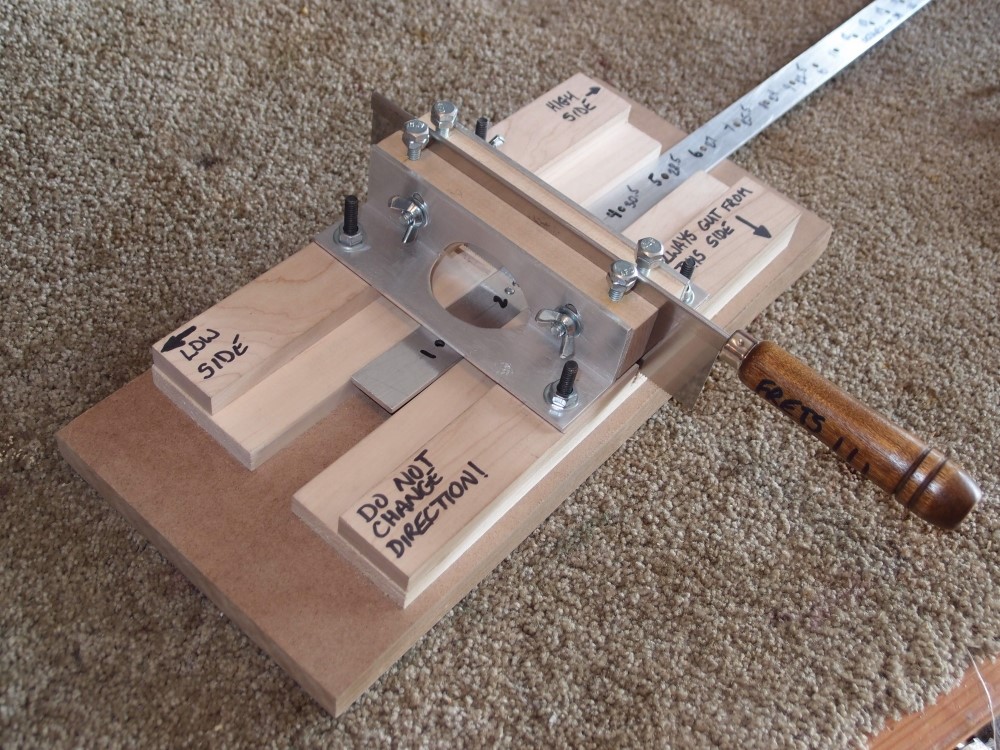
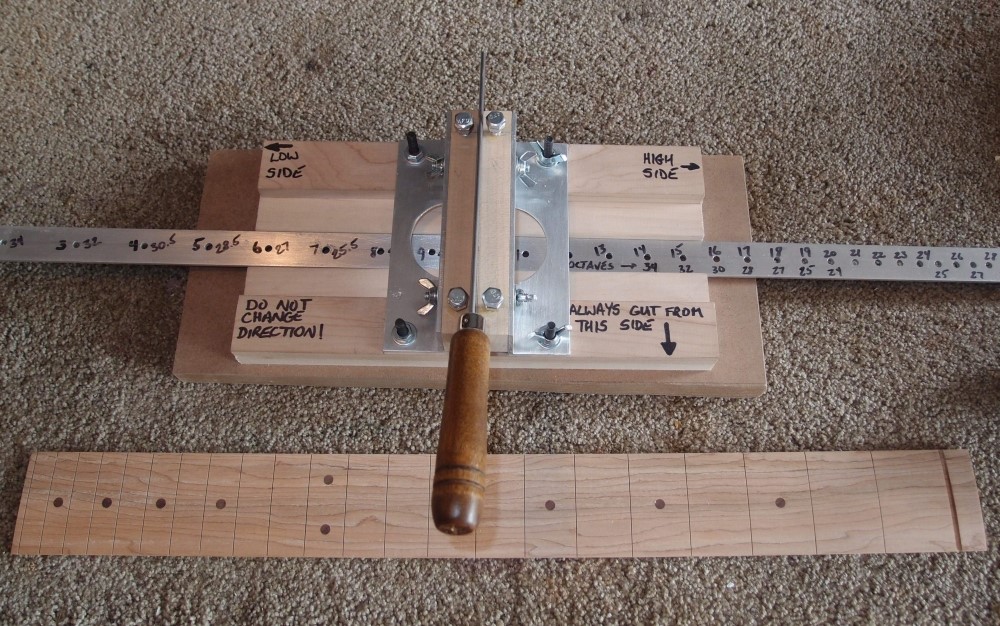
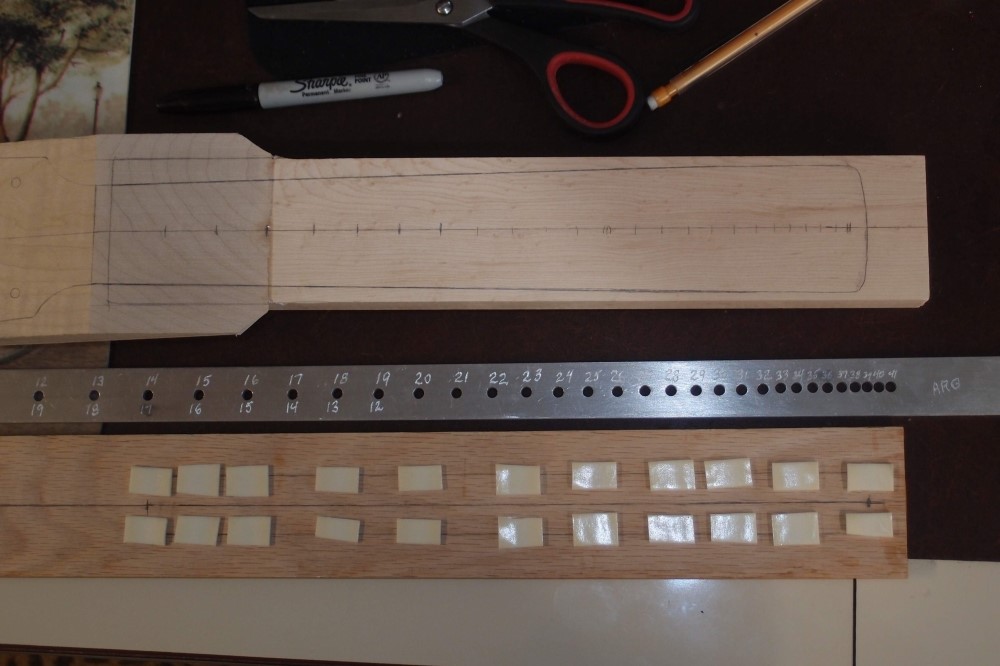
The Fret Slotting Jig is basically a very precise mitre box. What makes it a fret slotting tool is the Fret Guide, which attaches underneath the workpiece with double-sided tape, and engages a pin on the Fret Slotting Jig directly below the saw blade. The holes in the guide are spaced to Fender's formula, so depending on which hole you start with for the nut slot, you can cut anything from a 36" bass to a 20" ukelele, and all the standard scales in between. The guide fits snugly between the inner rails of the jig to keep the workpiece centered and straight.
This seems to be the most popular page on the whole site. I think my design is pretty good, but I'm sure it can be improved upon. If you've built something like it, or better, I'd love to see your version - drop me a line or leave a comment.
The left jaw of the saw guide is fixed to maintain a perpendicular angle and align the blade with the pin. The right jaw is adjustable to set the tensioning on the saw. Each jaw holds a waxed maple block which together serve as the saw guide and depth stop. The height of the depth stop is set using the bolts on the top and then locked-in with the wing nuts on the side.
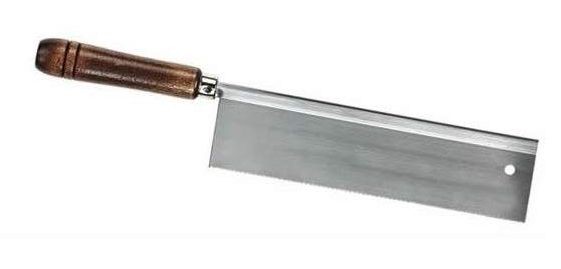
The saw is an $8 hobby saw with a 0.022" kerf, almost identical to StewMac's 0.023". It is important to use a new sharp saw, as a worn saw will bind badly in hard maple or rosewood and make the job almost impossible. The jig can also be used freehand to cut the back side of the nut slot for a Fender nut, and then hog out the material for the rest of the slot.
Actually, there is an easier way to make a short-scale bass fingerboard. Head on over to StewMac, and pick up one of their long-scale 'boards. Convert the first fret to a nut slot and install the dot markers accordingly -> 32". The same operation at the 2nd fret -> 30.3", 3rd fret -> 28.5", etc. All of Fender's scale lengths are related like this, you can cut a bass right down to a guitar (5th fret), the only problem is you run out of frets at the other end. That is why my scale guide above will make anything from a bass to a ukelele, depending on which hole you start at.
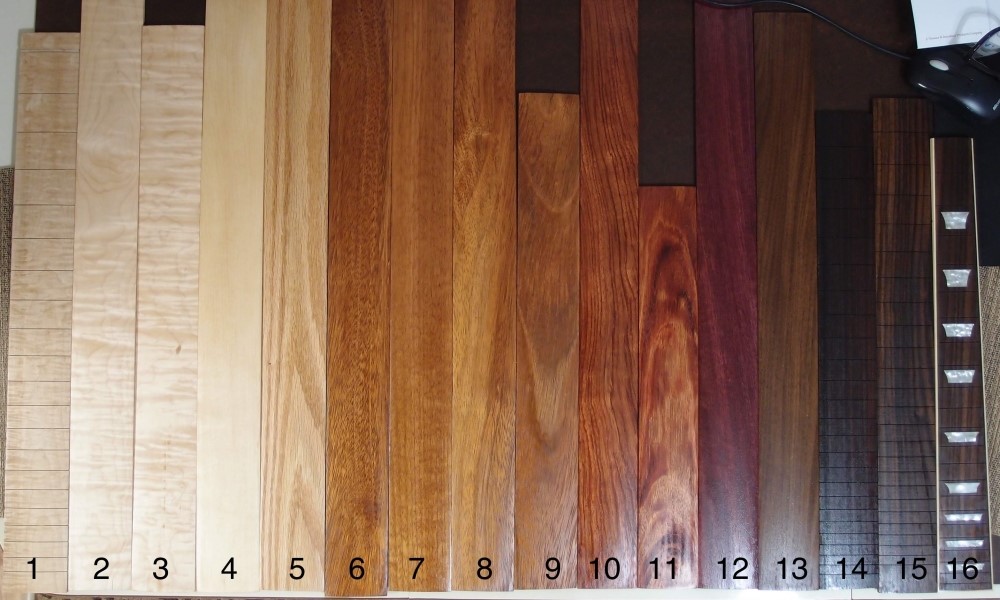
So why then all this clap-trap? Being able to make a board entirely from scratch opens up a world of materials, from incredibly cheap but nice maple, to dozens of kinds of tropical hardwoods that can be purchased online. It also allows you to build necks of all lengths and scales, not just what is typically available.
Construction Notes:
The guide bar is 1" aluminium, 36" long. It is drilled down the center for Fender frets. Depending on which hole you start with, you get 36, 34, 32, 30.3, 28.5, 27, 25.5, 24, 22, 21.5 ... There are a total of 41 holes, at which point the holes would start overlapping. The shortest scale I ever made from it was 17". The longest is 32" 24-frets. I've never used the 34 scale, as you can buy perfectly good necks that size cheaper than you can build one.
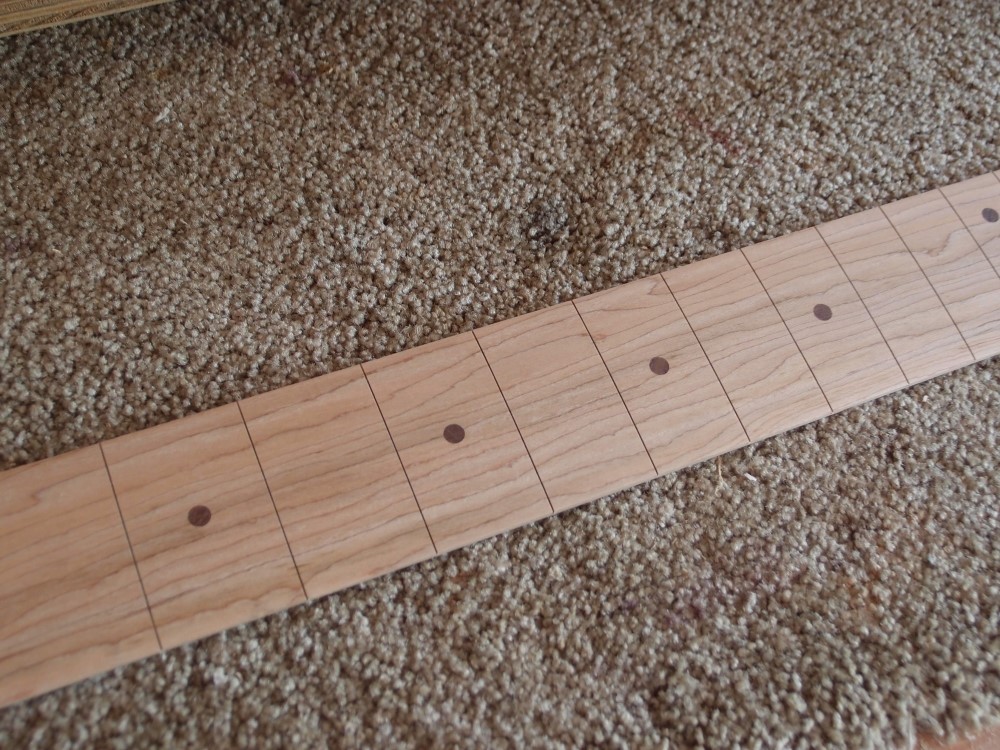
You can make a perfectly good fretboard by simply marking the spots with a pencil and cutting carefully. The purpose of the jig is to make the process faster and foolproof. For this reason, you want to make the guide as accurately as possible. The holes need to be exactly down the center, and within a few hundredths of the correct spot. Being that a guitar is never really in tune anyway, this is more than accurate enough.
The baseplate of the jig is a scrap of 3/4" MDF, about 7x15". 3/4" plywood would work; you want something stable. In the bottom center of the base plate is a T-nut that holds the guide pin. The side rails are 1/2" maple, glued. The lower side rails are gapped to fit the guide bar. The upper side rails are gapped to enclose the workpiece, about 3". This is all dimensional lumber from the store, cut to length.

The holes in the guide bar engage the pin in the T-nut, a rounded-off 10-32 bolt if I recall correctly. The window in the bracket allows you to hold the work piece down firmly with your free hand, otherwise, the slot may cut too deep. The guide bar is attached down the center of the work piece, the edges of the work piece do not need to be square or even straight.
The saw guide brackets are 1-1/2" aluminum angle. The saw guides are more maple, sized to the saw. The left saw guide is set to center the saw over the pin perpendicular to the guide bar. You'll never get this perfect, but when it is close enough, it is locked down. That is the reason for the notes on the jig - you can remove and replace the workpiece in the jig, but you must not reverse it - the slots will never line up perfectly.
The right saw guide is adjustable to set the clamping force on the saw. The saw guides adjust up and down on 1/4-20 bolts to set the slot depth. The bolts are threaded into the maple, they are now loose enough to turn by hand. Once the height is set, it is locked in place with the wingnuts on the sides. The saw guides engage the spine on the saw, and they wear down over time, but this is easily adjusted out.


Mick Bailey:
May 27, 2026 at 2:59 AM
I've just finished building your fret slotting jig and am really pleased with how it turned out. The scale was drilled in a simple fixture on my pillar drill and I used a digital height gauge on it's side to get my positioning to 0.001". For the threads in the blocks I used Helicoil inserts and afterwards added a few drops of CA then cleaned out the threads with a taper tap just enough to give a stiff adjustment. The height screws are Allen bolts and with this method don't need locking nuts.
alder:
May 27, 2026 at 1:59 PM
sounds like yours is better than mine
Ty Nicholson:
May 24, 2020 at 9:18 AM
Well, I started working on one I saw a video for on YT, but then I stumbled upon your site, and design. I love the idea of the scale template... I have everything I need to build this, so off I go!
Huge thanks, and glad I discovered your site!
Bud Sherman:
March 3, 2020 at 4:42 PM
Very nice! Gonna build one, then give feedback. Right now I have to drive to my buddy's house & bring beer if I wanna make a fret board. ..