Installing Frets (1/2)
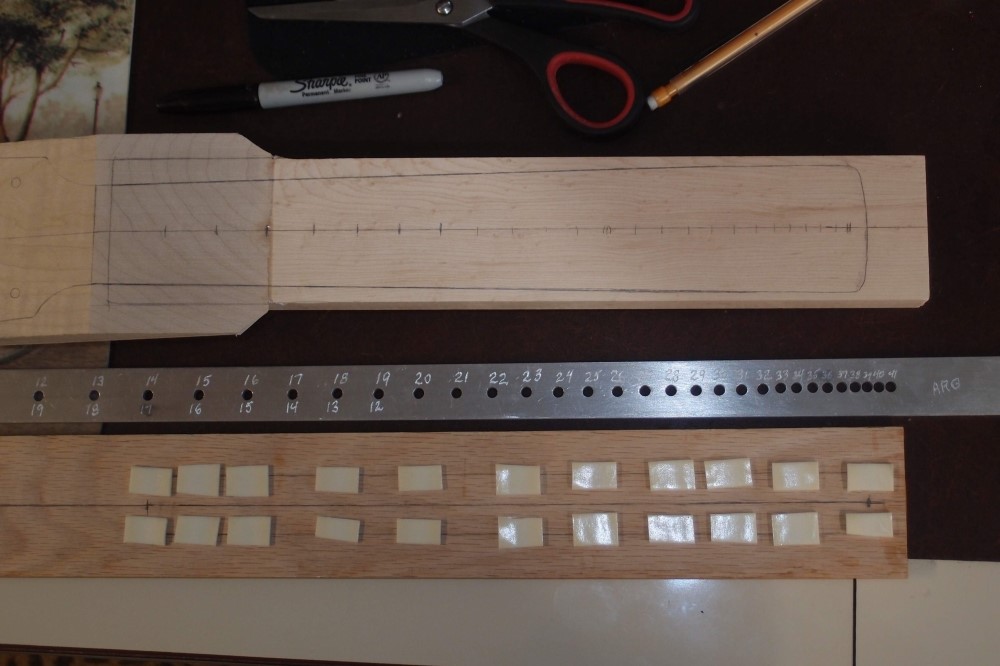
Here I am getting ready to cut fret slots. I have marked the fret locations along the centerline, just to confirm that everything is right. Below that is my fret slotting guide. It is a 1" piece of aluminum, precisely drilled with a series of holes based on the standard mathematical formula for fret locations, which you can look up, or use one of the online calculators. I made a spreadsheet of it. The holes are numbered along the top, with the corresponding scale length below. The interesting ones are: (rounded-off)
- #2 = 34"
- #3 = 32"
- #4 = 30"
- #7 = 25"
This guide can generate any standard Fender scale length, depending on which hole you start with ( which becomes the nut. ) It cannot generate a Gibson scale, for that I would need an entirely different guide. It is interesting how all of Fender's scales are mathematically related, no accident I am sure. For this project, I am starting at #14, for a scale length of about 17 inches, equal to a guitar capo'd at the 7th fret.
I have also marked the centerline on the bottom of the fretboard and the extreme cuts. The guide is attached to the bottom of the fretboard with double-sided tape. Normally I would use a lot less than this, but this tape is old and not very sticky, so I will use it up.
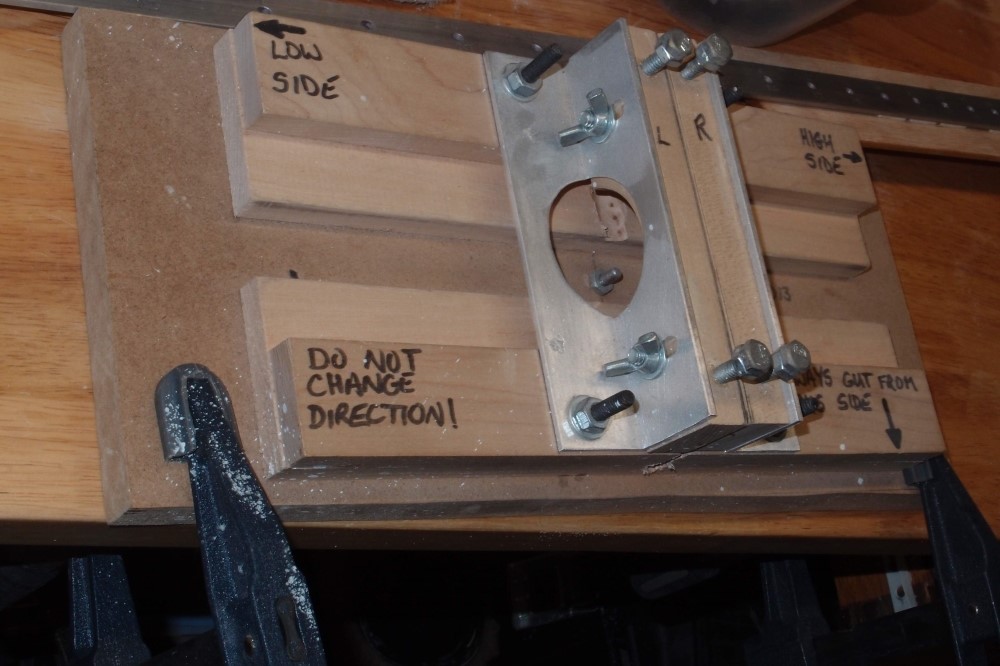
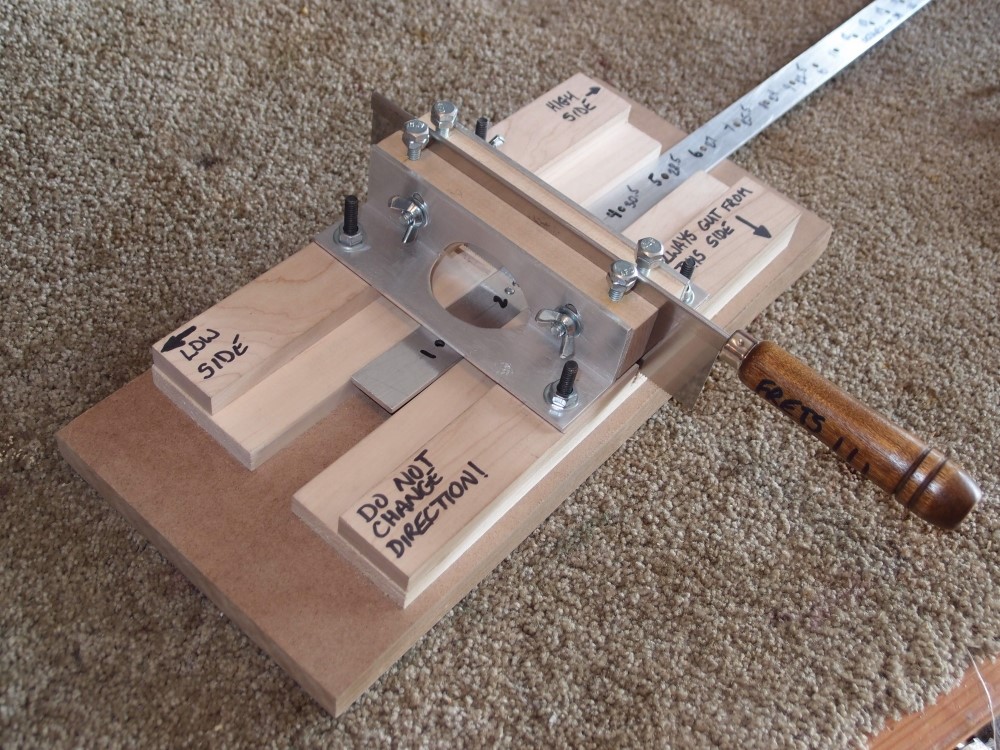
This is the cutting jig. It is based on StewMac's, or at least inspired by it, I think my design is better. It was made mostly from junk I had laying around, like the aluminum angles. The wood is hard maple. At the center of the jig is a pin that engages the holes in the guide. The pin is a bolt fitted into a T-nut in the bottom of the jig. Alignment is from the guide in the jig, the edges of the workpiece are not used and could be pre-cut, rough, or simply crooked.
The guide fits snugly into the lower slot of the jig, with the workpiece sitting on top. The left jaw is fixed in place perpendicular, while the right jaw adjusts for clamping on the saw blade. Attached to the angles are the saw guides. The tops of the saw guides engage the spine of the saw to set the cutting depth. The height is adjusted with the bolts in the top and locked in place with the wing nuts on the sides. This jig is set up to cut only fretboards of 1/4" to 3/8" in thickness.
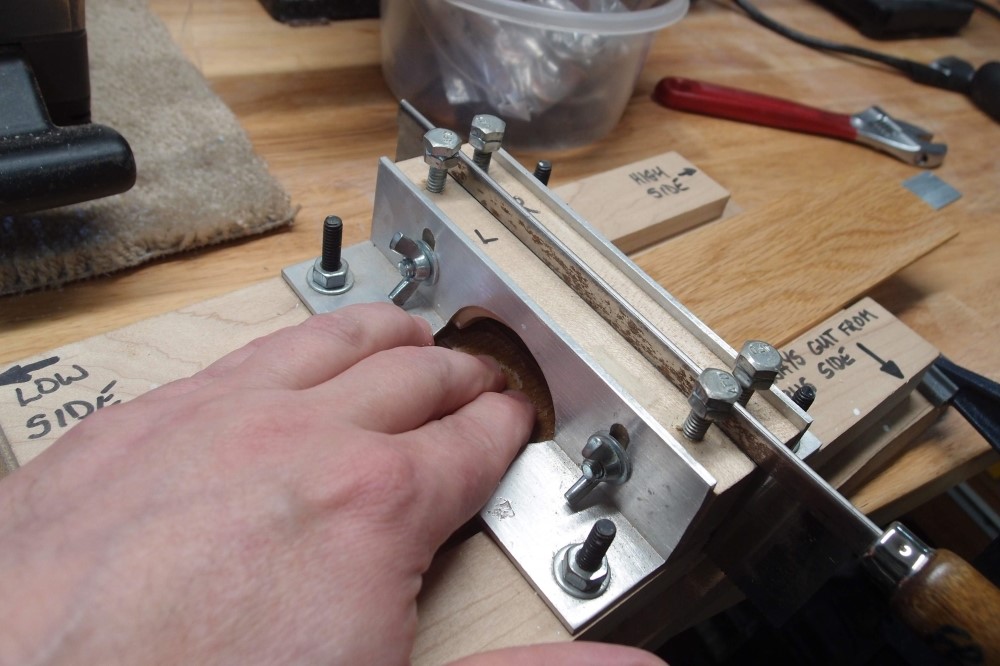
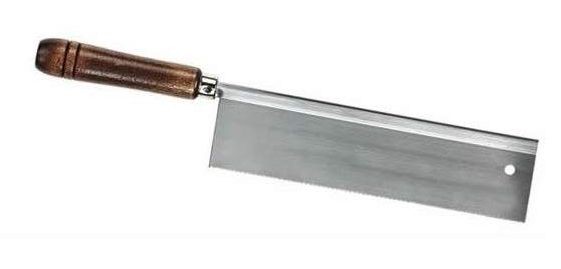
Here is the whole thing in action. The workpiece is held down through the window in the angle. The spine of the saw has bottomed out against the top of the saw guides, which means the slot is finished. The saw is a Zona 35-380 with a 0.020" kerf - perfect for fret slots. The jig can also be adjusted for a Zona 35-350. Both of these can be found online.
This saw is old and tired, but it is going through the oak just fine. If this was something much harder, like purpleheart, this saw would be binding, you need a fresh saw for that. I measured a kerf of 0.021" on this saw, and the sides of the teeth feel noticeably less sharp than a new saw. You can get maybe half a dozen hard hard fretboards from a saw, and then retire it, still useful for softer woods.
Each slot is taking 30-35 strokes in oak. Times 25 slots, that makes ... a pretty good workout, for one arm anyway. As I recall, purpleheart or jatoba took about twice as many stokes. The oak has chipped a bit along the edges, but those will be removed anyway.
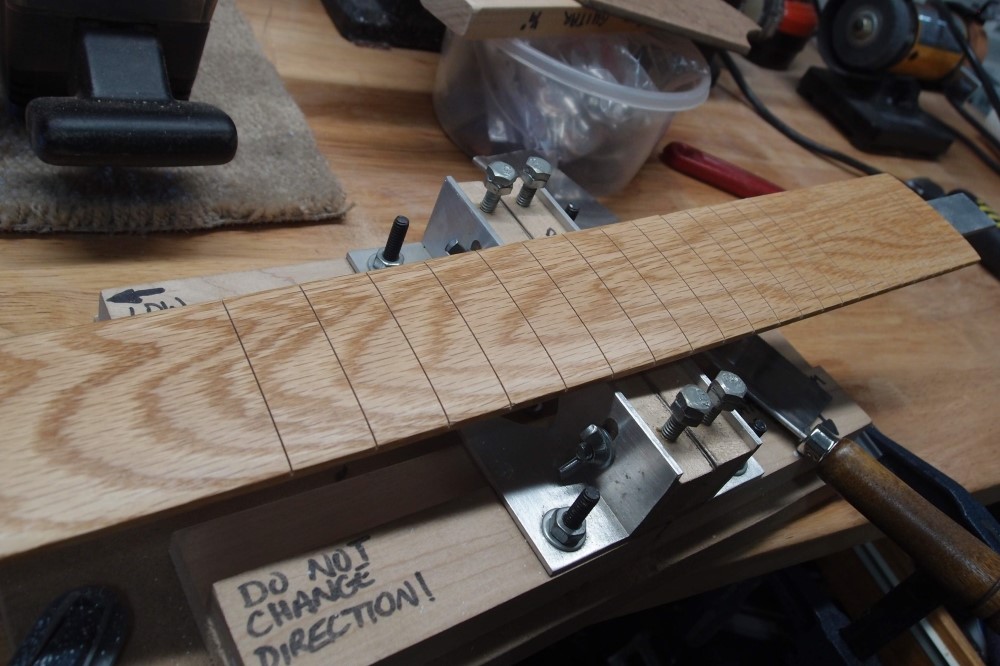
Here is the finished board - 24 frets and the nut, which still needs to be cut through. I need to get some more tape, and then I have an oak bass board to do, exactly the same way, but starting on the 4th hole, rather than the 14th.
You don't need all this to cut fret slots ( although you do need the right saw. ) You could use an ordinary mitre box and cut on pencil marks. That would require a great deal of precision in each cut. If you are going to do more than one fretboard, a jig is a good investment. Once you get the jig set up, the rest is a no-brainer.
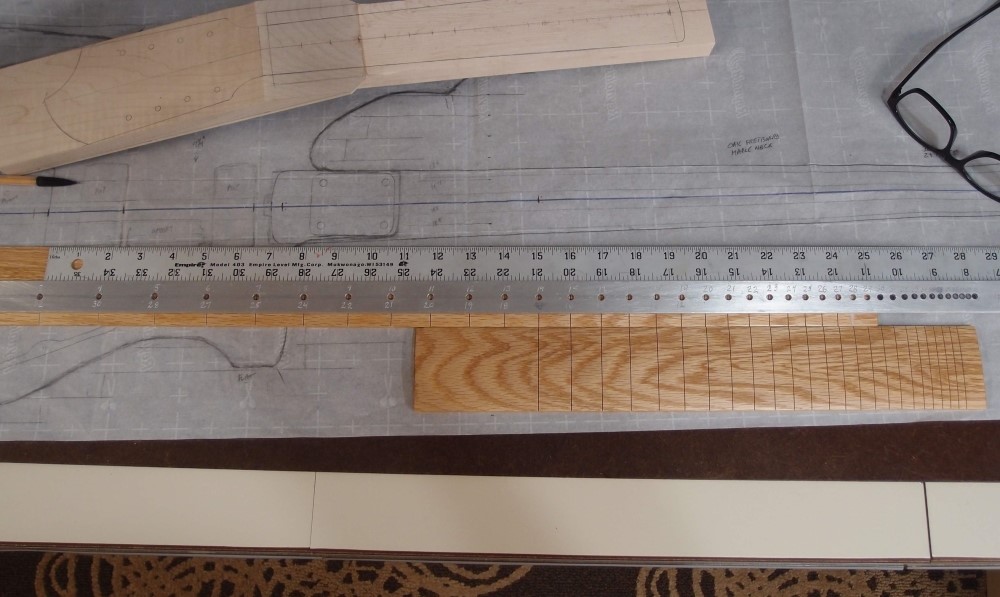
Note how the slots on the short-scale board line up with the slots on the long-scale board.
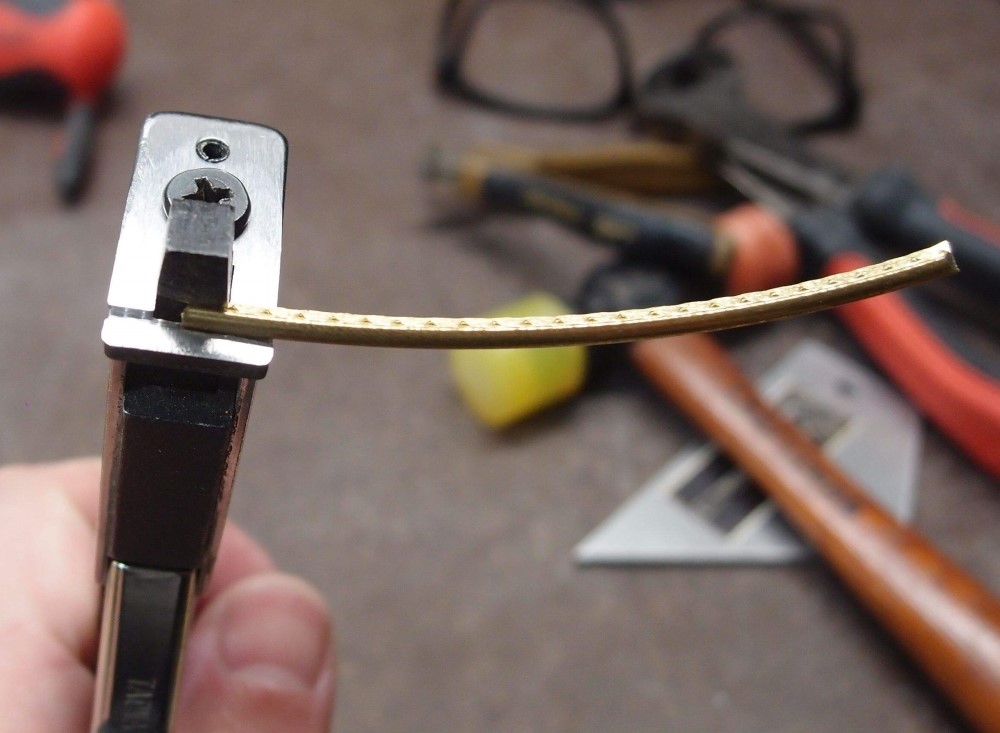
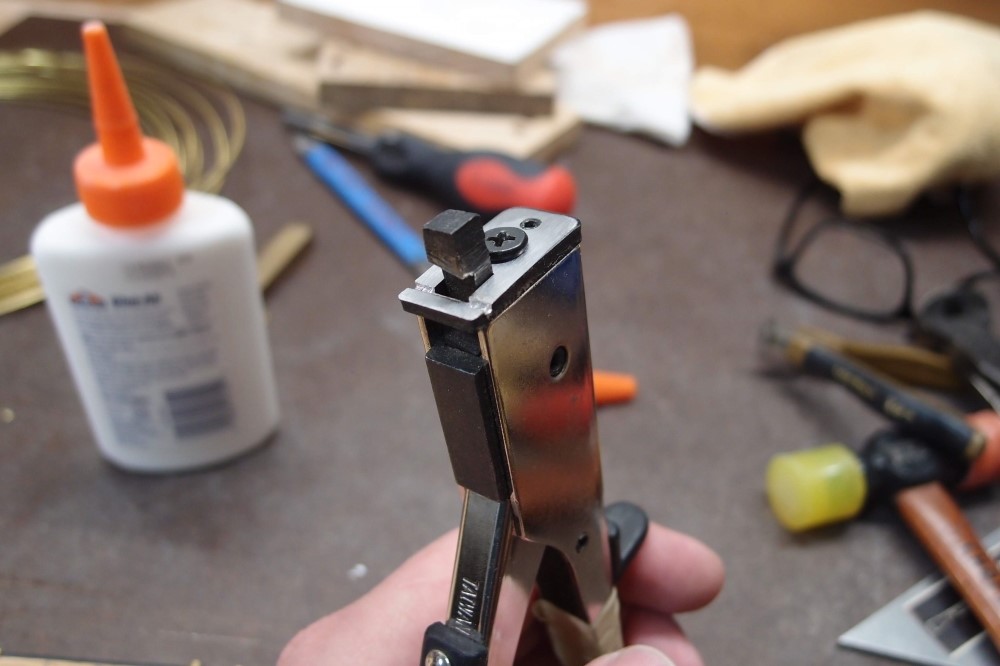
This is my fret tang nipper. I finally adjusted it to do this softer yellow fret wire without bending the ends. This tool is just a manual sheet metal nibbler with a suitable notch cut in the face. This allows the fret tang to sit flush against the anvil, while the edge of the fret is supported in the notch. You need a different sized notch for each size of fret. You can get one of these tools on eBay for about $15, but you'll have to notch it yourself, which is tricky. Search for "hand sheet metal nibbler". There, I've done it for you.
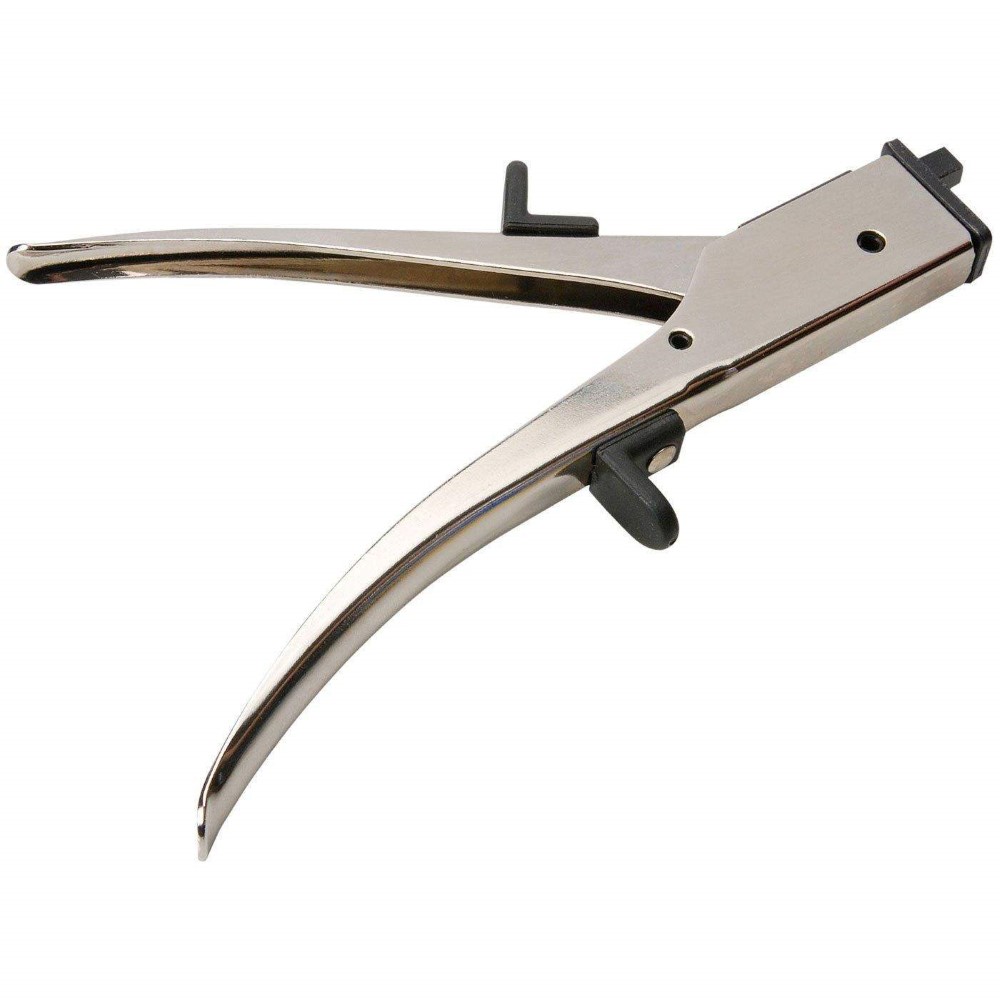
StewMac sells a nicer version of the same tool with two interchangeable anvils for different sized frets. If this is important to you, then their $50 price is not that outrageous, as you would need to make two DIY nippers. I generally only use one size of fret wire, so once I got it just right, I only need one tool. Here are some more pictures, if you want to make your own:
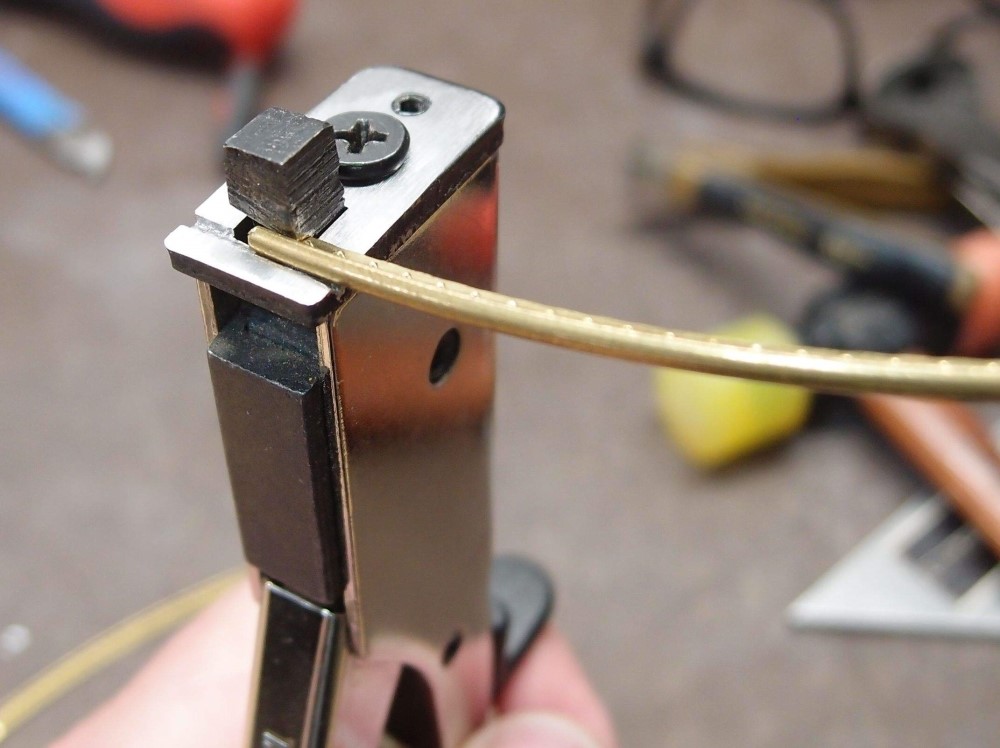
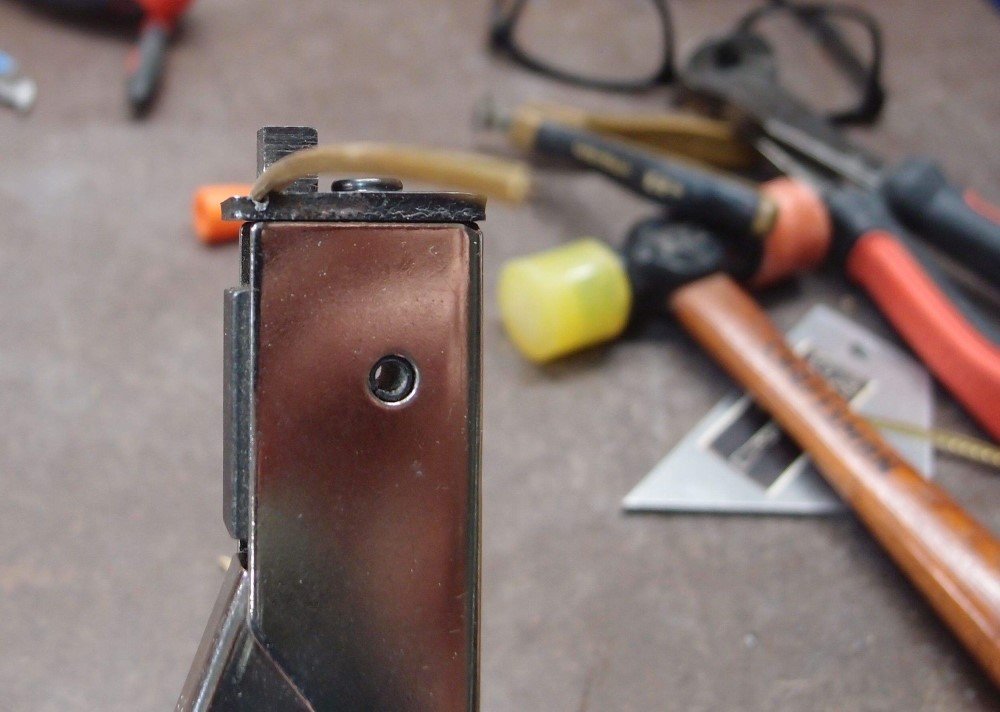
I initially cut the notch too deep, so I filed the face of the anvil down to make the notch shallower. The notch needs to be very level and even. I would use a thin hacksaw blade rather than a Dremel, which is likely to over-cut.
After nipping out the tang, I give it a quick run over a file to make the cut perfectly flush. You need to leave a little wiggle room on either end of the tang, you don't want it to push the binding off if the fret goes in a little crooked.
As far as fret radiusing goes, I really don't see the necessity. I use the wire as it comes off the roll. Fret wire is not very strong, and as long as it has no serious kinks or bends, it will conform to the fretboard regardless of what the initial radius was. The initial radius should be smaller than the fretboard, if not, gently bend it with your fingers. A $50 tool is not necessary.
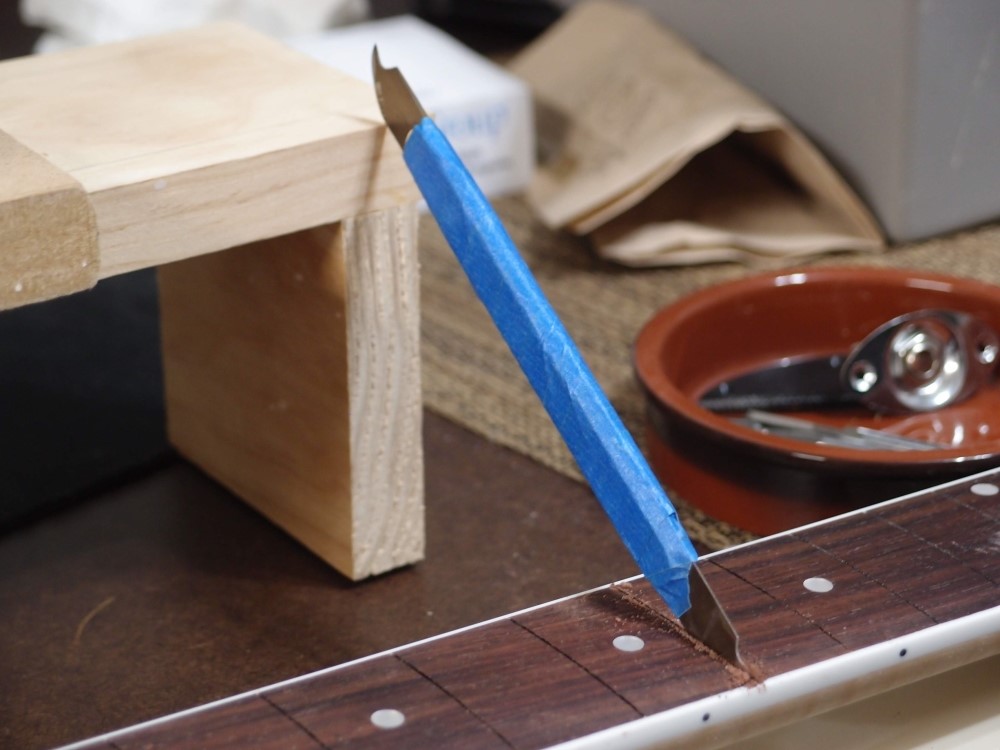
You can see this wire also has a bit of side-to-side bend. Every single piece I cut has this, not just this particular roll of wire. This is a result of the wire bending around its weakest axis as it is coiled. You can push out the bend while the fret is held in the nipper. A fret does not need to be perfectly straight to set it in the slot, but excessive bend can make the job more difficult.
Fret slots should be clean and deep enough to receive the tang with room to spare. On bound necks, make sure you get the binding glue out of the corners. You'll need some kind of pick, as I described previously. For unbound necks, a couple of non-cutting passes with the fret saw will clean them out.
I always follow a particular order when setting a fret:
- Push one end into the slot and tap it down with the hammer until it is steady.
- Push the other end into the slot and tap it down with the hammer.
- Using your tool of choice, press or hammer, set the ends all the way in.
Likewise, set the middle in.
Setting the middle last ensures that the ends will be held down tight. This order of operations also greatly reduces the likelihood that the fret will pop over sideways and mar the fretboard. It also reduces the amount of stress on your drill press. Although it will do this job, it wasn't designed for it. When hammering frets, I like to fold a towel on my knee and do it there, it's much quieter than a tabletop.
Cut the fret ends off with a flush cutter, a little long.
Questions or Inquiries?
Just want to say Hello? Sign the .