Installing Frets (2/2)
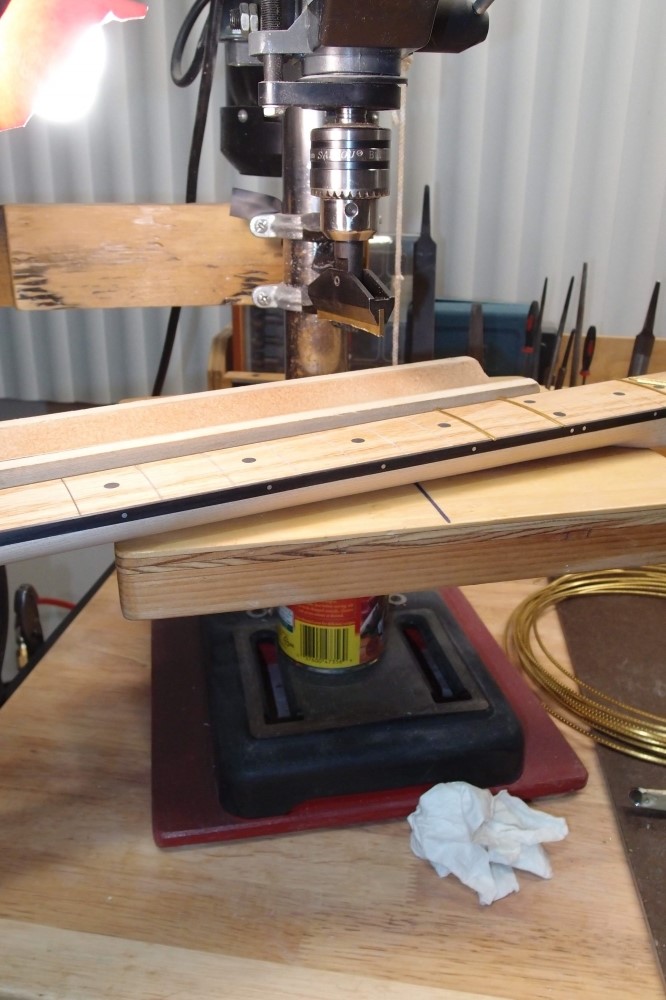
This is the StewMac fret press, set up in a little drill press. Note the soup can supporting the table underneath. The cork-lined caul is another StewMac item that is very useful to support the neck. I have only ever used the 12" radius insert, I wouldn't waste money on the whole set. I'm not that picky a player, I find 12" is a good compromise for everything, and lets you standardize your toolset: 12" sanding blocks, 12" clamping cauls, 12" fret press.
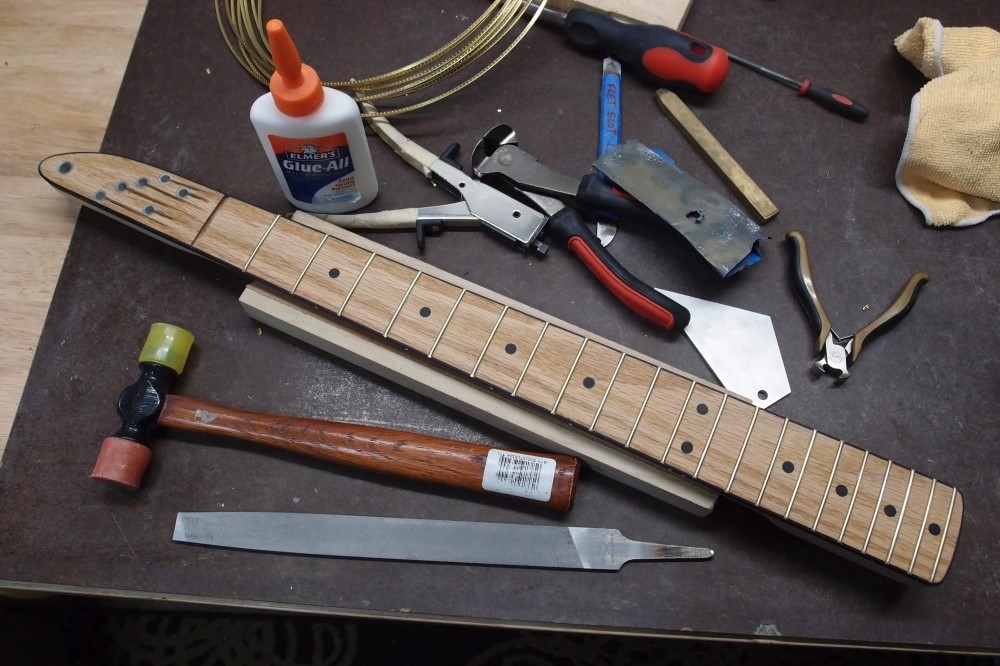
Fill each fret slot with white glue (Elmer's) before pressing the fret in, and wipe away the excess afterward. Use white glue, not wood glue. White glue can be cleaned up with water forever, any wood glue you miss will be much more of a problem. For repair work and re-fretting, you can use Crazy Glue for trouble spots, but keep it to a minimum.
To level the frets, start at the heel with a fret rocker. You test groups of three, to see if the center one is 'proud' (high). Test near both ends and the center to cover the entire length of the fret. Before leveling, try to get the neck as straight as possible with the truss rod. Modern truss rods are not that delicate, and the old "no more than 1/4 turn" rule is irrelevant.
When you find a high fret, smack it down with the hammer. In cases where it clearly will not go all the way in, you'll need to pull it and deepen the slot. Discard the pulled fret. Don't worry about getting everything perfect, once it is close, move up one fret and repeat the procedure. Whenever you adjust a fret, remember to check its neighbors, as this may create new high frets.
Repeat the procedure once just to make sure you've found everything. Hopefully, at this point, you will have a perfectly level set of frets. If not, you'll need to grind down the high spots. You can use a long fine file, run lengthwise over the neck to take down the high spots. You want to do this gently and check often to avoid over-cutting the frets. For very small adjustments, I use a large soapstone instead of a file. The soft fret wire will gum up the stone, but you can brillo it clean later. Again, work from the bottom up.
Before using a file, grind any burrs or sharp corners off it, especially the handle. Don't resort to filing until you are sure that hammering is having no more effect. It is much preferable to hammer a fret than to file it. Don't be afraid to hit them hard, just use a plastic or brass hammer so you don't damage them.

To dress the fret ends, take a flat file and run it lengthwise down the edge of the neck over the fret ends. You want it to be almost perpendicular to the fret ends, so that it is not cutting the neck, just the frets. When you start cutting wood or binding, stop. At this point, you can make a 'U'-shaped neck, or a 'C'-shaped neck, or any other letter you like by filing a bit into the neck at the appropriate angle. If you haven't already done so, install the side markers and file them flush the same way.
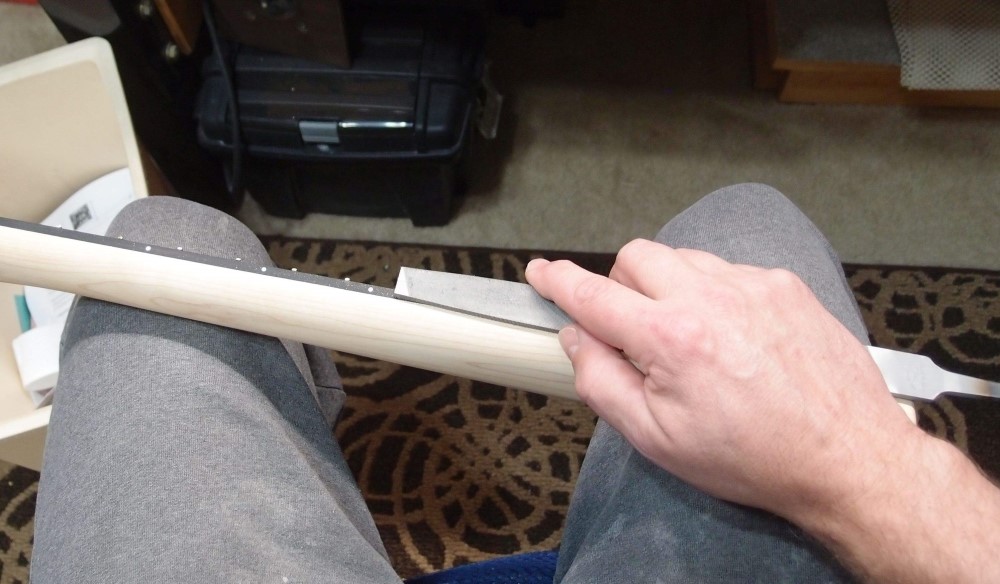
The 'right' luthier way of filing fret ends is to use a special luthiery expensive file and file each fret end individually while repeating a prayer to the god of not slipping and hacking up the fretboard. That must take forever. My way is so easy and foolproof, I could teach a chimp to do it.
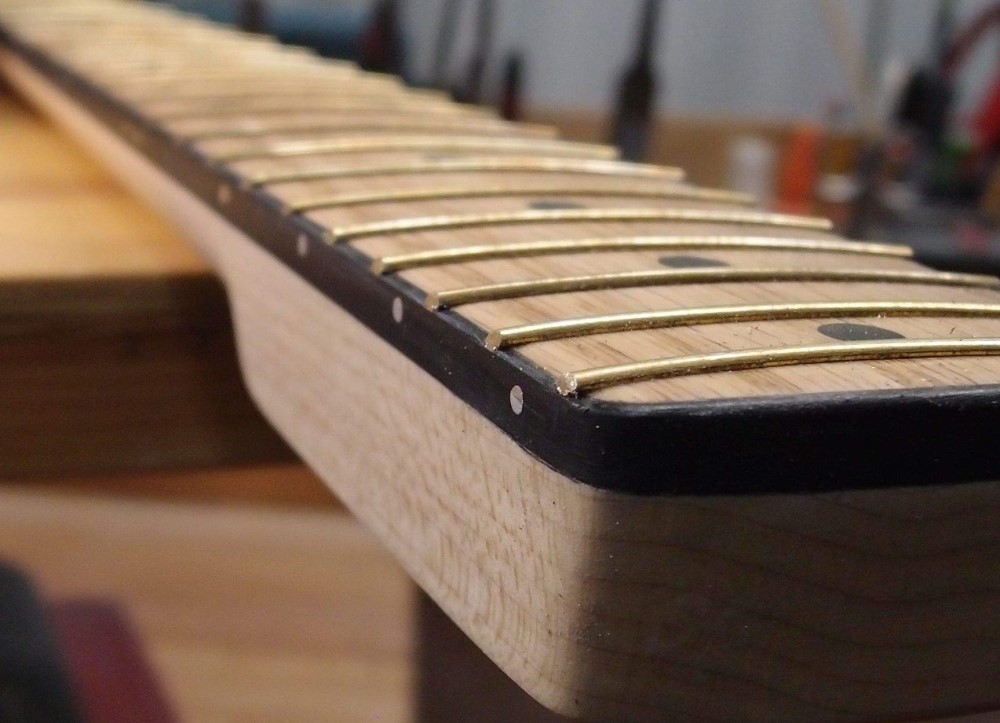
To bevel the fret ends, shift the file to a 45-degree angle and repeat the process. You can use any angle you like, it's not critical. This entire process is really cheap, fast, simple, and foolproof, and requires nothing more than an ordinary file, no special loothery tools. Take care that you don't run the file into the headstock and nick it.
Note that depending on the state of the wood when you do this, you may need to re-file the fret ends again later. If your initial job is in the summer, by winter the wood will dry and contract, and the fret ends will pop out. This is the cause of all the pissing and moaning you find online about new guitars. It is inevitable and only needs to be corrected once.
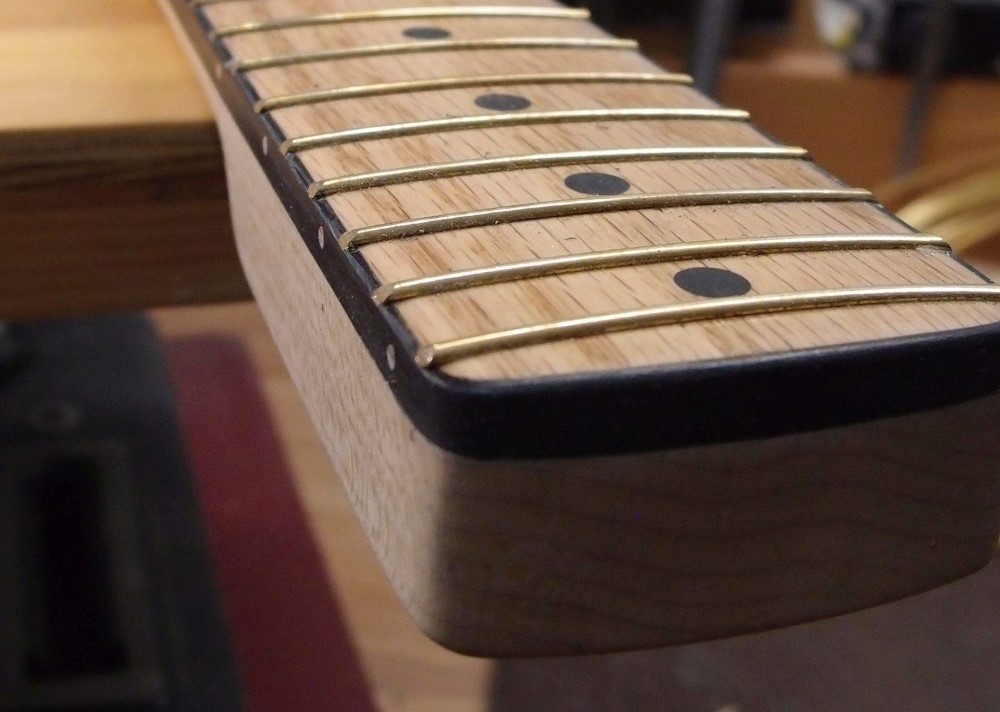
Finally, you'll want to smooth out all the tiny flat spots and sharp edges and corners you just made. To do this, simply wrap a piece of 1000 grit sandpaper around your finger, and rub over everything. You can tape off any light-colored wood beforehand to avoid a mess, or just clean up afterward with a rag and polish or oil. This method is again very cheap, fast, easy, and foolproof, especially compared to using expensive loothery fret files, which can gouge the wood if you slip. You can polish further if you want, but I don't look that closely at the finish on the frets, and playing will polish them up.
The three highest frets required a tiny bit of filing, everything else leveled-out with the hammer. This neck is ready for final sanding and finishing.
Again, the correct loothery way of doing this is one fret at a time with a special file and metal guards for the wood. I have all that, and I never use it, this way works so much better and faster, anybody can get a good result on their first try. Just go gentle and slow, especially with a file. A big soapstone is a good investment, you can get one in the loothery section of your sporting goods store.
You can also get special fret polishing erasers and every other kind of junk. If you want. I've never bothered with anything but 1000 grit sandpaper. Go finer if you want.
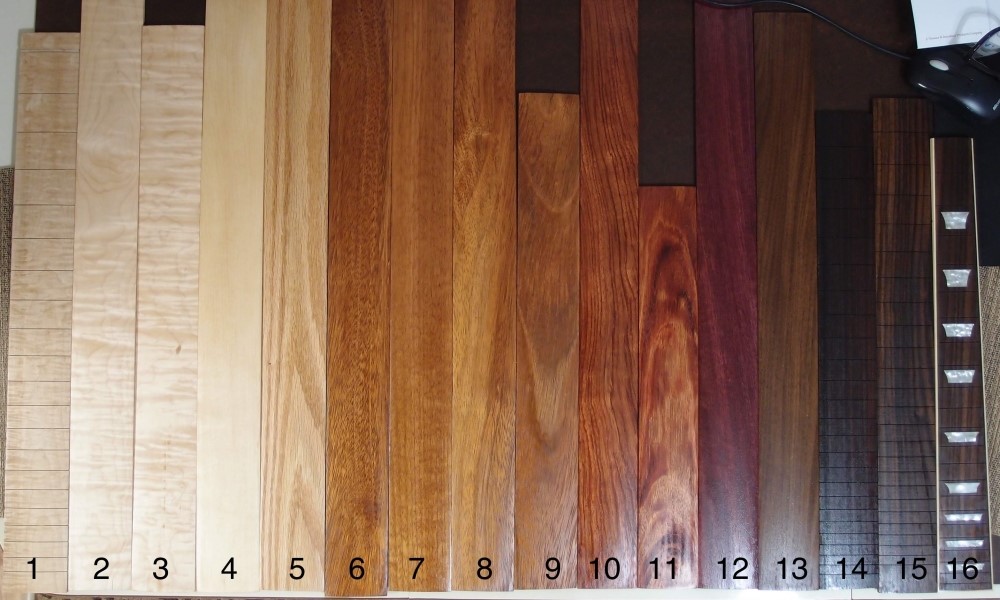
Fretboard markers should be installed before the frets, so that they can be filed down flush with the fretboard in much the same way as leveling frets. Any grain filling or finishing of the fretboard should be done after the markers and binding are done. For woods that need to be finished, like maple, I put several coats on before the frets, and one or two more afterward. The finish will wear off the frets quickly as you play.

Here are flush cutters and fretting hammer. None of these are specifically (expensive) loothery tools, you can get a little hammer like this almost anywhere. The key is to get a small hammer, the faces are about an inch across. Likewise, the flush cutters are inexpensive end-cutters ground flush on a 6-inch benchtop grinder. The large one is for cutting fret ends and wire in general. The small one is for pulling frets, you have to be Hercules to cut fret ends with it.
So if you've never fretted a guitar neck before, now you know-how. This was a bound neck, an unbound neck is much simpler - you can omit all the fret tang cutting, just put the frets in and clean up the ends. Much of the tools and methods here also apply to re-frets and repairs. Remember - resort to the file only after you have done all you can with the hammer.
This is the Fender way of fretting with binding - binding first, then frets over the top of it. This gives you a metal fret across the entire width of the fingerboard. Gibson and Rickenbacker do it differently. They rout the binding channel first, then install the frets and file the ends flush with the channel. Finally, they install the binding and trim it around the fret profiles. In my opinion, Fender's way is simpler and better. I've never tried Gibson's way, and never will, I'm not that curious. Fender's way is also vastly easier to repair/re-fret.
There is a great deal of mythology built up around luthiery. Some of it is handed down from the middle ages, most of it was invented by people who want to sell you something. One of my goals in this thread is to dispel as much nonsense as possible.
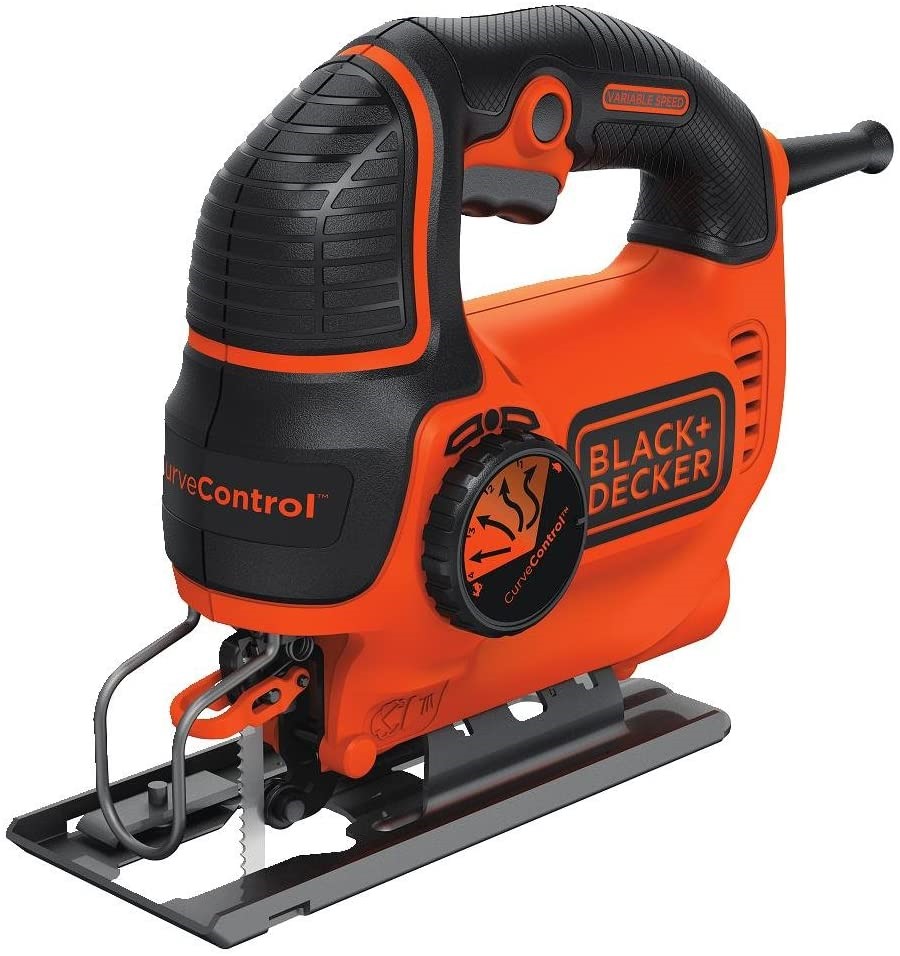
Also, when it comes to tools, unless you are a contractor using them all day every day, you don't need the expensive ones. I'll admit that I start to salivate whenever I see DeWalt yellow, and I have a pile of those from a previous life, but I also have a pile of Craftsmans, Ryobis, Skils, and Black & Deckers, and they work just fine. Don't go too far down the food chain though, there is some real junk out there. The drill press above is Harbor Freight and is just about the only power tool from there that I could recommend.
Questions or Inquiries?
Just want to say Hello? Sign the .