February 22, 2023
At Least I Learned Something
February 22, 2023
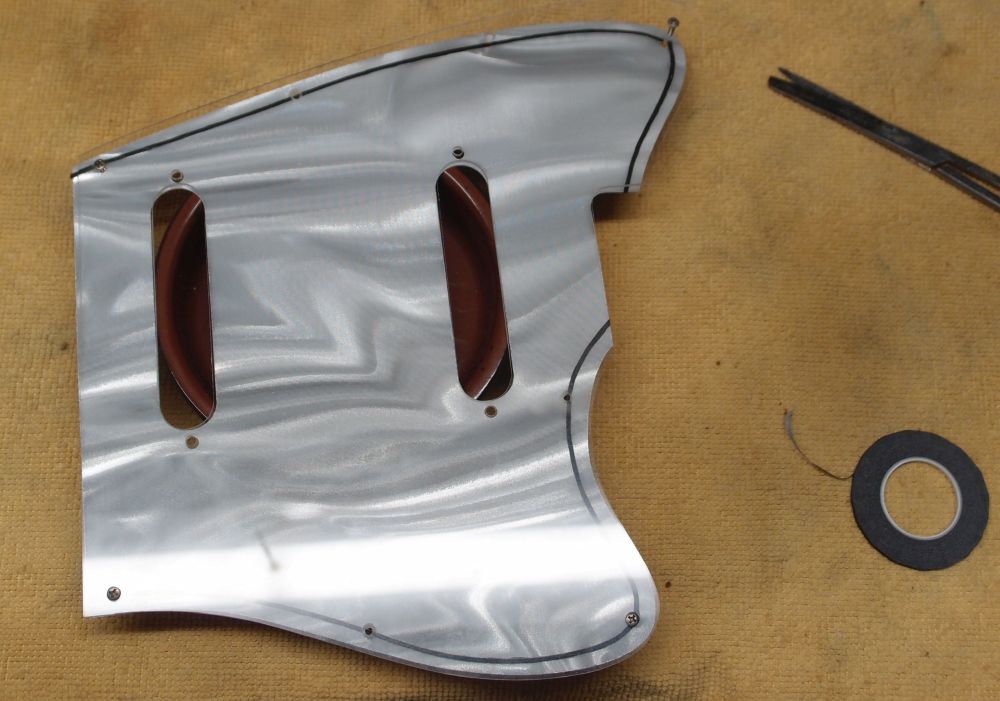
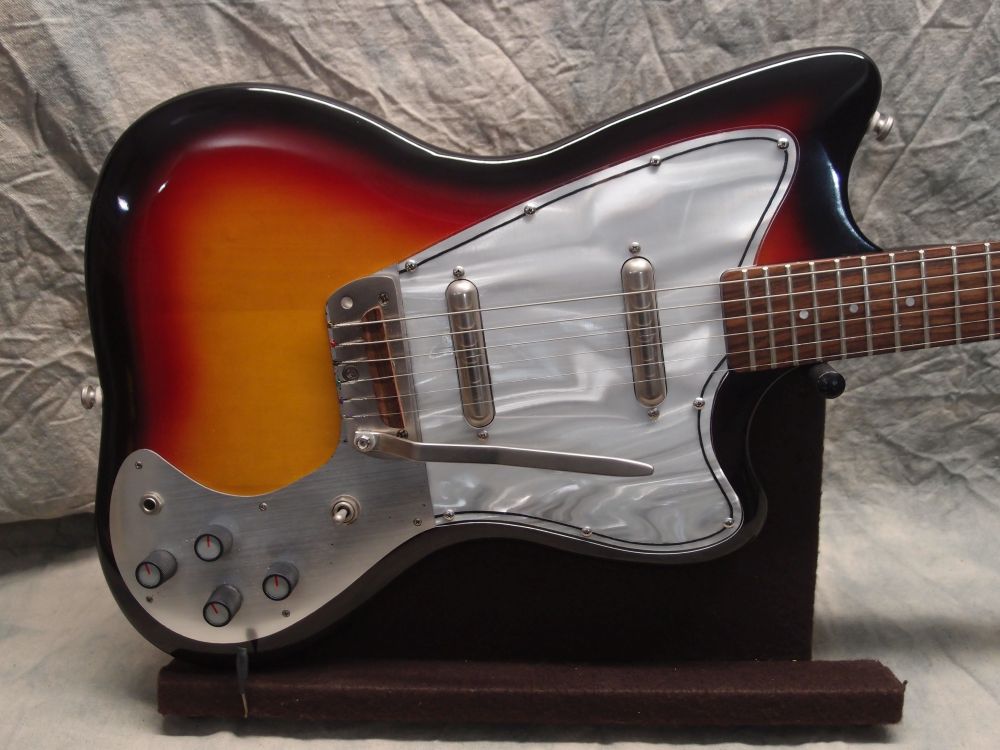
This wound up on the back burner for a while, but I finally got back around to it. The black stripe is 1/16" tape from the roll there, applied to the shiny under-layer. It wasn't that hard to apply, using the screw holes as guides. It's not awfully sticky, but should hold up well sandwiched between the clear pickguard and the body. You can get that tape at Hobby Lobby. I finished the pickup 'routs' with hand files.
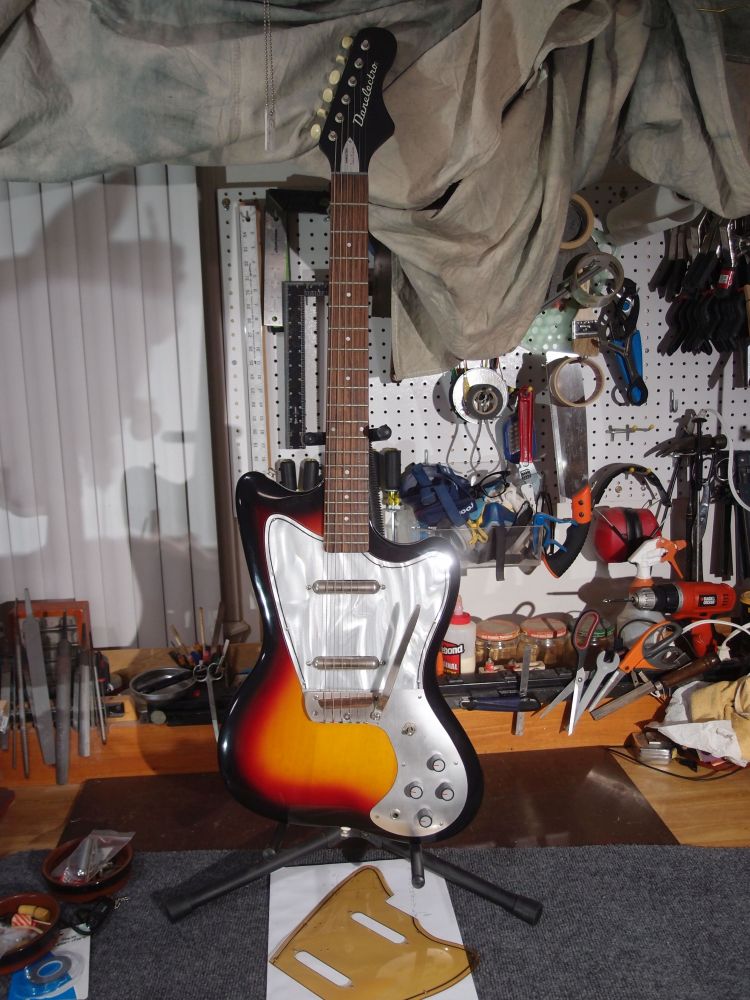
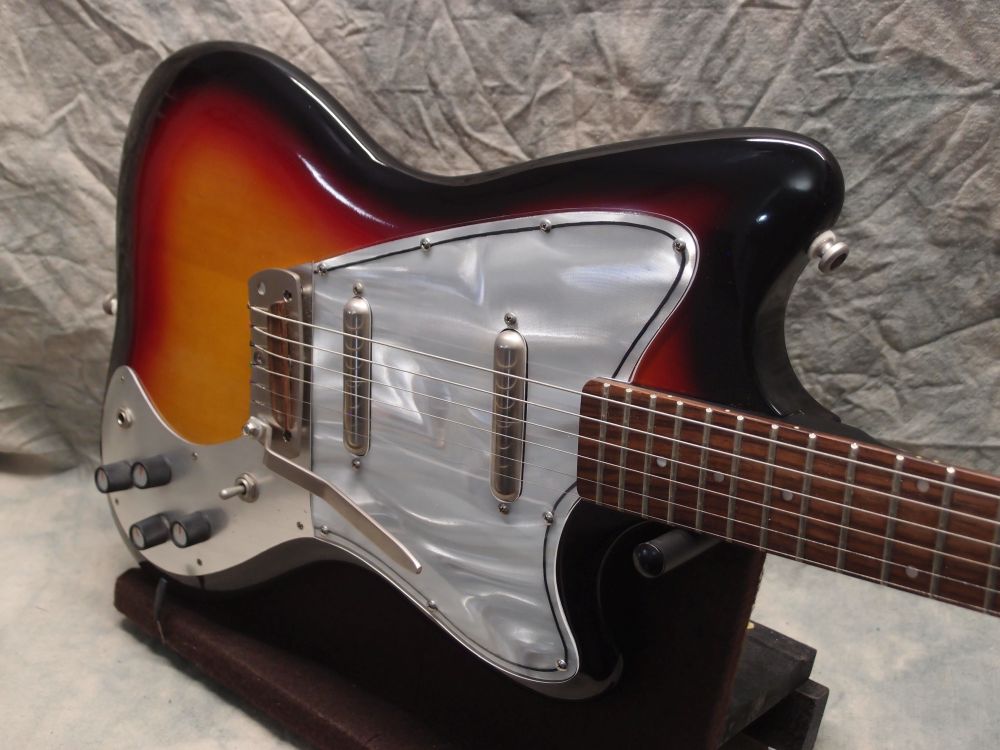
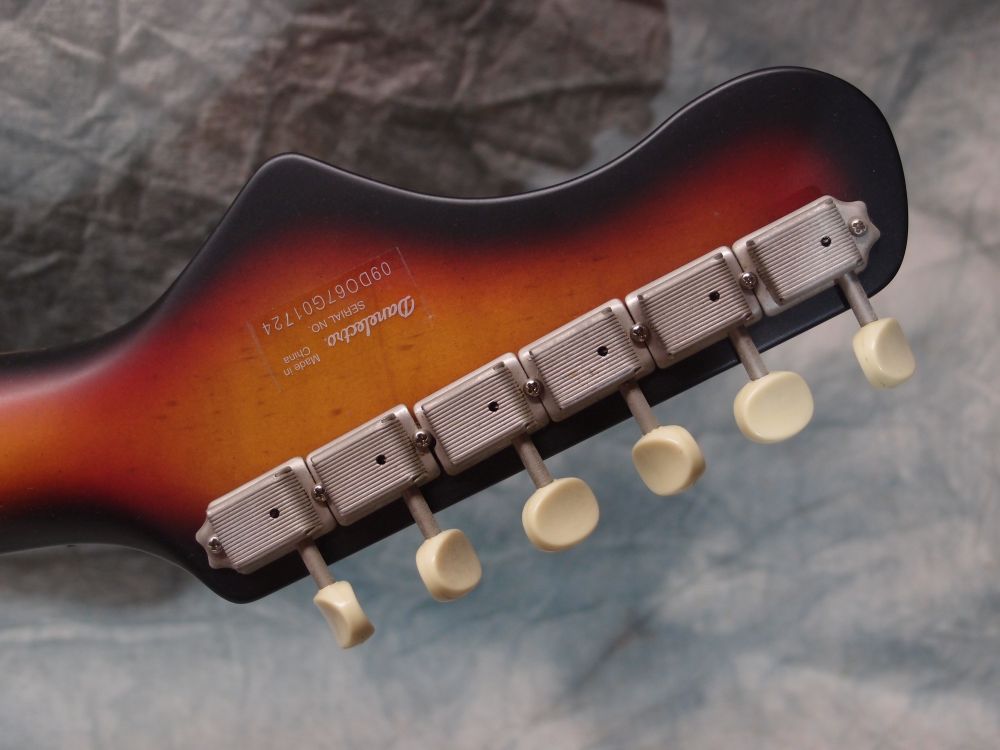
And this is the result - like new. You can see the original pickguard below. I've decided to call that color "Yangtse brown". The new pickguard conforms to the curved body pretty well, you have to look close to see that it is not a perfect fit. While I was at it, I put the tremolo mechanism back in. It takes three hands to assemble that contraption. Leo Fender never dreamed of a thing like this, and he invented the awful Strat tremolo and the even-worse Mustang tremolo. It has a very limited range - you can quaver a little, and that's all.
And then disaster struck. While snugging up the pickguard screws, the plastic cracked. I was always expecting that, where the plastic was being forced to follow the curve of the body. But this cracked on a flat spot where there is no stress. So I put on my engineer hat and thought about it for a while. The pickguard on the reissue is attached with tiny #3 Gibson-style countersunk screws. ** Those tiny screws are going to put very high point-stresses on the plastic. This clear plastic is hard but not all that strong, it's actually kind of brittle, and there was also probably a flaw in the material at that spot, so - crack!
Well, I wasn't expecting the prototype to come out usable anyway, and I did make a few minor mistakes on it, so live and learn. That's why I bought a sheet of plastic big enough to make a dozen of these, and I'll just bang out another one. Then, those crappy little screws are out. At first I thought of using larger Fender-sized (#4) screws, which would spread out the stresses much more. But then I realized that I have never seen a vintage Danelectro that used countersunk screws on the pickguard. For one thing, you have to countersink the holes, an extra step that costs money. So instead, I am going to use classic Danelectro #4 stainless truss-head screws, which I have in abundance anyway. ( You can get those screws at BoltDepot.com. )
** Here's a piece of advice for aspiring loothiers: Never copy Gibson. In fact, whatever they're doing, do something else. The use of countersunk screws on this guitar is probably historically inaccurate as well.
I just looked at some pictures on the internets, and the countersunk screws are definitely wrong. Those #3 screws will go in the junk box - they're not easy to find.