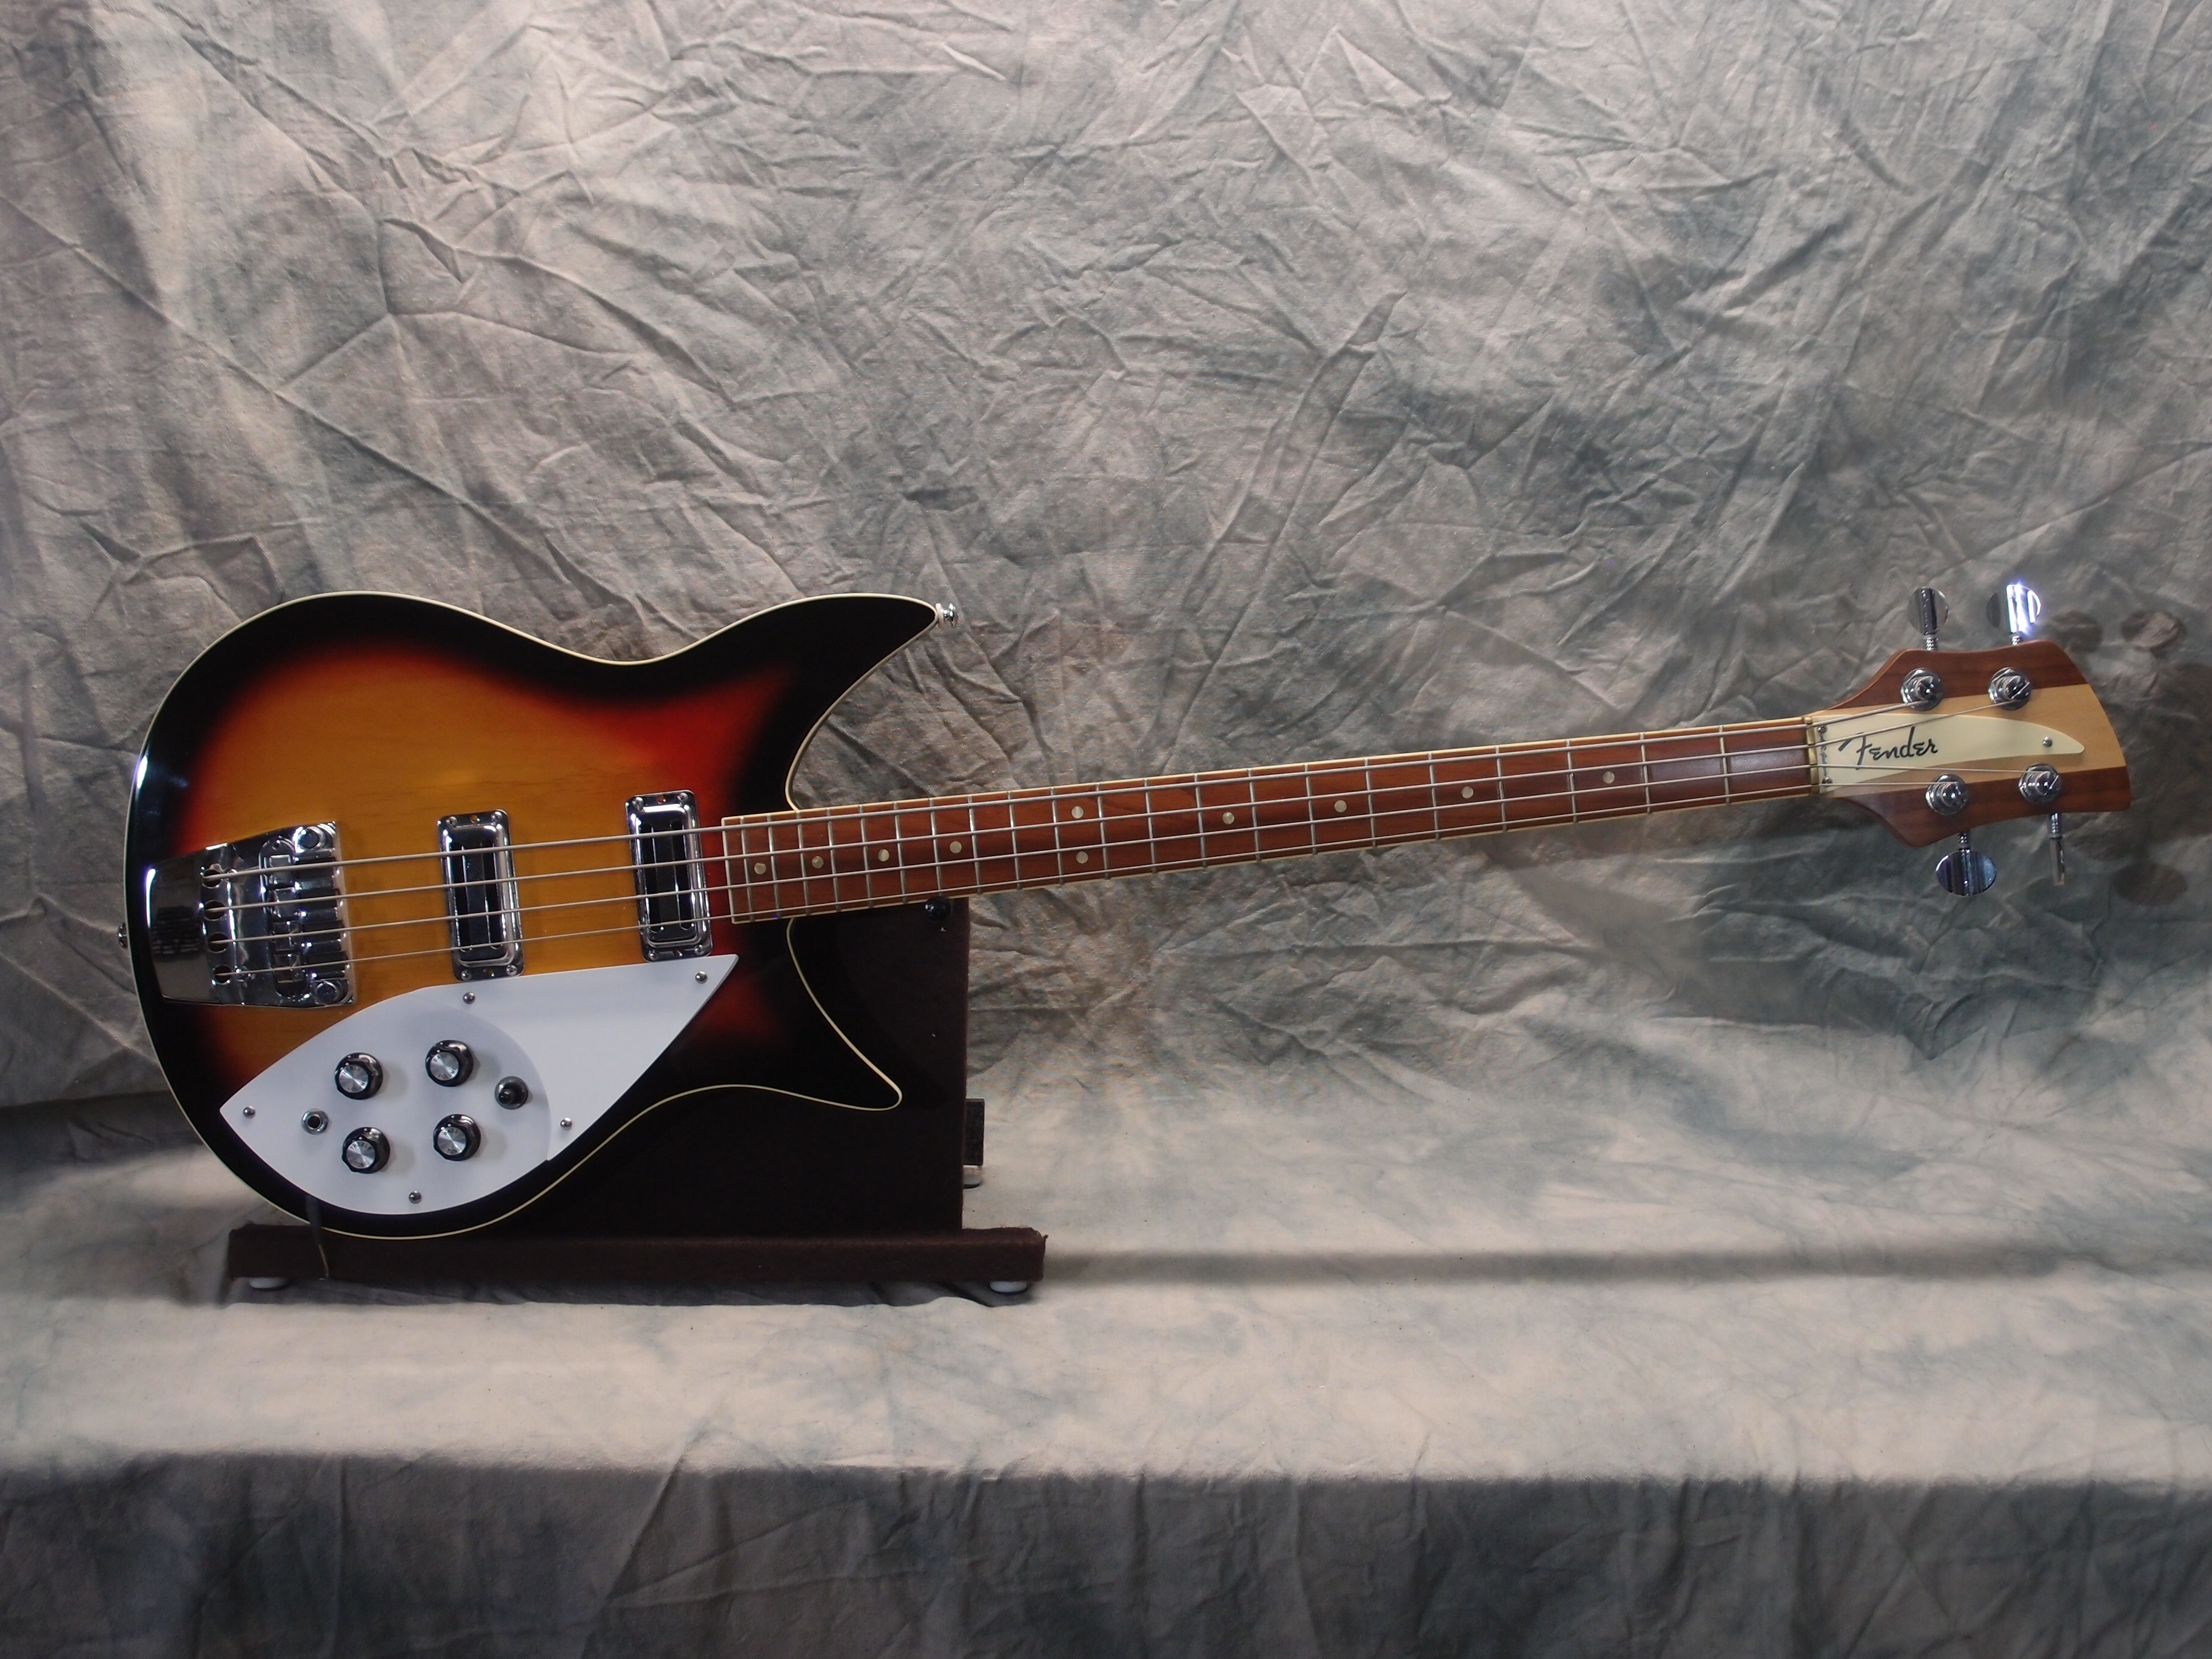
Rickenbacker 325 Bass 1 (1/5)
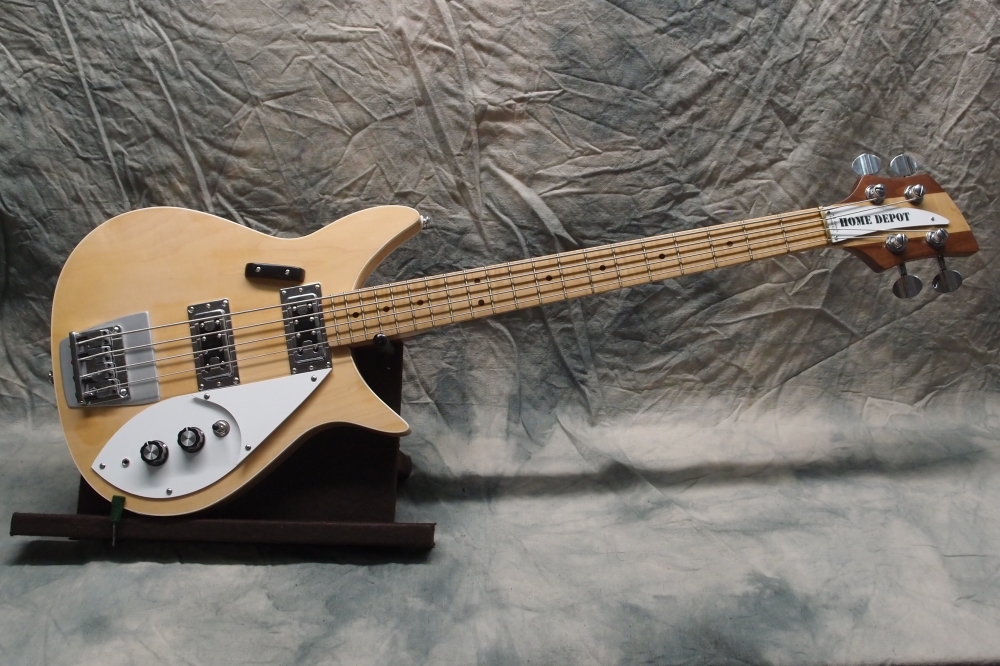
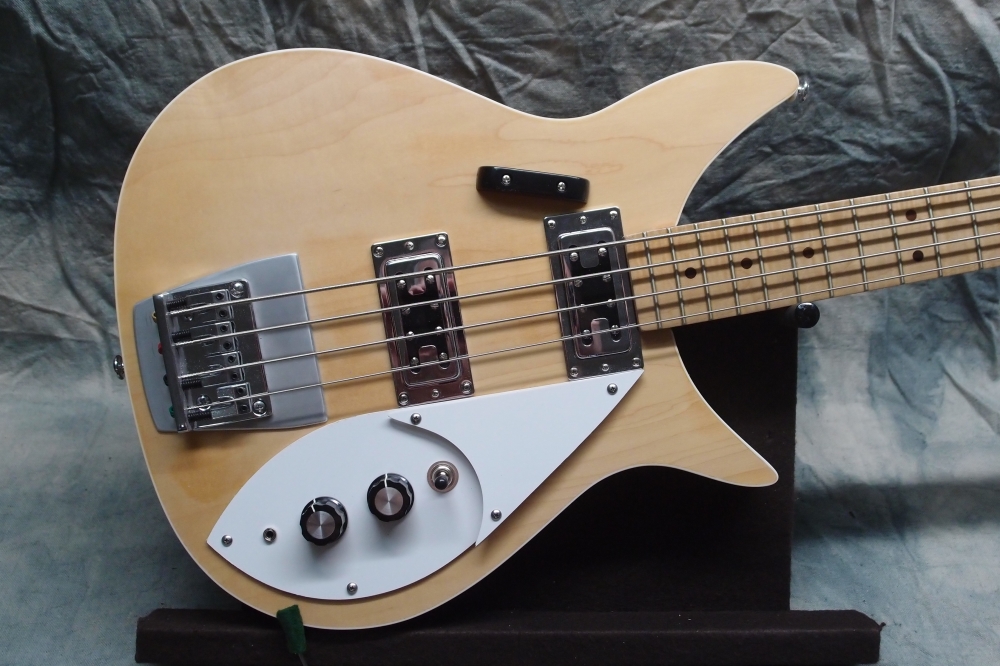
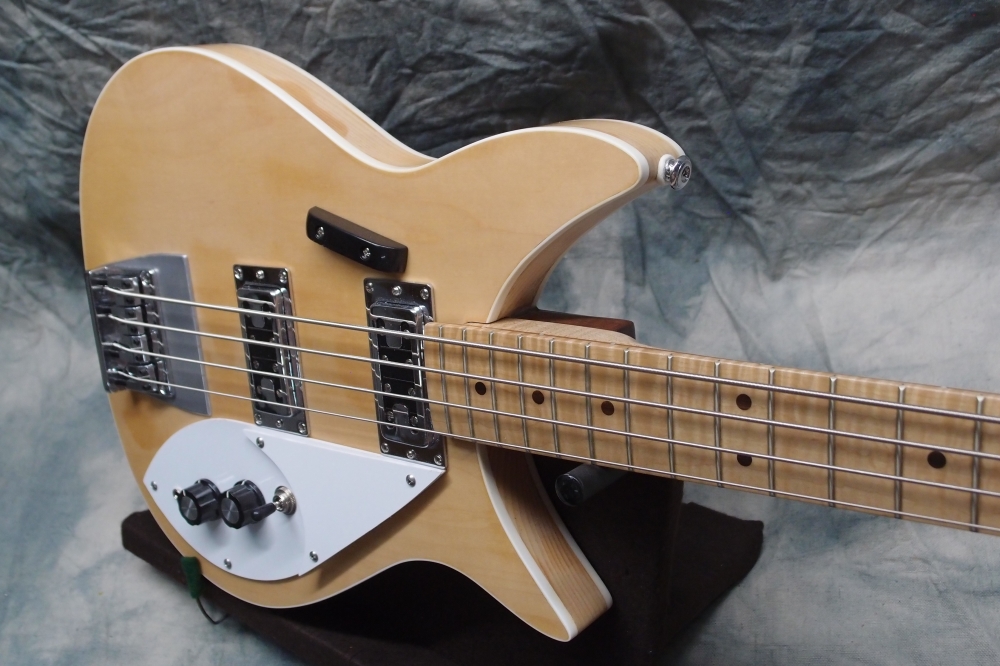
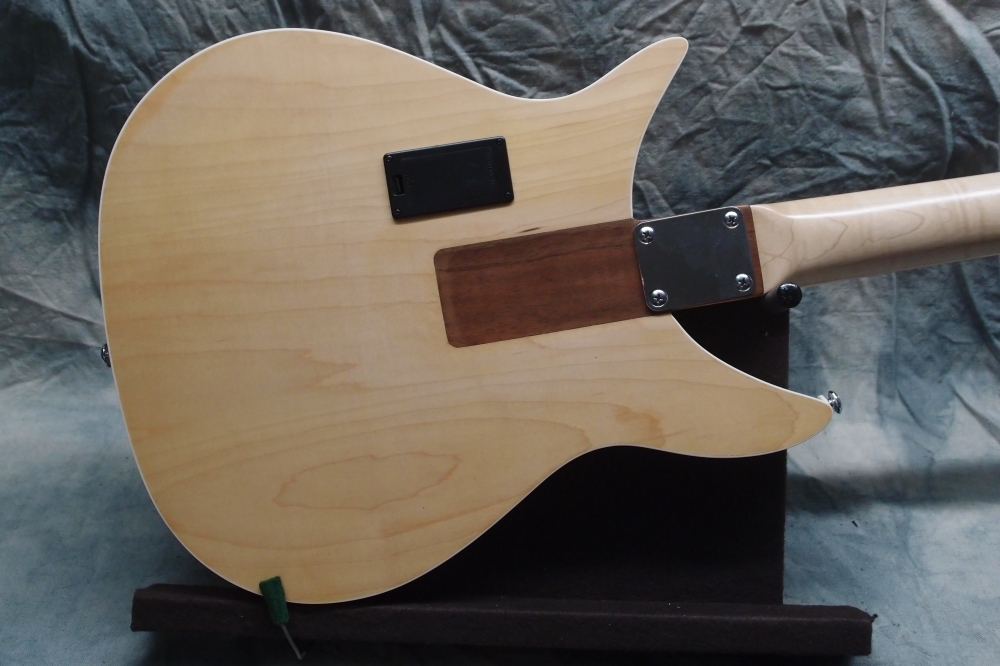
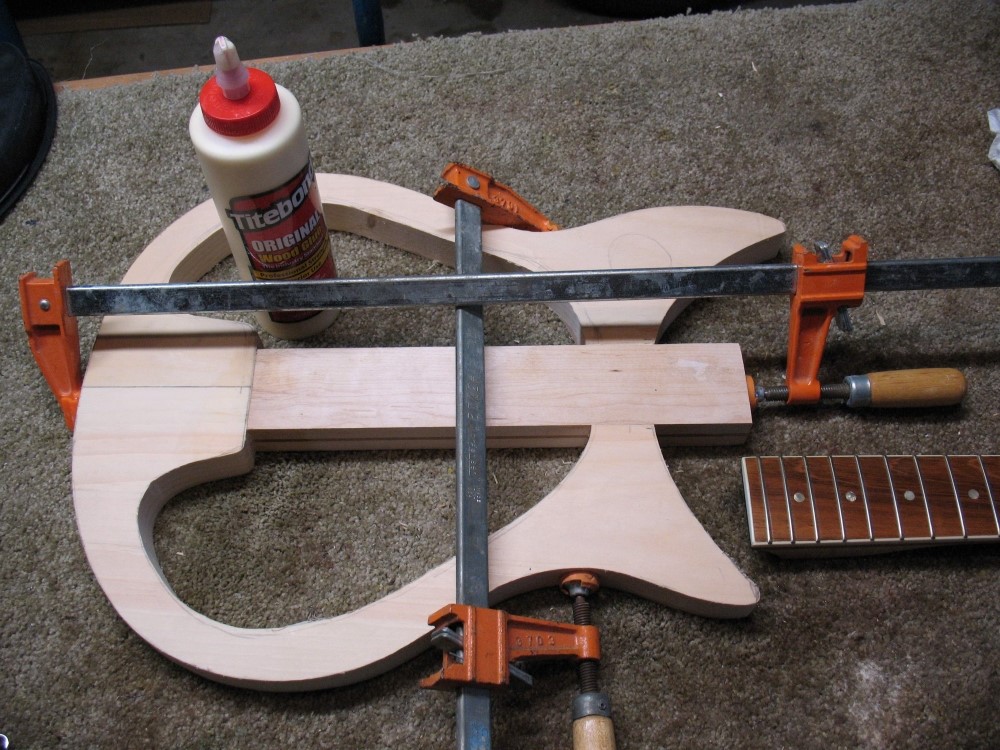
These were my first two tries at a 325 bass. Both are plywood over pine hollow-bodies. The one on the left - #1 - used an experimental neck mounting that I didn't like. The one on the right - #2 - suffered a router mishap. I took all the good parts and built the solid-body, and both of these spent years on the scrap heap.
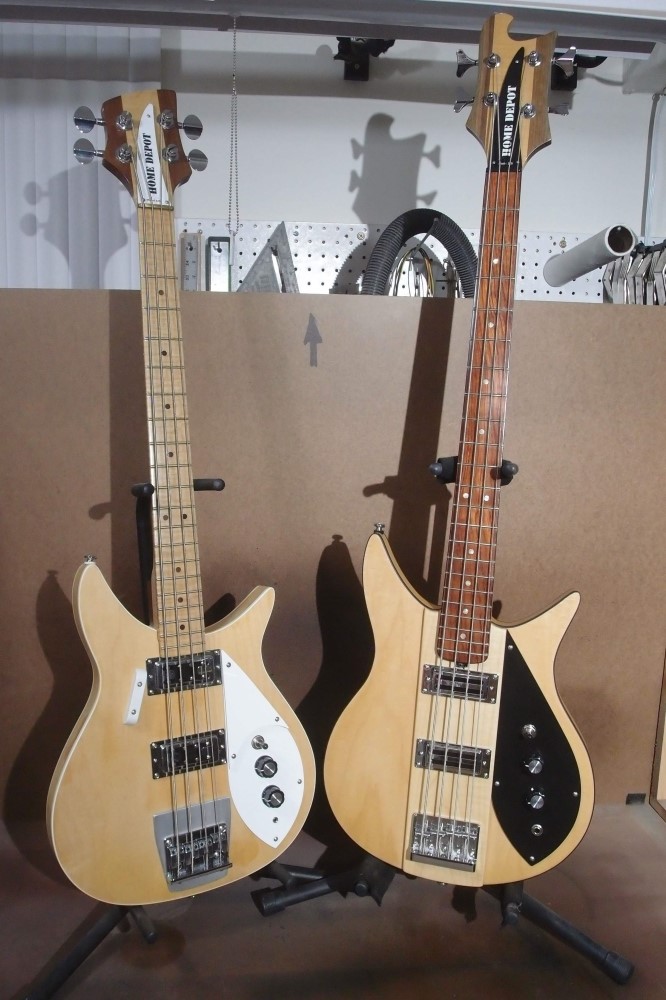
One day I decided "What the heck?" and finished them. I converted the neck mount on the smaller one to a conventional bolt-on, and added a raised center section to the big one to correct some geometry problems. Then I refinished both and sanded them to a nice even satin.
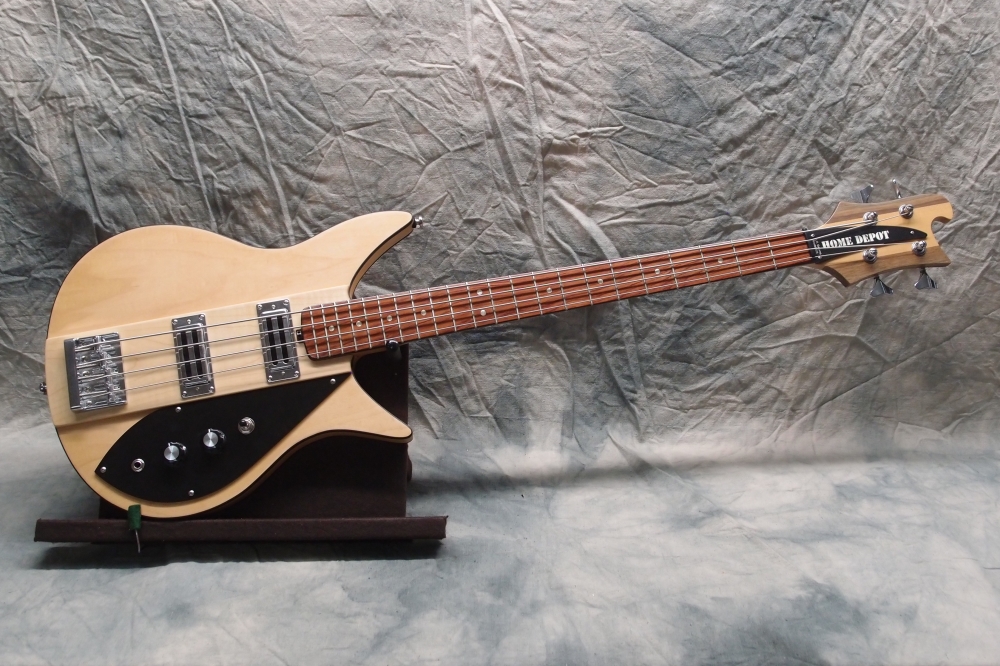
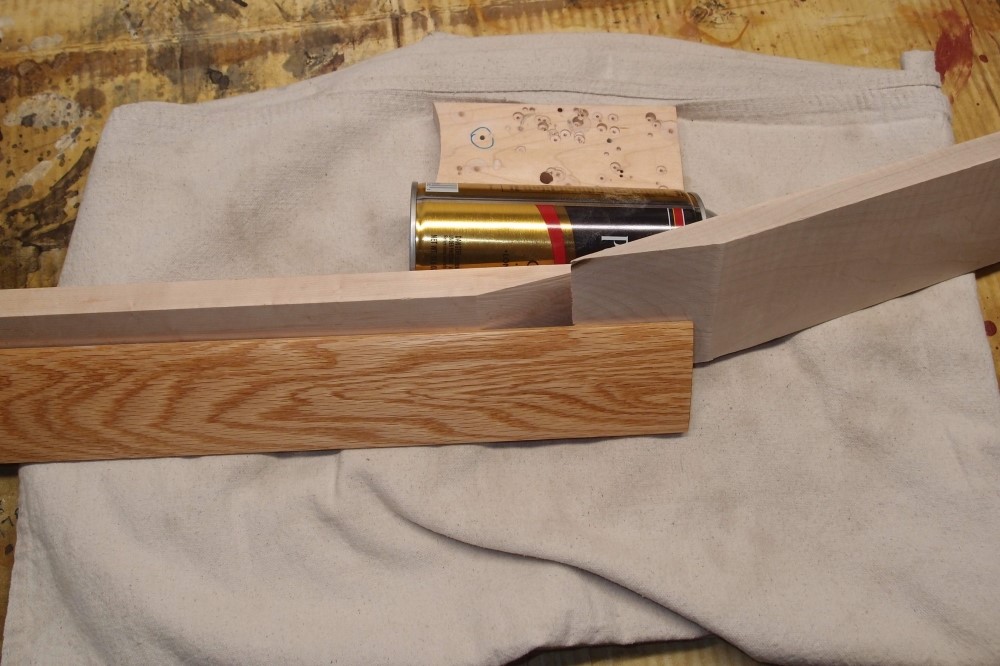
The short-scale neck was originally made to fit the bigger body, but I made it fit the smaller one, and then made a new 32" neck for the bigger body from some wood that had lain around for years because I didn't like it. The new neck came out much better than I expected.
Both got cheap Chinese pickups, dry-erase pickguards, and minimal electronics. The aluminum plate on the smaller one covers the rout for the Rickenbacker bridge. The bigger one got a heavy-weight bridge and some scrap metal glued inside to correct the balance. They're both really great players, especially the bigger one.
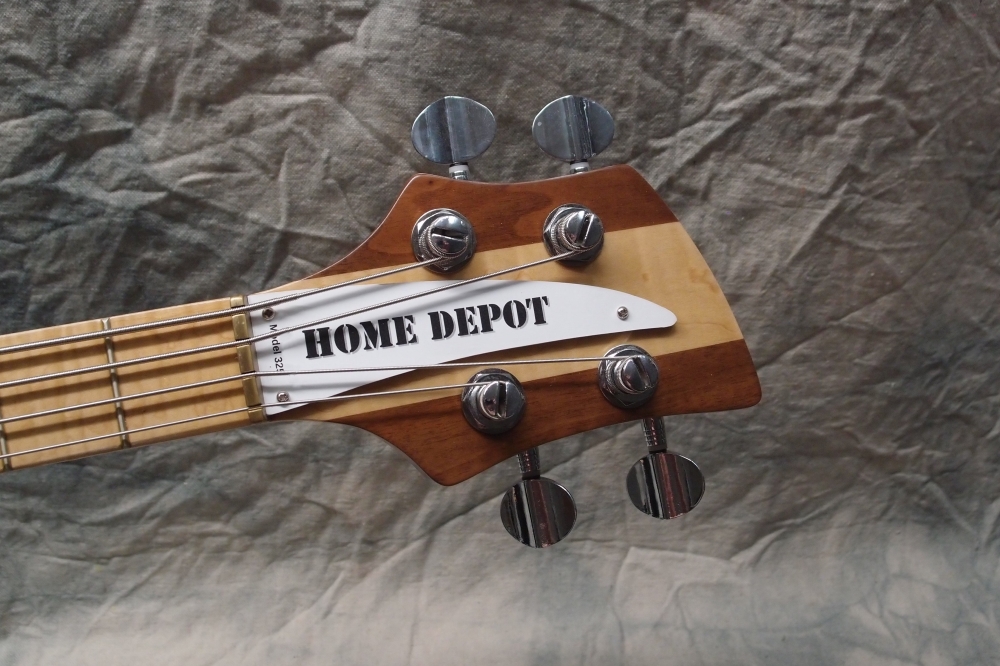
The walnut wings on the headstocks are scrap from the original Audiovox project.

Brandon:
November 25, 2021 at 10:13 PM
I wonder how those fake ricks sound. Pretty cool.
alder:
November 26, 2021 at 6:05 PM
Surprisingly like a real one. It's all in the pickup location.