Rickenbacker 325 Bass 1 (2/5)
The Small One
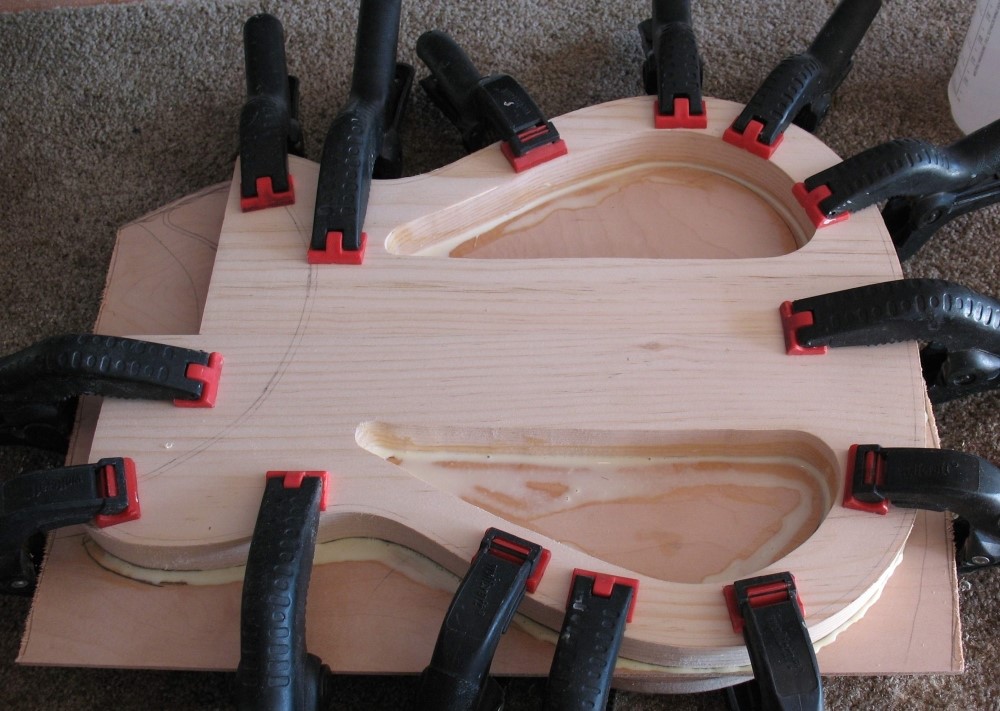
This is an experiment in cheapness. The body core is 5/4" pine finished lumber. Lowes sells these up to 8" nominal width. Cut two pieces, glue them edge to edge, and you have a blank 15" across, and 1 inch thick. That's wide enough for just about anything - no shaving dimensions for this project. The result was slightly cupped, I sanded it flat with no significant loss of thickness. Roughed-out the outlines on the bandsaw, the chambers on the scroll saw and cleaned it all up on the spindle sander. Pine is such wonderful easy stuff to work with. The top and back are pre-finished 1/4" maple plywood, nice hard material, with a starter layer of poly already on.
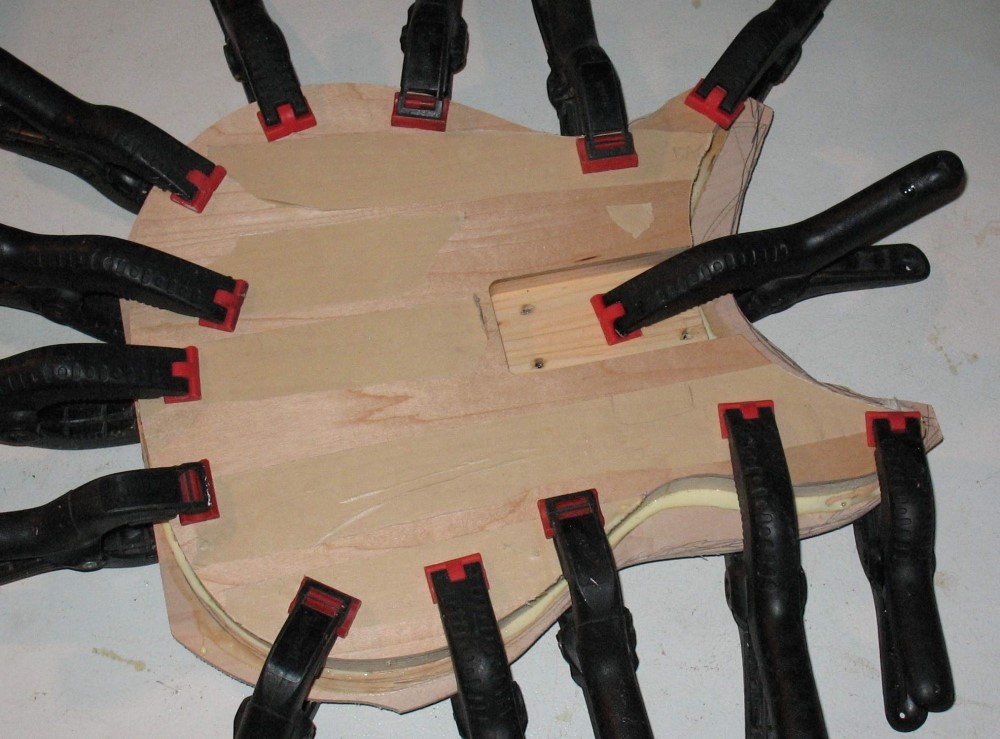
The first picture shows the back being glued on, the second picture is of the back, with my novel bolt-on neck pocket. Pine is strong but neither hard nor durable, and I wasn't going to trust it to hold neck screws; instead, there are T-nuts sandwiched between the core and front, and the neck will attach with 10-24 SS bolts, not screws. I also soaked the corners and the area around the nuts with CA (Crazy) glue, which will soak in and harden the pine. Wood is the original composite material from mother nature, but that doesn't mean you can't improve it a bit.
The neck heel will sit more-or-less flush with the back. This allows for removal and shimming, which is the proper way to adjust neck angle, not by the truss rod. From the front, it will look like a set neck. With a body thickness of only 1-1/2", the only other way to attach the neck would be to glue it in.
So far so good:
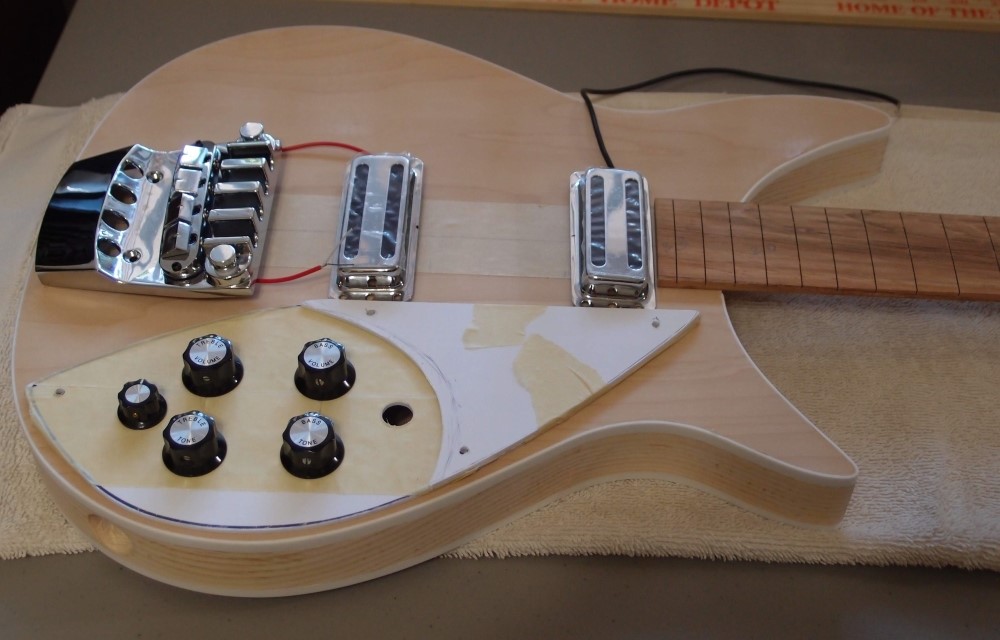
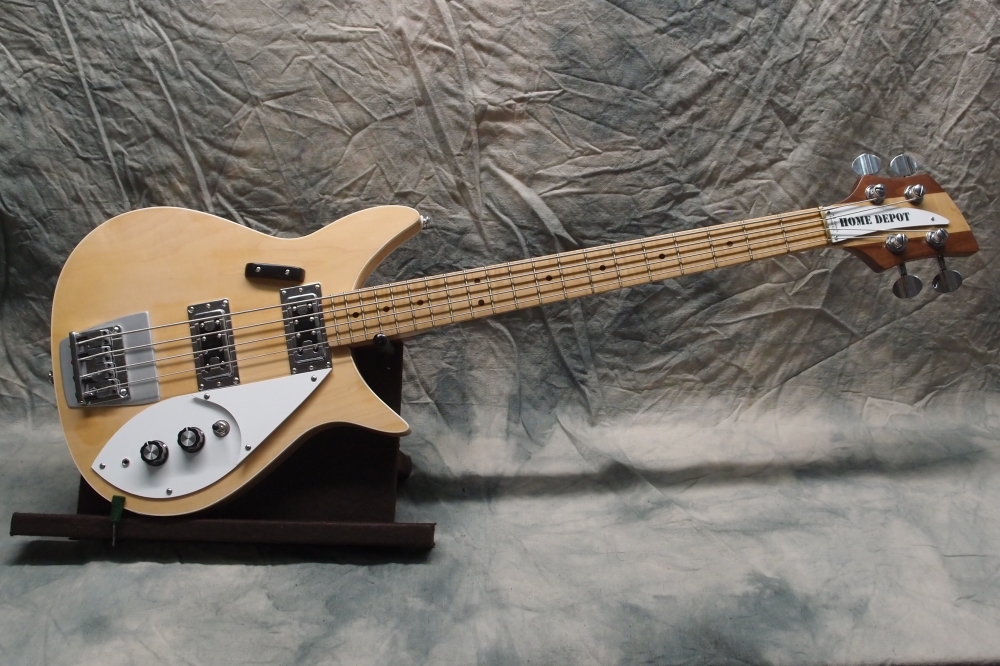
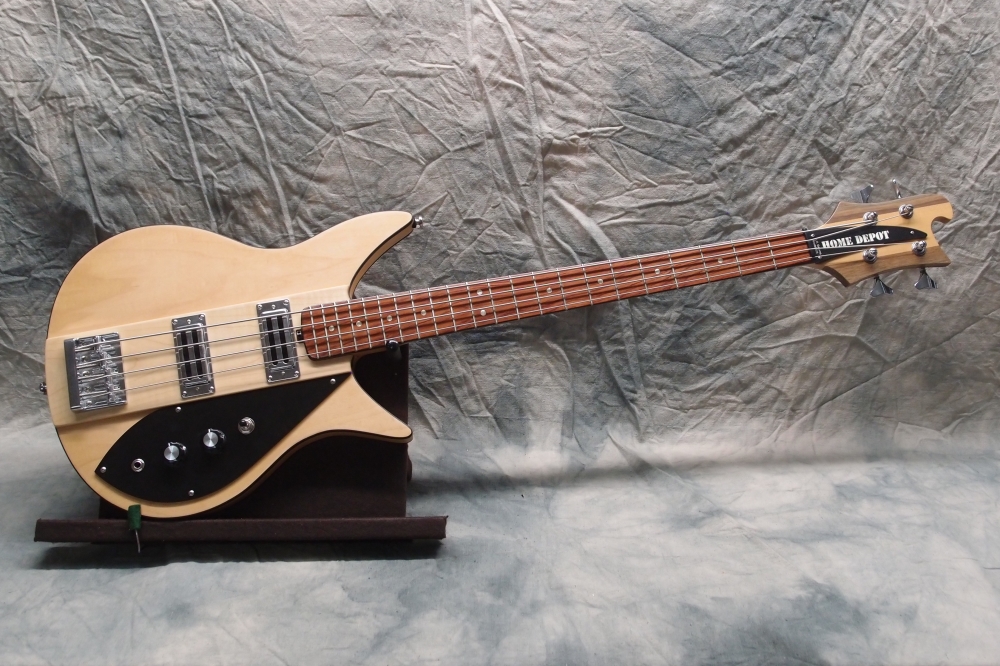
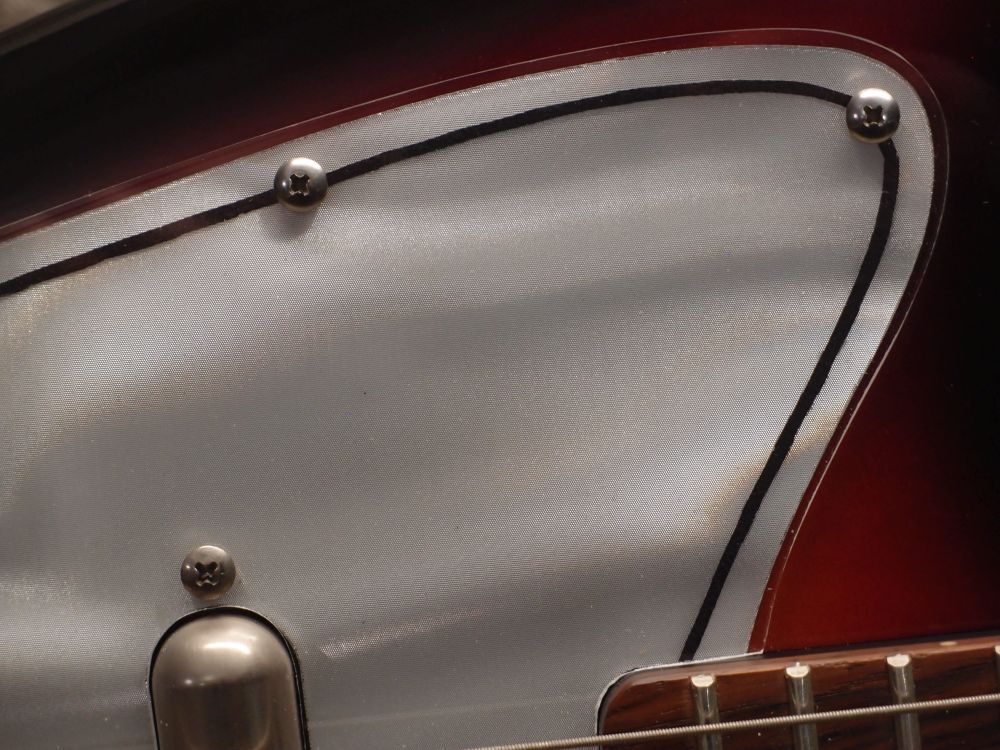
The pine matches nicely with the maple. I wouldn't want an all-pine body, as soft pine would be easily dinged and damaged, but with a hard plywood top and back, the pine is only exposed at the sides. This is my first attempt at binding, and it came out good enough to keep. I just winged it and did what made sense. Later, I watched some instructional videos, and found that what seemed like the right way to me turned out be just that. That's probably not the right order to do things, but I'm pretty good at improvising. Most of the body openings are done now, including the battery box, I just need to route some depressions for the bridge and pickups. The final finish will be clear poly - "PlywoodGlo" I call it, with "PineGlo" sides.
I really love this style of construction, it is much less expensive and much faster and easier than solid wood. For the body wood, I am out of pocket about $2, since the plywood was free. Add in the glue, T-nuts, and bindings, and it is still under $10. When it is finished, you will be hard-pressed to tell it is not a real Ric. Since I figured there was a good chance that this body would end up in the fireplace when I screwed up the binding, I wanted to keep the potential loss to a minimum. Fortunately, that didn't happen. The all-up cost of this build is looking to be just under $300, which is nice.
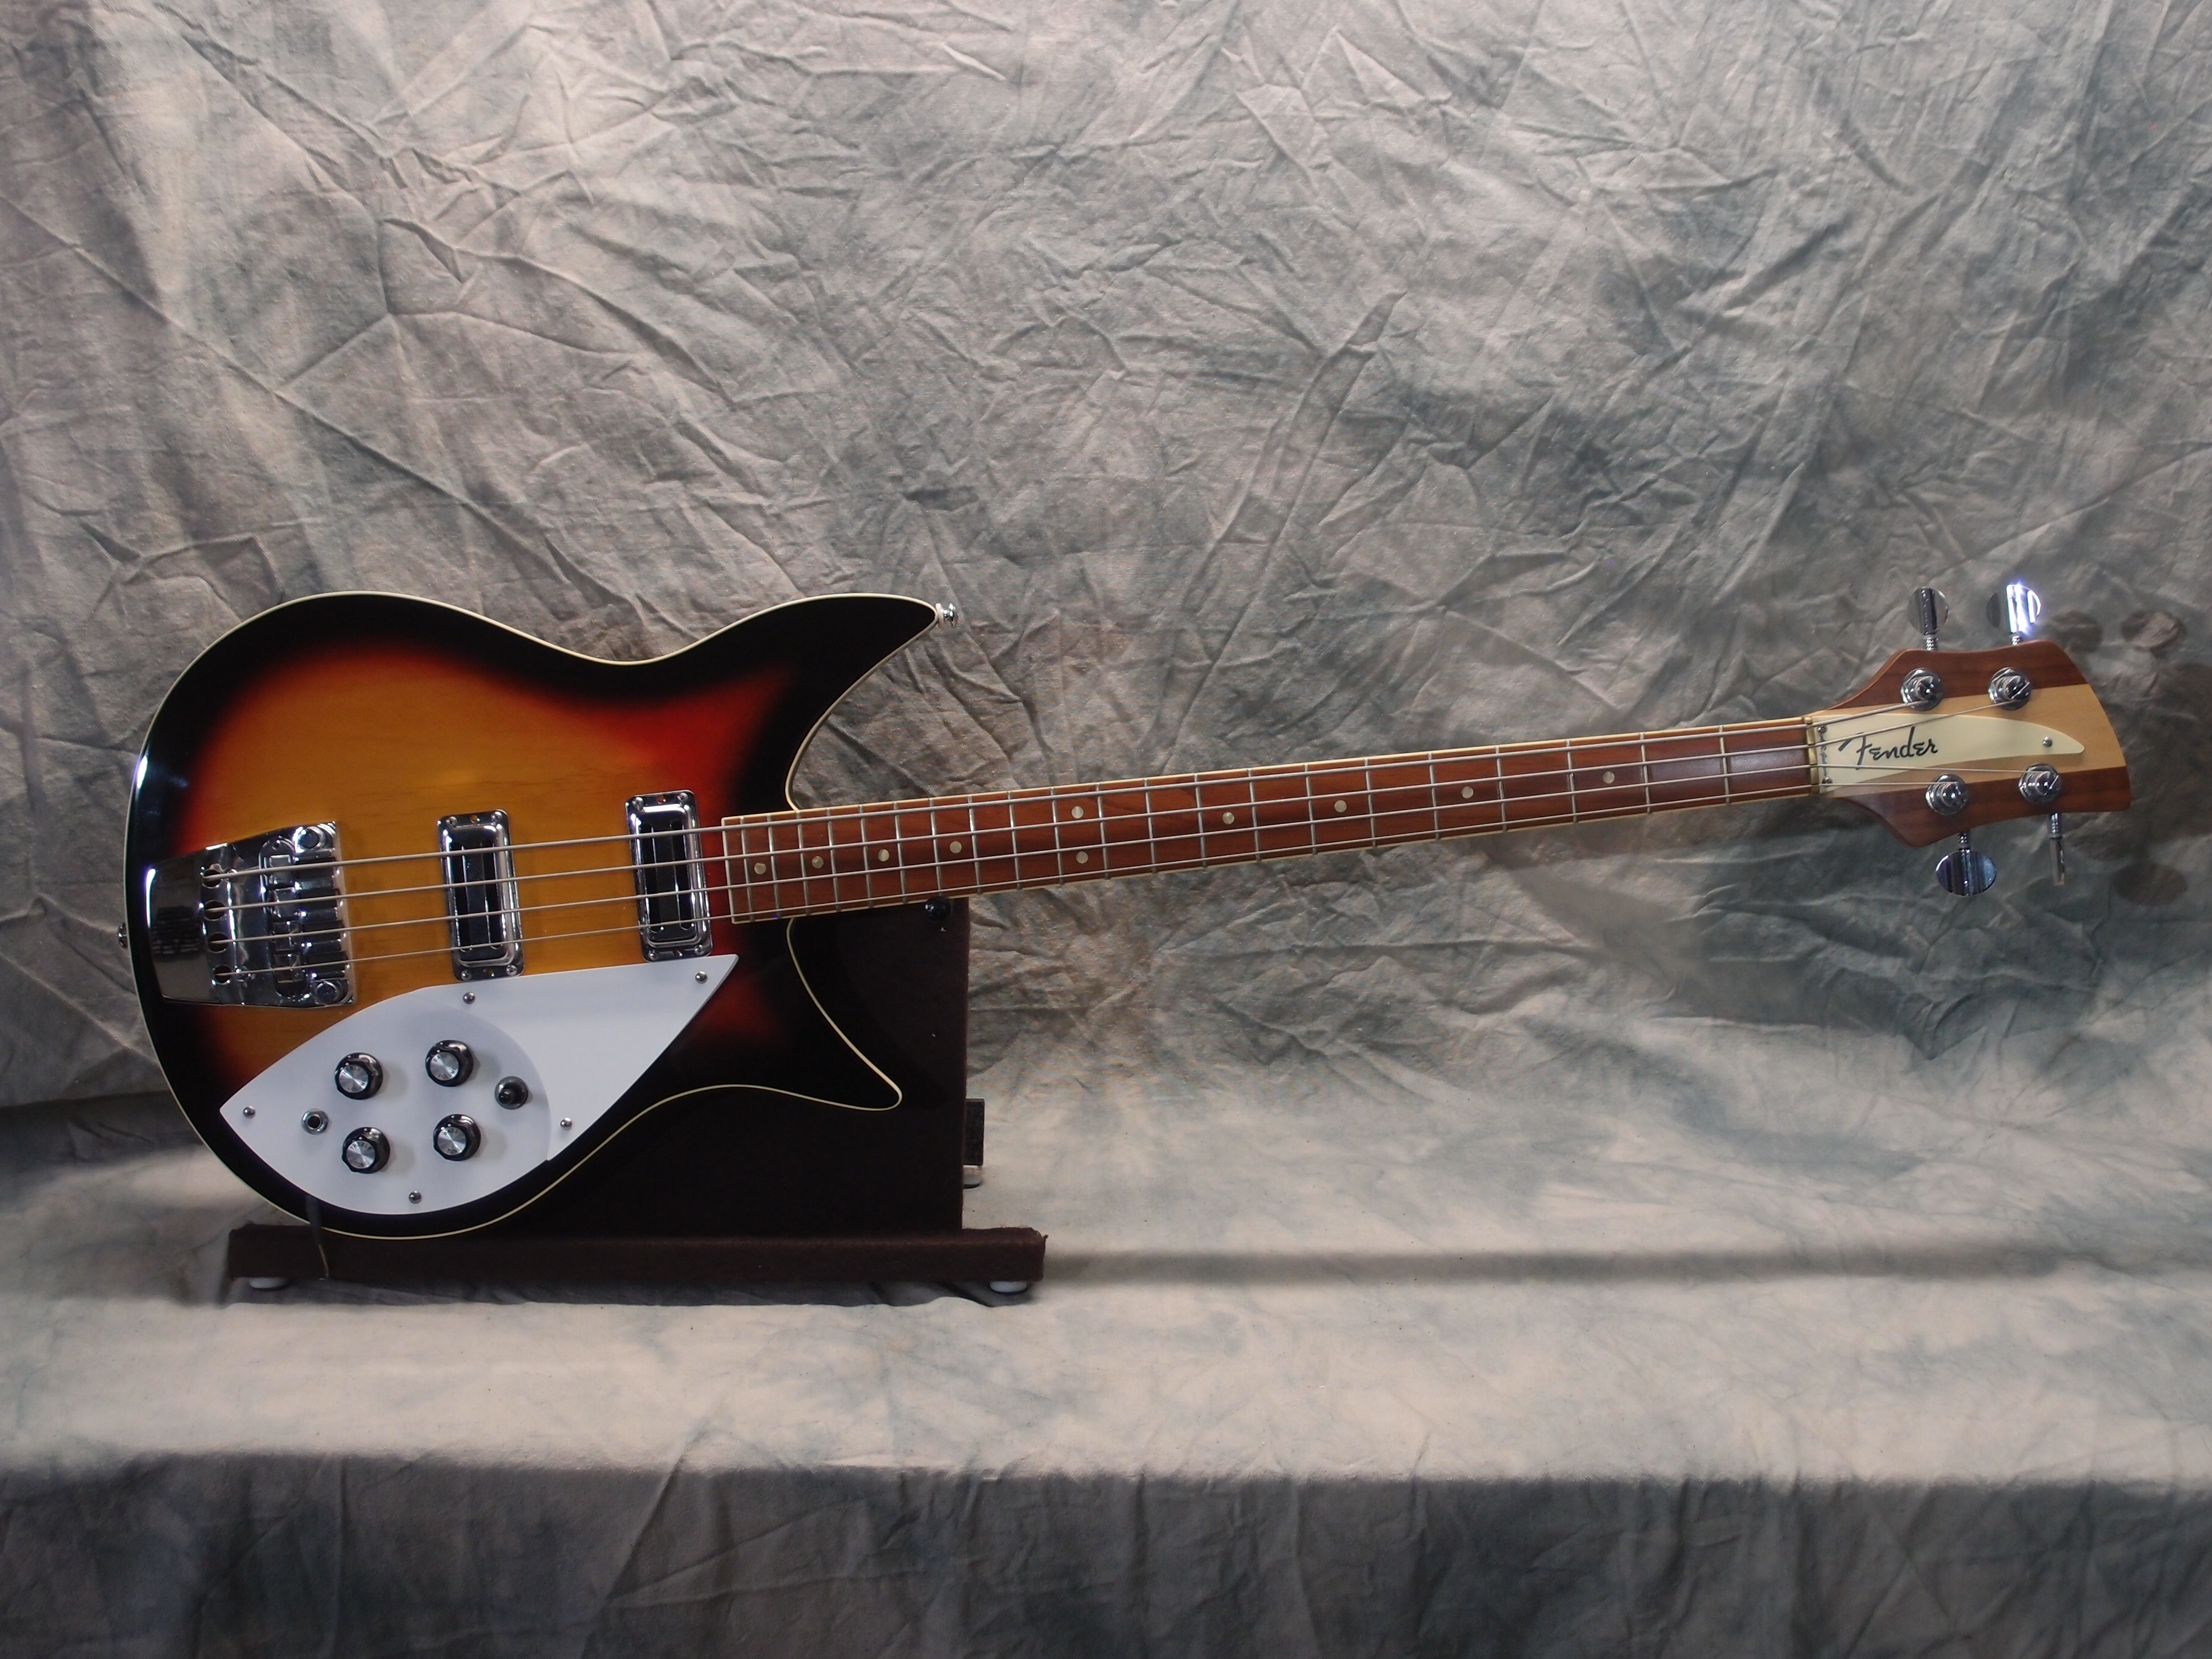
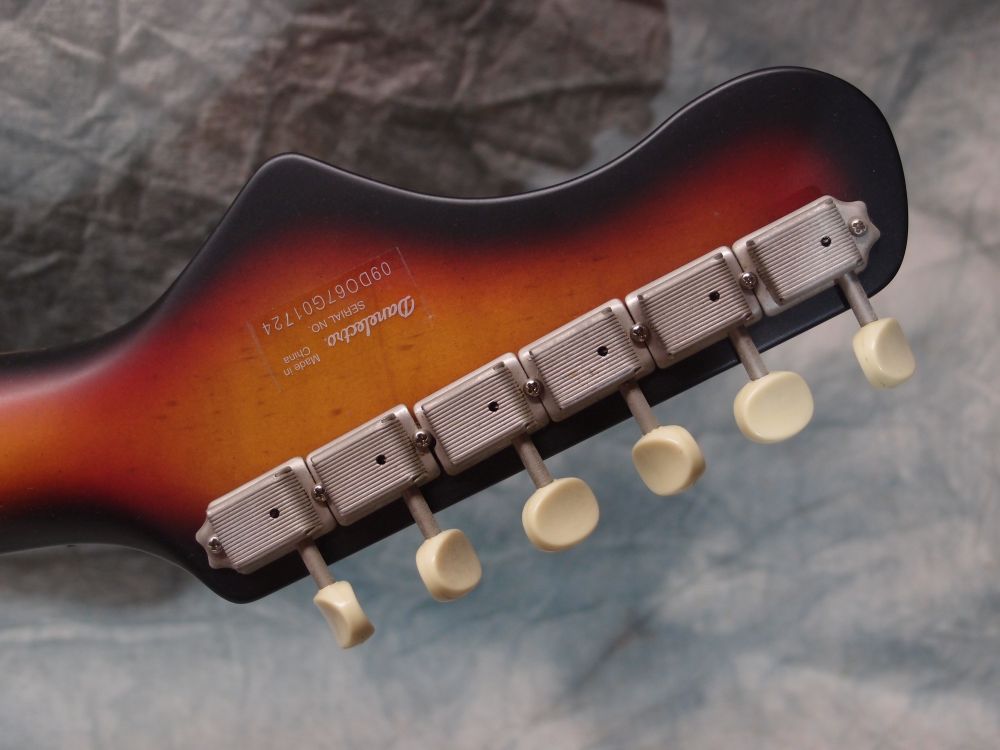
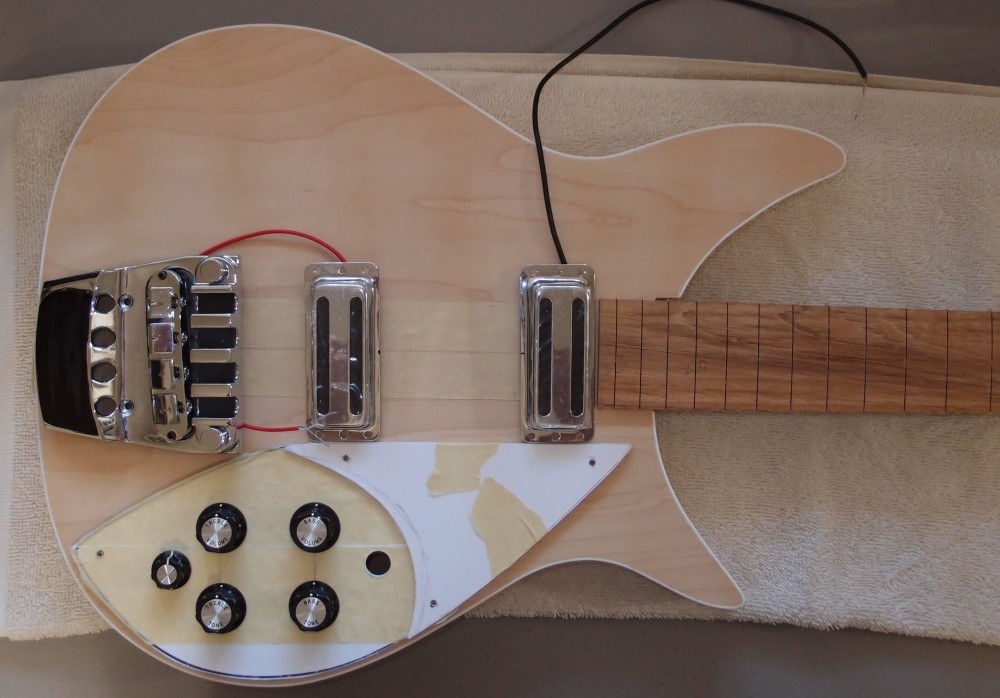
This body is quite light, the clunky (fake) Ric bridge will make a good counterweight for the neck, and the upper horn is extended a bit for balance as well. The fretboard is Bubinga, a hard but surprisingly inexpensive wood. The neck will be 32", 22 frets, and I have a nice piece of flamed maple from Home Depot. The heel assembly was done at the same time as the pocket, so they match perfectly. The neck will be bound as well, with walnut wings and neat two-tone lightweight tuners. I bought a truss rod for this one, as it is long enough to take a standard rod, and I'm not going to spend my time building something I can buy cheaper.
The toaster pickups are humbuckers? I don't know about that, they are noisy like single coils when I hold them next to a fluorescent light. I'd rather they were single-coils. The electronics will be 3-band active with a bypass switch. The weird little Ric 5th knob will be a series switch that will bypass the standard parallel switch, eliminating the potential dead setting.
After fitting up the neck, I became dissatisfied with the design. I never installed the hardware, and set the body aside. Eventually, I did finish the project, though ...