Rickenbacker 325 Bass 1 (5/5)
Nov 12, 2018
These are in the spray booth now, getting my usual single thick coat of poly. When that dries, they should take an even overall yellow. Pickguards are masonite.
I had to get a new can of poly, the old one had turned to jelly in the last few weeks. It would be interesting to see if it could be liquified again, but since I am spraying it, I am not going to chance clogging up the gun. I did get an idea though - as the level drops in the new can, I will drop clean rocks in to bring it back up. This will keep the air space in the can to a minimum, that is what ruins the stuff.
Nov 14, 2018
The bodies are shot and hung up to dry, and the necks are shot on the front. When I was done, I added rocks to the poly can until the level was right up to the top, then sealed it up. This minimizes the amount of air in the can that the poly can react with, which should extend its shelf life. I wish I had thought of that before.
Nov 18, 2018
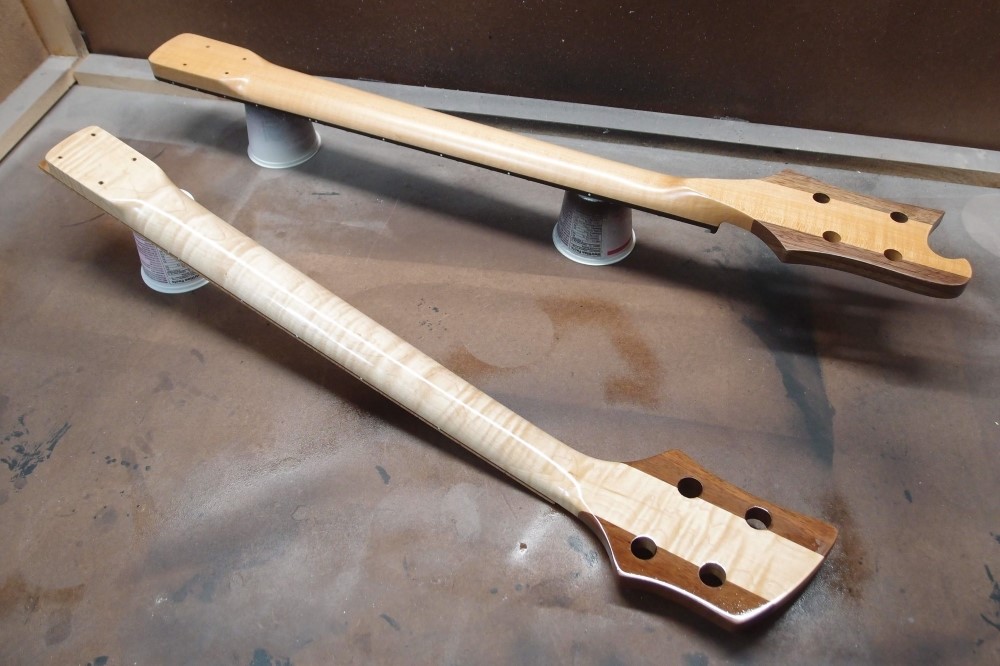
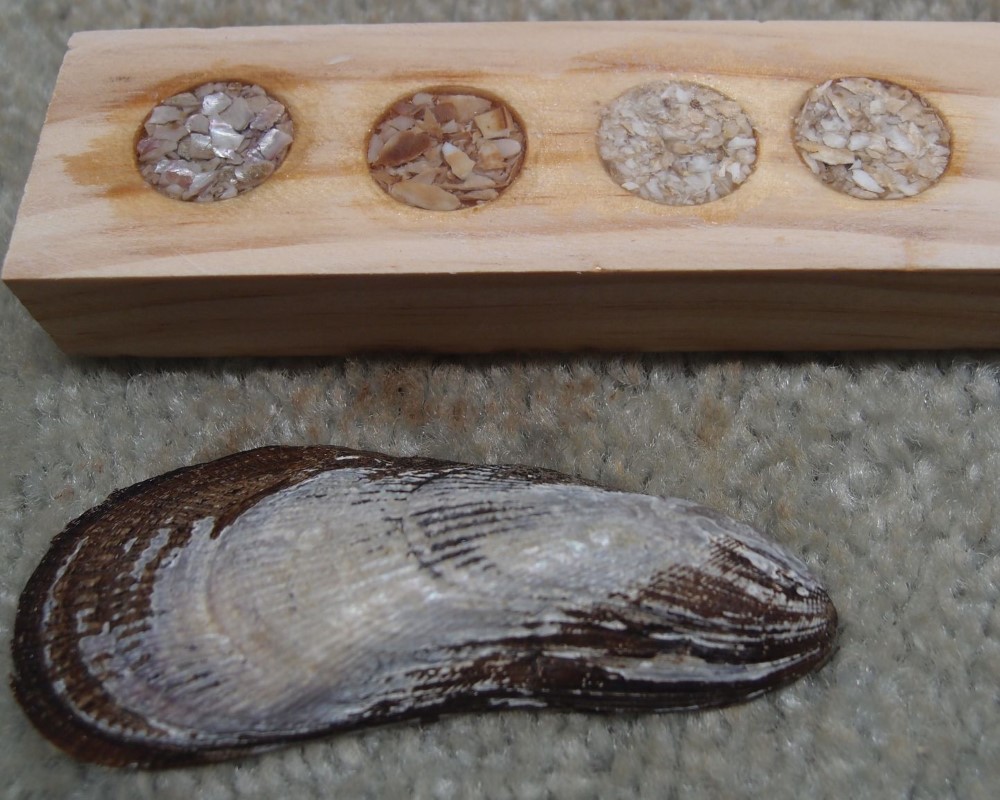
Compare the Home Depot wood in the foreground to the "luthier grade" in the background. You have to pick through the pile and get lucky, but it can really be worth the effort. As far as suitability for a guitar neck, I've built quite a few now, and never had a problem. The maple on the east coast is extremely good stuff. I think the 'luthier' wood in the other neck is some inferior western species, I've never seen maple like it around here.
Dec 13, 2018
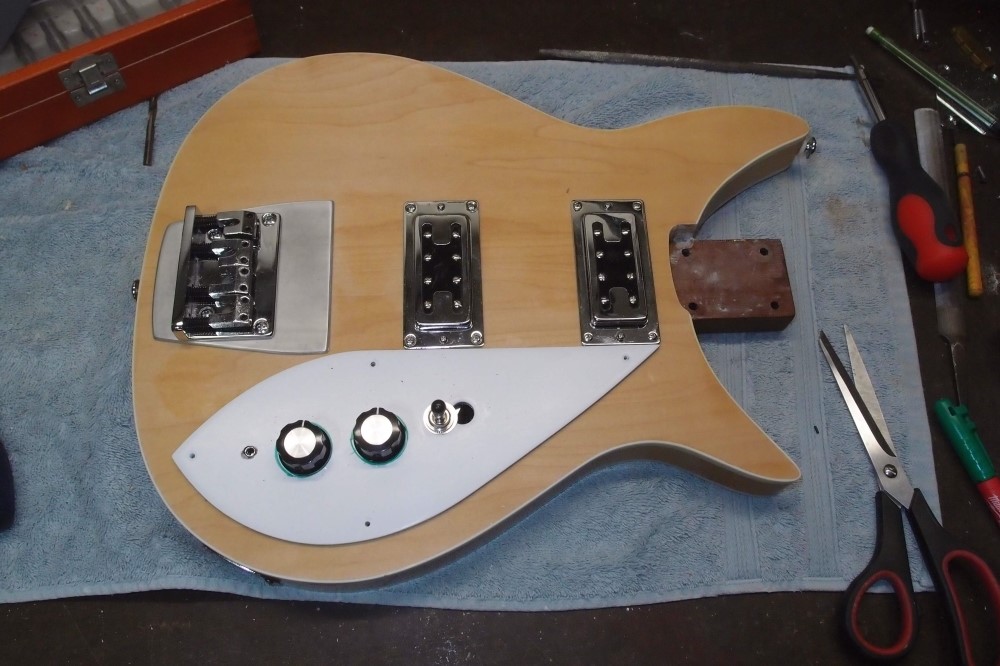
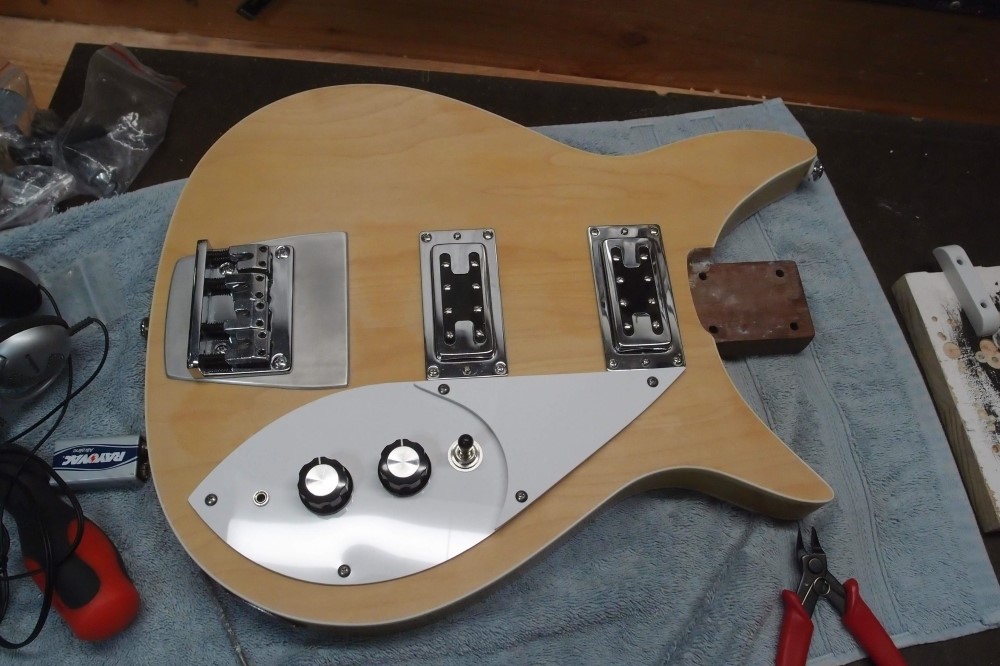
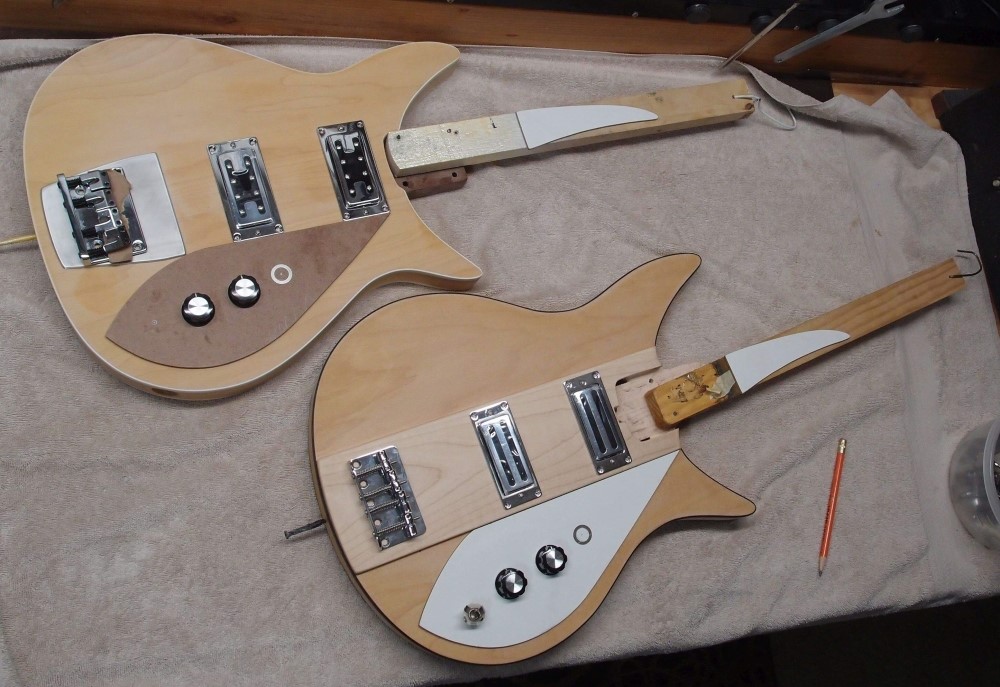
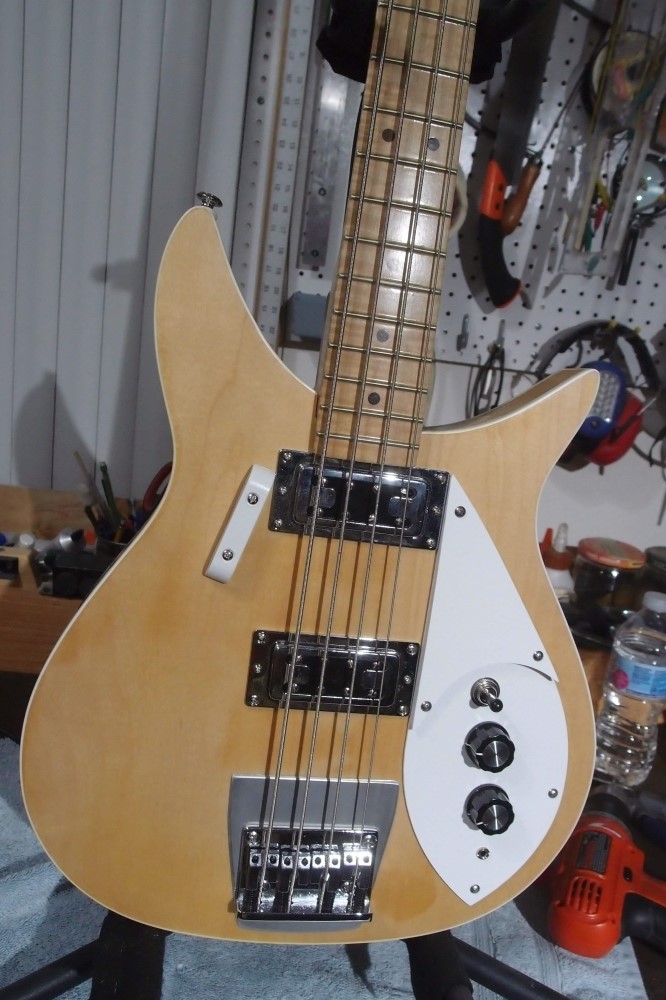
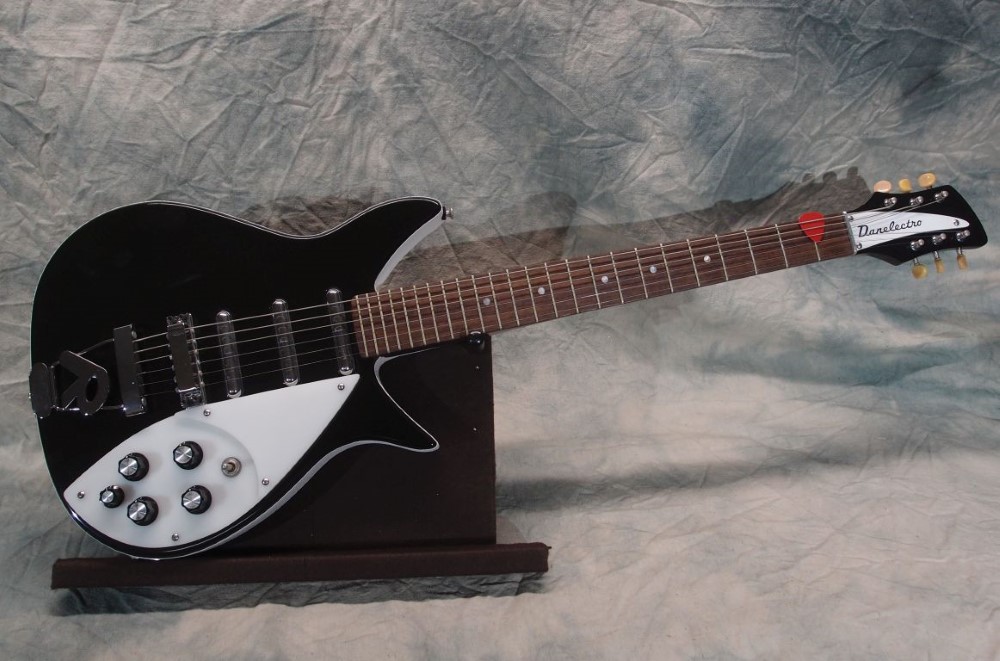
New pickguard and all wired up - basic switch-volume-tone. The tiny jack is a headphone amp. This guitar was originally going to get active controls, so it has a battery box on the back. The headphone amp has been lying around for a long time, it keeps the battery box from going to waste. And it works. The battery box forced me to move the switch, which bunched up all the controls. To balance things out, I added a Ric flying pickguard.
I tried un-polishing the neck, but it is too edgy and went through in a couple of spots, so it got a fresh coat of poly. I had finished that neck in Varathane, and it came out rather lumpy, looks much better now. Varathane is good for grain-filling undercoats, but for the final finish, sand it down and topcoat with Minwax. Final assembly tomorrow. I'll have to scare up a set of strings for it.
Dec 14, 2018
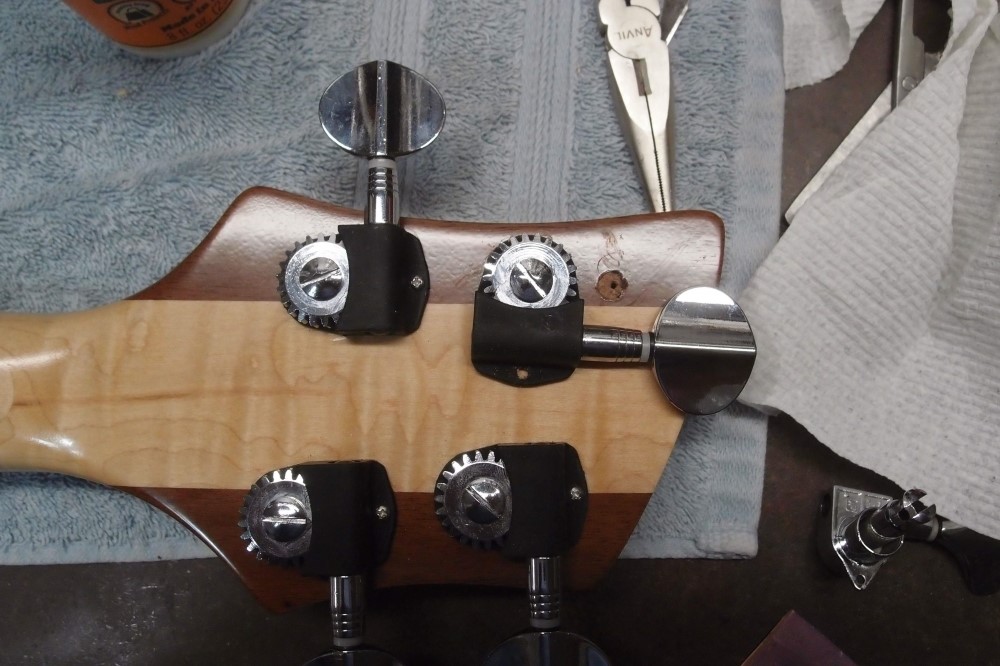
Installing tuners, when, aw crap, little tiny screw twisted off. Using a small drill bit in the drill press, I drilled around the stump until I could get it with a needle-nosed pliers and twist it out. Then I drilled out the mess to a neat 1/4" and dowelled it. Nothing shows.
Dec 15, 2018
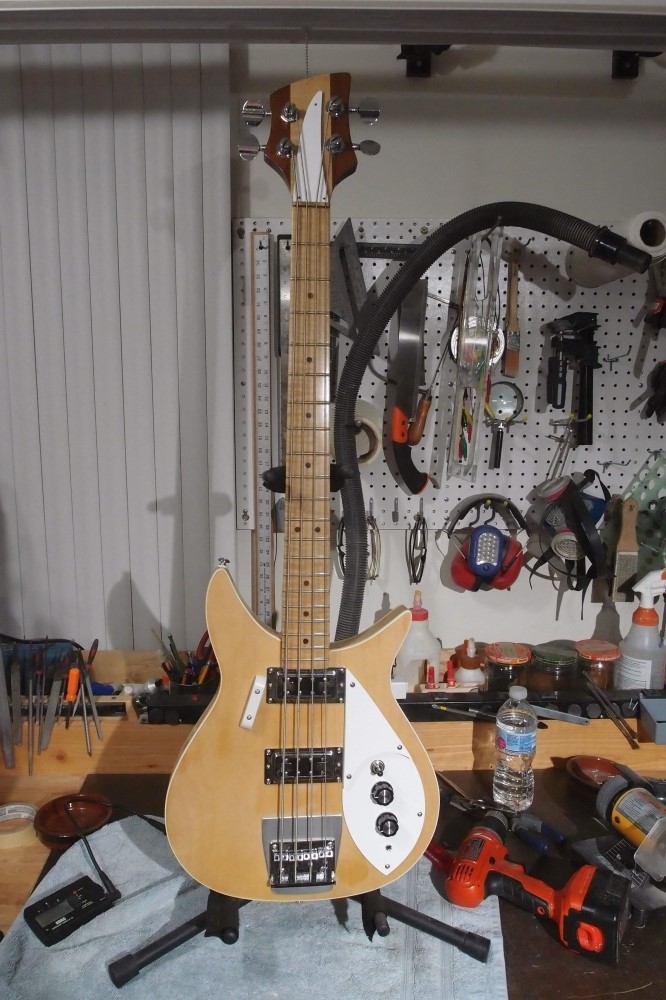
All together and strung up. Pretty nice, considering it is made out of the cheapest parts available and junk. I threw away the body at one point, and the neck was made for a different body, while this body was originally set up for a different scale. Even the white thumb rest is something that has been knocking around the parts box for years, as was the headphone amp.
The neck is all flamed maple, with rosewood dots and a walnut side stripe with aluminum markers. The fretboard is one of my earliest ones. I cut it too thin but salvaged it with the walnut piece. The brass string nut is a hand-me-down as well.
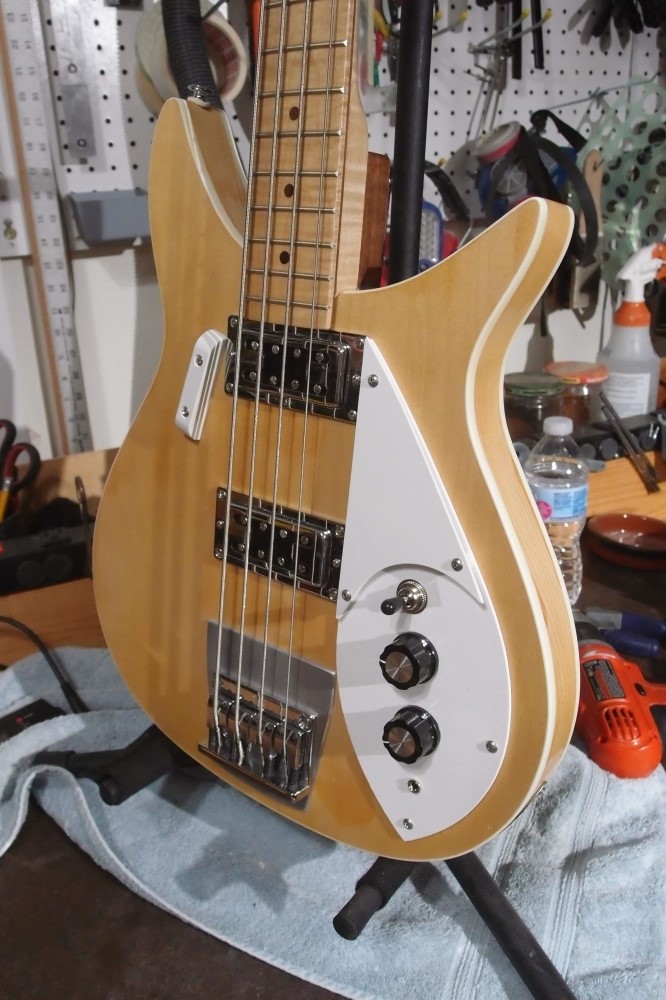
The body was my first binding job. It's not perfect, but it's not bad for a first time. The whole guitar is a mash-up of test pieces that came out better than expected.
Right now it is a "No-backer", but I have a couple of ideas, or maybe I'll just leave it this way.
I had to do some final surgery on the neck mounting, but it's all good now. I like the aluminum plate under the bridge. I figured the extra height would require a neck shim, but not really. The strings are a hodge-podge from the string box. I shortened a long-scale E, the rest fit, some just barely. I eyeballed the action into place and set the truss rod. I found another set of strings for the other Ric, threw away some remaining oddballs, and that cleared out the string box.
Note how the 20th fret overhangs the body. This is the conversion for 32" to 30", the same way you would convert from 34" to 32". I decided this body was too small and light for a 32" neck, so I stole this 30" neck from the other Ric and made a new 32" neck for that one. I also deepened the neck pocket into the body a bit. I think the 30" neck is nicely proportioned with this body.
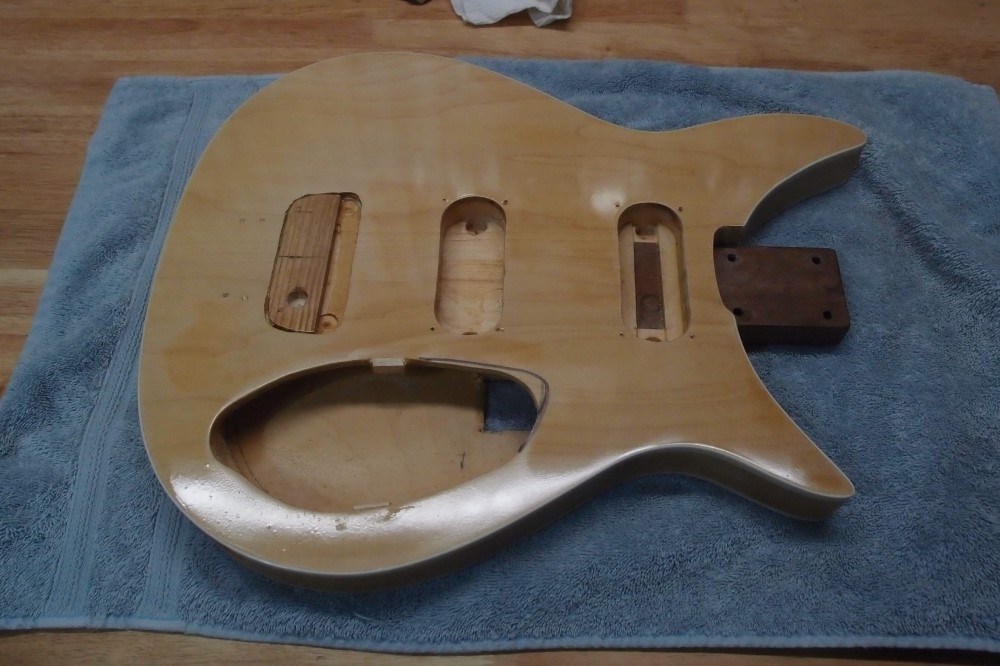
The other major adaptation is the metal bridge plate, which covers the rout for the Ric bridge and gave me some latitude in locating the new bridge. The pickups are located to obliterate the old pickup routs. I would have liked to put cheaper tuners on it, but it was already drilled for these.
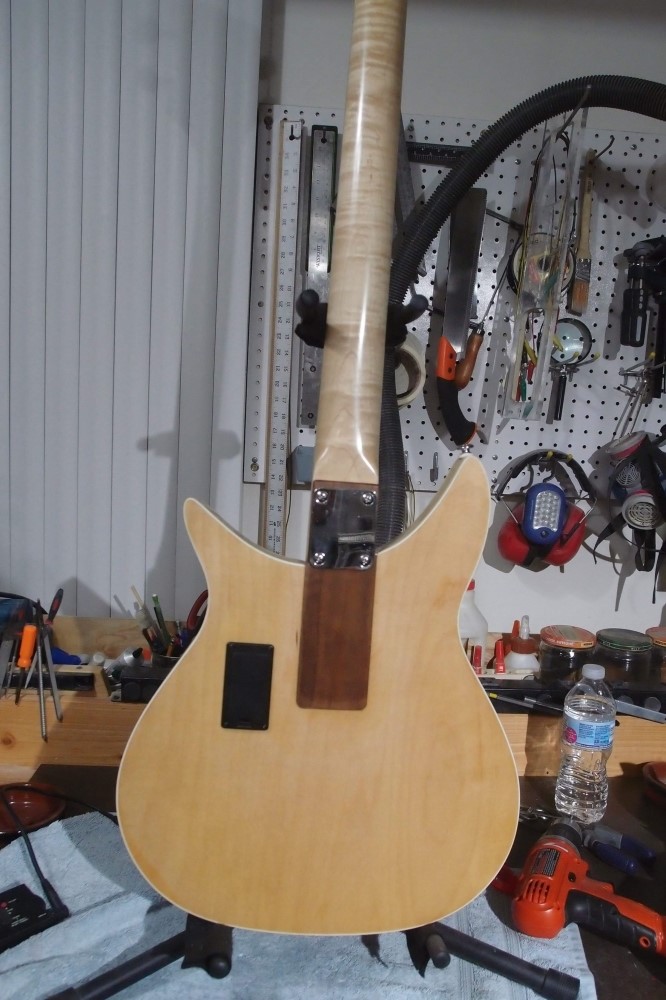
The back, with the walnut neck mounting from scrap. I used a wood biscuit to mechanically lock the end of the walnut tongue into the body, to keep it from prying out. Right now, the finish is perfectly flush over the joint, any change will show. Inside the body, I had to dig out some remnants of the experimental mount and fill in the void with a wood block.
All this work is really not worth it, I'm not claiming it is. I did this build just to see if I could come up with solutions to all the various problems.
No idea what kind of instrument this is yet - good or bad. My experience is almost anything can be set up well if you know what you are doing. If it doesn't work out, I can always break it up for parts. If it does work out, a decent set of strings will be in order.
All-up weight is a bit over 7 pounds, and balance is good. Now it needs to settle a while. I can put the other one together in the meantime. I set out to build one 325 bass, and with mistakes and fixes, I'm going to end up with three. I guess worse things could happen.
Feb 17, 2018
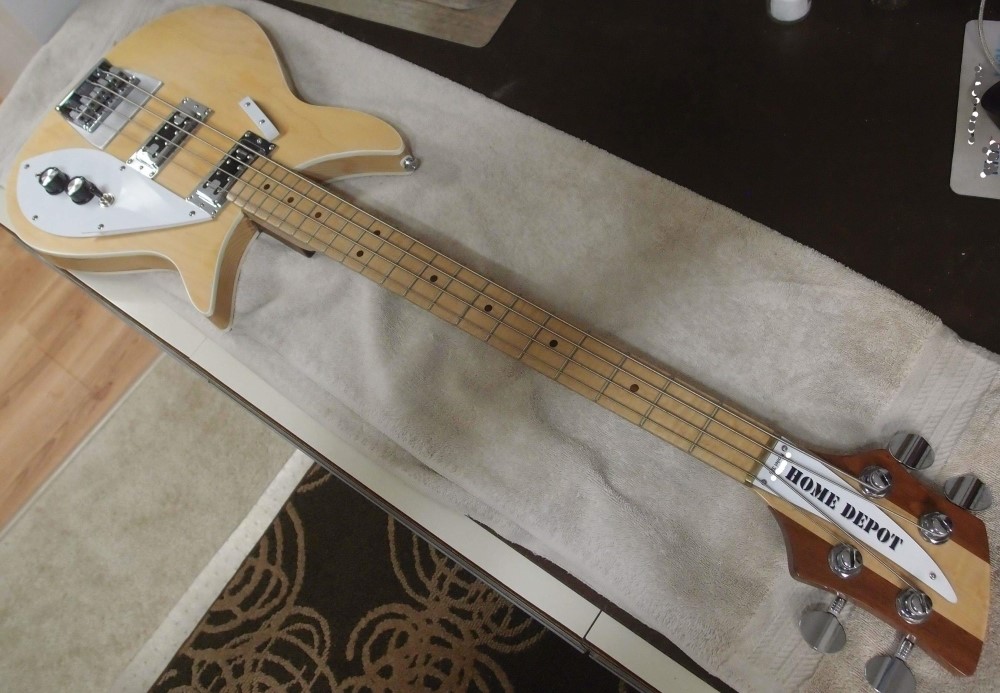
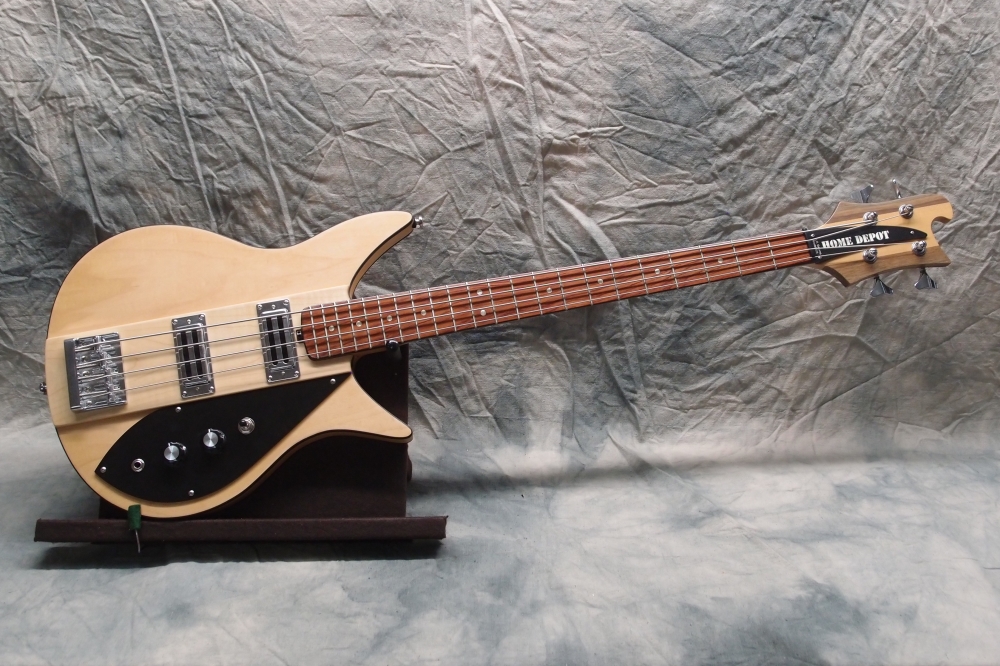
No-backer no more !!! Actually, it should say Lowes, but Home Depot gives me lots of free stuff, while Lowes expects me to pay for everything, go figure, and I am loyal. That's not a logo, it's a stencil font. I even gave it a shadow, using LibreOffice Draw. A headstock doesn't look complete without saying something. Not bad for a piece of dry-erase and a packing label. These things go for hundreds of dollars on eBay.
If you want to build a nice guitar, craftsmanship, and attention to detail count for a lot more than spending a pile of cash. This little assemblage of mistakes (and its sibling) is one of the most fun builds I've done in a long time.
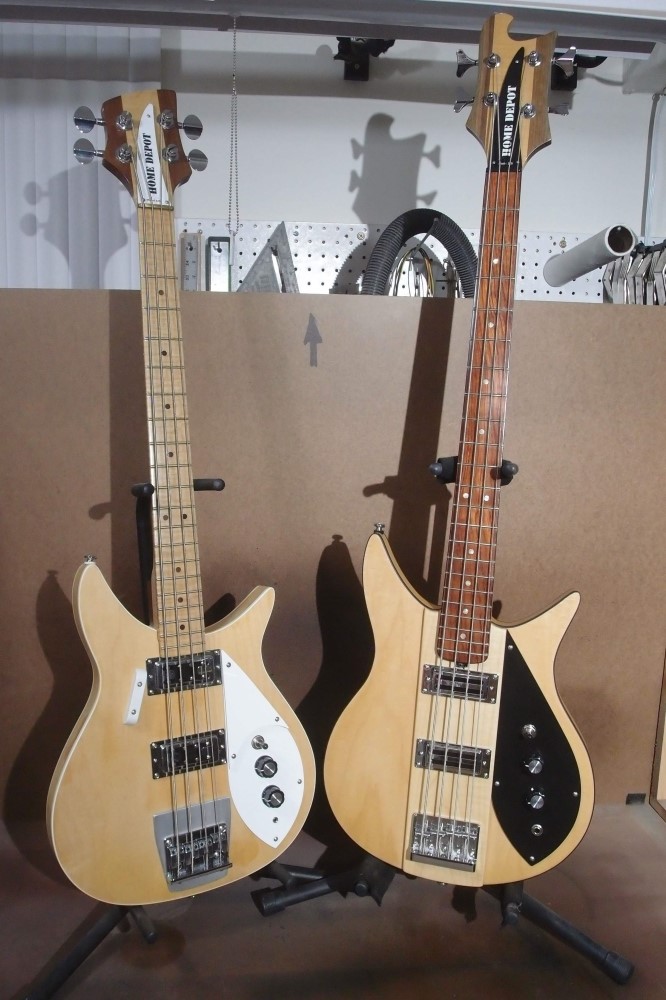
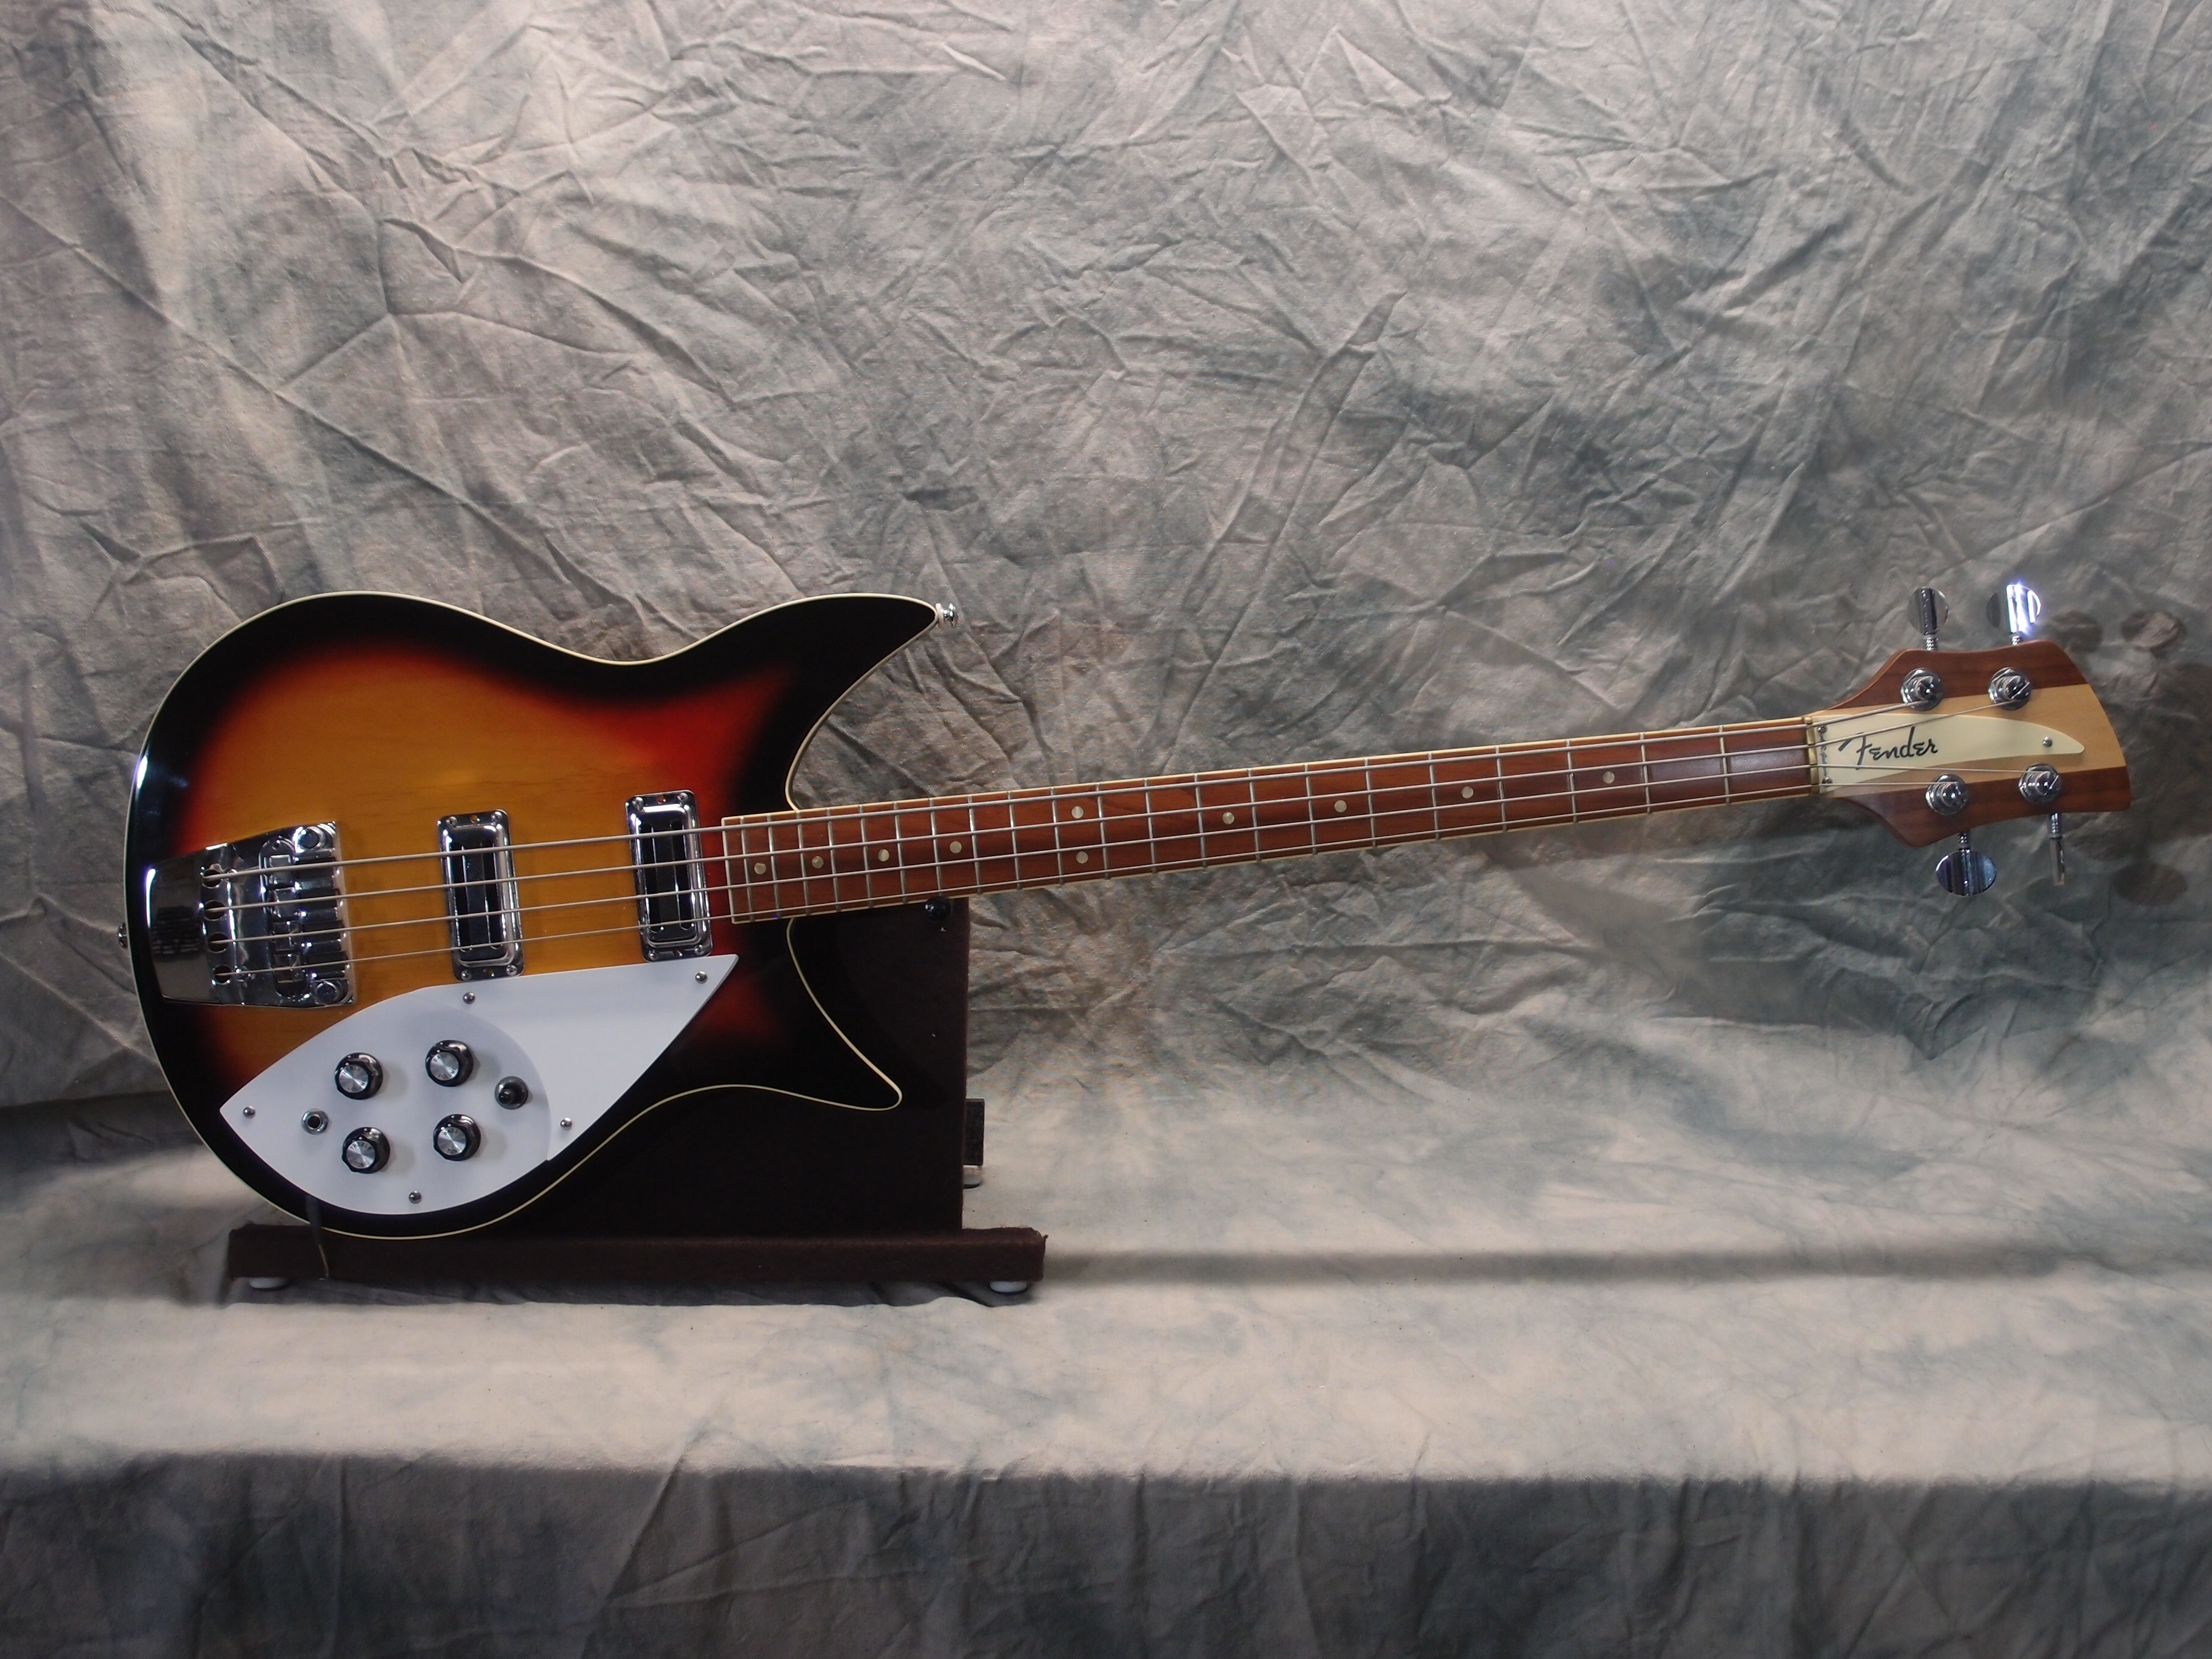
Both of the throwaway Rickenbacker Mash-ups, finished. Both weigh about 7.1 pounds and balance almost perfectly. On the right, sporting new bridge and strings, the left will get new strings today. Both are maple plywood over a white pine core.
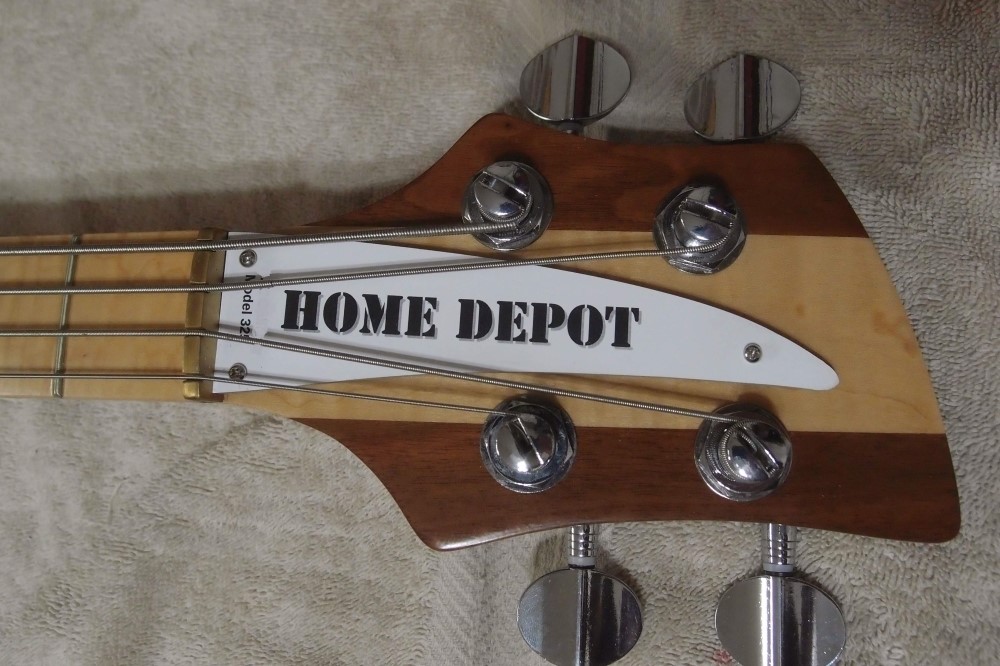
Detail of the headstock, showing printed sticker truss rod cover.
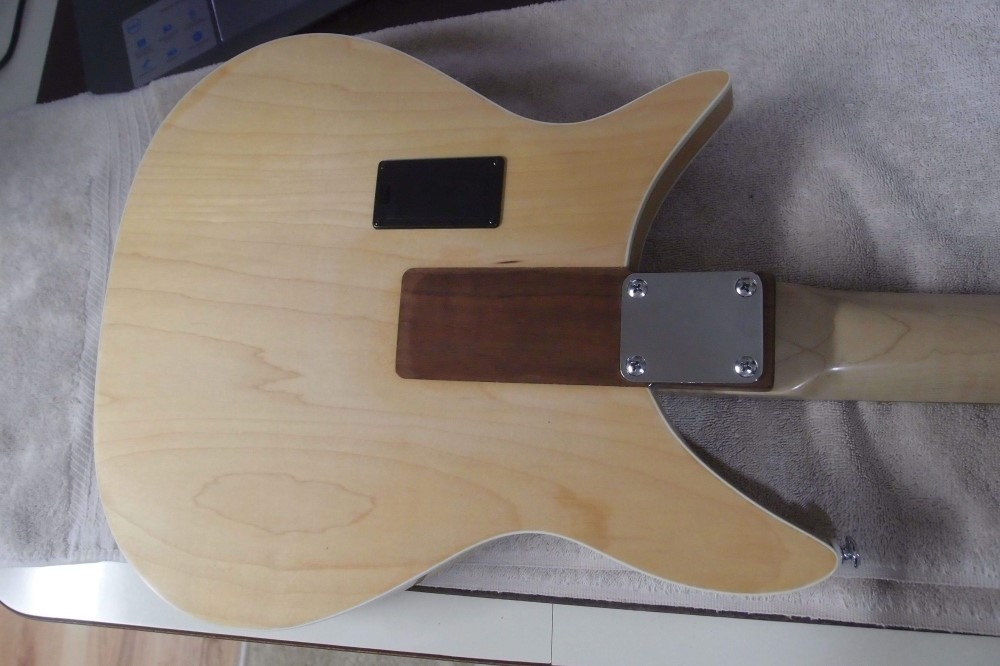
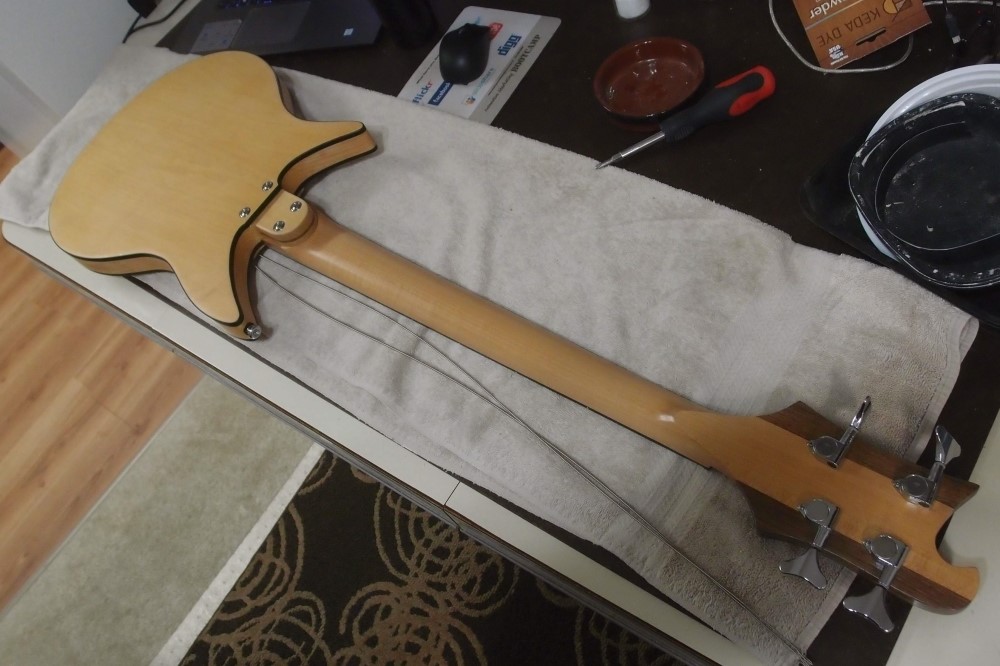
Some back shots, showing how the neck mountings were adapted. Almost every detail of these started out as one thing and finished as another. As I said, it was fun working around all the things I did initially and then changed. The major challenges were adapting different necks to each body and covering up routs from previous plans. I like the way the black binding fits around the new top piece.
Neither of these is perfect, I can find plenty of little flaws. But at arm's length, they came out much better than they had any right to. I'll be tweaking the setups over the next couple of months. The big one has its truss rod in upside-down and pulling forward right now. But even now they both play great and sound a lot like real Rics.


Questions or Inquiries?
Just want to say Hello? Sign the .