Finishing
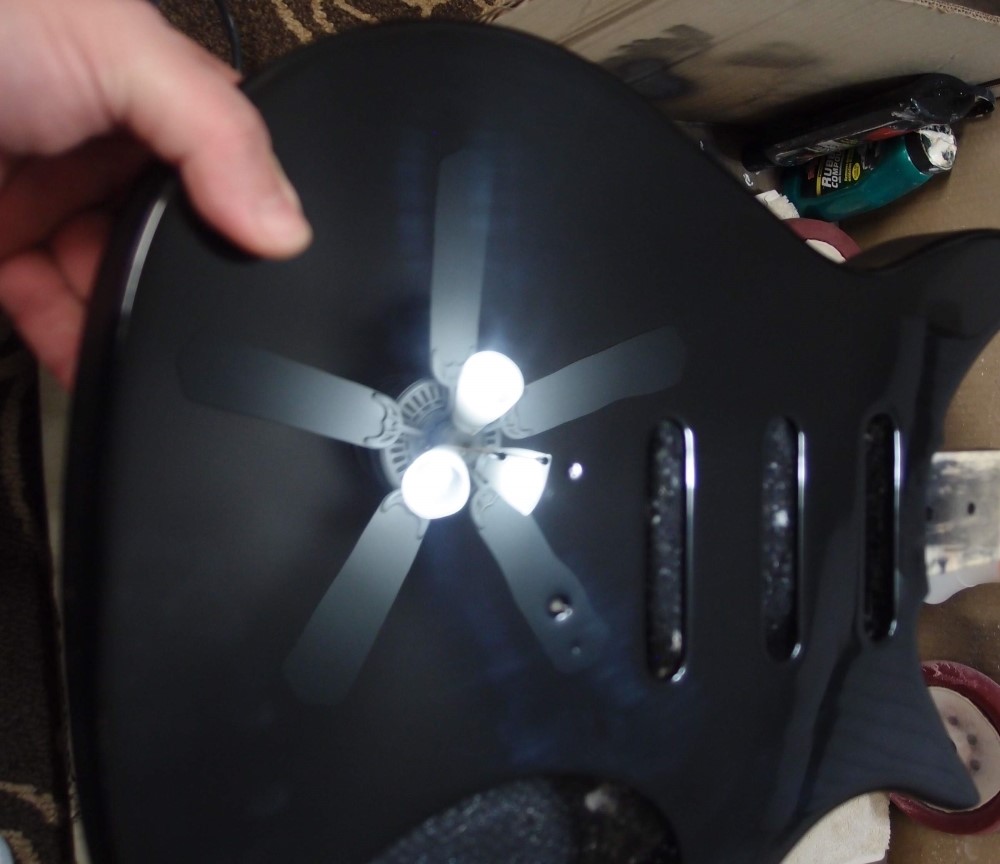
Black Polyurethane body. This is during the polishing process, you can see it is not even clean. The front came out like black glass. I smoothed the orange-peel with 1500 grit wet, then 2000 and 3000. Then I switched to the random orbital with a red sponge cutting pad and Turtle Wax rubbing compound that claims to remove 1200 scratches. Shouldn't be any 1200 scratches, since I started with 1500. That came out shiny, but with swirl marks in the light. Then I switched to another red cutting pad with Meguiar's Ultimate Compound, and finally a softer yellow pad with the same Meguiar's. At that point, it was pretty much a factory finish. I didn't work as hard on the back, it is nice, but will soon enough encounter a zipper or belt buckle, so the effort would be wasted.
Wikipedia:
Polyurethane varnishes are typically hard, abrasion-resistant, and durable coatings. They are popular for hardwood floors but are considered by some wood finishers to be difficult or unsuitable for finishing furniture or other detailed pieces. Polyurethanes are comparable in hardness to certain alkyds but generally form a tougher film. Compared to simple oil or shellac varnishes, polyurethane varnish forms a harder, decidedly tougher, and more waterproof film. However, a thick film of ordinary polyurethane may delaminate if subjected to heat or shock, fracturing the film and leaving white patches. This tendency increases with long exposure to sunlight or when it is applied over soft woods like pine. This is also in part due to polyurethane's lesser penetration into the wood. Various priming techniques are employed to overcome this problem, including the use of certain oil varnishes, specified "dewaxed" shellac, clear penetrating epoxy sealer, or "oil-modified" polyurethane designed for the purpose. Polyurethane varnish may also lack the "hand-rubbed" luster of drying oils such as linseed or tung oil; in contrast, however, it is capable of a much faster and higher "build" of film, accomplishing in two coats what may require multiple applications of oil. Polyurethane may also be applied over a straight oil finish, but because of the relatively slow curing time of oils, the emission of certain chemical byproducts, and the need for exposure to oxygen from the air, care must be taken that the oils are sufficiently cured to accept the polyurethane.
Acrylic resin varnishes are typically water-borne varnishes with the lowest refractive index of all finishes and high transparency. They resist yellowing. Acrylics have the advantage of water clean-up and lack of solvent fumes, but typically do not penetrate into the wood as well as oils. They sometimes lack the brushability and self-leveling qualities of solvent-based varnishes. Generally, they have good UV resistance.
In the art world, varnishes offer dust resistance and a harder surface than bare paint – they sometimes have the benefit of ultraviolet light resistors, which help protect artwork from fading in exposure to light. Acrylic varnish should be applied using an isolation coat (a permanent, protective barrier between the painting and the varnish, preferably a soft, glossy gel medium) to make varnish removal and overall conservation easier. Acrylic varnishes used for such a final removable art protection layer are typically mineral-spirit–based acrylic, rather than water-based.
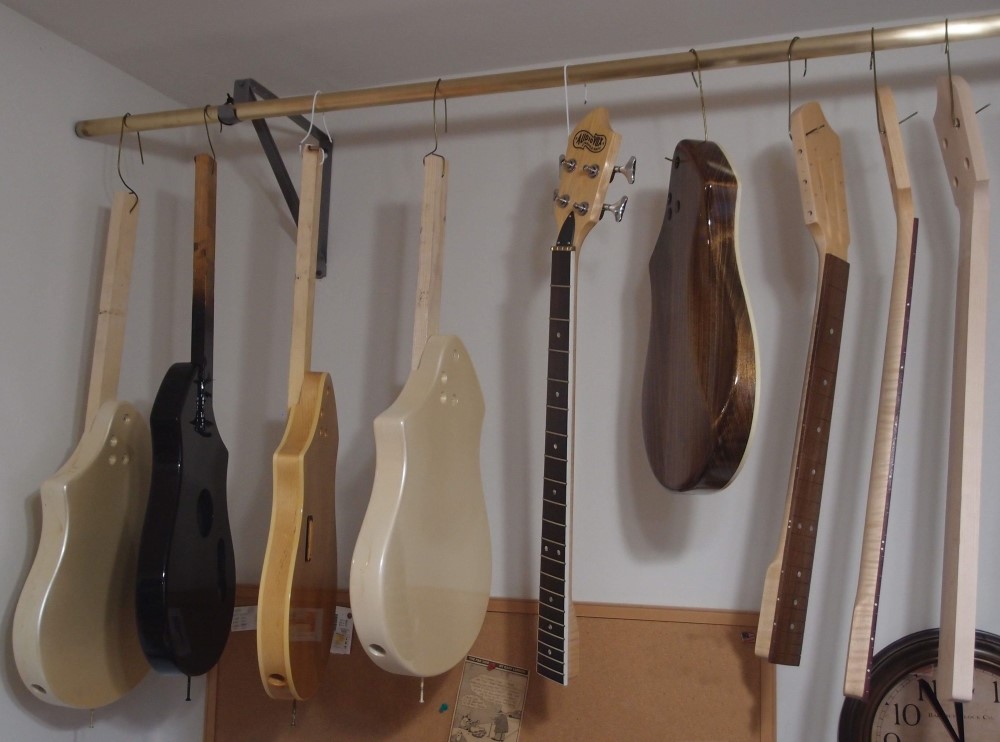
If you have a hot attic, that's a great place to harden-off a finish.
This rack is made from an old shower curtain rod and some cheap closet brackets.
The hooks are custom-crafted from coat hanger wire.
It will be a bad day when the government takes away out coat hangers!

Questions or Inquiries?
Just want to say Hello? Sign the .