DIY Buffing Machine
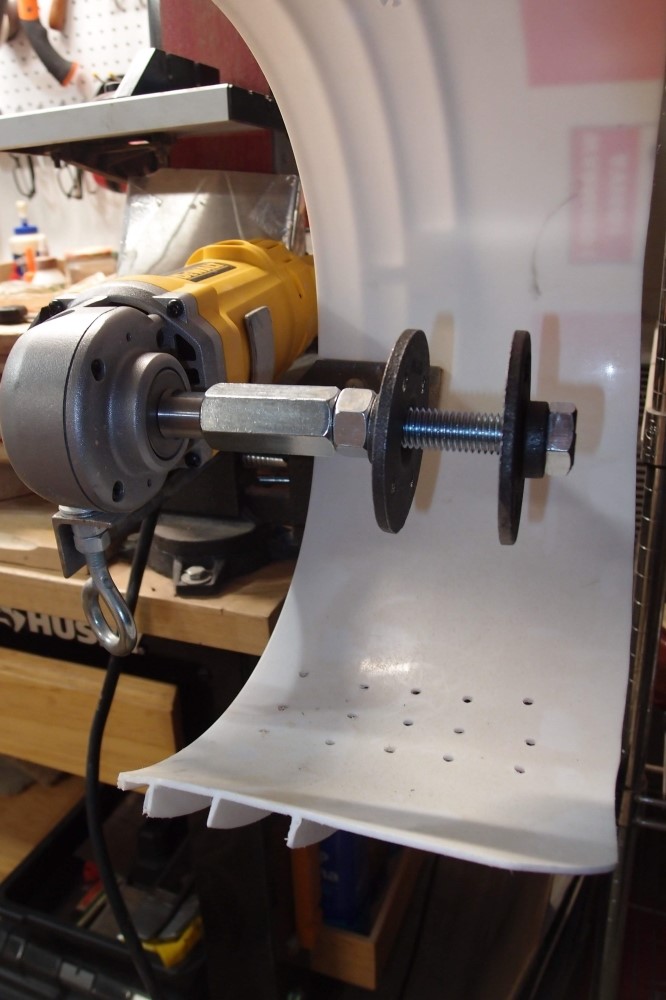
This is a prototype arbor I made from Home Depot parts. A 5/8" coupling nut fits my DeWalt DWP849 variable-speed polisher. A 5/8" bolt holds a pair of plumbing flanges. The polisher is held in the bench vise in a bracket I built for it. You can see the eye-bolt that screws into the handle mounting.
Then I hunted around online, and got two fat 10" flannel polishing wheels with 5/8" center holes and some polishing compound. These will mount in the arbors, and give me a dry polishing setup that breaks down and stores in a toolbox. One wheel will be coarse, the other fine; changing over should be trivial. Until I have the wheels, I'm not sure exactly how to assemble this, and if it works, I might want to double up the wheels, so I got a pile of hardware, and when I settle on the final design, I'll take advantage of Home Depot's liberal return policy.
Bayland Products Inc. Buffing Wheels, Buffing Compounds - they now have 14" loose flannel wheels special for guitar polishing. Remember - the larger the wheel, the faster the edge moves, the faster the heat builds up. Most guitar polishers spin slower than this setup, so a larger wheel might not be a good idea.

I assembled the buffing wheels like this. I have seen wheels like this fixed with just washers, but I decided to go with the flanges. All the rest of the parts will go back to the store.
The polishing wheels are very thick and fluffy flannel, I don't think there will be any need to double them up. Here is an assembled wheel, and parts for a second. To make the flange fit snug and centered on the bolt, I inserted a threaded PVC pipe fitting and cut it off. The coupling nut serves both to assemble the arbor and fix it to the tool. The threads are self-tightening in use. With a bolt head on the end, there is no worry that this might come apart and launch itself across the room. The wheel rotates down at the front, as it should.
The flanges and the bolt are 3 inches, the coupling nut is 2 inches, the wheel is 10 inches. All the threads are standard 5/8-11. Each arbor costs about $15 to assemble, all from Home Depot.
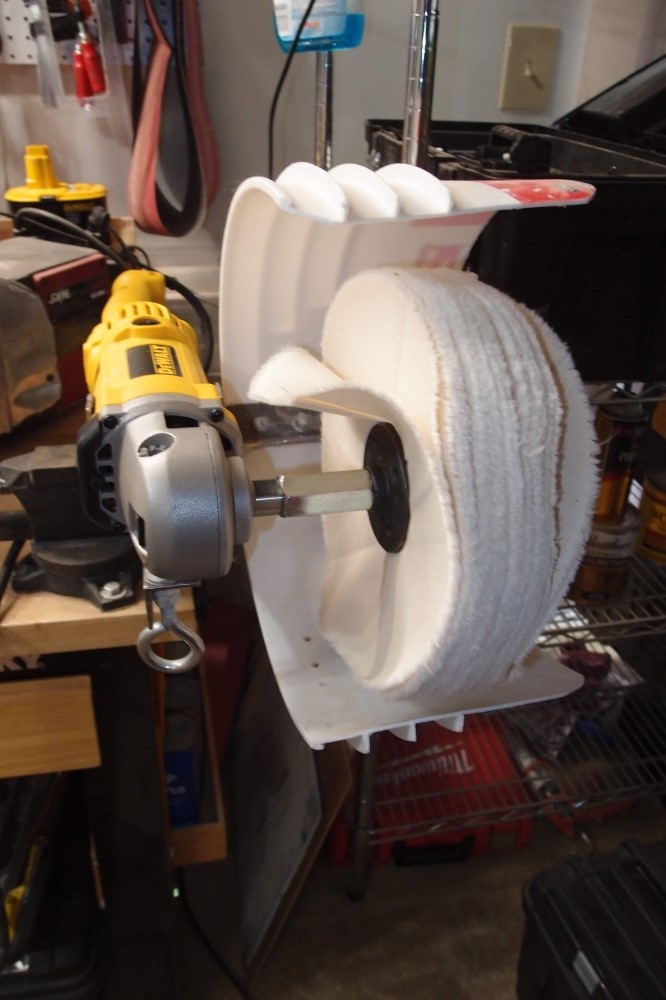
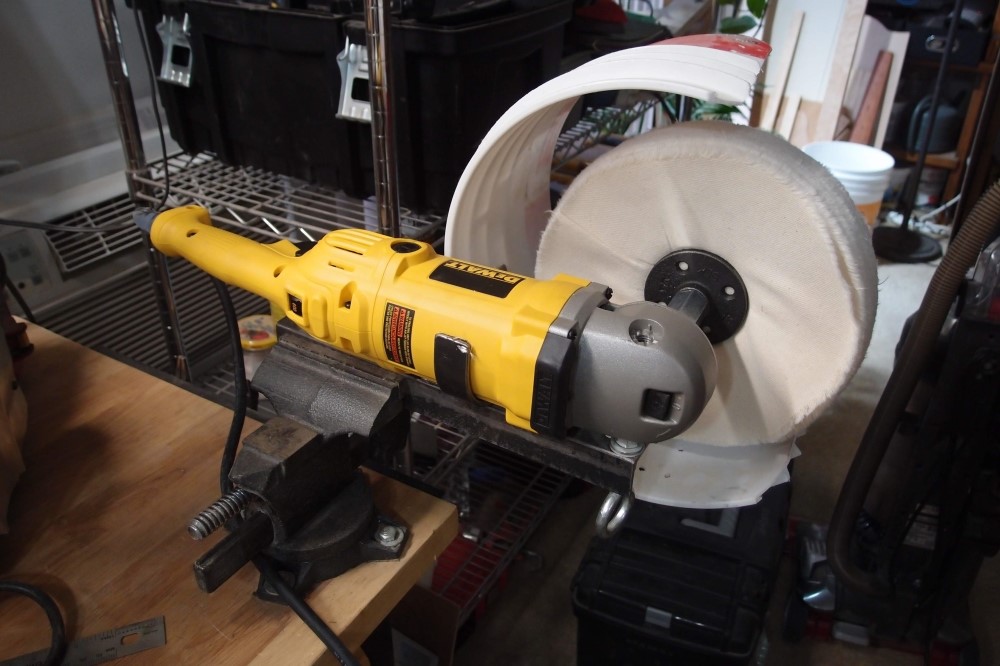
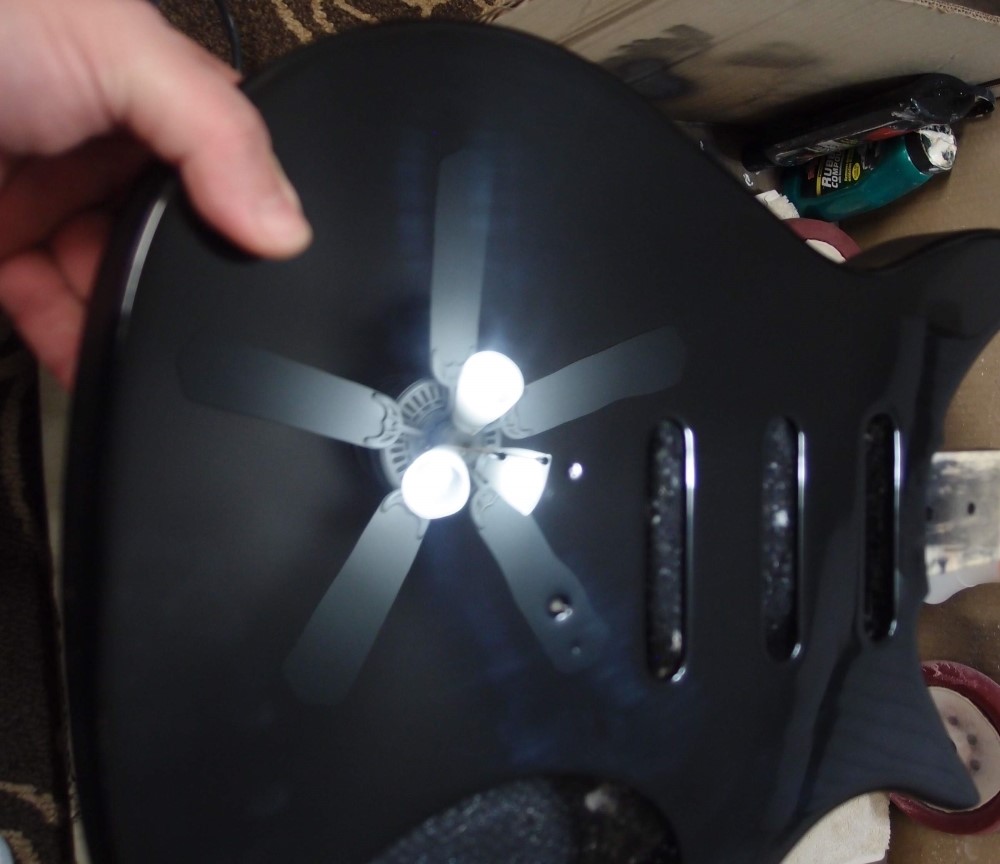
Some shots of the whole assembly, with the shroud I made for wet-polishing. No need for the splash guard anymore, I think I will remove it.
One thing that is good about this is that the whole thing is self-tightening, not self-loosening. In use, the coupling nut wants to spin onto the grinder, and the bolt wants to spin into the coupling nut, so it will not disassemble itself at some inopportune moment. You can spin it on finger-tight, but when you are done with a job, you need a wrench to take the wheel off the tool.
Changing wheels is a snap, no need to disassemble them, which might affect the balance. The problem with a 10" wheel is that it will wear down to unusable faster than a 12" wheel. At the rate I use it, that may not matter. These wheels fit the bolt exactly, and I wanted this to be foolproof. A bigger wheel might also be too much for the whole assembly to hold down.
At 600 rpm, vibration is not bad at all, nor is noise. You want to make sure the bracket is clamped very securely in the vise, that would be the major failure mode.
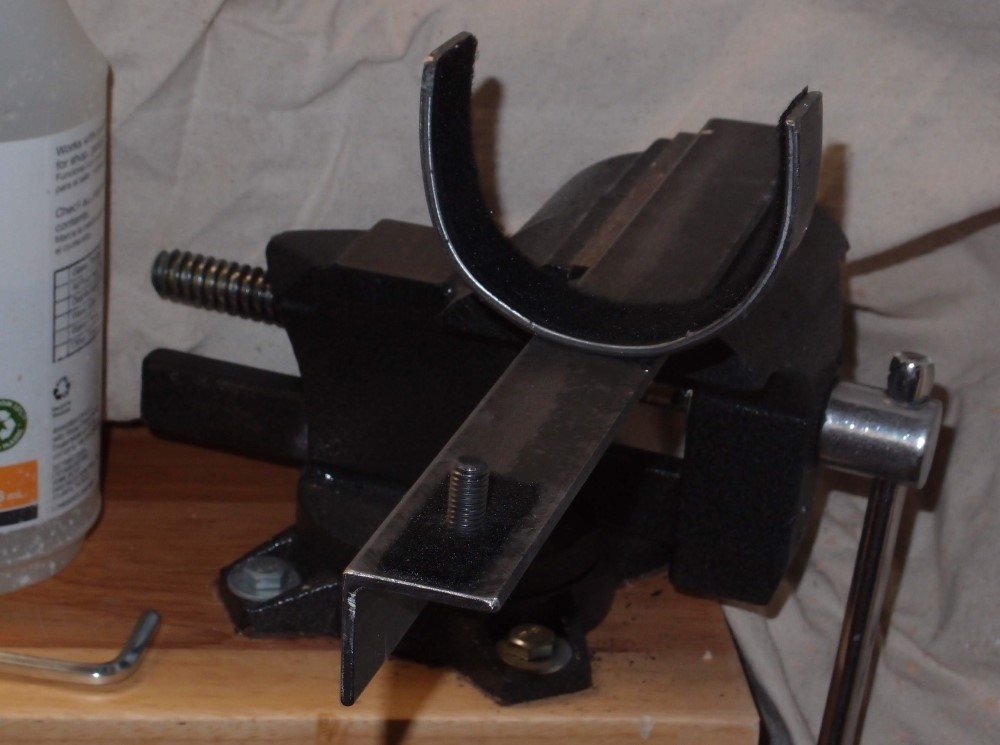
The bracket is made from steel angle. The rotation of the wheel causes a reaction that pins down the handle end of the tool. An eye bolt and assortment of nuts and washers holds the tool by the side handle socket. All the contact points are lined with self-adhesive Velcro for padding. You could just as well build this out of wood, but steel will hold up better against the vibration.
BTW, you can buy a conversion adapter for an angle grinder which gives you a 1/2" thread for about $25. The coupling nut gives you a 5/8" thread for $2. Clamping flanges for polishing wheels are about $50 a set. The pipe flanges are about $5 each, plus some PVC fittings for bushings. The pipe flanges may not even be necessary, but given the cost of the flannel wheels, it makes sense to protect them.
This contraption actually works very well. Noise and vibration are minimal, results are excellent. And the whole thing breaks down to fit in a big toolbox. Here is a parts list to build your own:
- DeWalt DWP849X polisher
- 10" flannel buffing wheel with 5/8" hole
- buffing wheel rake
- coarse buffing compound (red)
- medium buffing compound (white)
- fine buffing compound (blue)
Home Depot:
- 5/8" coupling nut
- 3" x 5/8" hex bolt
- 3/4" plumbing flange ( need 2 per arbor )
- 3/4" plastic adapter ( need 2 per arbor )
You'll need separate wheels dedicated to each grit - one for coarse and one for fine. You can convert a fine wheel to coarse, but not the reverse. You don't really need the medium compound or a wheel for it.
You could get by with just one arbor if you don't mind disassembling it to change wheels. I built two spindles so I don't have to do that. The 5/8" thread comes from the polisher. The pipe adapters are to make the 3/4" flanges center on the 5/8" bolt. Thread them into the flanges and cut off the excess.
Set the polisher to its lowest speed - 600 rpm. With a 10" wheel, that gives a slow enough polishing speed to avoid overheating the workpiece. Typically, it gets a little warm, that's all. Over time, the 10" wheels will wear down and have to be replaced, but you should be able to get several guitars from each set.
The mounting bracket is not difficult to make either, all standard parts from Home Depot. I joined the two parts with a 1/4-20 bolt, welding would be better. For padding I used velcro. The fixing bolt is an eyebolt with a stack of nuts and washers that fits the side handle socket on the polisher. Be careful with the aluminum threads on the polisher!
To start, wet-sand the workpiece with 1500 to remove orange-peel and small imperfections. Block-sand flat faces, sand very lightly at corners and edges where it is easy to go through. Those places do not need to be perfect, put your efforts into the flat surfaces. Finish with an overall sanding with 2000 grit.
Polish the whole piece initially with the coarse grit. This will reveal places that need more sanding. Repeat until you are satisfied, then switch to the fine grit wheel to finish the job. I apply a coat of automotive wax for a real shine, then clean up with furniture polish. With practice, you will be amazed at what you can do.
Questions or Inquiries?
Just want to say Hello? Sign the .