DIY Polishing Machine
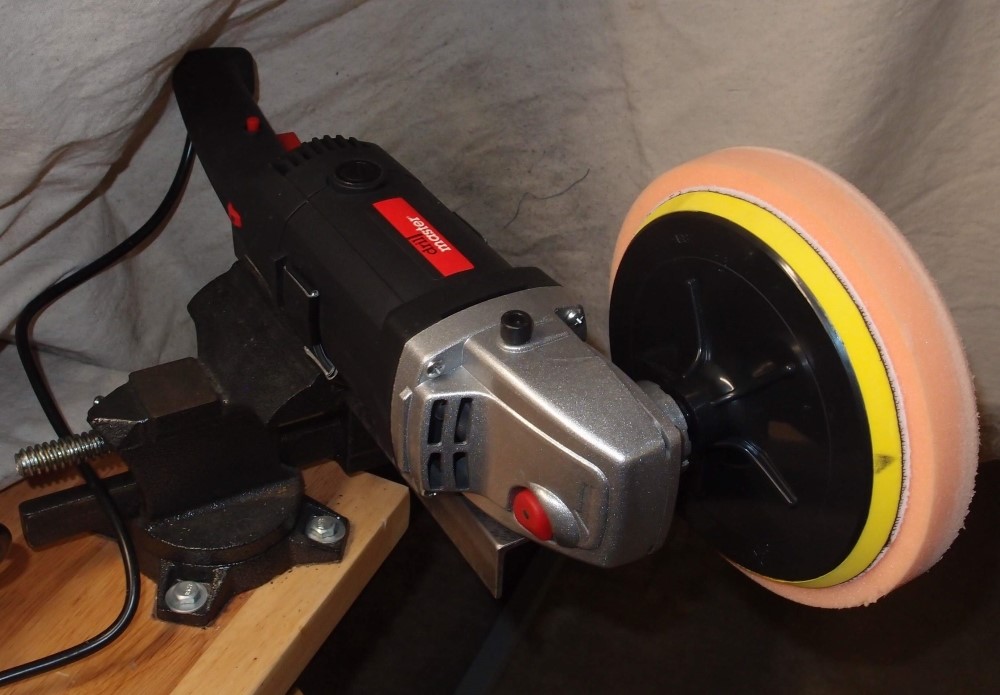
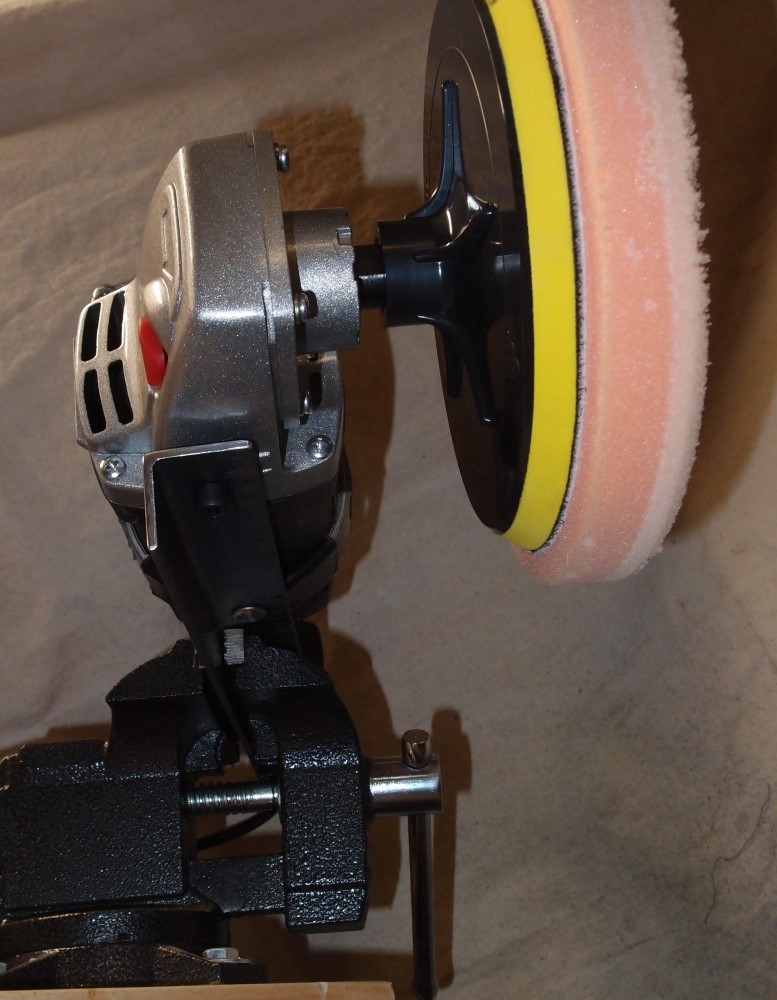
This was my initial attempt at a polishing machine. Not pictured is the shroud I made for it to contain the spray.
This is for wet-polishing with sponges and automotive polishing compound. It is a very messy process - drops of "mud" fly everywhere. However, it does work. It takes great care to avoid going through the finish, which is a disaster. I have since moved to dry-buffing with cloth wheels.
The Harbor Freight polisher blew up a few days past the measly 90-day warranty. These Chinese tools often have almost no grease on the gears and bearings, and immediately start to tear themselves up inside. But I was expecting that, and had remedied it first thing, so I had to wait for some other part to fail. The trigger - easily replaceable, if you can get one, which you can't. That's today's lesson on cheap tools. I replaced it with a DeWalt that is still going like new.
Questions or Inquiries?
Just want to say Hello? Sign the .