Danelectro Bridges
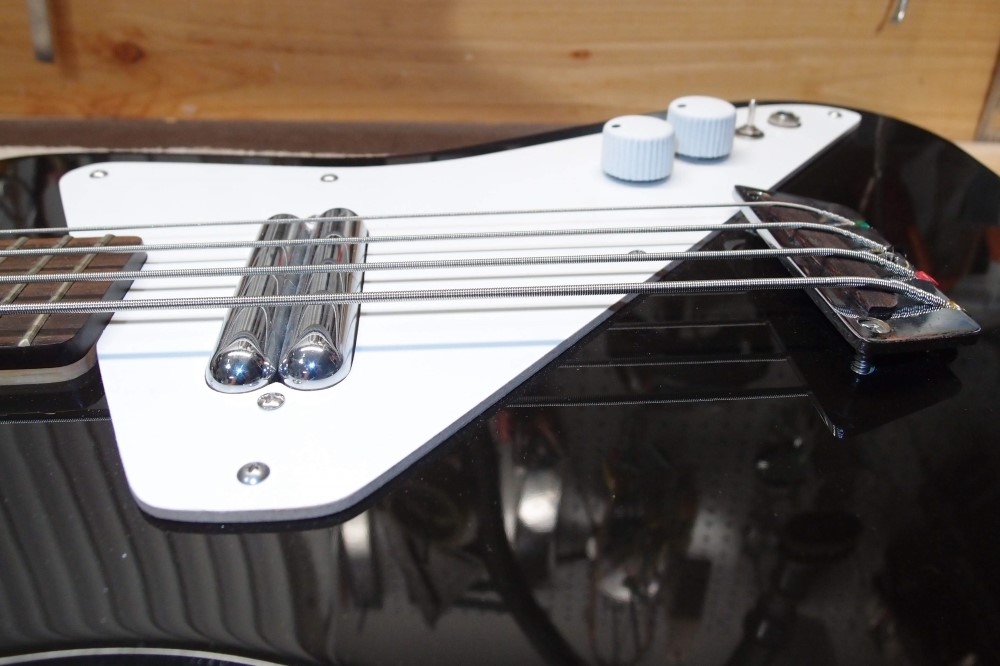
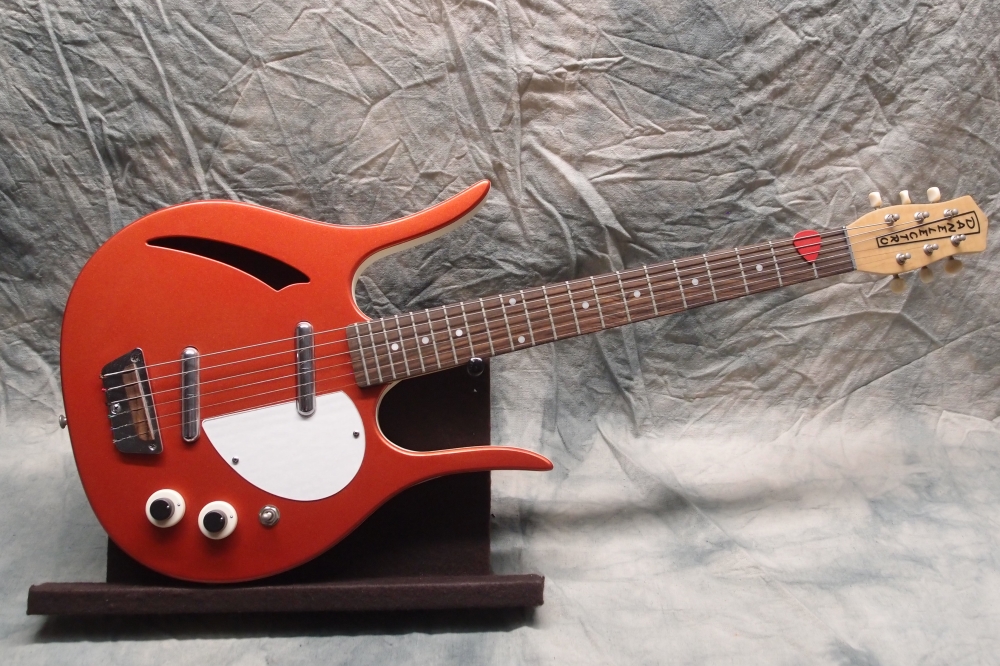
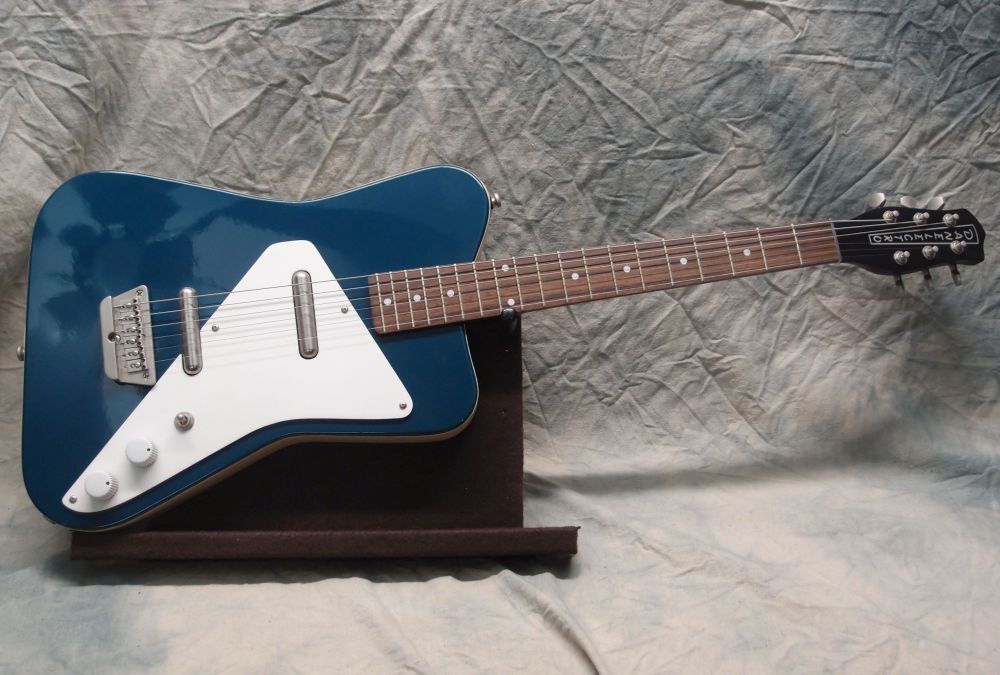
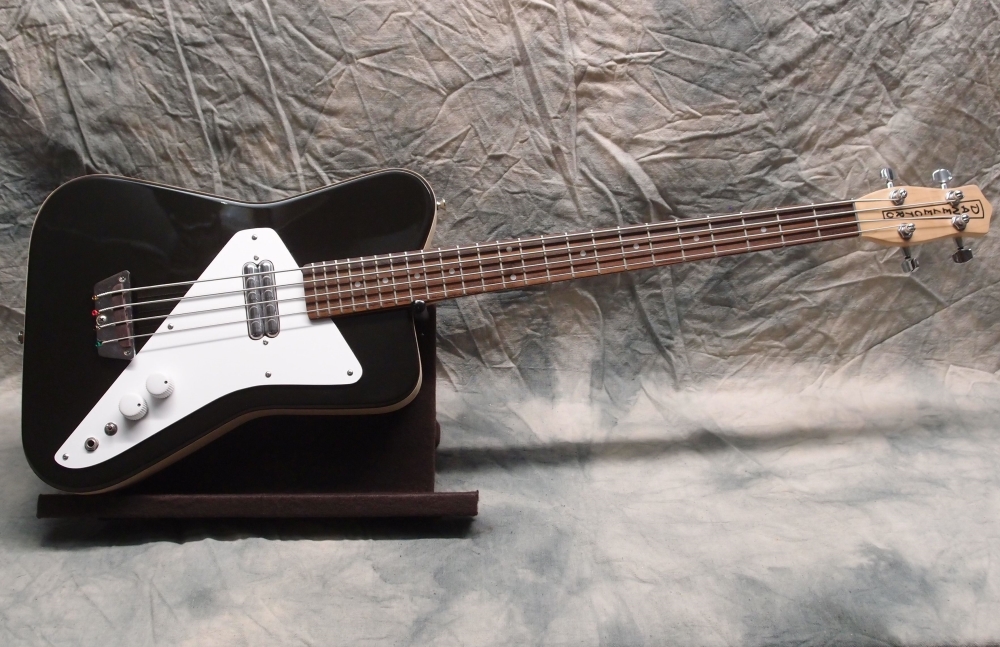
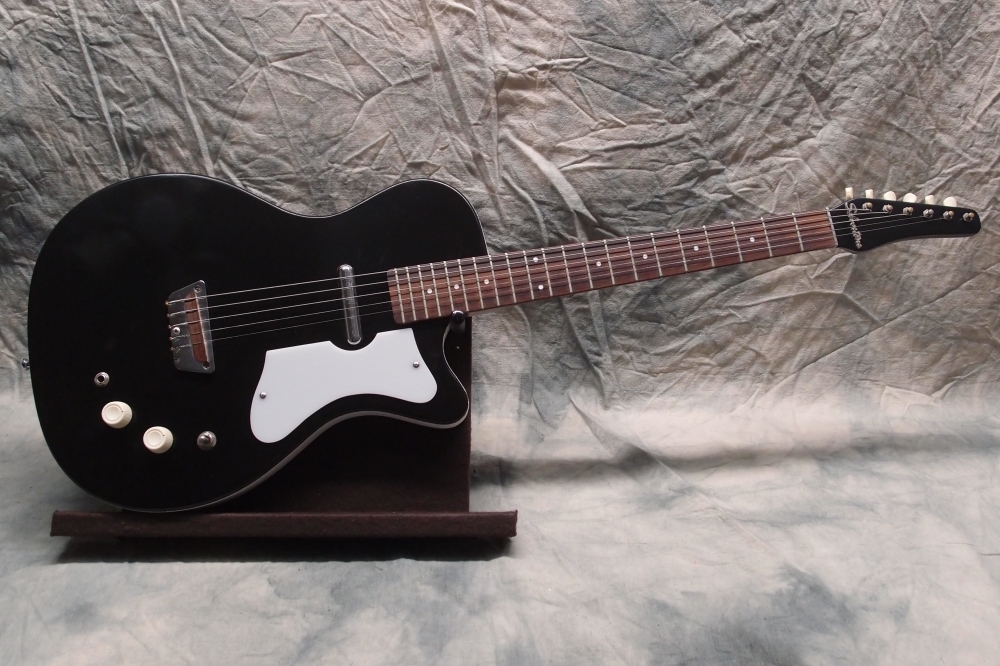
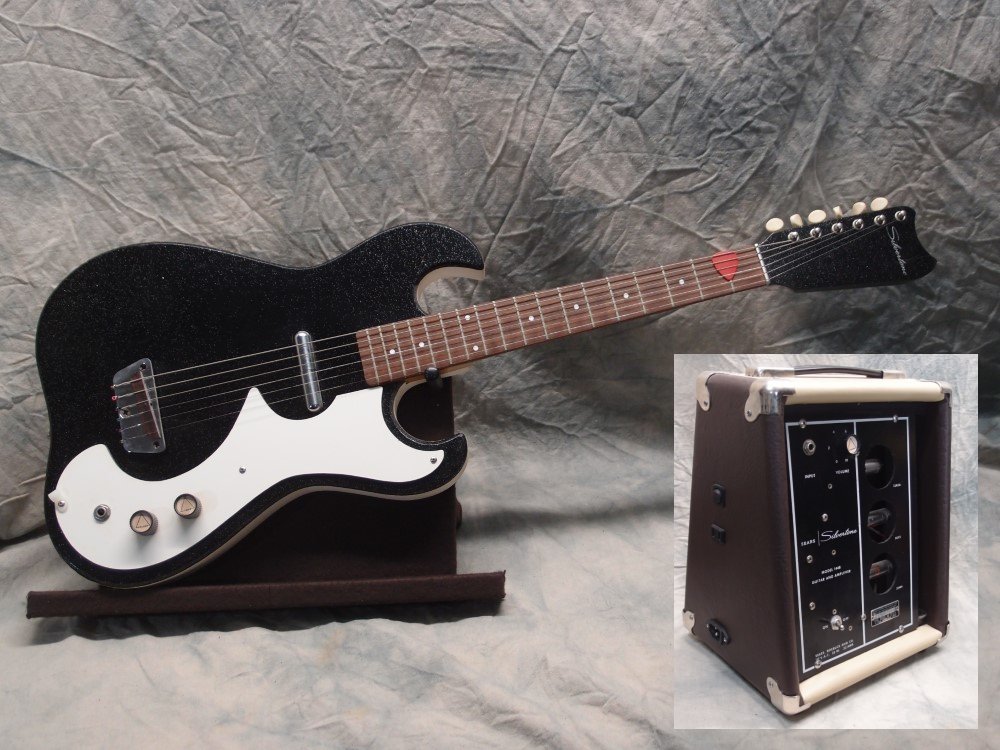
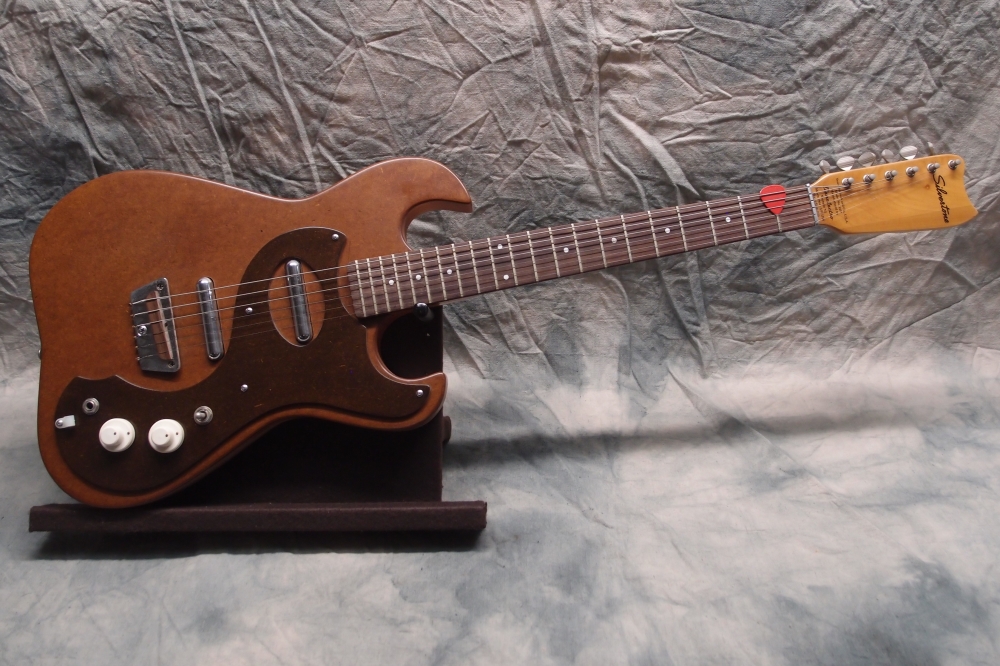
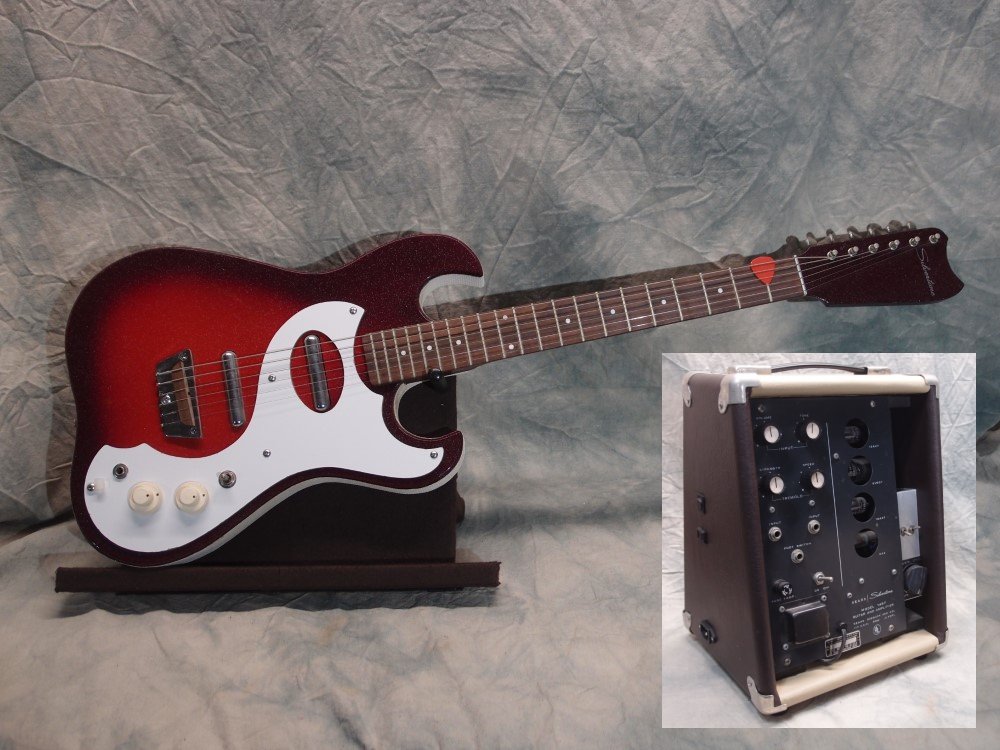
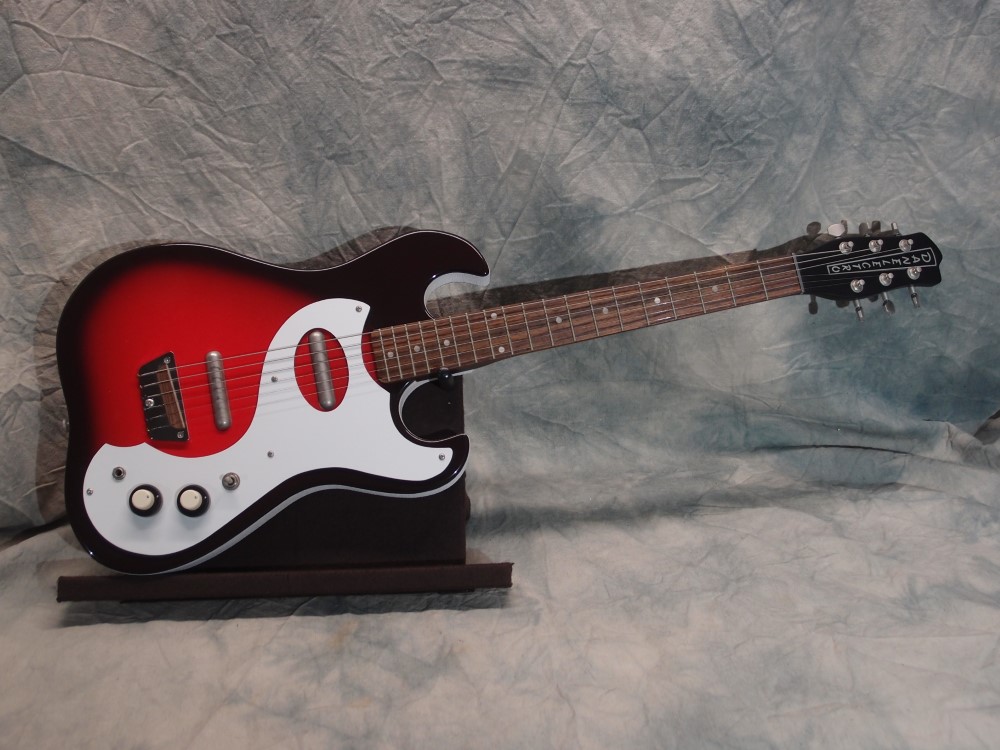
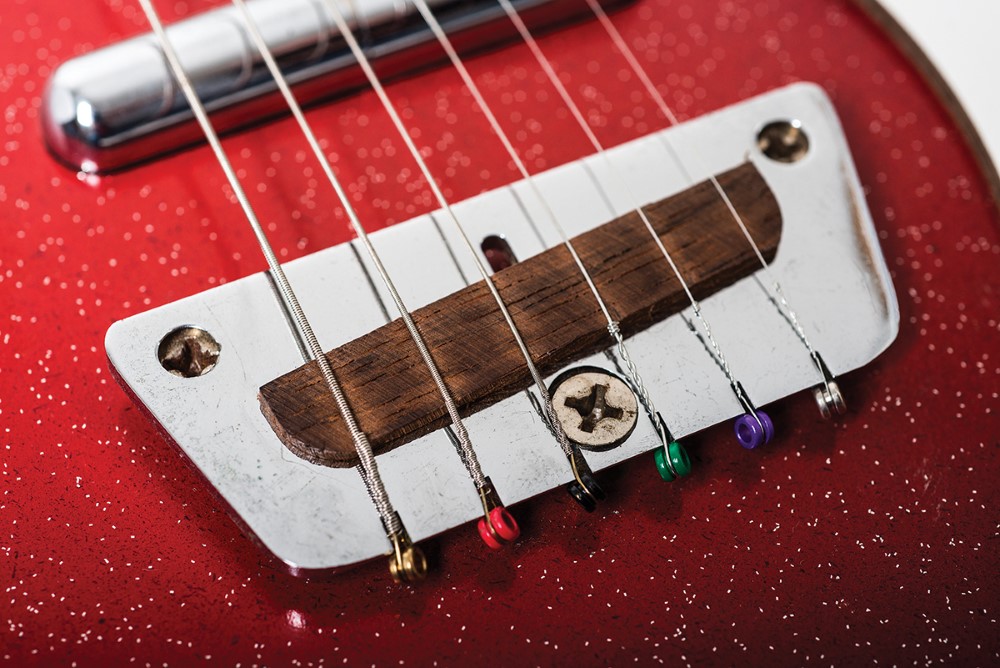
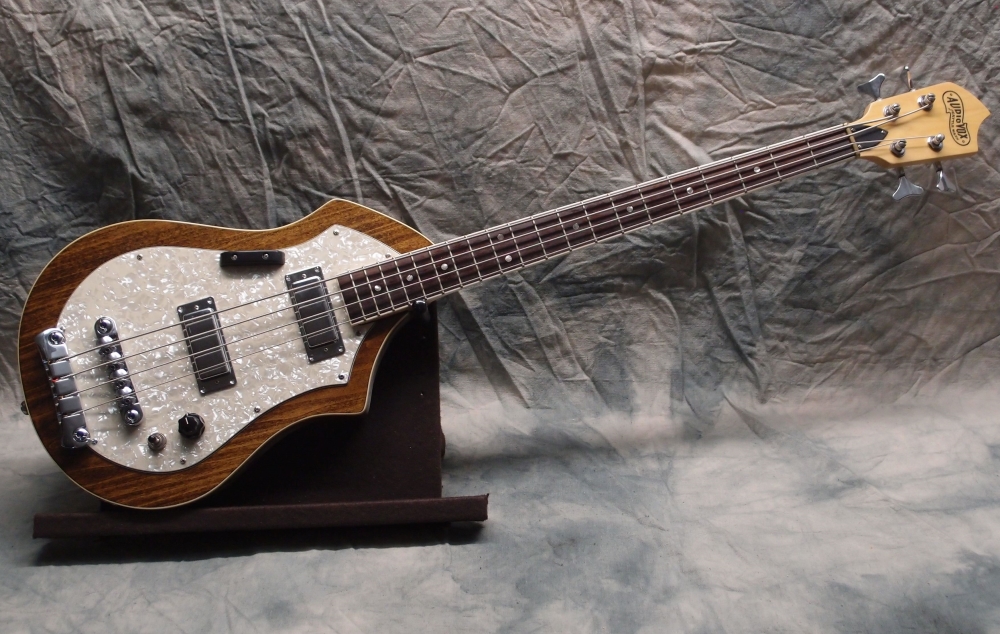
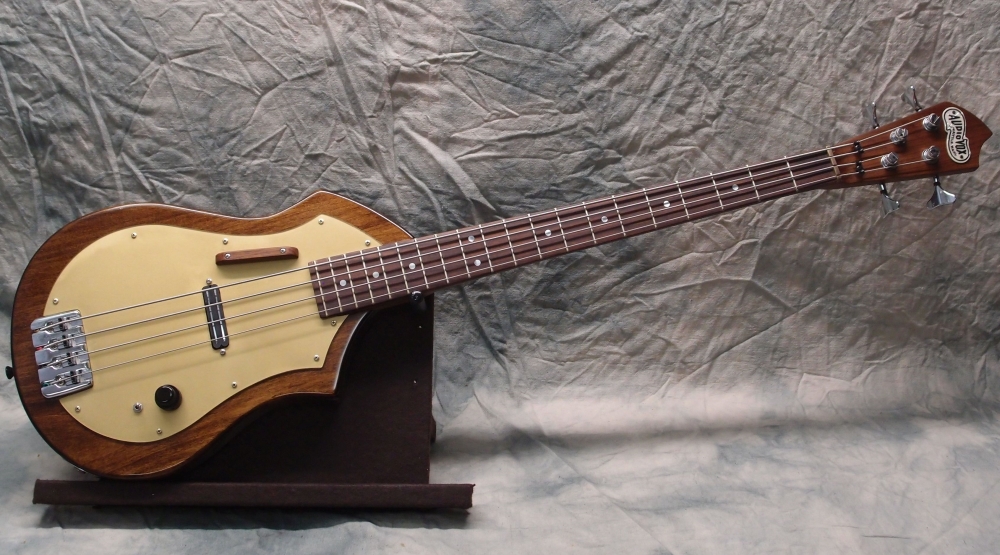
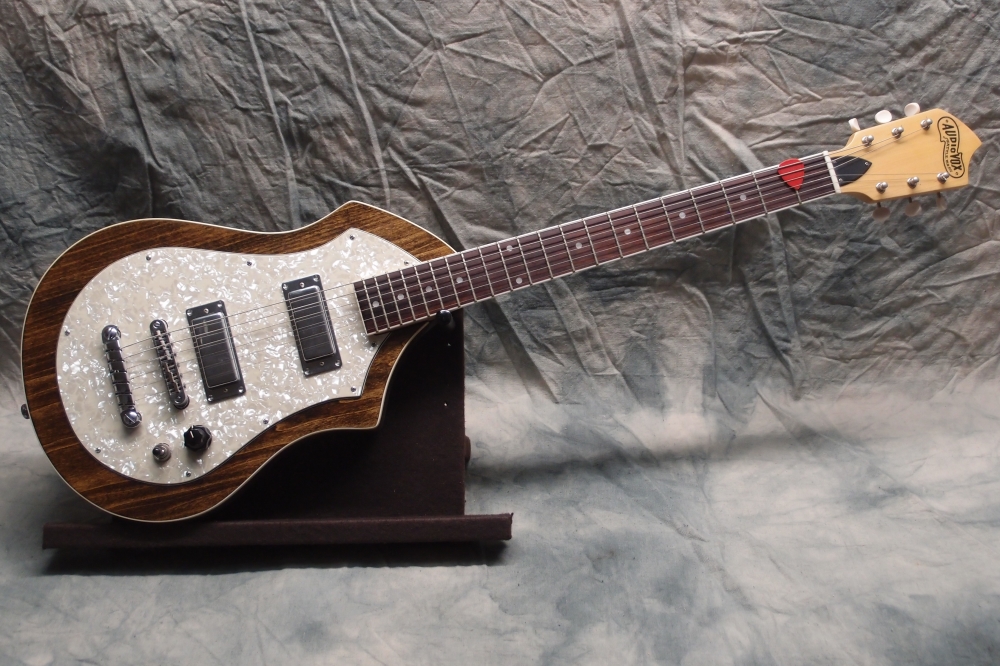
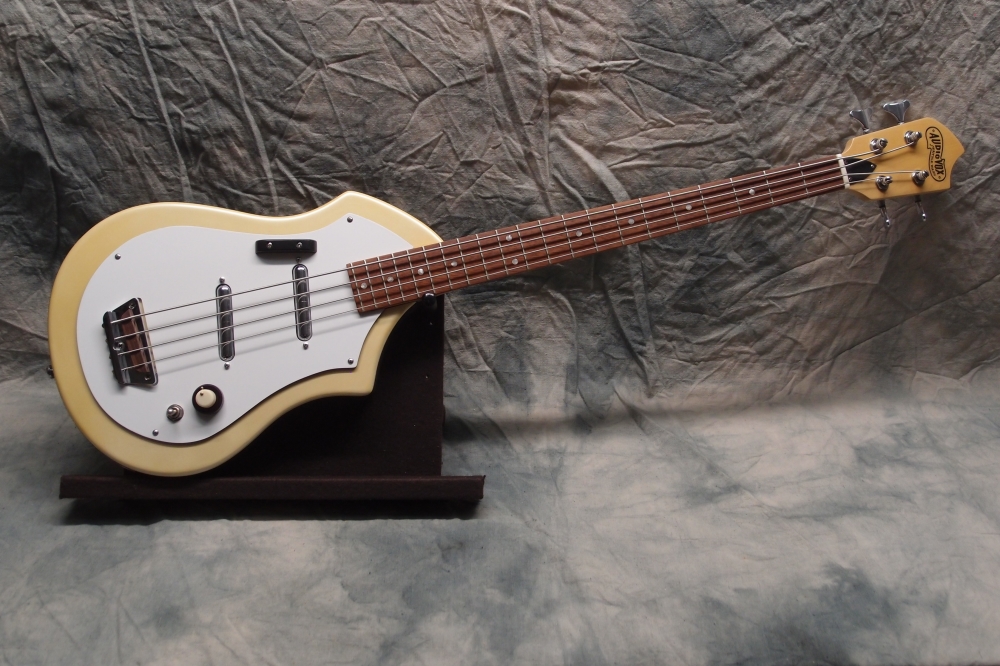
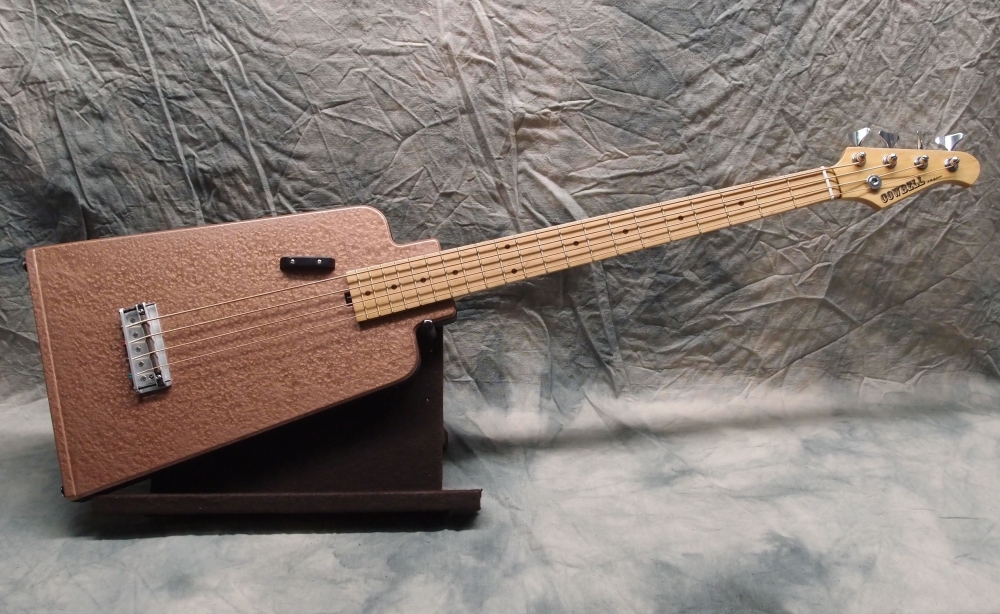
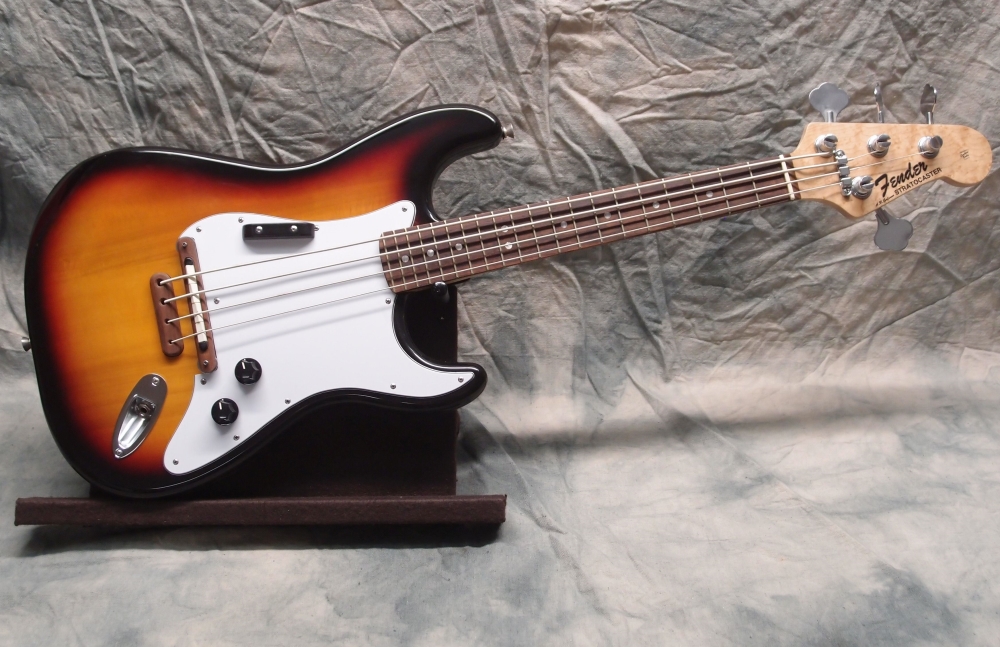
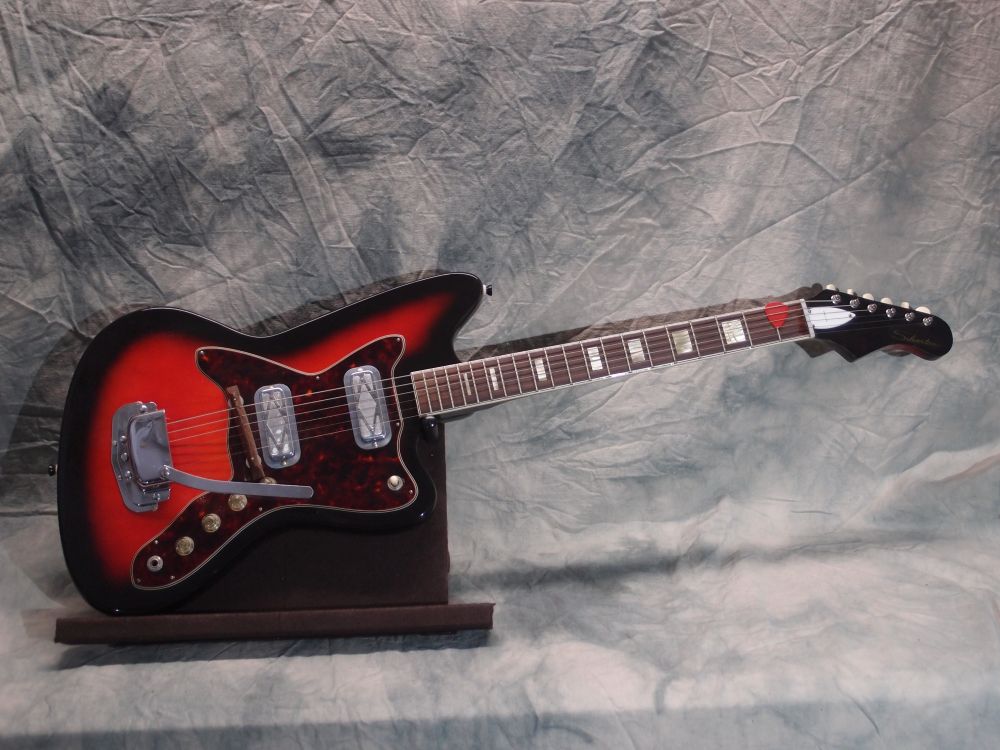
The classic Danelectro bridge is a study in simplicity. A chromed brass plate*, drilled and notched, with a rosewood sliver for a saddle.
* Actually, the old ones were brass, the re-issues are some kind of zinc-alloy pot-metal.
The rosewood is part of the Dano tone. I know I've said over and over that 'tonewood' is bunk, and it is. But in this case, the wood is actually touching the string, and it makes a difference, especially on a guitar. With metal-on-metal, those lipstick pickups can be awfully shrill. It's like the difference between a metal fret and a plastic nut, except in this case, the bridge touches every note. I don't think it necessarily needs to be rosewood, any equivalent non-metallic material would have the same effect - a subtle damping.
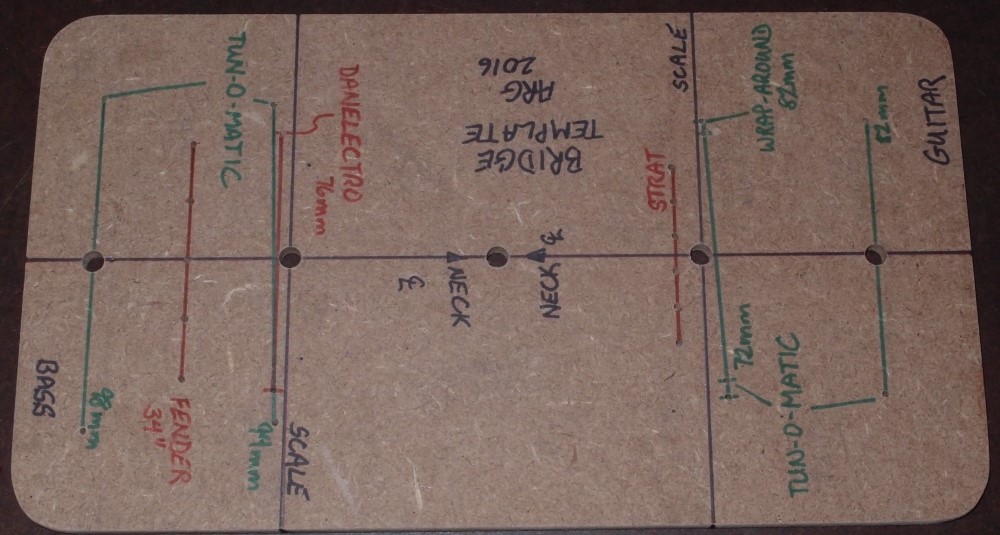
And you're not really giving up anything in terms of intonation. The entire neck is slightly out of tune anyway, that's just the nature of the thing. Sure, it's fun to fiddle with a tuner and dial the saddles in just so, but does it really matter? No, ballpark is good enough. And my stupid 4001 can't even get in the ballpark!
Danelectro Bridge Sag
Lately I've seen a lot online in print and in video about how to flatten a 'bowed' or collapsed Danelectro bridge plate. The bridge plates bend in the middle because the long screw slot creates a weak point. Vintage bridges were brass, and didn't bend, but modern reissue bridges are zinc, which is significantly weaker, and so it bends. Fortunately, it is a self-limiting process, it will collapse to a point and then stabilize. Once you reach this stage, there is a very simple solution.
While it might seem like a good idea to bend it back, DON'T! Bending metal back and forth weakens it. Have you ever twisted a paperclip to pieces? If you bend the plate back to straight, it will collapse again even faster. Do it enough, and it will break like that paperclip.
In my experience, the collapse is self-limiting. In other words, it will sag to a point where the new geometry becomes stable ( good old trigonometry! ) and it will stay that way. The worst I have ever seen is about a millimeter. The rosewood saddle will conform to the bridge plate, and the middle two strings will get too low. You can raise the bridge to compensate, but then the outer four strings will be higher than they need to be.
The solution is simple and free. Remove the bridge from the guitar, then remove the saddle from the bridge plate. Apply 1/2" bits of masking tape to the underside of the saddle over the screw hole, layering it up until the saddle sits straight on the bridge plate with the gap filled. Poke through the tape with a thumbtack, and reassemble the bridge and the guitar. The shim will support the center of the saddle so it maintains its upper radius.
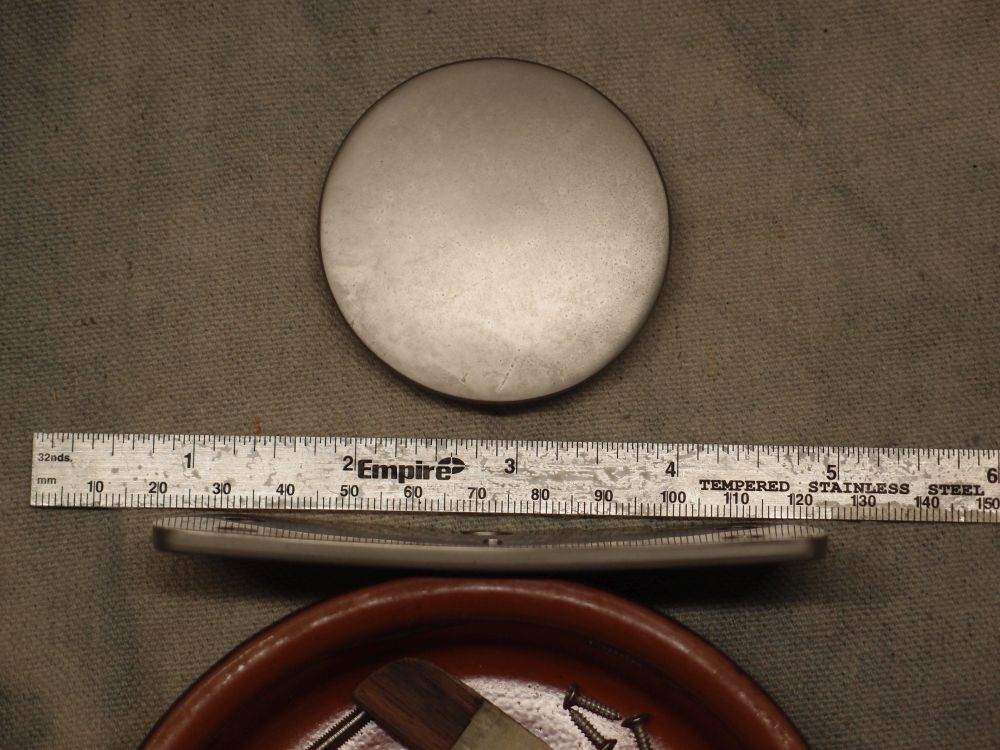
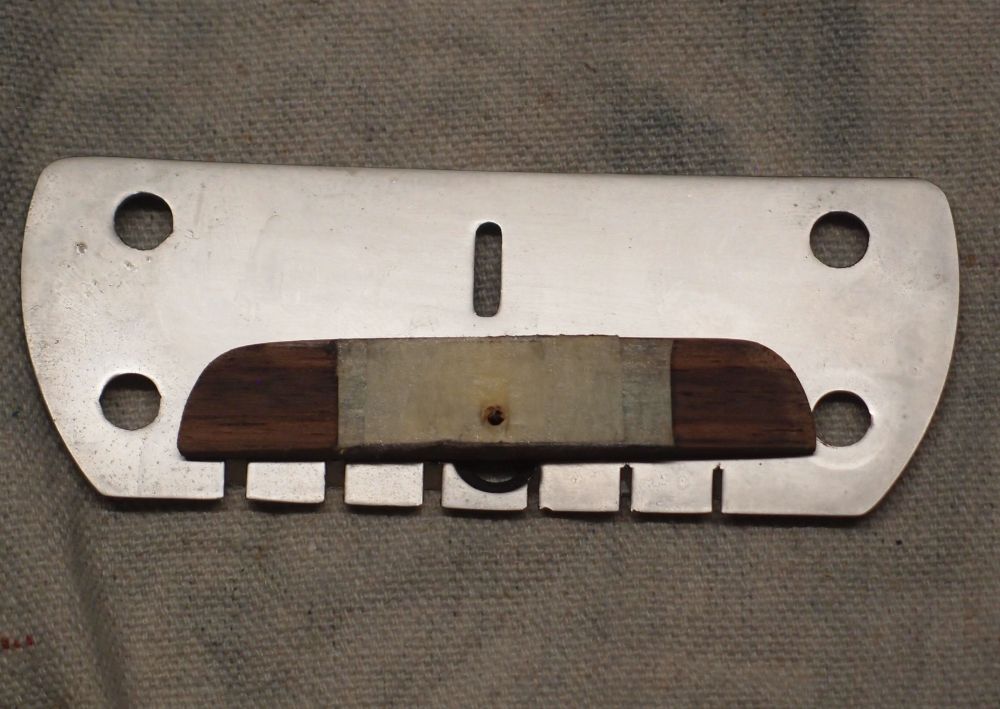
This fix is forever, because, as I said, the bridge plate sag is self-limiting. And this fix is invisible and reversible. No other modification is necessary. No holes in the body, extra screws, or any other scary nonsense that you can find on YouTube. I've seen all kinds of hare-brained schemes to fix this simple problem. I have one bridge that collapsed so badly that I actually used a tiny washer instead of the tape.
Deep-down, I am still an engineer. You can take your advice from a luthier if you want. You can even pay him to do something awful to your guitar, or you can fix it yourself.
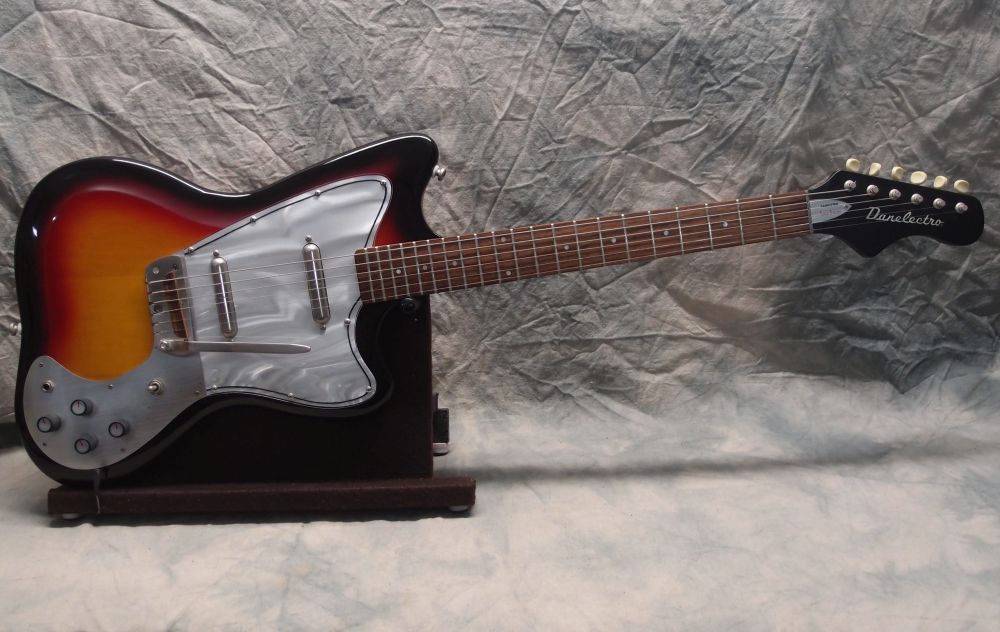
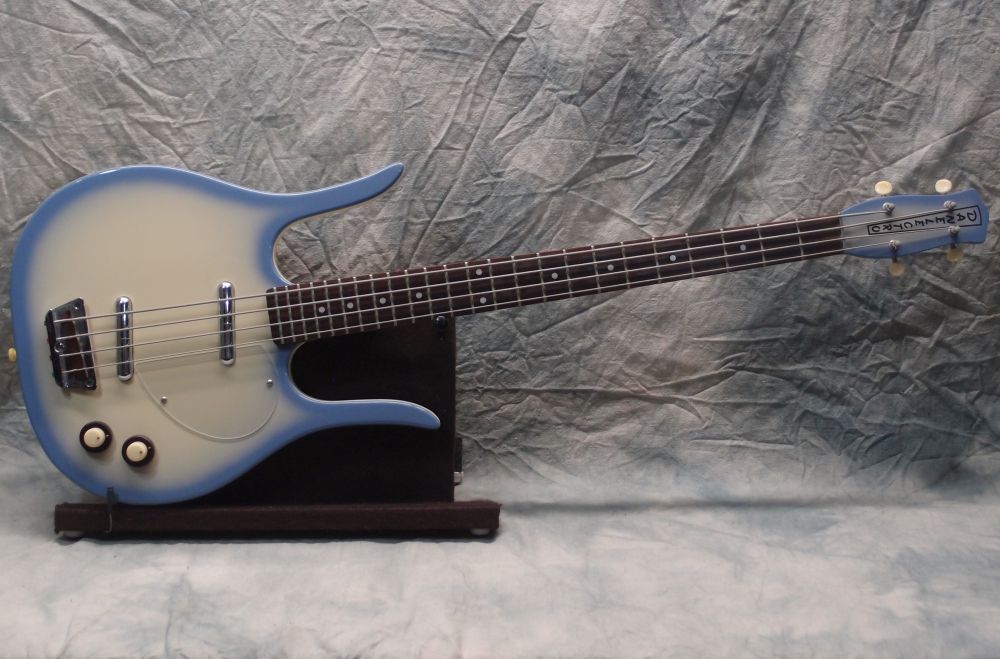
I dislike the reissue all-metal bridges so much that I have replaced several with rosewood models, or converted them. I wish modern Danelectro would go back to the rosewood bridge or make it an option. And get rid of that horrible Gibson wrap-around thing. Jimmy Page played that maybe once, while he used stock Danos all the time.
Unfortunately, what I just said about intonation falls on deaf ears. Most people don't really understand it at all. For example, how do you set your intonation? Most people use either open vs 12th fret or open vs 12th harmonic. There's no real sense to either of these methods. I set my intonation fretted 3rd vs 15th or 5th vs 17th, matching the discrepancy between the notes. ( For example, 15 cents sharp at both notes. ) This way you are set up for actual playing conditions, not just open notes and harmonics.
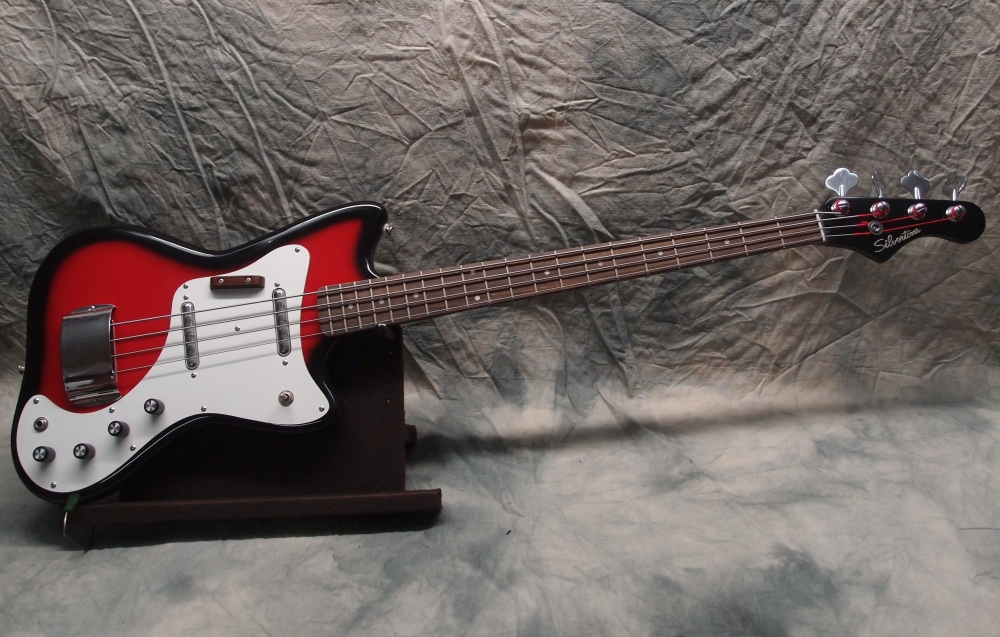
But the salesman at Guitar Center isn't going to tell you any of this, he doesn't even understand it. Six saddles must be better than one. It says so in the brochure.
I love Danelectros, old and new. They're all wrong and so right.




Questions or Inquiries?
Just want to say Hello? Sign the .