Danelectro Companion Guitar


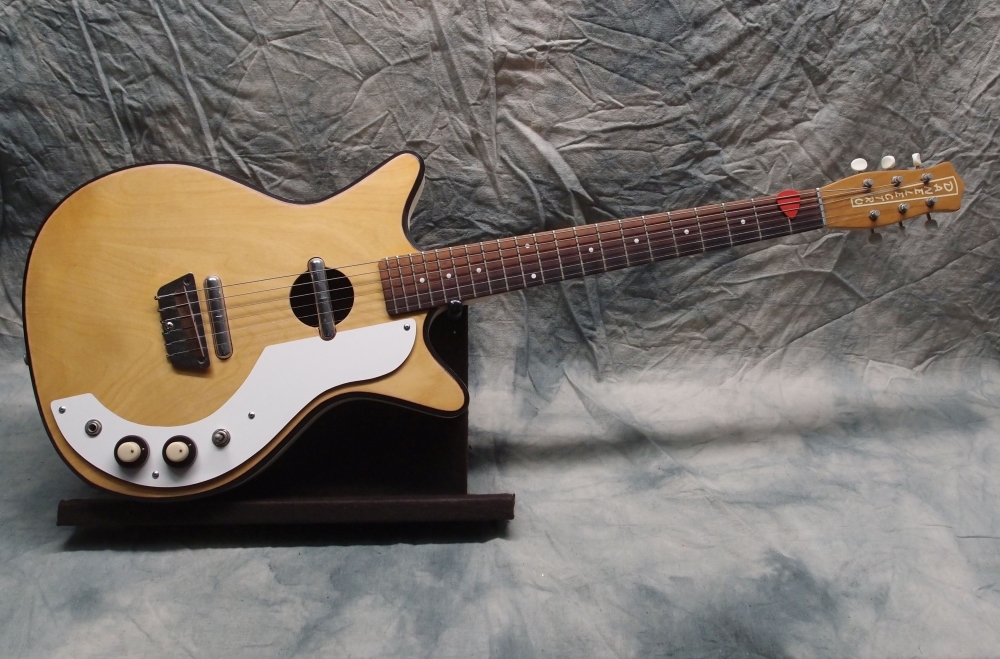
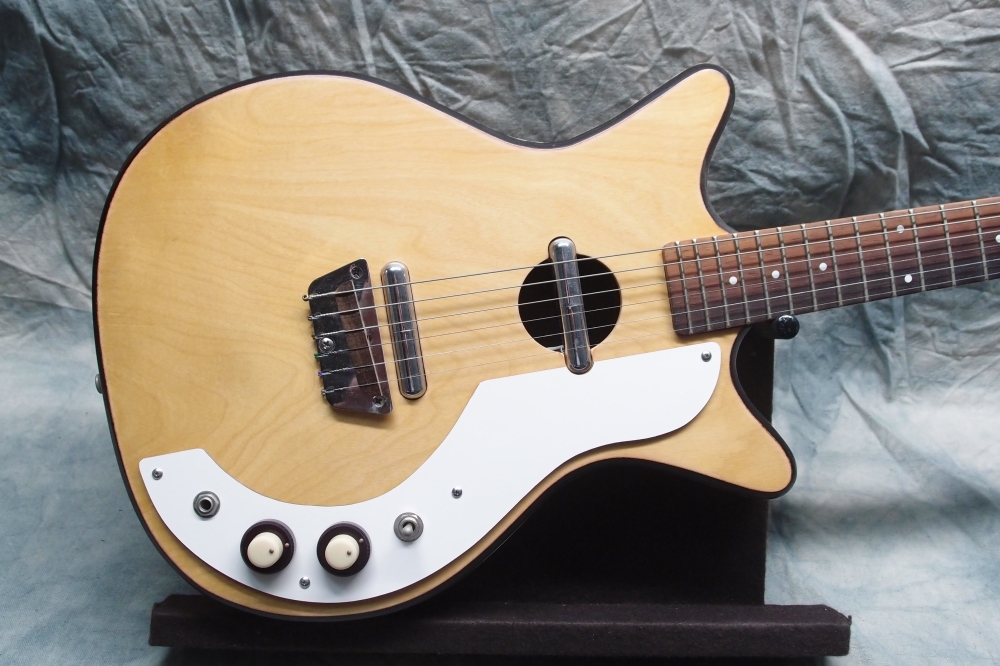
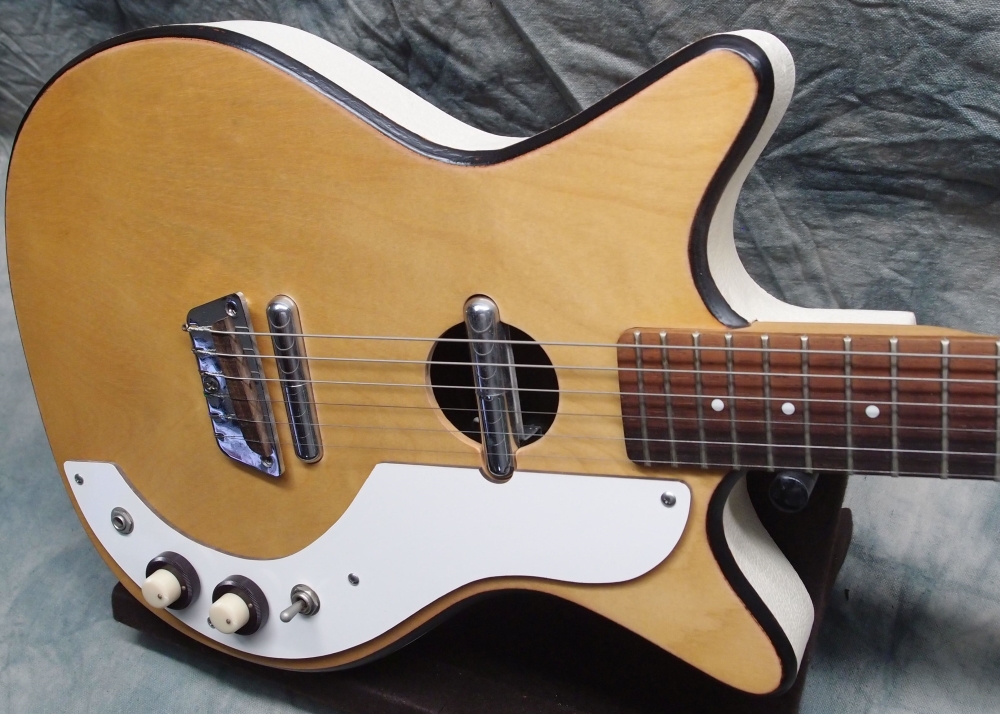
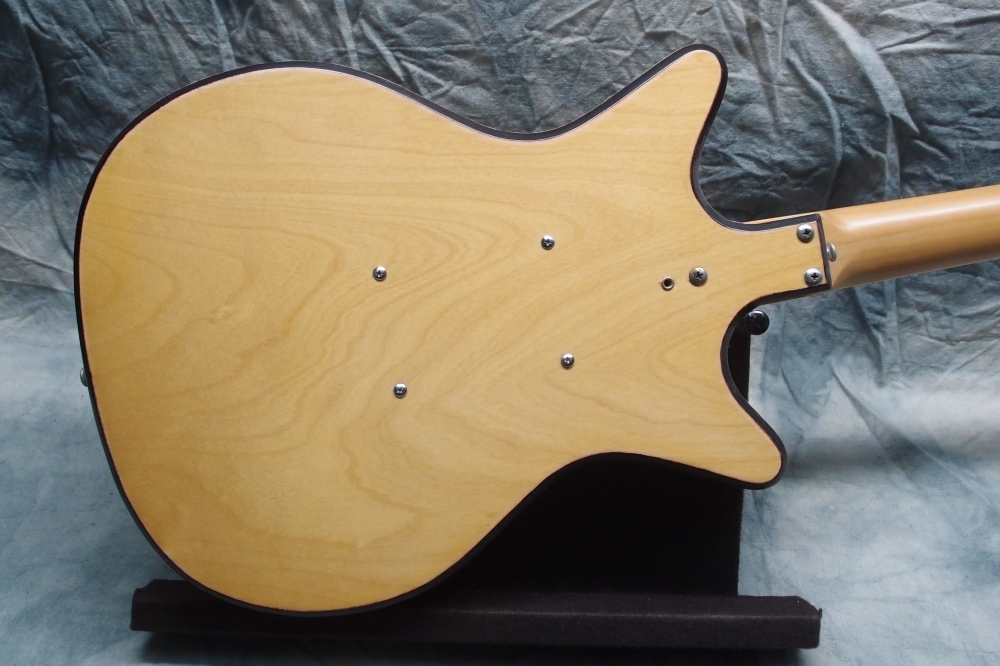
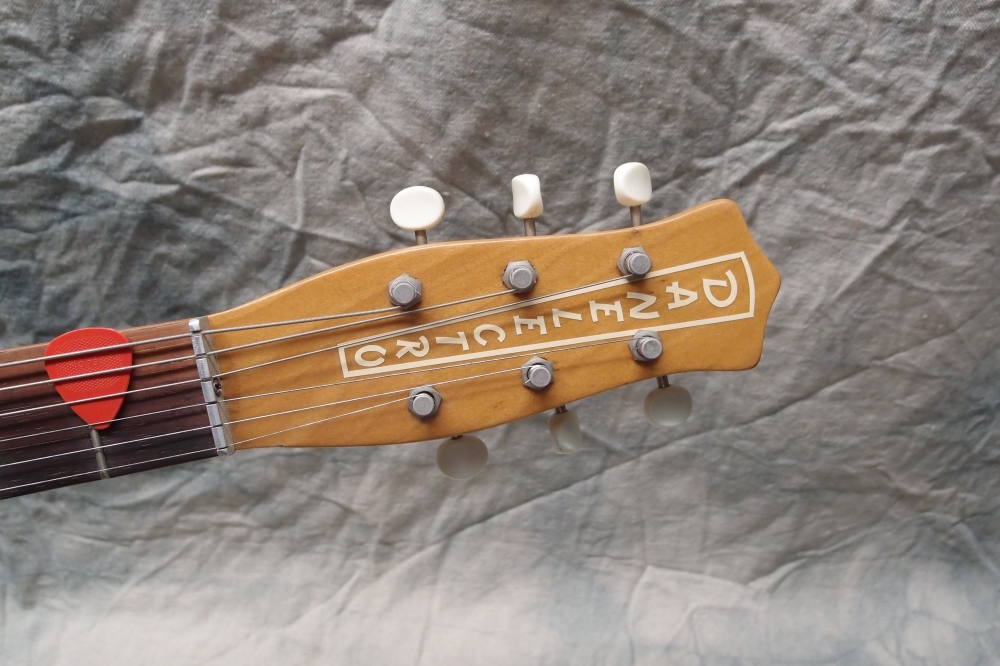
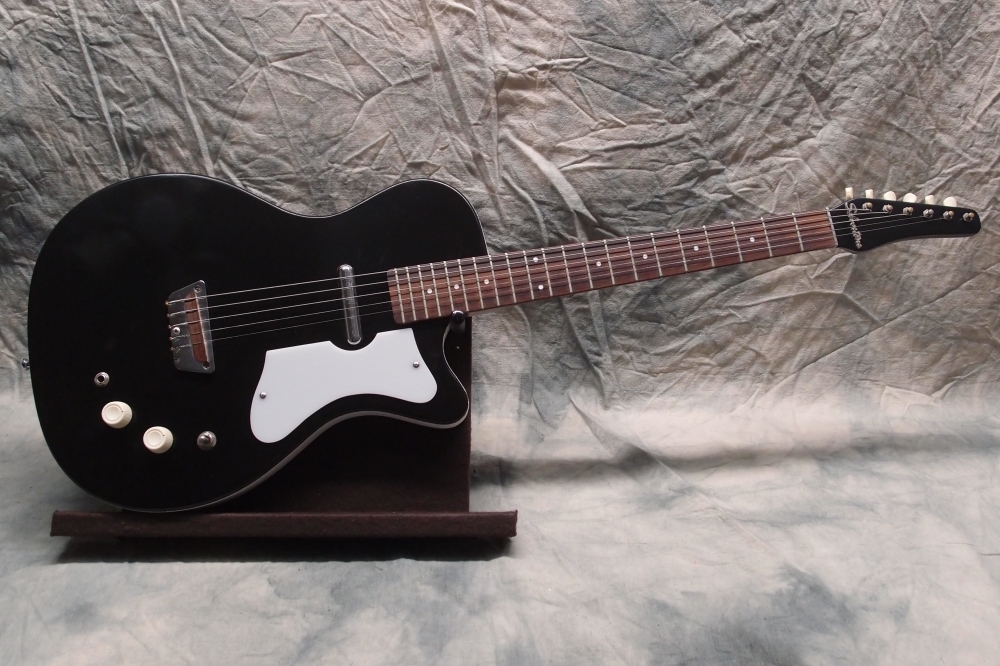
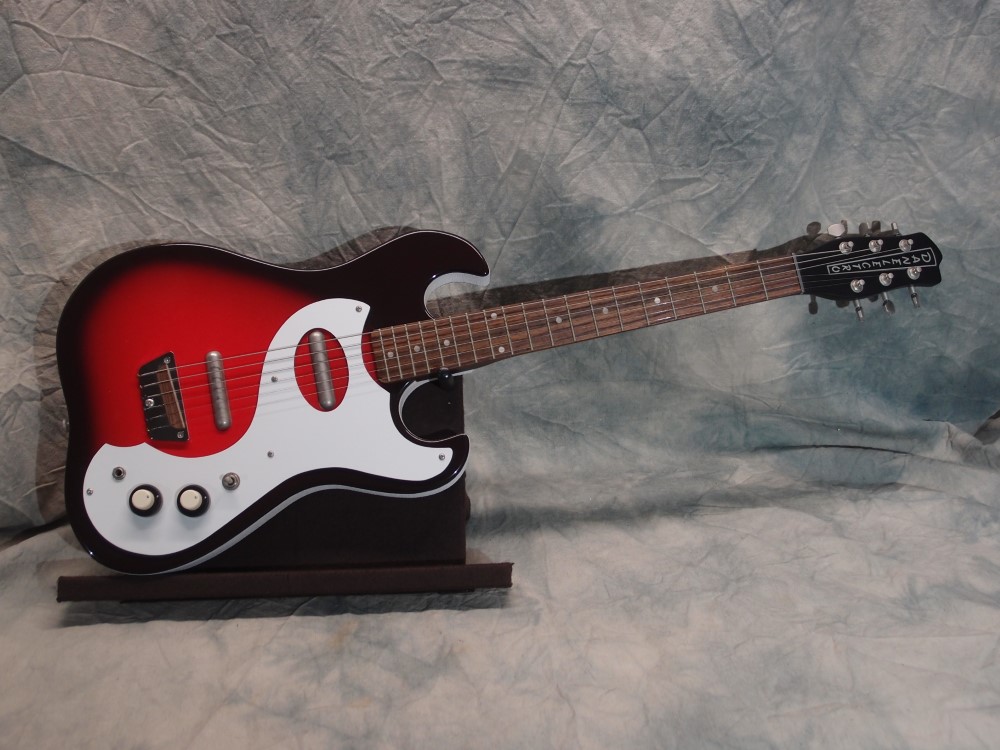
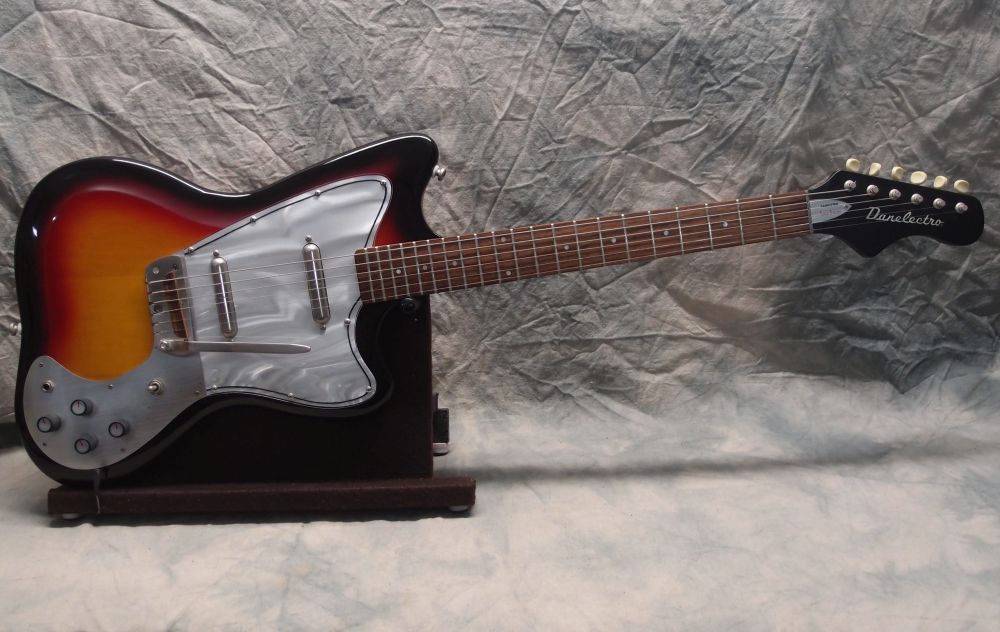
This was a box of junk I got on eBay, originally a vintage Convertible. I replaced the front and back with cabinet-grade birch plywood, as the original mother-of-countertop material is no longer available. I rebuilt it as something like a Companion, which is a very rare model. The neck and sides are vintage, the rest is modern.
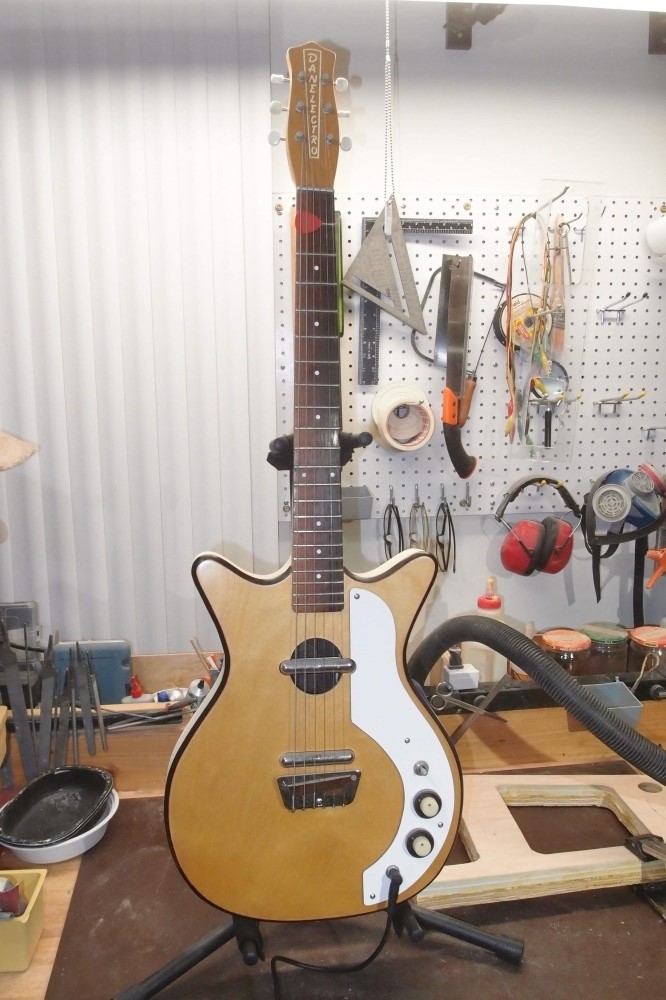
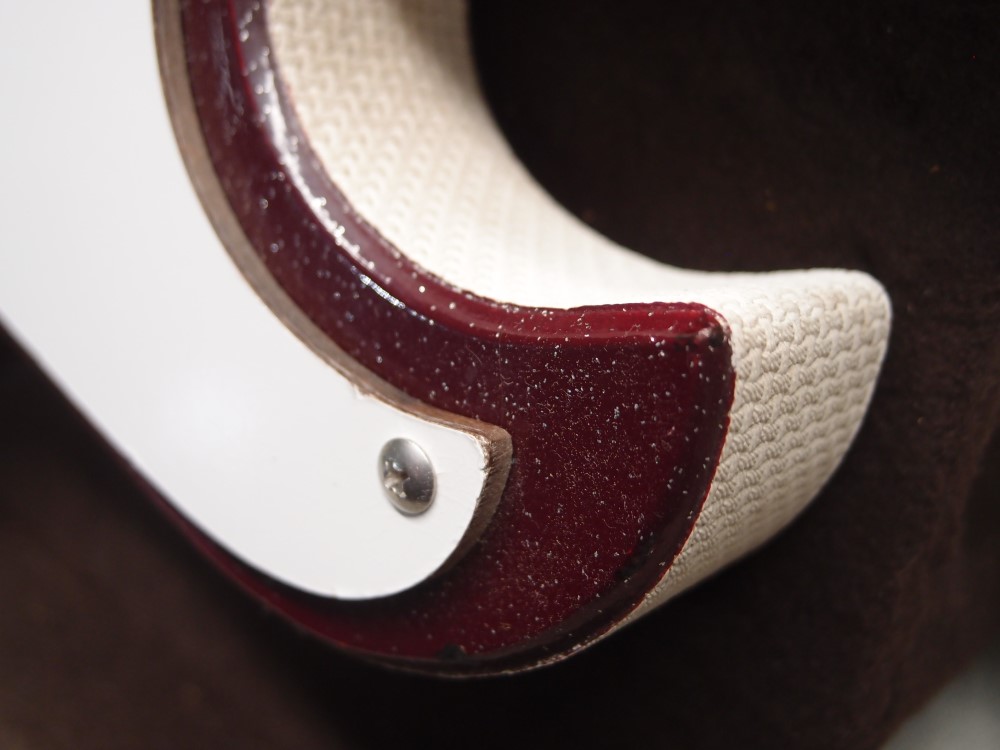
The black edging is Sharpie marker. I had to apply the polyurethane finish very gingerly over that to keep it from running until it was well sealed. The pickguard is cut down from a reissue.
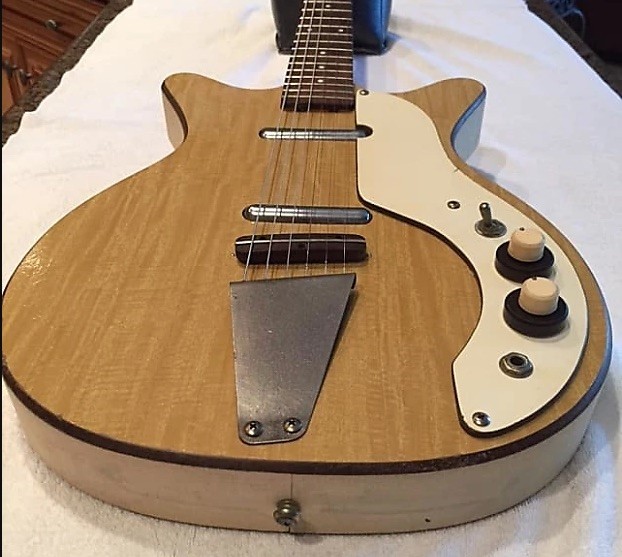
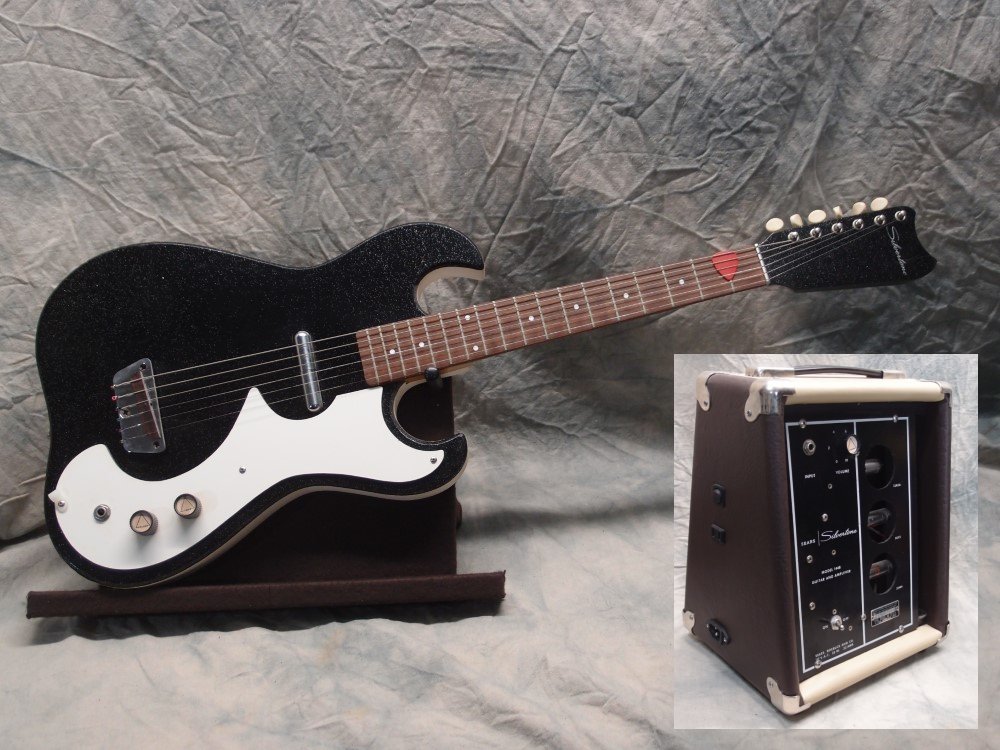
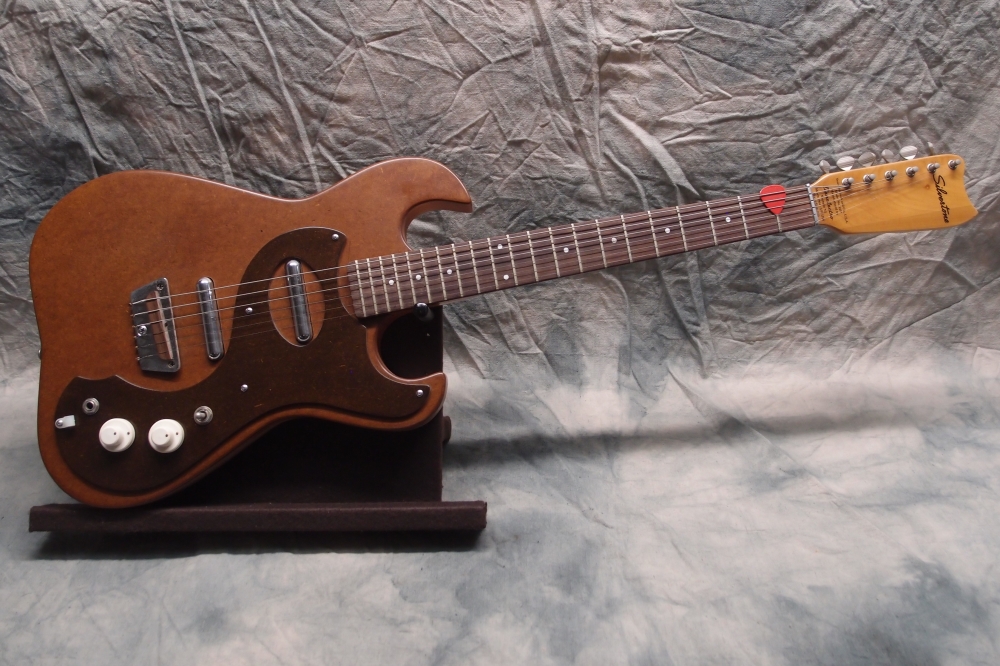
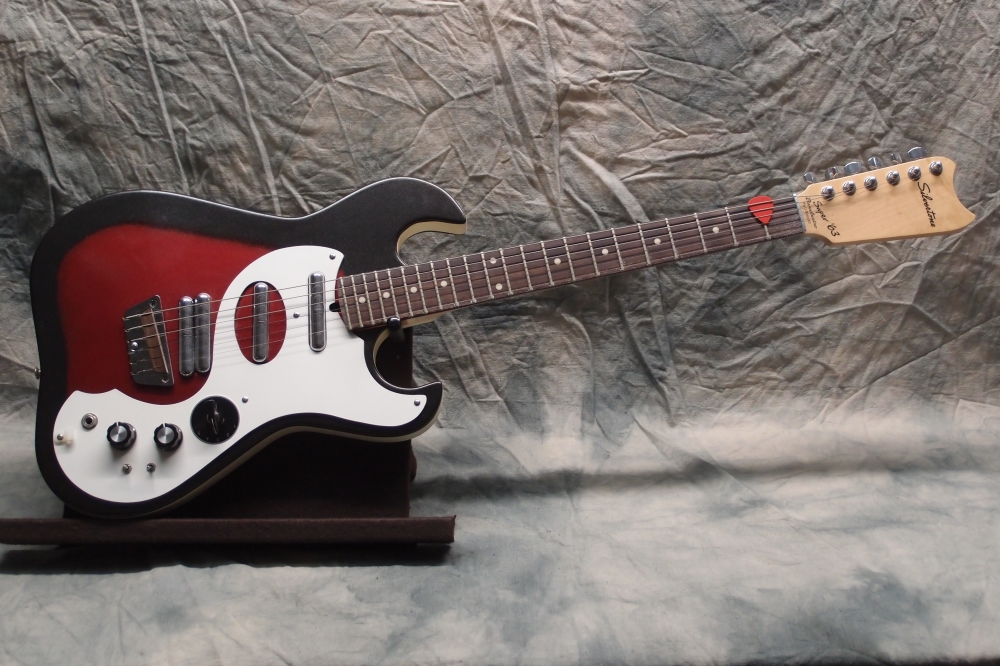
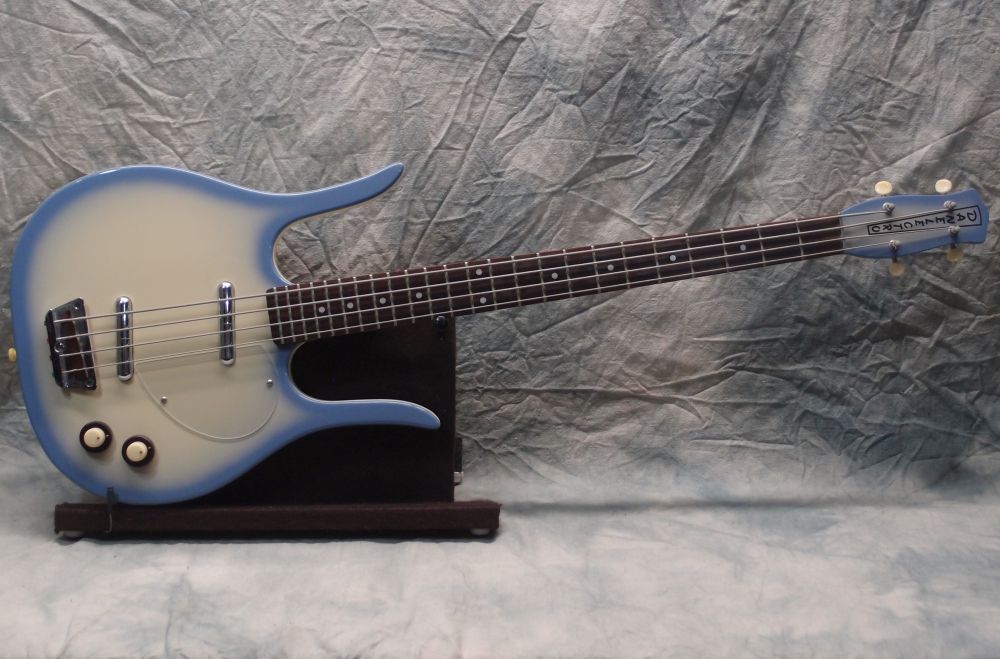
This is an original Companion, with real fake wood countertop faces. You can see how the ends of the Tolex are butted together under the strap button. I think my way is neater. I couldn't get the correct bridge and tailpiece, so I made due with what I had. The problem with these is that there is no block to support the top under the bridge, and they tend to collapse. Mine is actually a better design.

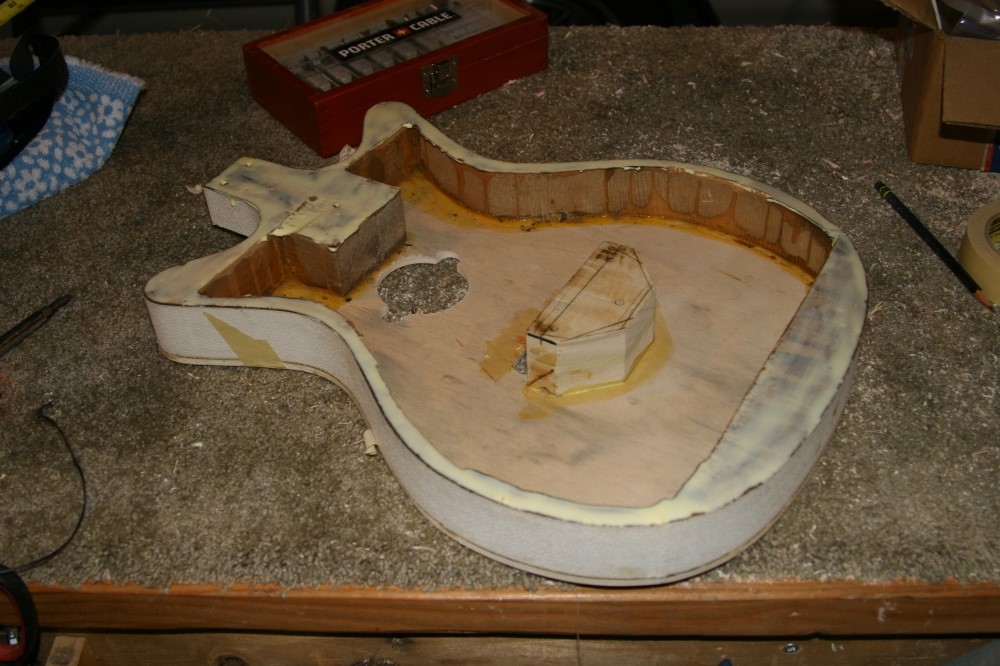
it occurred to me to take some pictures.
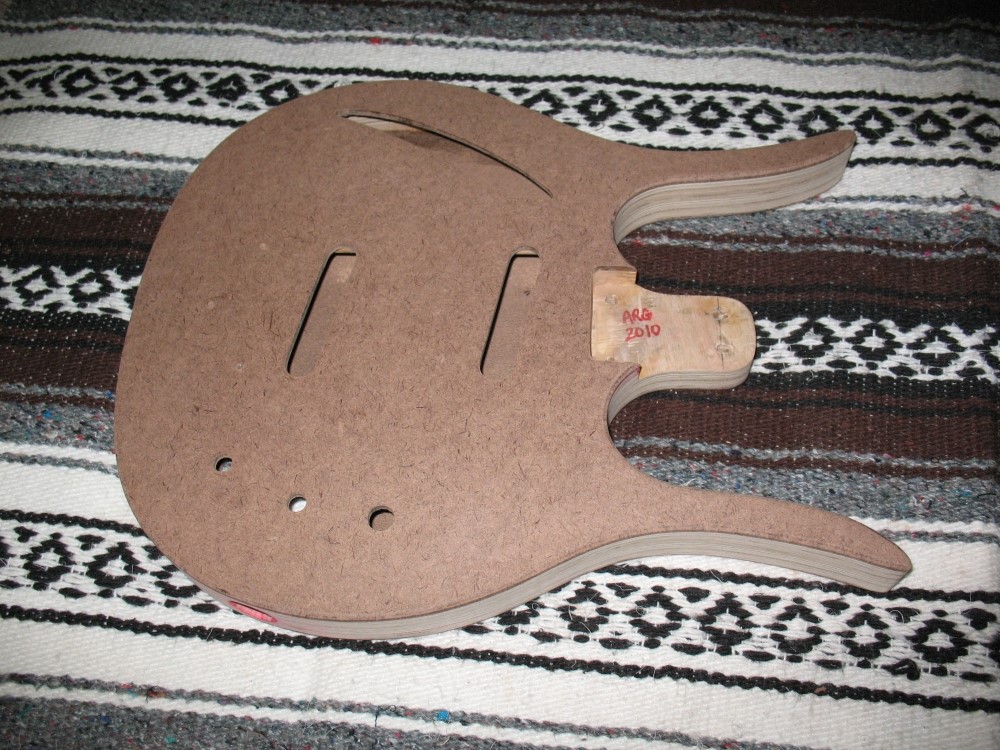
I added a block to support the bridge and keep the top from collapsing. As I recall, the sides are not bent wood, they are sawn to that shape. The frame pieces are held together by a few staples and the binding. I took the front off first and put a new one on. When that was set up, I did the back, as you see here. Otherwise the whole thing might have fallen apart.

Questions or Inquiries?
Just want to say Hello? Sign the .