Kubicki Factor Guitar (7/8)
Apr 15, 2019

Apr 16, 2019

Yesterday I did the sides and the back, today I'm doing the front. The opaque color around the sides hides the cobbled-up nature of the body. Now you'd have to look real close to tell it isn't a single piece of wood. This inexpensive Radiata from Home Depot is better than most "luthiery" woods that cost ten times as much.
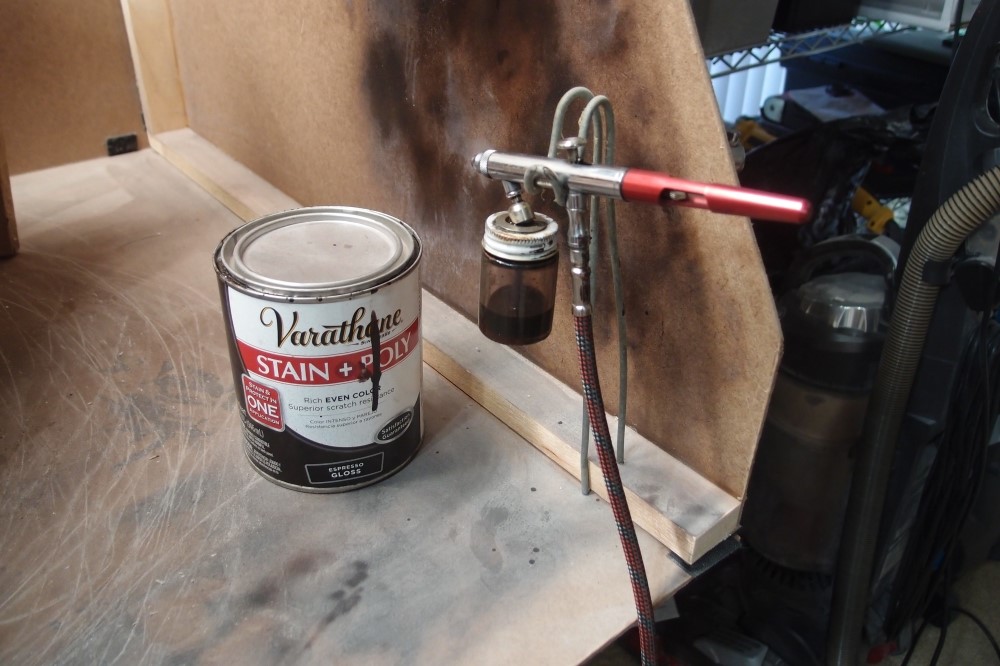
This is the rig - vFan airbrush and pre-tinted polyurethane. This can was another freebie from Home Depot, and I've done several projects from it. Whenever I use some, I drop another clean rock in the can to keep the level at 'full'. Otherwise, the air in the can would quickly ruin the remaining stuff. This is also pre-diluted with mineral spirits to suit the airbrush.
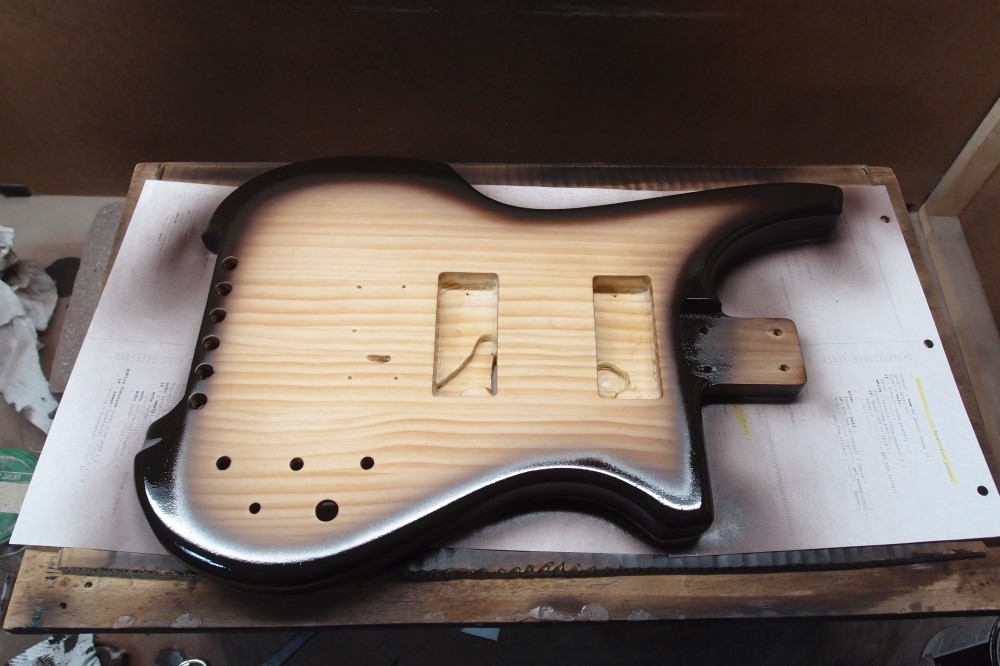
That's done enough. This tinted poly is supposed to be translucent, it takes a lot of thin coats to build it up to opaque. An advantage of that is a thicker damage-resistant finish around the edges, where damage is most likely to occur.
The airbrush gives a much finer feather to the burst than a bigger spray gun, and also much better control.
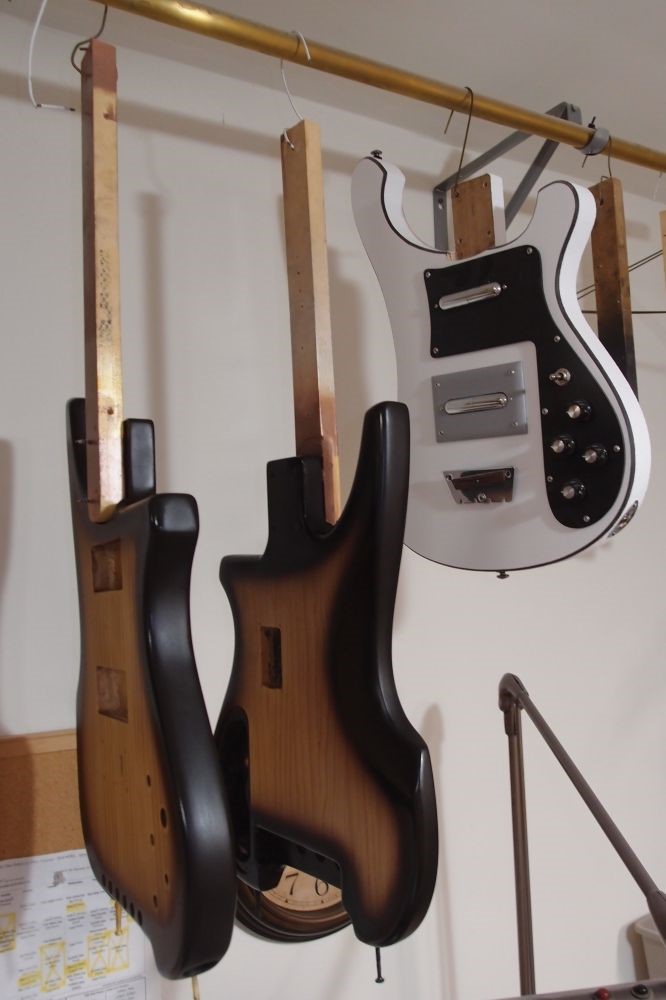
Next up - the bass body.
Apr 19, 2019
June 25, 2020
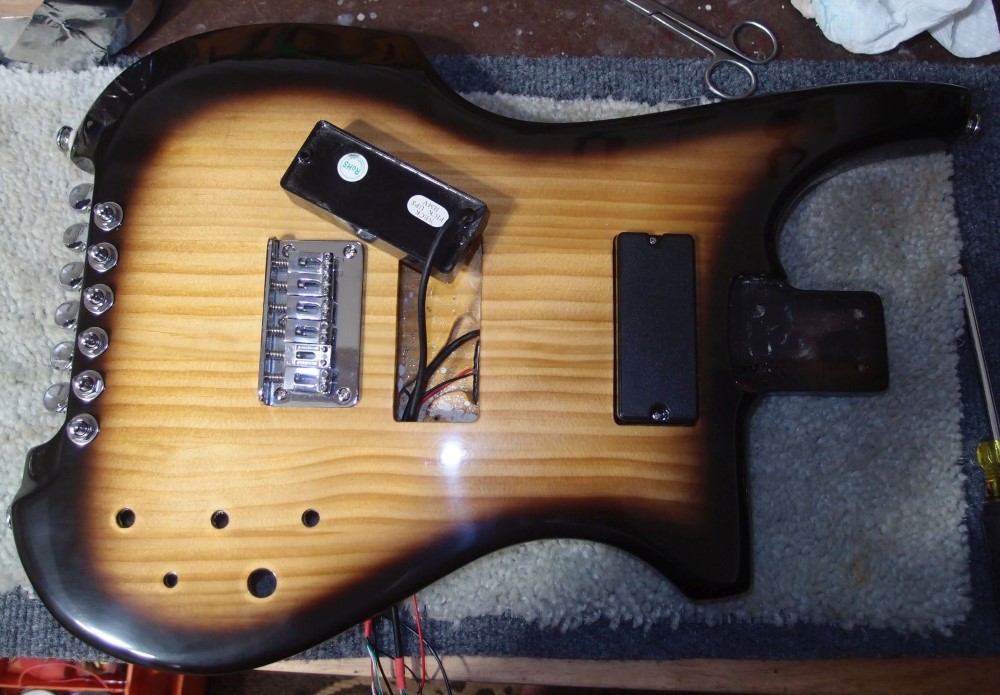
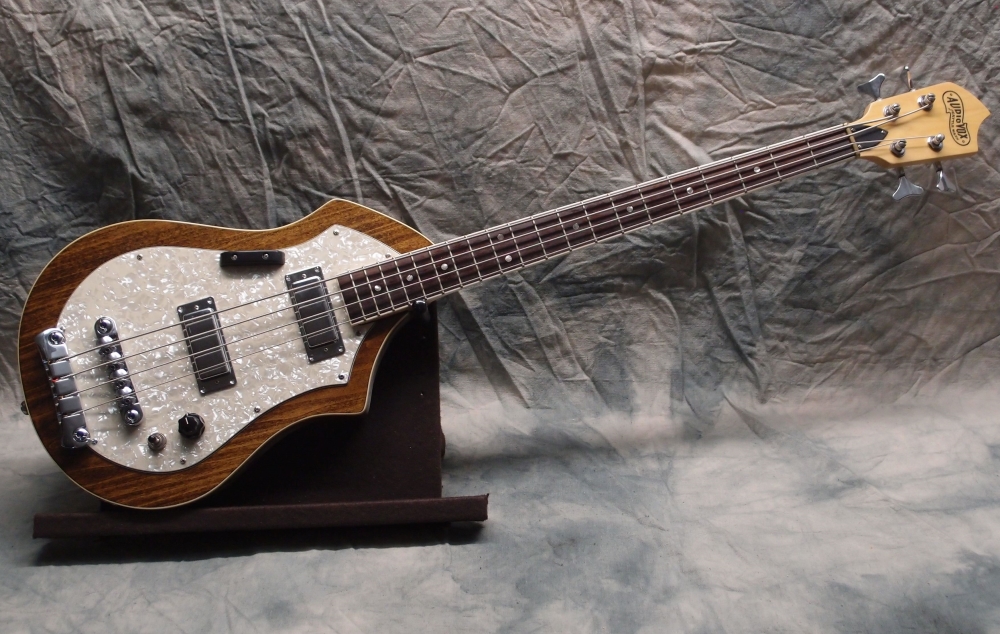
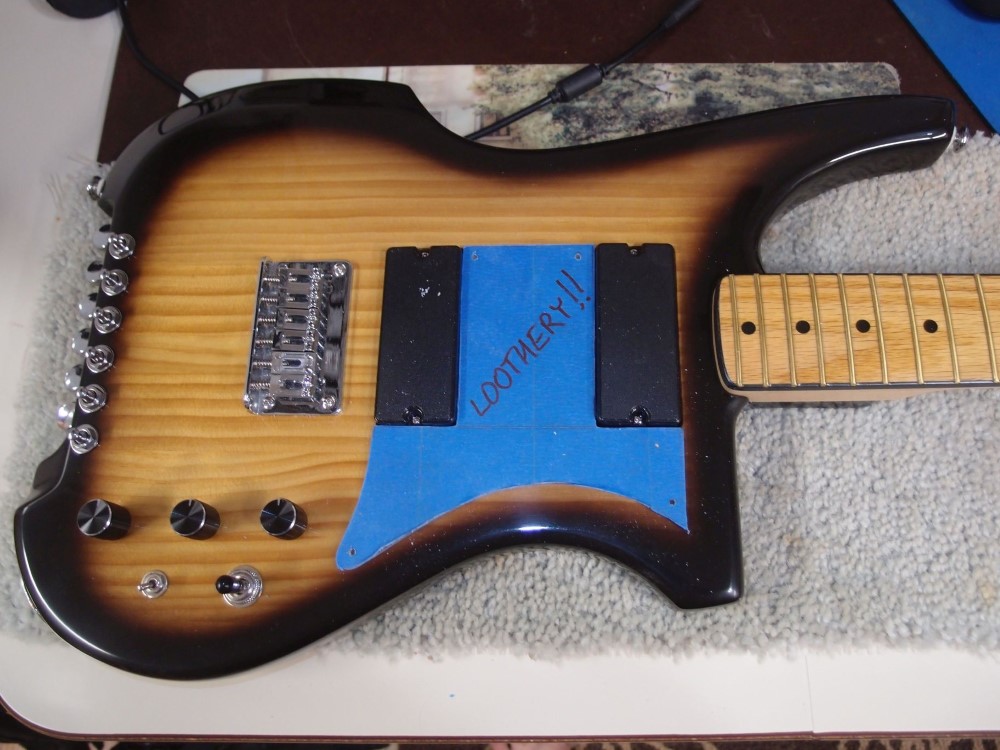
I started putting together the Kubicki guitar. So far, just simple mechanical stuff: tuners, bridge, pickups, etc. In this picture, you can see how the wires pass through the battery compartment and everything collects under the bridge pickup and then goes into the control cavity. Soldering tomorrow.
These are the same pickups as the bass. Bass and guitar are just one octave apart; guitar pickups work just fine in a bass, and vice versa. I have used tons of guitar pickups in basses. To be honest, I can't remember what these are, just Chinese cheapies.
I think the dark brown burst over the pine grain, with heavy ambering from the oil-based poly, comes out very pretty. What do you think?
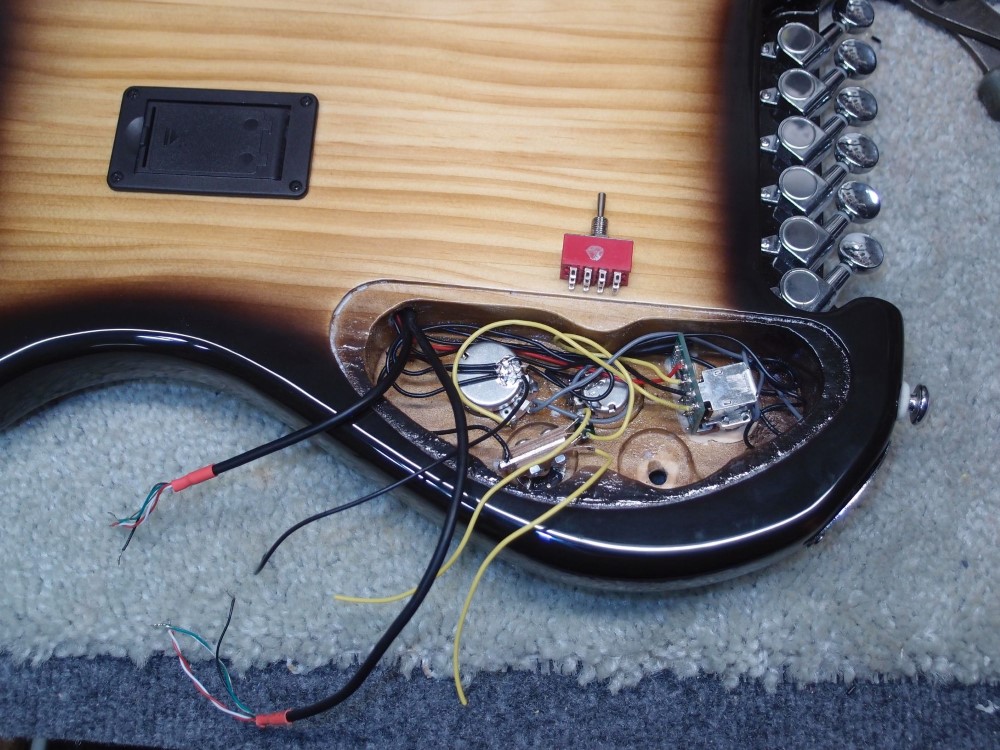
This one is not as bad a rat's nest as the bass. The active circuit is an Artec EXP tone control. This is a double-ended control, in that it goes from mid-boost at one end to flat to mid-scooped at the other end. It was a very tight fit in this relatively thin body with no pickguard and a recessed control cover. I had to Dremel-out some wood on the back side, which left the pot shaft sticking out quite a bit on the other side. I then had to modify the knob to make it sit normally. Alles Gut !!!
The pickups will go through the series/parallel mode switch, the same as the bass. From there to the selector switch, and then direct to the EXP, so that it always sees the raw signal without volume or tone. The EXP goes to the volume control and then out, with a standard passive tone control taking up the last knob. The EXP has a pull-bypass, and I used a stereo jack to lift the ground of the battery when it is not plugged in. I always leave the wires a few inches long in case I need to take something apart. All the ground wires collect in a big puddle of solder on the back of the volume control. This is easy and gives a theoretically good 'star' grounding configuration. Actually, I don't think that matters, I just did it because it is easy.
I'm tired of soldering, I'll do the last part later. There are a lot of connections on the last switch, but I have a diagram color-coded for these pickups, so it is a no-brainer. I'll have to scan the diagram and post it up here for future use.
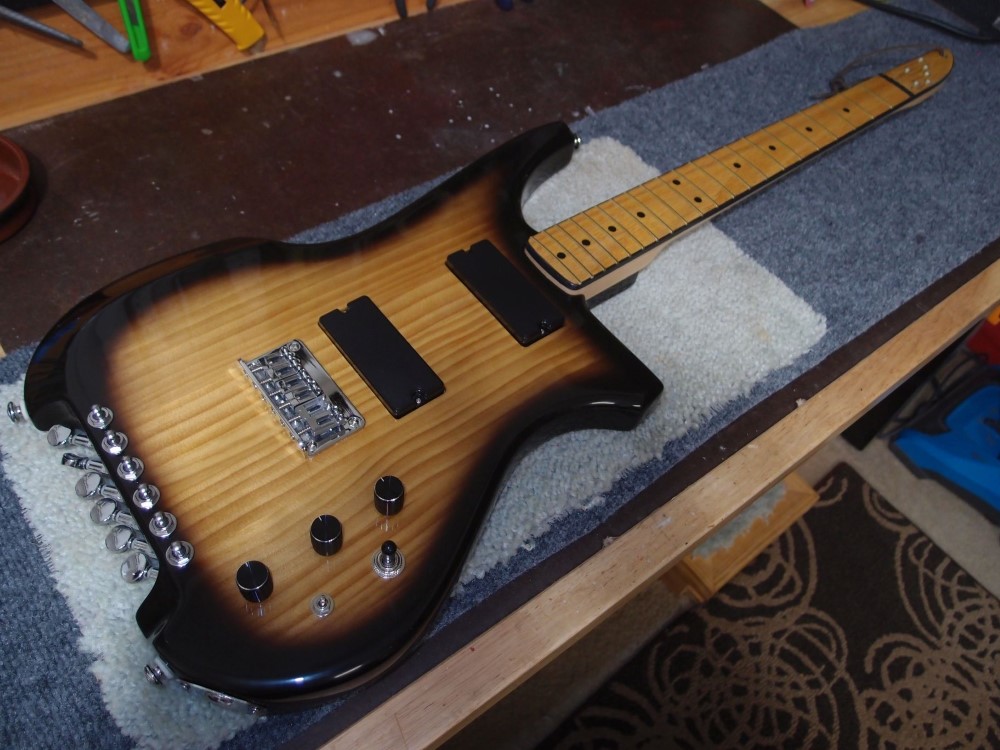
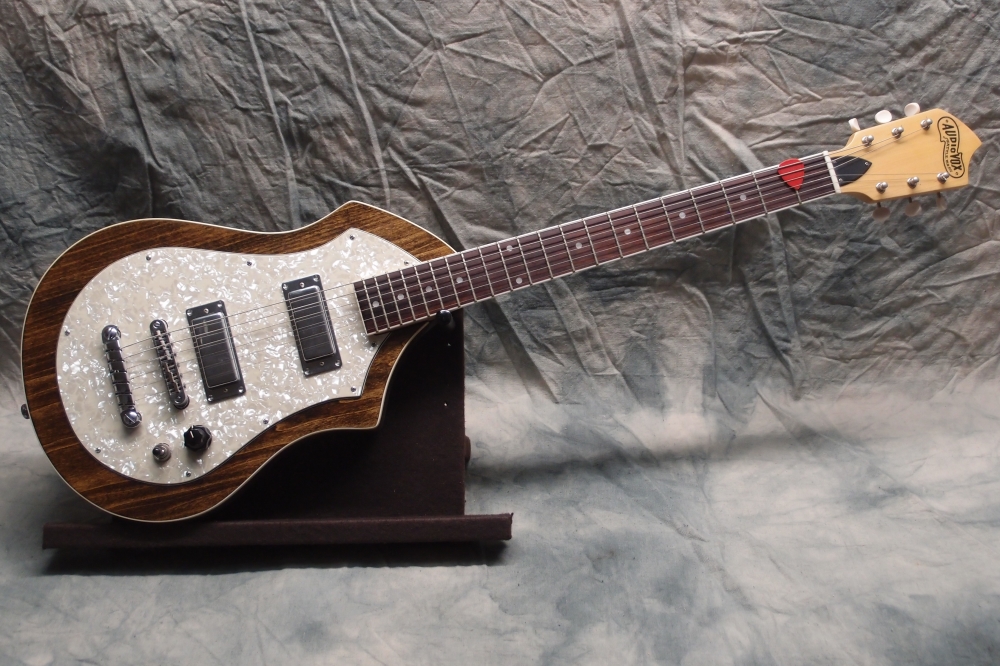
The wiring all works, so I closed it up and put the neck on. I still need to make a clear pickguard. That will be easier without the strings. Looking good, baby brother to the bass.
One interesting note: the active tone control seems to disable the passive one. It is probably something to do with the output impedance of the active tone control, passive controls are fussy about that, they don't work at too low an impedance. If I bypass the active control, the passive one becomes THE tone control and works fine. I actually like that, so a happy accident.
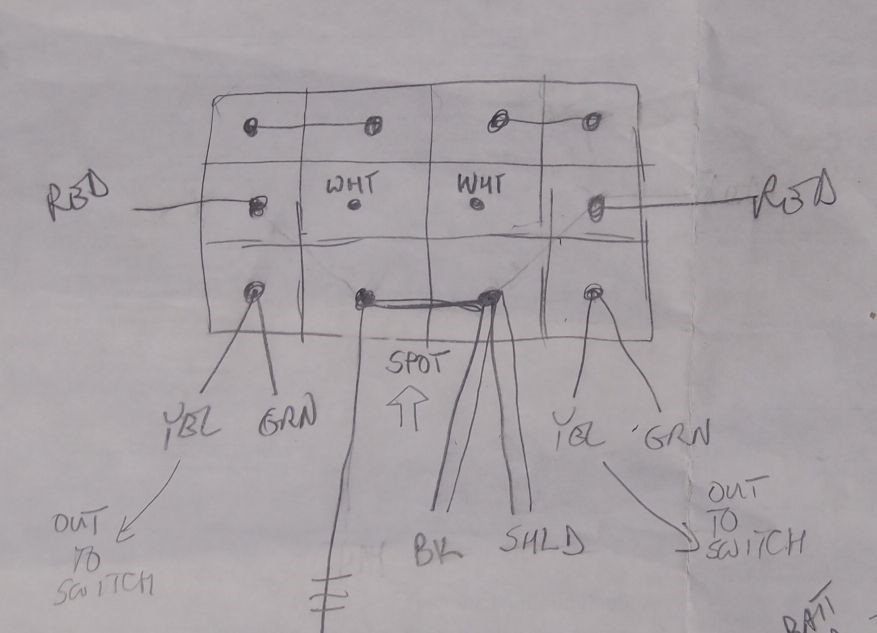
Before I forget and lose the paper - the wiring diagram for the 4PDT mode switch with these pickups. That's enough for today.
June 28, 2020
I'm making the clear pickguard for the guitar. It is a near copy of the bass, so this is easy. I traced the old one onto the masking tape and roughed it out on the scroll saw with a very coarse blade and a light touch. You don't want to melt the blade into the plastic - that is a do-over!
Then I did the rest of the rough shaping on both benchtop sanders. Tight corners and stuff were done with files. Just to see what happens, I broke out my wheel-polishing rig, and now both pickguards really shine.
After thinking about it, I could probably have done the whole piece on just my handheld belt sander, using the flat for the straights and the roller for the curves. I built a whole bass with nothing but the handheld belt sander.
Notice that the one tool I did not use is the one every noob gets told to use - the router. Especially with brittle clear plastic, a high-speed router is just going to shoot shards of plastic all over the workshop, and then you can start over. I make all my pickguards by hand like this. Even a 45-degree bevel is remarkably easy to do with a file.
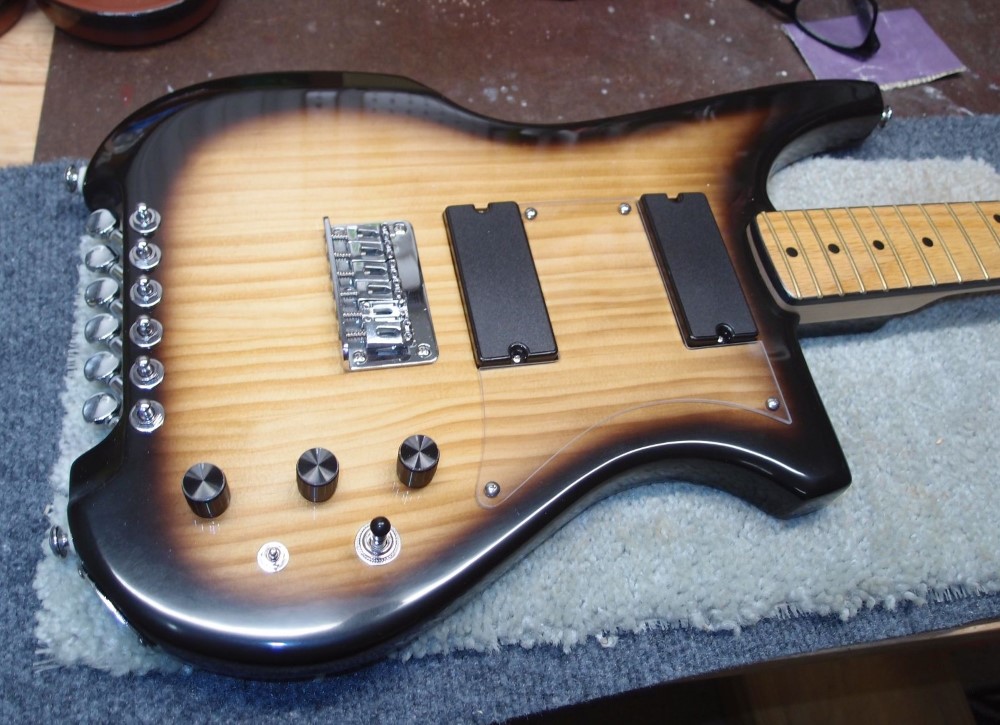
I noticed that the logo layer on the bass had become a little cloudy, or maybe it always was but it really shows with the new body finish. So I decided not to use it. I could print a decal instead, and apply it to the now-slick body under the clear plastic. I think I'll just leave it this way, it's not needed - the burst adds some visual appeal that was lacking before.
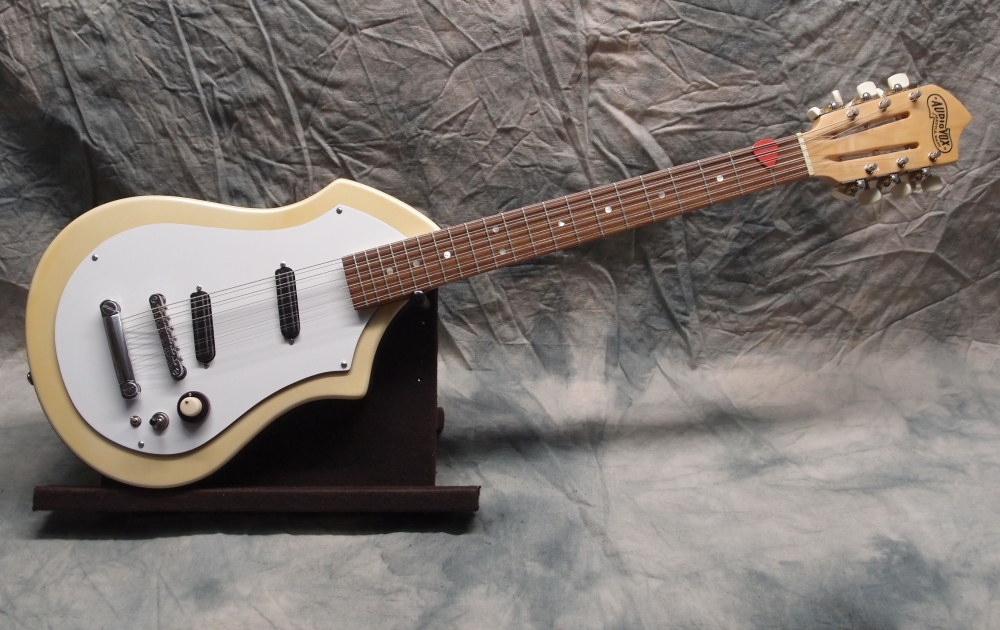
The pickguard is installed with Danelectro-style truss-head screws - no countersinking, doesn't get any easier. This entire guitar ( and the bass ) is entirely Home Depot wood - Radiata body, maple neck, oak fretboard. The pickguard is an old windowpane, and the finish is oil-based poly, so pretty much the entire build is from the hardware store.
All it needs now is strings.