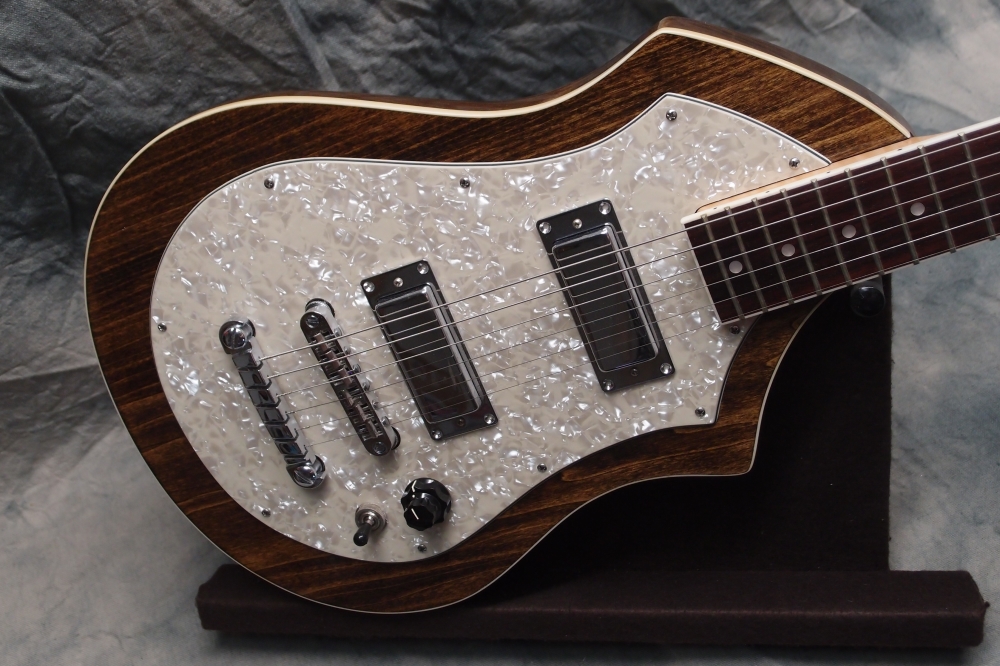
Kubicki Factor Guitar (4/8)
Jan 25, 2019
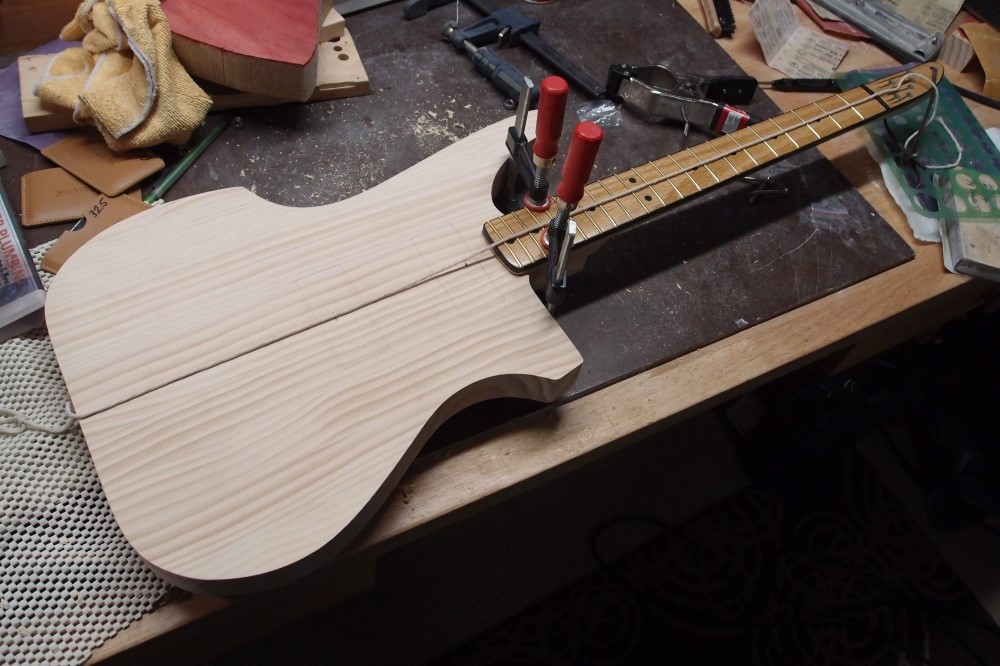
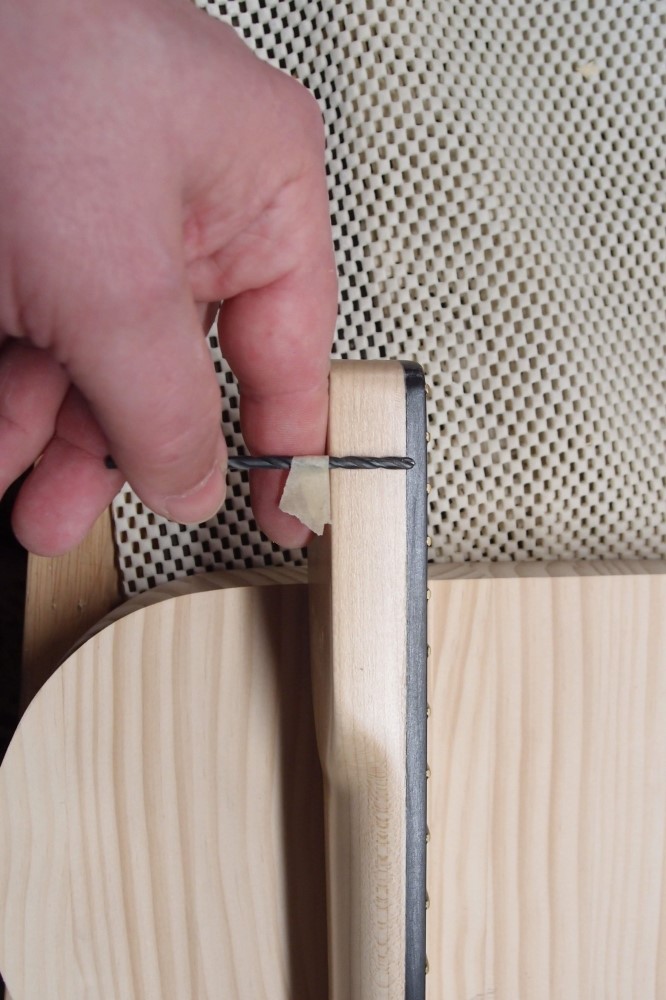
Time to mount the neck on the micro-scale six-string octave bass. Here, I have clamped it in place and I am checking the center alignment with a length of string Luthiery Neck Alignment Tool. If anyone is in need of this invaluable tool, contact me, I have a small supply that I will sell for only a dollar a foot. That's cheap for anything luthiery, just check StewMac. Remember, you need two pieces in order to check the edges when laying out the bridge. All's good, remove the neck.
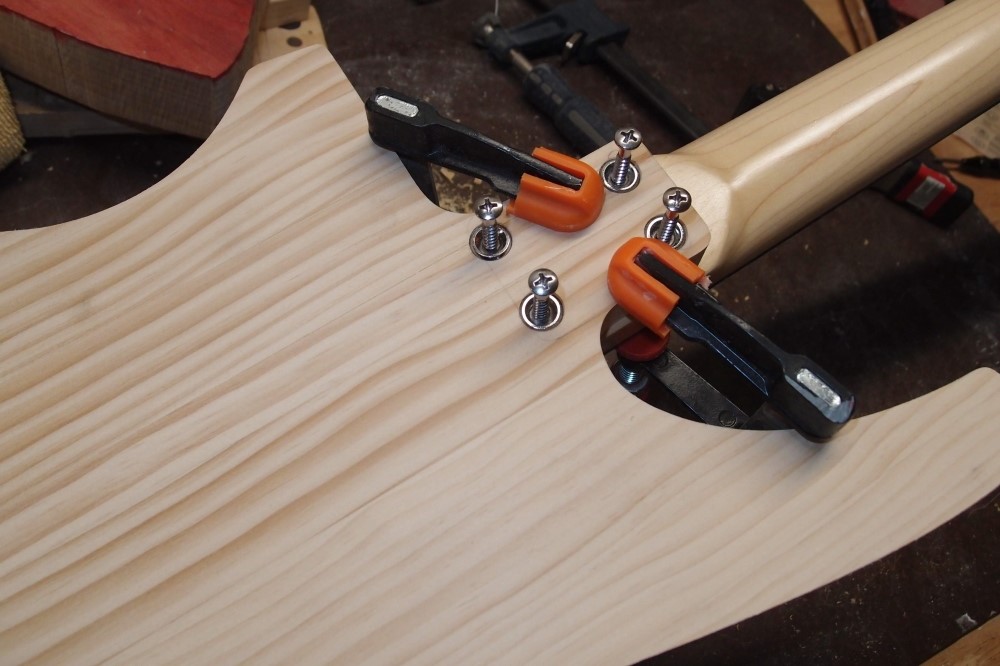
I was going to just use a neck plate, but I made the body heel just a bit too narrow. So instead, I'll use bushings. First, I laid out the plate I was going to use and traced it. That gives me starting locations. Then I laid out the bushings and moved them around until I was happy, and marked the centers with a pencil. Rather than try to hit the centers with a Forstner bit, I used a tracing guide to make circles around each center mark, and then hit the circles with the Forstner - much easier.
Getting the depth right is a matter of fitting each bushing and nipping out a few shavings of wood at a time until you have it where you want it. If you over-drill one, you can glue a piece of cardboard or even a washer in the bottom. Very thin potentiometer washers are good for making fine fixes.
The Forstner bit leaves a dimple in the center - that's your center hole. But it's even easier than that. I put each bushing in and drilled through it with a bit that just fits. The screw threads should not engage the body, the screw should fall freely through the hole. A drill press is nice, but these holes are not so deep and critical that you can't do this with a hand drill, even the forstnering.

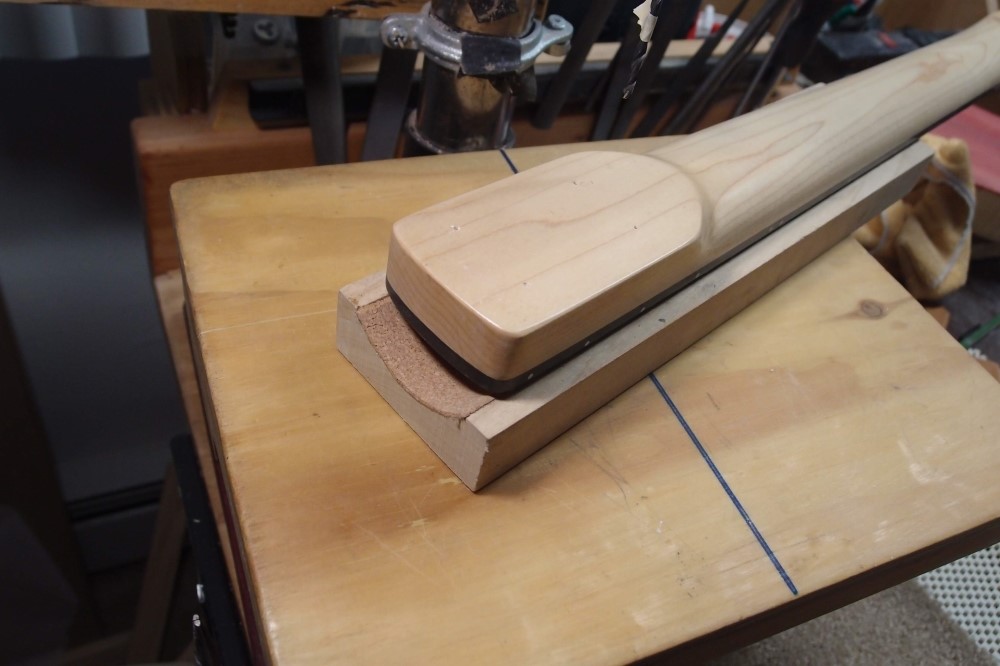
I'm using my StewMac fretting caul to support the neck at the edges, so it rests square to the drill. I made pilot holes with a 1/8" bit, then repeated with 5/32", letting the larger bit find its own center.
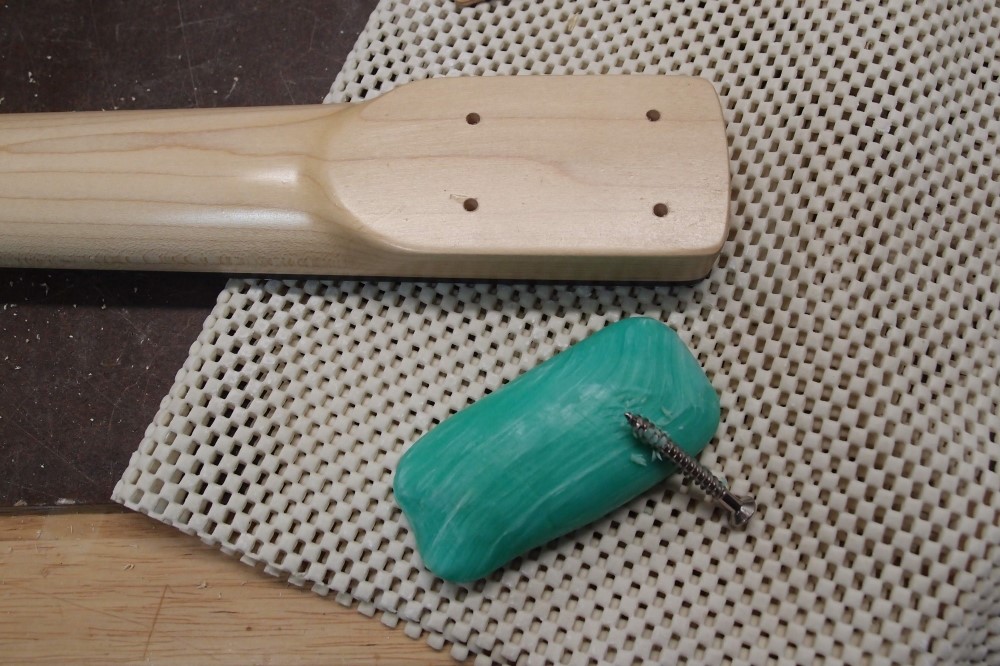
Maple is extremely hard to drive fasteners into. It helps a lot to soap the threads the first time. I learned this trick originally from Amish Harrison Ford in his barn-building documentary Witness.

The screws are all lightly bottomed out in their holes, and it's clear they are a bit too long for this thinnish body. Again, I used a drill press, but these holes are not so deep or critical that you couldn't do this carefully with a hand drill.


So I ground the points off with my handy tiny Harbor Freight bench grinder. Then I ground a bevel on the blunt ends. A point is not necessary, the holes are already pre-drilled and threaded, the bevel just makes the screw pilot better.
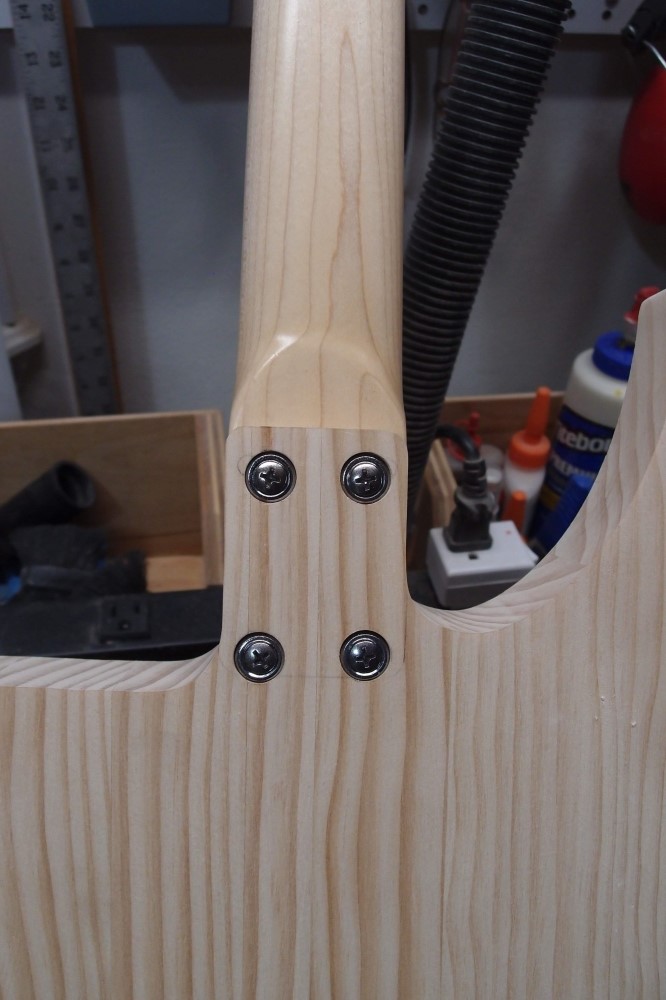
To start each screw, turn it lightly backwards until it 'hops'. That is the threads finding each other. Then drive it in. The screw heads protrude just slightly from the body, and I'm ok with that.
And that's how to mount a neck with bushings. For a neck plate, just omit all the steps having to do with bushings.
I have seen a lot of supposedly better schemes for bolting on a neck, some of them quite complex. The truth is, this is good enough, and over-killing the job has no real benefit. When I assembled the Cowbell, I could feel the screws go into the hard pine much easier than maple, which gave me pause. But I have seen absolutely no issues with that instrument, I am actually just tickled with how well that odd thing has worked out. Everything I did "wrong" has worked perfectly.