Kubicki Factor Guitar (3/8)
Nov 25, 2018

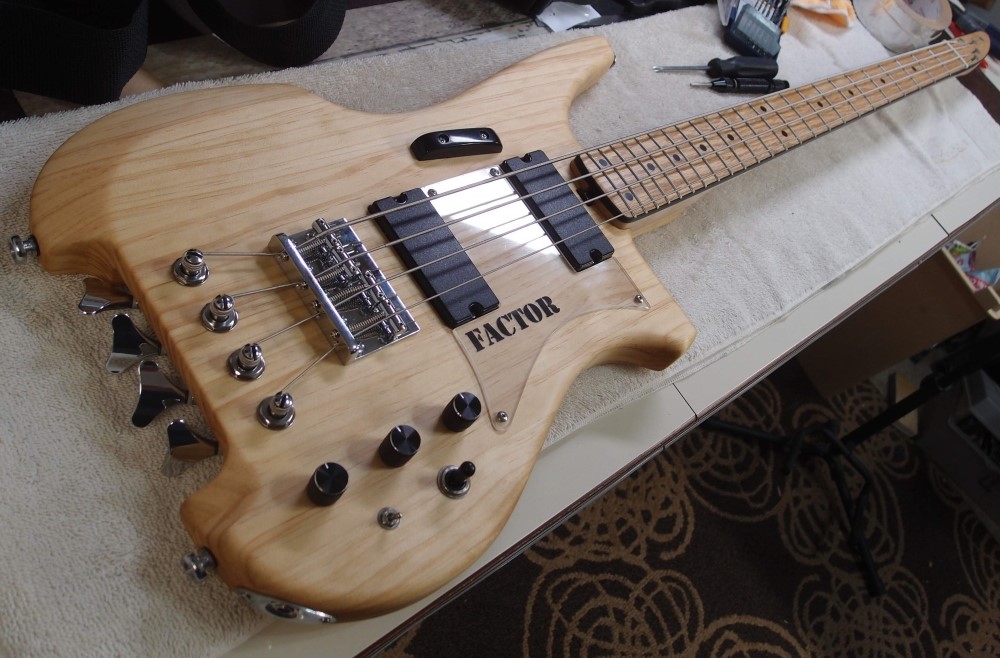
What a pretty piece of wood, for three bucks. This is almost finished. This little guitar neck is a dry run for a bigger Bass VI neck, but I'll have to wait a few weeks on that if I want to participate in the build-off. My main goal with this piece was to test the Surform file, and WOW! did that work great.
Jan 21, 2019
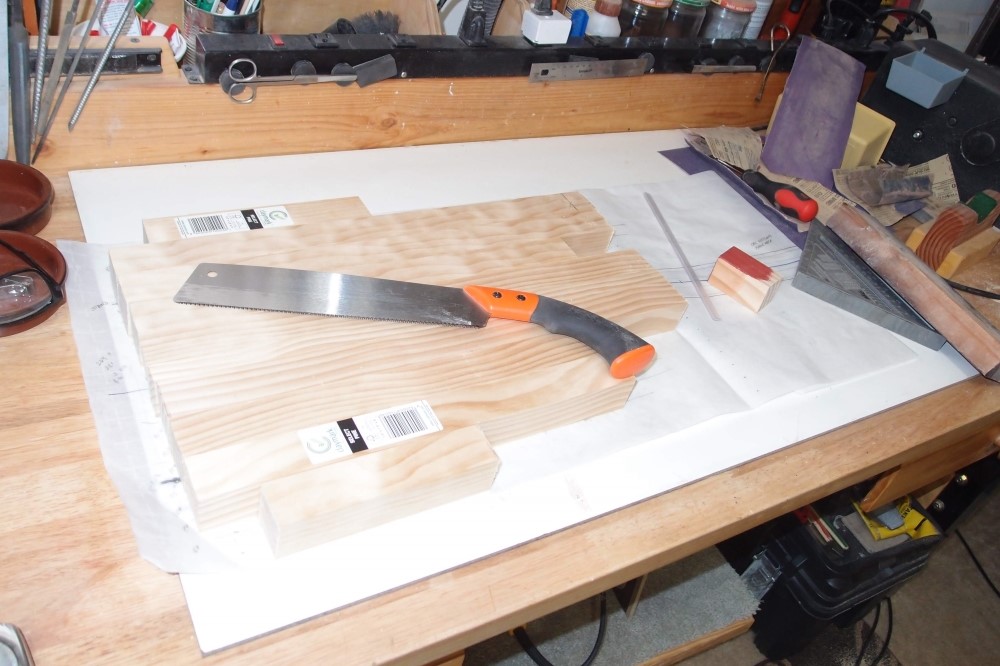
This is what's on The Slab today. Setting up to build another Kubicki body out of 2x2 Radiata.
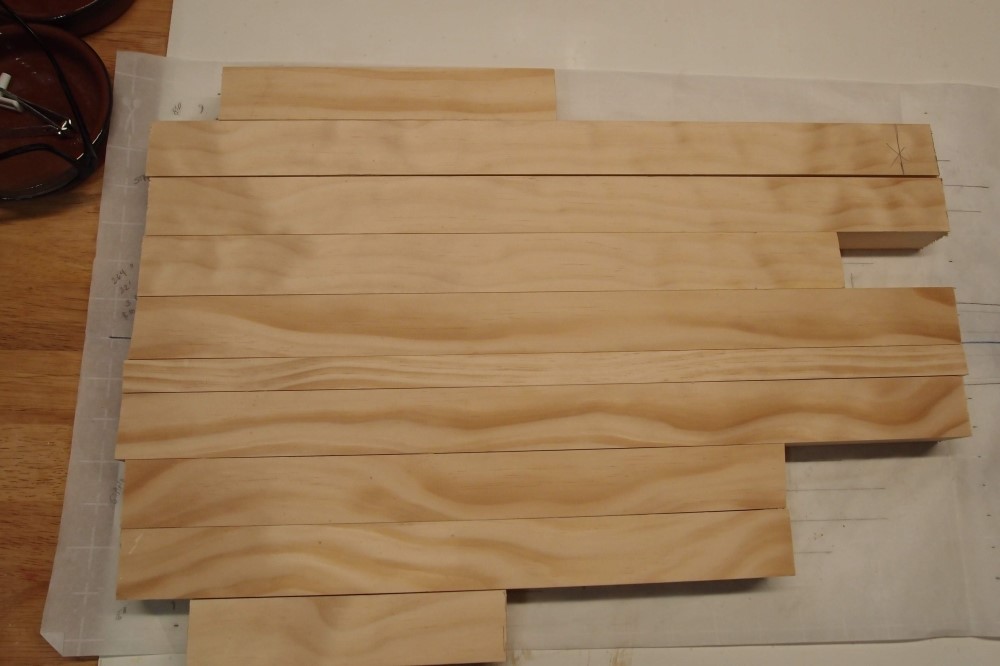
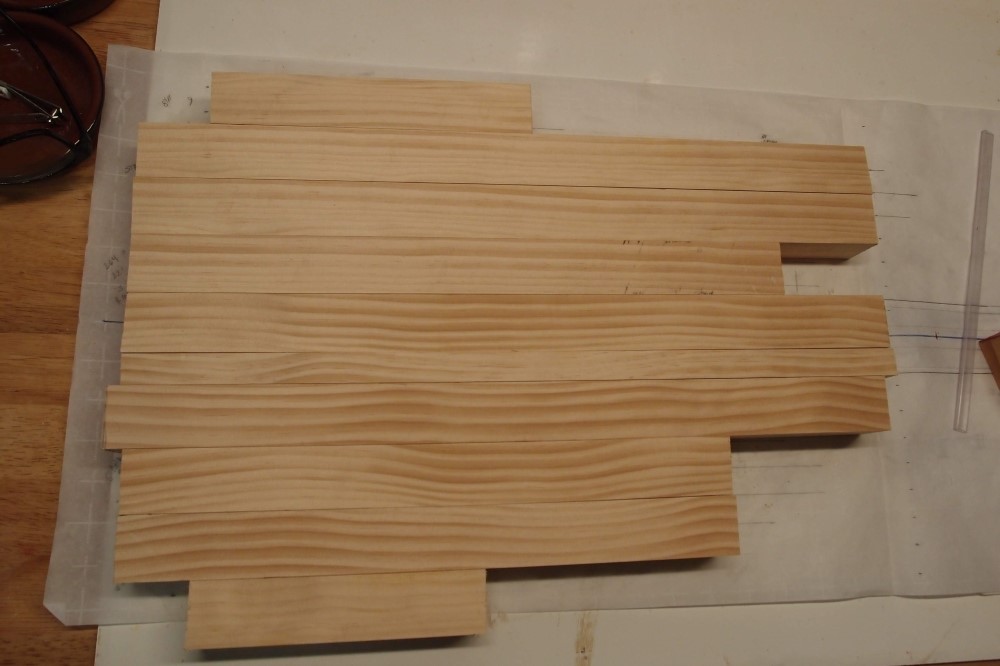
This time I am taking the trouble to match up the grain. As you can see, you have two choices - loose and feathery, or tight and stripy.
I think I'll go with this. I have inserted a single piece of 1x2 in the center. This will displace all the glue joints outwards, and eliminate the orphans at the edges. Also, a piece of 1x2 at the top, because that's all I need there. This is two six-foot 2x2s. Pick through the pile at the store for nice ones.
This is going to be a six-string octave bass to go with my four-string regular bass. I built the neck for it earlier in the thread, then got distracted on a lot of other things.
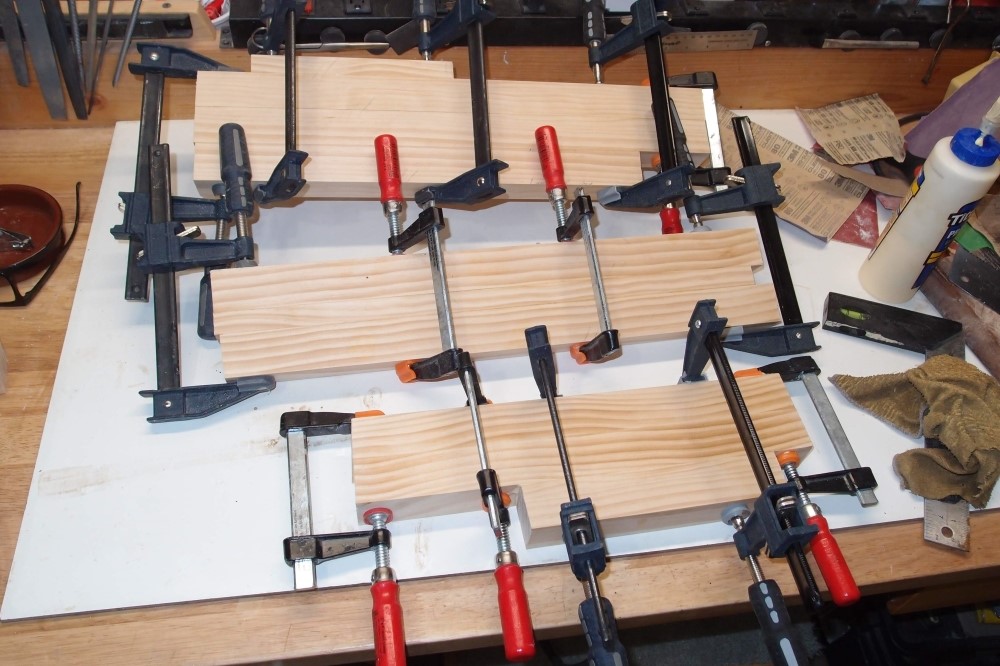
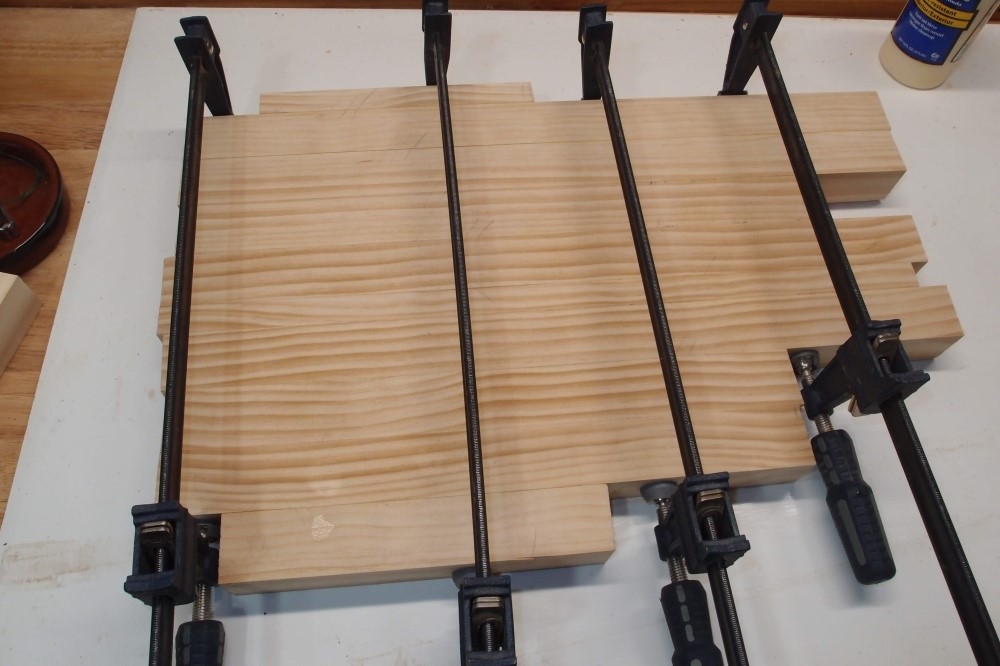
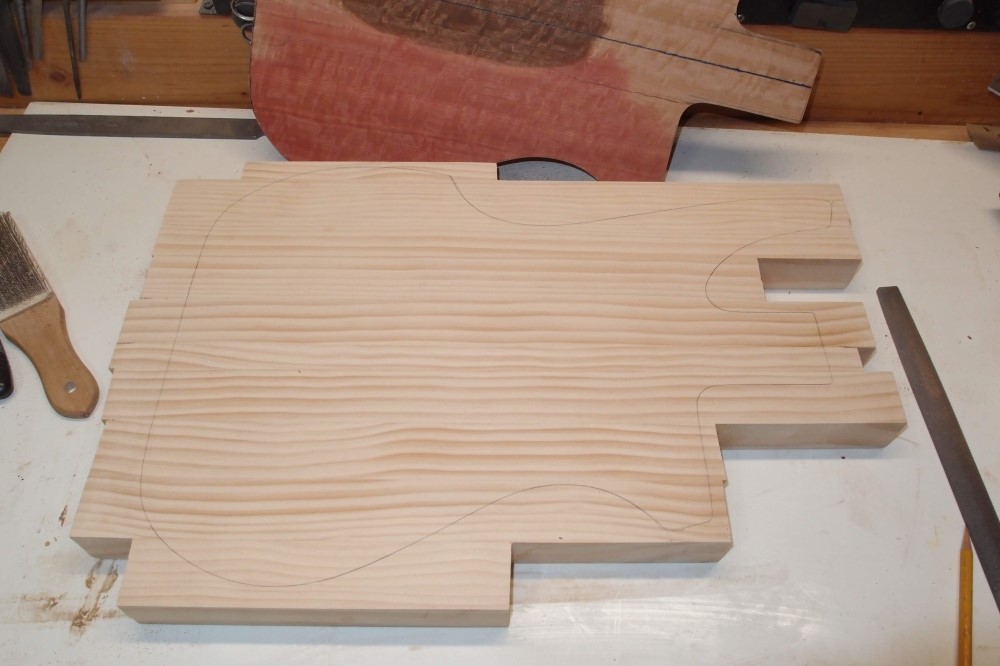
This thread is getting senile, it's starting to repeat itself. Here is the glue-up of the pine body blank. Prior to gluing, I gave each face a scratching with 80 grit, so the glue would have something more to grab. Just a scratching - these pieces are very square and true, sanding them is only going to make them worse. The whole point of using this material is that it is good to go.
If this was going to be a more-normal guitar shape, I would have made all the pieces about 20", but in this case that would have wasted a lot of wood and glue. This is about $20 worth of wood, and if you had to, you could do this whole job with just four 18" clamps.
Gluing it up in stages like this is the easiest way. You're never dealing with more than three pieces at a time. The front is well-aligned, so I can check it for flatness. All the discrepancies are on the back, which will require some heavy-duty block sanding, or maybe I will take the belt sander to this one.
A body made this way ends up being about 1-1/2" thick. This could be chambered-out and then topped with 1/4" plywood and binding, for a Ric-like construction. Or join a pair of 8" boards and make a carved top.
Radiata is attractive, not too heavy, not too light, not too hard, not too soft. It is easy to glue, easy to work, and easy to finish and takes fasteners well. And it is readily available in many sizes at Home Depot, and very reasonably priced, just look for "select pine". Go back through the thread, and you can find two similar builds.
Jan 22, 2018
I left it in the clamps overnight. It came out pretty flat and true, but not perfect. There was a slight cup to the front and a corresponding bulge to the back. I wonder if you could adjust the clamps just-so to avoid that? Here, I am in the last stages of flattening it out with the belt sander. The 1x2 pieces stood out from the 2x2s, but the belt sander took care of everything pretty fast, and also captured most of its own mess.
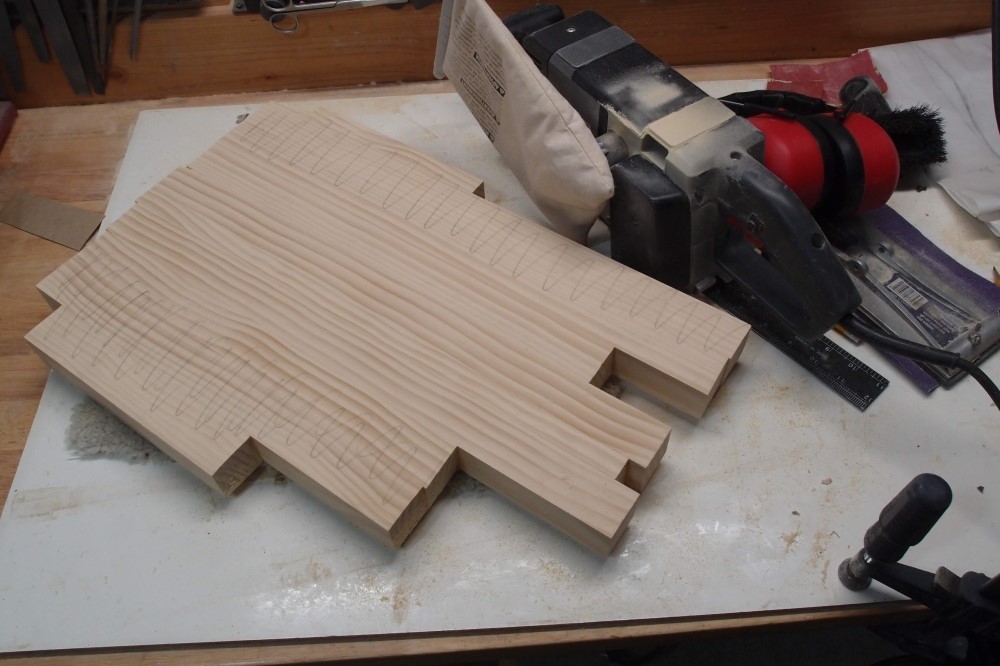
I call this stage "scribble and erase". Find the high spots with a straightedge, mark them with a pencil, and erase your marks with the belt sander. Repeat until flat, usually 2-3 passes. Don't go for perfection, that's how you overdo it and screw up the piece. Go for good enough. The edges of the piece don't really matter, just check the areas that will actually need to be true in the finished product. When you're all done, the small imperfections you left at this step will have disappeared.
The belt sander is the Shiva of sanders - the Destroyer. It takes practice and experience not to ruin things with a belt sander. The trick to using one is a light touch and constant motion, with the belt always along the grain, never across it. Anywhere you park the belt sander for even a second is going to cut a gouge. You can sand out one or two small accidents, but enough of that, and you will ruin the piece. Any time the sander is touching the piece, it must be moving. If you set it down and then start it, it will grab the piece and launch it across the room, or into you. You can see I have set a clamp on the edge of the bench, which I am using for a stop. I am using an 80 belt, dust collection, eye and ear protection.
You could also use a pad sander, but that would take a lot longer, and leave the surface full of little circles that would have to be sanded out. Myself, I hate rotary sanders, if I can't use the belt sander, I do it by hand. Rotary sanders includes so-called 'random orbital' sanders, which are just as bad. The only time you should ever sand across the grain is when you are sanding for gross material removal, and then you need to leave enough wood to fix the damage you've done.
For hand sanding, I use a padded head from a broken pole sander, which takes a 1/3 sheet. You can actually buy such a thing very inexpensively at your local Loothery Depot. A similar-sized piece of wood would work just as well. You can glue a thin mouse pad to it. Again, it is critical to always follow the grain when coarse-sanding, otherwise, you'll make some nasty scratches that will be a pain to remove later.
Here is the finished blank, wetted-down to see what it will look like. I'd say this is as nice as anything you can buy for many times the price, and I sourced it locally and made it myself. The lost thickness from smoothing is hardly noticeable, and when I run my hand over it, I feel nothing but flatness. The raw material starts out with nice sharp corners, and when you are finished rough-sanding it, the joints are perfect.
Jan 23, 2018
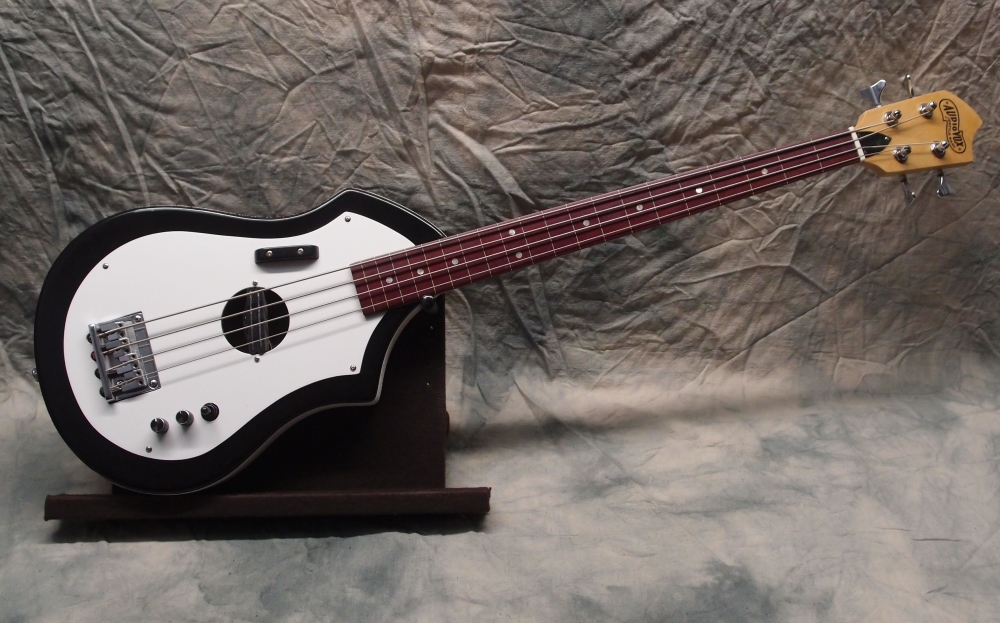
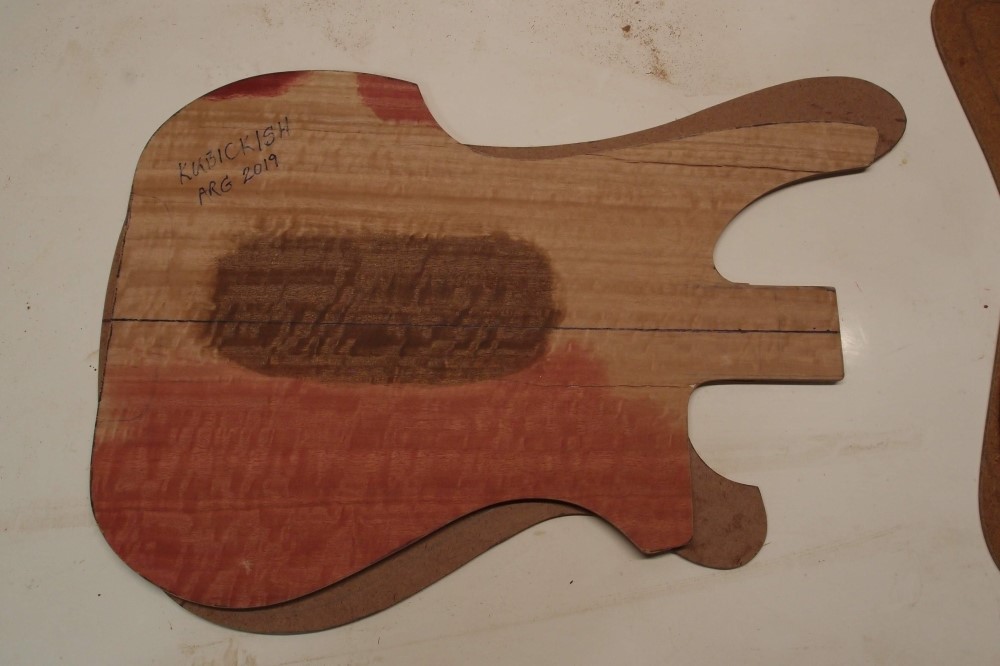
I really like this shape. It is another of my semi-originals, I call it 'Kubickish'. It has a clear resemblance to the original, but different, and, I think, improved. For one thing, like the Cowbell, this is stable standing on the floor by itself. Also, it uses regular tuners and bridge, not expensive custom parts.
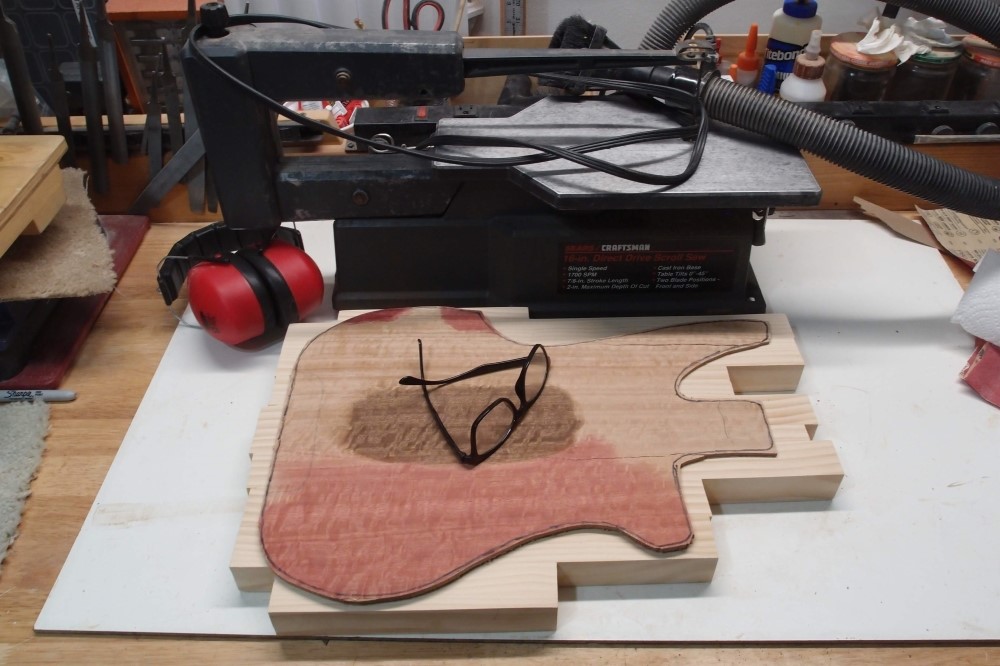
So I decided to take a detour and make a body template for it. This is one of my veneer experiments. Waste not, want not. Also, it is experience in working with this veneered masonite. It sawed out just fine. This is a tracing template, not a cutting template. I'm building a small collection of these. Behind is my ancient single-speed Craftsman scroll saw. I think I paid $15 for it. It's built like a tank. A little lube and a new cord and it runs great. Watch Craigslist for things like this.
This should be a pretty easy build, as I have already worked out all the details and made all the templates. The only difference is I think I will spray a black burst around the edge, and then try my new UV-cure poly, instead of just oiling it. If that works, I will take apart the bass and do the same to it. The bass is currently finished in Tung oil, which has long since dried to where it should be safe to overcoat it.
I am discovering that Radiata has almost perfect properties for loothery. I'd say it is better than poplar in every way.
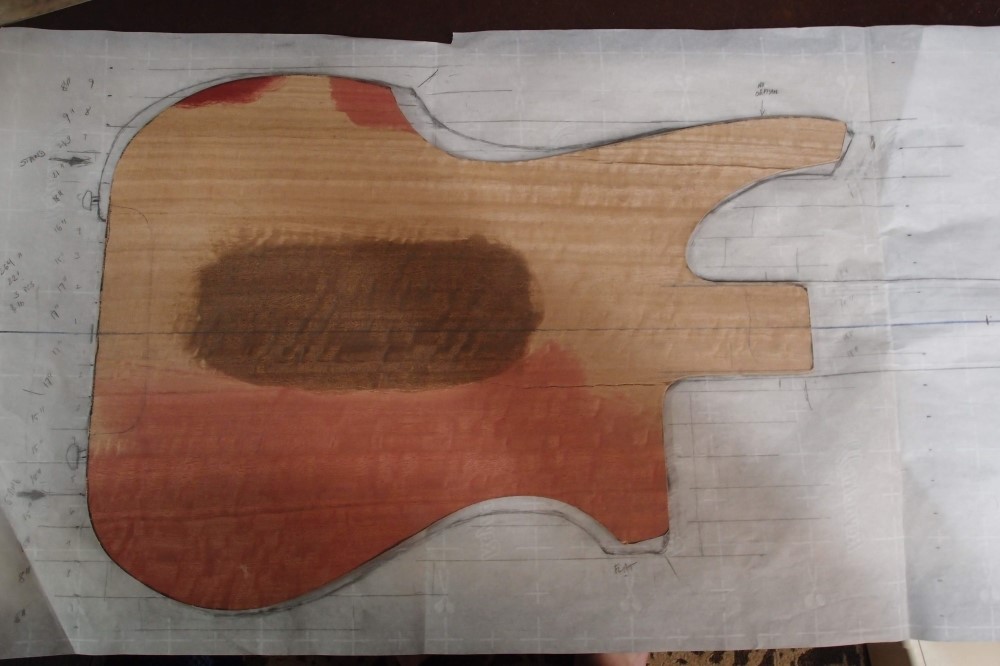
Here is the final template laid over my original drawing. The template is copied off the bass. The drawing looks pretty clunky compared to the prototype. Neither one is a true Kubicki, just inspired by the shape.
It's better to make your templates off a prototype than vice-versa - that way you'll pick up all the little details you incorporated into the real thing. I'll draw in a few details on the template, and then throw the drawing away. Making templates is time well spent. Previously I made some templates for the "headstock", but I won't be needing them, as the neck for this is already built.
All that just for this - took me half a minute to trace out the shape. One of the seams in the body serves as the center-line, so I'll never have to mark it. The tongue is for a full-sized bass neck, I will have to shrink it a bit for the guitar. This body will also convert to a Bass VI, but I dropped that idea when I lost interest in the "Build Off". I'll save those parts for something else, maybe another Mosrite.
The Kubickish template laid over a Ric. Makes the sleek Ric look bloated. With half a pound of tuners in the tail, a long upper horn, and almost no headstock, you can make this body very compact and it still balances perfectly.
This has to be the fanciest template I've ever made - it is veneered! No reason not to test the UV-poly on it. No problem cutting and sanding the veneer. There are a few loose spots around the edge that would be trivial to fix. The joint between the veneer and the masonite is otherwise neat and tight, which is important, because on a Danelectro body, that joint will be exposed. I'm keeping the larger sections of scrap to test with the router. This is one of the test pieces that I did with the hot iron, a technique I decided against.
No rainforests were harmed in the making of this guitar.
Most of the outer edges cut on the bandsaw and shaped on the oscillating belt sander. When sawing, you never want to touch your line. Cut outside of it, then sand your way in. When shape-sanding, flip the piece over from time to time and sand it from the other side. No sander is perfectly straight, this will mitigate any crookedness and give you a nice square side. With a sander, you can see what you're doing and sneak up on your desired outline nice and slow.
Some people like to rout body shapes, but on a job this size, I think the potential for router-disaster is much too great. Since your workpiece is hidden under the router and template, it is much more difficult to see when something is going wrong. Routers love to tear out chunks of wood when turning the corner on the grain. Sanding is much safer.
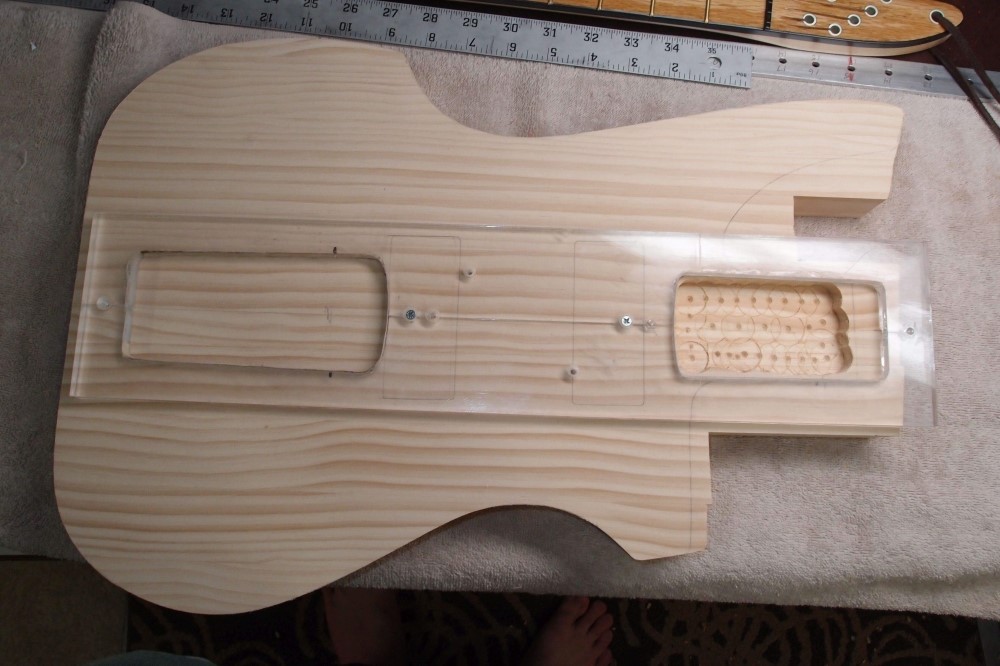
Then I figured out where the pickups would go, and screwed the neck pocket template into those locations. Finally, I hogged out about 1/2" of material with a 3/4" Forstner bit. This saves routing and mess.
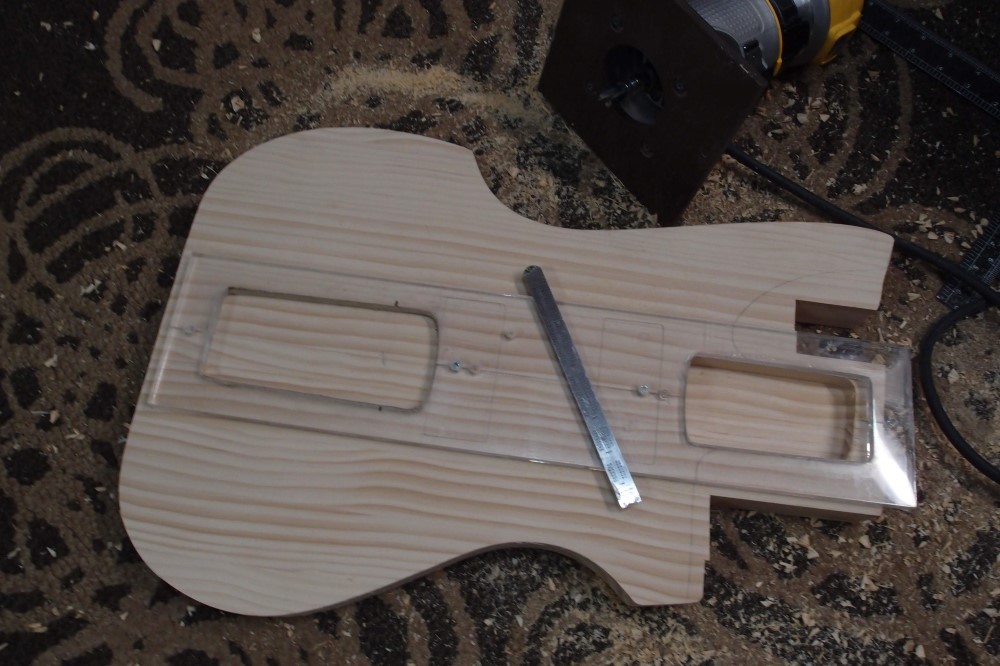
Guitar-sized neck pocket all routed out, to a final depth of exactly 5/8". This will also take a short-scale bass neck if I ever choose to make one for it. I did the routing on the floor because the router is inherently a messy creature, and the dust doesn't fly as far from the floor. Also, the workbench is completely full.
The neck pocket came out a little loose, or more likely, the neck is a little slim, and I should have paid more attention. I'll put a few layers of finish on the sides of the pocket, and it will tighten up. You want a little slack for adjustability.
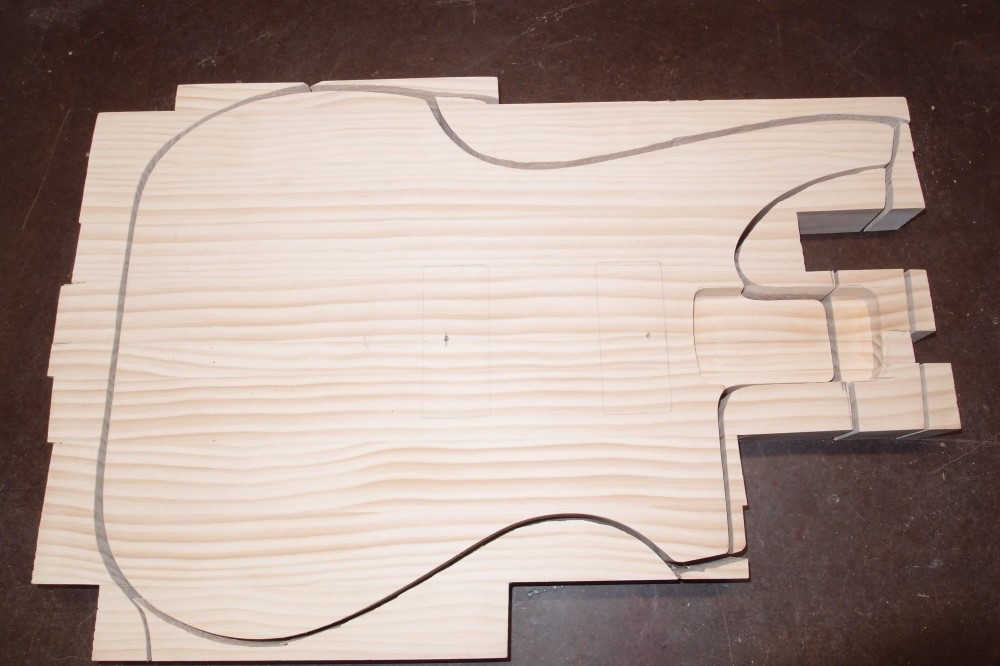
Got all the mess cleaned up, and thought this jigsaw puzzle would be interesting. You can see how little waste there is with this kind of assembly. I'm saving the ecology, one inch at a time. The straight edges were trued-up with a large file.
That's all for today, tomorrow I will rout all the cavities, tuner mounting, chamfers and roundovers. Yesterday, this was just sticks.