Kubicki Factor Bass (7/13)
Dec 29, 2017
To cut the neck heel, I set up the belt sander (above) vertical, squared the table to the belt and tightened it down hard, and installed a new 120 belt. This was the first test of the new "dust extractor", and it works great when I remember to turn the vacuum on. This tool may be a lot more useful than I thought. And safer too, now that I have no sanding disk installed to chew up stray fingers reaching for the power switch. I put extra effort into cleaning that damn disk until it was perfectly smooth.
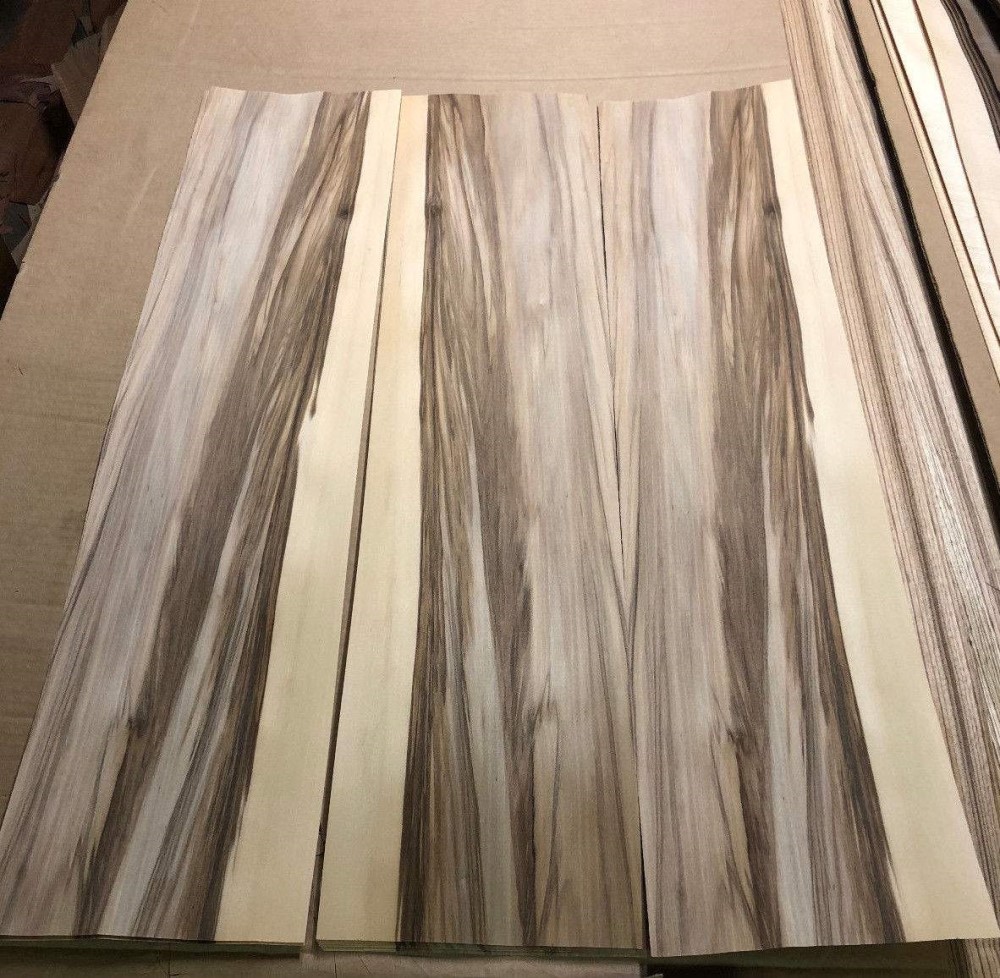
Next will be the truss rod channel, while the neck blank is still nice and square. You can also see the piece of oak for the fretboard, also from HDLS. If I use a dark grain filler on it, it will come out looking like something Gibson would charge an extra $2000 for. Every bit of wood on this guitar will be Home Depot.
For the string ball retainers, I got two pieces of 10mm tubing, one aluminum and one stainless steel, they were both so cheap. I will try the stainless one first to see how difficult it will be to make four split rings. The aluminum is my fallback.
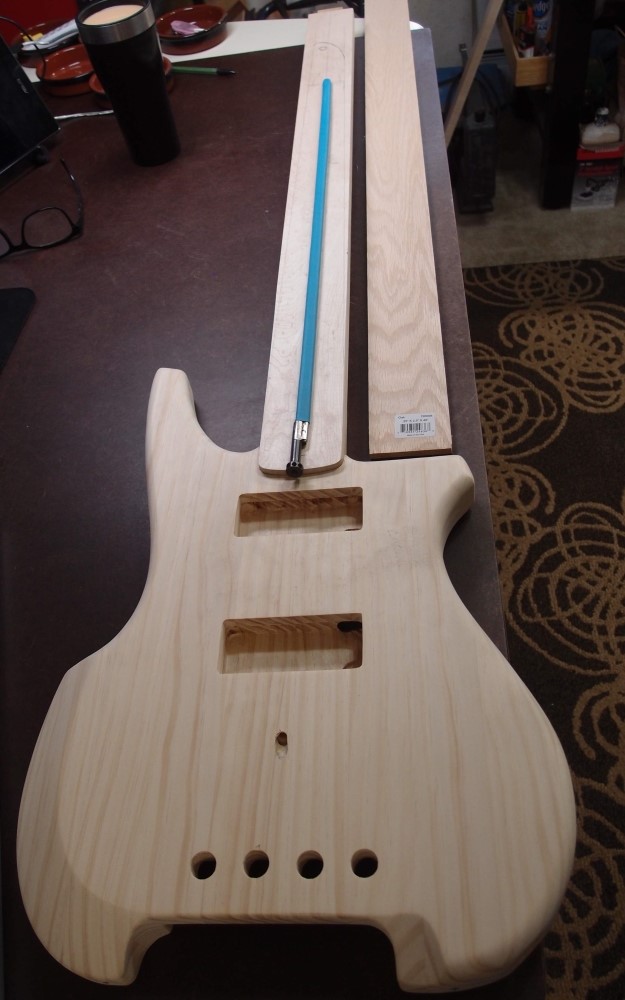
I still can't get over how nice this body came out. You could spend a lot of money on a 'guitar blank' and not get something nearly as nice. I think I will eventually build this bass a six-string little sister. Having several of the templates already made will make a second build much faster. The biggest template is the body of this one. I'm pretty happy with this shape, so I can just trace it out, rather than agonize over a drawing. Techniques and decisions I had to puzzle over with this one will be cut-and-dried a second time.
Dec 31, 2017
Truss Rod Channel
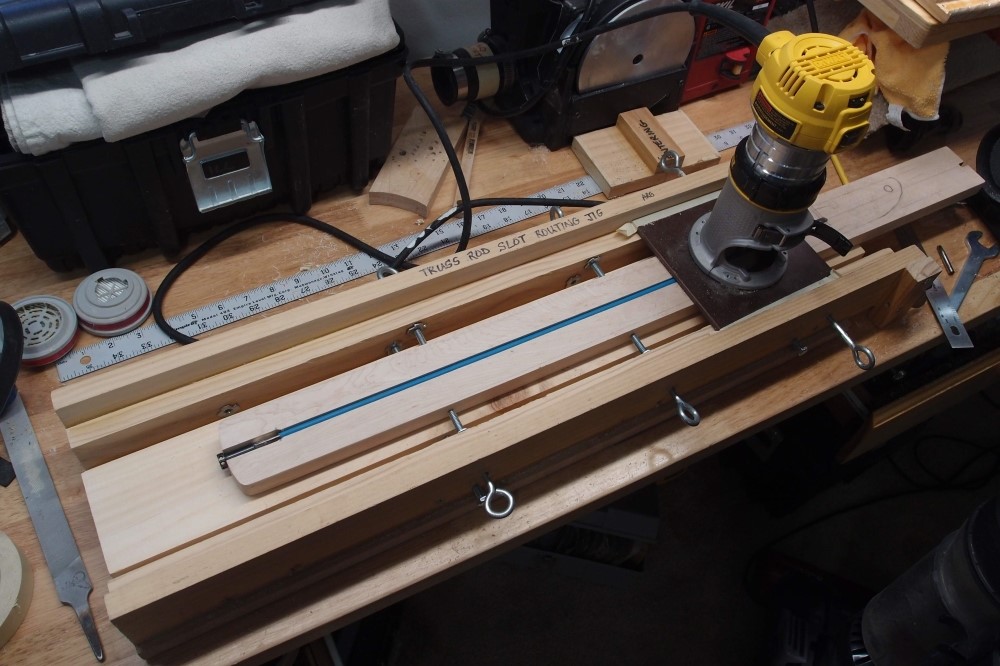
Here is the finished truss rod channel, with the rod installed. You might think this is a difficult job, but it is not. In fact, with the right tools, it is downright easy.
The neck blank is mounted in my truss rod slot routing jig. This jig fixes the blank in place and constrains the router to move in a straight line. Just mark your endpoints, and dig out the channel to the necessary depth in several passes. This jig has evolved since I first made it. The router now rides on the face of the workpiece, rather than the rails. This is easier and more accurate.
Now that I know the geometry for the spoke nut, I can do the final bit of woodworking on the body and Dremel out the notch for it. Note how the spoke nut mostly covers the end of the truss rod channel, which will actually be U-shaped. This is much easier than end-drilling a round hole, and also allows the rod to be removed if that should ever be necessary. ( If I guessed wrong about this neck not needing a double-acting rod, I can pull this one out and rebuild it! )
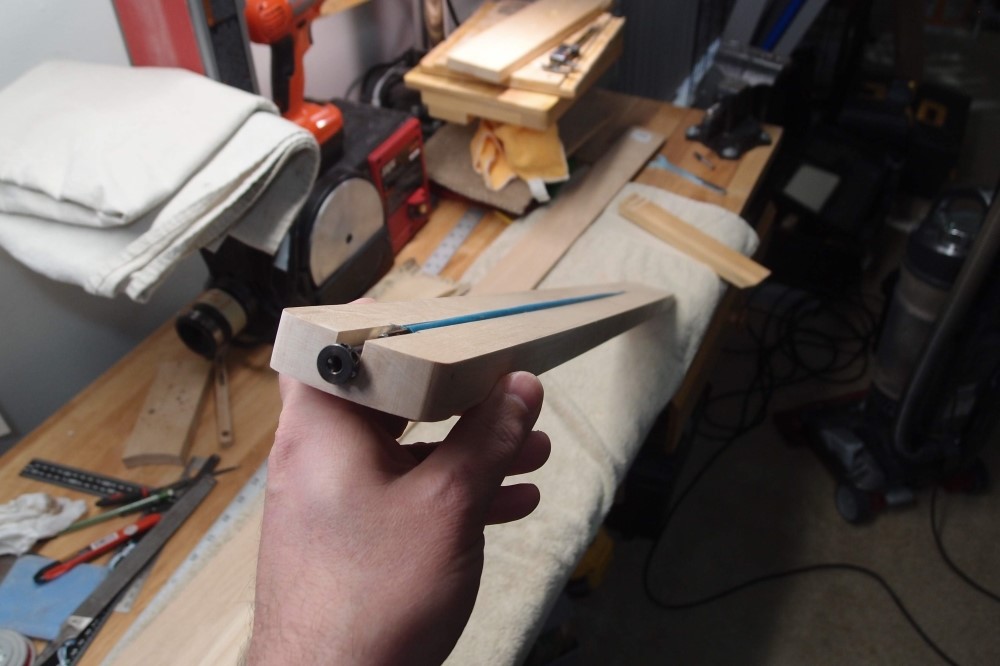
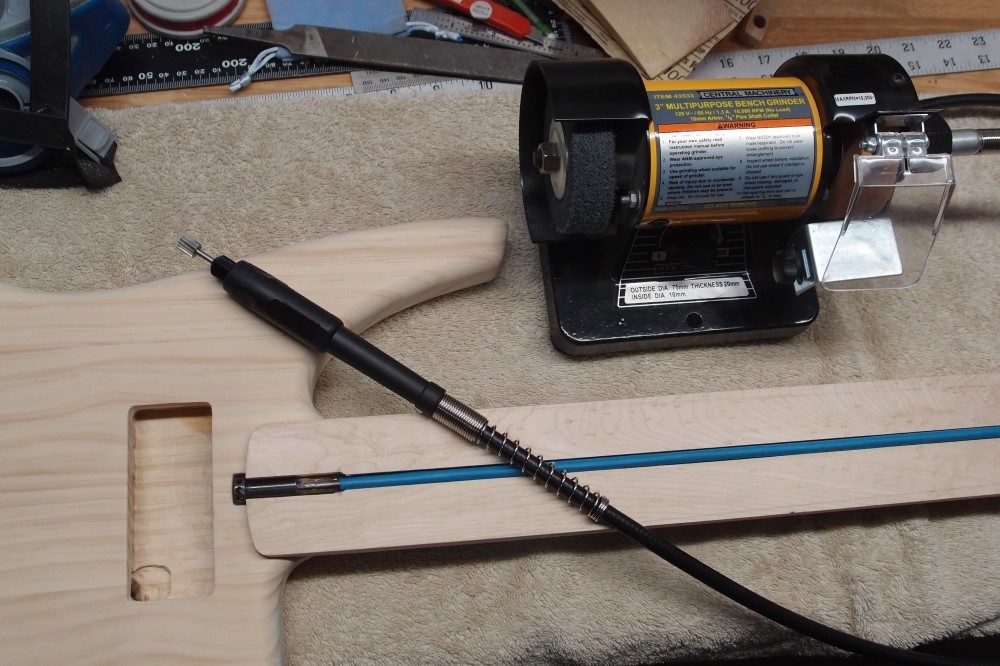
Here is how the truss rod works. I have dialed a little tension into it, and you can see how it has bowed up in the middle. When the fretboard is installed, the rod will not have any room to bend, instead, the ends will press down on the wood, pushing the end of the neck backward. The forces involved are actually very small, a few pounds, just enough to counteract the forward pull induced by the strings so that the neck stays straight, or as straight as you want it to. Even though the string pull is very small, without reinforcement, the neck would creep forward over time. Any two-member rod will work this way, double or single-acting. Note that all the tension and compression are entirely internal to the rod. The only compression on the neck is the strings.
A single-member 'skunk stripe' or 'classic extra $1000' rod works differently. It sits in a curved channel and places the entire neck in compression ( in addition to the strings ) to create the same small perpendicular force at the end. Wood makes a very bad compression member for the truss rod, as it varies with temperature and humidity. This is the absolute worst way to design a truss rod, but both Fender and Gibson continue with it on their top-of-the-line models. Bad design is not a deluxe feature. Ironically, cheap Asian imports typically use much better truss rods. When you figure a long-scale bass neck is already carrying about 200 pounds of compression, adding more with the truss rod, no wonder skunk stripes are so unstable.
The scroll saw cut the rough outline in hard maple with no problems, thanks to the new blade. By now, it is already feeling a bit tired. The bandsaw would really be the weapon of choice for this, but low tech is the theme of this thread, so I used the scroll saw. You could even use a jigsaw. When sawing an outline like this, you never want your cut to touch your line - always stay well outside.
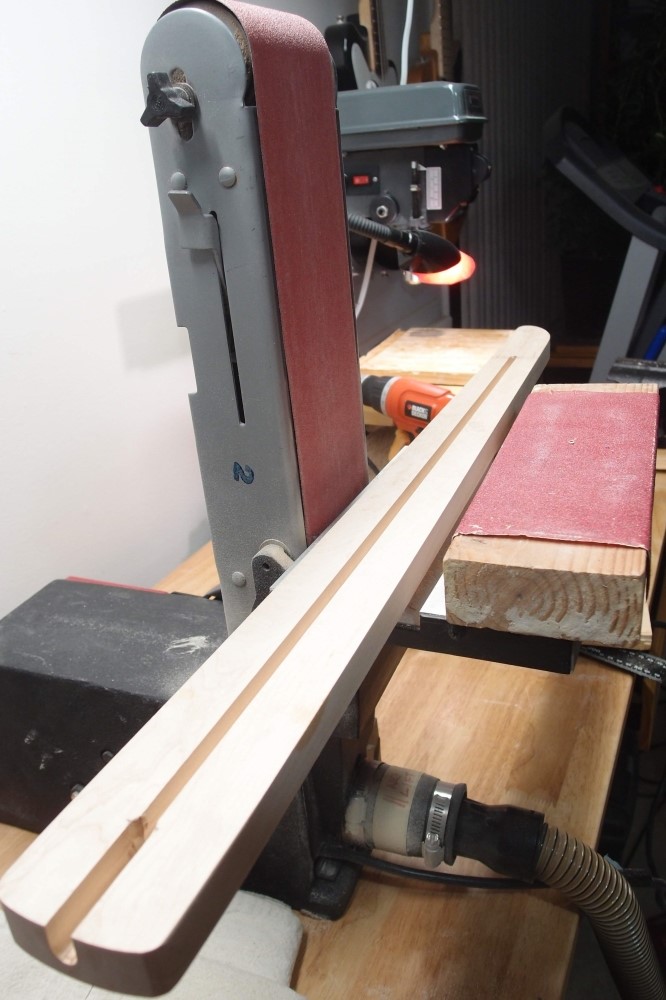
Once I had the outline cut, I took it to the sander, pretty much as pictured, and took it in almost to the line with an 80 belt. 80 is the jack-of-all-trades, you can do material removal without leaving behind huge gouges like the 50 belt. The 120 belt is too fine for material removal, it is really only good for smoothing. Again, this belt sander is proving more useful than I thought. Stop periodically and make sure your table is square - they slip. Turn the piece over and make a final light pass to square everything up.
Once I was just about up to the line, I switched from the machine to hand sanding. It is vitally important to know when to stop with the machine and switch to handwork. The machine will get you 90% of the way there, but if you go for that last 10%, you will overshoot and ruin the job every time.
I used the big block and a half-sheet of 80 and sanded the sides perfectly straight. When you run your hand up and down, you feel nothing. The width at the top is set from a P-bass nut, the width at the bottom is the neck heel, which I was careful NOT to sand, as it is already a fit.
One step that I shouldn't have skipped is to re-draw the neck around the truss rod slot. That never comes out exactly in the center. So the truss rod slot is a tiny bit off, and that does not matter at all. This is the easiest headstock shape ever. I guess we'll learn how to do a real headstock next time.
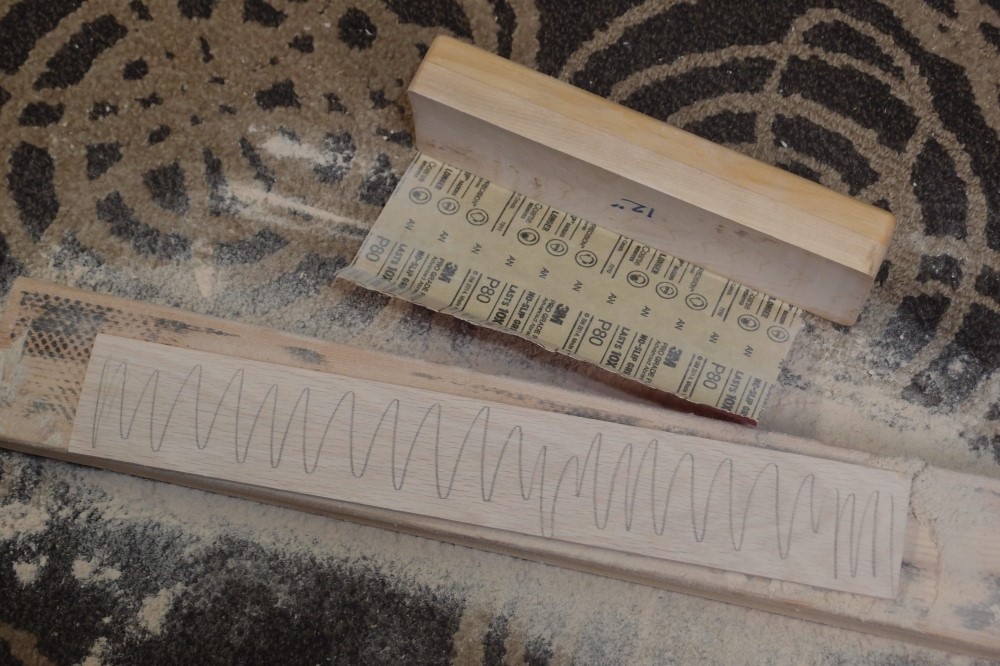
I cut the oak piece for the fretboard to length, and this is the short end, which is earmarked for another project. I use a 12" radius on everything. It is curved enough to feel good, and flat enough to be easy to make. To start, I knocked down the edges a bit on the belt sander, to save myself some work. Then I took my 12" radius block and a half-sheet of 80 and went at it. Long strokes along the grain. Stop often and inspect to make sure you are doing an even job.
From time to time, scribble witness marks on the piece with a pencil and sand them off. When they sand off completely, from edge to edge, and especially in the center, your radius is complete. I am using a long piece of 2x4 as an anvil and making a mess of the floor.
This is a nice little board for someday. Notice how even it is from side to side. This takes practice. Expect to ruin a few pieces while learning. It is difficult to get the ends of the piece to come out even, so leave at least an inch of scrap at each end. I have a jig to cut radiuses like this with a router, but once you are handy with a radius block, it is easier this way. The same jig made this radius block. In fact, I got happy and made a whole range of radius blocks, but this is the only one I use.
For both the sides of the neck and the fretboard, it is the length of the sanding block that gives the desired smooth straight result. The long block sands out all the bobbles like a short one never could. After the fretboard is glued to the neck, I will go over it again to make sure it is perfectly straight.
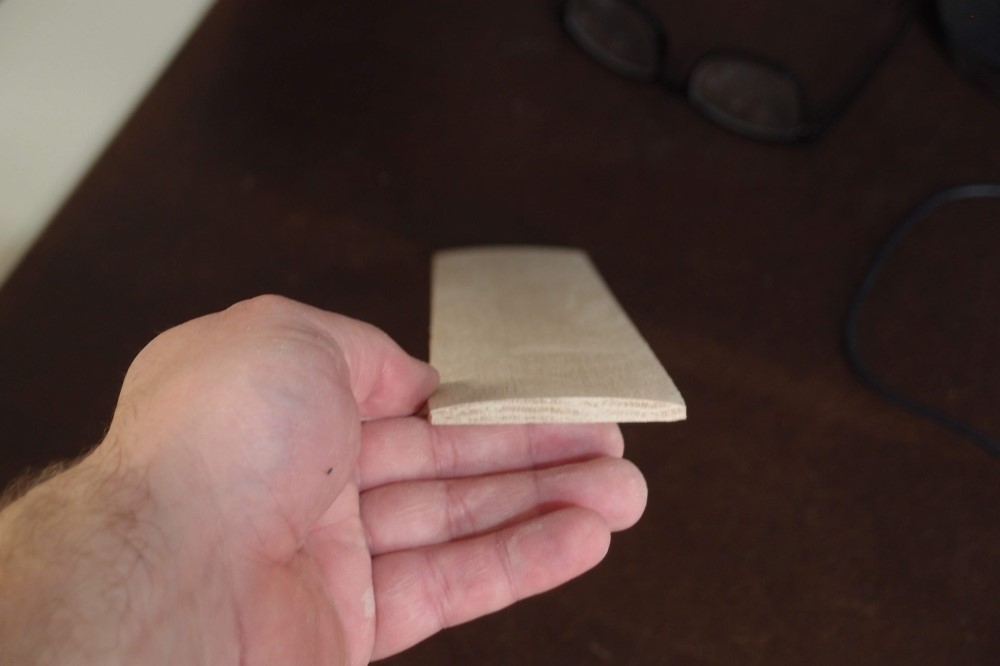
Since oak is a dry wood with an open grain, I am going to brush on many coats of polyurethane, sanding periodically until I get a smooth plastic surface. This comes out very nice if a bit furniture-y. After CITES, we are going to see a lot more oak fretboards. It is more than hard enough to hold frets, and can even be blackened like ebony with a vinegar-iron solution.
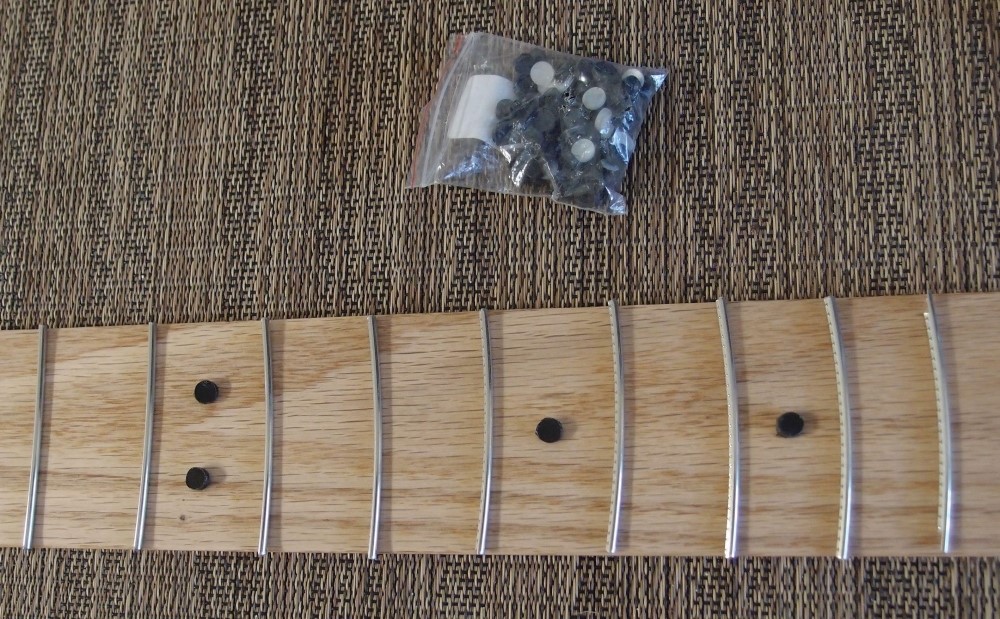
This is a finished oak fretboard I made a while ago as a test. Unfortunately, it is too short for this project.
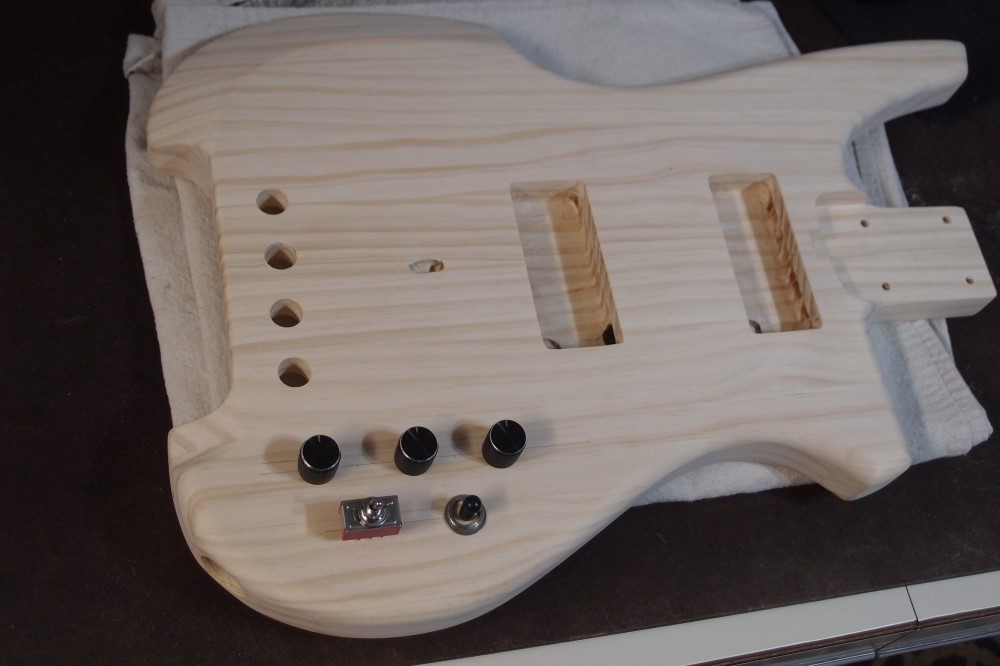
treble - bass - volume
pickup mode - pickup select
I have a bag of these funny aluminum knobs. They look like old stereo equipment. The mode switch will be internal series/parallel for the 4-wire humbuggers, the skinny switch from the Osprey. The original has no toggle switches, so I don't want to add too many. Push/pull on the volume for passive mode. Pretty much my standard bass setup.
I'm already thinking about what to do with the third knob on the guitar version, which will be entirely passive. Maybe a rotary series/parallel switch. I have experimented with active tone controls on a guitar, and it seems much less worthwhile to me than on a bass. I would rather build an active effect into a guitar.