Kubicki Factor Bass (5/13)
I Feel like I Just Gave Birth
The woodwork for the body is now about 99% complete. All that is left is finish sanding, controls, and a little notch for the truss rod nut, which I will do when the neck is done.
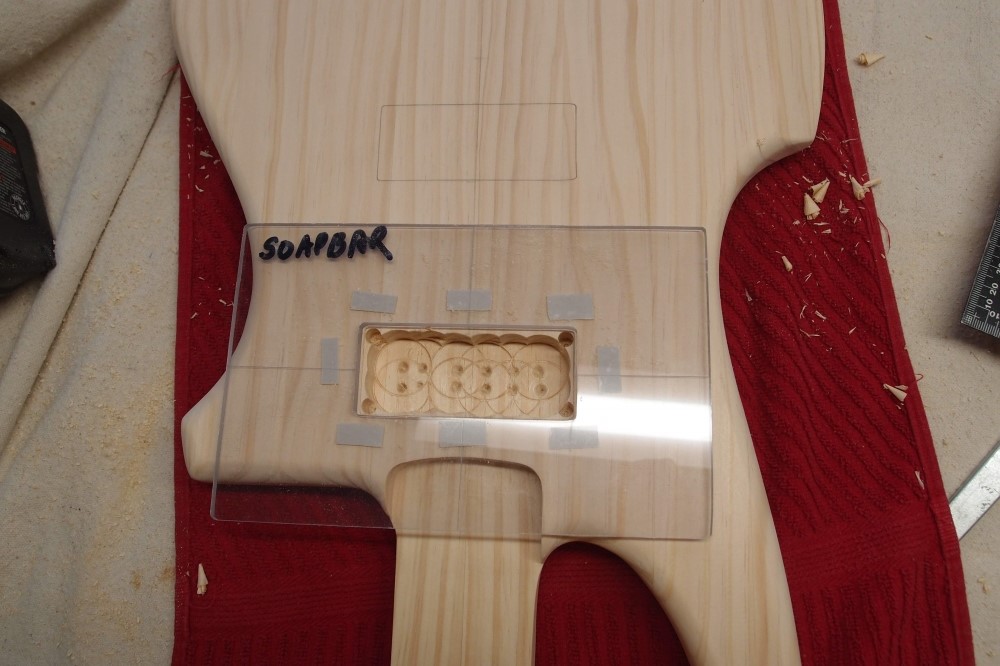
Here I have attached the template with double-sided tape and dug out the inside with a 1" Forstner bit, and 1/4" drill bit in the corners. You don't want to touch your template at this point, obviously.
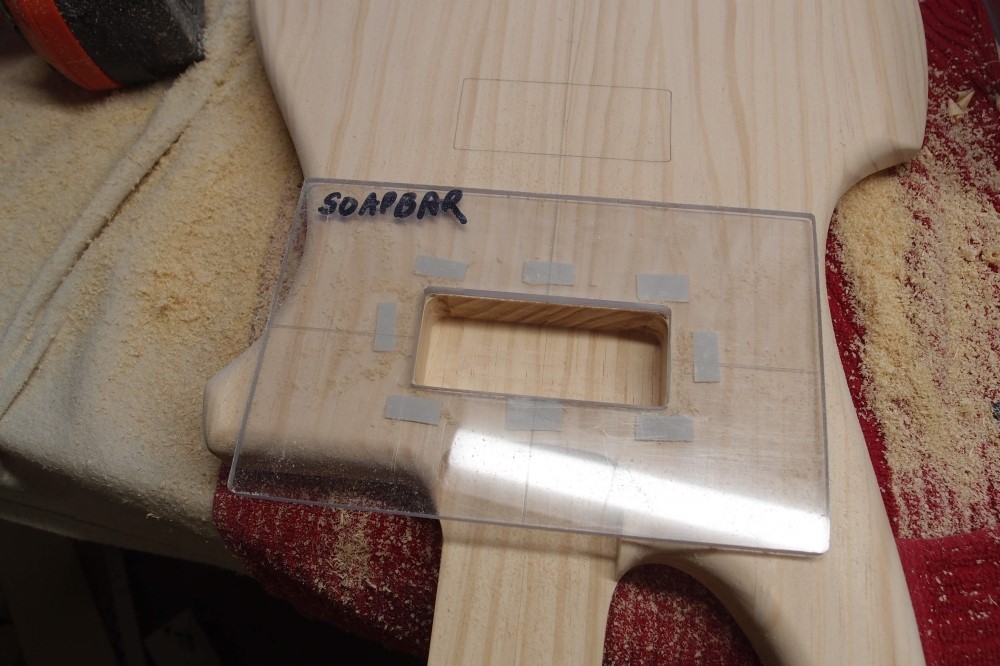
First pickup cavity routed. Drilling out the corners turned out to be pointless, the router bit erased all trace of it. You can see that the 1/2" router bit doesn't even come close to making the corners. My kitchen towel is having a bad day to provide a soft surface for the body to rest on.
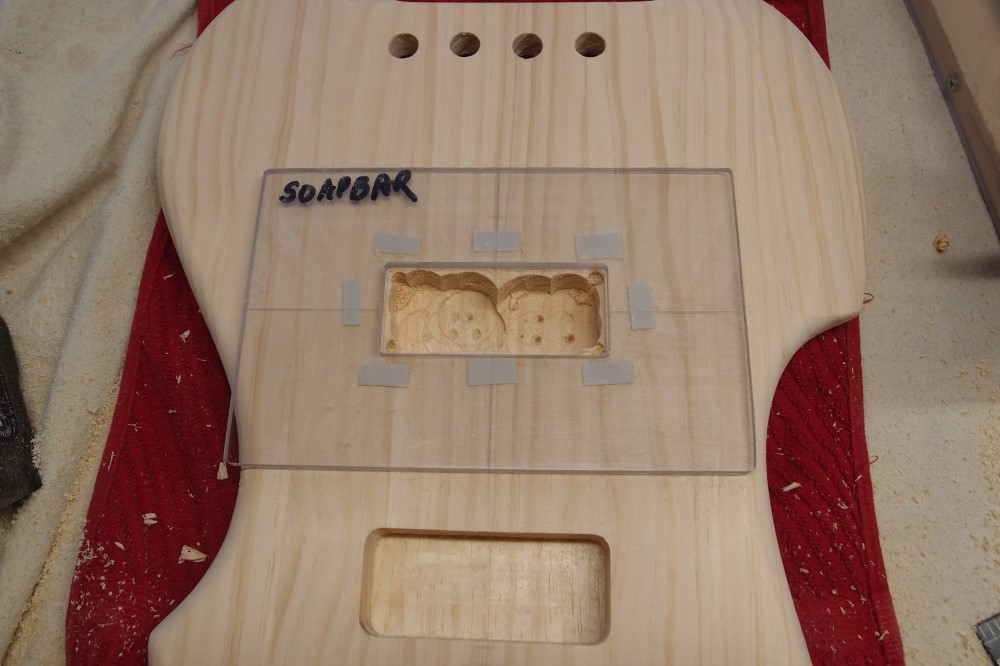
Second cavity, first stage. You can see the drill press couldn't reach quite all the way to the center, but that doesn't matter. I reused the tape, just pulled it up, and pushed it back down real good. Sometimes you can do this, sometimes not. This is Harbor Freight tape, and it is not as good as 3M. While it is plenty sticky, it is very soft and very messy, I had to use mineral spirits to get the template clean afterward. I'll use it up, though, there's not much left on the roll.
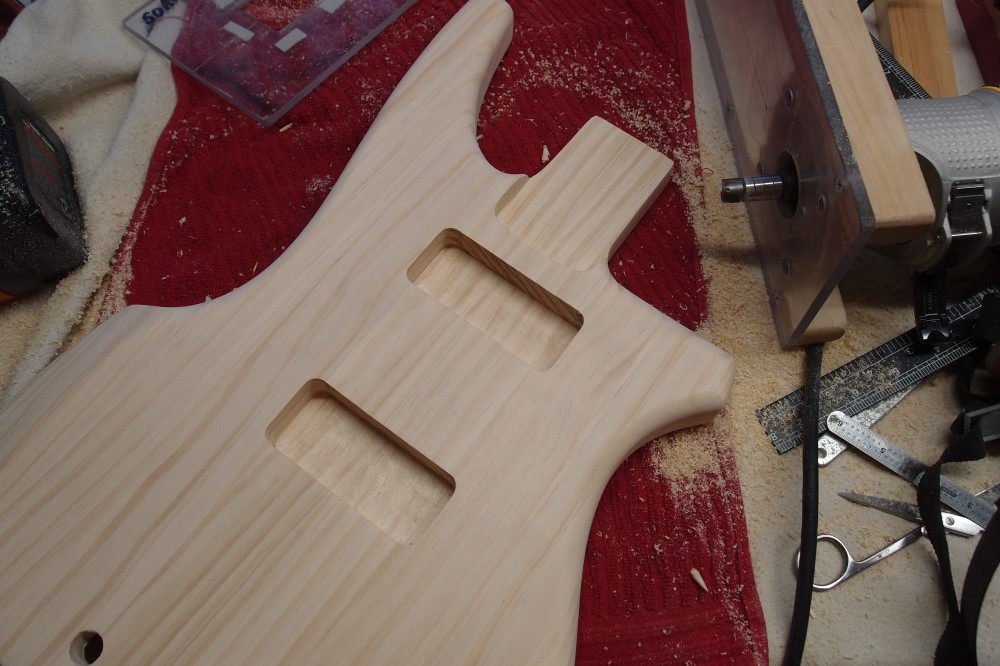
Both cavities routed. At this point, the pickups don't actually fit, because the corners are too round. The next step is to undercut all around with the Dremel with a little drum-shaped bit that is perfect for this. Once you have all the edges undercut, you can shape the upper edge until it is a perfect tight fit, using files, round and flat. When filing like this, always use single short downward strokes with both hands. Never use upward strokes, as that can pull the wood off the surface, and absolutely never use a continuous sawing motion, as that is guaranteed to jump out and land on top. Single short downward strokes, with a maximum of control and precision. Takes time and patience.
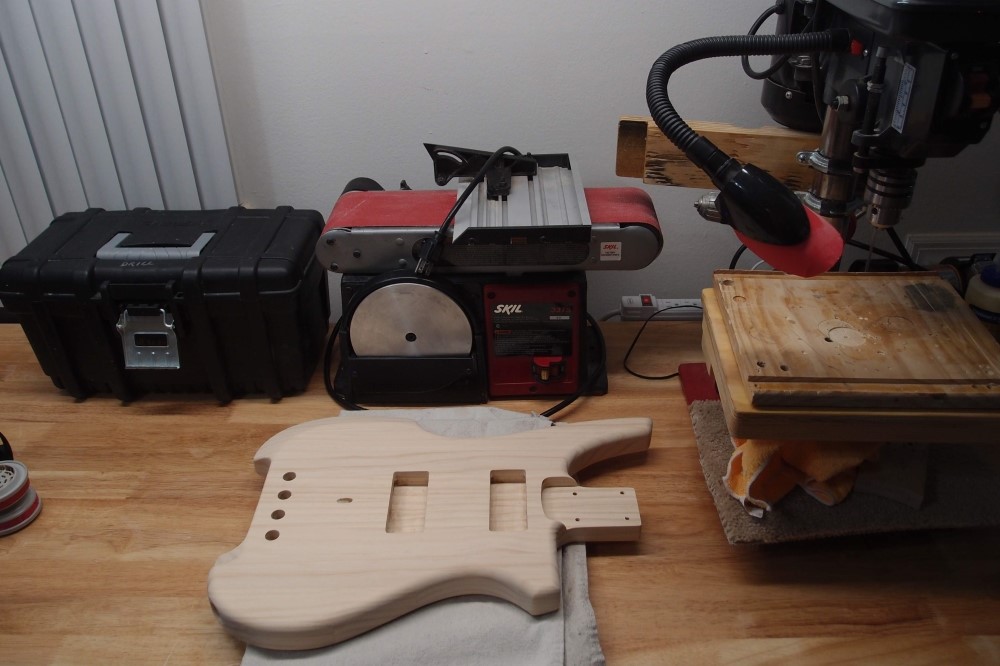
You can also see the router setup. This is the bit I got free with the used router. It has the longest shank I've ever seen on a router bit, and I have stacked four bearings between the bit and the collett. For each successive deepening pass, I lower it "one bearing". The picture shows the final setting. I was able to go 7/8" deep without removing the template.
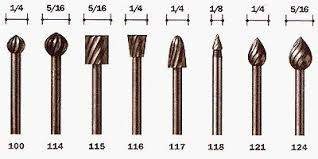
Dremel bits: 115 is perfect for all sorts of things, including what I have done here. You could also use 117 to do the corners, but a machine tool can get ahead of you; I prefer to do it by hand, slow and deliberate.
And here is the final result. These pickup routs are as tight and sharp as any factory CNC cuts. I also cleaned up my workspace. I'm thinking this shape might make a nice six-string, and I have a neck and a bunch of parts I've been saving for something. I wouldn't try to cram six tuners onto the body, it would be a normal guitar, but with this shape. And I would have the only one.
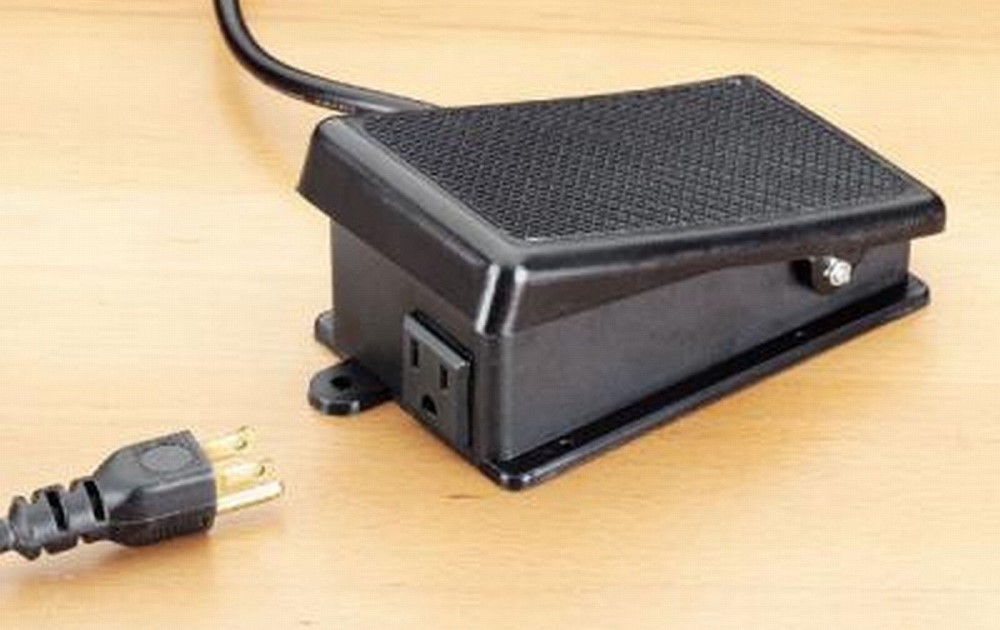
All this time I have been using a footswitch on the drill press. This is much more convenient than trying to turn it on and off with your nose. You can find them online for around $20, and they work with pretty much any power tool, but they're really great for the drill press when you've got one hand on the workpiece and the other on the lever and you left your third arm on your other body. Shazbot! I'm not supposed to talk about that!
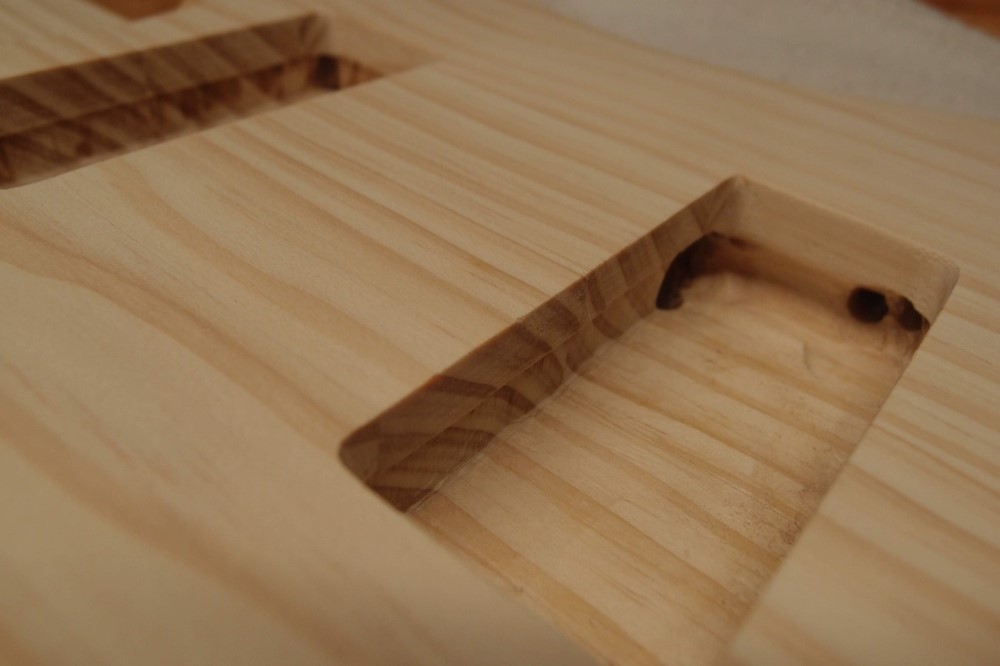
Here is a shot of the undercut pickup cavities. In the foreground is the bridge pickup. The two 1/4" round holes go to the control cavity. The big hole opens into the battery cavity, which opens into the neck pickup cavity. You can't see it, but the bridge ground also comes into here, so all the wiring collects in this cavity and then goes to the control cavity. You can see there is a considerable undercut at the lower end for wire clearance.
The battery cavity is similarly undercut. Those connections broke through as I was dremeling, as I had hoped, so I didn't have to drill them. They are extra large because the battery cavity is upside-down to the pickup cavities, so it takes some extra space to get the wires through. Looking at it now, I could hit all four cavities with a single long shot from the output jack using a foot-long 3/8" drill bit. ( You would need 3/8" to fit all the wires in one hole. )
All this fuss is part of the fun of doing a guitar without a pickguard. With a pickguard, everything is much simpler and this extreme precision in routing and drilling is not necessary. Even pickup mounting rings would tremendously simplify matters. Mounting the pickups directly in the wood like this is very painstaking, with no room for error.
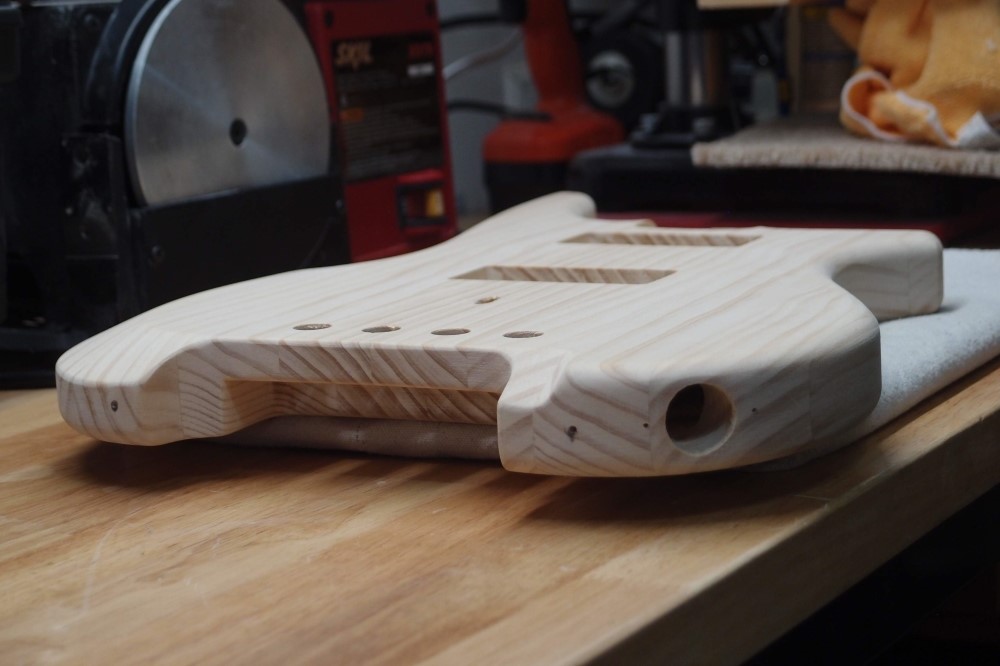
Here's a parting shot of the tuner cavity. The glued-up nature of the blank is only apparent at the edges, the faces are almost seamless. I like the way the edges look, almost psychedelic. At this point, the cupping I complained about earlier is all but gone, this body is flat. You can see the holes for two strap buttons - this bass will have a built-in floor stand. ( IMO, Ned Steinberger's second-best idea. His tuning system is brilliant. The rest, meh. Double ball-end strings, unplayable shapes -- solutions in search of problems. The later models are better, and I like his new uprights. I think I'll copy one. )
I thought about sneaking a wire through and grounding the tuners instead of the bridge. It would have been easier, less than an inch to drill, but it would also show, albeit from the back. So I went with the conventional solution.
Hard to believe this is $16 of Home Depot wood. The final weight for this body is 3.09 pounds, the original glue-up was 4.6 pounds, so about a third of the wood has been converted into scrap and sawdust. When I piled all the body parts on top, it came to about 5.4 pounds, so this is going to be a pretty lightweight bass, well under 8 pounds I would guess. If this body was teak, it would weigh just under 4 pounds. I keep hoping for another free cutting board, but so far no luck.
The wood picked up fingernail marks as I worked, which would pop back out with a little water or even a dab of spit. I got a jug of real Tung Oil to use for a harder finish, but I think I will also make a clear pickguard to protect the wood surface. Like a Danelectro. Tomorrow, the control locations, I'm tired.


