Kubicki Factor Bass (10/13)
Feb 15, 2008
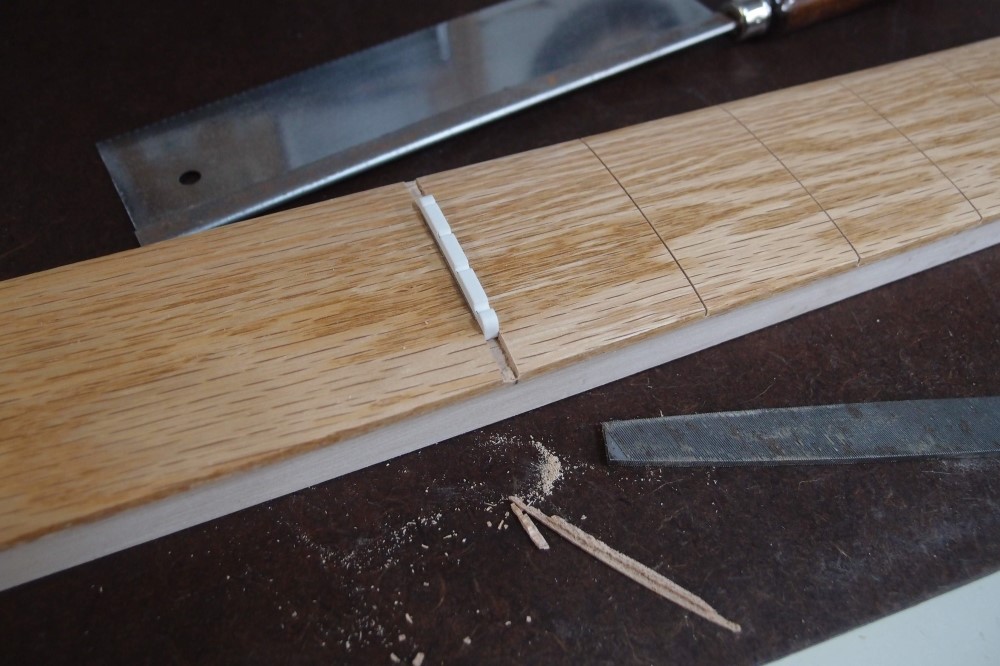
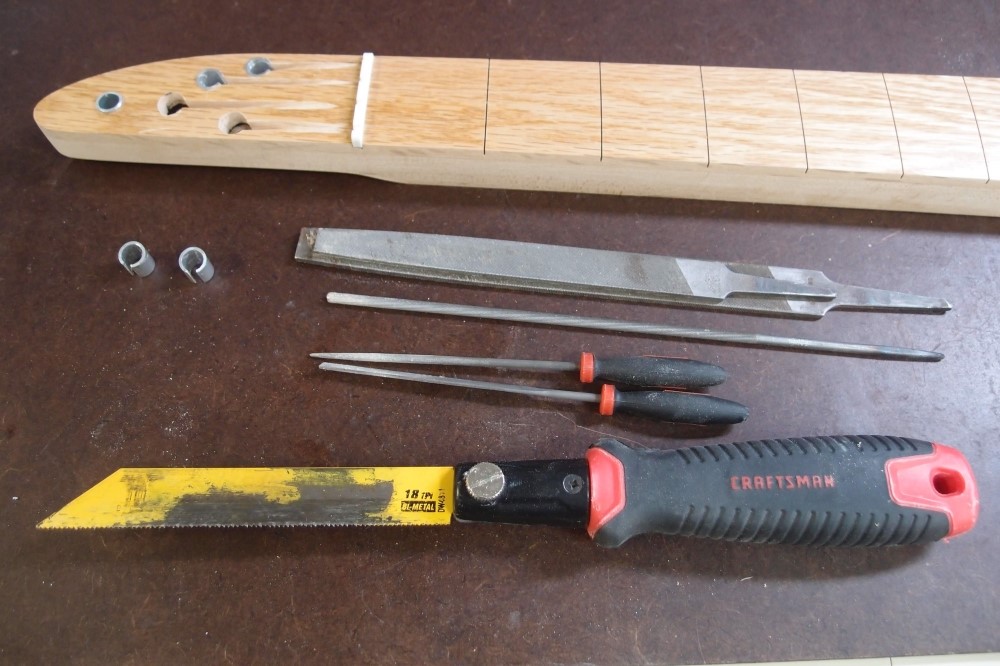
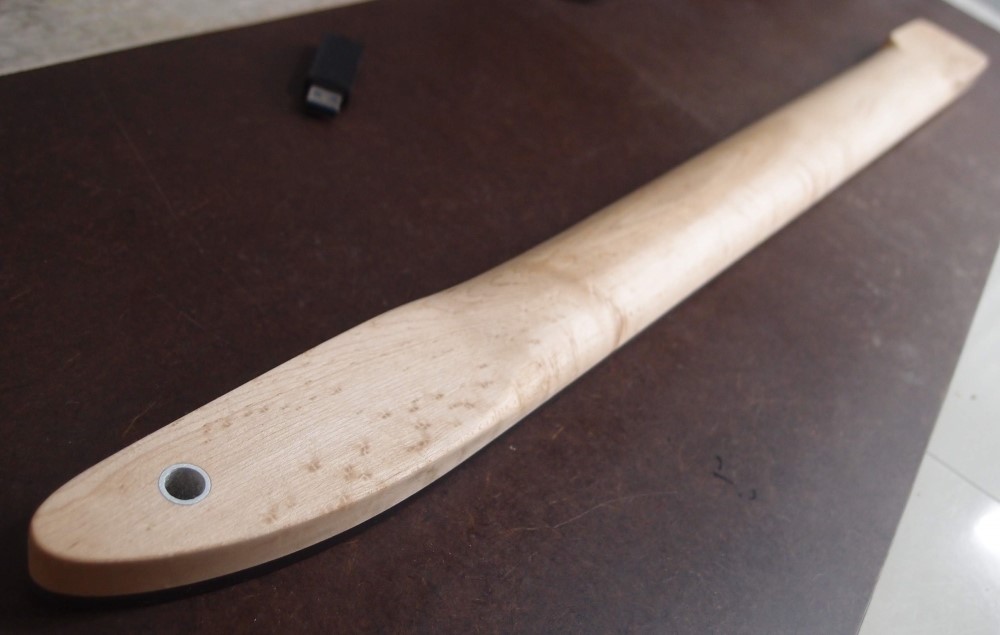
Here is the nut slot for the Kubicki. One side was already cut with the fret slots. I marked the other side and cut inside the mark, freehand with a sharp fret saw. Then I cut a slot between the two and used the saw to pry out the resulting slivers of wood, one is lying there. This works better than you'd think. Finally, I cleaned up the bottom with a file, mostly scraping with the corners. The nut fits in with just a bit of room for glue.
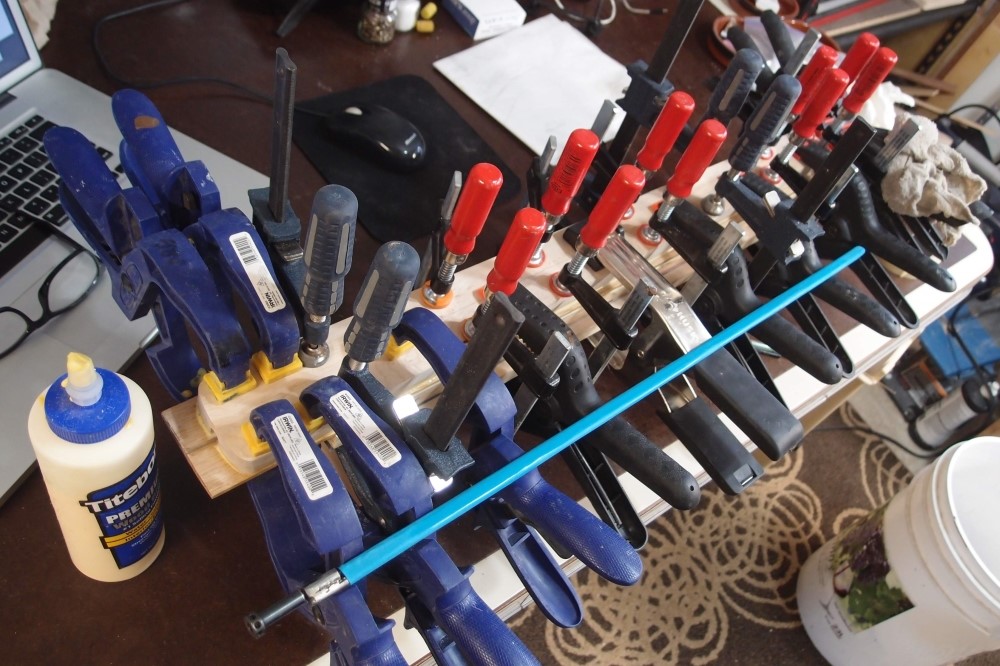
Now I can glue the fretboard onto the neck. Some glue is going to squish into the truss rod slot. As the rod is removable, I will run it in and out and wipe off the glue until it comes out clean. This time I just want everything to be aligned straight, so I will not bother to pin the pieces, that way I can make adjustments until I am happy; wet wood glue is a pretty good lubricant. Otherwise, the process is exactly the same as for the previous neck. Spring clamps tend to push sideways and mess things up if they are not perfectly aligned, so I start out with screw clamps and add the spring clamps after everything has started to bind.
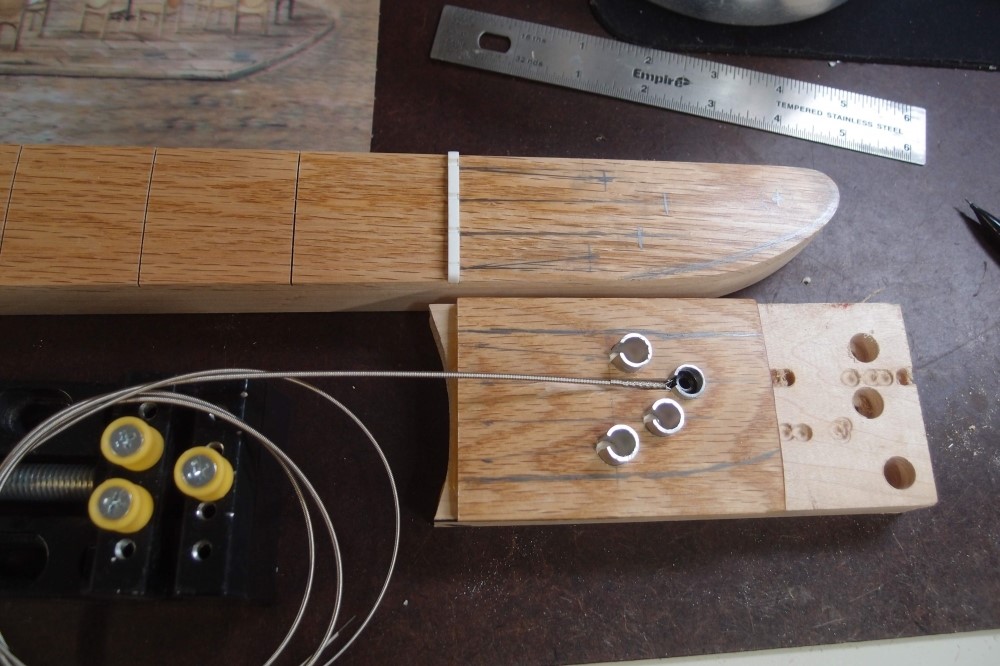
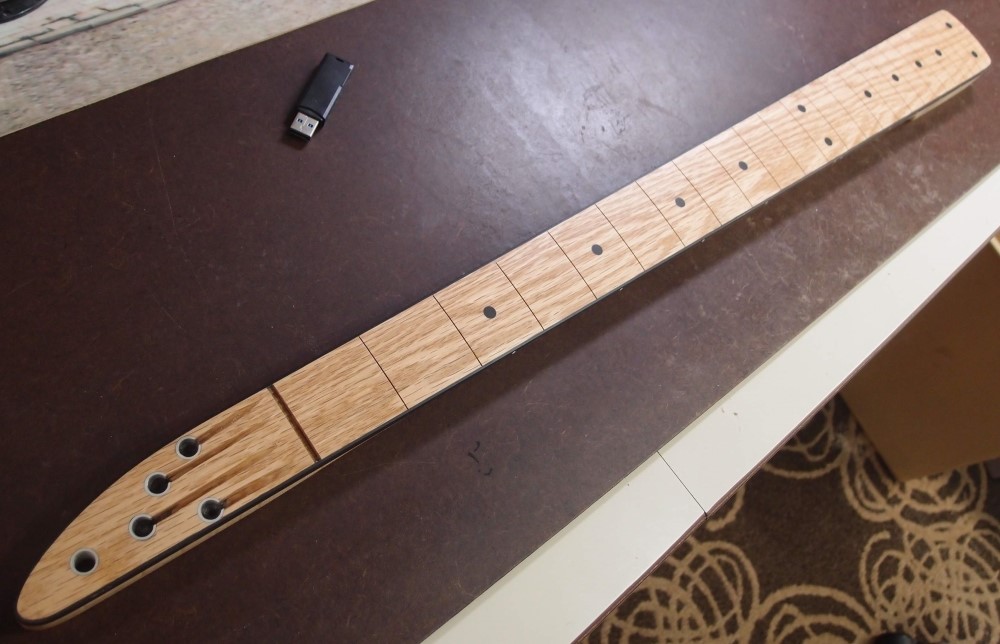
I also took a scrap of the oak fretboard and glued it to a scrap of maple. On this I can work out how to drill the string retainers in the headstock. I've been trying not to think about that.
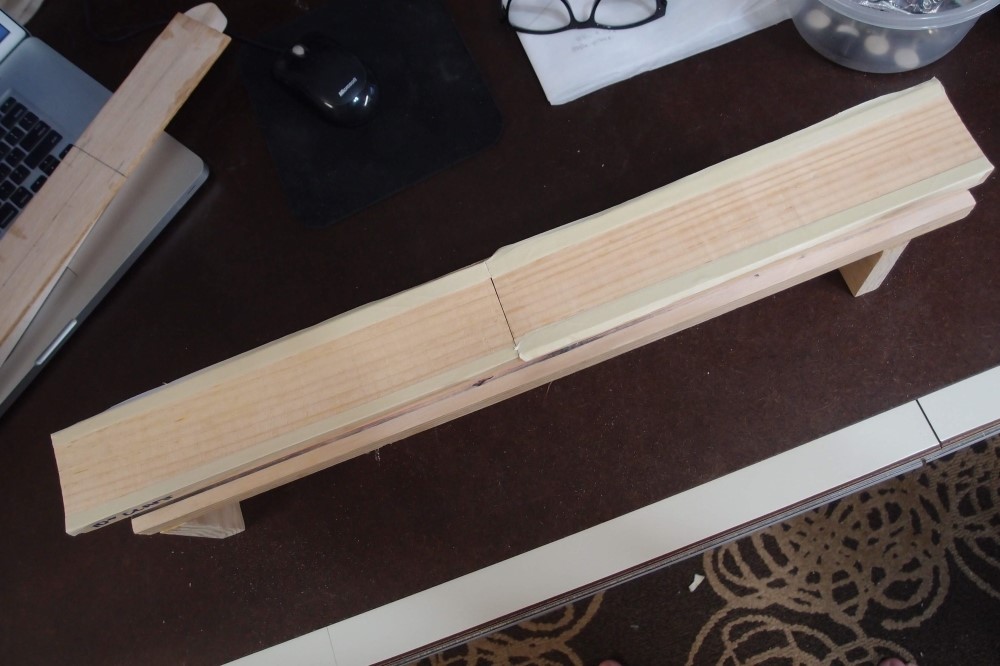
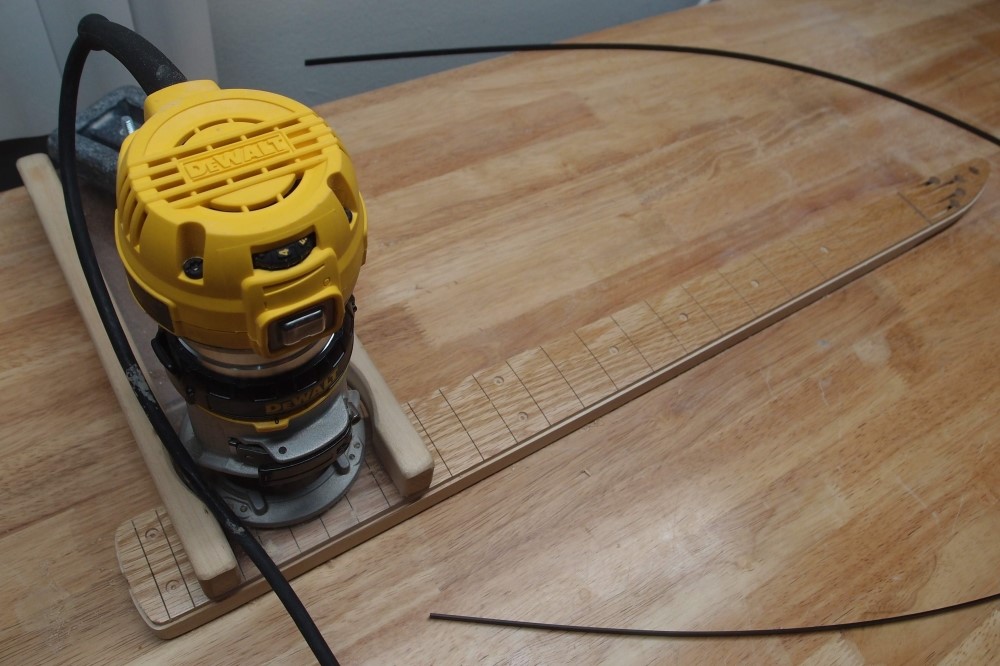
You've seen this contraption before. It is useful whenever you need to clamp long thin pieces. I have laid 10" clamping cauls on top, but even those seem too flat compared to the fretboard, so I built up the edges with tape. Luthiers like to quote very precise fretboard radiuses, but the truth is they are very approximate. The cauls are accurate, they were cut on a jig with a router. I hand-sanded the radius on this board, and it seems to be 10" rather than the 12" block I was using. It makes no difference.
The neck lying on the fretboard, so I can trace out the location I want. The most important thing is the mark for the nut. The rest can be done by eye. The actual glue-up will be done in the same position, so I can see what I am doing.
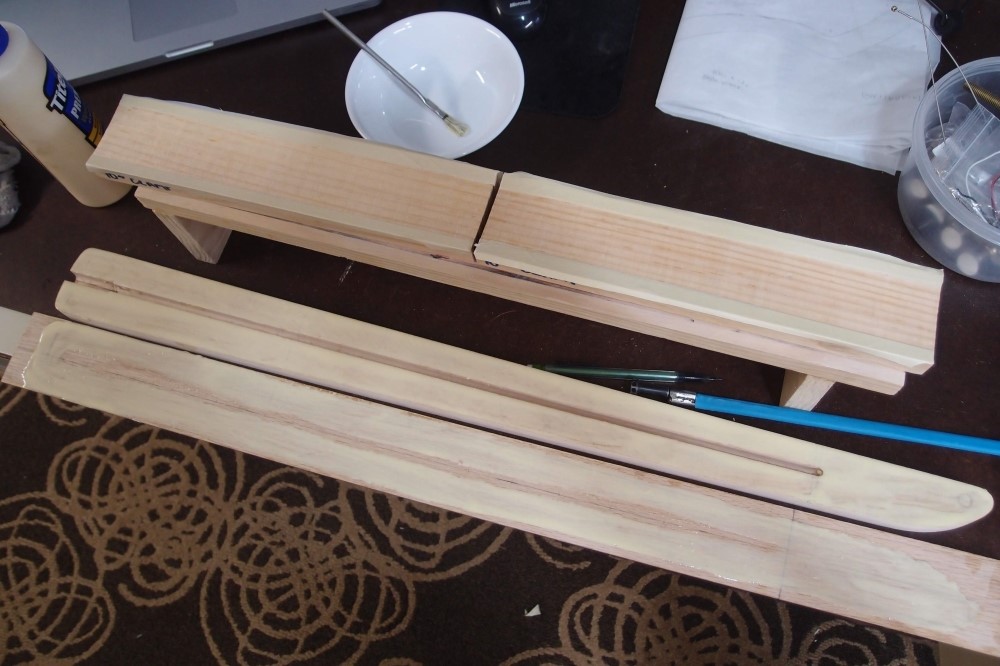
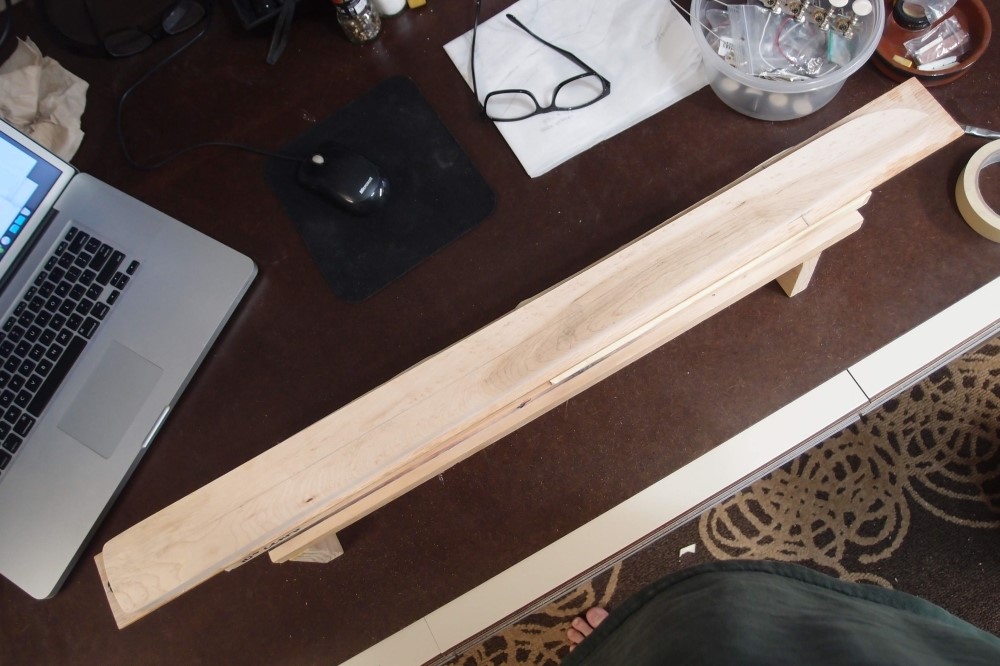
Now got glue on both pieces. For a large glue-up like this, I wipe the wood down with a wet rag, so the glue doesn't start drying immediately. You want total coverage on both pieces, but you don't need a thick layer, just enough to get squeeze-out all around. Paint it on with a small brush. Much of the glue goes to waste.
Feb 24, 2018
The oiled teak looks great, but the oiled pine, not as much.
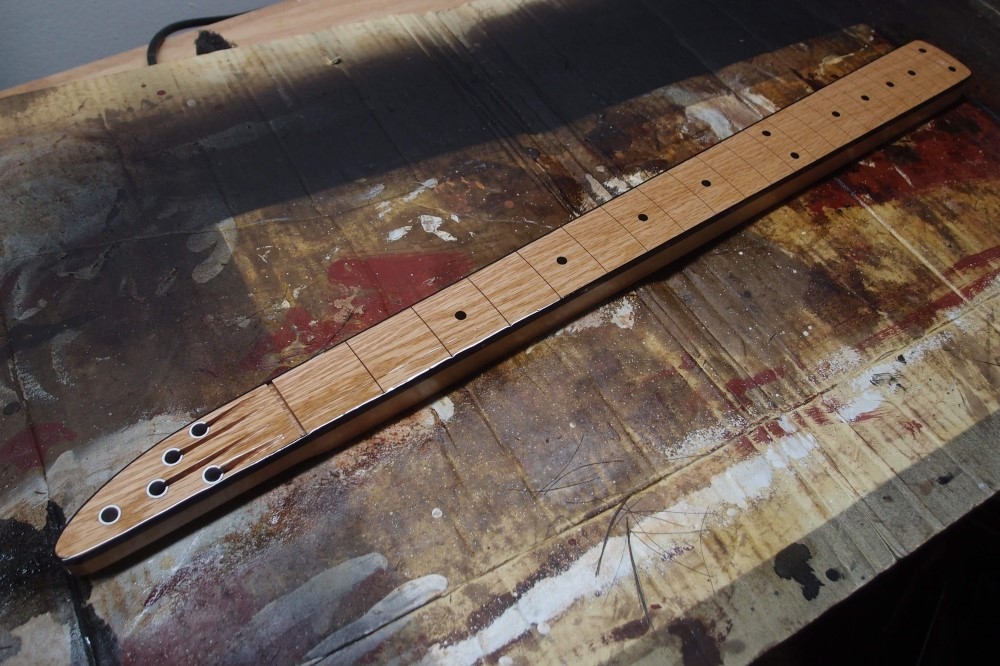
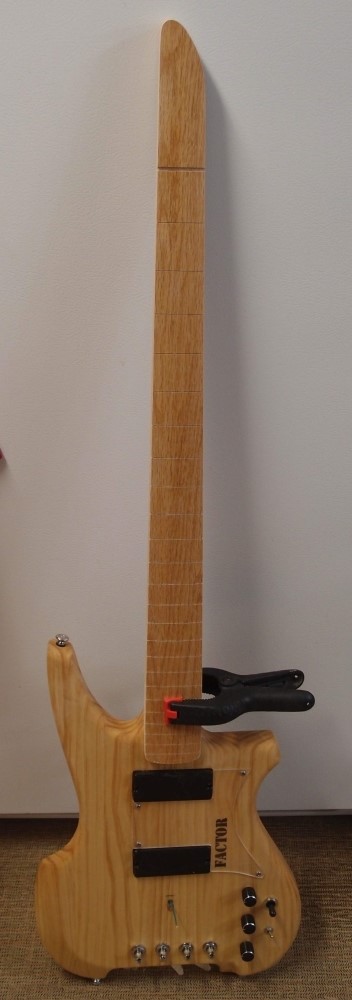
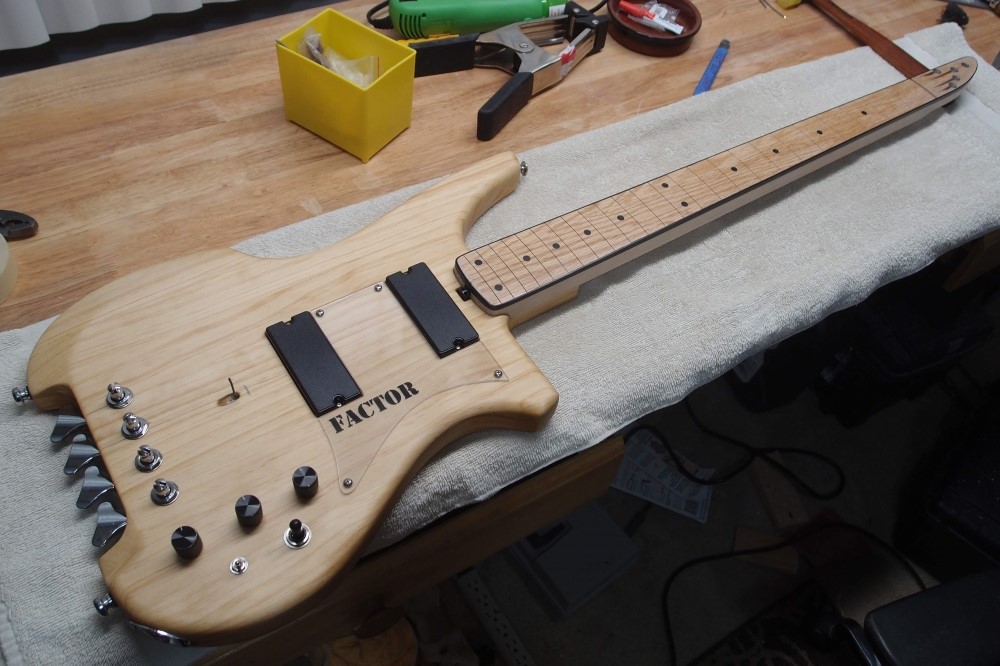
Starting with the end result, under a shiny wet coat of new poly. The black binding helps counter the table leg look of the oak. I have also set in the fretboard markers, side markers, and string ferrules. The side markers are again aluminum electrical wire, but thinner than the previous job, to fit in the binding. The wire looks great, shiny, and pearl-like, and you can get it by the yard at the hardware store.
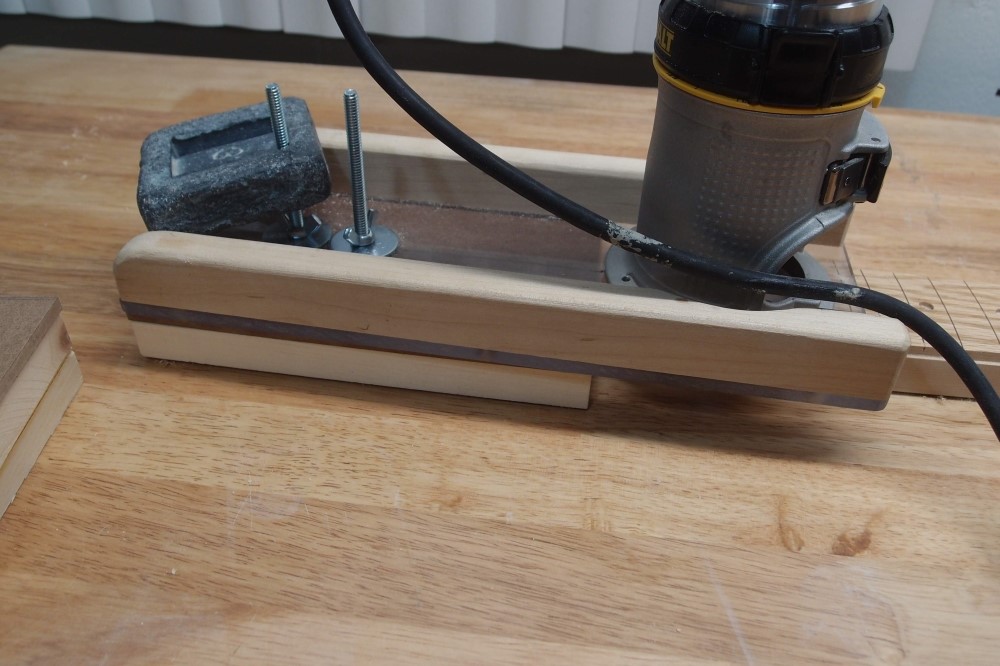
To route the binding slot, I have modified my router base again. This time, I added shims to lift it up, and reversed the mounting of the edge follower. In this shot, there are 3/4" and 1/4" shims stacked to equal the thickness of the neck. The lead weight keeps the assembly from tipping if I take my hand off it.
Normally, I would rest the router on the workpiece directly. That works fine for a body but gets a little hairy with a neck. A neck is not very wide and doesn't offer very good support, and the top is not flat. I would deal with the curvature of the fretboard by taping two scraps of binding to the edges, so the router rode level on those.
That would not work here, where the headstock comes almost to a point, so I had to think of something else. The top of the workbench makes a good support, I just had to figure out how to use it.
Here you can see the cut groove for the binding. I taped the neck to the workbench and slid the router around it on the flat surface.
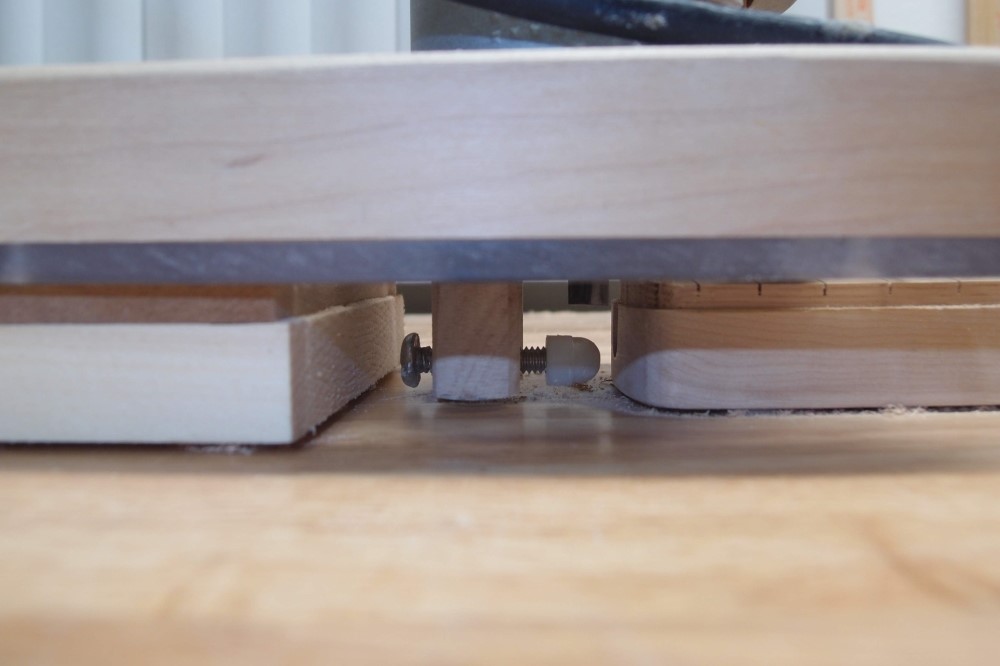
Here is the business end. The shim stack is on the left, the neck heel is on the right, and the router bit and edge follower are in the center. I made up three 3/4" shims, two 1/4" shims, and one 1/8" shim. The minimum stack height is 1 inch, up to 2-7/8" in 1/8" increments, so this rig will also do a body. However, this setup will not go inside a horn or other tight spot, so I would probably do a body the old way.
The common advice is to route the slot a little deeper than the binding to allow for the adhesive. Up til now I never followed that advice, I always routed the slot exact, and I think that is a much better way to go. That may leave you needing to file down a bit of soft plastic, which is a lot easier than filing down a lot of hard maple. This time I routed the slot a little deeper and ended up regretting it.
StewMac's old adhesive was thick and gooey, but the new one is thin and runny, and requires no extra thickness. Neither does Crazy Glue. For this job, I used StewMac's 'Bind All', which seems to have worked pretty well, although the cleanup was a problem. Crazy Glue is just as good or better, if you don't mind having all your fingers stuck together by the end of the job.
There are lots of ways of installing binding, and lots of good tutorials online, I leave that to you.
I'll let the poly dry at least overnight, then install the frets. Installing frets with binding is more complicated and time-consuming. Cleaning the fret slots with the saw is no longer an option, you need a special tool, which you can easily make by grinding a hook in the end of one of those 6" pocket rulers. You also need to clip the tangs on the frets to clear the binding, and the nut will have to be similarly modified.
Mar 2, 2018
Coming back around to this project, I wanted the poly on the front to harden-off before I did anything else. To shape the back, I first cut the corners off on the band saw to save a lot of sawdust. Then I roughed-out the shape on the belt sander, just as in the video. The only way to learn this is by practice. You just want to make a rough shape on the belt sander, leaving plenty of wood to smooth out all the lumps and bumps that the sander will leave behind. Needless to say, stay away from the heel, headstock, and the edges of the fretboard.
Then I switched to rasps and files. I have a set of rasps from StewMac that I seldom use, so I gave them a try, and they cut wood pretty fast. The downside is that they can leave deep marks if you slip up. Also, the big teeth on them makes them very grippy. Once I got things all straight and smooth, I switched to a round-backed rough file from Home Depot. I used a fine file to clean up the binding. When using a rasp or file, always run it along the grain, trying to maximize the length of contact. That way it will naturally straighten things out. If you have a bump, you can attack it directly, but to finish, switch to long strokes, otherwise you just turn one bump into two. For dips or scratches, the only answer is full-length strokes until it disappears, otherwise, you will just turn a small defect into a bigger one.
Don't worry about making the correct profile. That is a bunch of marketing nonsense. When you play a guitar, you are holding mostly air, as long as the neck is not an obstacle, it is fine. Run your hands over it, feel for dips and bumps, check with a ruler that straight edges are really straight and you have a nice even taper. When it feels good to you, it is done. It is better to leave a neck a little chunky than to take away too much wood and make it weak.
The final step is to remove any remaining scratches and tool marks. That means sanding up through the grits. I started with 100 on a 'soft' block - one that has a 1/8" layer of neoprene mousepad glued to it. I worked up to 220 and used 400 to smooth out the binding. When working with binding, remember that it is much softer than maple, and if you are not careful you can sand everything uneven. Angle your tool so that you are only on the wood, until the point where you actually want to touch the binding. During this whole process, I did not remove a noticeable thickness of binding.
At every step, it is critical that you leave enough wood for the next step. If you go right for it with the belt sander, you will ruin the piece. With experience, you can work faster and cut things finer, but for a beginner, the best bet is to stop each step a little early. It will be more work, but you are less likely to ruin the piece. Ruining the piece at this late stage would be a great loss of labor.
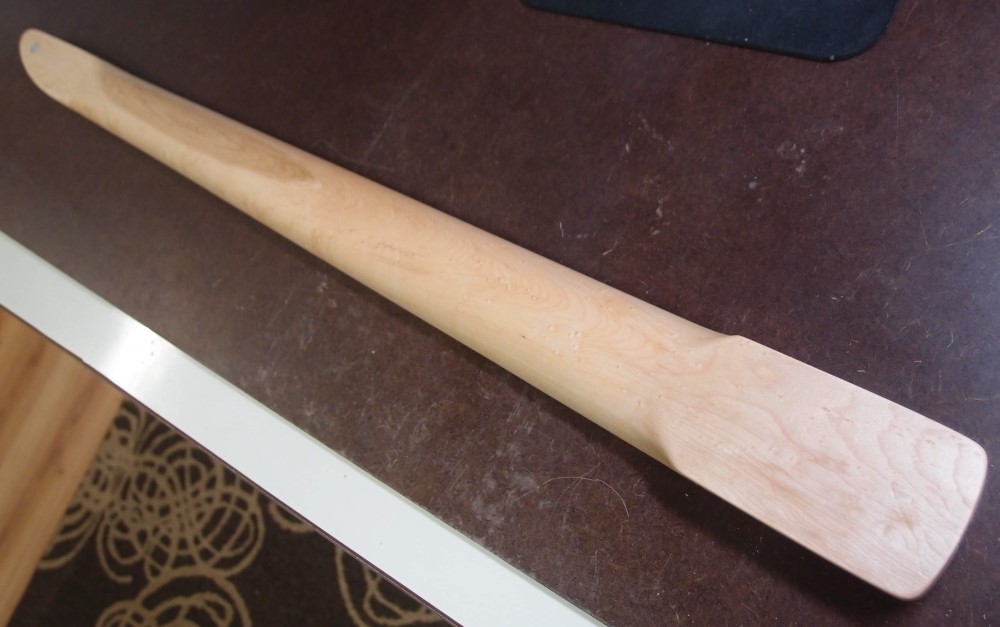
Nothing to see here. I can't find anything else to work on. The birds-eyes came from Home Depot. The birthmark gives it character. This is actually the same piece of wood as the dinky neck. I also hit the fretboard one last time with 400 grit.