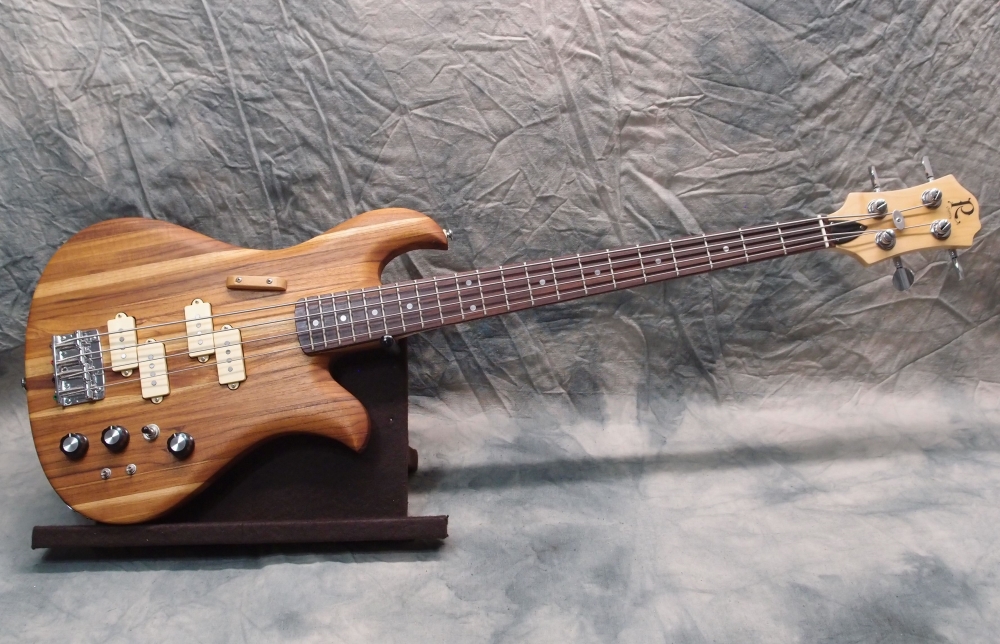
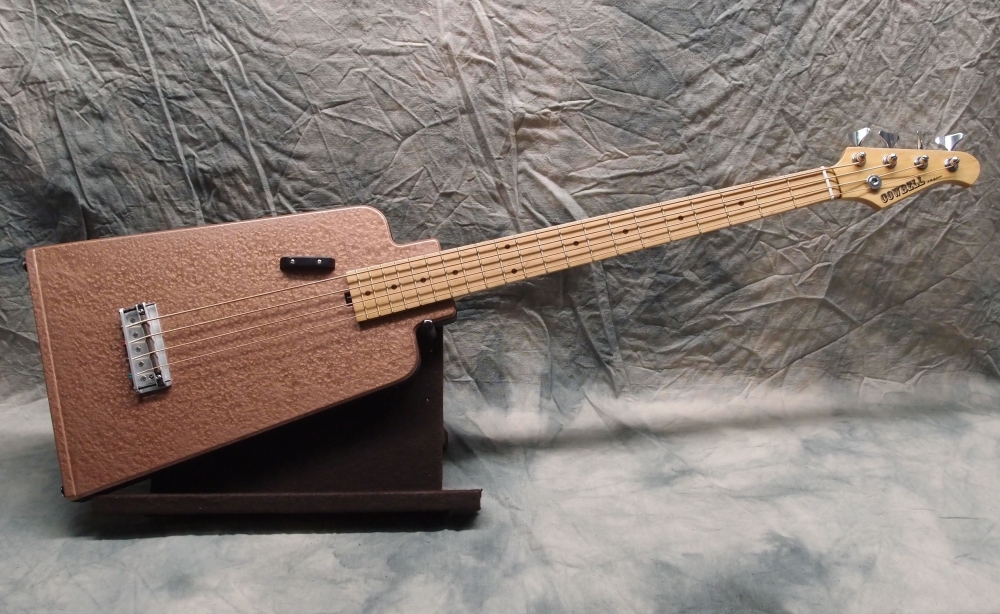
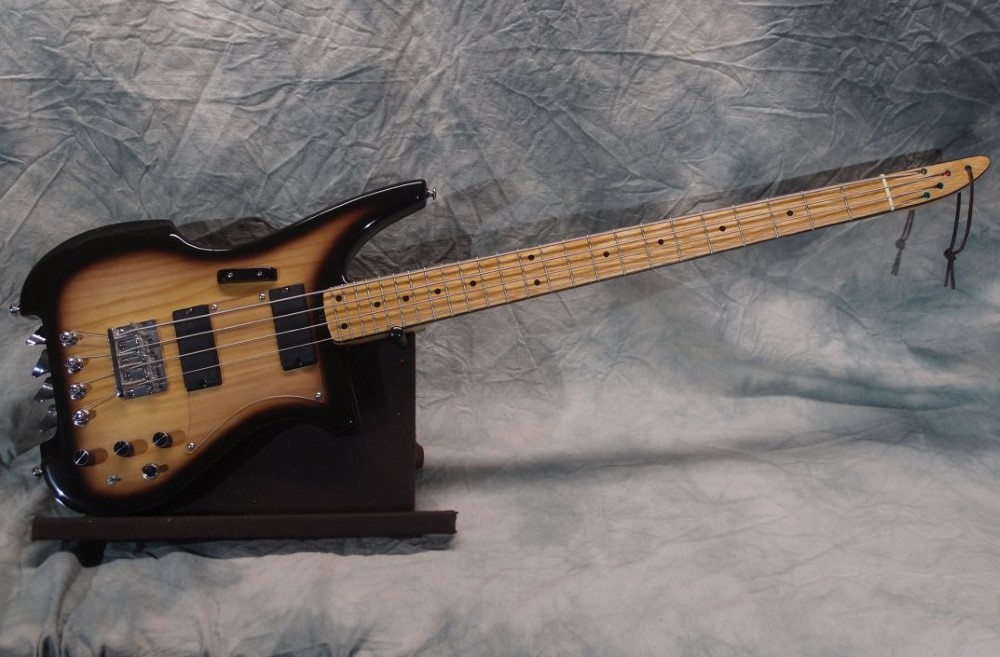
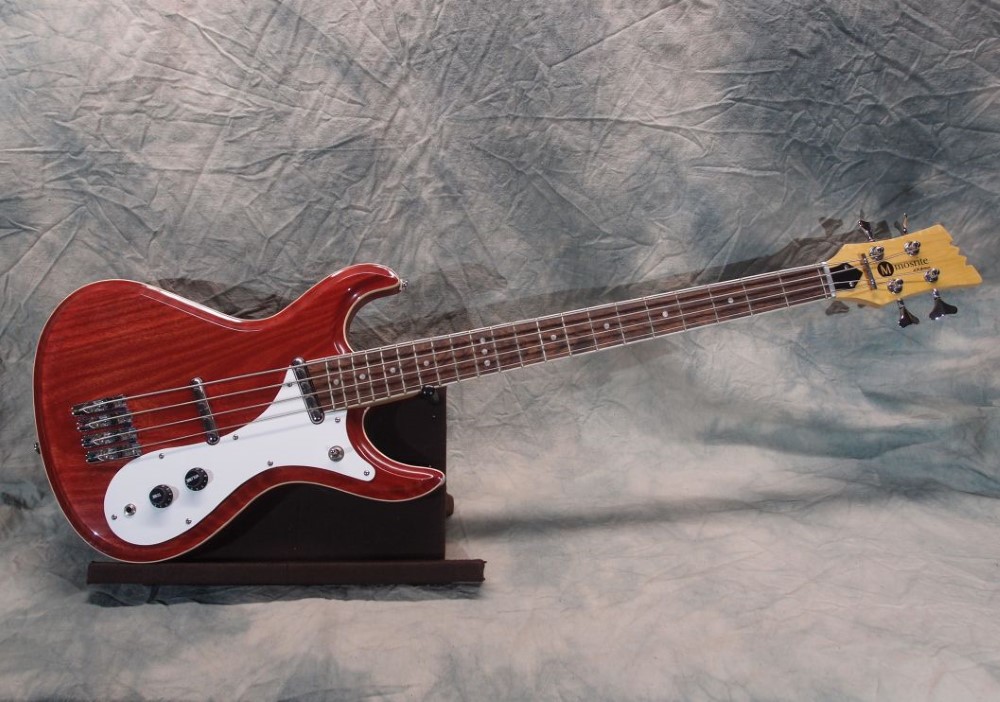
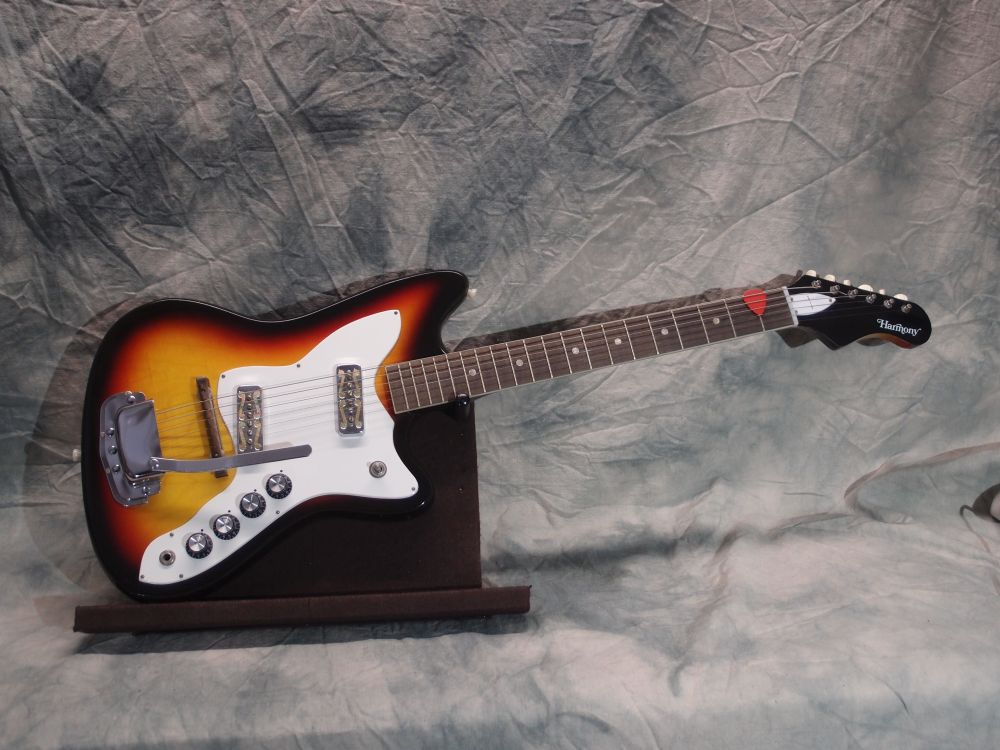
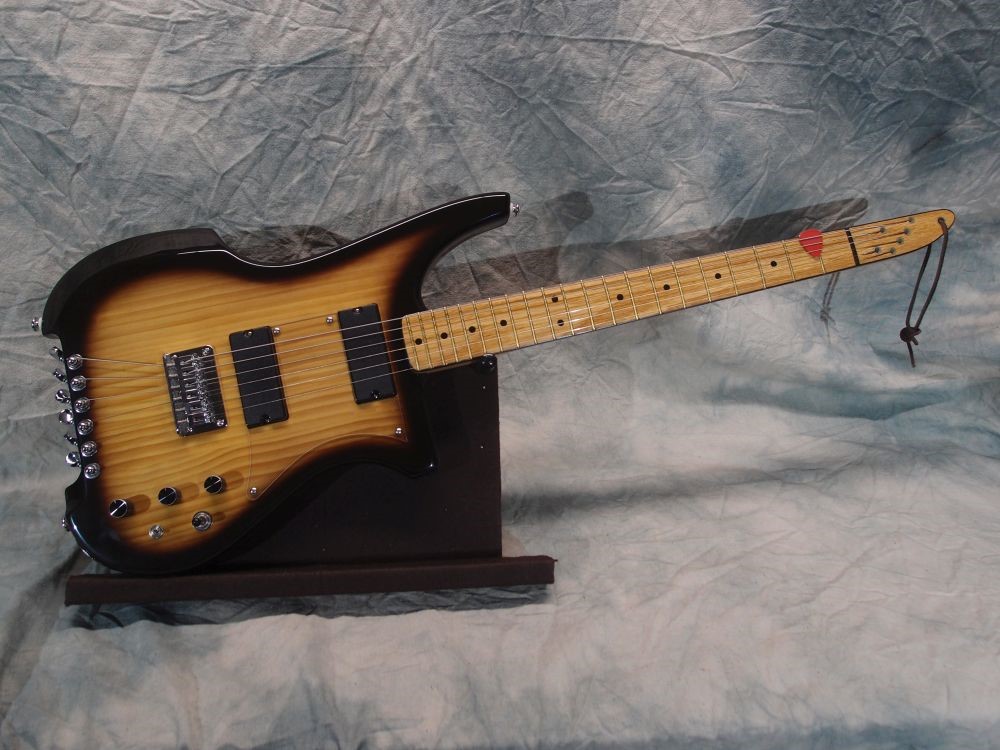
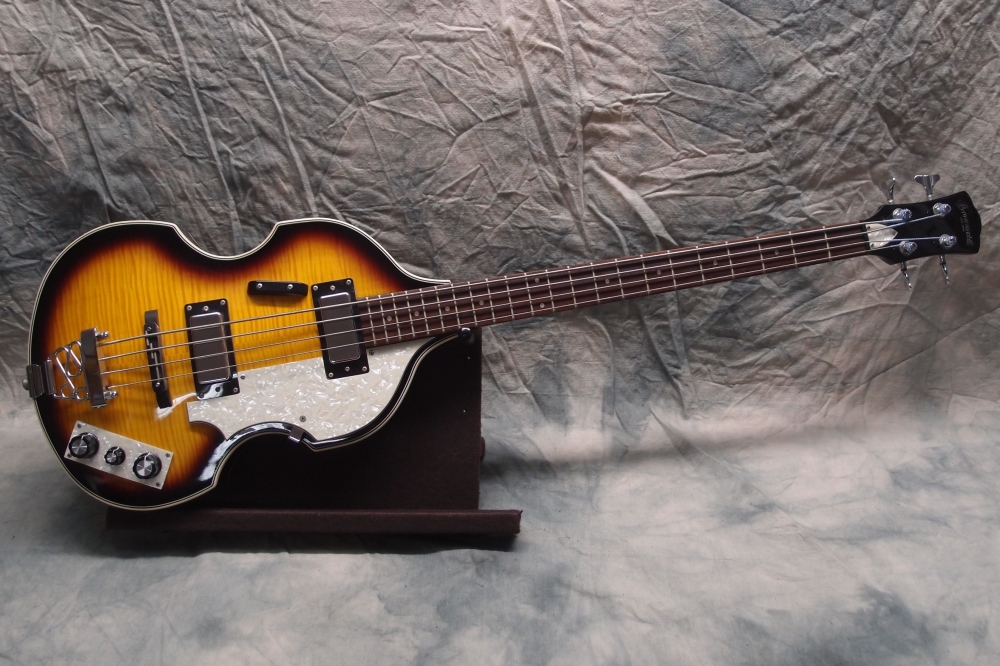
Kubicki Factor Bass (12/13)
Mar 8, 2018
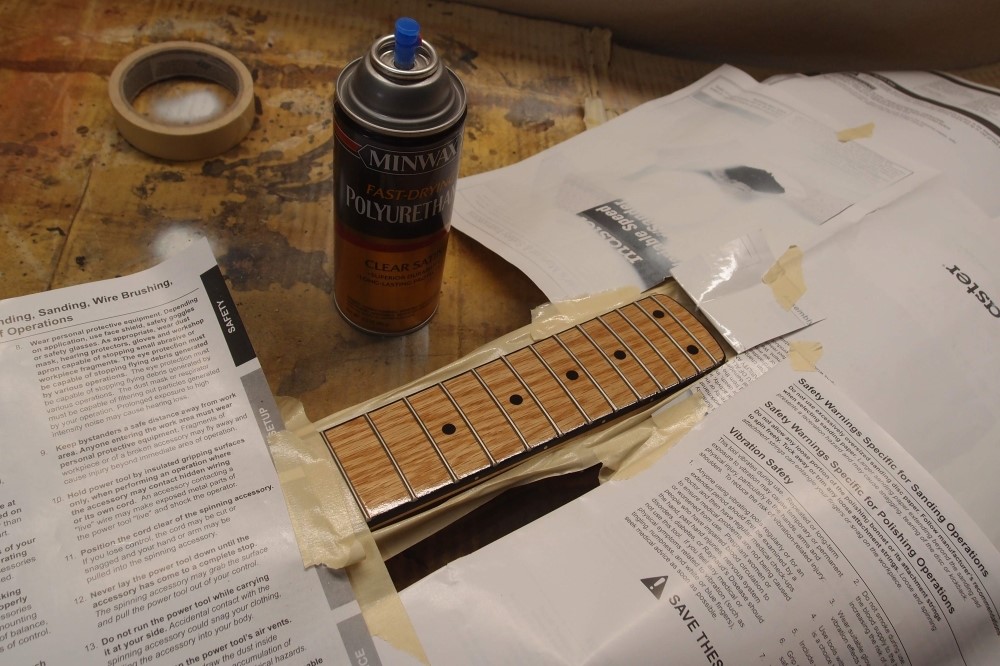
Been playing it a bit, and I like it. The upper frets needed a good deal of leveling, more than you could tap out with the hammer, I had to resort to a file, and then 1000 and a sanding pad to smooth things out. I put a bit of Crazy Glue on each fret end, let it run in, and clamped it. That is a wonderful thing about Crazy Glue - capillary action will draw it into places where you could never get anything else. And it is strong and hard and permanent. After all that, the fretboard finish had suffered some, so I masked it off and re-shot it. This is easier than taking the whole thing apart.
A problem is that the overhanging fret ends sprung a little from tapping the frets down, and I forgot to glue the first few. The Crazy Glue should fix the problem, but I had no choice but to resort to filing. When leveling frets, always do as much as possible with the hammer before you resort to removing metal. Also, don't hammer too hard over the binding, you may crack it. Binding on a neck looks cool, but it has a number of drawbacks. The first neck I ever bound was because I drilled the side markers wrong.
I haven't played it with a battery yet, but passive mode sounds good. The pickup mode switch gives it a wider range of tones, the humbuckers even manage to sound a bit Jazz-like in parallel mode. They are mounted in close to the Jazz positions, not much choice with a 24 fret neck. Slapping with thumb or fingers is very punchy, with no lack of output. I'm sure with active bass and treble, this thing will be a monster, but I will have to give it a few days off now.
The finished oak looks good, but I think it is mechanically inferior to maple, despite having similar numbers. I have one more oak fretboard ready to go, after that, I think the experiment will be over. You can use it, but it's not great.
This sort of fine setup work is what separates an expensive guitar from a cheap one ( unless it is a Gibson. ) Cheap guitars ( and many expensive ones ) are just boxed up and shipped with only the most cursory setup. The wood needs to settle into its ultimate shape under tension before you can do anything very fine. To do it right, you need to string it up and let it sit for a few weeks first. Then it needs to be done by a craftsman. That all costs money, so it mostly doesn't happen.
Most cheap guitars can be set up to play great, it is a skill well worth learning. I have had only one guitar that just couldn't be set up; the manufacturer replaced the neck and then it was fine. My $99 SX plays as good as any Fender.
Mar 9, 2018
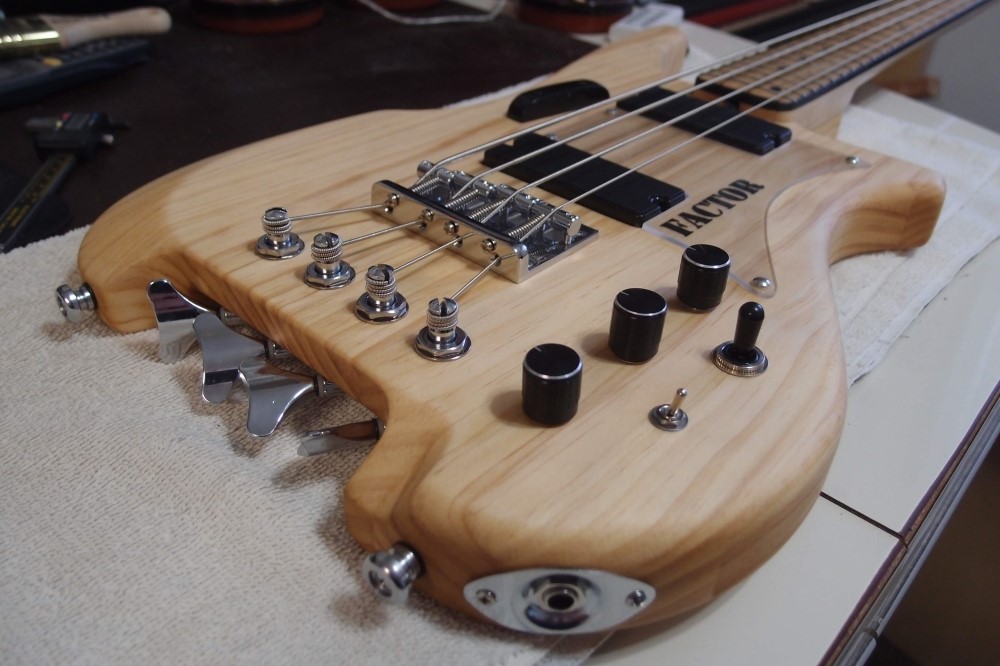
This thing is just such an interesting object. The body has many different curves and cutouts, and a subtle symmetry - the upper contour and the lower contour are basically the same, rotated 180 degrees. The tuner installation on the Kramer Duke looks dorky, but I think this is pretty sleek, not to mention functional. The pine is nicely stripey, much more so than say alder, and even the edges where the glue-up is apparent lend interest. With all sorts of black and chrome bits arrayed on it, I could just hang it on the wall as art. The clear pickguard and Army-stencil logo are not something you typically find on a guitar. The multi-colored D'Addario string balls on the other end look really cool too.
I keep working on the setup, and it is getting better and better, it is going to be a good instrument. This is by far the most experimental thing I have ever built, and everything seems to have worked out well. And it not only hangs on a shoestring, it was built on a shoestring.
Today I filed down the nut slots. There are really three components to string height: nut height, bridge height, and neck relief. While nut height has the least effect, it is still part of the equation. Filing nut slots takes patience - do a little and then check. You don't want to over-cut a nut, but if you do, it is not completely a one-way street. You can raise a nut slot up a little with a drop of Crazy Glue, it dries harder than most plastics. You could even fill it back in with a mixture of Crazy Glue and baking soda, bone dust, or plastic filings.
These slots had also been over-sprayed with polyurethane, I had to get that out of there. I'd say I lowered each string about 0.025", about half the thickness of the G string. If you go too far, you'll make the open strings buzz against the first fret. I mentioned nut files earlier in the thread.
I think this bass is playing about as well as it will right now, and pretty well at that. It needs to settle under string tension for a few weeks so that stresses in the neck wood can work themselves to a final configuration. Then I can make final tweaks to the bridge and truss rod, and get the action down to its lowest.
Mar 16, 2019
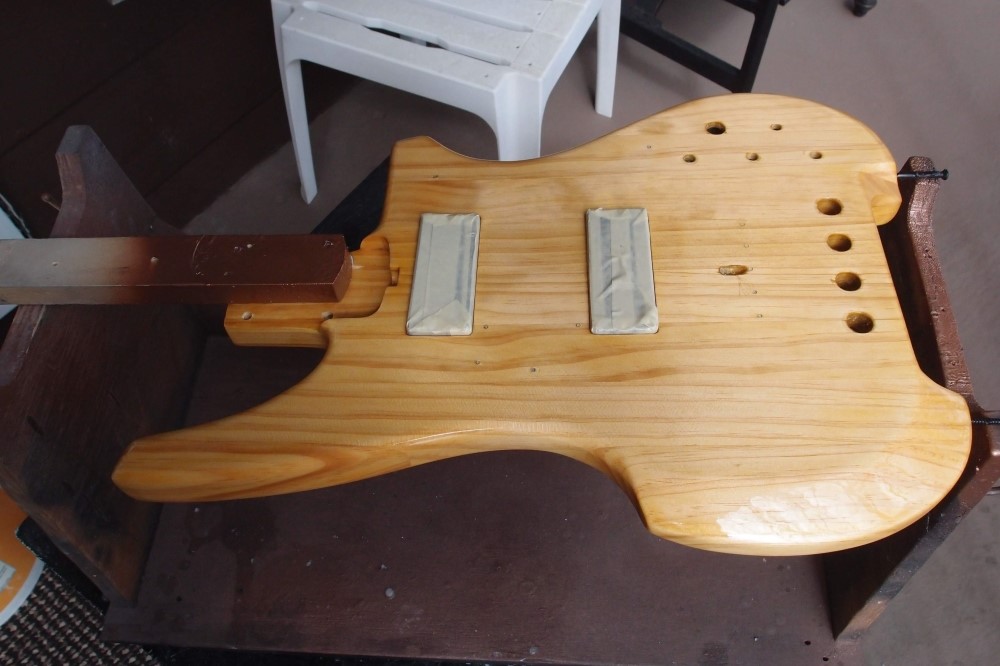
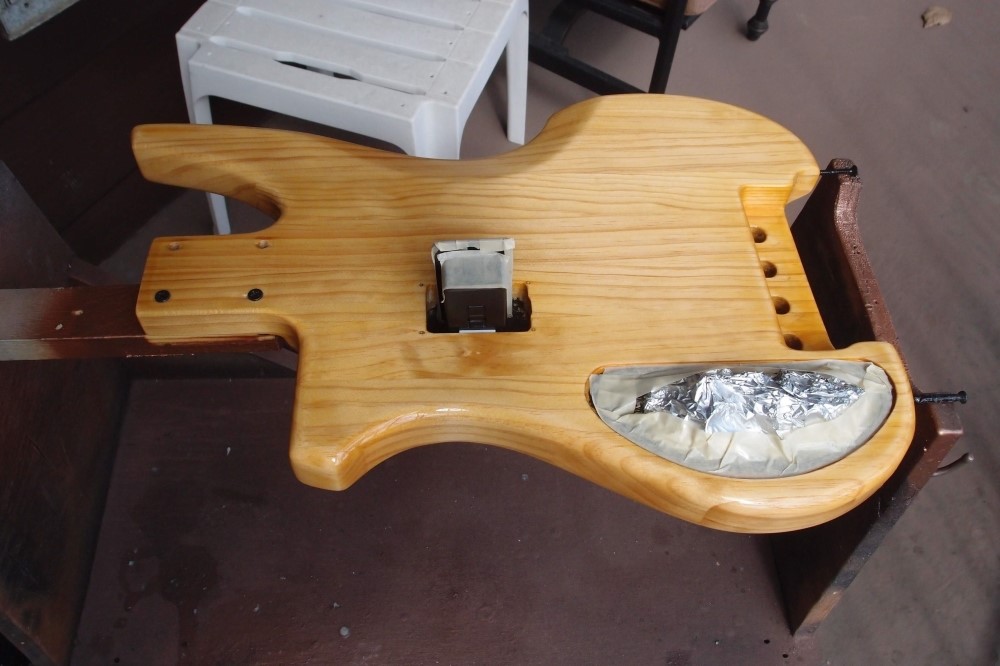
The Krylon satin poly from Hobby Lobby works like a dream. Yesterday I shot out my first can and got another - only $5 with a coupon. Michaels has the same stuff for a slightly higher price, with similar coupons. Hobby Lobby is in between several places I go fairly often, so I always stop in, flash my phone at the register, and grab one item at 40% off. The ladies there know me now. I wonder how much Re-Ranch gets for a can of lousy nitrocellulose?
I disassembled the old Factor bass and started giving it the same treatment as the guitar. As I took it apart, I noticed that exposed areas of Tung Oil had darkened noticeably. Is this oxygen, or UV? I found my answer when I pulled the clear pickguard - the logo is now reverse-burned into the body. So it is UV that causes Tung Oil to age darker. That's good, because I'm sealing out the oxygen with a coat of poly, and I would like the new one to eventually match the old one.
I scuffed-up the entire body with 400. I didn't want to break the complex electronics, so I taped off everything and stuck it back in. The battery box is stuck on there with a piece of Dollar Store double-sided tape, which turns out to be the best I have found. And a roll costs ... a dollar! So lots of good luthiery supply sources for you here - supermarkets, hobby stores, craft stores, hardware stores, dollar stores. It's cooler today than yesterday, but warm enough to take this job outside again.
The piece I did yesterday is near-perfect. The finish is thin, but very hard, as you typically get with aerosol poly. I don't normally do bodies with rattle cans, but at five dollars a can, why not? I can spray a fresh coat of poly every 10-15 minutes, which I will do until the can is out. Nothing to set up, break down, mix, or clean afterward. Rattles cans do have their advantages.
Look at how the wood grain has come back to life on this old body !!! This is another reason why I don't like oiled finishes. First, they provide no protection to the wood, none whatsoever. But worse, they only look good for a week or so after you put them on, while the oil is still slimy. When they dry out, they're dull, and re-oiling a built guitar - working around all the bits you don't want to get the oil on - is a real pain. So you don't do it, and you have an ugly guitar. This poly finish will be exactly the same a year from now, and forever.
When spraying gloss, I try to make the top coat as thick as possible, so I have plenty for sanding and polishing. It takes a lot of rattle cans to build a finish like that, so I do it with the spray gun. But for a satin finish, the opposite is best. You want a solid base coat, knock the nits off, and then a final topcoat thin and fast, to pick up as little dust as possible since you are not going to do anything to it after that. A major advantage of the rattle-can stuff is that it dries much faster than spraying brush-on.
I'll split one more can between these jobs for the top coat. $15 for two bodies -- not bad. A week after the last coat, I can re-assemble both of them.
I have an almost-full can of Varathane that I thought about running-out on this job. But that stuff is really not very good - it is too thick and goes on lumpy. I decided not to risk it. I'll use up the Varathane as a grain filler and base coat on necks and small parts. This Krylon is the best aerosol poly I have yet found, even better than Minwax. It only seems to be available in satin, but that's all I want. There is one really comical review on Hobby Lobby's website - one star because it turns yellow !!! No kidding, Sherlock !!!


