Audiovox Electric Upright Bass (5/9)
Feb 22, 2019
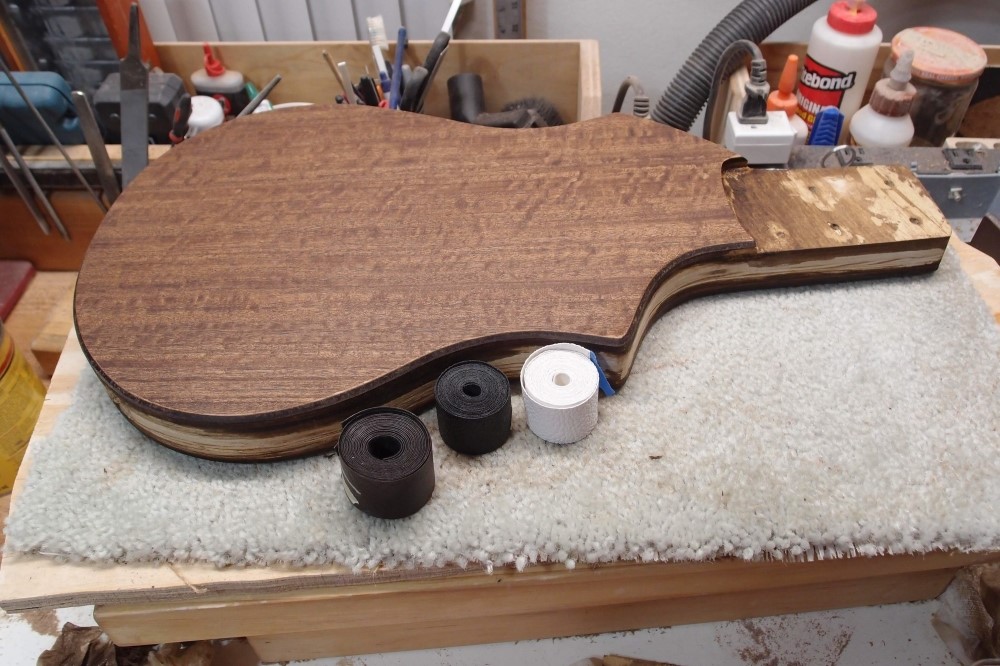
Last night I glued the back on. This morning I cut the edges and then sanded them in to the body. After sanding, I broke over the new edge with a file, so there is nothing to catch and pull out a splinter while I am still working on it.
If I had used a router, the finish would have chipped all to pieces. Router is generally the worst tool for any job, and should always be your last resort. Just look over LC and see how many people eagerly grab for their routers and then bemoan all the damage it did. And then do it again next time. The definition of Luthiery is to repeat the same mistake over and over and brag about it.
However, sometimes there's nothing else that will do the job. I drilled starter holes into the control and battery cavities, cut them out with the scroll saw, and finished with a 1/2" router bit with a 1/2" bearing following the contour of each cavity. I could have sanded this, but I wanted to test the router against the veneer in a place where it wouldn't matter, and it seemed to be ok.
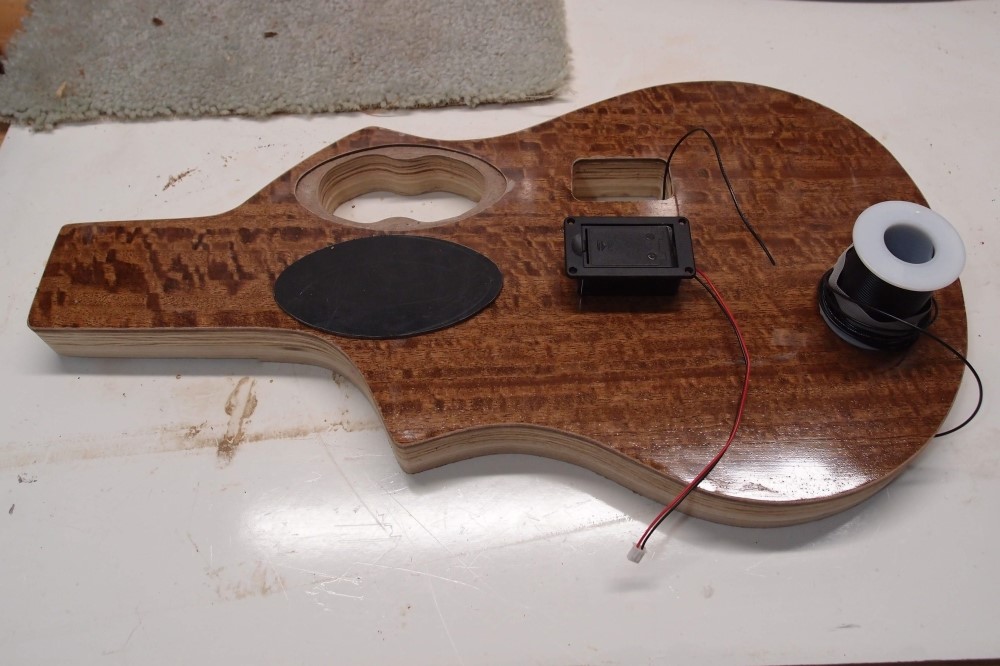
Then I routed out the shelf for the control cover, and the router did exactly what I expected. See the big chip in the finish at the left end. This isn't the final finish anyway, but the UV-poly continues to disappoint. I don't think I've ever seen regular poly chip out that big. The UV stuff is only good for grain filler, for which it is really good but too expensive.
Finally, I traced the cover template onto a piece of plastic from the scrap box, sawed it out, and ground it to fit on the belt sander. A lot of people would probably go for their router again, and ruin two or three pieces before making one that fits badly. I only had one piece of scrap, so I couldn't afford all that fun. Everything fits perfectly.
Finally, I fished a wire through as a test, it was easy. Locating the battery box at the bend in the channel gives me access to the spot where things might hang up.
I'm not sure what to do next. Eat.
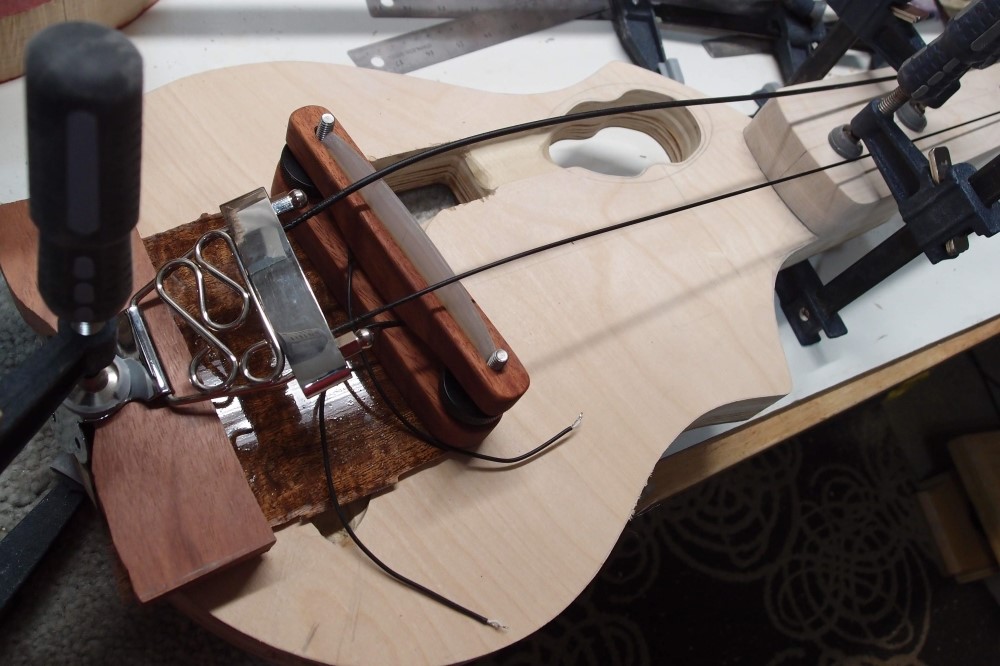
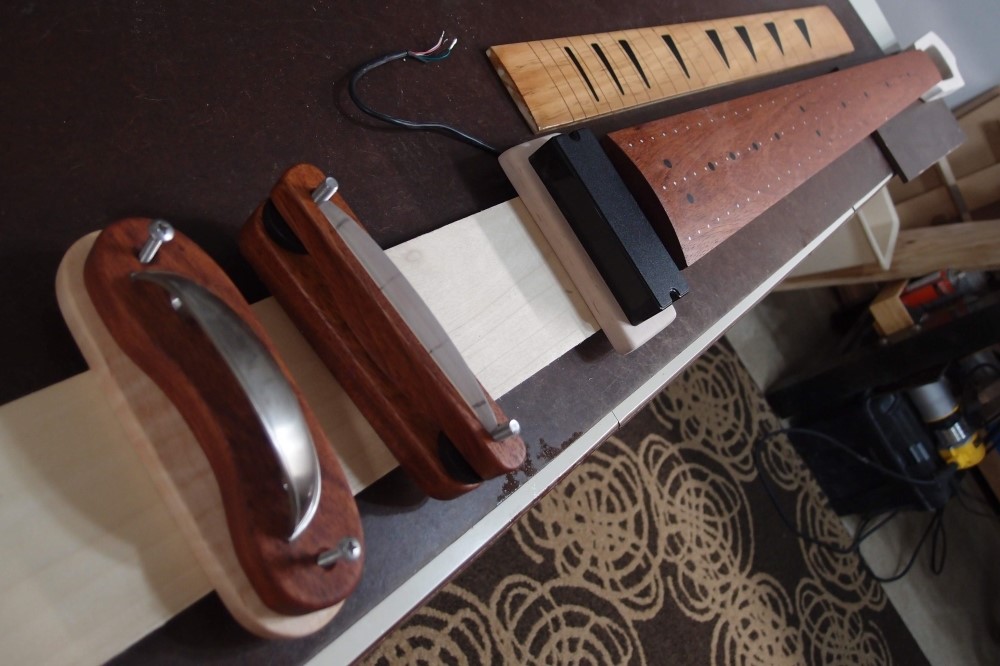
This narrow Hofnerish tailpiece is not going to work, so Plan B:
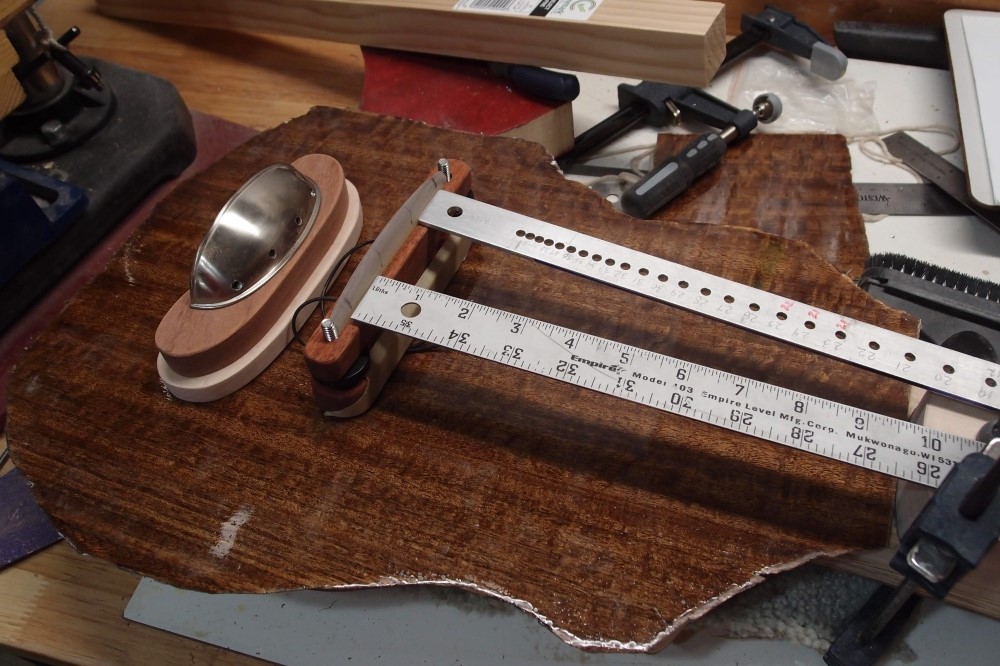
The drawer pull is just crummy pot metal, non-magnetic, I hope it is strong enough. The end holes are in pretty thick material and near the fixing bolts. I backed-up the inner holes with steel nuts. The rest is from the scrap box. The whole assembly will be held down by two big SS screws. Since the tailpiece is metal and sits right over the wiring channel, grounding the strings will be easy.
Feb 23, 2019
The tailpiece, made from scrap. The upper piece is leftover from making the bridge. The two pieces will not be glued to each other, and the drawer pull is only attached to the top piece. That way the lower piece can be swapped-out for thicker or thinner to alter the break-over angle of the strings at the bridge. That will allow me to fine-tune the force on the under-saddle piezos. Tung oil finish, like the bridge and fingerboard. I need to extend the wiring routs for the ground wire.
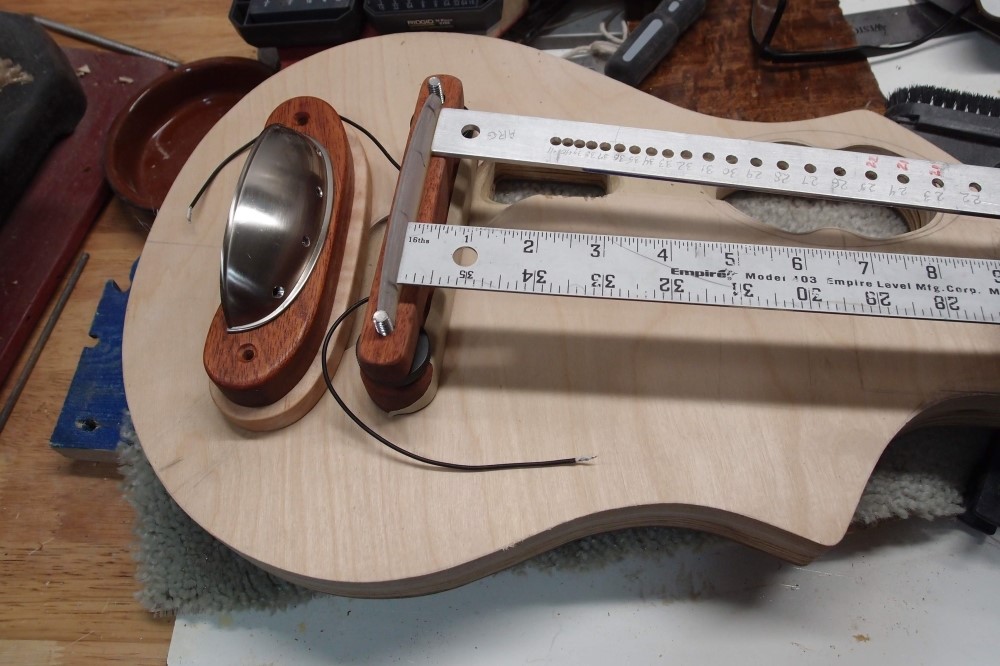
Final routs for the big mag pickup and the tailpiece ground. The tailpiece rout cut into the end peg socket, but that won't matter. Perhaps Jatobah is telling me to ground the end peg? This is why all the channels that cross the centerline are shallow - so they miss the end peg channel, the end peg can't tear up the wiring when you stow it.
I enlarged the connection between the battery box and the controls, as the pickup wire will feed in here somewhere. I gave myself a lot of latitude in placing the pickup. That's a 5-string pickup that I was sent by mistake, so a freebie. It perfectly spans the string spread on this contraption.
I made sure all the routs are smooth, with nothing to catch on when I am fishing the wires through. That is the reason the battery box is where it is. Wiring should be easy.
I oiled up all the parts, and they are looking good. Praise Jatobah !!!
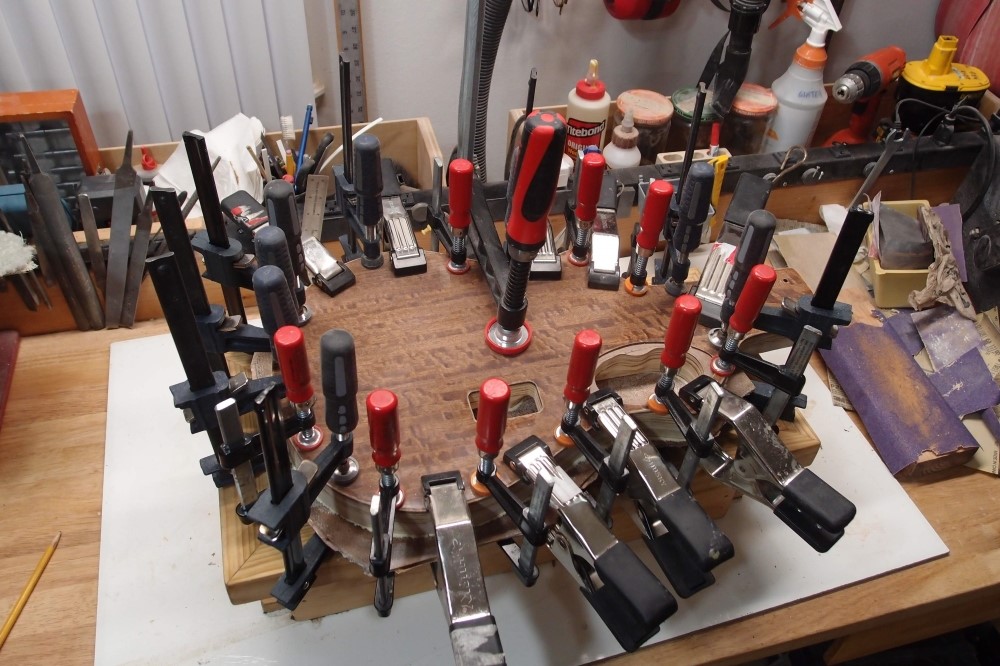
Clamp farmers behold !!! This isn't nearly all of them, just the short ones I had on hand. Note the one ginormous clamp in the center. When gluing thin pieces like this, you need a clamp every inch or two around the edge, otherwise, you get gaps. The faces are veneered masonite. While this dries, I can work on the pickup mount.
Unexpectedly Finished
I let the glue dry for a couple of hours, then cut and sanded ** the sides flush. Then I routed the body edges with a 45-degree bevel. This is much easier than using a round-over, and gives a much better result, especially with the veneer. You get tack-sharp lines, the round-over would make a feathered mess.
** Sanded, not routed. Note how I am not pitching and moaning about tear-out. While I routed the bevel, a little nip like that is very unlikely to do damage, certainly nothing that won't sand out. In fact, it did no damage at all. Mr. Router is not your friend, it will ruin anything it can.
Then I started sanding the faces smooth with the first thing that came to hand - an old piece of 80 grit. I wanted to give it a good tooth so the finish coat would have something to hang on to. That came out a little rough, so I went over it again with 220. I had to stain the cut edges, and ended up rubbing stain all over it, and that is when I noticed that it actually looked great that way - a very nice even satin.
I worked at the front some more, and it began to look flawless, artificial. I worked on the back, and got it almost as good. So I decided to save myself some work and keep it this way. The Eucalyptus still does its three-dimensional thing in the light, but not as much as it would under a gloss finish.
I stained the cut edges of the masonite and ran two coats of oil-based poly over them for waterproofing, cleaning up with mineral spirits, and all the while fixing spots on the faces. Now I need to decide what binding to use. I had originally planned brown, but now I am thinking white. The masonite edges are almost black now, and the white would really pop.
BTW, this is pretty standard Danelectro construction, except that instead of hollowing-out the body, I kept it as solid as possible. It is 1-5/8" thick, and weighs about 5-1/2 pounds right now, and another half a pound for the endpin. ( That's why I wanted a steel one, not sissy carbon fiber. ) The neck weighs almost as much! I'm expecting the finished product to be around 12 pounds, a little heavy to shoulder, but nice and solid on the floor.
I'm using a Fender-style neck plate from the parts box. Keeping the costs low, this will probably be another $100 build, not counting the Solarez experiment. I did spring for a nice set of Rotosound Trubass strings, which are supposed to nail the acoustic sound. I'll keep the extra-long set of D'ad flats for some future project.

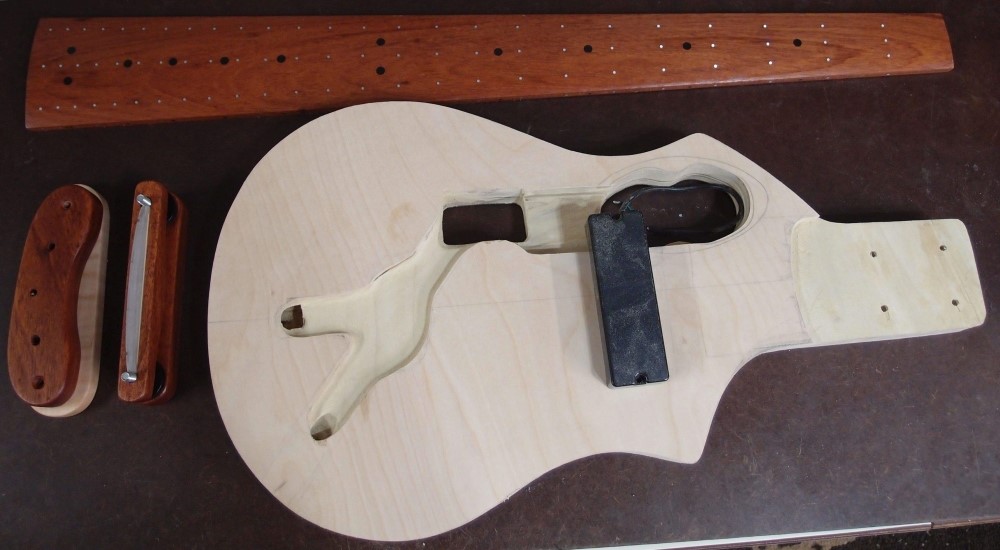
A little late-night whittling, and I have a pickup mount. This is the remainder of the flamed maple scrap I made the tailpiece from. The pickup just sits on top of the block, couldn't be simpler. The mounting screws will be hidden under the pickup. That's the last piece I needed to fabricate, unless I make a matching maple base for the bridge. All these pieces are getting Tung-oiled.
This is a 4-wire pickup, so I will probably do a series/parallel switch, because I can't help myself with things like that. So this bass will have Precision, Jazz, and acoustic modes.