Audiovox Electric Upright Bass (6/9)
Feb 24, 2019
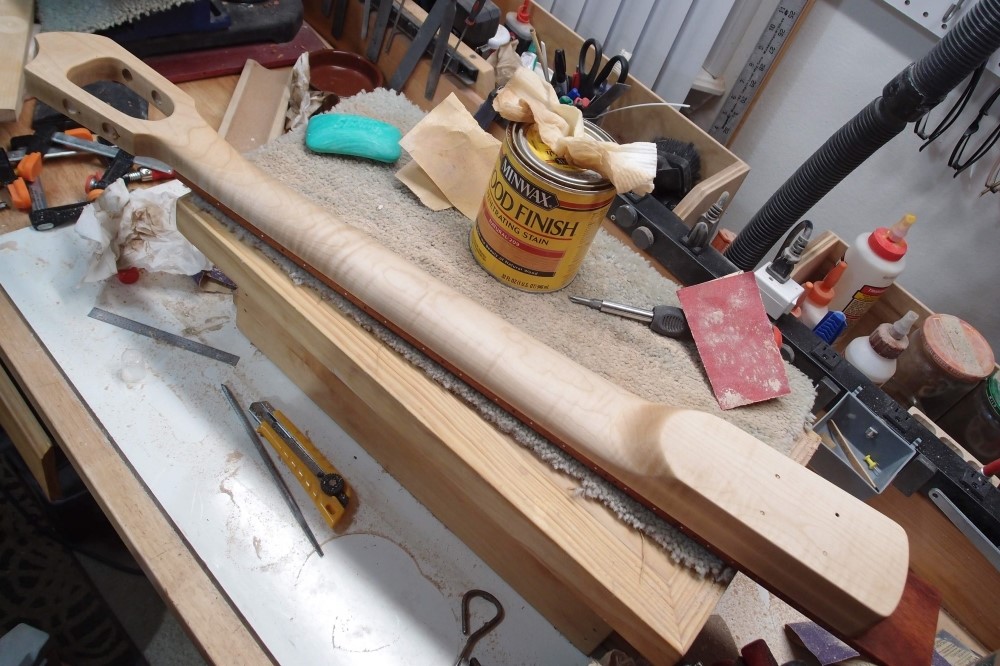
Time to bite the bullet and glue up the neck. Normally I would do this much earlier in the process, before carving the back of the neck. But in this case, the fingerboard represents a great deal of work, and is basically irreplaceable, so I wanted to make sure the neck worked out before gluing it on. This neck is unlike anything I have done before.
Before gluing, I block-sanded the faces one last time with 80 grit. This has several purposes: it gets any dirt and grime off, flattens and trues the surfaces, sharpens the edges that are worn from handling, and breaks open the wood grain so the glue will grab better.
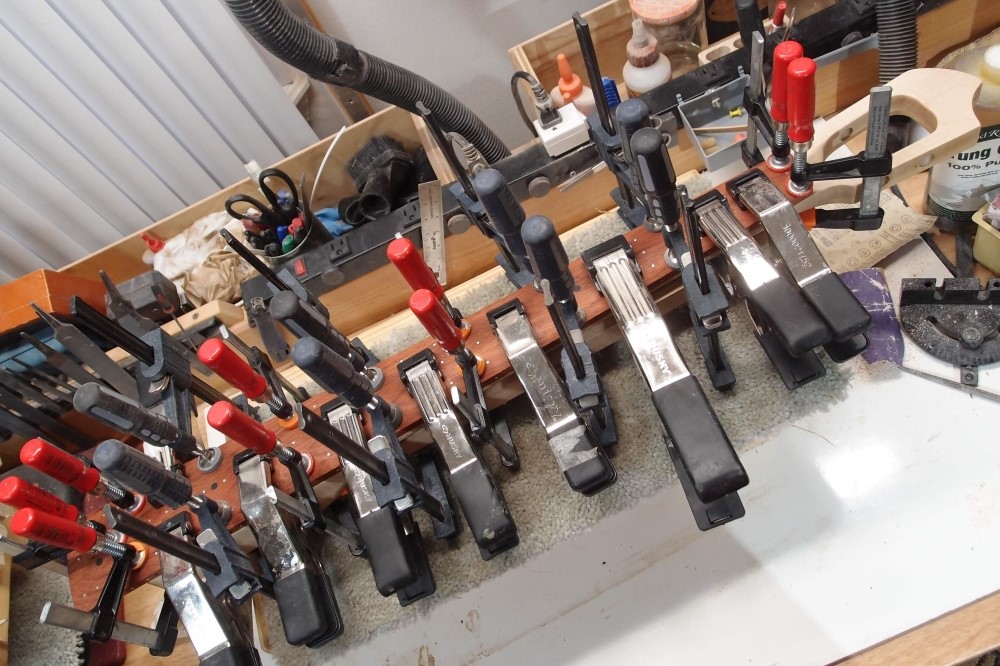
To start the gluing process, I used a clamp at each end sideways to keep the parts aligned. Once they were firmly stuck together I reset those clamps. Note how the clamps are set in pairs along the edges. Clamping the center is likely to leave a gap at the edge. I used my little roller to apply the glue, then scraped away the area around the truss rod.
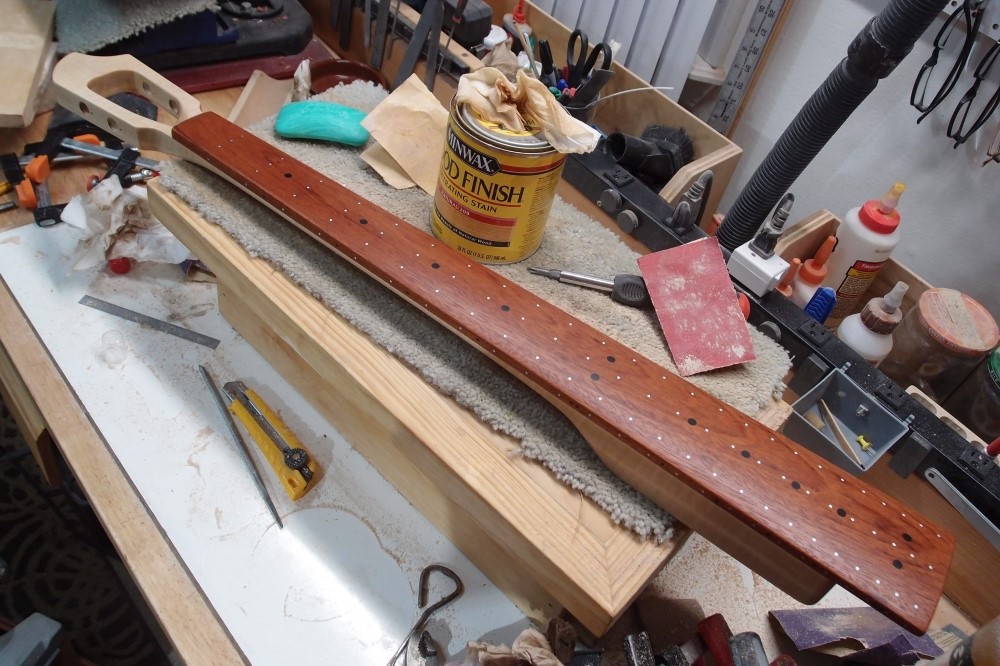
I finish-sanded this neck last night and applied a coat of natural stain, and some nice flame popped out. I played Lake Street Dive on YouTube while sanding - a good inspiration for upright bass. In an hour or two I will remove all the clamps and file the edges into each other smooth and straight.
My little robo-vac just woke up and went to work, gave me a start. I blocked it out of the workshop with extra magnetic strips. It's just plain mean to let it in there, I'll clean that up myself. The thing does a great job everywhere else though.
No disasters. I laid a bead of CA all around the joint, and then filed & sanded the sides smooth. I had to use the machine on the heel, it was too much to do by hand. Very gingerly, that.
Then finish sanding all over again, but just easy spots this time. I pre-threaded the mounting holes with the screws and soap, and then applied a nice coat of stain all over. Can't see or feel any flaws. That is my criterion for building a neck, not some silly 'official' profile that probably originated as an accident anyway.
This thing is massive. It feels like a baseball bat. That is one big Fender heel.
Feb 25, 2019
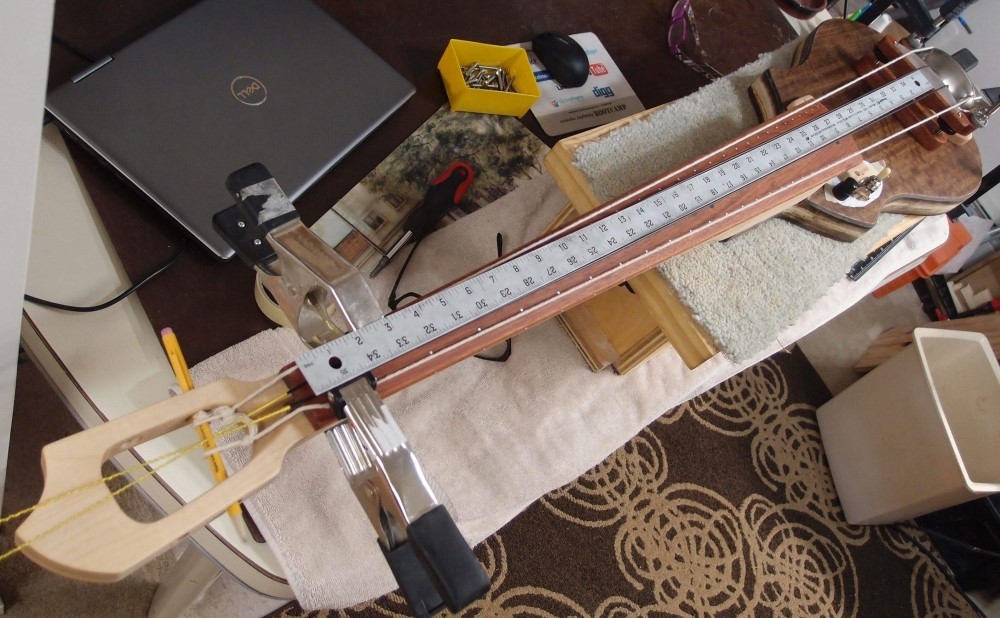
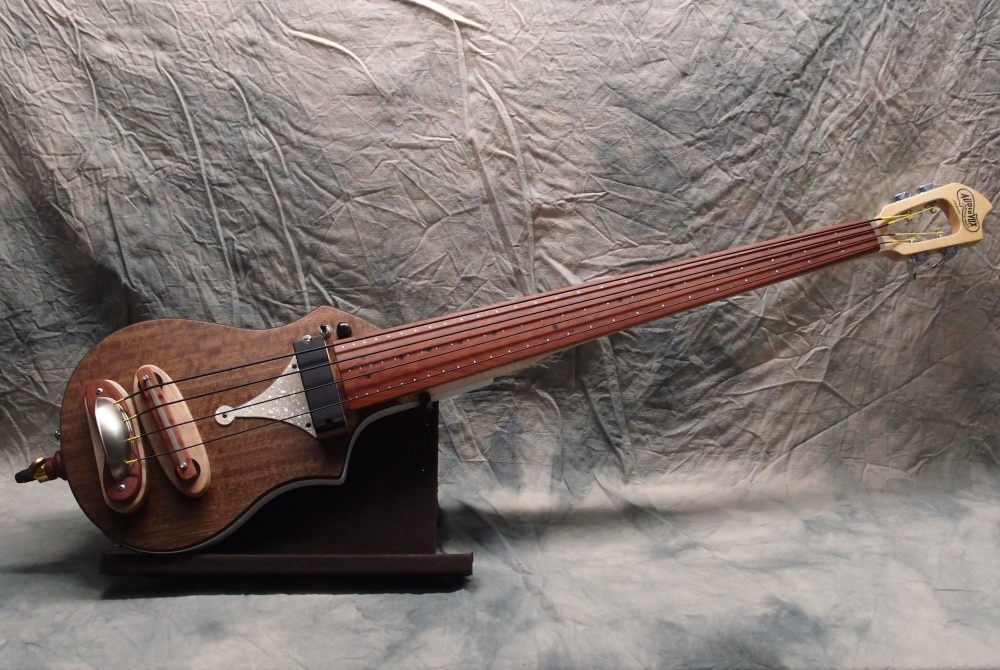
First time bolting on the neck and laying out the string paths.

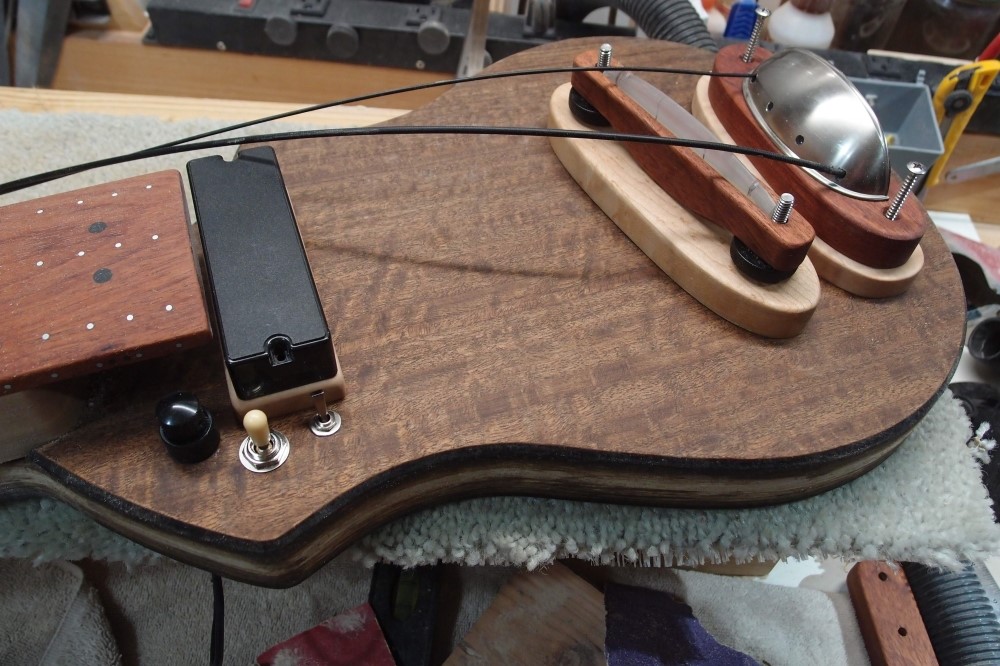
The controls need to fit in a tight space. Stacked volume/tone, pickup selector, mode switch for the humbucker. I should make a maple base for the bridge, to match the pickup mount and tailpiece.
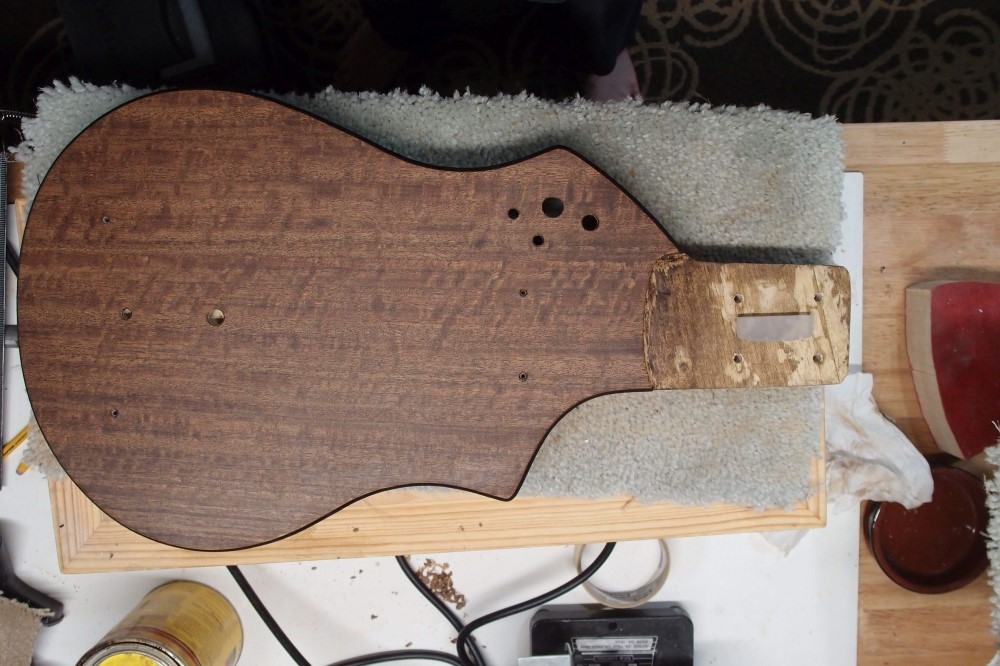
Now it's time to drill holes. No going back after that. When you're not building to a plan, times like this get nervous.
Today's progress can be summarized as: 18 holes. But they're all in the right places. It's a relief to be done with that. I also made the string nut, out of 1/4" acrylic to match the saddle. This should give it a clear tone.
While I had the neck on, I tested the horizontal balance, and it is actually tail-heavy with the strap button at the end of the heel. It should hang pretty well with the end peg retracted. But you might want to keep it extended. It would be useful for when your guitarist goes on one of those extended solos.
The neck needed a little back-angle, which I ground-in carefully on the belt sander. If I was a true luthier, I would have built a precision angle jig, and then ruined the part with a router. But alas, I'm just a hack, and it worked out fine, despite my painfully crude methods. It needed a little block sanding down the center to make it perfectly flat again.
Since I inadvertently created a color scheme with the maple, I decided I should finish it and make a new bridge base. I fished around in the tonewood box and came out with a scrap of maple. Not flame, unfortunately, but birdseye. It will have to do. Again, I shaped it on the belt sander, then taped the old one to it for a template and drilled the holes through. Again, it came out fine; I should have used a router, then I would be on my way to the store for a new piece of wood instead of writing this.
I really don't know how I keep getting away with all my crude carpenter's methods. How can I ever aspire to be a real luthier when I keep doing things wrong? I haven't chipped-up a piece of maple with a router in years. I must not be learning anything. Maybe I should go back to building furniture and doing crown mouldings.
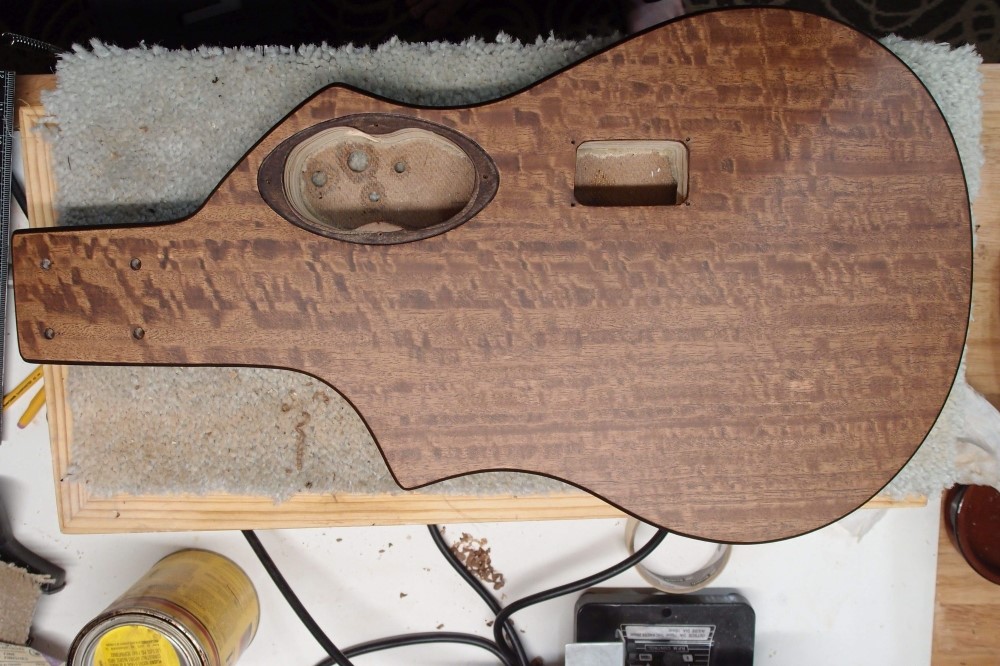
The new bridge base is much wider, which gives me more intonation adjustability while keeping the hole in the body covered. Now the neck, bridge, and tailpiece are all Jatoba over maple. ( Praise Jatobah! ) The Jatoba looks funny directly against the dark body, this is an improvement all around.
I have laid out the controls and pickup in the picture above. You can see they are well below the neck. The pickup might serve as a thumbrest in horizontal mode. That was just a crazy idea, but it now looks like it is going to work out very well.
Yesterday I went to West Marine to pick up some SS screws. I wrote the number on the little bag and took it to the cash register, and the old guy just waved me to the door! He just didn't feel like ringing it up. This whole project is working out like that. The fingerboard was a freebie floorboard from a home supplies place, the neck was two dollars at Home Depot because the cashier wanted to go home, the pickup was a mistake from eBay that I got to keep, the plywood was free to review ... this whole thing wants to be free. Or cheap - the veneer, masonite, and piezos cost next to nothing, and none of the other parts are expensive at all. A lot of the small bits are simply scrap. The single most expensive part of the whole build is the strings, and they were only about $25.