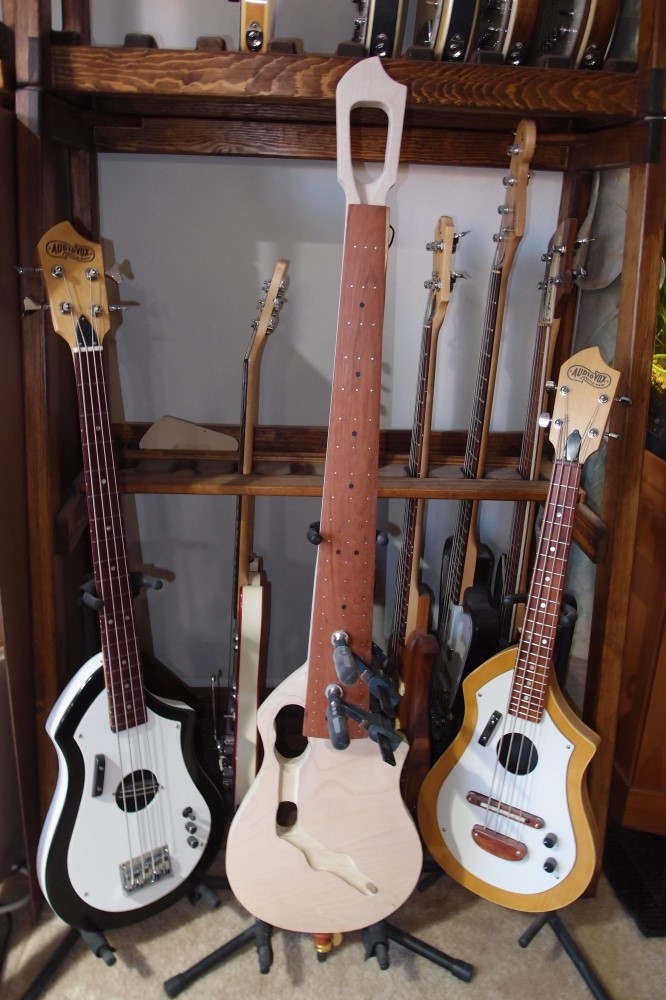
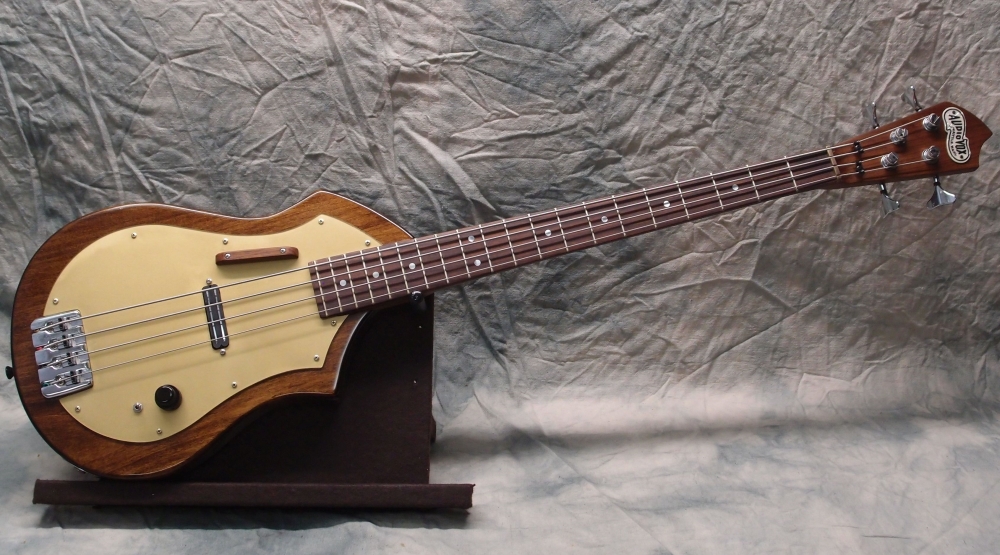
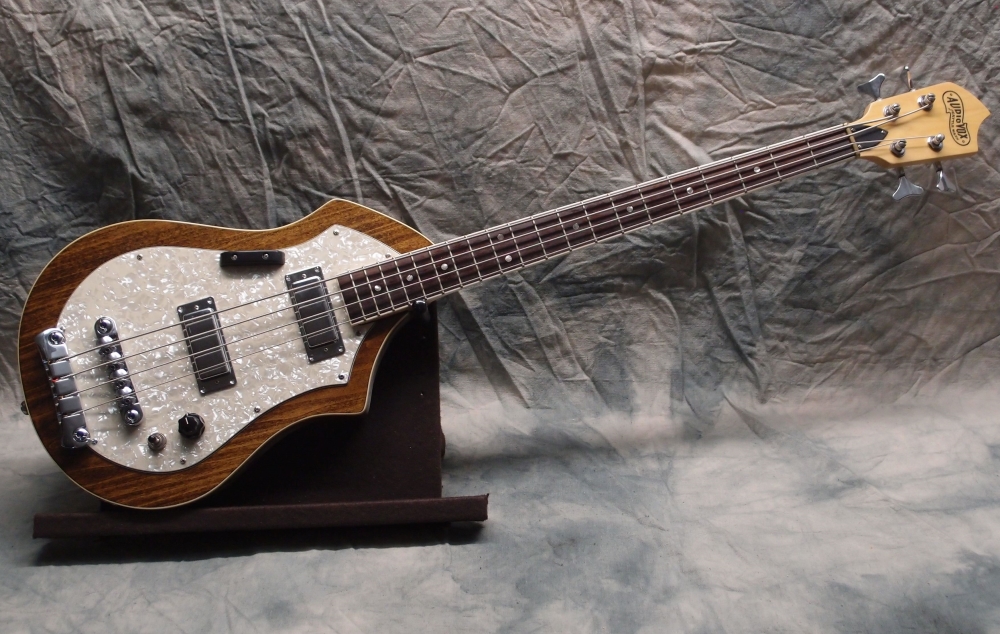
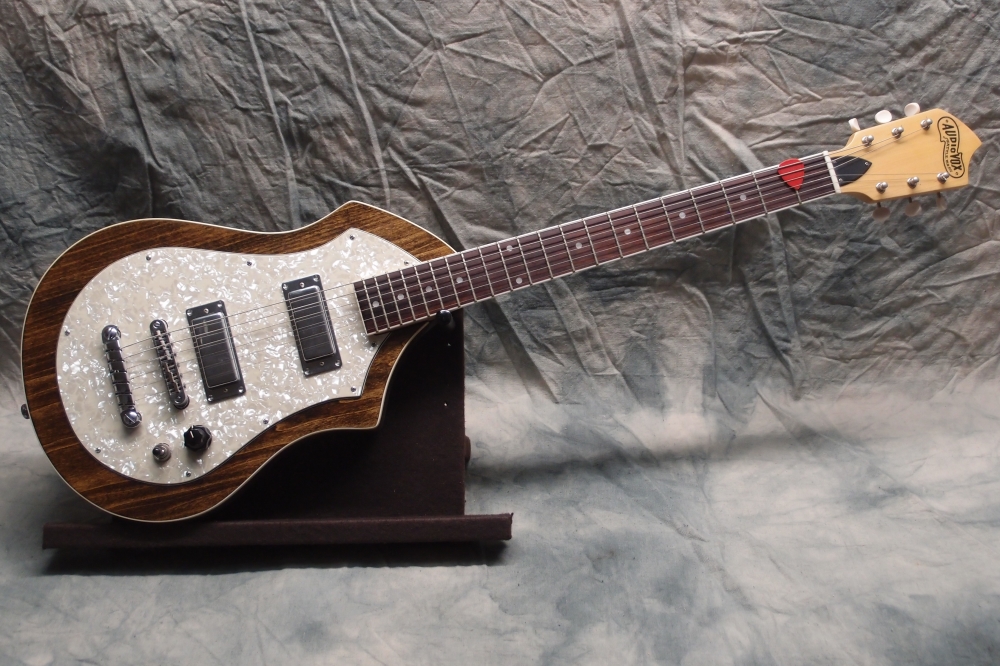
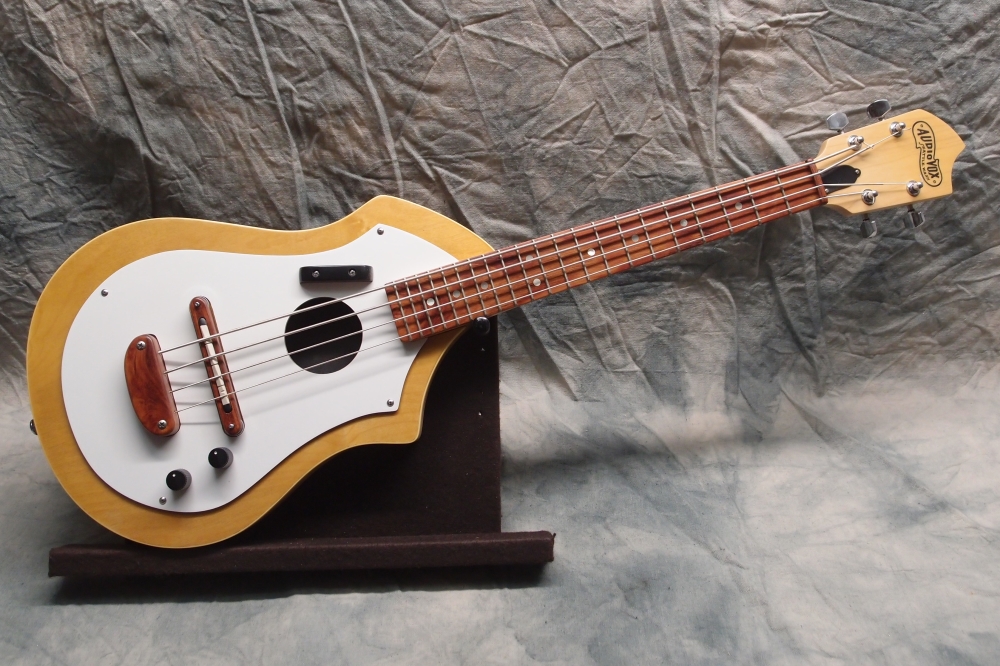
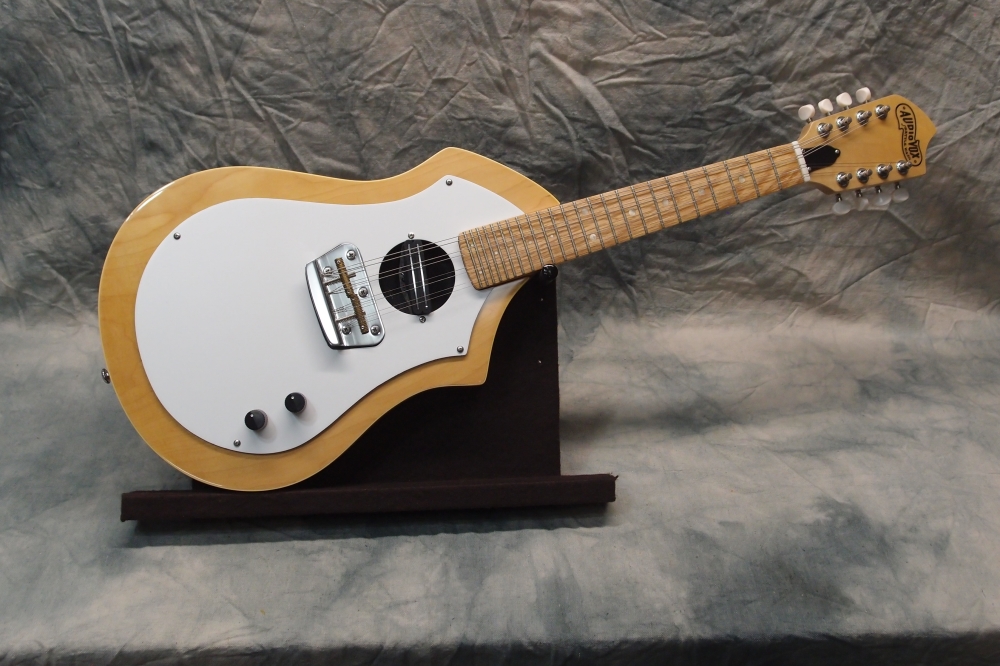
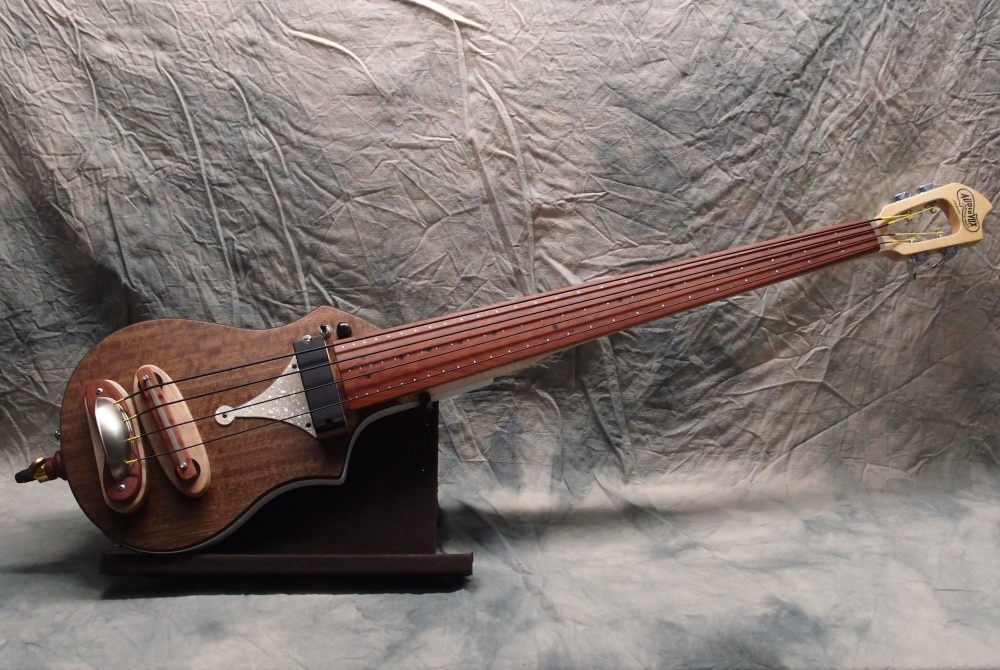
Audiovox Electric Upright Bass (4/9)
Jan 19, 2019
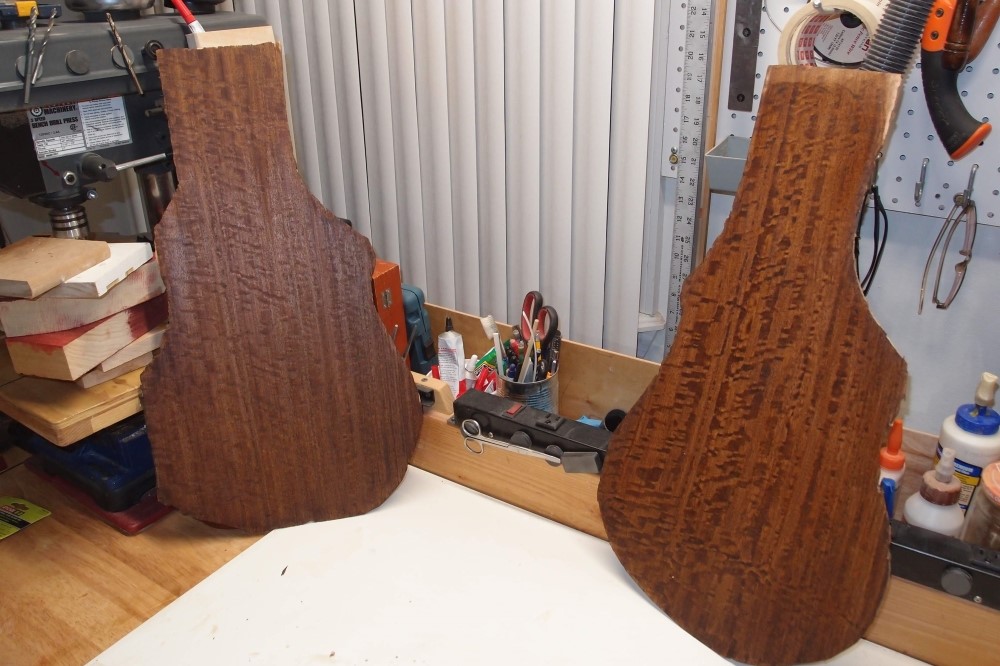
These may be the body faces, or I may throw them away and make others. That's the beauty of using cheap materials.
Jan 26, 2019
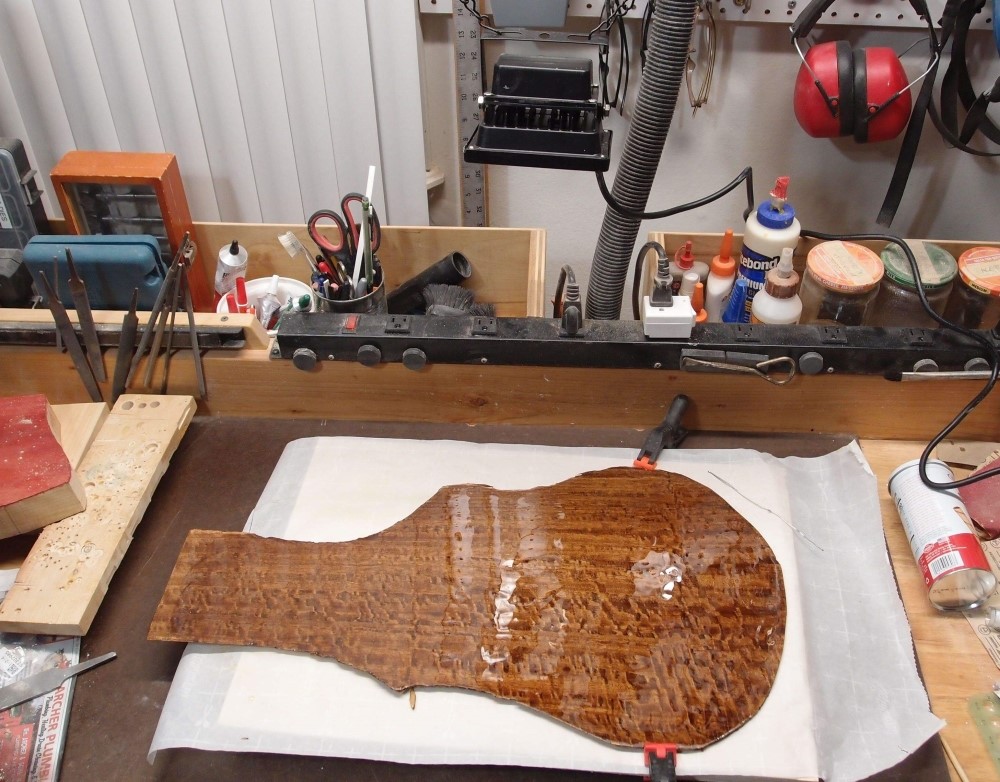
Testing UV-cure polyurethane. I like it. UV lamp hanging above the piece.
Feb 9, 2019
A month after I ordered it, the end peg has finally landed in the USA. Soon I can get back to this project. The end peg will retract all the way into the neck heel. That's as much as I have planned, until I have the part in hand.
The UV-cure poly above has proven to be a big disappointment. It has very many drawbacks, not the least of which is the cost. This may be the only body I actually use it on.
Feb 18, 2019
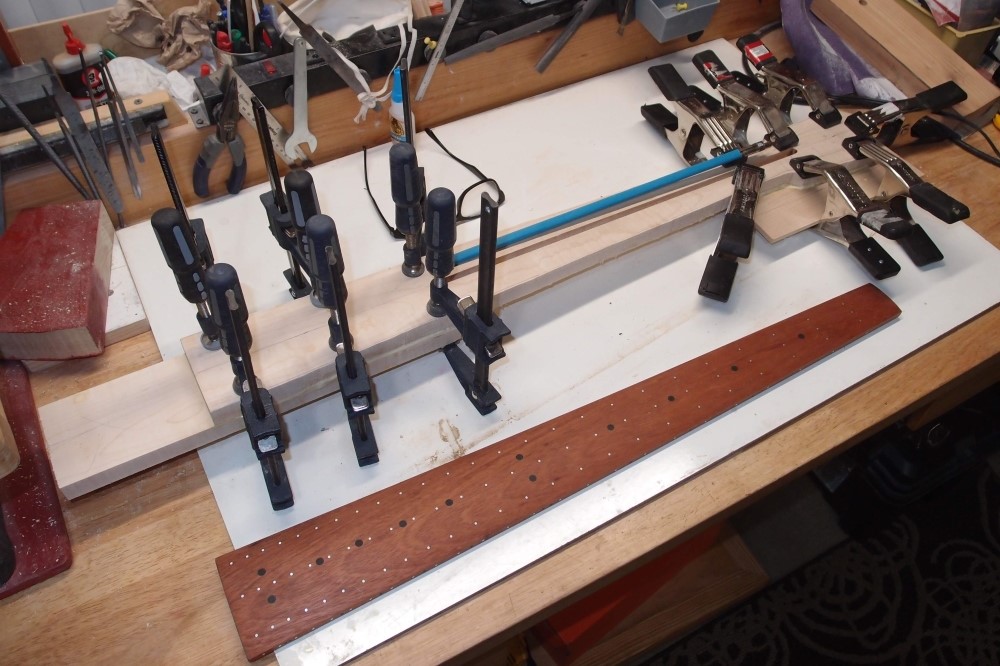
The endpin finally came, so I can start building this thing again. I roughed-out some plywood pieces for the body and started building the neck. It will have a guitar truss rod in the lower octave. At the octave, it has the regulation bulge, a truss rod wouldn't do any good above there. It will bolt onto the body, with a short overhanging section.
Feb 19, 2019
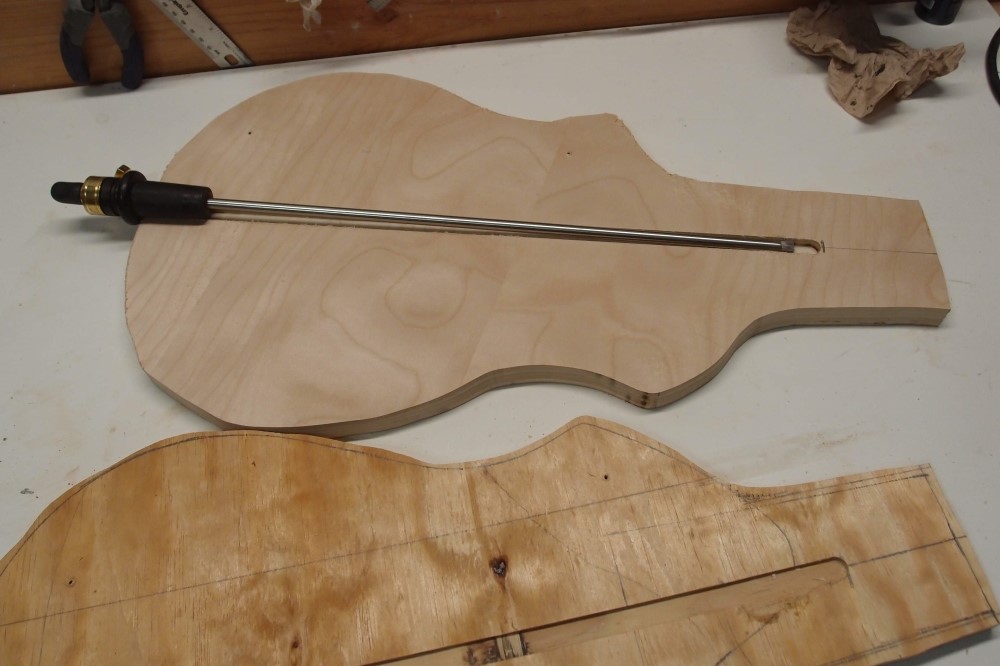
The endpin will retract all the way into the neck heel.
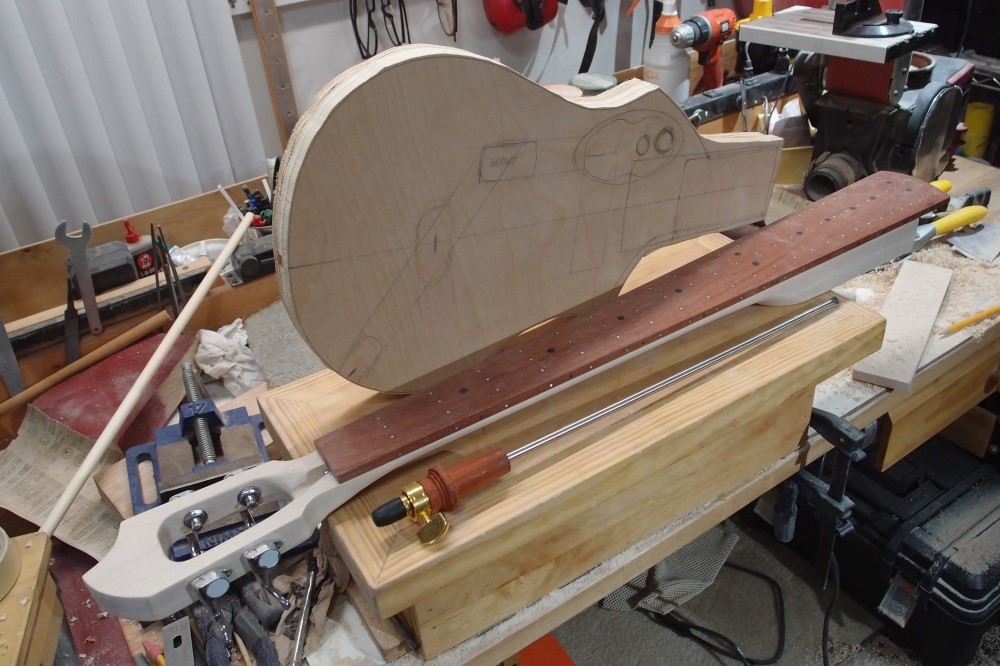
Got the neck shaped. It is massive, it weighs almost 4 pounds. The solid plywood body isn't light either, especially with the steel endpin inside. I'm going to put strap buttons on this thing, so you can put it on. That's why I used lightweight tuners.
If the body is heavy enough and the strap button is way out there, it just might balance. At an estimated weight of 12 pounds, I think you'd probably want to leave it on the floor most of the time.
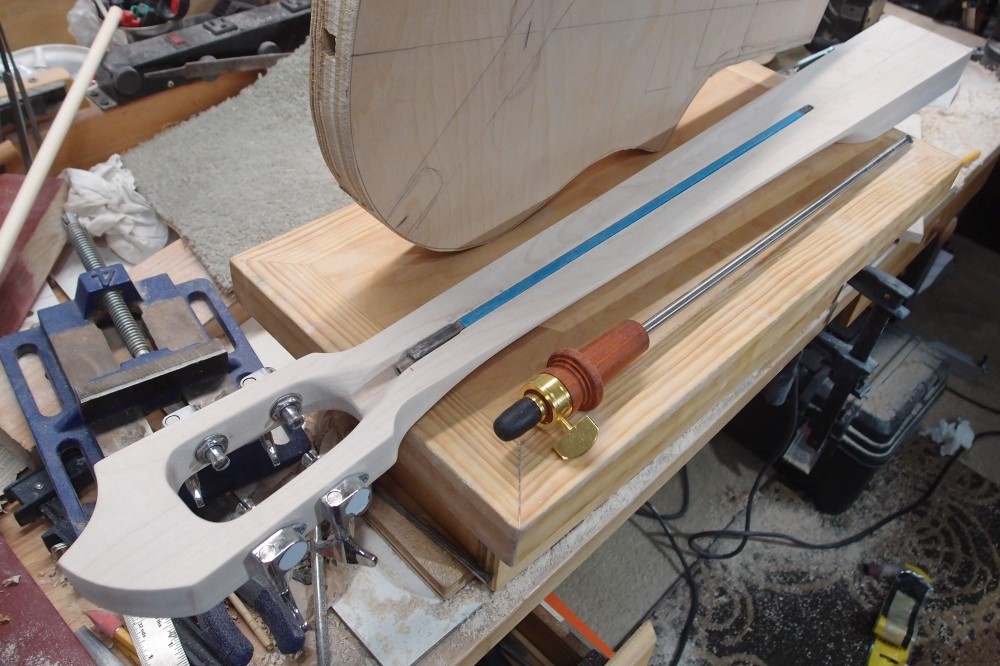
The truss rod. No point in having it go up to where the neck is double thickness. It may not be any use at all, but I put it in just in case. The headstock reminds me of those old aluminum-necked Kramers. That was an awful idea, but it looked cool.
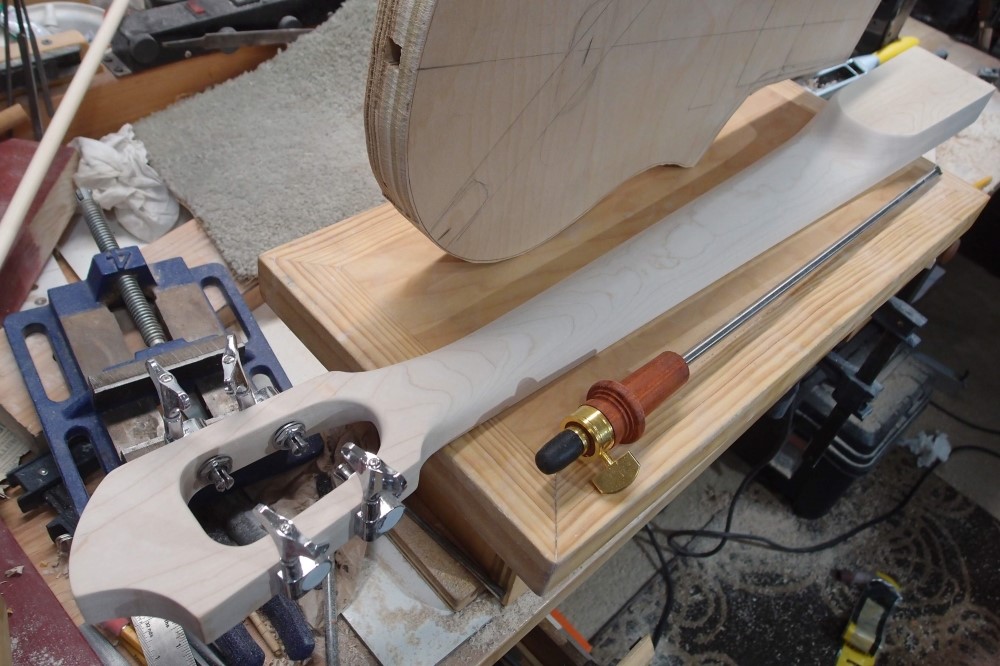
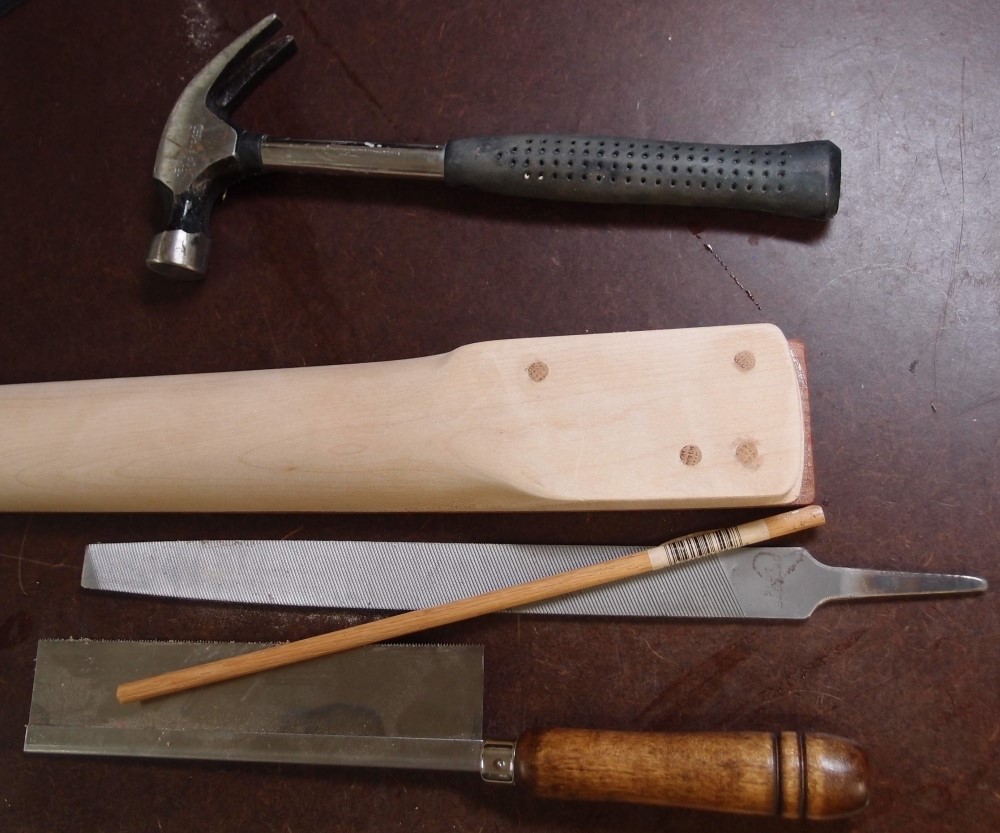
The back of the neck, shaped mostly by hand with files. This is Home Depot wood. I hope I made the headstock strong enough. It is an inch thick, and I drilled the tuner holes undersized and filed them out for a press-fit, so the tuners will take up some of the load themselves. The heel bump is at the octave.
I have sketched out some wiring channels on the body. I'll rout these in and then glue on the top, this way they will miss the endpin channel. This project is way out there on the weirdness scale for me, I'm just winging it.
Feb 21, 2019
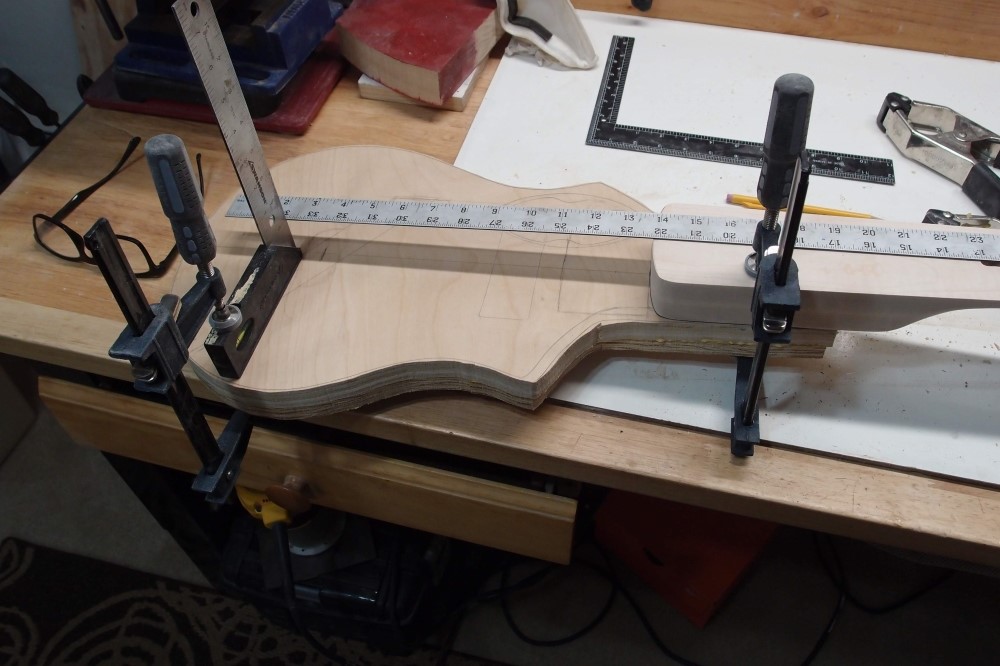
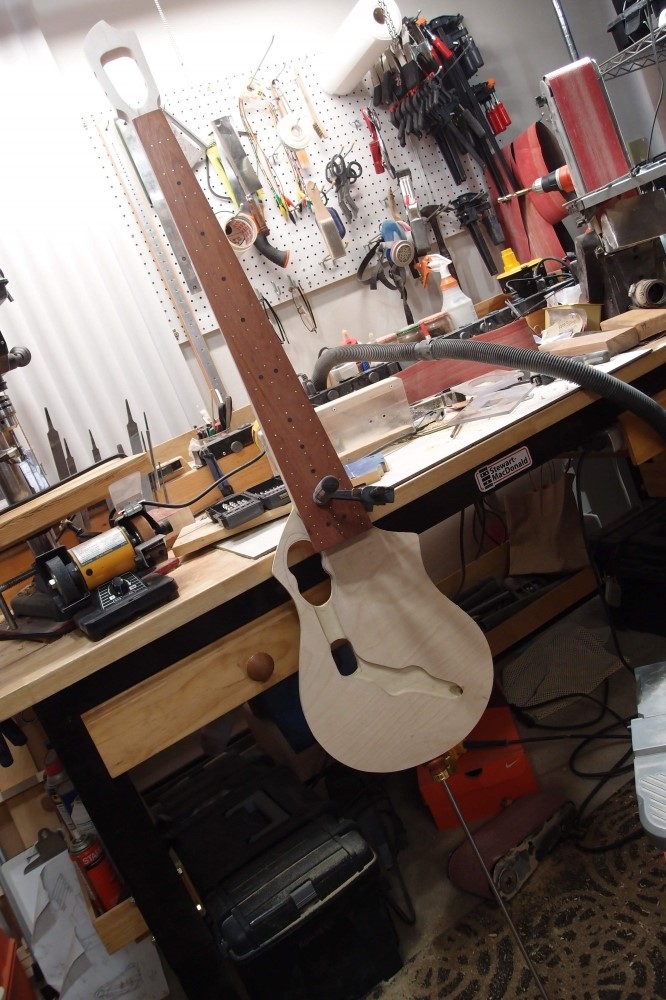
All of the body core is done except for the battery box. It stands about 5'8" fully extended. The body cavities were done with a drill press and sander. The wire channel and neck pocket were routed. The output jack and endpin were hand-drilled.
