Audiovox Electric Upright Bass (3/9)
Jan 6, 2019
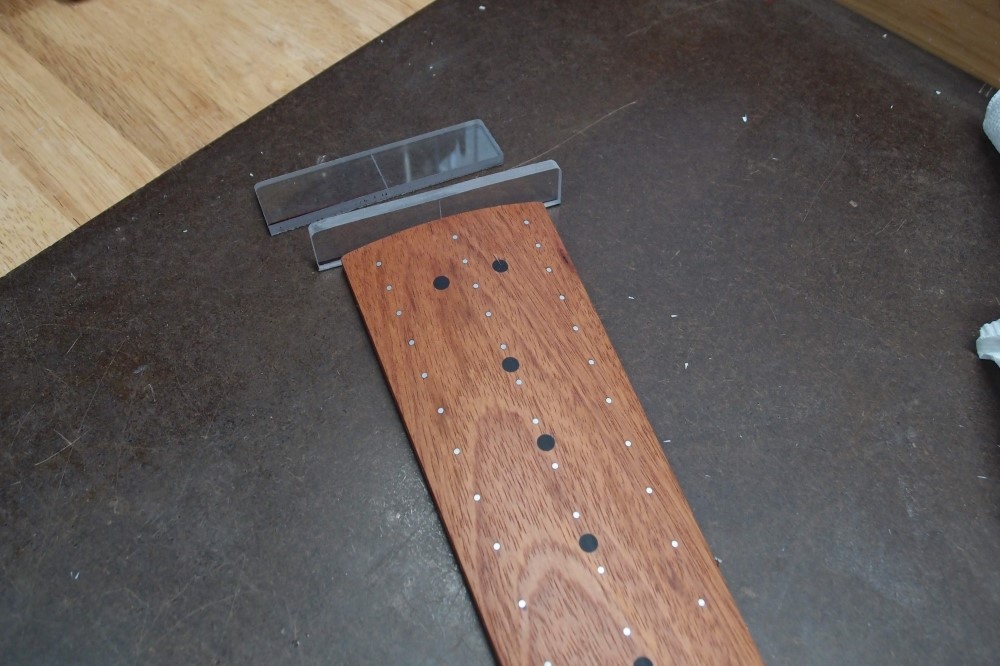
I fished around in the junk box for something to make a saddle from, and came up with this. This is 1/4" clear polycarbonate, material I use to make templates. I was looking for a scrap of phenolic, but this is just as good. A few minutes on the belt sander and I had a saddle. You can get this stuff at Home Depot. I wonder what kind of a fretboard it would make?
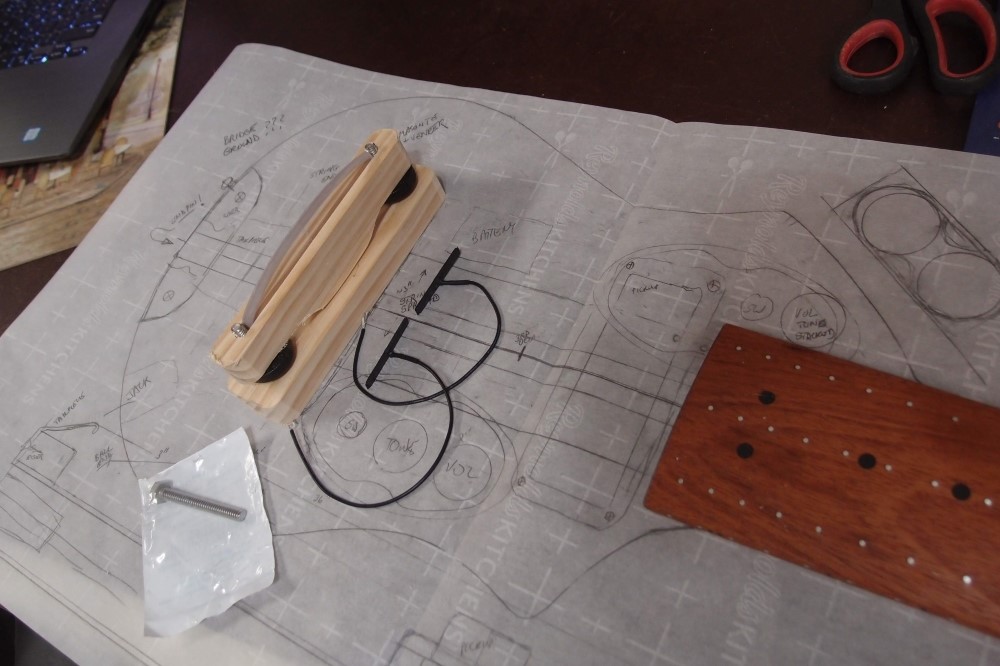
This is my design for the bridge, 1x2 pine prototype, the final product will be hard Jatoba. ( Praise Jatoba !!! ) It is basically an enlarged version of the bridge I built for the Uke bass. The wheels are standard photographic equipment, threaded 1/4-20, for securing arms and such. (eBay) The SS bolts will be threaded into the base on the actual product. The saddle lies in a 1/4" slot, routed just like a truss rod slot, with a bolt at either end. The piezos will go under the saddle. These are two inexpensive cigar-box violin piezos that are a perfect fit under the saddle, one for each pair of strings. (eBay)
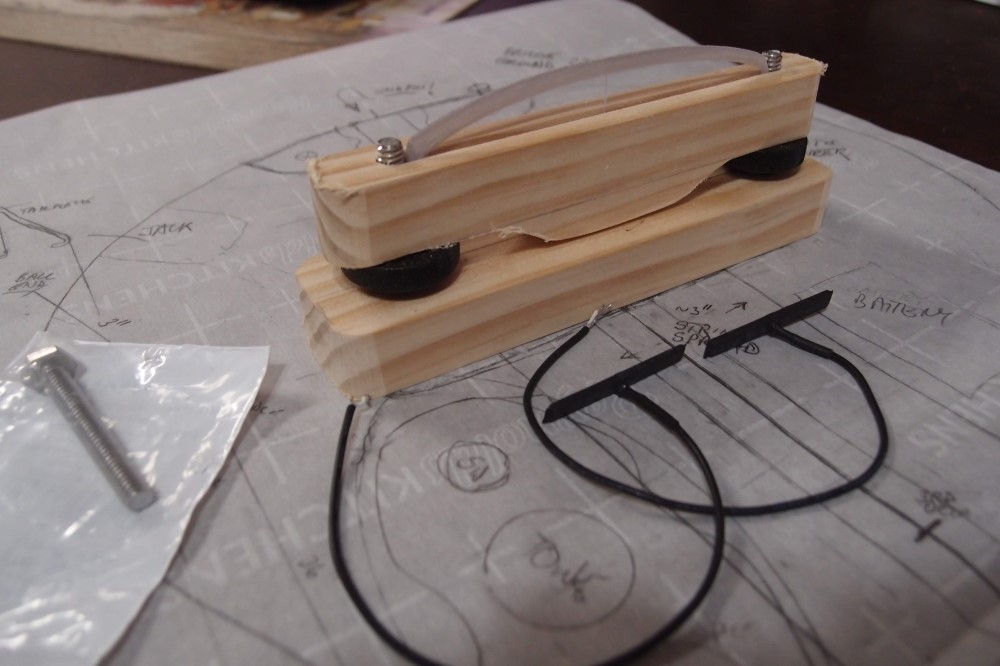
This bridge adjusts for height and also intonation, as it is free-floating. It could also be screwed down. You could also use studs directly in the body and do away with the base entirely, but you would lose intonation. I haven't decided exactly how to route the wires yet.
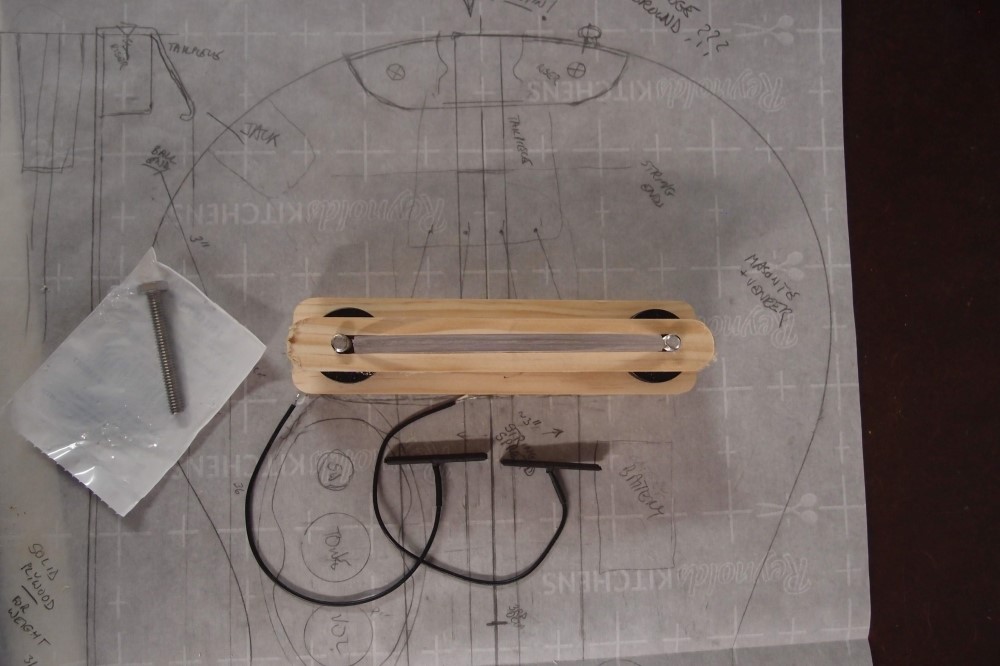
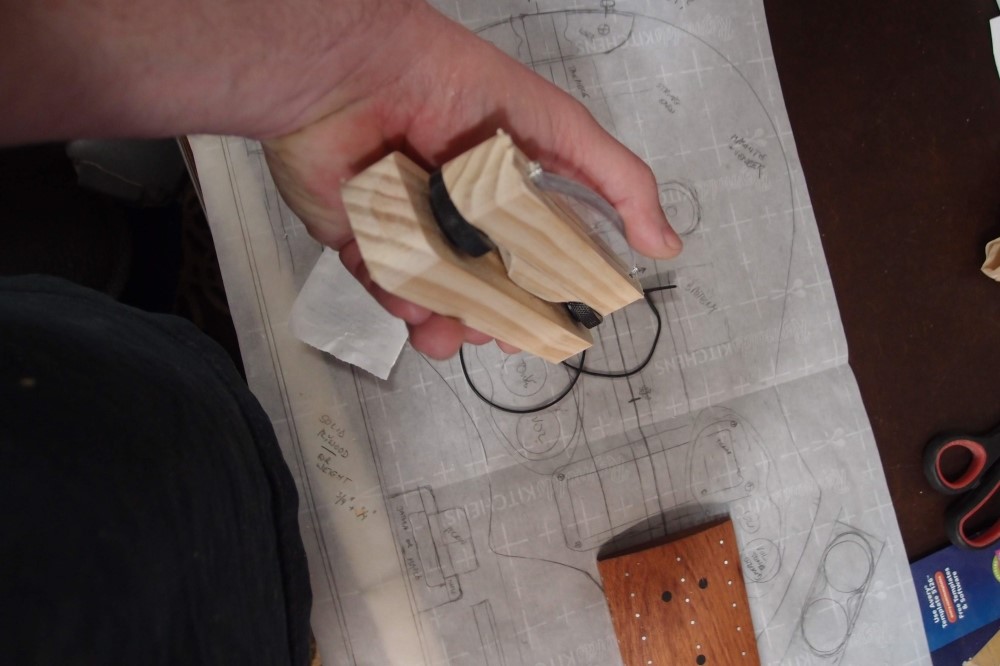
There's a lot that can still be trimmed away from this, but you get the basic idea. This could be constructed from 1x2 maple. You could avoid having to rout the slot by making the upper piece from a sandwich of 1/4" maple; I'll leave that to your imagination. Pine makes prototyping much easier, it practically melts on the belt sander. This Radiata pine is great stuff, I'll bet this prototype would work just fine.
I'm going for a low profile here, but obviously, you could build this any height you want, taller is easier. I think I'll make the string nut from the same material, and secure it to the fingerboard with screws. That should give it a clear tone.
Jan 8, 2019
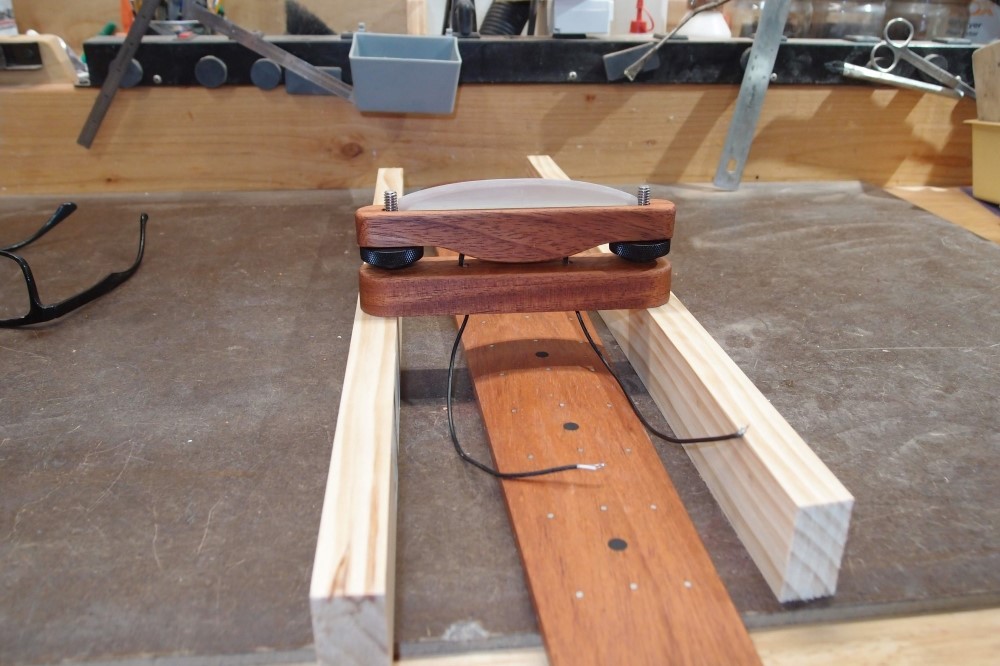
This is the finished bridge, made from the same wood as the fingerboard. It has over half an inch of adjustment, this is at the lowest setting. To go higher, all I need is longer bolts. The piezos are under the saddle, the best place for them, and the wires go straight down.
I scuffed up the saddle, ironically, to hide the scratches. The centerline on it is from its previous life, but it works fine here. You could use almost anything for the saddle, as long as it is hard enough.
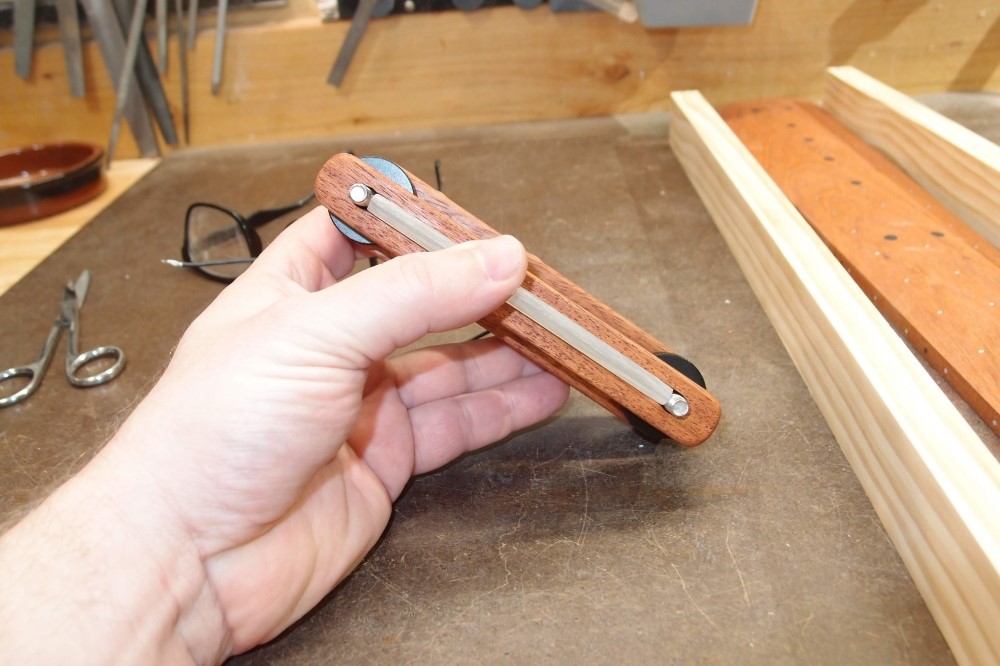
It is sized tight around the wheels. A coat of Tung oil and it looks nice. The base is 3/4" thick, the top is 3/4" wide, the slot is about 1/4" wide. The unsupported width between the wheels is about 3-1/2". The string spread will be about 4".
To keep things simple and as compact as possible, the bolts secure the ends of the saddle.
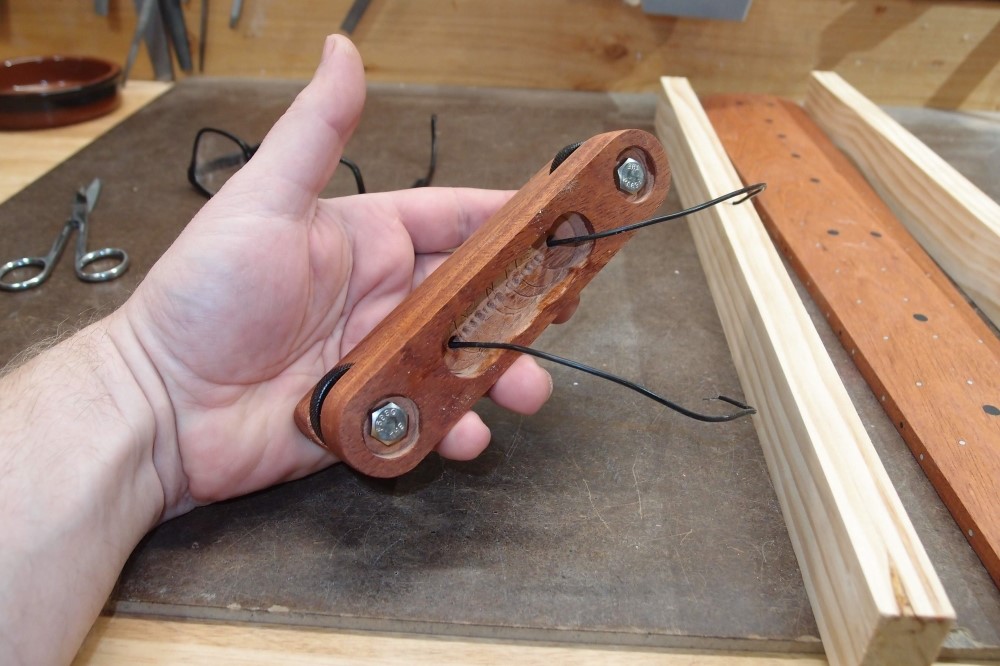
The bolts are threaded into the base so they don't turn, and also for SUSTAIN !!! The bolt heads are recessed so they will not touch the body.
The height of the base is not wasted - the piezo wires go into a large cavity that will line up over a small hole in the body, so nothing will show. This is made for a flat top, but could be modified for an arched top.
This project is going on hold now until I get the endpin. Then I can size up the body; I want the pin to retract inside. I need to order some spare piezos, I'm sure one of these will go south before all is done. I just found out these are violin piezos. I also ordered another set of these wheels for the parts box. They work much better than tiny guitar adjusters.


