July 23, 2020
Bindings Again, and etc
July 23, 2020
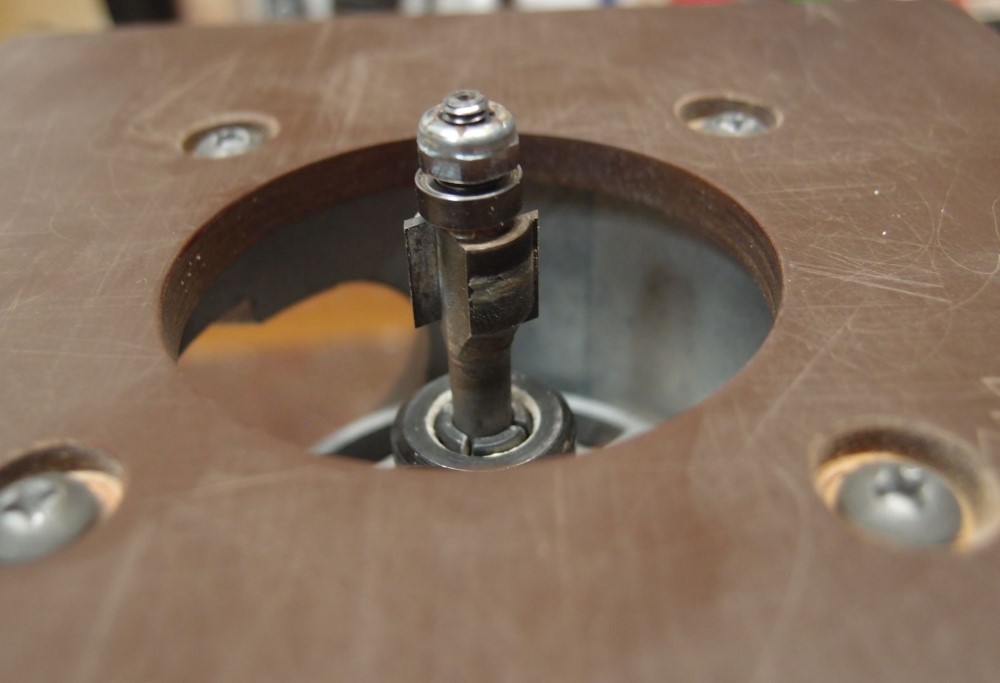
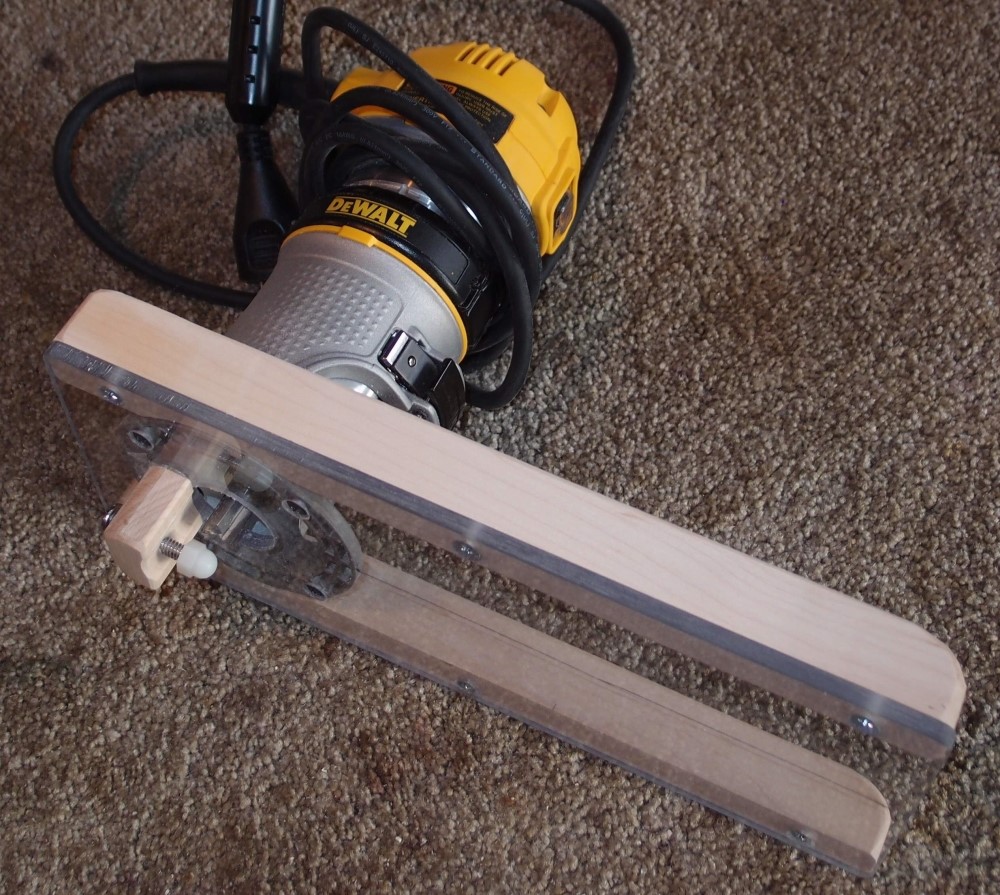
The 1/2" flush-cut router bit came today. I mic'ed it, and it is just a few thousandths shy of 12.7mm. I put my old 3/8" / 9.5mm bearing on it, with a spacer I made from a tiny washer, and did a test cut. Then I swapped the bearing for 10mm and did another. These Yonico bits are nice because they color-coordinate with DeWalt tools !

Then I took some scrap 1.5mm binding and glued it in, one piece with expensive StewMac binding cement, the other with cheap Duco cement that you can get anywhere. Both adhesives do the job, I actually prefer the Duco, it is less messy, the StewMac runs and drips all over. Duco is probably exactly the same as Testors model cement that you can get in any hobby shop.
When it was all dry, I tested it with my calibrated fingernail. The 9.5mm setup cut a bit too deep. The 10mm setup cut flush or maybe just a tiny bit proud. Either one would sand-up to perfect easily, one needing a bit of sanding to the wood, the other a tiny bit of sanding to the binding. I actually prefer the 10mm result, so I ordered a few spare bearings that size. Note that I got the opposite result with the old router bit, which is a little worn, or perhaps just not quite in tolerance.

Above are some sanding blocks. I just added 1/8" neoprene padding material to the two curved ones. The material is from a mousepad, attached with contact cement, which really stunk up the workshop and forced me to air it out on a day that you really wouldn't want to do that. But toluene is nasty stuff, you need to get it out.
The old flat blocks have been invaluable. The curved ones are also very useful. One is a 6" arc that I traced off a 12" frying pan or something. The other is a free-hand airfoil shape. Both are going to get used on the new Ric body.
Oh man, that cement still stinks, all of it. But I'm doing the science for all of you out there, and StewMac. They could sell that router bit for fifty bucks, and the sanding blocks for $20 each.
