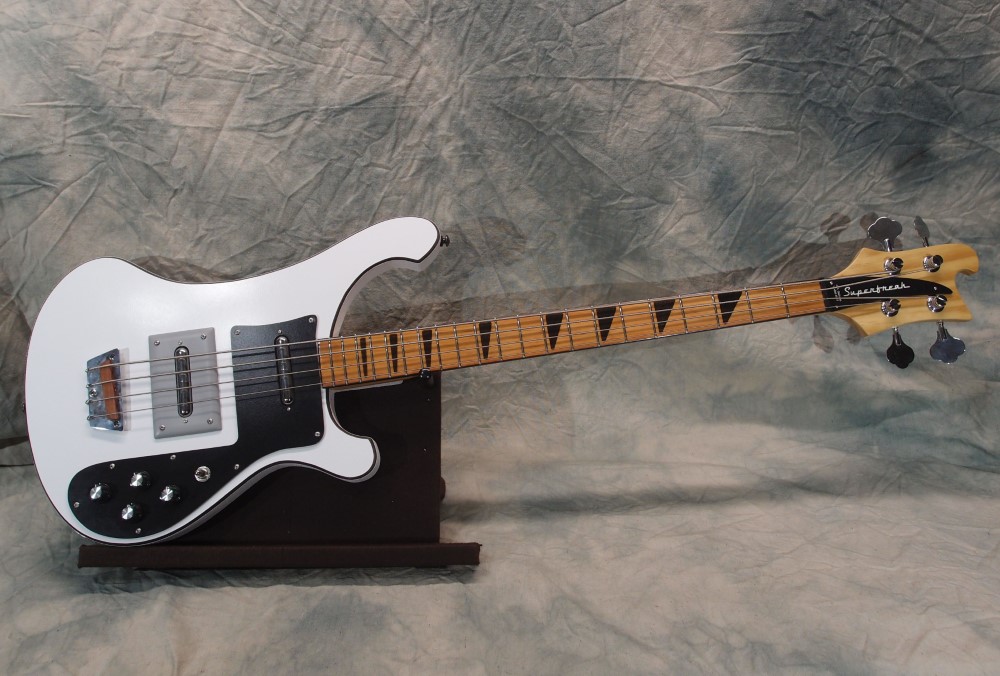
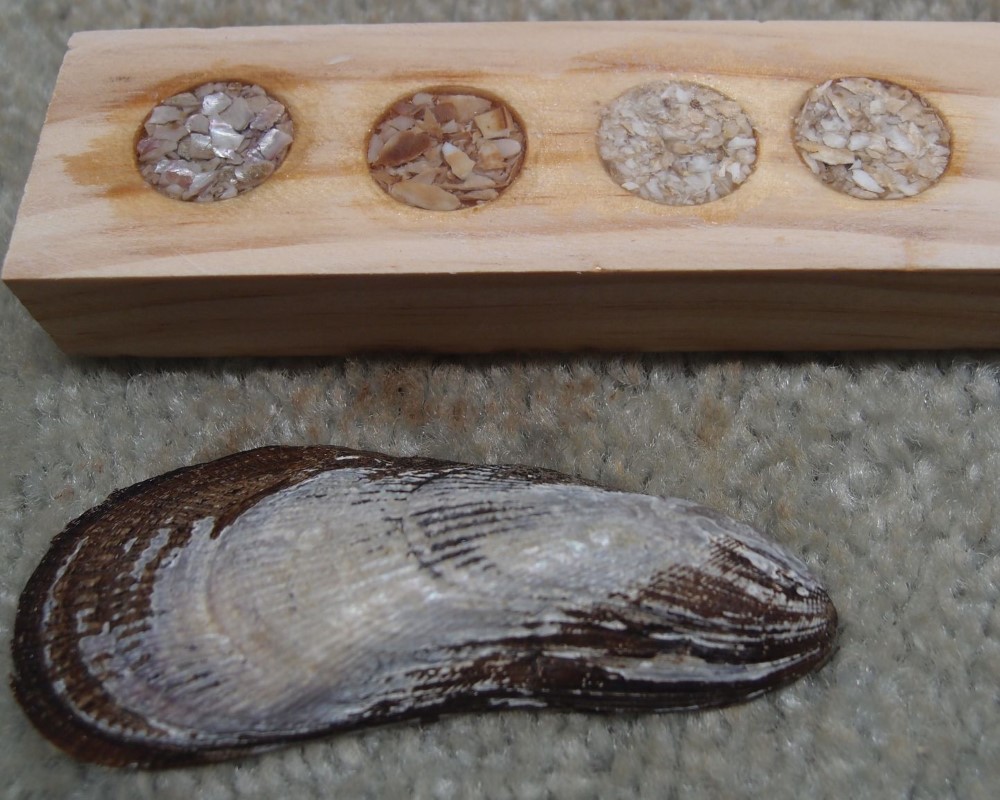
Rickenbacker 325 Bass 2 (4/8)
Nov 5, 2018

The same old story ... Forstner bits - template - router. I moved the neck in for better balance. It still amazes me how easy it is to hand-hold even a large Forstner bit. Note how I have four bearings stacked on a 1/2" tall bit in the router. This setup works well, you can route a pretty deep cavity without the collet hitting the template. The bearings are tight between the bit and the collet, which makes it stable.
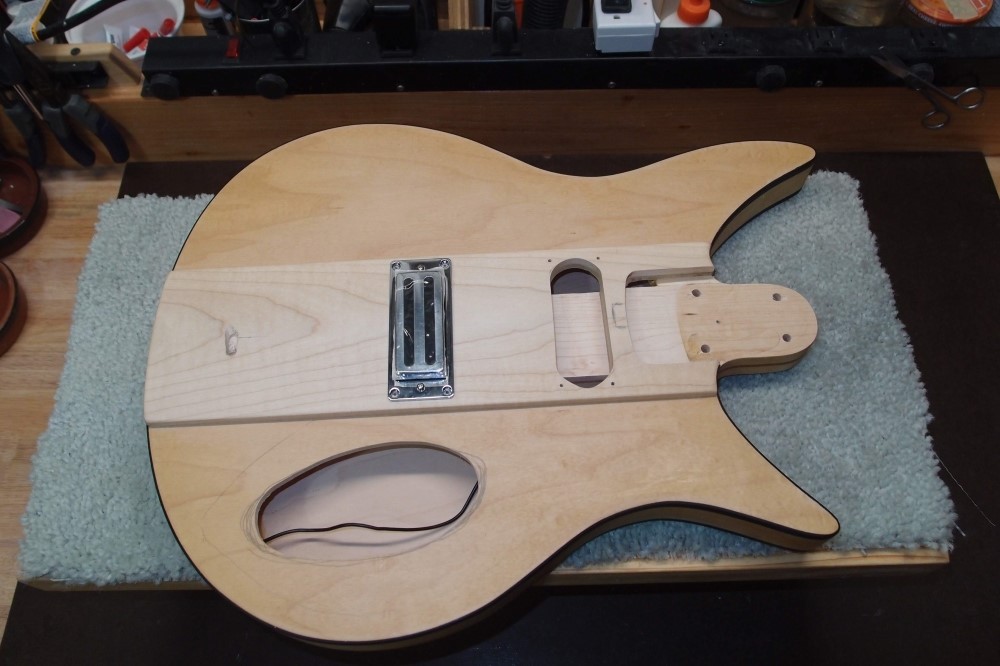
Both pickups, neck mounting, control opening, ground hole - the same old drill.
This body is 1/4" maple plywood over a 1" white pine frame, with a maple core from the neck to the bridge block for strength. The neck will bolt to the maple, I don't trust the pine for that. This was a construction I played around with before I found the Radiata material. The result of this is rather thin and extremely light. I doubt I will ever do any more of these, but I'll finish these two.
That's most of the gross wood removal. Empty weight is a very light 3 pounds.
The raised top piece makes it like a Thunderbird or something. The pickup is a cheap toaster-style humbucker. The locations are as close to the Ric as I can make them with the extra-frets neck. The nice thing about a hollow-body like this is the wire routing is very easy, although you have to build the pickguard in-place.

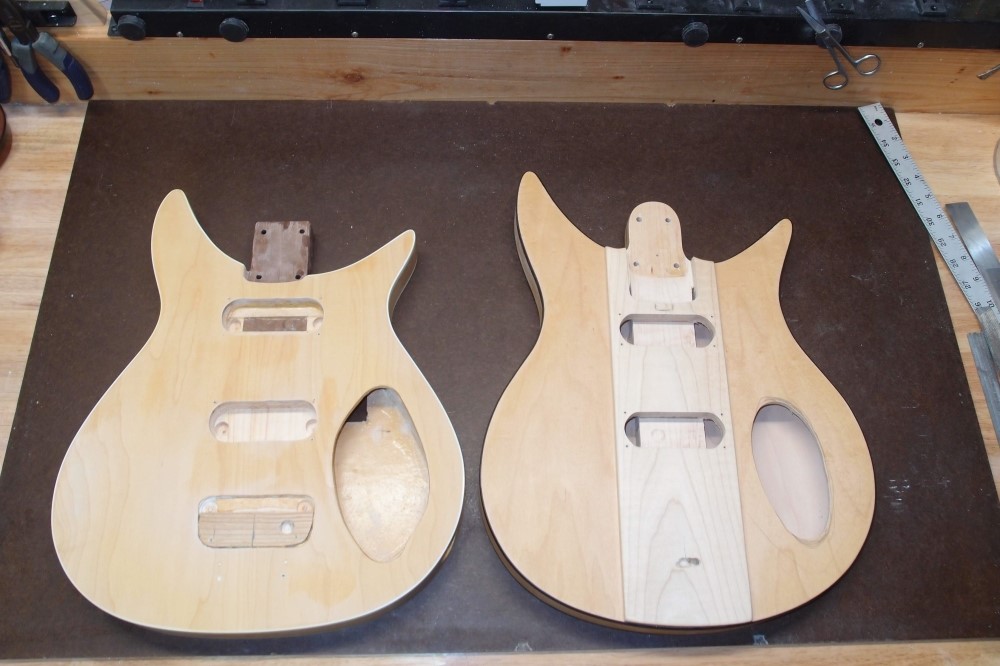
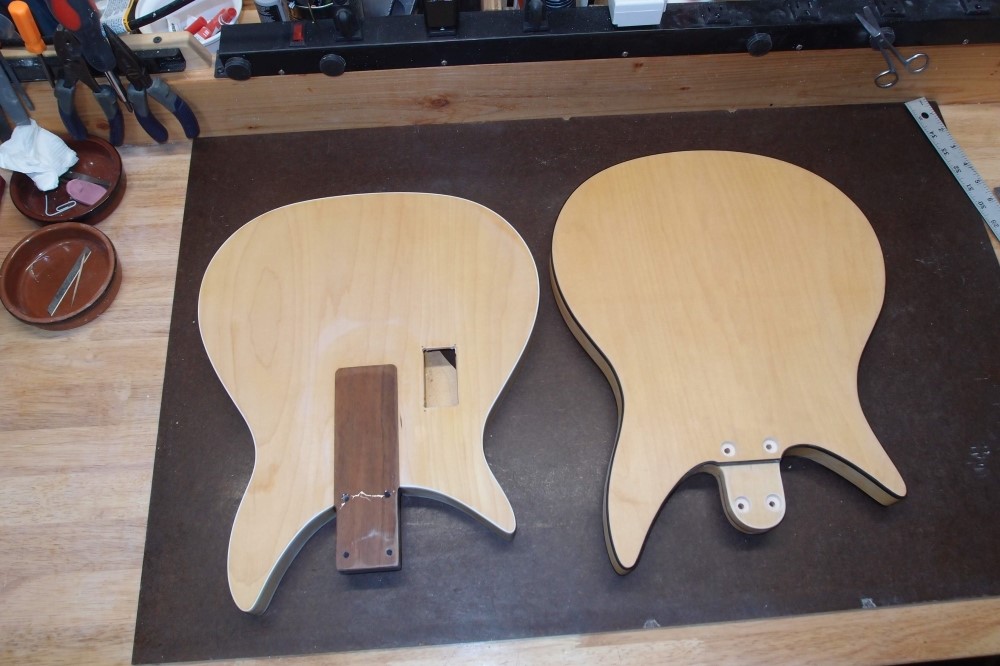
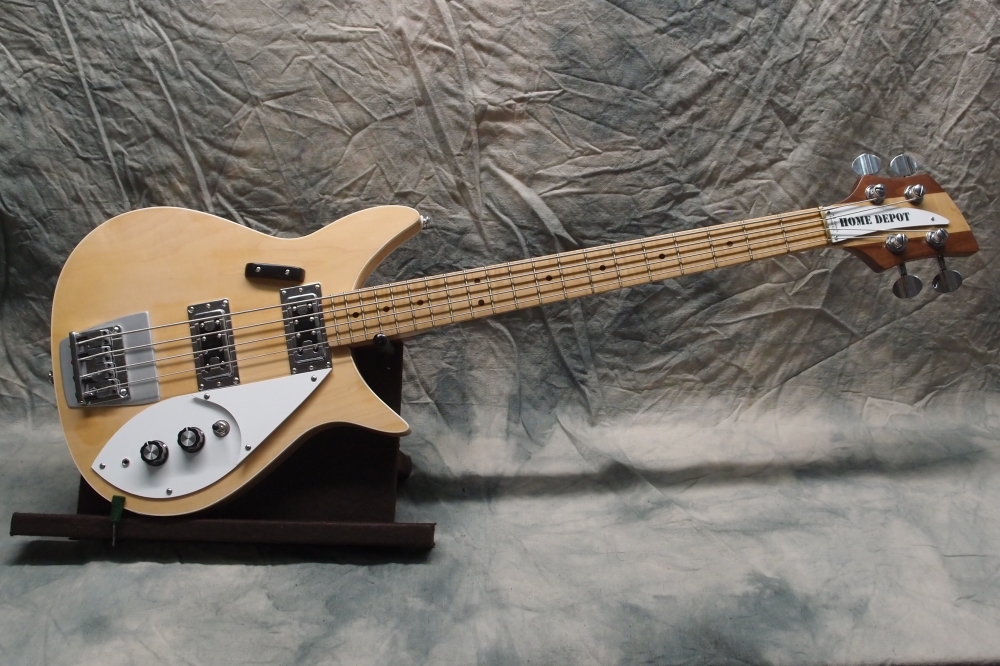
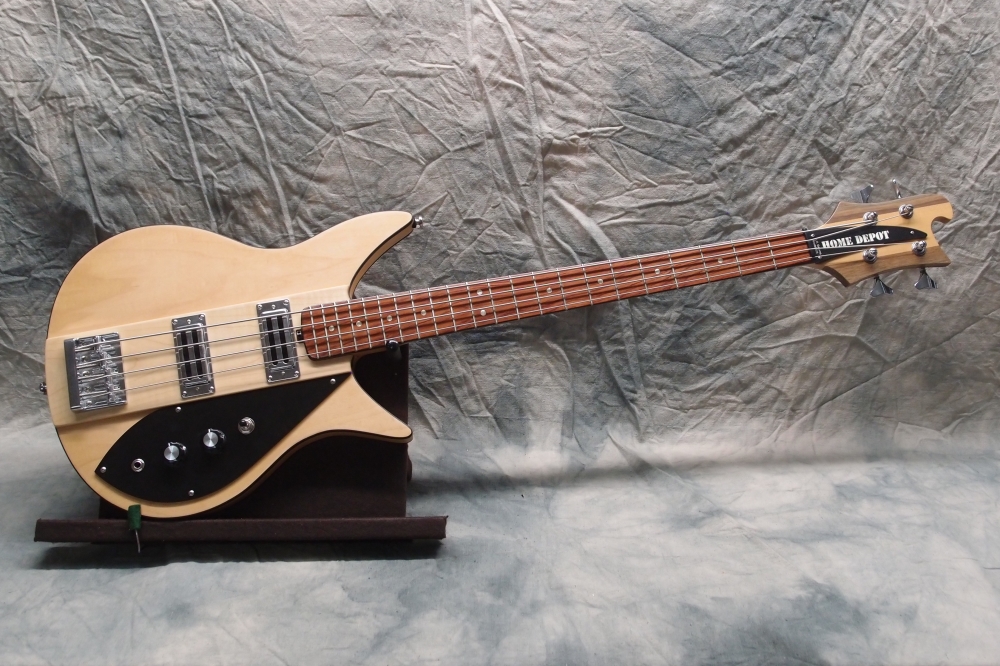
Here are the two of them together. The one on the left was an experimental neck mounting that I didn't like. I converted it to a standard bolt-on with a piece of walnut, and it will get a 30" neck. The one on the right will get a new 32" neck.
Nov 6, 2018
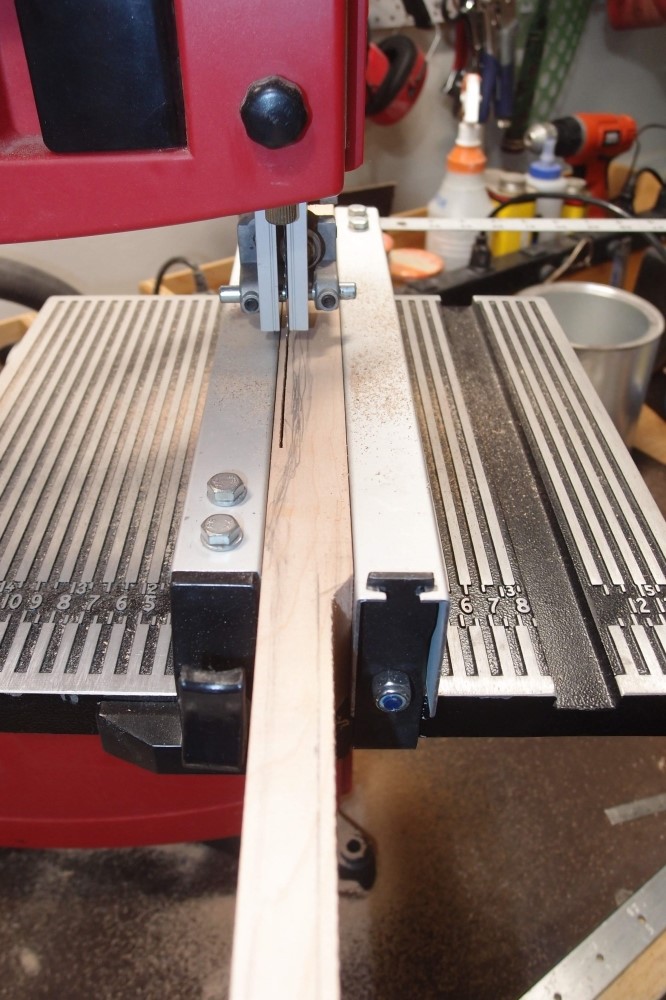
Working on the neck now. This is a piece of "luthiery" maple I bought a long time ago and never used. It is actually not as nice as what you can get from Home Depot for much less coin. It is, however, one inch thick, which is actually a problem. A Fender heel is 3/4". So I sawed away a section along one side on the bandsaw, using two fences, one on each side. This is at the limit of what this saw will do, but if you take your time, you can get through it. The cut came out much more even than I was expecting, usually, the blade goes a little crooked. I already sawed the face of the headstock the same way, but on the other side, making use of the extra thickness of the piece. This will give a good break-over angle for the strings, so it shouldn't need hold-downs.

I have the basic outline cut, and the truss rod slot that I started months ago is finally finished. Now gluing on the headstock wings, from walnut scrap. All the mating edges were carefully block-sanded straight, clamping should close up any tiny gaps, and the contrasting color of the woods turns the joint into a decoration. The walnut overhangs the maple on both sides, so I can sand it flush for a perfect joint, I hope! Made a bucketful of sawdust, the little ShopVac under the bench earned his keep today.
I've settled on a very plain maple fretboard that is already radiused. This is in keeping with this being a hardware store build. With black dots and black binding, it should look sharp. I don't remember what I paid for the neck blank, it was so long ago it doesn't matter. The only parts I got special for this build are the pickups, and those are not expensive. The bridge is a leftover from something else, and the rest is from the parts box. I'll probably do a painted masonite pickguard rather than burn a good piece of plastic unless I find something in the scrap pile.
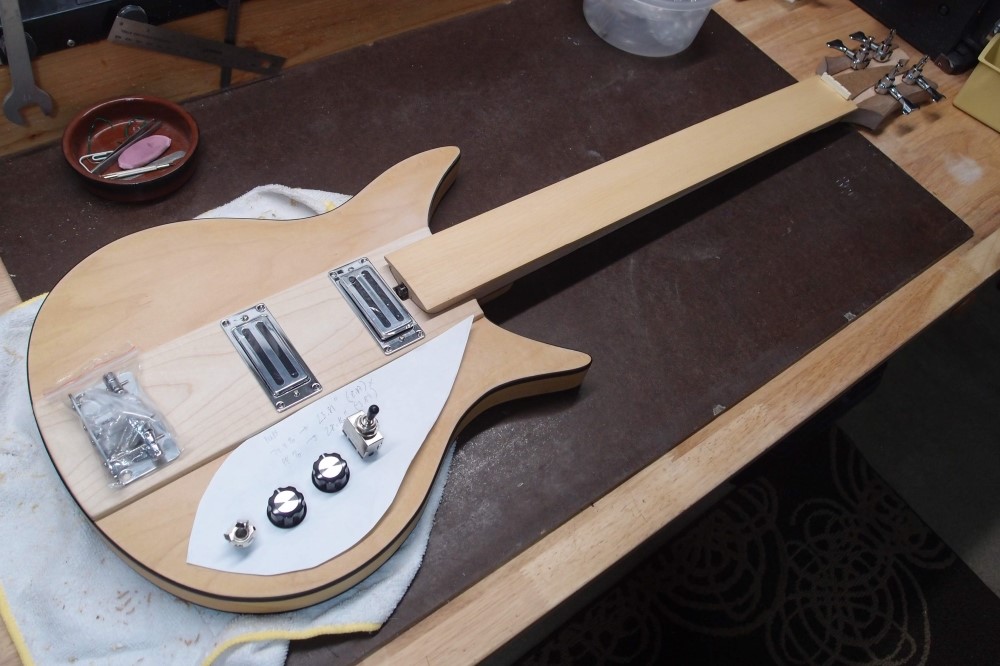
This is beginning to look like something. The "loothery" neck blank is definitely not as good as the hardware store variety. I drilled the neck mounting holes, and the screws drove in like it was pine. I was young and foolish when I bought it.


