Rickenbacker 325 Bass 2 (6/8)
Nov 8, 2018
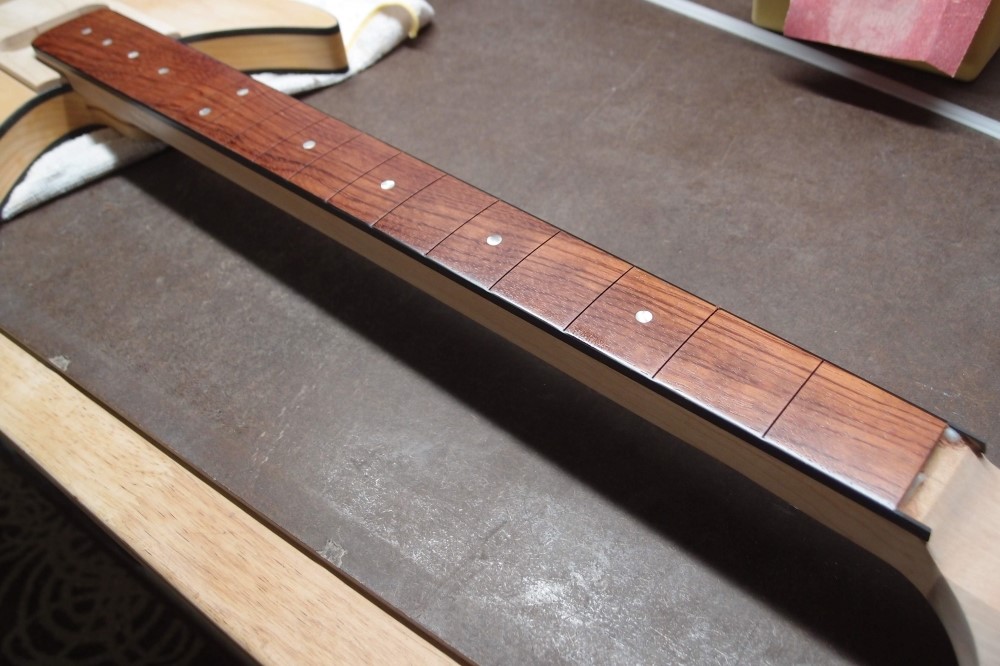
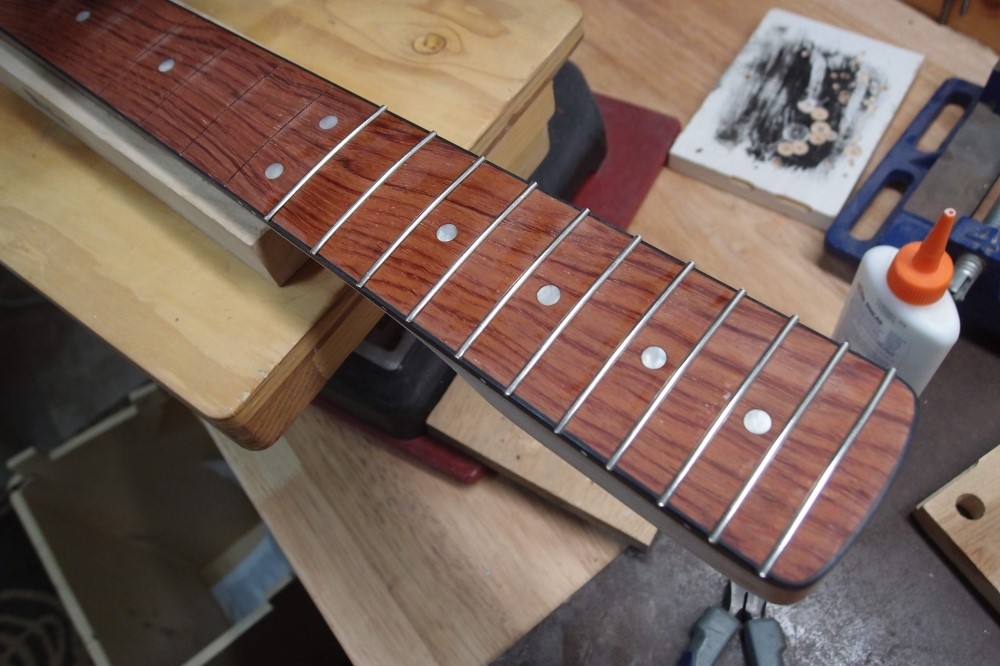
The neck is looking good - black binding, pearl dots, aluminum side markers, and a generous coat of poly on the fretboard. I looked for a video on how to install binding on the YouTube, but I couldn't find one I like. The standard way seems to be to bind the fretboard first, with the binding flush with the bottom and then glue it on the neck. I glue the fretboard on first and then do the binding the same way you would do a body. After the dots and the binding are on, I sanded everything flush with a radius block.
My way gives a nice even height of binding all around, and more of it. Also, I can build a neck, and then, like the Factor, decide it needs something, and add binding, or cover up a mistake with it. Binding the fretboard first might make sense at the factory, but not to me at home.
I also don't like to install frets in a bare fretboard, the thin wood can curl up. I do the frets last, Fender-style, over the top of the binding, rather than Gibson-style, inside the binding.
Considering that I never liked either of these pieces of wood, gluing them together is giving a pretty nice result. I need to work out what to do about the nut.
Nov 9, 2018
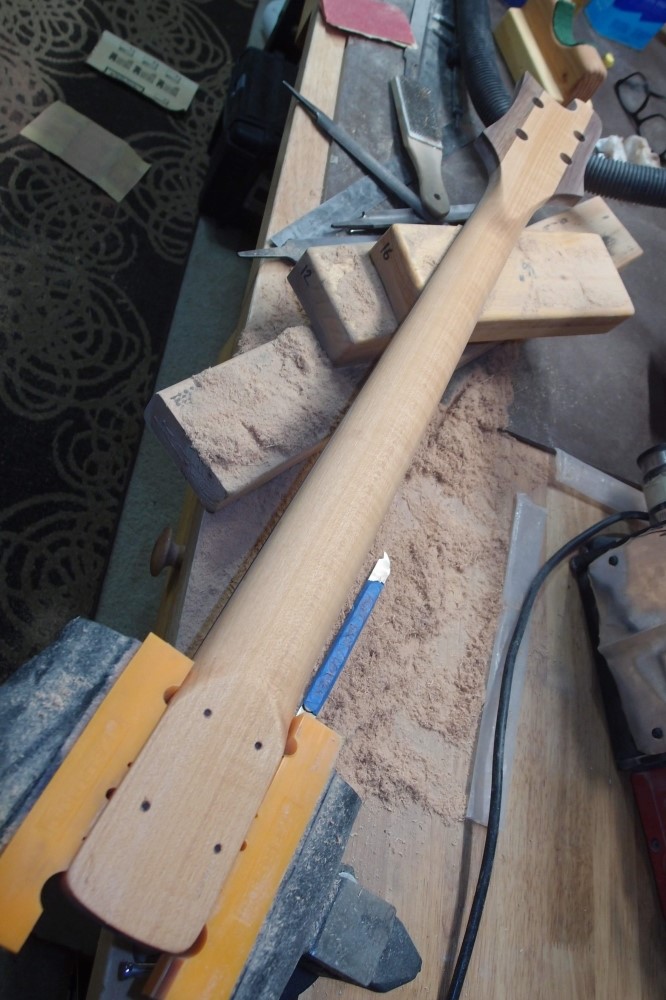
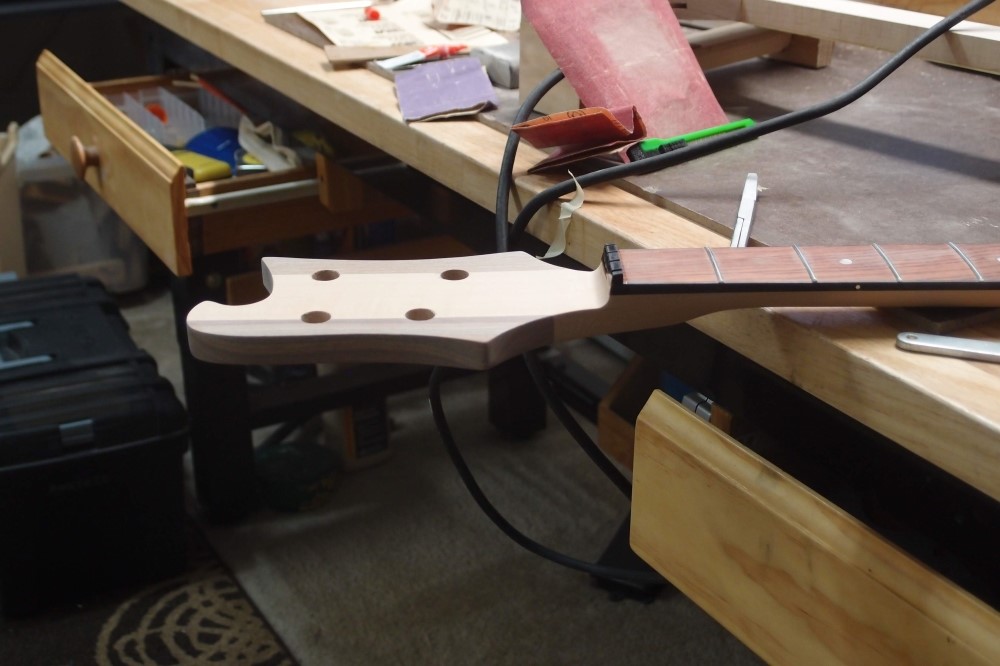
Decided to do the neck differently. Instead of using the belt sander, I shaped the back with files, after removing the corners with the band saw. It worked well but took quite a while, and my hands are raw. This method would work very well with a better tool, which I think I will pick up from Home Depot Luthier Supplies tonight. I made all that sawdust, and a lot more, by hand. The picture is about 90% finished.
This neck is one of my finest, or thinnest. I want to be sure the strings will pull it into a shape that can be fine-tuned with the truss rod. Since it is a single-acting truss rod, if the neck doesn't bow forward on its own, I am screwed. Actually, in that case, I would take some more wood off the back.
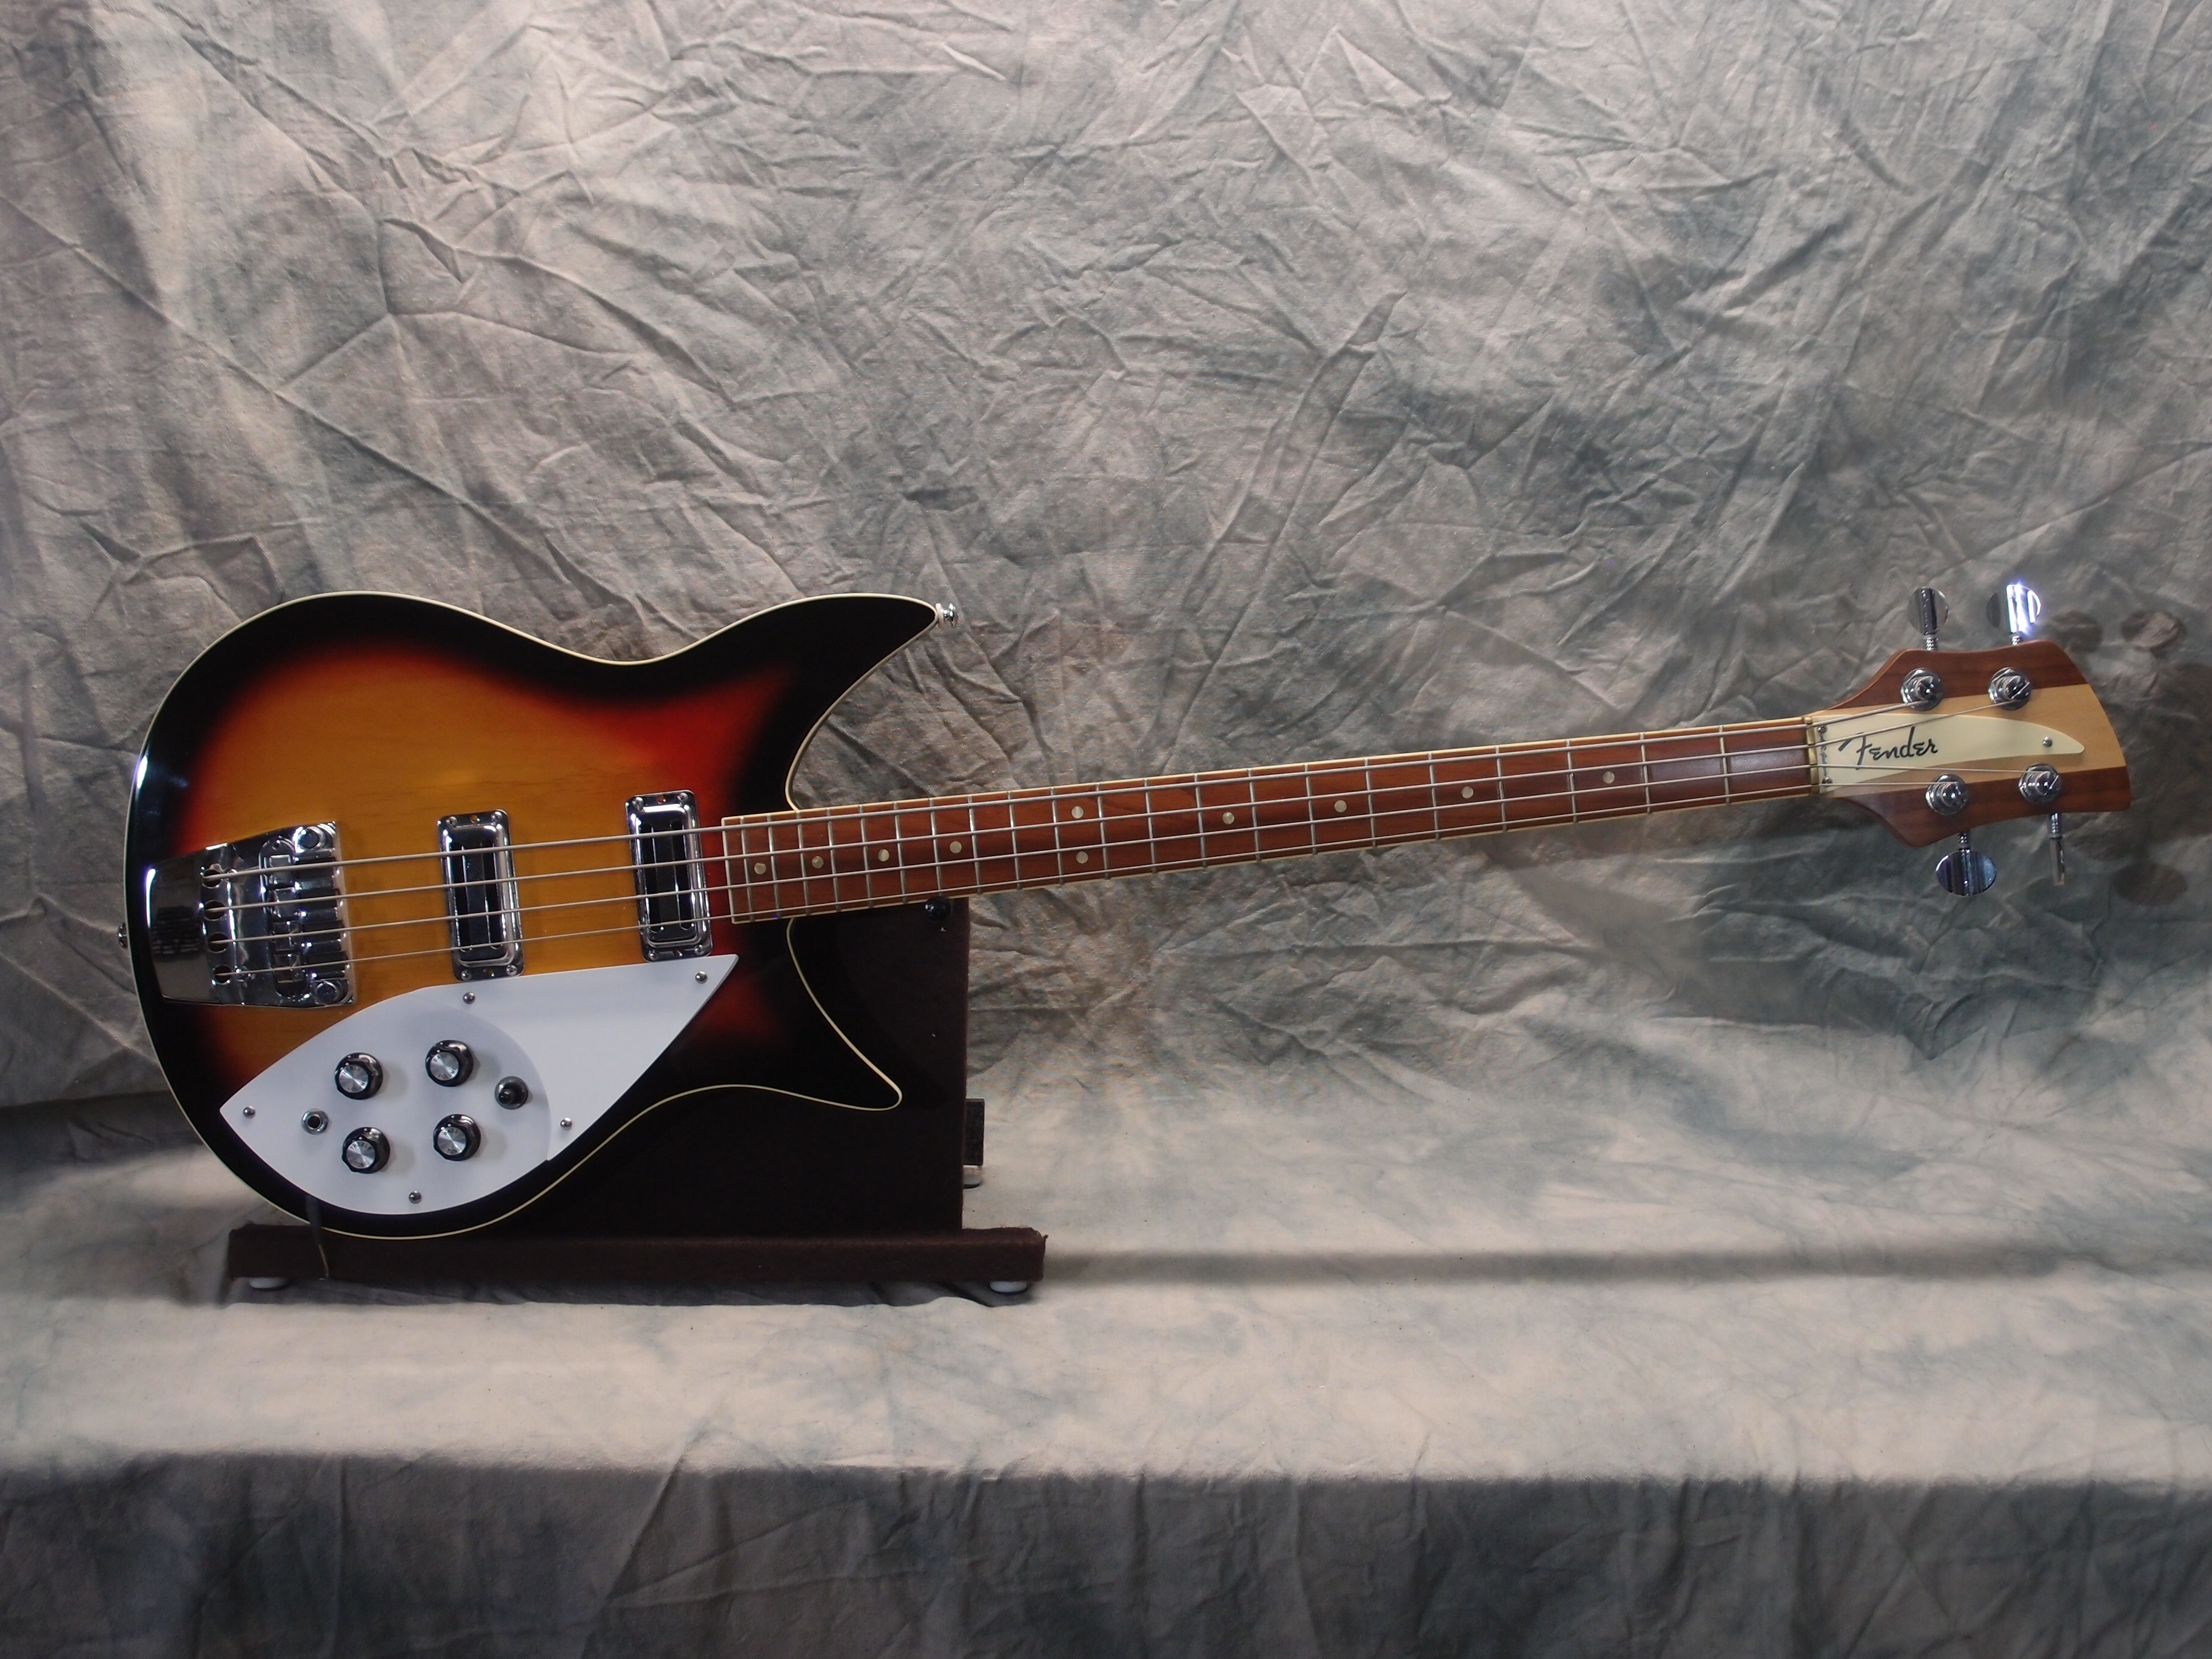
This neck has a very Fender feel, as opposed to my previous 325, which has a narrow thick Ric neck. That bass was a lot of hassle to set up. This one should be simple, if you use Fender specs, everything naturally lines up.
I had one neck like that, for which there was no help. It was something I bought on eBay, a Squire short-scale. I kept sanding the back, but it just wouldn't straighten out, the rosewood fretboard was too strong, and the skunk-stripe truss rod was useless. Finally, I de-fretted it, sanded both sides flat, and turned it into a template. That is why I insist on double-acting truss rods for short-scale basses. This neck is about as long as a regular long-scale, and should be all right.
You can see the large volute I left, as the headstock is almost completely out-of-line with the rest of the neck. I don't build things to break, like some lifestyle companies. The orange vise jaws are very useful, they turn a regular bench vise into a woodworking vise. I have one of those on my other bench and rarely use it.
I mainly used one of those Japanese files. My hands and wrists are really sore.
This is such a pain. Every fret has to be custom made and fitted, you can't just cut a bunch of pieces and whack 'em in. I also spent some time fixing up the tools. The tang nipper and flush cutter were showing their age.
I first tried some yellow brass fret wire, but it is too soft, the nipper bends the ends. Perhaps if I get the flush cutter really flush, I could use that, but I need some new files as well, all of mine are too old to make any impression on tool steel. So I switched to harder nickel fret wire. Only 19 more to go !!!
Doesn't look it, but I'm halfway done, and all the way done. I usually can't stop something in the middle, but I've done enough of this for one day. I quit.
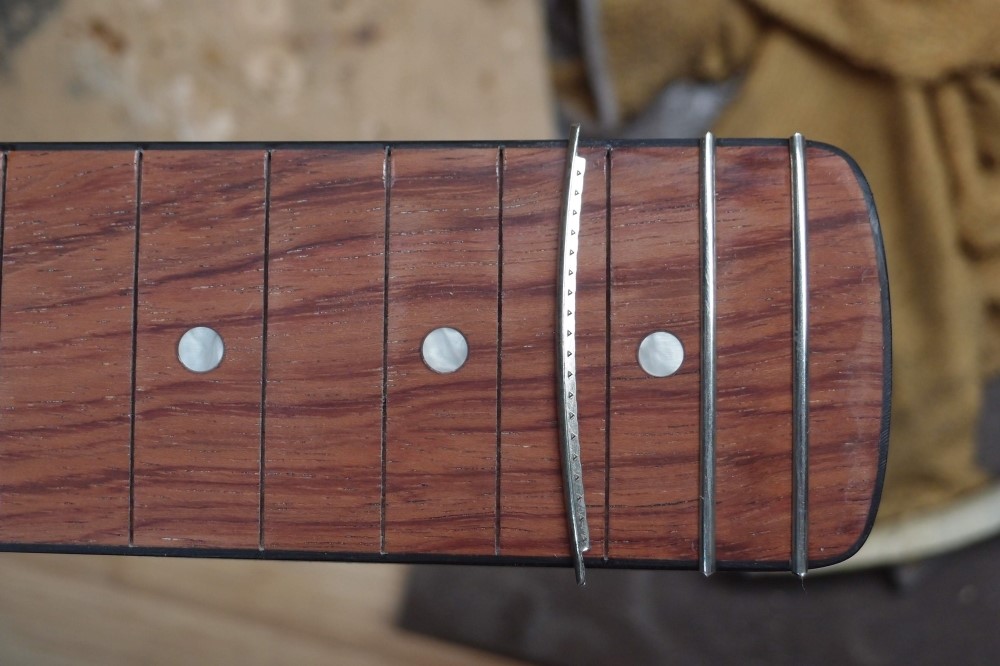
With all the decorative bits - frets, dots, binding - this piece of wood is actually starting to look good. I got two of them, and the other one was so ugly I complained, and they refunded both. I used the real ugly one on a uke bass, where I could cut away the worst of it.
Nov 10, 2018
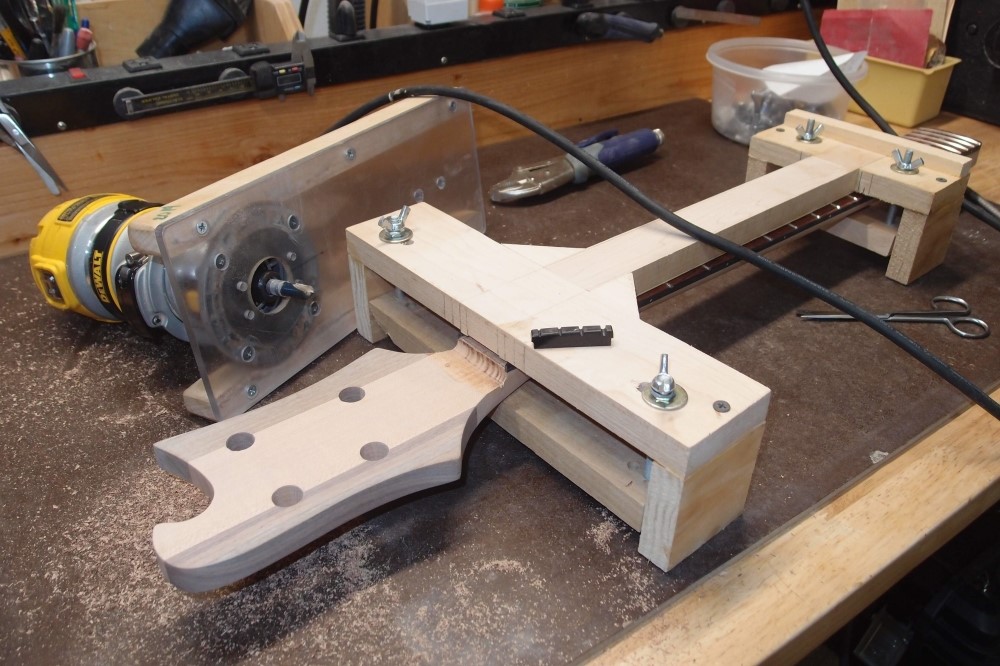
All the frets in and level, now finishing the nut and headstock. My odd-looking jig is for routing nut slots, but I am using it to make the transition to the headstock, using a 3/8" round-bottom bit and bearings. The nut is filed to fit in the binding. The router pulled out a bit of binding, but it merged back in to a seamless repair with a bit of acetone, which dissolves ABS. In fact, the binding cement smells like its main component is acetone.
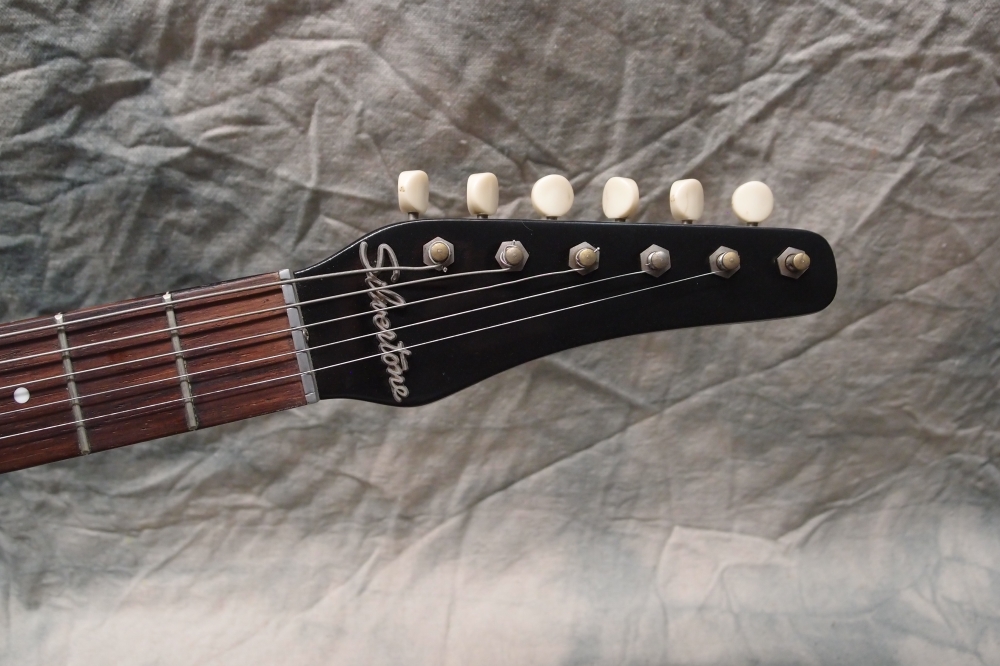
Here is the result, with the nut glued in and the router burns sanded out. The nut is basically one with the binding now. The big RIC TRC will fit pretty close now. This is really nothing like a RIC neck, neither is the other one.
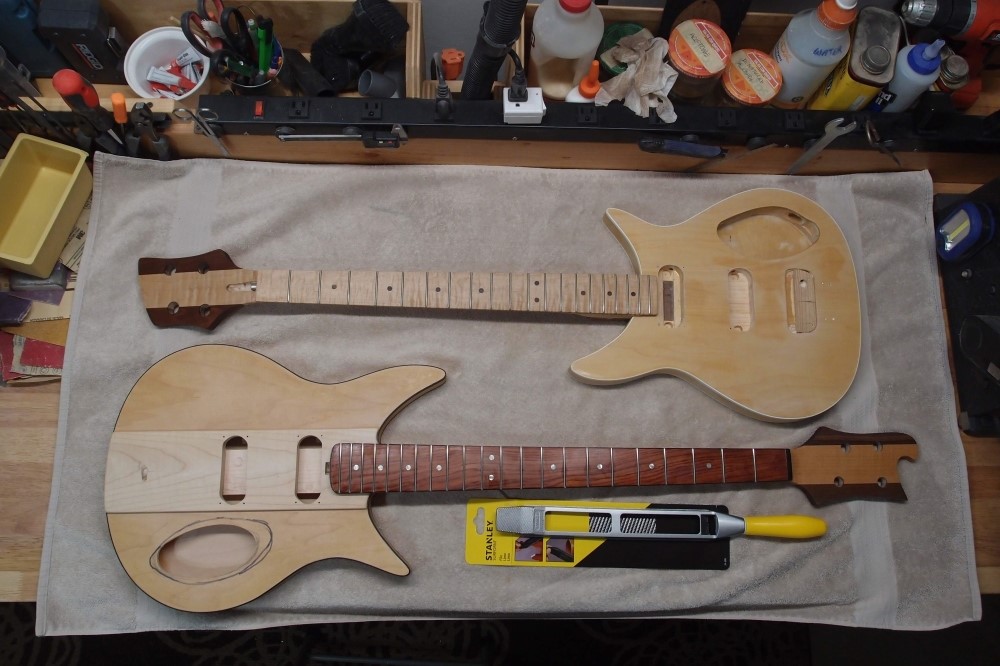
These two builds are coming to synchrony. I want to do all the finishing together. I need to fiddle with the neck mountings, and make up the pickguards.
Also, note the luthiery neck-shaping tool. This should go through the job a lot faster, with a lot less hand strain, and a lot less noise and dust flying around than the belt sander.
Nov 12, 2018
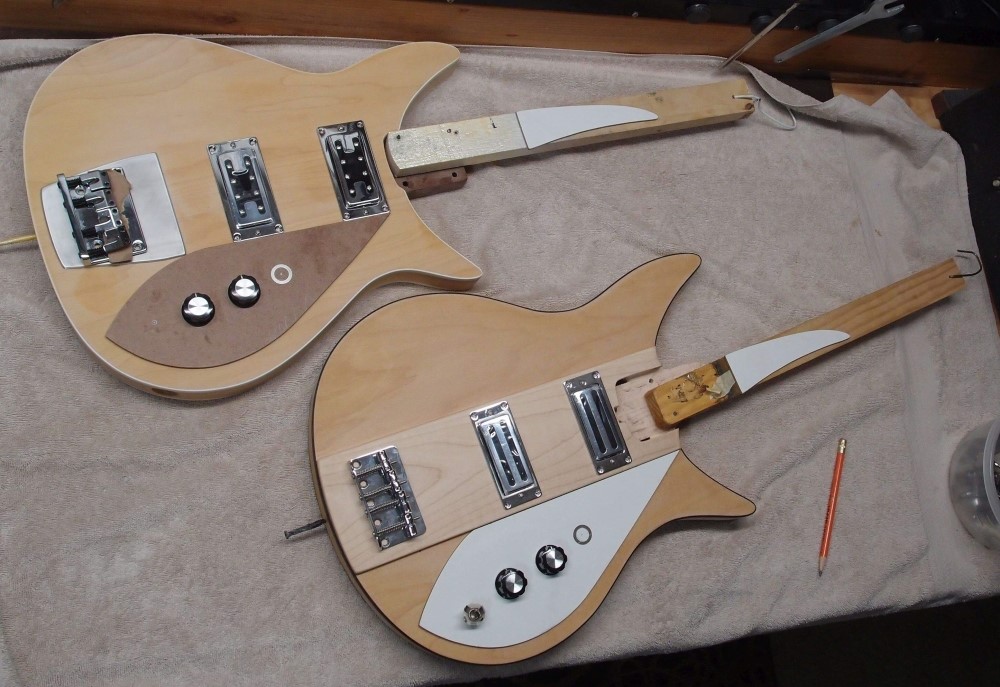
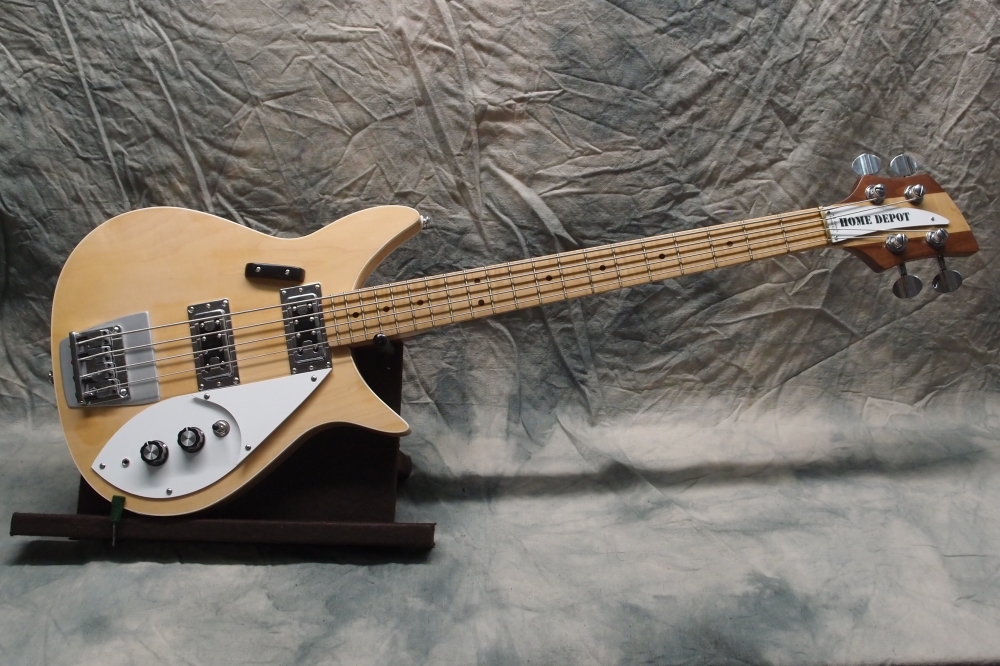
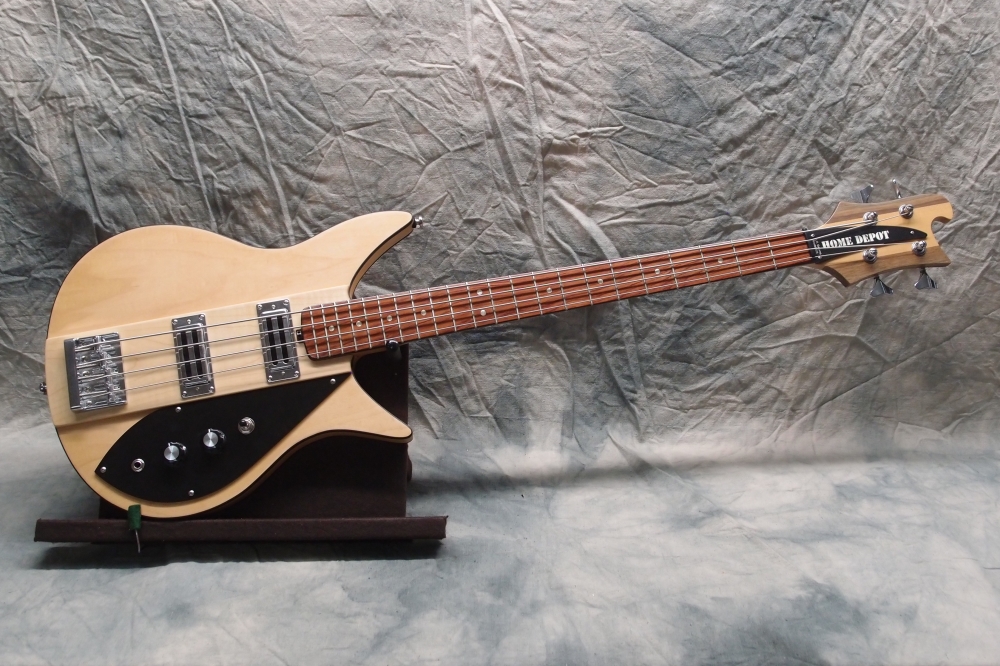
These are in the spray booth now, getting my usual single thick coat of poly. When that dries, they should take an even overall yellow. Pickguards are masonite.
I had to get a new can of poly, the old one had turned to jelly in the last few weeks. It would be interesting to see if it could be liquified again, but since I am spraying it, I am not going to chance clogging up the gun. I did get an idea though - as the level drops in the new can, I will drop clean rocks in to bring it back up. This will keep the air space in the can to a minimum, that is what ruins the stuff.