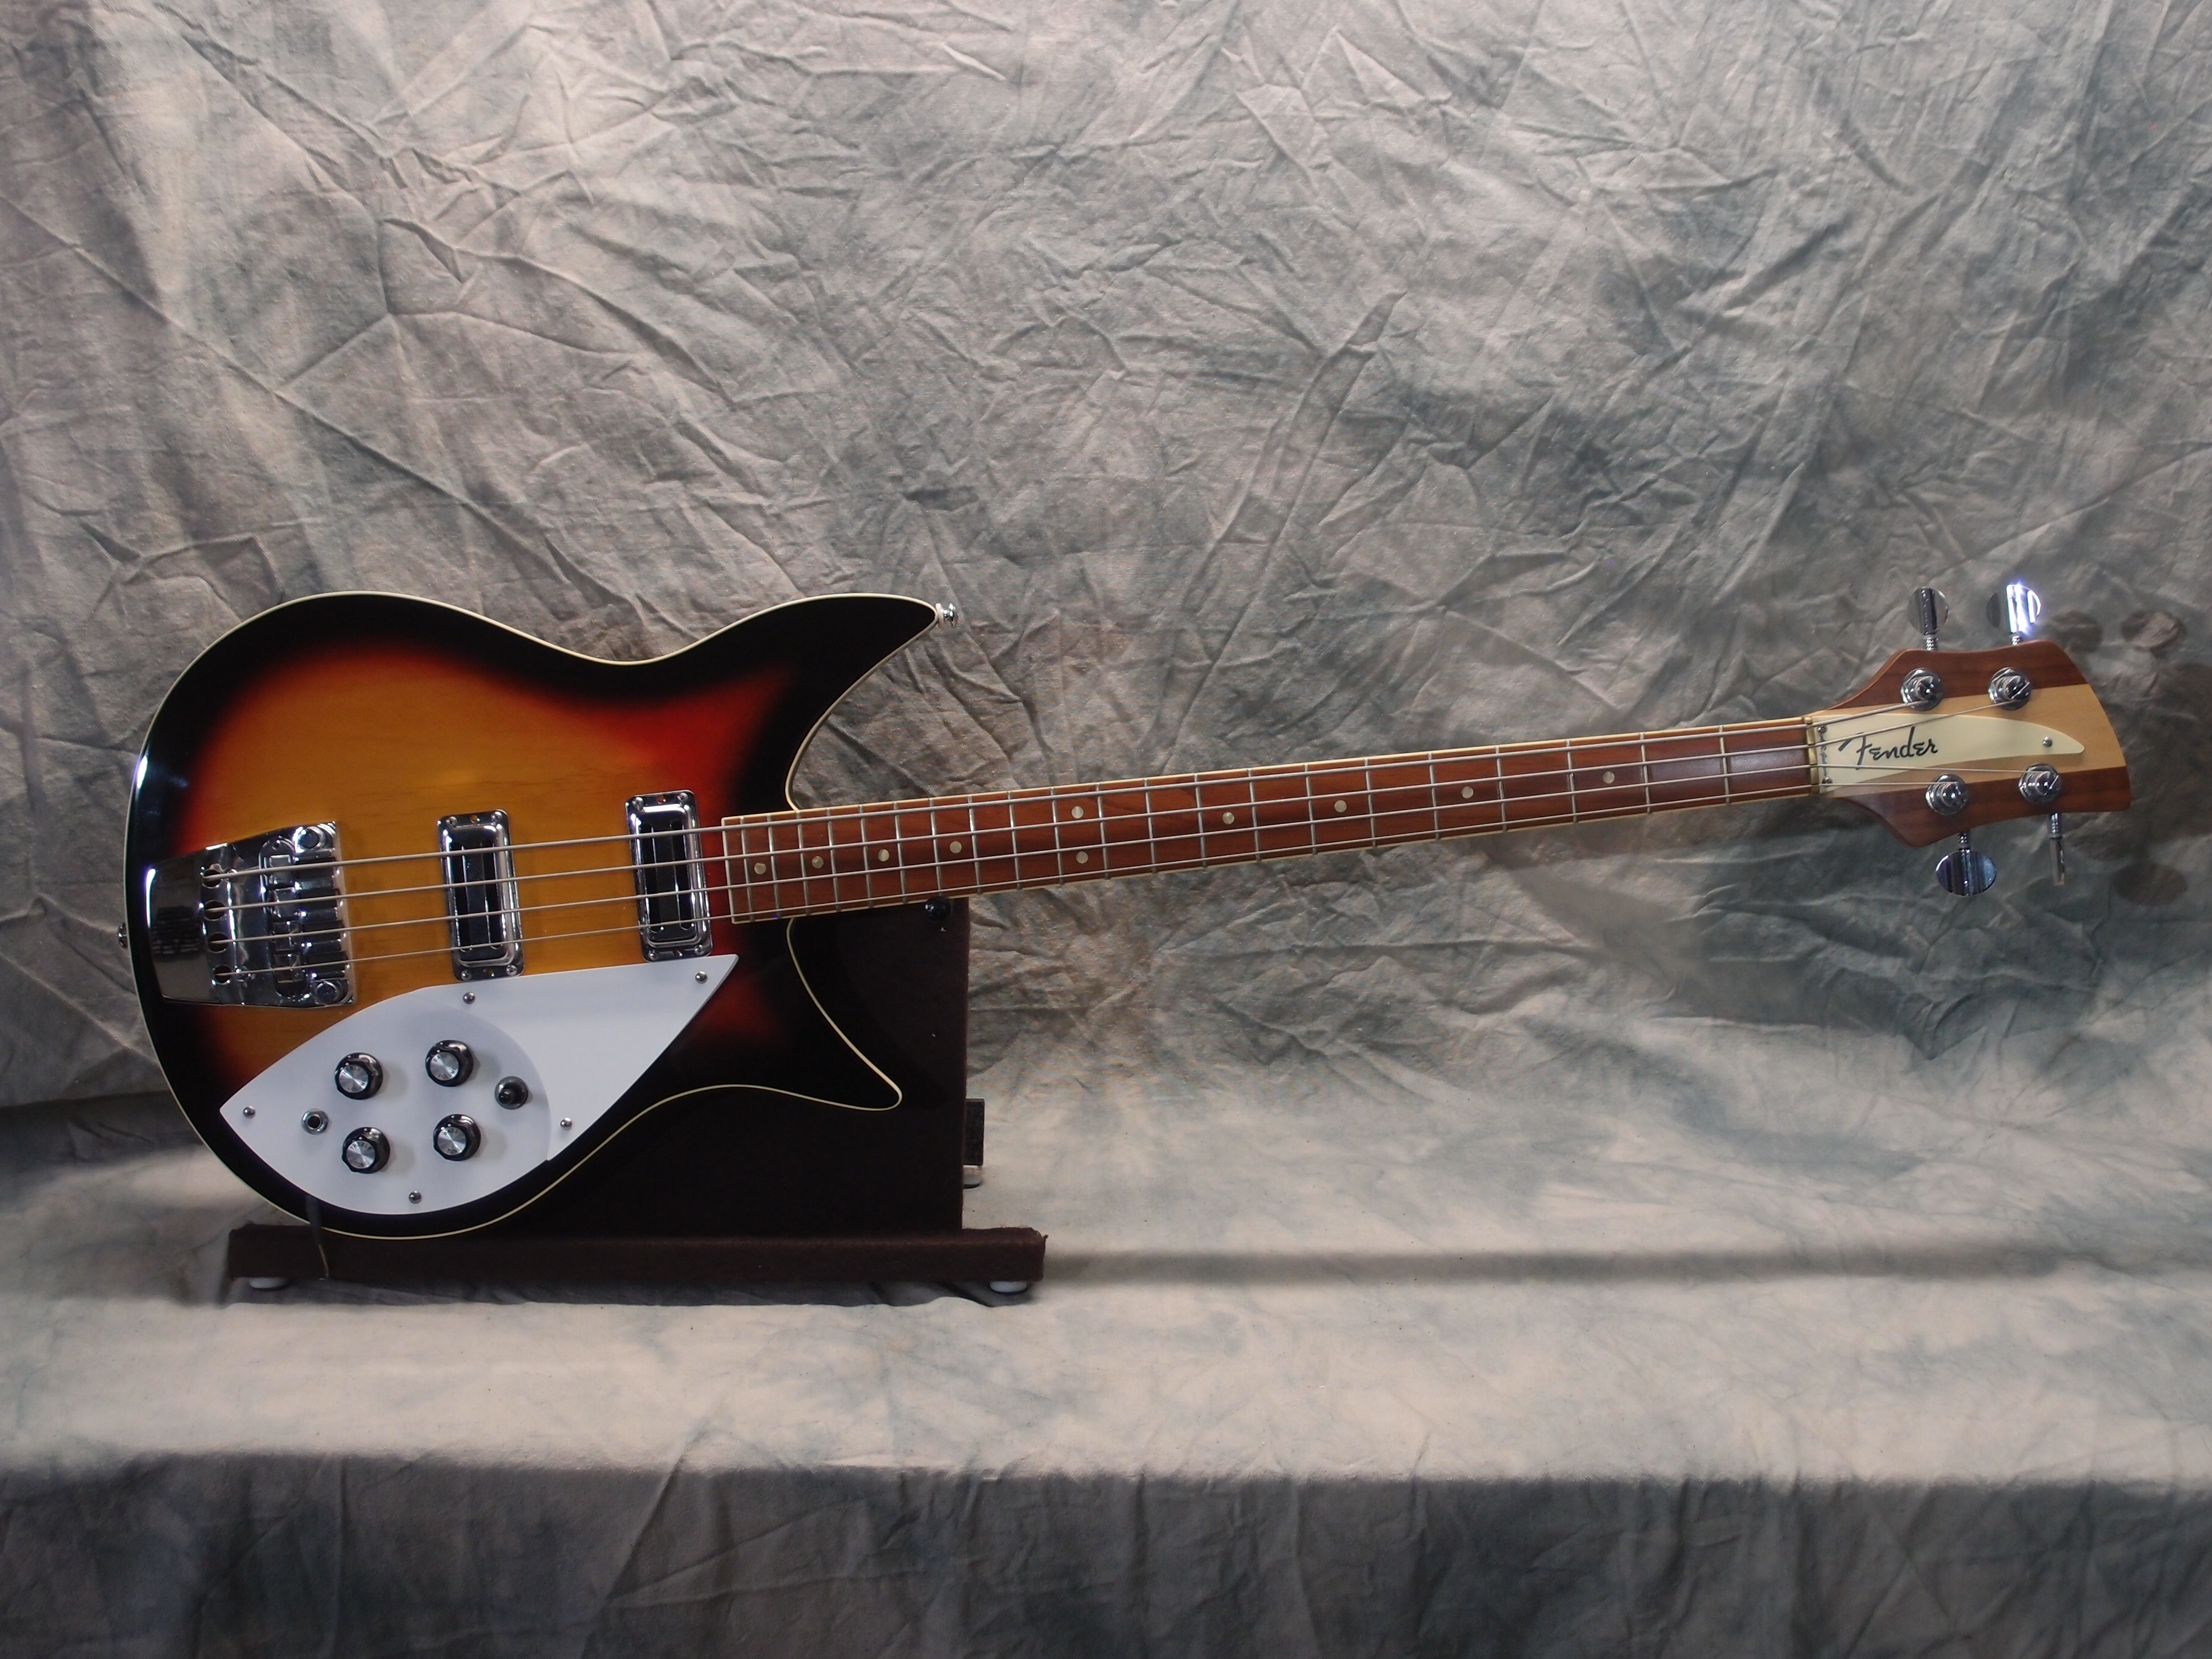
Rickenbacker 325 Bass 2 (7/8)
Nov 14, 2018
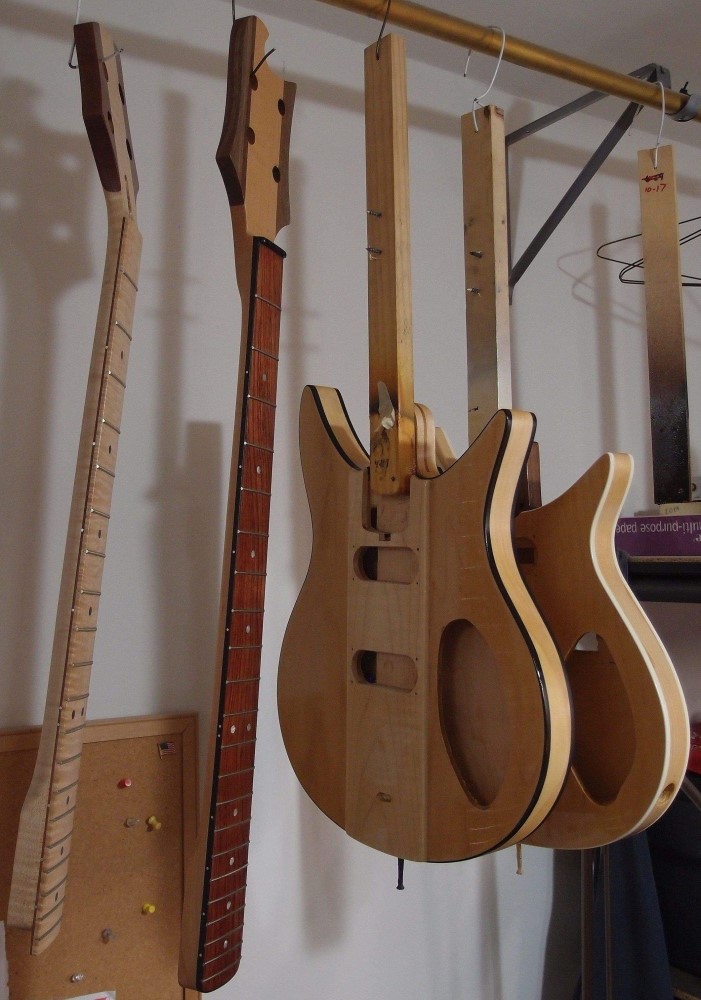
The bodies are shot and hung up to dry, and the necks are shot on the front. When I was done, I added rocks to the poly can until the level was right up to the top, then sealed it up. This minimizes the amount of air in the can that the poly can react with, which should extend its shelf life. I wish I had thought of that before.
Nov 18, 2018
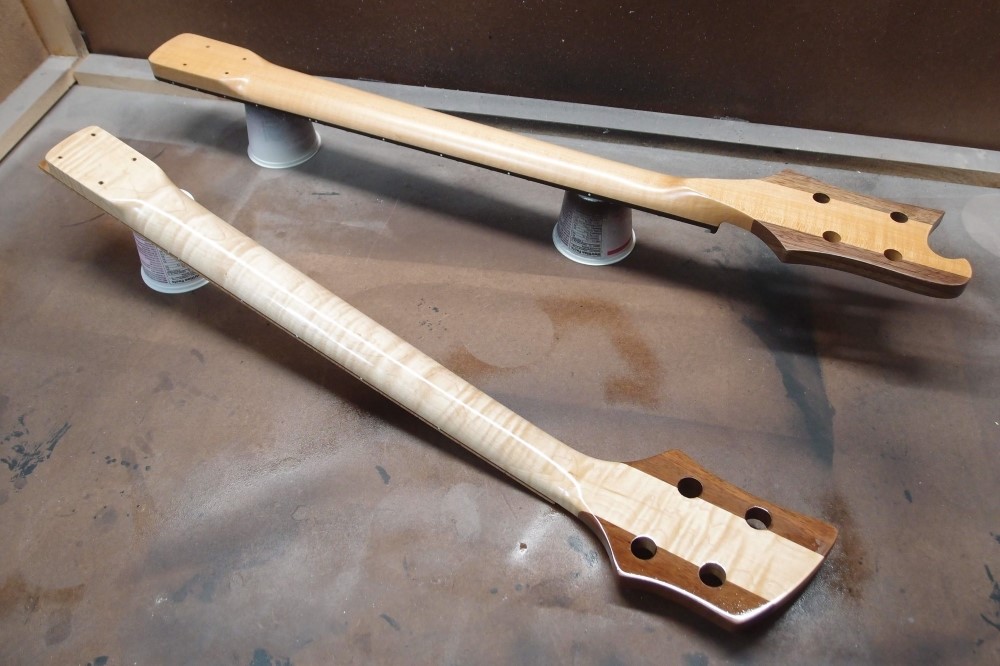
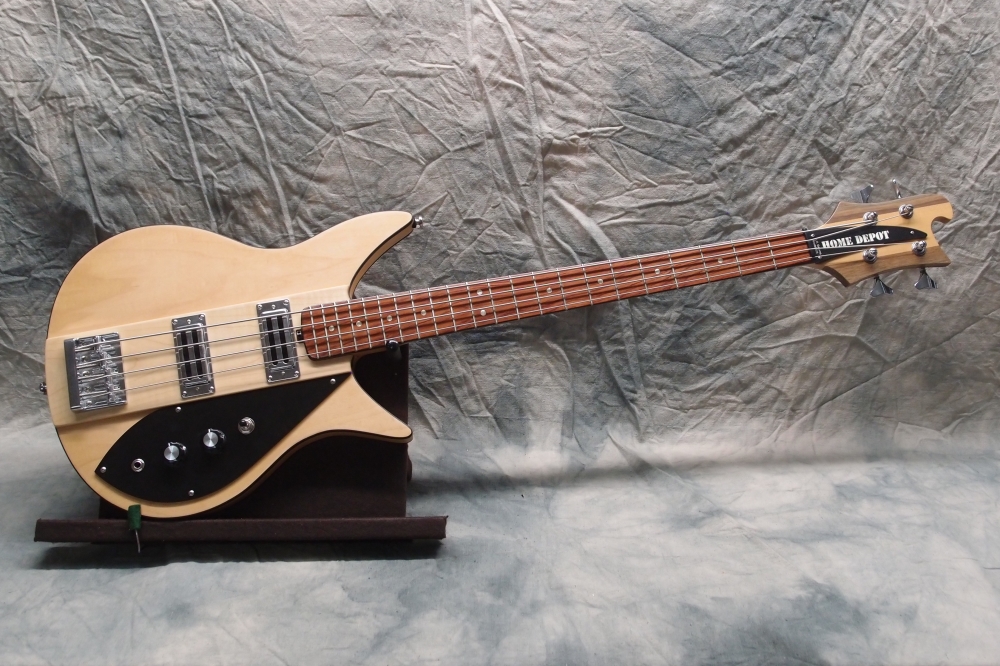
Compare the Home Depot wood in the foreground to the "luthier grade" in the background. You have to pick through the pile and get lucky, but it can really be worth the effort. As far as suitability for a guitar neck, I've built quite a few now, and never had a problem. The maple on the east coast is extremely good stuff. I think the 'luthier' wood in the other neck is some inferior western species, I've never seen maple like it around here.
Dec 15, 2018
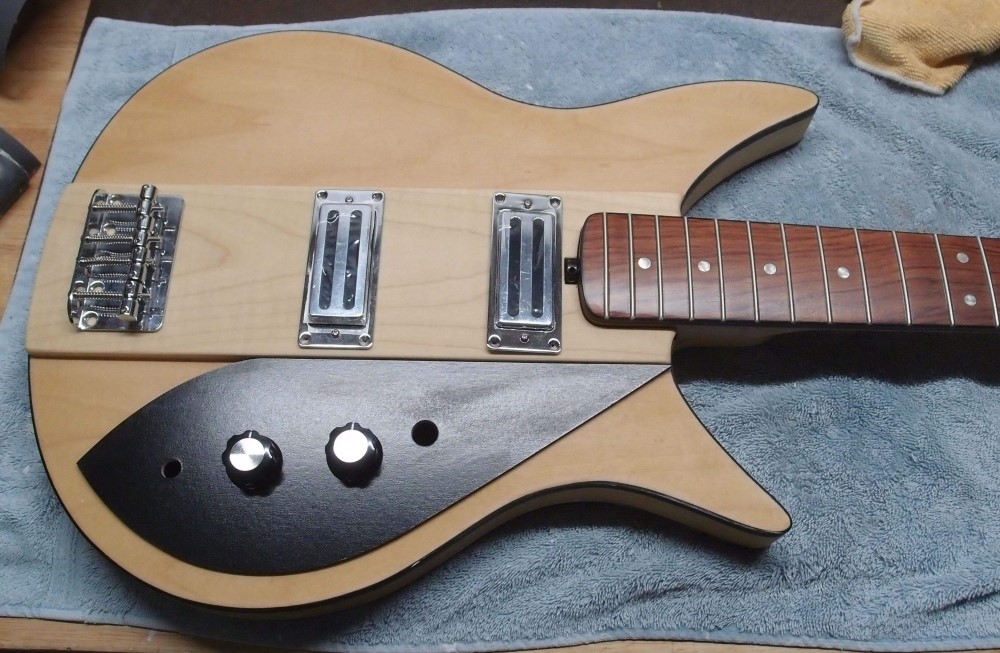
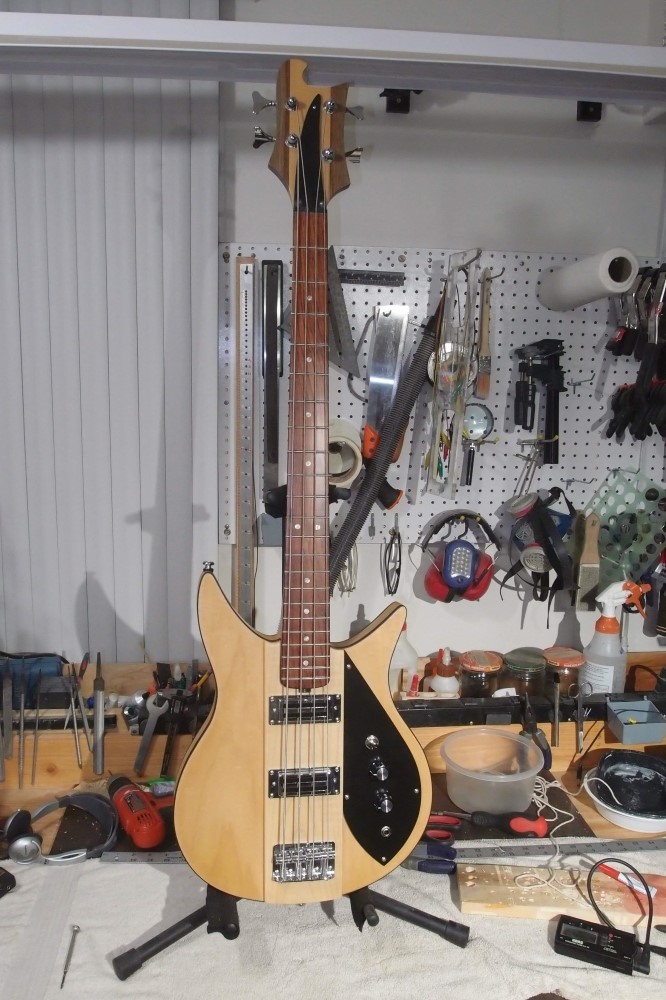
This one is un-polishing nicely. This time I am using 1200 paper, which is going much faster, but not too fast. If I was using 1000, I would have screwed up somewhere by now. This is cheapo Harbor Freight Chinese sandpaper. If I was going to polish this after sanding, I would get another lesson in Chinese quality control. Chinese sandpaper tends to be "every-grit", and the polisher would bring that right out - deep scratches that shouldn't be there. But for this purpose, this lousy stuff is perfect, and I'm glad to finally find a use for it.
I like this method of finishing, but in the future, I will use a satin, not a gloss. Sanding out every last shiny dimple would be a lot easier if there weren't any. With poly, it is possible to sand a gloss down to a flat, and it is also possible to polish a flat up to a pretty nice shine. This job is about halfway done, and "the smartest person in the room" needs a break and some food.
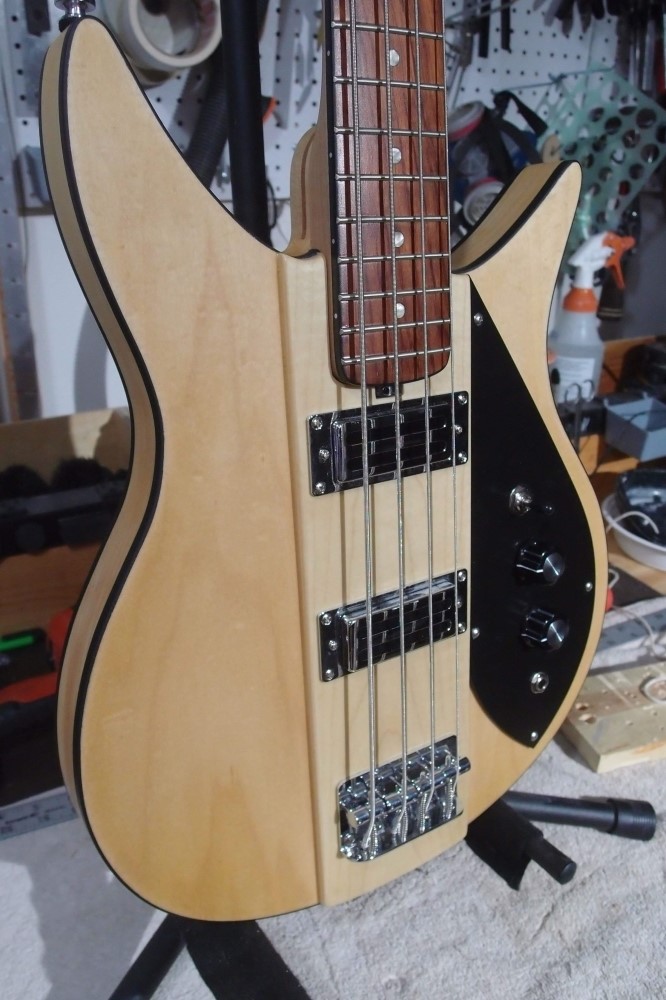
Lots of layers.
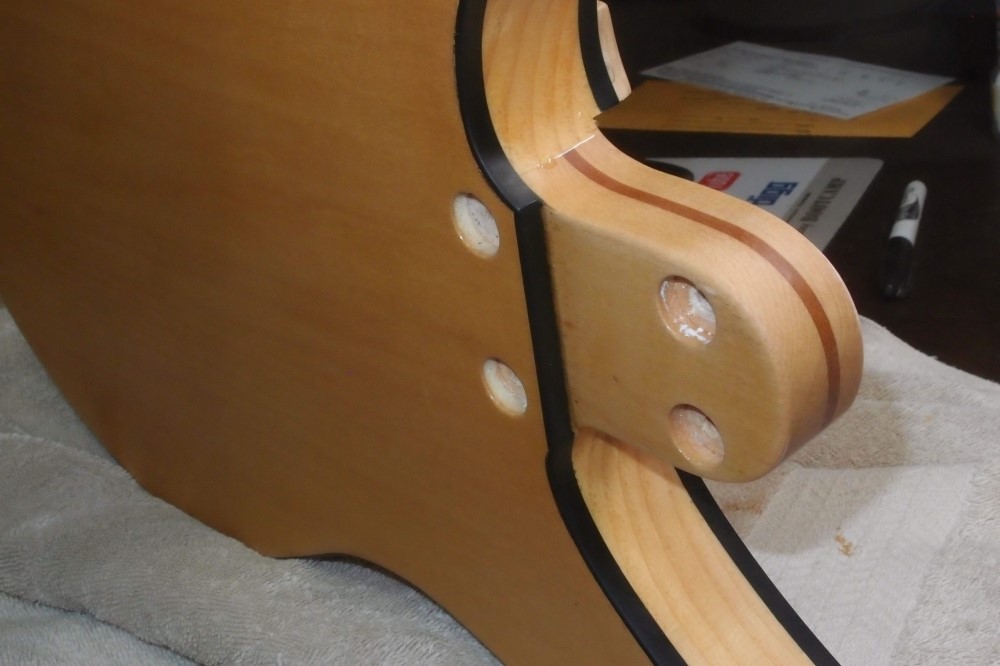
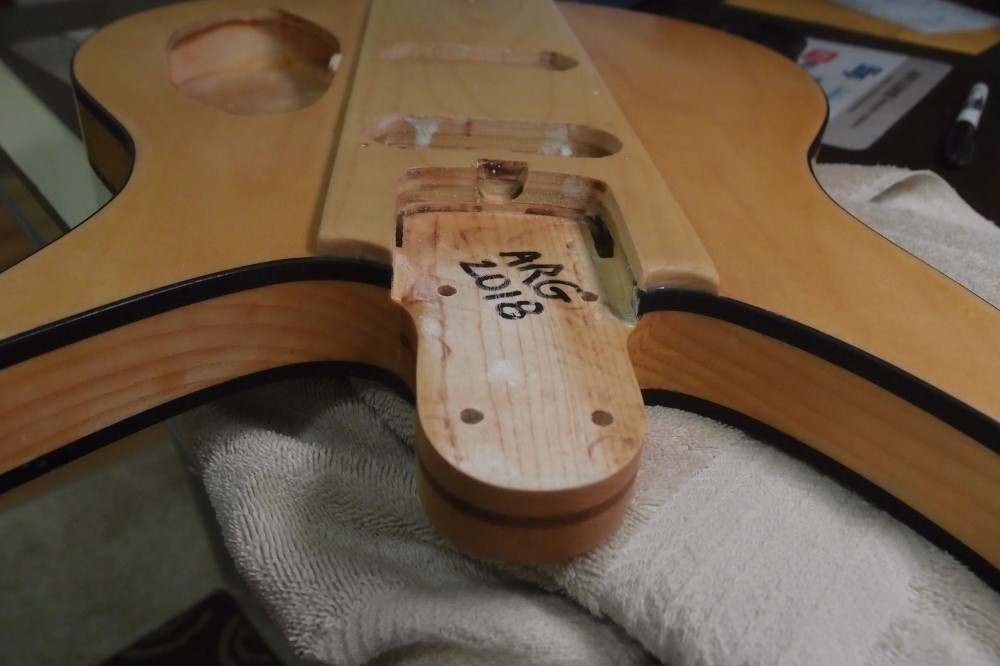
Unusual neck mounting, uses two different length screws.