Rickenbacker 325 Bass 2 (2/8)
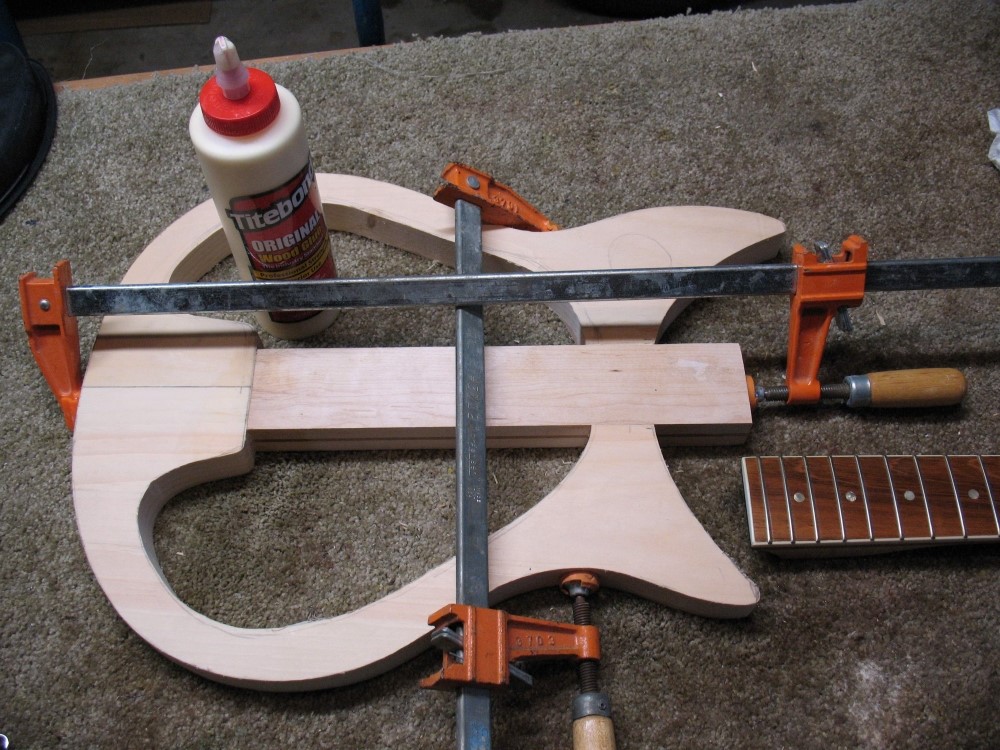
The wings are 5/4" pine from Lowes. Nice wood that is all ready to be joined into guitar-sized pieces, but soft. You wouldn't want to attach a neck to it. So I made a hard core from 1/2" maple, sandwiched with 1/8" mahogany, you can see the stripe. The trick was cutting through between the horns, which I did with the miter saw and a good eye. Finally, it will be capped front and back with 1/4" plywood, for a total thickness of about 1-1/2". The solid wood core back to the bridge mounting should make it extremely strong. I will use a modified Fender-style neck mounting. The pine makes a quite attractive edge when clear-coated, and the maple plywood gives a hard damage-resistant surface.
Sep 3, 2018
Since this body will be donating its neck to the other 325 build, it will need a new one. This gives me a chance to change the scale - 32" will work much better on this big body, while the 30" neck will fit the smaller body better.
Decisions, Decisions
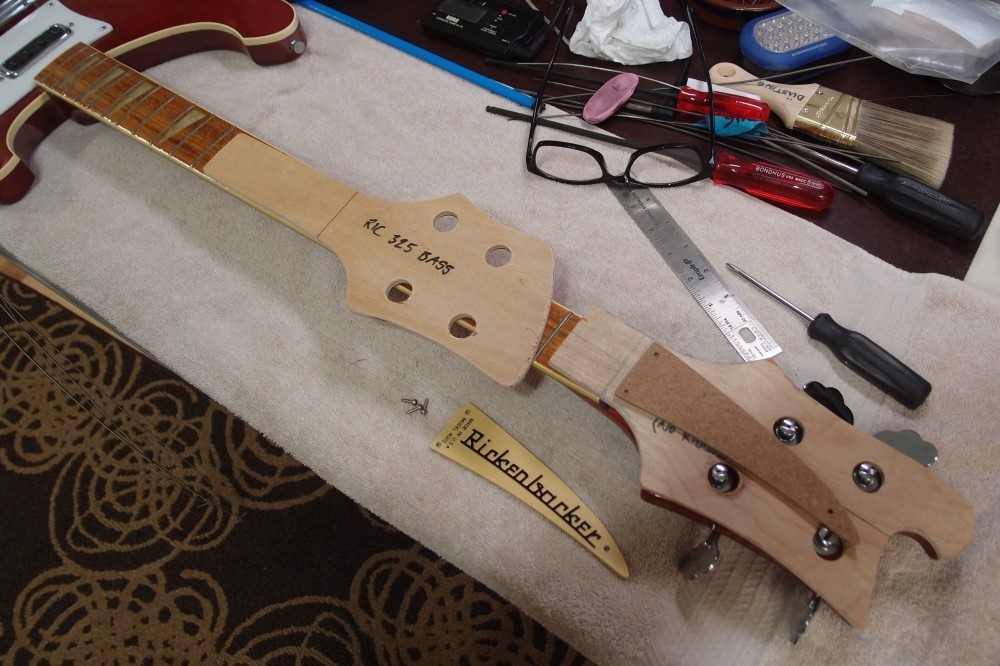
I roughed-out the classic Ric bass headstock template a long time ago, but never finished it. Now it is finished. I also got a banana out of the fridge and traced it. I think for this last one, I will use the classic shape, not the guitar shape.
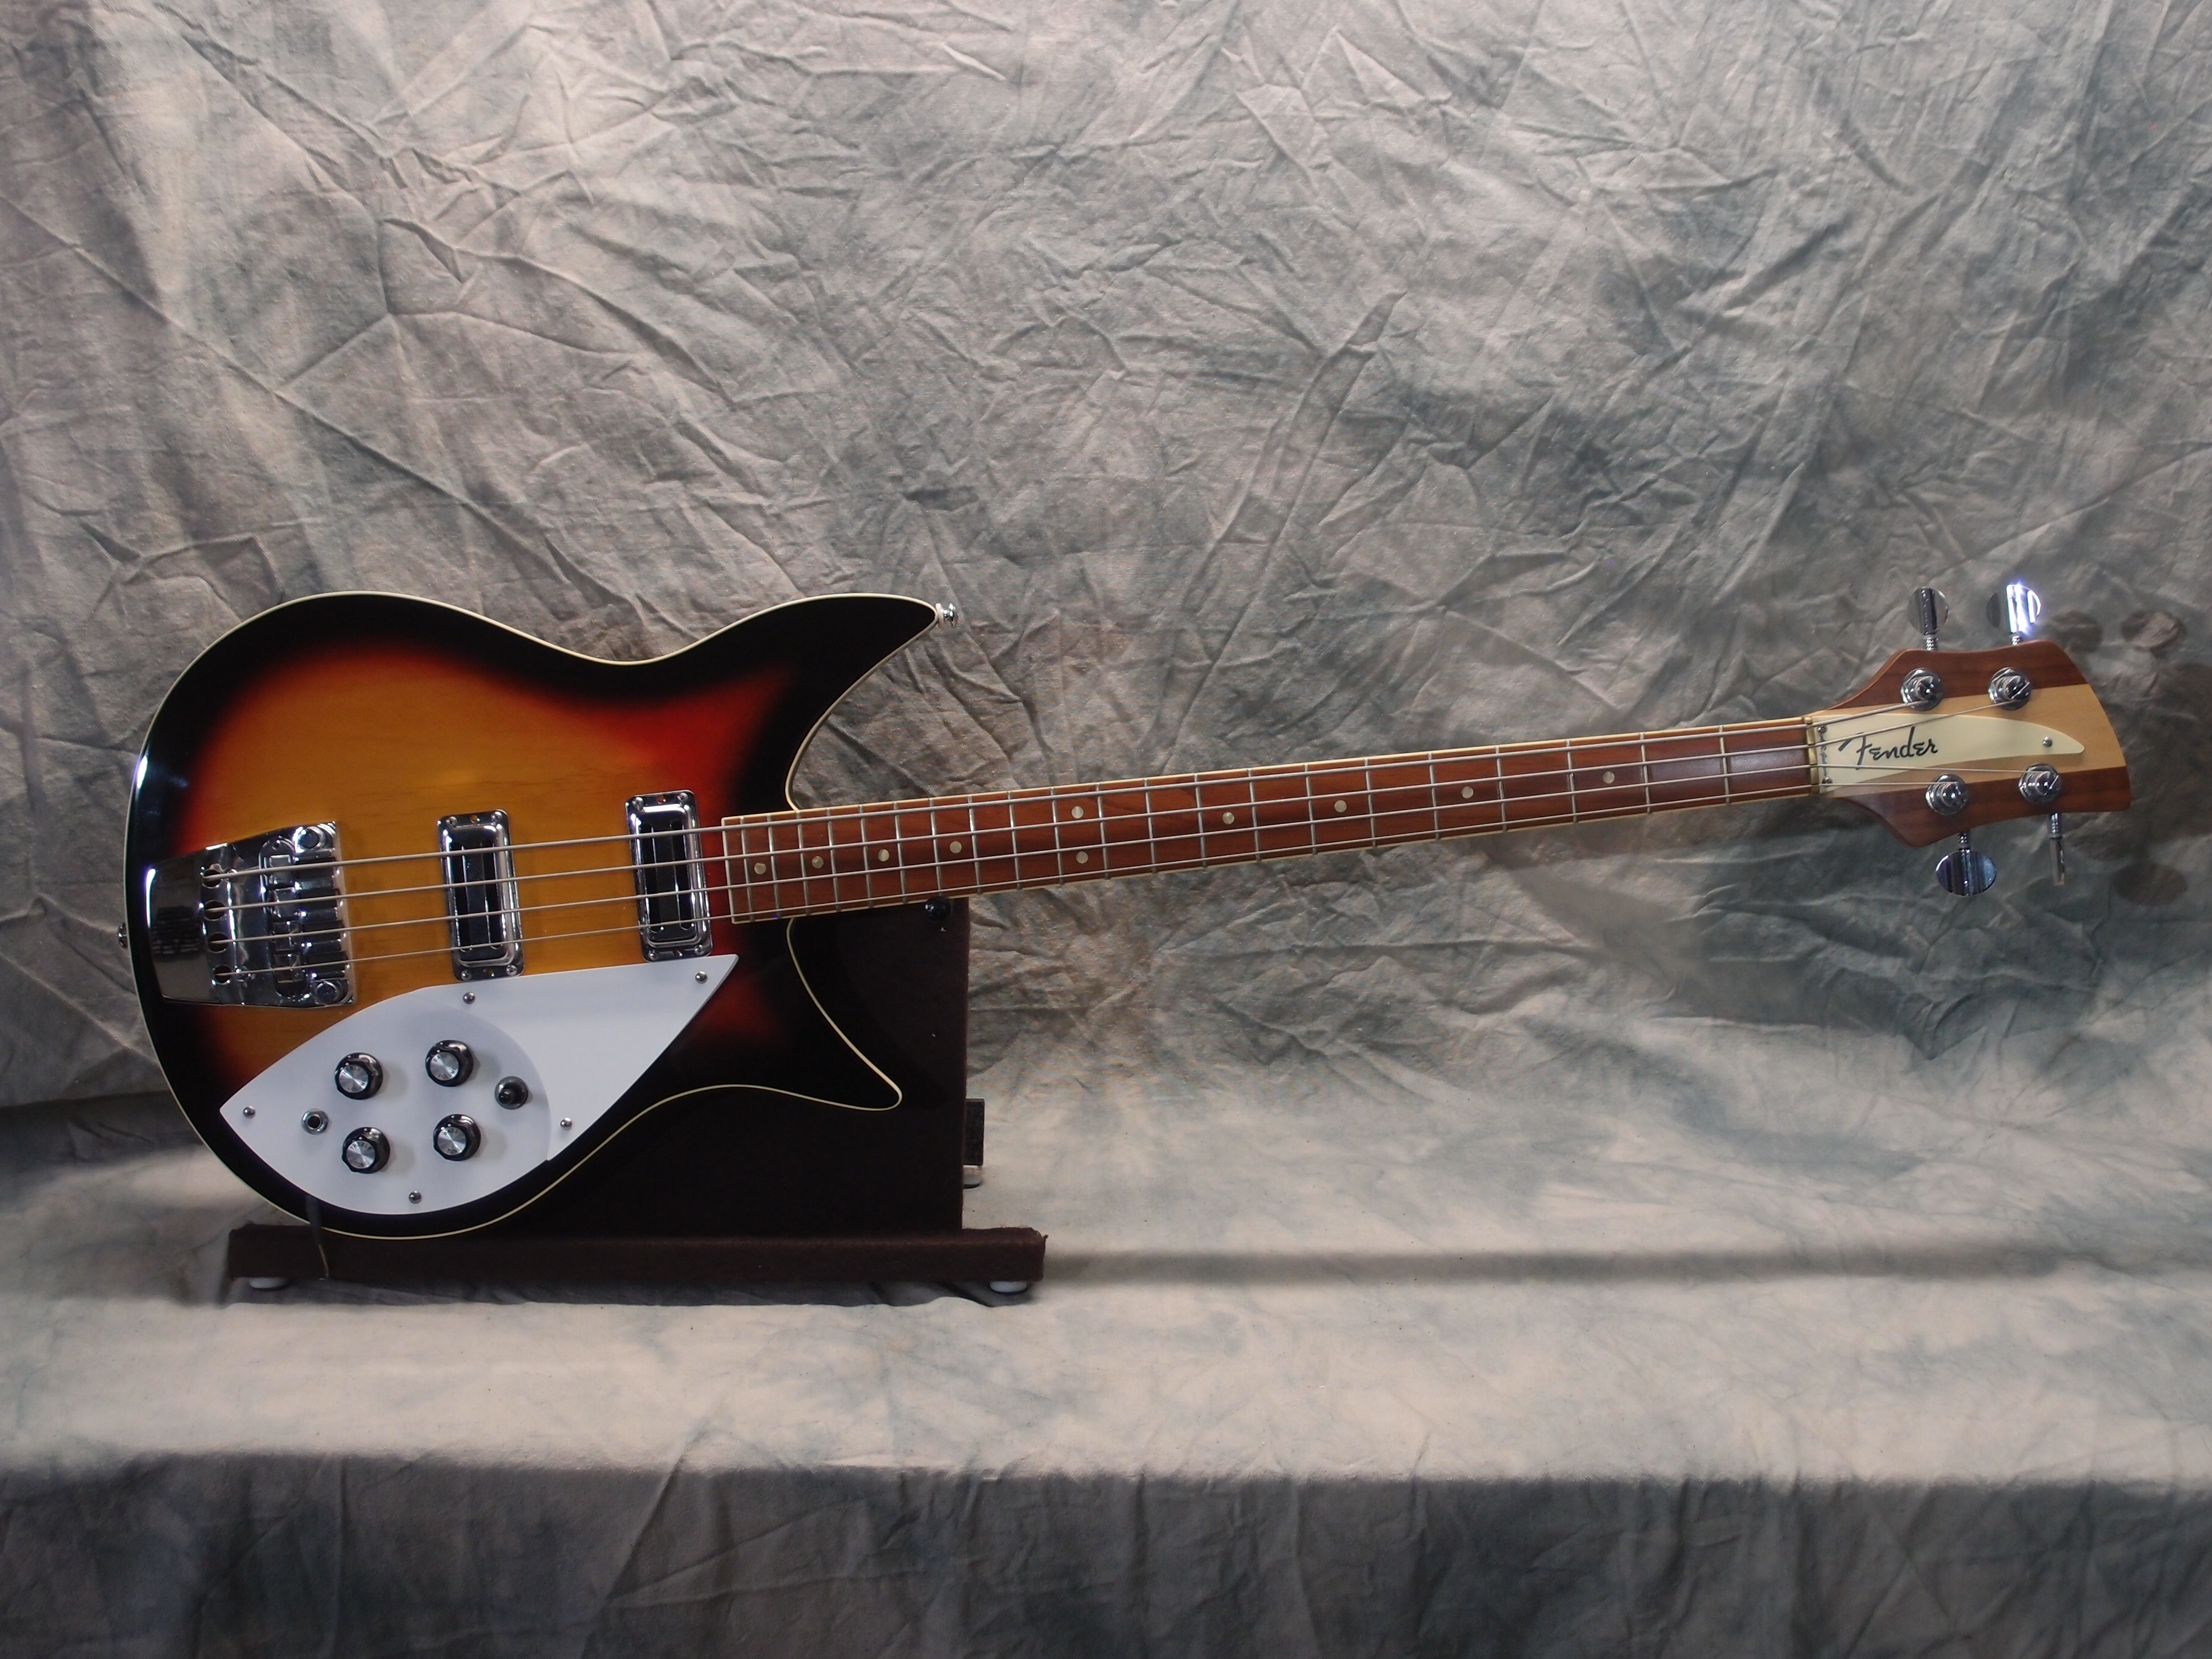
That is my real 4001, that I've had since high school. The original owner was a year or two ahead of me, and made a nice bit of cash in the, umm, independent pharmaceuticals distribution business. He bought this bass new, and then he realized he might have some trouble explaining to his parents where he got the money. So he hid it in the closet for a while, and eventually got too nervous and wanted it gone before his mom found it! So I got a spotless new Rickenbacker bass for a deep discount, although it was all the money I had at the time. I banged it up a little in college, I wasn't half bad back then, but double-majoring in engineering took precedence. After that, I forgot about it for a lot of years.
I've replaced the lifted (and corroded) tailpiece and tarnished tuners and fasteners, all with real Ric parts. And shined it up, it is beautiful, much nicer than anything I've seen on eBay. I also added a 4003 switch, which is a 4001 switch wired upside-down: pull to get the 4003 sound. I still have the silly pickup cover, the truss rods are fine, the neck is straight and plays great. For many years I had Rotosounds on it, and this is one of the good ones that could handle them; 4001s were famous for breaking under the tension.
Now it lives in safe it's case. It is a rather rare all-red model. I have more fun building them than playing them nowadays. I laid out the new 32" neck, and it turns out to be slightly longer than the real thing. It should be fine with a single-acting truss rod, and those are easy to build. I want a spoke nut at the heel, so I don't have to worry about everything fitting at the head.
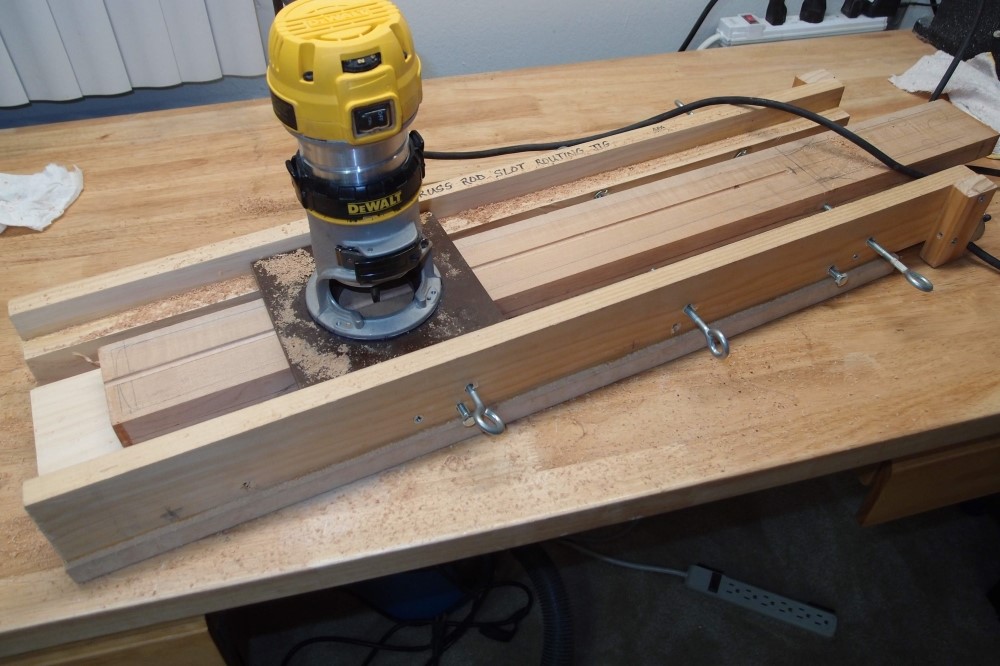
I'm sure I've shown this before, but here is the truss rod slot routing jig again. I use the router itself as the centering guide. There is some play between the router plate and the rails, which lets you make the slot a bit wider than the bit. I'm using a 1/4" round bottom bit.
This slot is done except for some widening at the heel to accept the nut. That is easily done by moving the blank off-center to both sides, you can use the same router bit. This is just so simple and easy, if you set it up right, you just can't go wrong. If you build yourself a jig like this, make sure you use something strong and stable for the base, like 3/4" plywood. I used a scrap of MDF. The sides are just dimensional lumber.
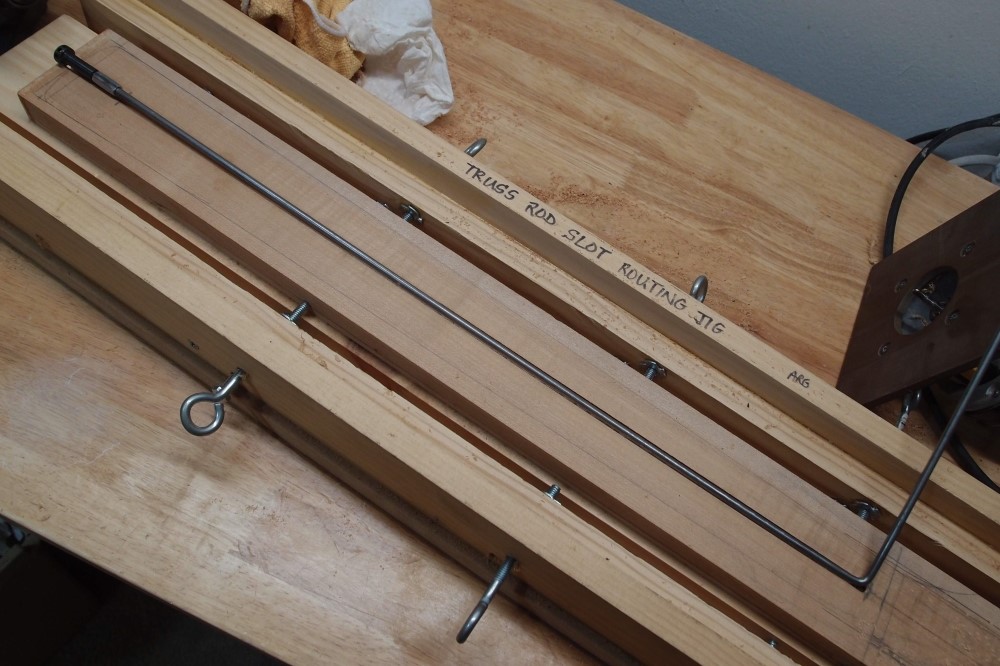
I also started on the rod itself. A 3/16" x 48" steel 'round' from Lowes - $3.99. I cut about 2" of 10-32 threads in one end, then cut off about 3/4" of them where the rod had bent in the process. I marked the spot for the bend, clamped it in a vise, and smacked it over 90 degrees with a hammer. "Cold forging" is a fancy way of saying I bent it. I wouldn't go any further than this cold though, it would end up weak, if not broken.
I'm using a neat Musicman-style spoke nut from StewMac. The bearing is a #10 coupling nut. I drilled it out to fit one rod, filed a slot in one side to fit the other rod, and then rounded it over with a file. This gets it to roughly the same diameter as the spoke nut, and also gets all the zinc coating off. That would burn off from the torch in the brazing process, but you don't want to breathe the fumes.
I don't feel like playing with fire tonight. The next step is to heat the elbow until it glows with a propane torch, and finish bending it. Then get everything lined up and braze-on the bearing. Propane is marginal for this sort of work, but since the parts are small you can get away with it.
A variation on this design could dispense with the brazing. Instead, use a piece of brass or aluminum, about 1"x1/2"x3/8". Drill two 3/16" holes lengthwise, one through, and one blind. The threaded rod goes through, and the other rod jams in the blind hole. It would be somewhat bulkier than a brazed or welded rod, but there is plenty of room in the neck heel. You still need to heat the bend, but that is trivial.
I'm repeating what I did earlier in the thread, just to show you how gosh-darned easy it is if you know how.