Osprey Bass (BC Rich Eagle) (8/10)
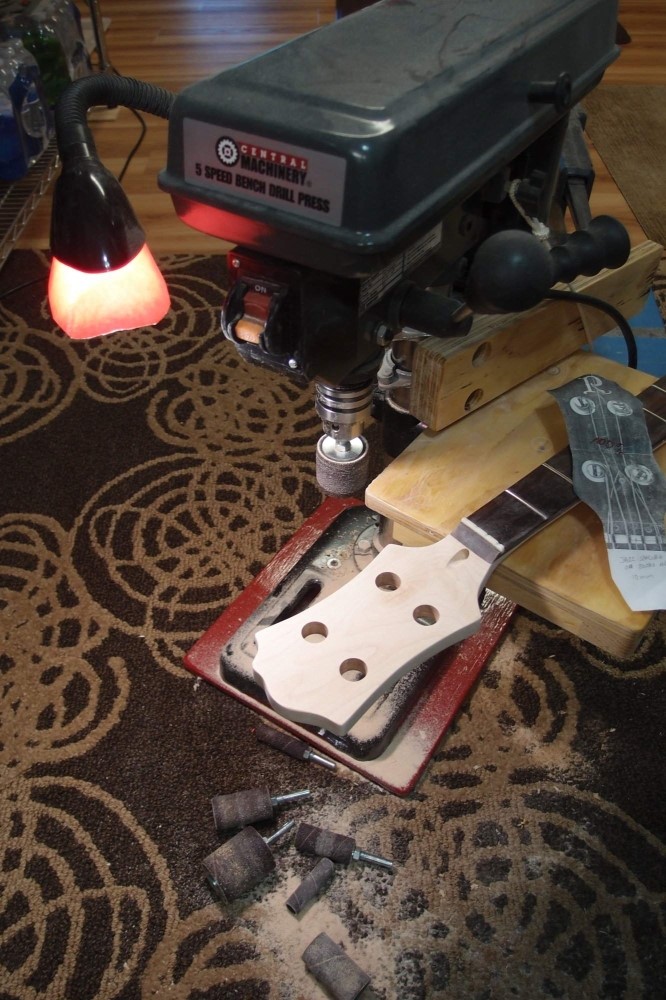
The scroll saw made short work of the cutting, and then the sanding drums finished the rough outline. I rigged the drill press as a "Robo Sander" by simply offsetting the table and raising it up above the bottom of the drum. Obviously, there is no dust collection, but I have a vacuum cleaner. Again I set the drill press on the floor to try to keep the dust from flying too far, and I wore a breather mask most of the time. Once again, this setup performed much better than I expected. The scrap pieces weighed about a quarter of a pound.
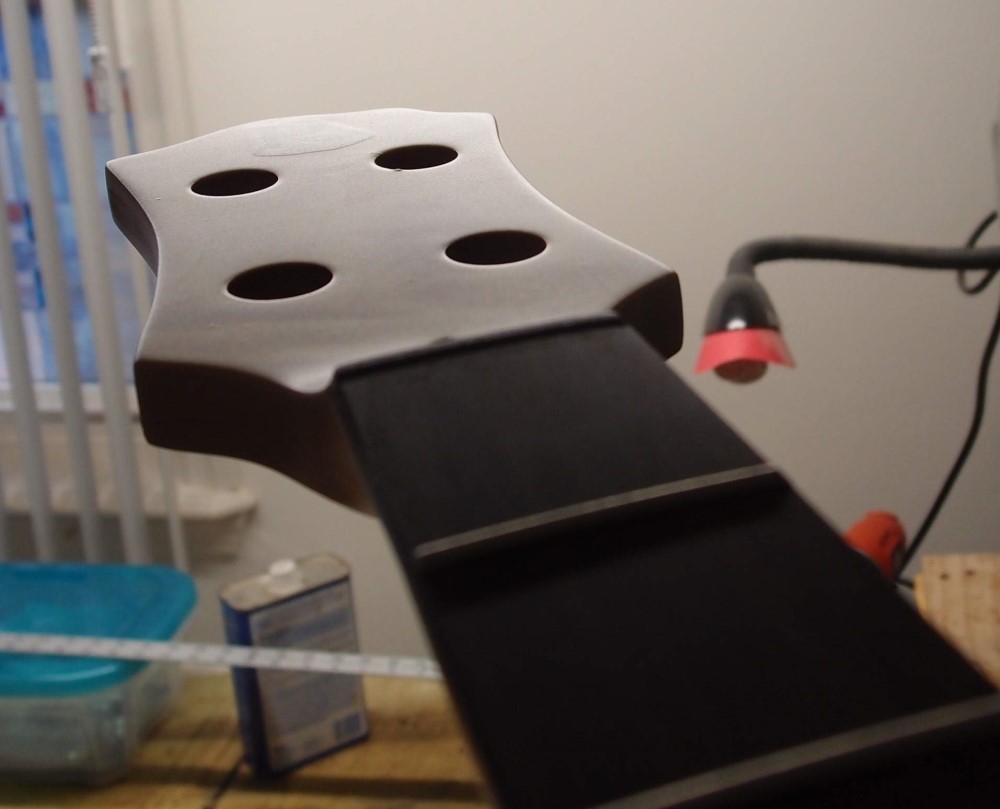
Once I was satisfied with the outline, I switched to hand sanding with 100 to remove the drum marks. I used my curved sanding block, and also the two empty drums on the floor in the picture. When everything looked as good as it will get with 100, switched to 150. Then I rubbed it down with hot water to raise the grain and finished with 220 and 320. Finer than that is a waste of time, and can actually be counter-productive if you are staining. A coat of natural stain, and a final touch-up on one of the corner contours, and I have a pretty good imitation of a BC Rich headstock. Well, if Fender owned BC Rich, anyway.
You can see the paper template I worked from, but I have substantially modified the headstock to straighten the string pulls. My version is wider and longer, but if you didn't hold it side-by-side with a real one, you'd never notice. The flat Fender-style headstock on this neck will not tolerate much angle on the strings. I also ordered a thin acoustic pickguard for 99 cents, in black PVC. I should be able to heat-bend that and form a curved truss rod cover.
This neck is rock maple - very hard. A problem when working with maple is heat and burning. When drilling the tuner holes, I had to take small bites and back off to keep the bit from overheating, and even then it got too hot to touch. The sanding drums also would leave dark burn marks if pressed too hard. These can be sanded out, but that is an extra PITA. I don't recall the oscillating sander ever leaving burns. Even ordinary drill bits get very hot in maple, it takes extra care to work.
While I was drill-pressing, I also drilled the mounting screw holes. Then I soaped up the screws and drove them in, and removed them, to pre-cut the threads. Finally, like the pickup screws, I shortened the neck mounting screws a bit and re-pointed them on this tiny bench grinder/polisher from Harbor Freight.
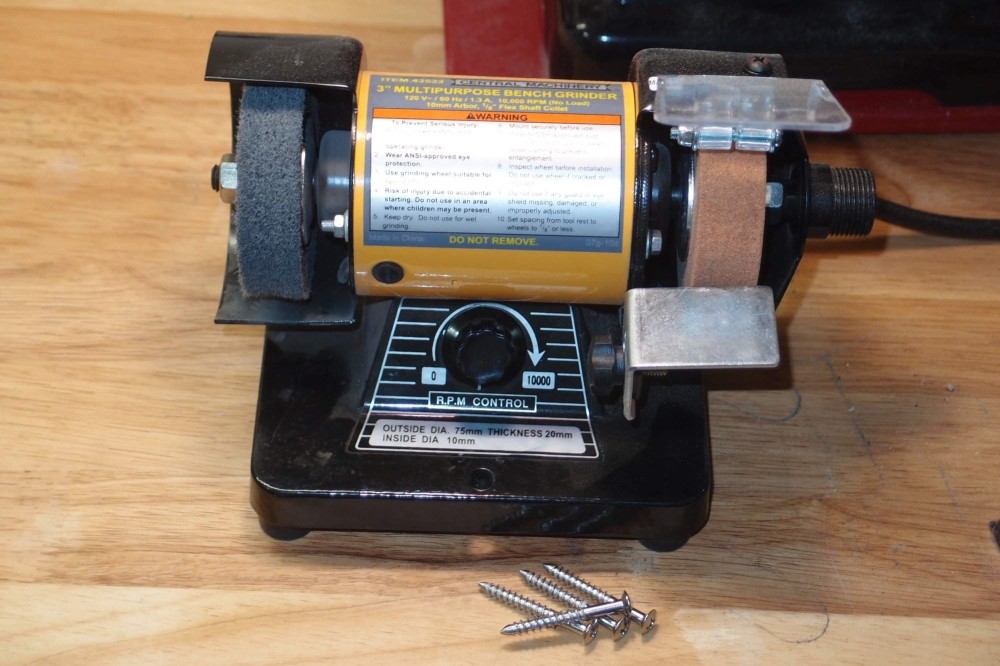
This tool has proven to be very useful for small things. You can see the threaded attachment on the right side for the included flex shaft that allows it to function as a Dremel.
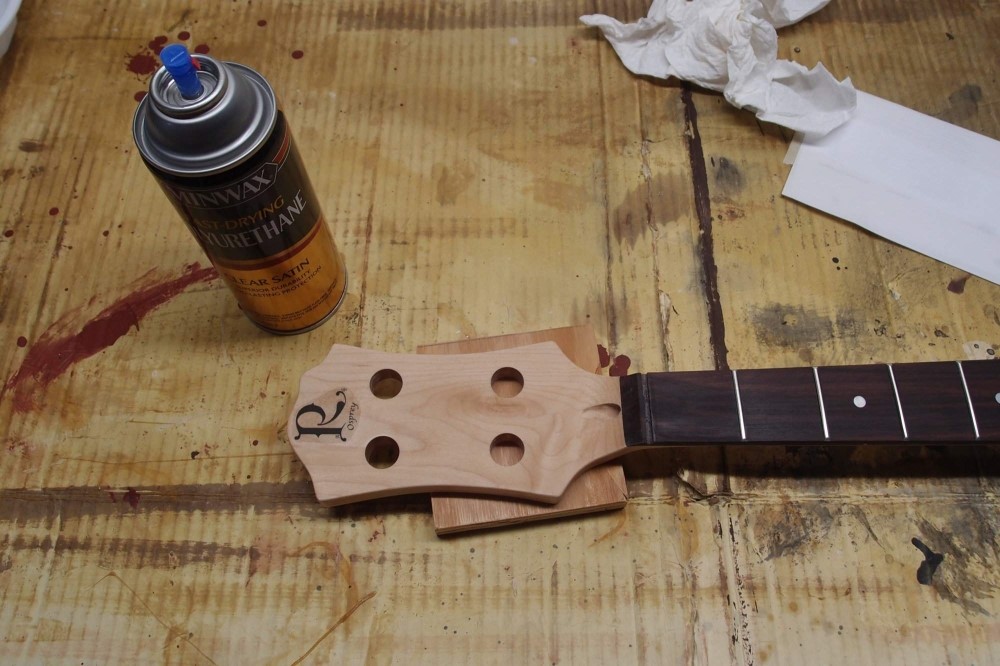
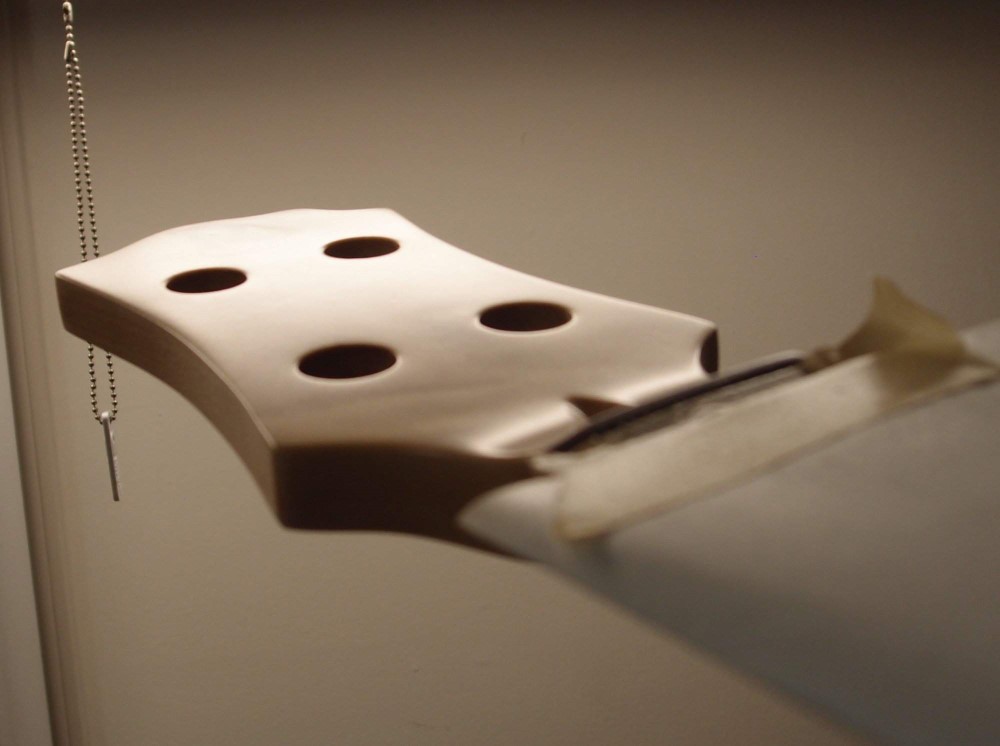
Into the home stretch. The neck is finished in clear satin polyurethane. Now there is just a base coat on the back and headstock, not the fretboard, and I have sanded it smooth with 320-400. This fills the grain and gives a consistently smooth surface overall.
The decal is made from an image I found online, with some additions in Paintshop. Then I converted it to an eps file with Inkscape. The reason for this is that the Laserjet prints vector files with razor-sharp edges, even when you re-scale them, and this file was printed at a scale of 3%. The waterslide decal material is available at hobby shops or online, you can also get inkjet material. I polished the logo area before applying the decal, then sanded lightly around it to roughen up the surface for the final coats.
The poly needs to dry for another 48 hours before I can re-coat it. The front of the headstock will get several thick coats, especially over the decal. The idea is to make the finish thicker than the decal. First, apply several thin coats over the decal and let them dry, to protect it from the solvents in the spray. Then lay the part horizontal, and spray a puddle, it will self-level. When dry, you can then sand it smooth and flush, so that the logo appears to be floating in the finish. Then a final thin coat overall to restore the satin finish after sanding.
Unless I am doing a painted neck, I always use this rattle can poly for necks. You can do several necks from one can, it is quick and easy. Once it is fully cured, poly is tough and fairly impervious to oil and moisture, so your maple neck won't turn black from use. I also applied a second coat of natural stain to the rosewood, it now looks like ebony.
Oct 22, 2017
The first decal I used had a gray cast to it, so I scraped it off and printed a new one. Here you can see the edges under a fairly thin coating of poly. When I am done, the edges will be gone. BC Rich uses inlays, at least on the better guitars. Fender silk-screens the logos, I think.
After one round of sanding and re-coating, the decal is much reduced and hard to photograph. After this is sanded down and re-coated, it will be finished. It already looks good head-on, you have to play with the light to see anything.
Nov 11, 2017
The Eagle Has Landed

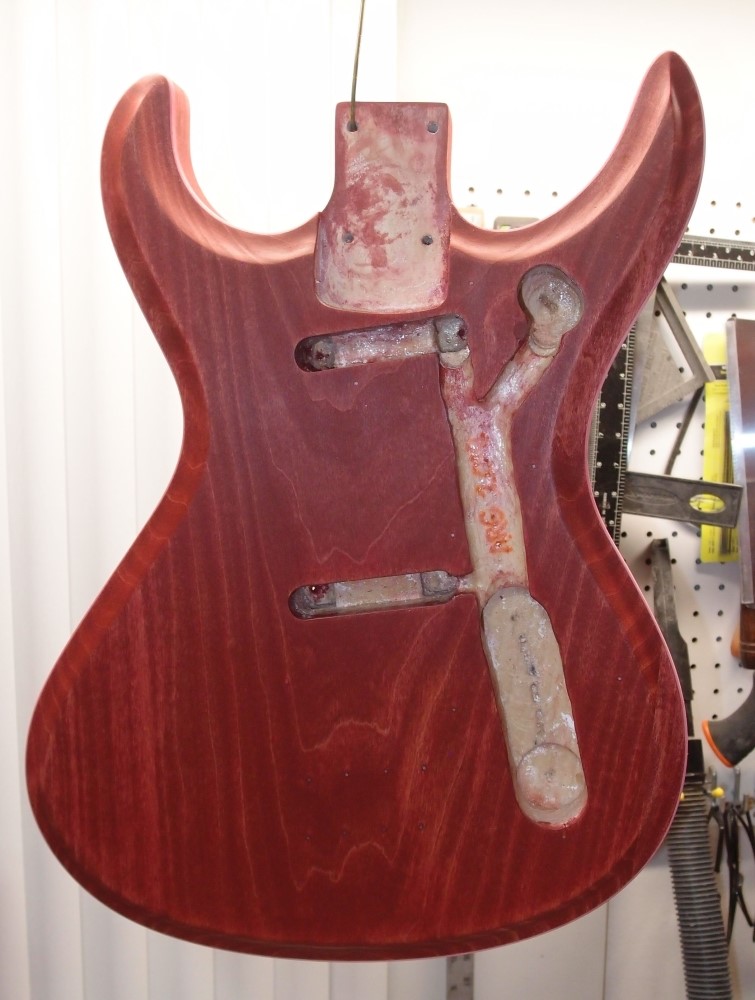
After a few go-arounds with the headstock and the body finish, and some detours and distractions, the Eagle is finally done. I didn't like the first headstock decal I printed and sanded it off. Likewise, the more I looked at the Danish oil body finish, the less I liked it, so I sanded it back down to wood, applied several coats of natural stain, and finished it with linseed oil. In the process, I removed a couple of dings that I couldn't unsee and got the body edges sanded much better.
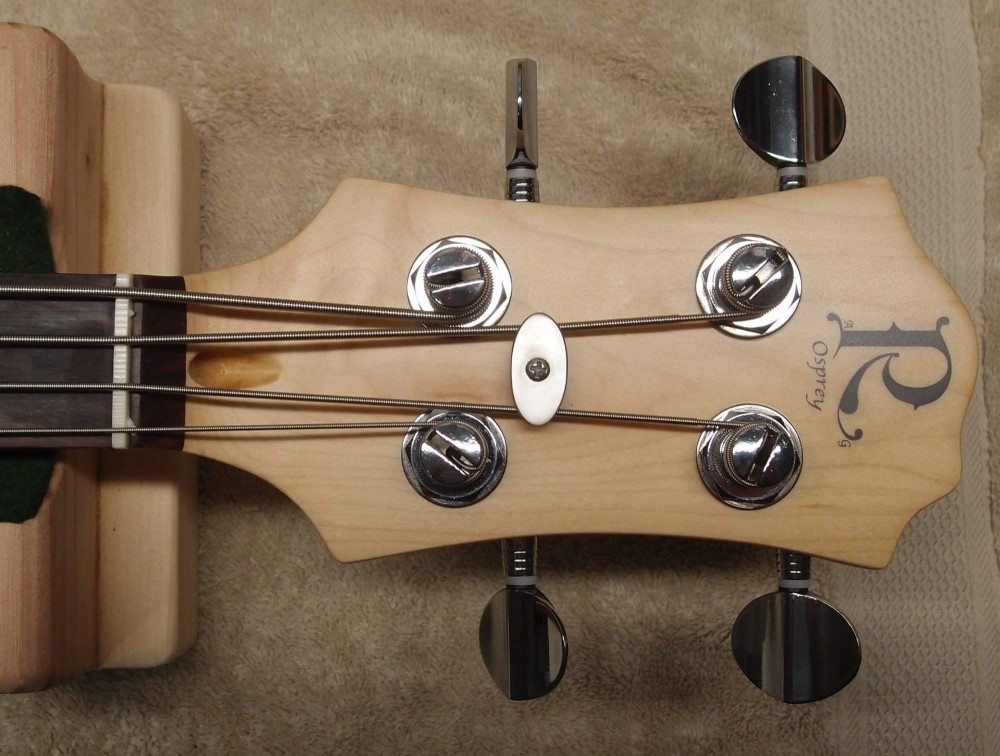
The string hold-down was made from a stainless steel washer on the bench grinder, then polished. Underneath is a metal spacer, all from Home Depot. Nothing off-the-shelf would fit. That was actually the very first piece I made for this guitar, I had a suspicion that it would be necessary, and I was right. Fender-style flat headstocks do not tolerate non-straight string pulls very well. I may still add a truss rod cover, but it will have to follow the curve of the flat Fender-style headstock up to the nut.
The back of the neck and headstock are finished in spray-can satin polyurethane, with natural stain, and then linseed oil on the rosewood. Satin poly gives a very slippery feel to the neck. This treatment of the fretboard turns the most blah of modern 'rosewoods' into almost ebony, and it is permanent. Forget about Lemon Oil, that stuff is a waste of money. The tuners are cheap, to keep costs down; they work and can be easily upgraded to Schallers if I ever want to.
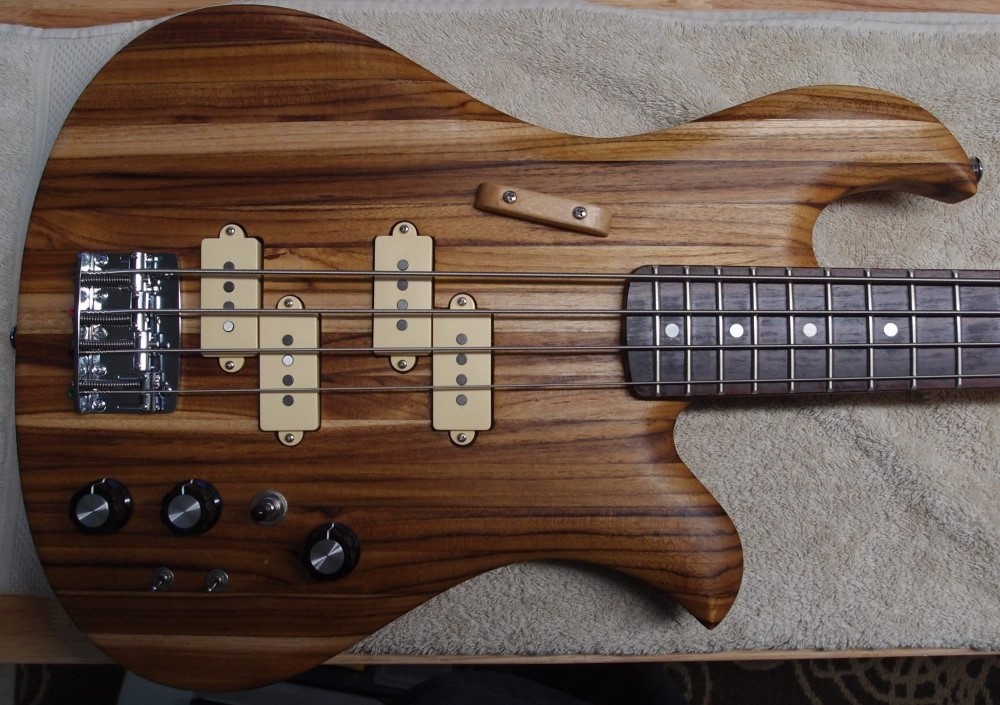
The body now has a nice satin finish. You couldn't do this with ash or alder, those soft woods would wear terribly, and need the protection of a hard finish. Teak is used for battleship decks, among other things, and is much harder than most body woods. Did I mention this was a cutting board? I'm not worried about the bare wood. A quick wipe down with oil will refresh it as needed, and scratches can be sanded out and re-finished easily. The Danish oil experiment wasn't a complete waste - it filled the open pores in the grain.
The controls, counter-clockwise from the right, are:
- volume, pull for passive / power off
- pickup selector
- active bass boost/cut
- active treble boost/cut
- "skinny switch" - puts both pickups in parallel mode internally
- "fat switch" - puts the pickups in series, defeats the pickup selector
"Skinny" is a Jazz-like sound, it takes the guts out of the P-pups. "Fat" is massive - 2 P-pups in series. Both switches together cancel each other out. Those are four-pole switches - "4PDT" - so they do a lot of work every time you hit them. Each one has 12 contacts. The control cavity is packed.
I think this wiring scheme is far superior to the original, but I have the benefit of 30 years of advancement in electronics. I did duplicate the original control layout, more or less, but I am getting more and more useful effects from actually slightly fewer controls. The pickups are nothing special, I selected them for their color and their price, and they sound fine. Tone-wise, this thing is a monster that will do just about anything.
The active electronics are my first experiment with Belcat. I've had good results with their pickups, and this inexpensive preamp sounds fine to me. I have had horrible experiences with generic Chinese electronics - do not buy anything that is unbranded. Stick to Belcat and Artec for good quality and reasonable prices. And of course, my favorite, Guitar Fuel ( look like upgraded Artec units to me. )