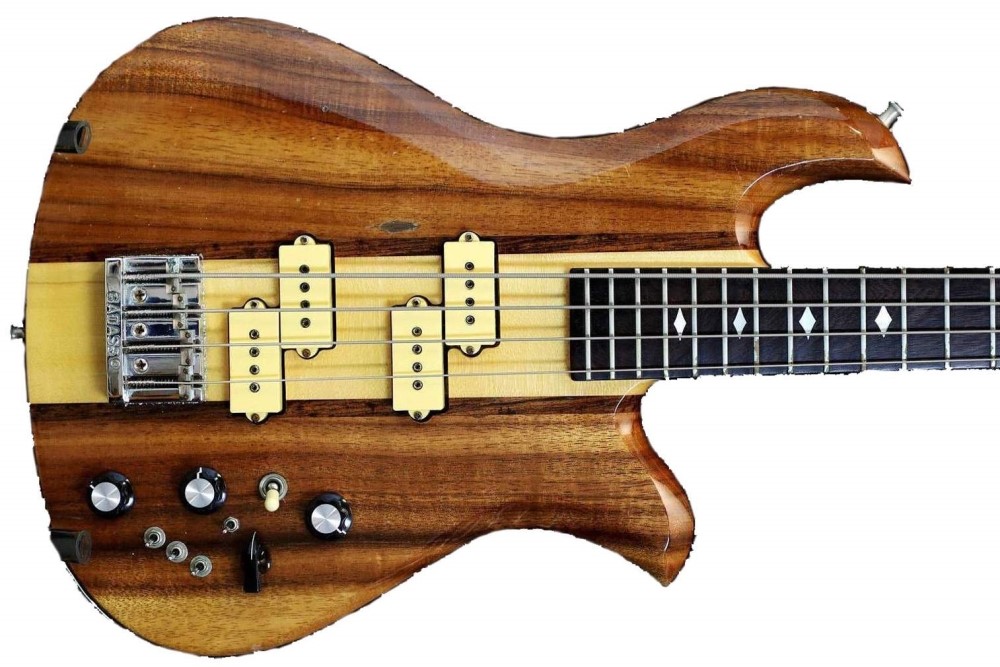
Osprey Bass (BC Rich Eagle) (10/10)
If you want to build one of these, here are some useful templates. The quarters are set up so that they print at the proper size on my LaserJet at 100% scale. You may have to fiddle with the scaling a bit to get them to come out right on your printer. The reference measurement is 17" from the 12th fret to the saddle along the G string. Then tape them together with no overlap.
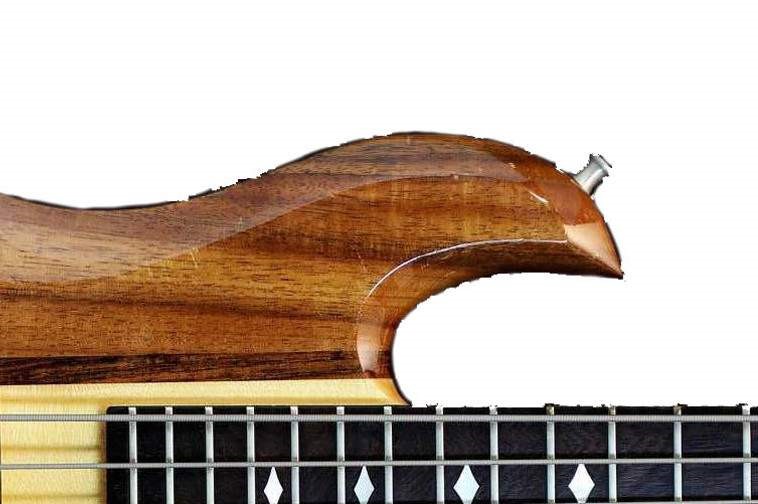
Likewise, for the headstock, adjust the scaling until it matches the string spread of a Precision, or a length of approximately 5-3/4". I enlarged my headstock slightly, about 5%.
Nov 27, 2017
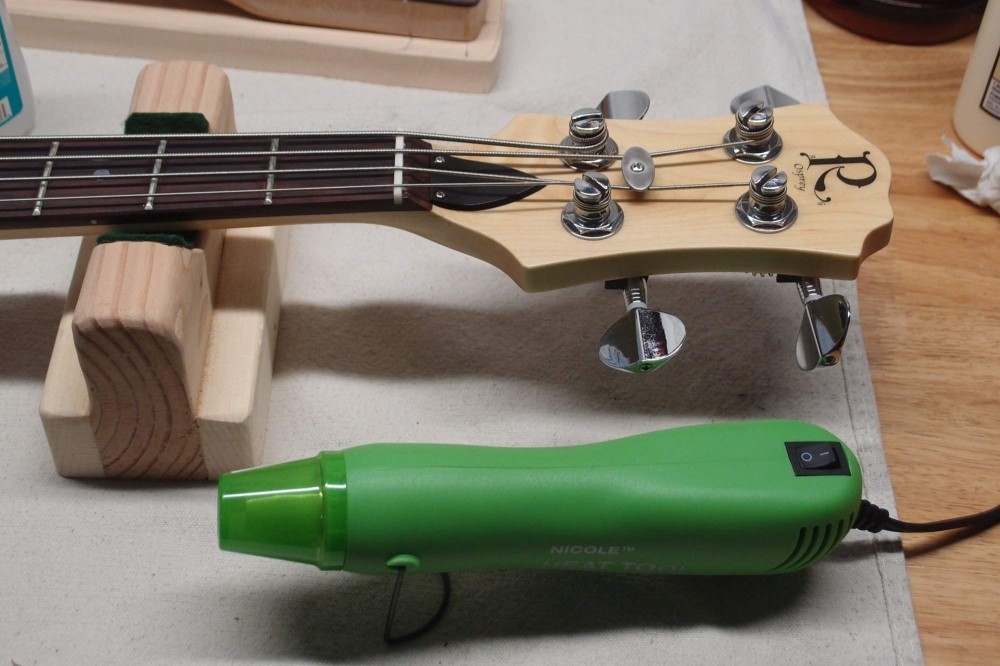
If it is going to be a real fake Eagle, it is going to need a truss rod cover. After ruining one with too much heat, I got the knack, and with a combination of bending, sanding, and filing, I made one that fits the curve of the Fender headstock perfectly. The little heat gun is the kind more commonly used in nail shops, but it is very useful for many other things. ABS becomes plastic at around 220F, just a bit higher than boiling water, unfortunately. That was the reason my initial attempt failed. You could probably reach the required temperature by holding it (carefully!) near a stove burner.
After hanging on the wall for a week or two, the neck should have adjusted to string tension, so it is finally time to set it up. And it needed ... nothing, really. I made some inconsequential tweaks to the intonation and action, that's all. The neck needed no adjusting or fretwork at all. I am more and more impressed with the quality of this Eden neck. However, there were a few other problems that needed to be sorted out.
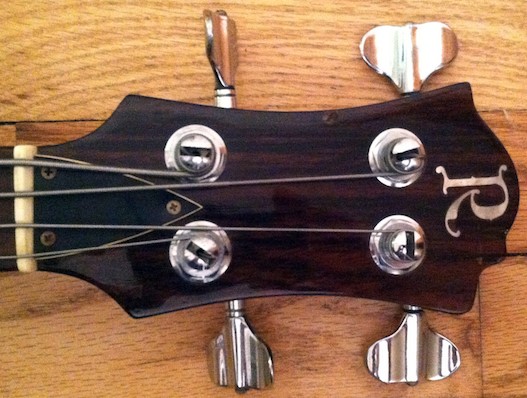
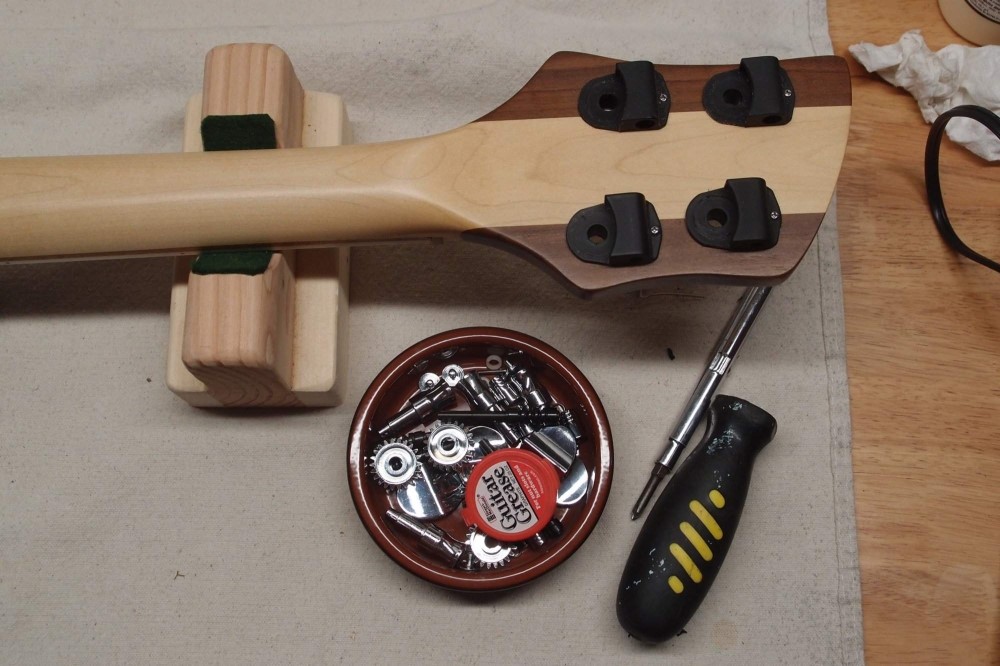
First, there was an annoying buzz that I traced to the bridge springs. The solution was to disassemble it and place a small bit of rubberband inside each spring as a damper; about 1/4" is enough. The second problem was that under tension, these cheap Chinese tuners felt very grindy. Not a good feel at all. I love me some cheap tuners, but maybe I went a bit too far this time.
I disassembled the tuners, and found not one speck of lubrication ( in fact, a little rust! ) So I added some "Guitar Grease" to the worm gears and the bearing surfaces of the shaft, and also to the shaft of the post. I put them back together and gave each one a good spin to work the burrs off the gears, and ... much better. No one is going to mistake them for Germans, but quite acceptable. I will have to do the same on the 325 bass.
Guitar Grease has to be the most profitable repackaging of paraffin in history. You could probably get the same effect much cheaper with one of your kid's crayons. I love these Gotoh bridges, they simply ooze quality. The extra-heavy grooved base plate is forged, not zinc-cast, the chrome is thick, the hardware is smooth. Two extra screws hold down the front edge, for a total of seven. You can get a really good deal on them from StewMac if you buy three. I've been saving this one for something special.
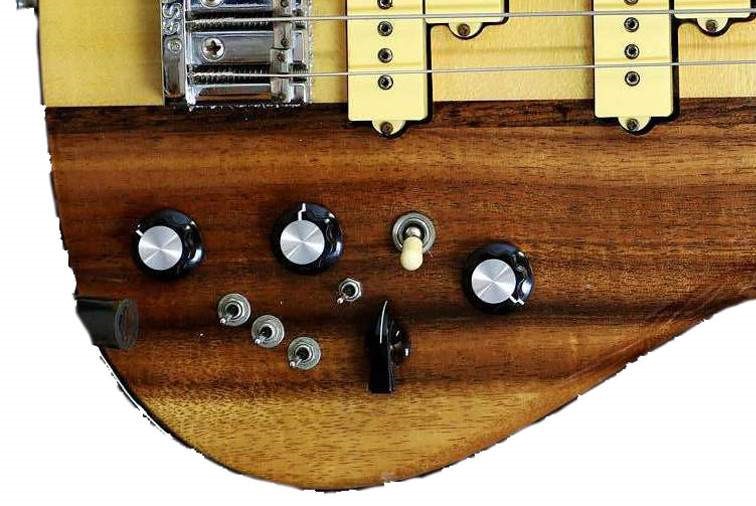
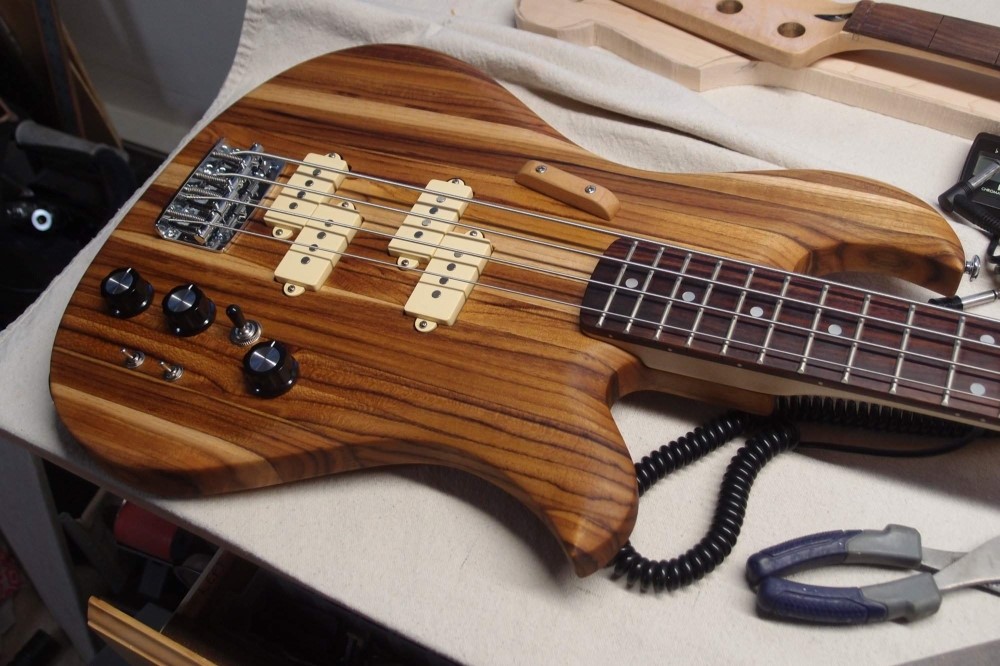
I've only had enough time playing with the Osprey to run through all the different controls, but I can say already, it is killer. With all that wiring, thank heaven, it all works. My soldering must be better than it looks.
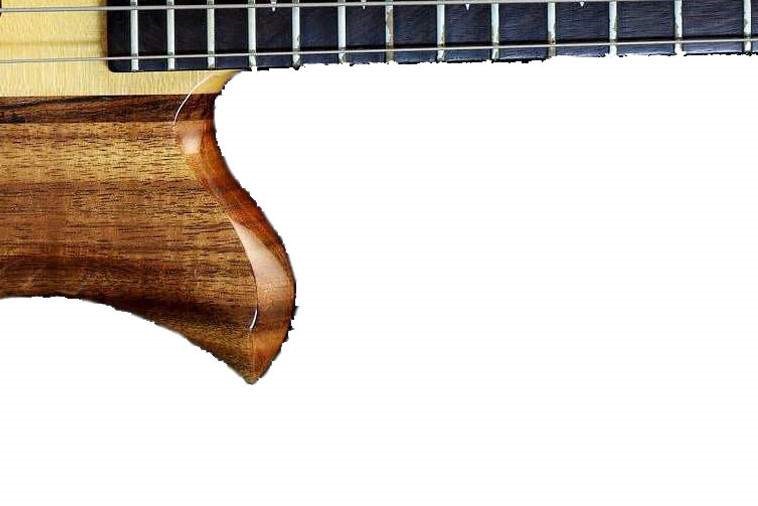
I was worried that dual "P"s would be too much, but they are really not. Even when put in series ( the fat switch ) the result is thunderous, but not overbearing. The skinny switch gives a much more Jazz-like sound. In passive mode, with the tone controls disabled, you get a very wide range of tones just from the switching. Add the active tone controls, and you get just about anything you want.
As far as playability, the neck feels great, and the 32" scale is much more comfortable than 34". Balance is almost perfect, without being excessively heavy. The relatively small thin body makes a Precision or a Jazz feel like a big lump. I couldn't be more pleased with this guitar.
I have switched to lemon oil for the body. Linseed oil is too thick and messy to apply around all the hardware now. Lemon oil has much less body, but it goes on neater. A finish like this dries out and dulls over time, and a thin coat of oil is all it takes to rejuvenate it. I will be on the lookout for another free cutting board !!
Update: Oh yes, those tuners are much better now, in both directions. Night and day.
Jan 9, 2018
The Osprey is a month old now, and ready for a final setup. You can do a rough setup right after assembly, but I find that for fine-tuning you should wait at least a month for everything to settle under tension. I tightened the truss rod and raised the saddles to compensate. That lessens the neck relief, and aligns the strings better along the length of the neck, so the action is more even from the top to the bottom. Since I disassembled and lubed them, the cheap tuners are now silky-smooth and tight.
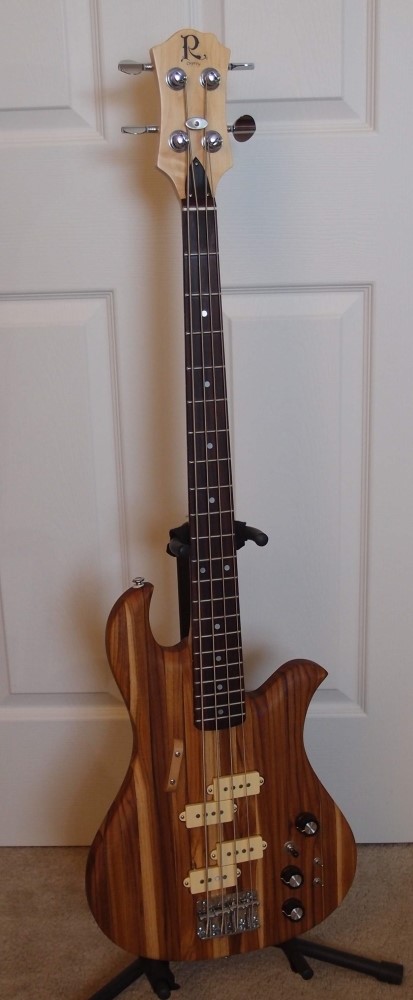
Here is a shot with the truss rod cover installed.
Oct 2, 2018
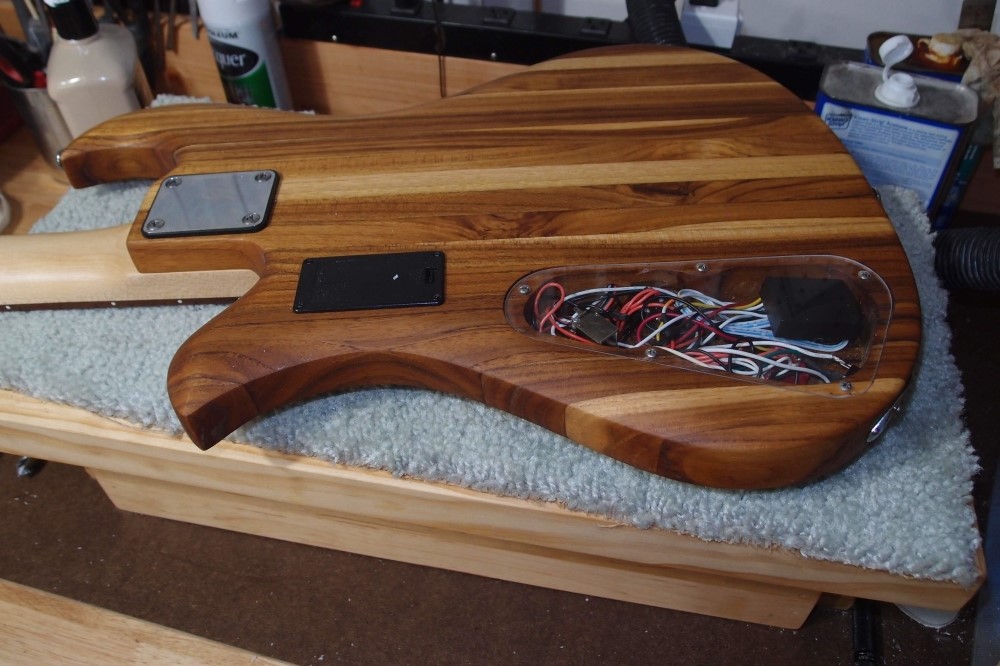
Found a piece of thin plexiglass in the junk pile, and got a bright idea. Going back to the start, the wiring in the Osprey is intense and should be on display.


Questions or Inquiries?
Just want to say Hello? Sign the .