Mosrite Bass (5/10)
Dec 20, 2018

This contraption lets me make precise routs on a neck.
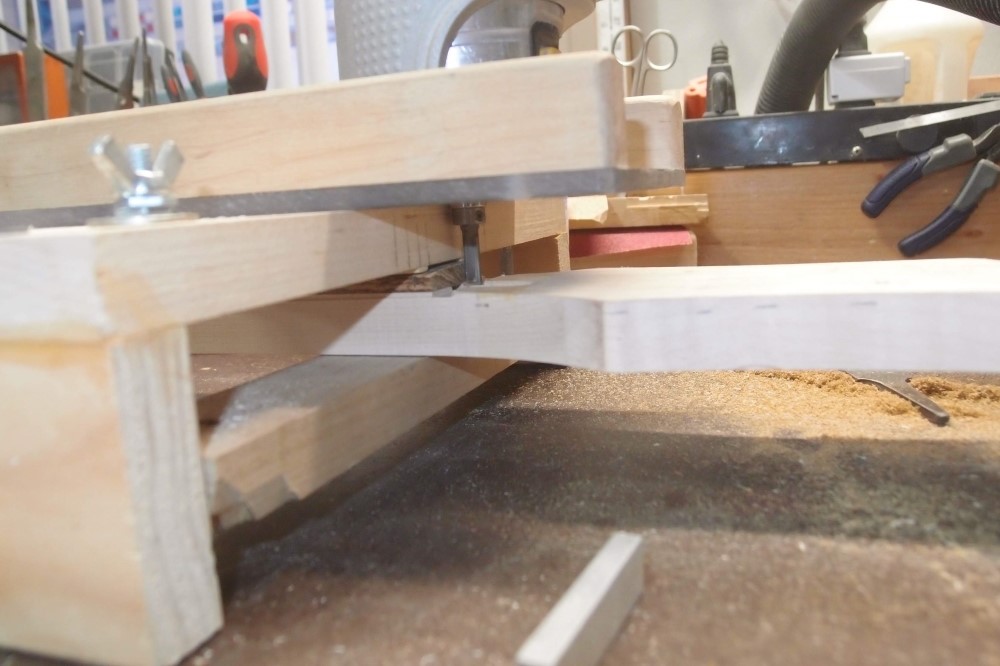
This is the business end.
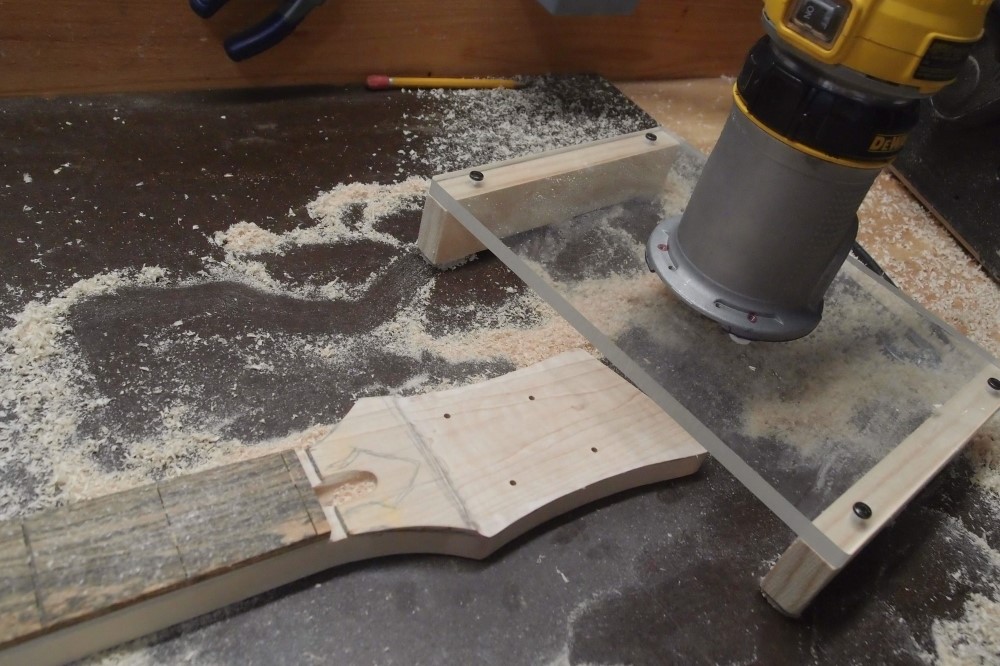
Using The Ultimate Router Plate (TM) for the first time to cut the headstock to thickness.
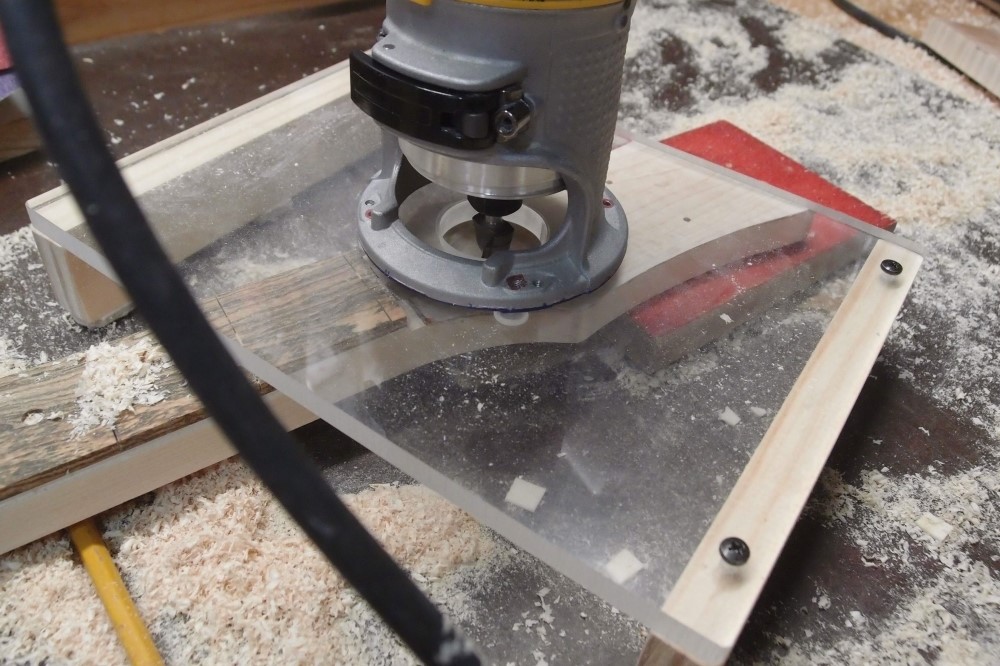
And again, with the neck blocked up to cut a ramp from the nut down to the tuners. This way I can use a flat truss rod cover. This is also much stronger than the typical short curve.
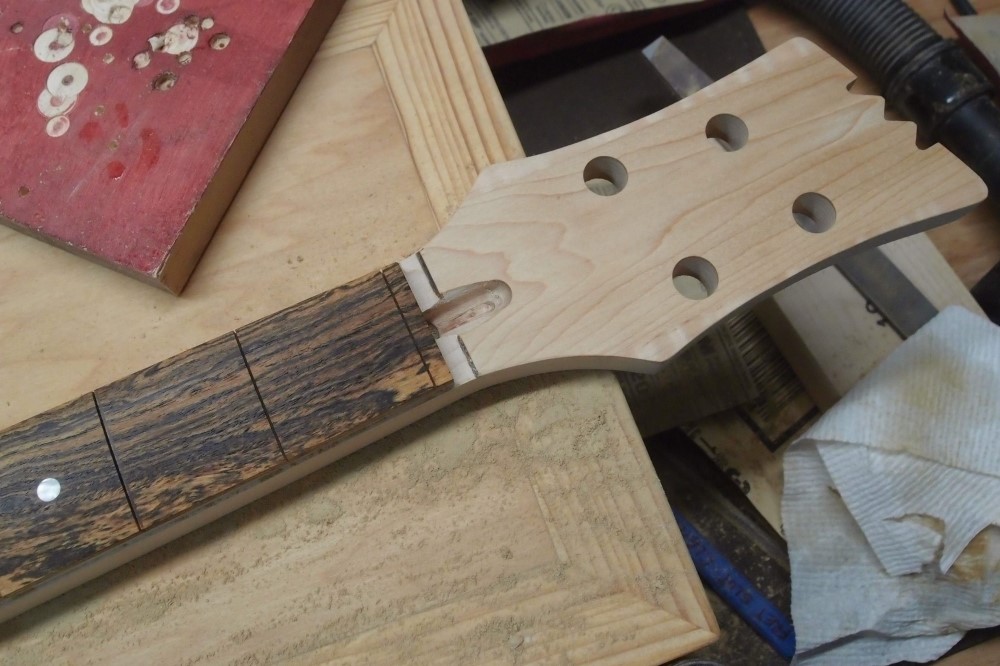
And there it is, sanded smooth. I'm going to install a stainless steel zero fret with an aluminium nut. Made a pretty nice "M" too.
Pearl dots, ready for binding.
Dec 21, 2018
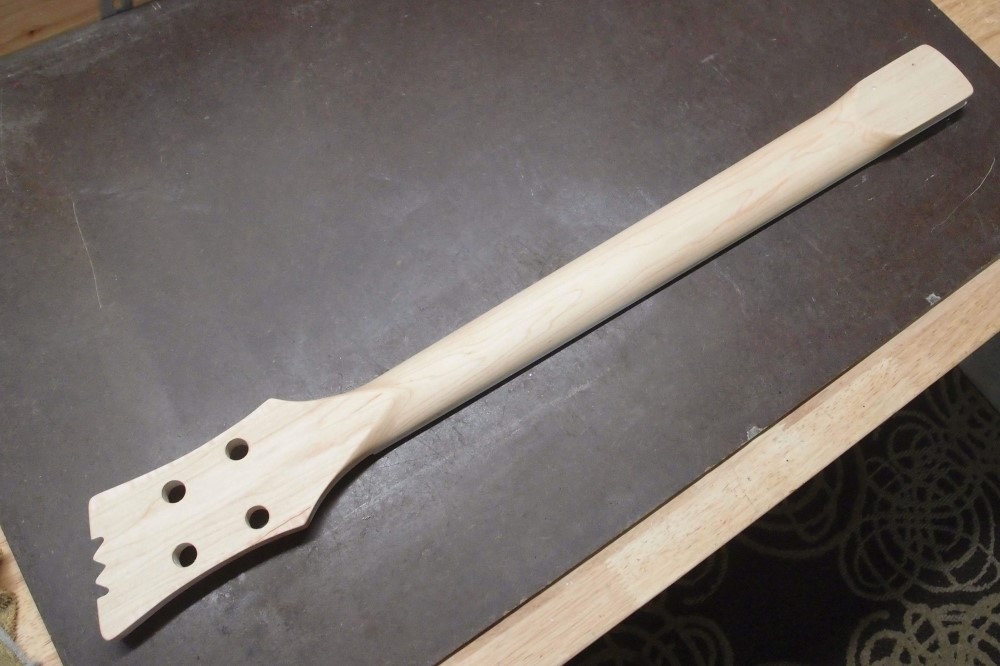
Well, this is a pretty good imitation of a guitar neck. The back was shaped as before, except this time I used the bandsaw to cut away the "corners", which saved a lot of rasping. Rough shaping was done again with the Surform, but this time I had a curved blade as well, which made short work of the headstock and heel transitions. My original flat blade broke, but for seven bucks I had already laid in a spare, and I went right back to work.
I'm going to get a complete second Surform, which will give me a new spare blade, and let me switch between round and flat blades without taking it apart. I'm also going to get a spare round blade, although the round blade sees much less use and will probably last me forever. This Surform stuff is all so inexpensive and readily available.
Another nice thing about the Surform is that it makes shavings, not dust that would fly all over. When cleaning up, I was grabbing tangled masses of wood slivers and throwing them in the trashcan.
When I had done all I could with the Surform, I took the marks out with round and flat Japanese files and replaced them with a new set of marks. Then I switched to coarse and fine files, each one removing the previous one's marks. The nice thing about files rather than sandpaper is that you automatically get nice straight lines, no lumps or dips. Finally, I did some cursory sanding and wiped it down with a damp rag for the pictures.
I am less and less enamored with the Japanese files. They are terribly expensive, yet will go dull with use. They don't really do anything that you can't do with the Surform and an array of regular files, and they are capable of making very deep gouges by accident. If you don't already have a set, I'd say skip them and just get some good quality files from Loothery Depot: Surform, coarse and fine mill files, and a round-back, in large and small sizes.
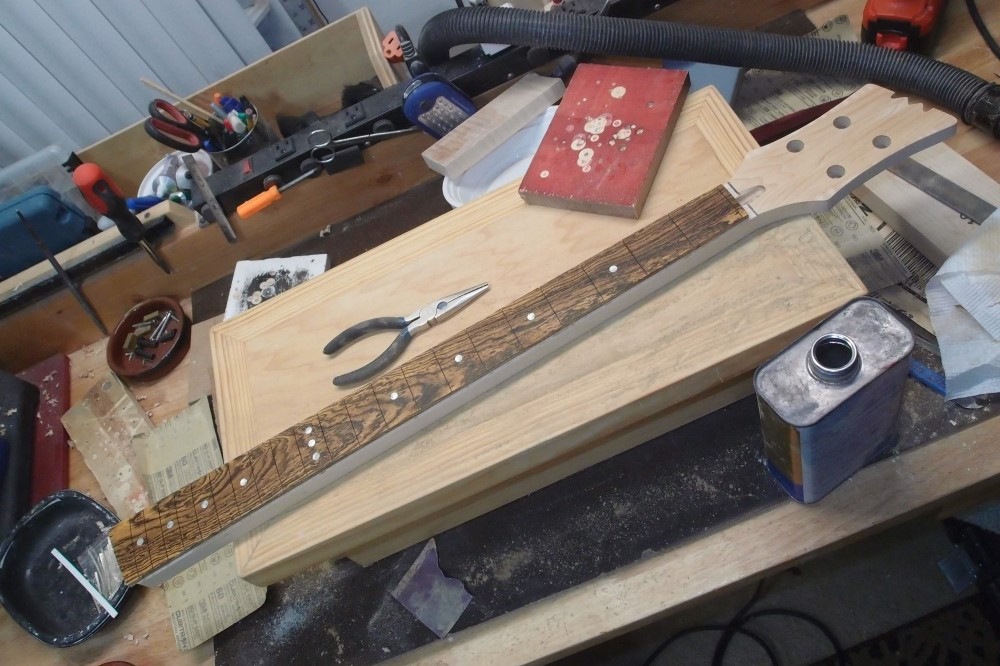
As before, the neck was clamped in the bench vise in various ways according to what I was doing. This lets you get both hands on the job. Find the previous neck build post to see.
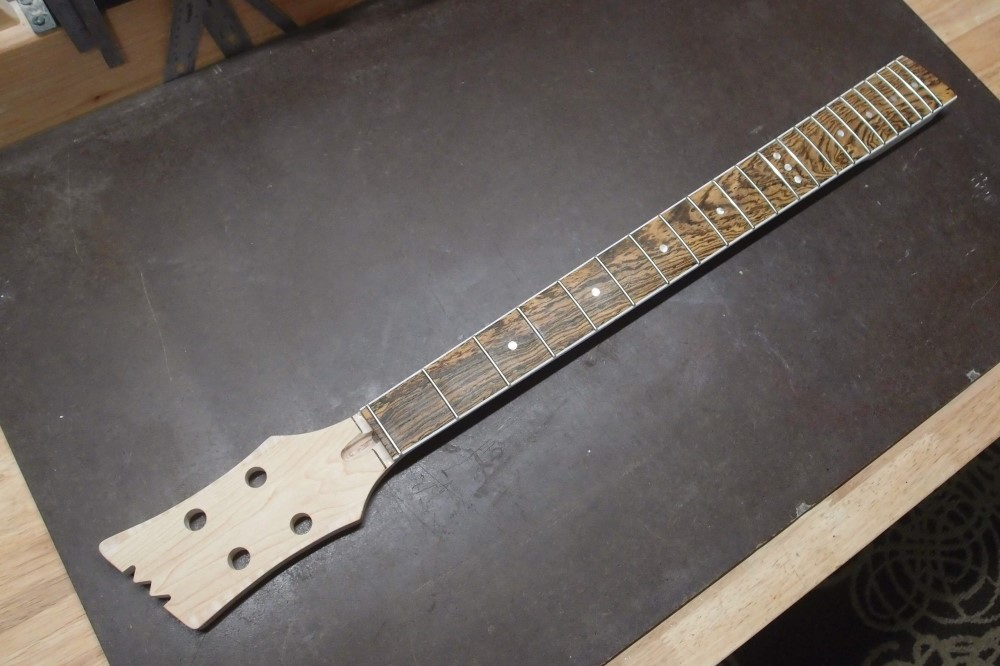
The steel zero fret wasn't all that much difficulty, but I wouldn't want to be installing 20 of them. Soft nickel wire is much easier to work with. I gave it my now-standard aluminium wire side markers.

So here's what I'm working toward. Certainly not authentic, but lots of small Moserite-y touches, like:
- body edge carve
- neck right up against the pickup
- slanted pickup ( both, in my case, and the bridge )
- neck bound on sides only
- zero fret with metal nut
- triple dots at octave
- switch in lower horn
- "M" headstock with Mosrish TRC (soon)
- maple-maple wing joints on headstock
Not so authentic:
- lipstick pickups
- 1/4" fretboard markers ( Mosrite used tiny side markers on the fretboard )
- Fender-style neck mounting, although hidden
- black Strat knobs, because I have a pile of them
- single string bridges, Mosrite used something more like a Tunomatic/tailpiece
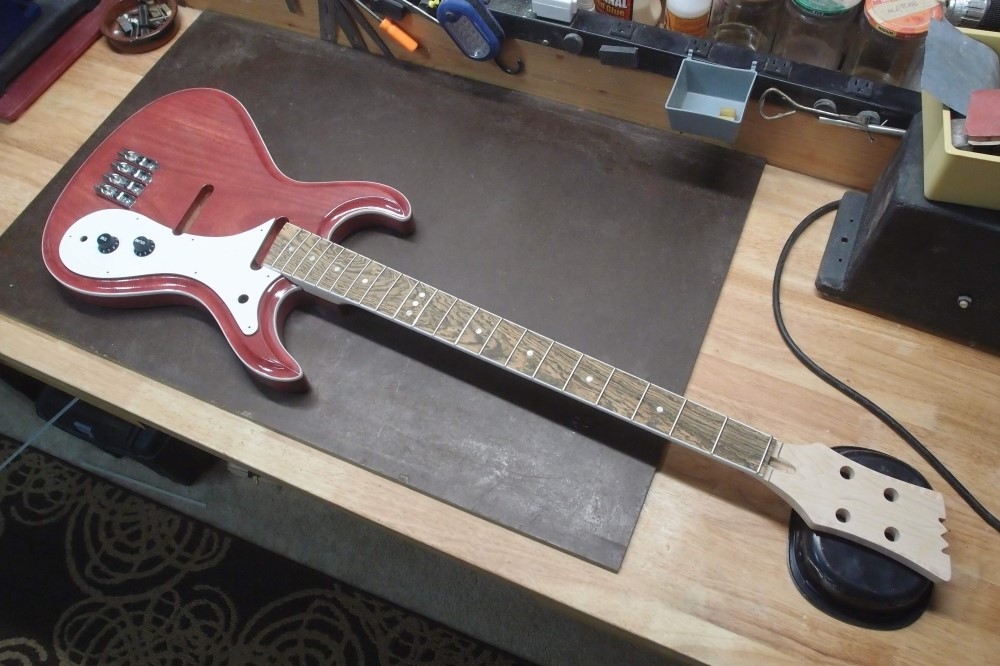
The body colour changes with the lighting, sometimes it is brick-red like the can says, sometimes it is bloody, and in very bright light it turns almost pink. Once again, that is a 32" neck on a guitar body.
I roughed out the "M" with the scroll saw, using it more as a power rasp than a saw. Then I finished it with files. The bottom curves are the chainsaw file. It took some care to make it look good from both sides.
I'm pretty bushed from all that handwork, I need a break.