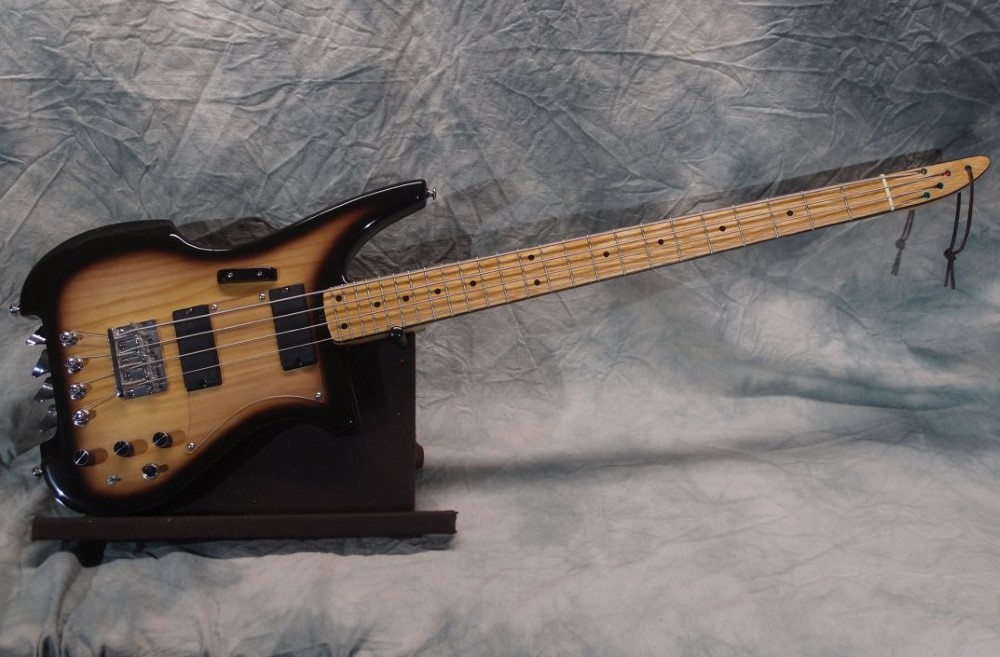
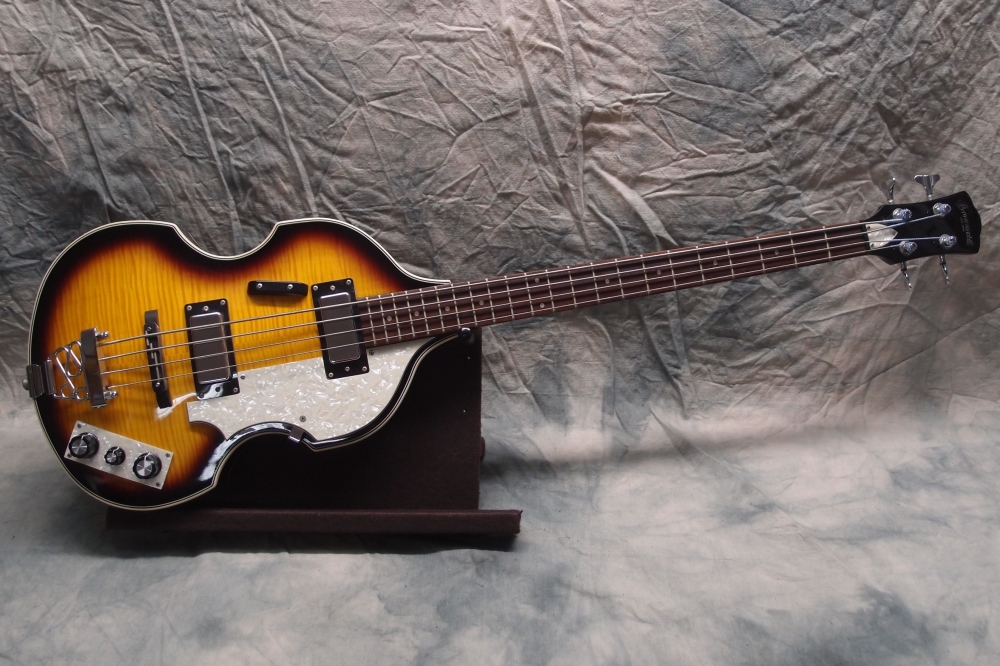
Mosrite Bass (1/10)


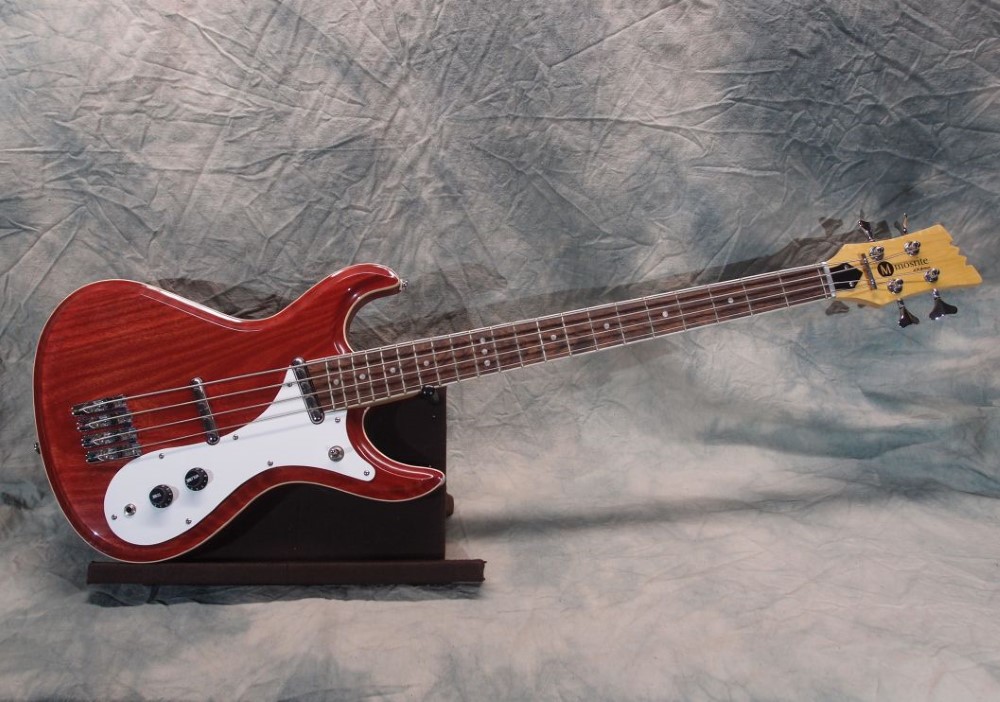
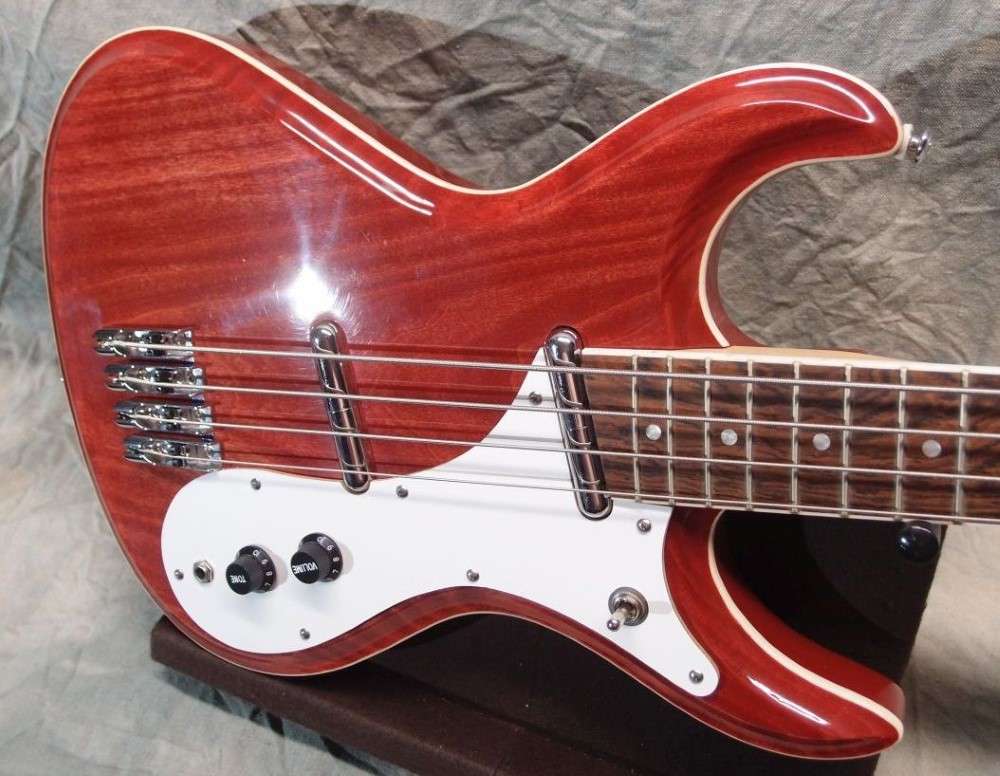
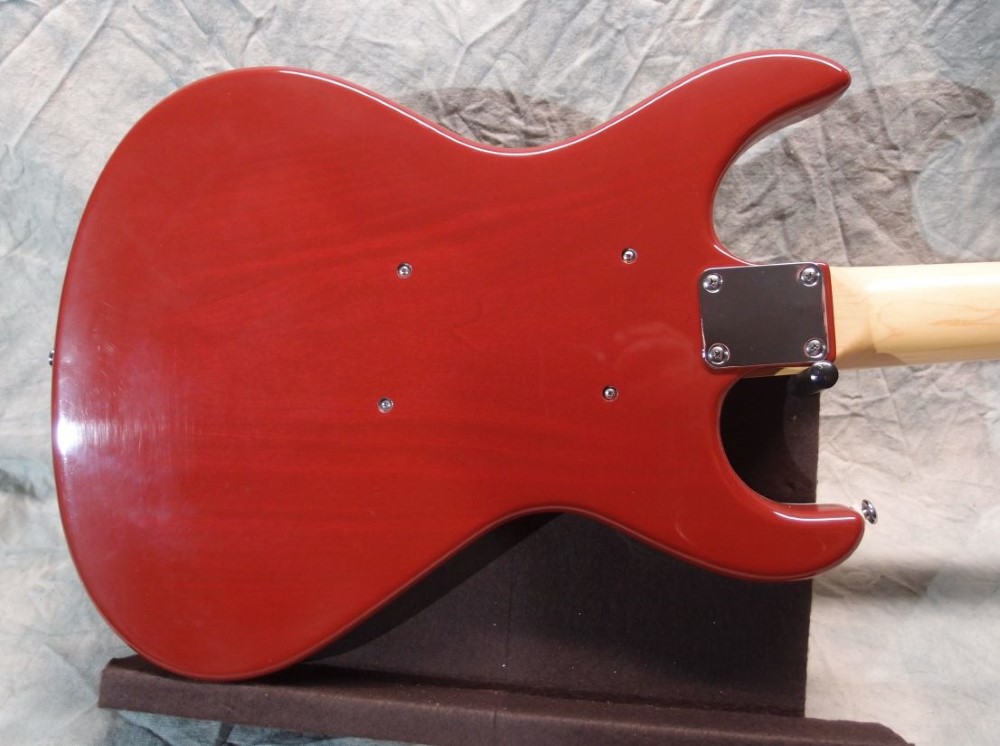
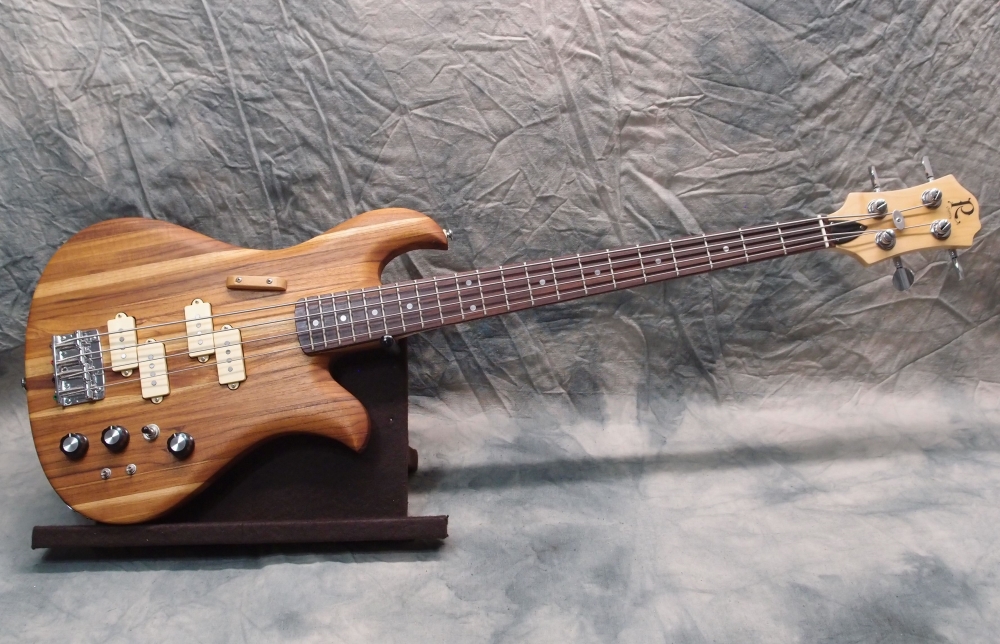
This one went through a long and torturous build process over almost two years. All I can say is don't believe the "advice" you find on talk_ass. However, in the end, it turned out to be a pretty nice instrument.
Notable Features and "Firsts" ( for me )
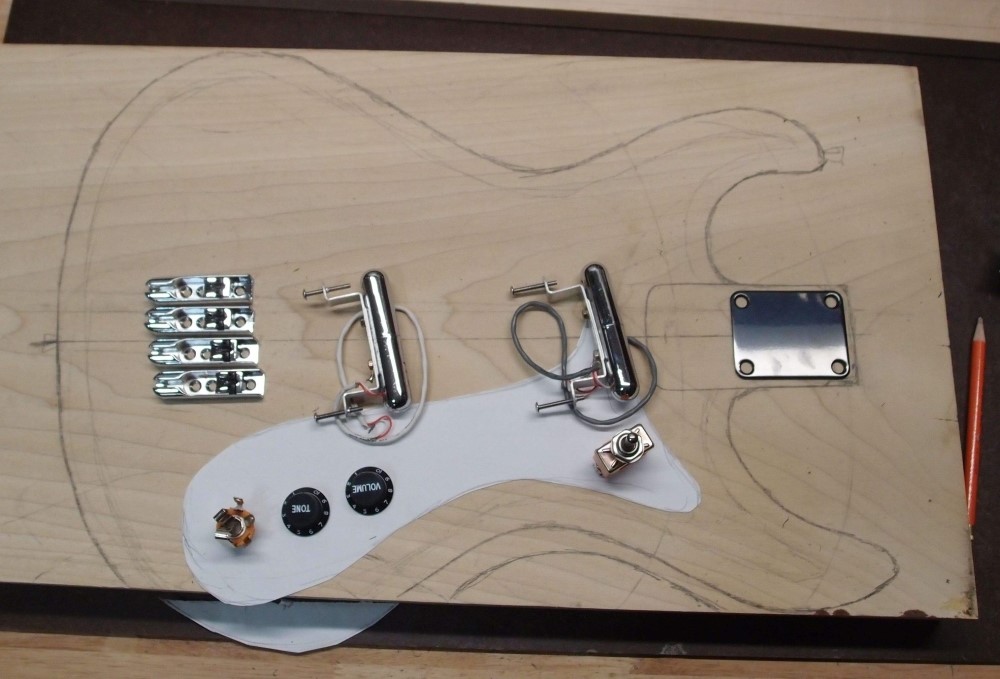
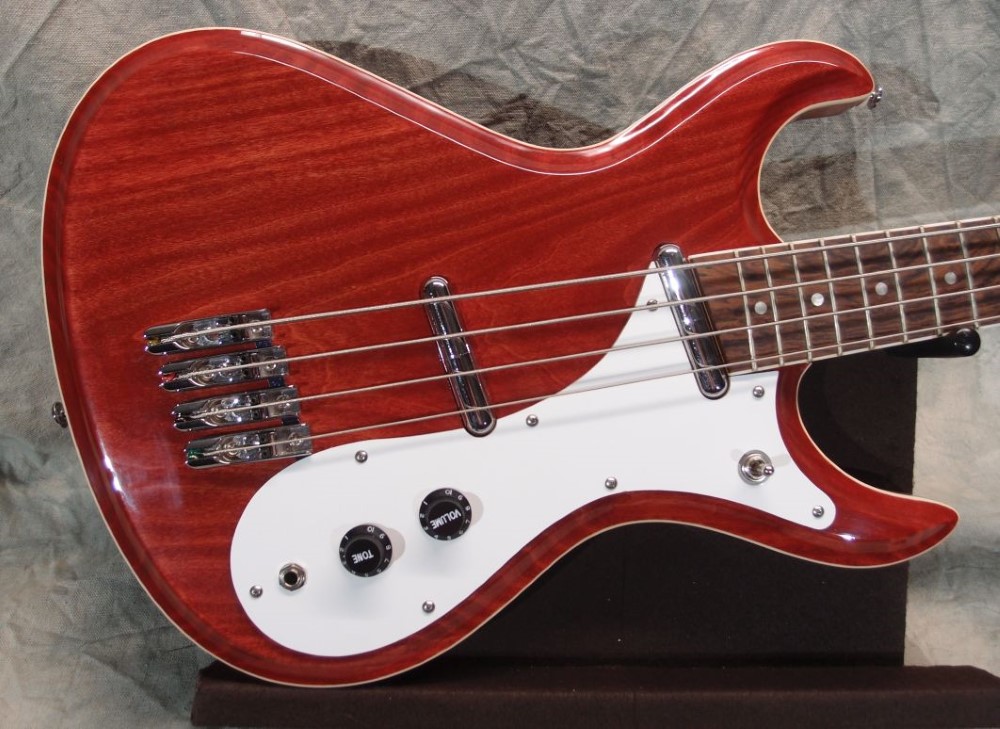
- individual bridgelets
- dry-erase pickguard
- "German Carve" body with binding - nice
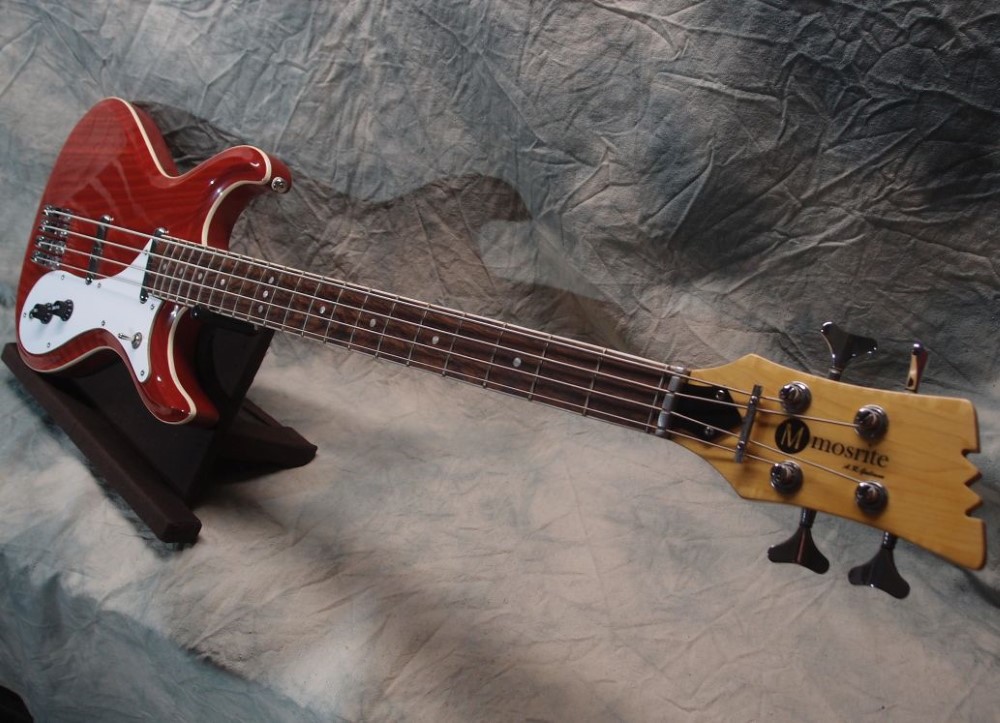
- Bocote fretboard
- red stain & tint in poly - nice
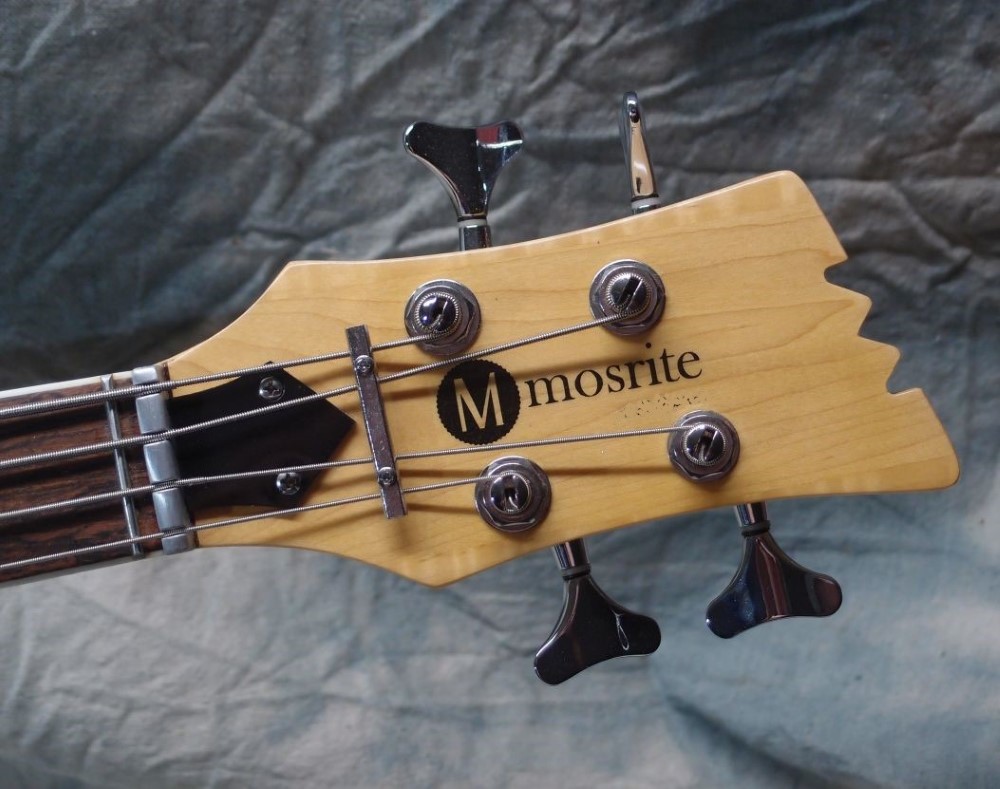
- zero fret with aluminum nut
Faults
- neck has slight twist
- headstock required string hold-down, should have been angled
- slight glue-up seam shows through finish on body
- disastrous water-based finish test
This will be my last poplar body, as it is my last big piece of poplar. Poplar is too soft. The Radiata glue-up method works really well for a solid wood body, and is also cheaper. I like this 'barn red' stain from Home Depot. The German carve is a nice touch that is easily done with the right router bit.
The individual bridgelets work ok. Compared to a simple Fender-style bridge, they are more difficult to install and adjust, and have less adjustability. The zero fret is relatively easy to do, just use an extra-tall piece of stainless steel fret wire.
It plays great. The sound is tight and punchy. That is a result of pickup placement with very un-muddy lipstick pickups. I did not install a thumbrest as I want to get used to using the E-string instead, and this one will force that.
Nov 27, 2018
Nov 29, 2018
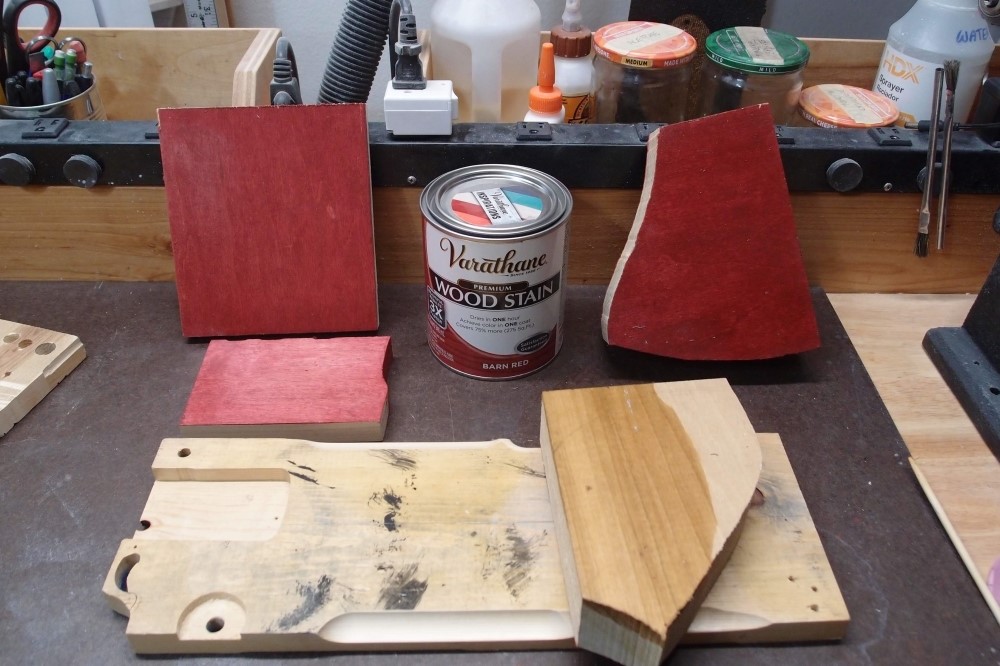
This is the only 'red' wood stain I have ever found that actually is red. All the others merely have red in the name, and are brown. IMO, the entire wood stain business is BS, there are basically two colors: light brown and dark brown, no matter how many different cans they put it in. In fact, make that one color, just brown. Oh, and natural, my favorite, which isn't really a color. And this stuff. Not the most pleasing shade, but it is red, real red. I found this while inspecting the new selection of products at Home Depot since Minwax disappeared.
On the right is a scrap of rough poplar that I stained and poly'd. On the left is a similar piece of birch plywood, and below that is a piece of maple. As usual, the poplar sucked in gobs of stain and blotched slightly, while the maple all but repelled the stain, even though I roughed it up beforehand. The plywood is nice and even. In all cases, this stain almost obliterated the wood grain with just one application.
Varathane poly and stain are much thicker products than Minwax. They cover much better, but leave much less latitude in application. Earlier I said I didn't care for Varathane spray poly. That was mostly because of the way it gushes out of the can ( all Rustoleum products seem to do that. ) But you can make use of that, it is much more efficient for undercoating and filling, then just apply a top coat of much more expensive Minwax. Speaking of which, many of the Minwax products at Lowes are all much more expensive than the equivalent Varathane products at Home Depot.
While Minwax has no color even close to this red, Varathane has no poly/stain that is true black. But both have a very dark 'Espresso' color that I have been using and like a lot. I filled that can up with rocks to conserve it. My can of old black finally went bad and I threw it away. Once it starts to gob up, it will jam up a sprayer continuously, not worth bothering with, even if you try to filter out the crud.
( My free robot vacuum just woke up and is trying to push a cardboard box across the floor. It's much dumber than the dog ever was. But it does a pretty good job. )
So, not particularly liking this shade of red, I started experimenting. First I got out my Mixol tints. These are great for tinting poly and spraying sunbursts. I have two shades of red, a bright red and a darker brick red, that can be mixed to get something nice in the middle. First I found out that Mixol tints will not mix with mineral spirits, they just sink to the bottom in a glob. Interesting. They're supposed to mix with anything. They do mix with alcohol and water, so I tried alcohol. The result looked nice and red, but barely stained the wood pink. I added some of the Varathane stain, and that just made a mess, the stain did not mix well with the alcohol. So I threw it away, and put away the tints.
There are two further things I can try: diluting the stain, and pre-treating the wood. My initial test was as quick and dirty as you get, and the totally wrong way to apply stain, especially to poplar. I knew that, and I have made use of it to turn poplar into walnut, actually better than walnut. I don't know what diluting the stain might do, maybe nothing, so I will try pre-treating first. The best pre-treatment I have found is good old natural stain. Several coats will gum up the wood pretty well, so that when you apply the color it has nowhere to go. The same stain that made dark walnut makes honey brown this way, which is why I say the wood stain industry is perpetrating a fraud with all those different colors. This will take some time for different coats to dry, so that's all for now.
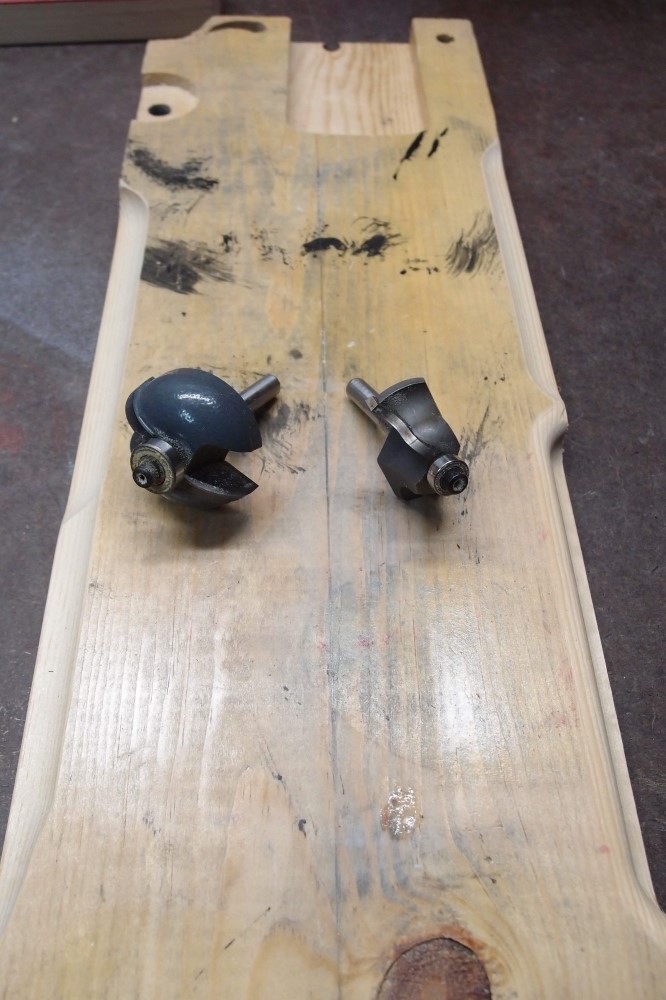
Some test cuts with some router bits that I have seldom used. The one on the left has an OD of 1.5" and a 1/2" bearing. The ogee has an OD of 1.4" and a 3/8" bearing. Poor man's German Carve?
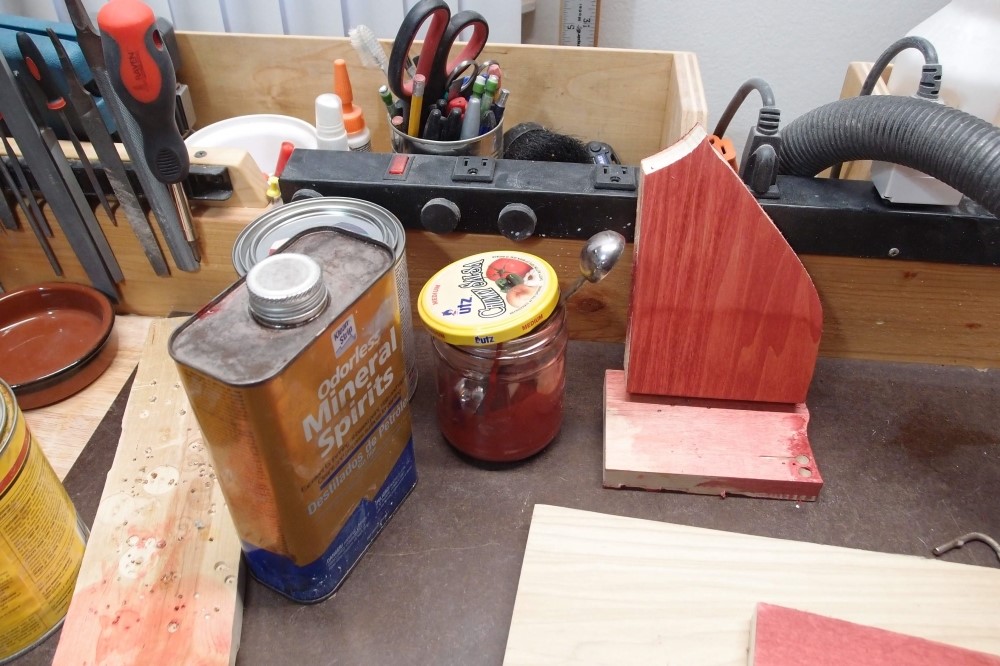
This is much better. This stuff handles much better at 1:1 dilution with mineral spirits. At full strength, it is almost like paint. This is one of the previous test pieces, belt-sanded clean. The sanded surface also makes a big difference, my first test was really absolute worst-case, not realistic at all. This piece has two coats on the bottom, one on the top, no pre-treatment. Nice wood grain, poplar color completely covered. Color builds with additional coats, the way stain should. I can use this. I have several pre-treated pieces drying, to see what effect that has.
Time to start experimenting with non-ambering water-based polyurethane. This is not as red as I would like, wouldn't want to turn it orange!
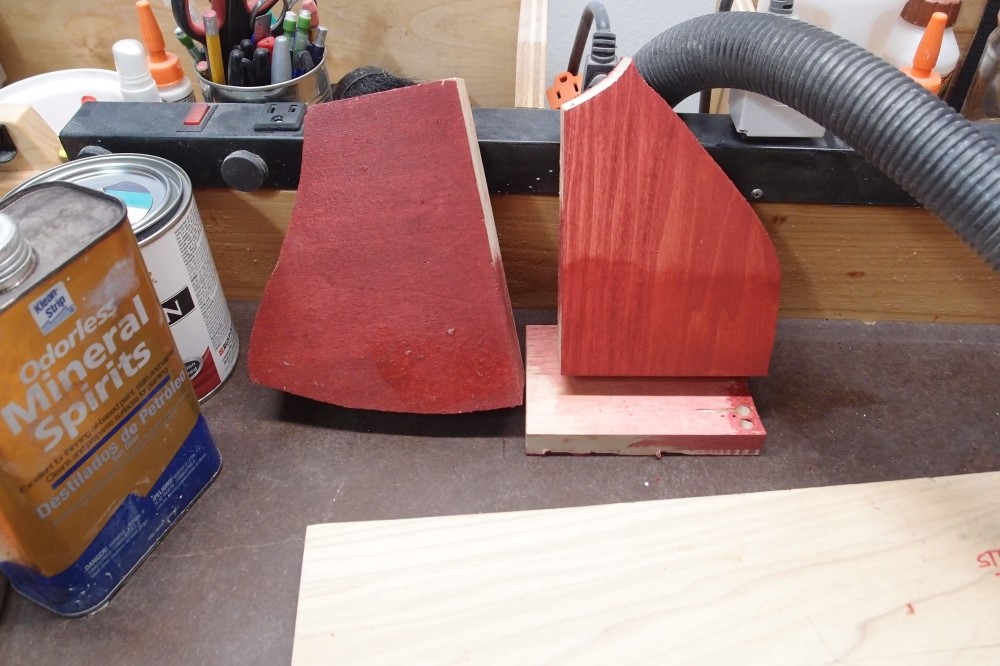
Four coats on the bottom, three on the top, with the original ugly piece next to it.

Steven S:
January 30, 2022 at 10:32 PM
I really enjoyed reading your build. I have had the same shitty results every time I try that water based crap. I really want to see someone who has gotten good results from the water crap.