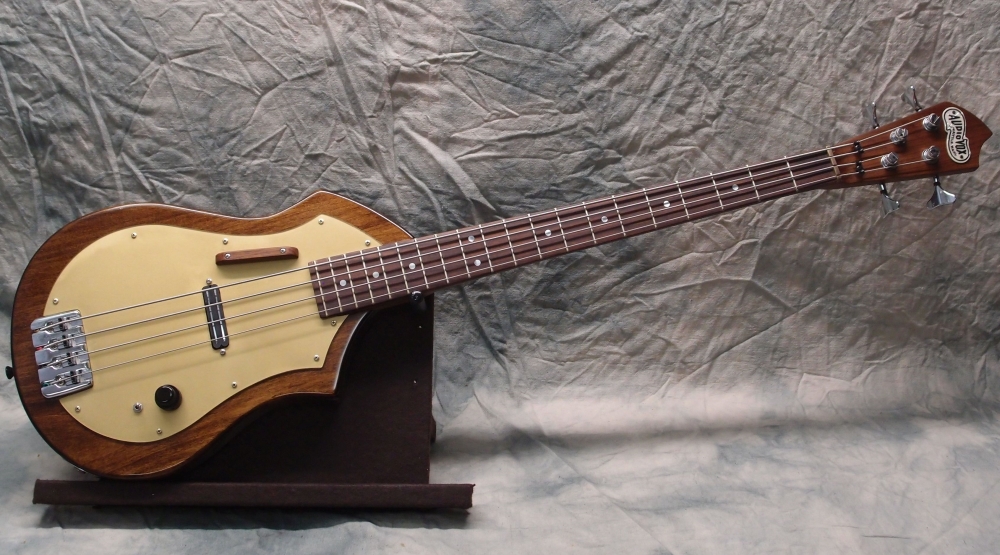
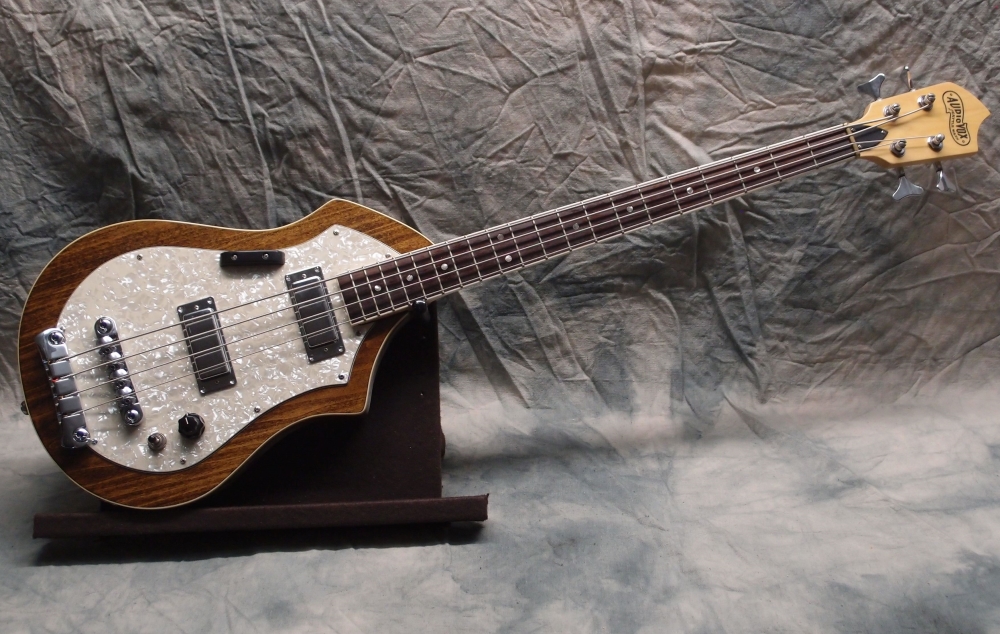
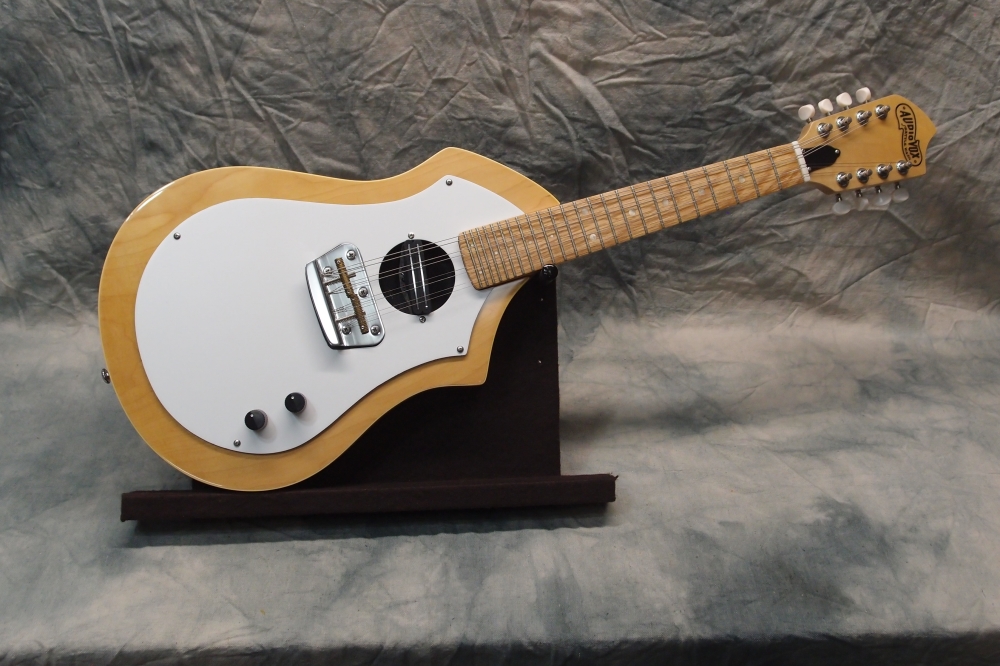
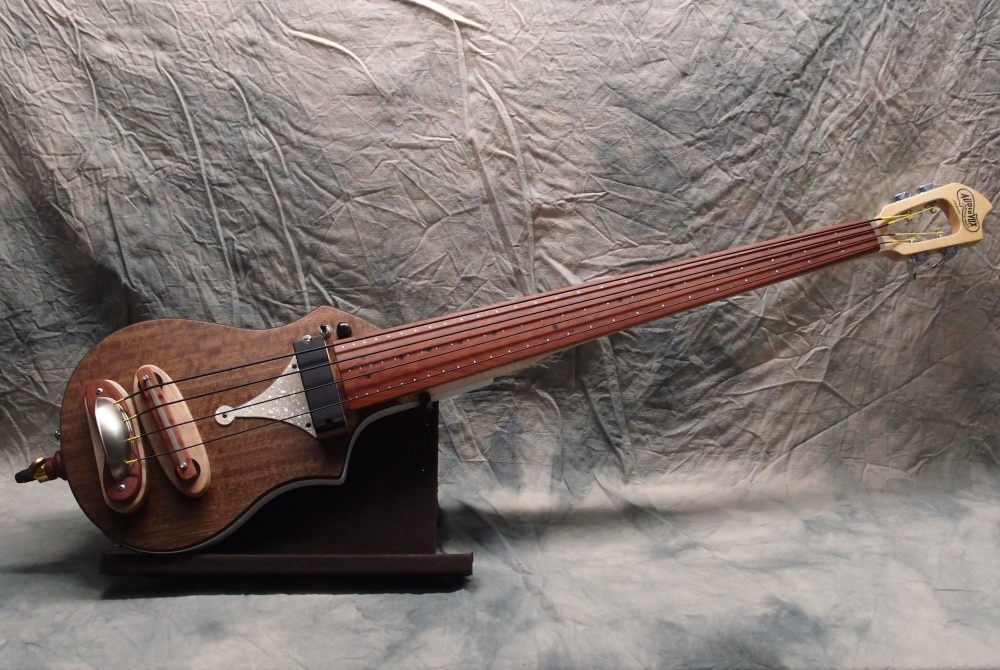
Audiovox Electric Upright Bass (7/9)
Feb 26, 2019
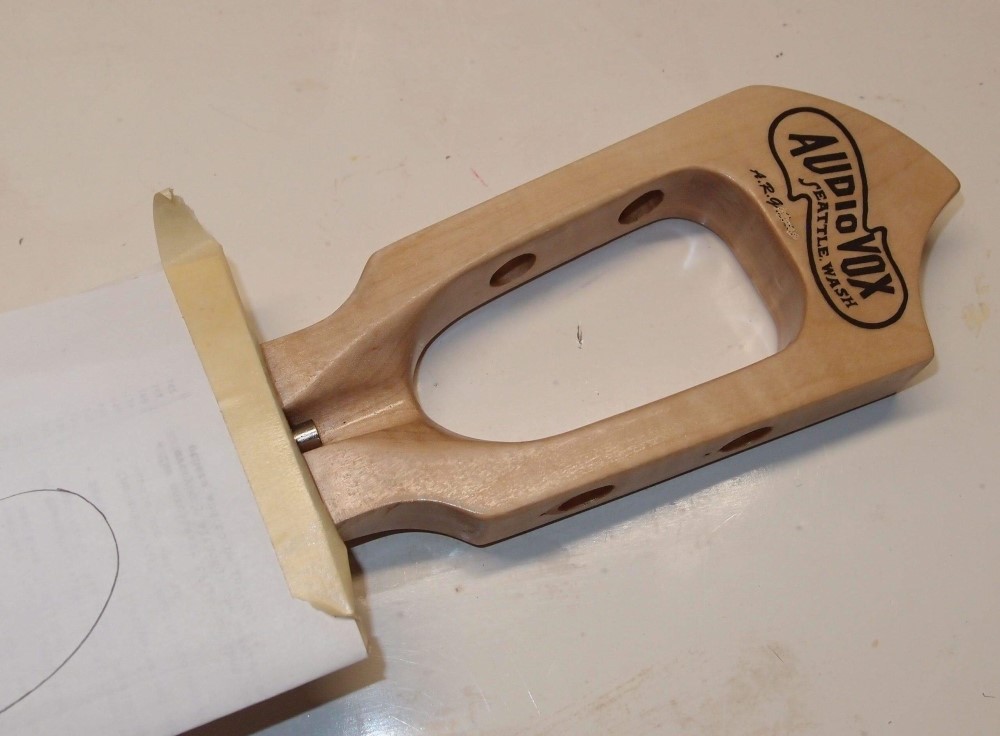
Nothing says "home build" like a naked headstock. Making decals like this is really easy. Make up your own logo, or use an existing one. You can also buy beautiful decals online. I don't mind putting "Fender" on a Fender-style guitar. As long as it is obviously not a real Fender, I consider it a tribute. I'm not trying to pass off any fakes.
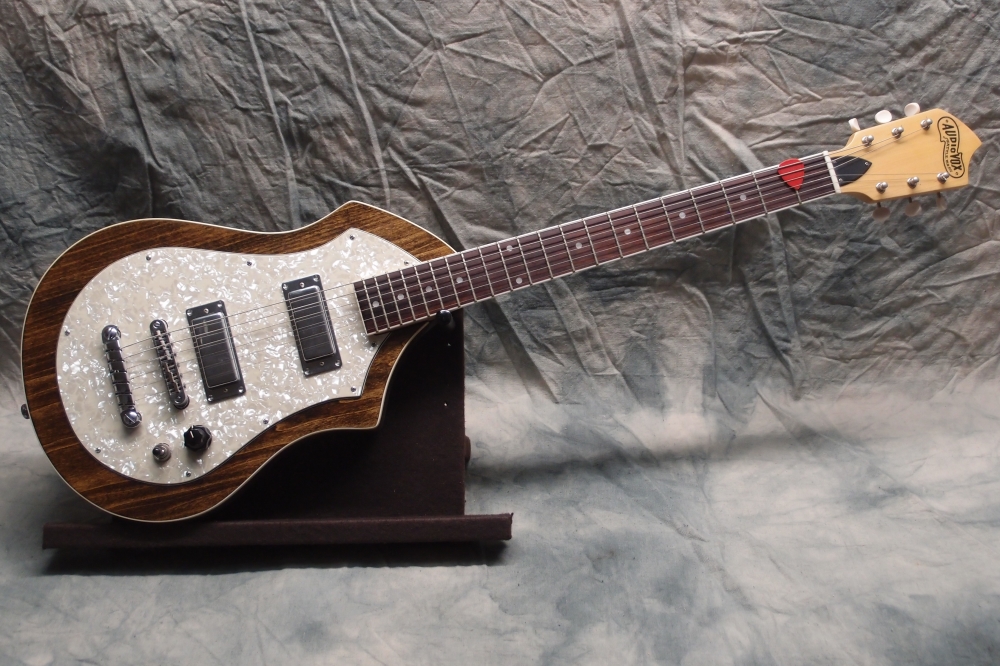
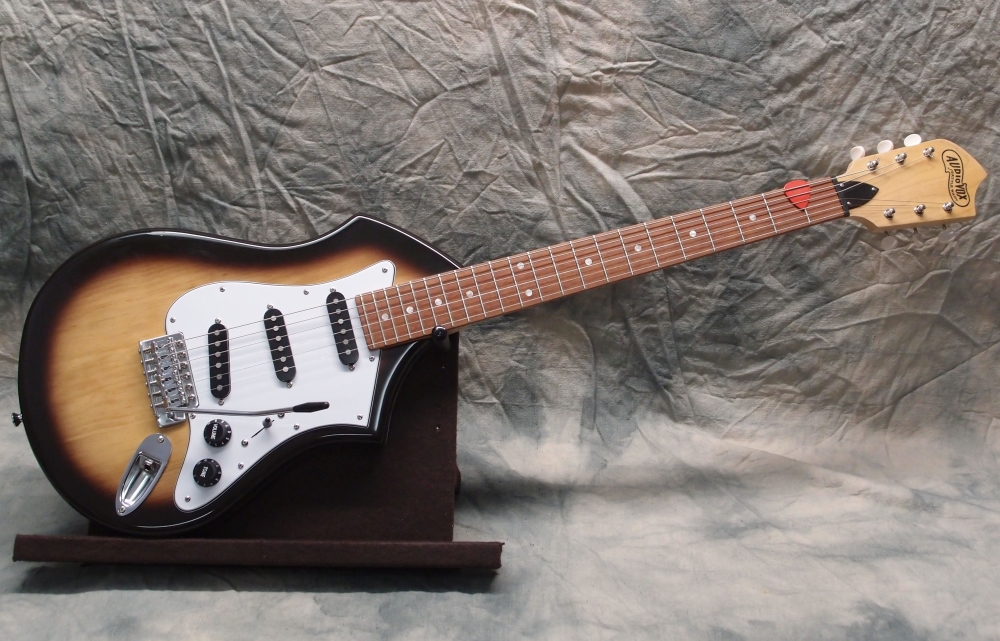
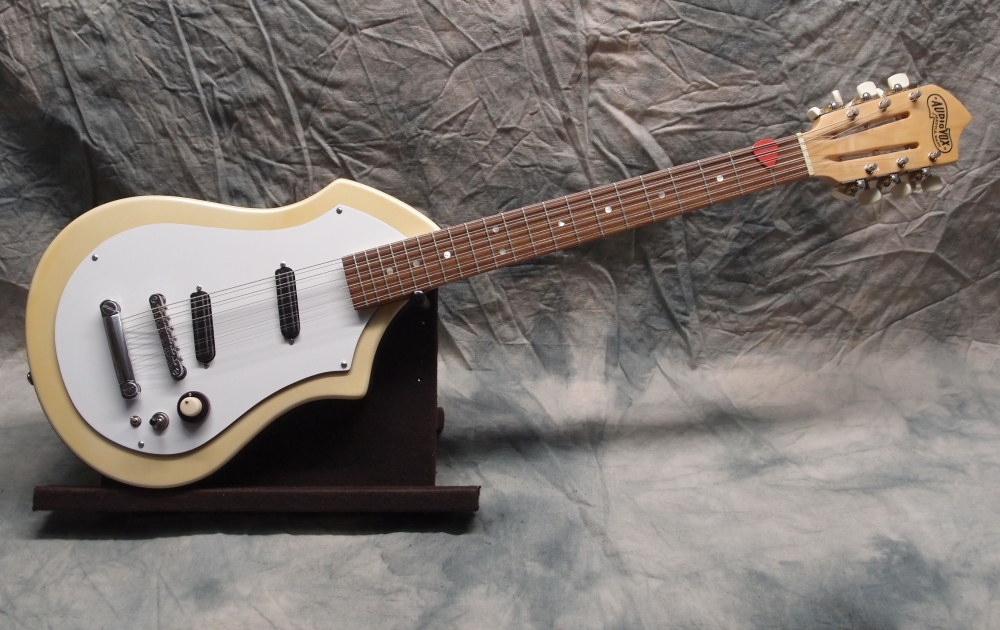
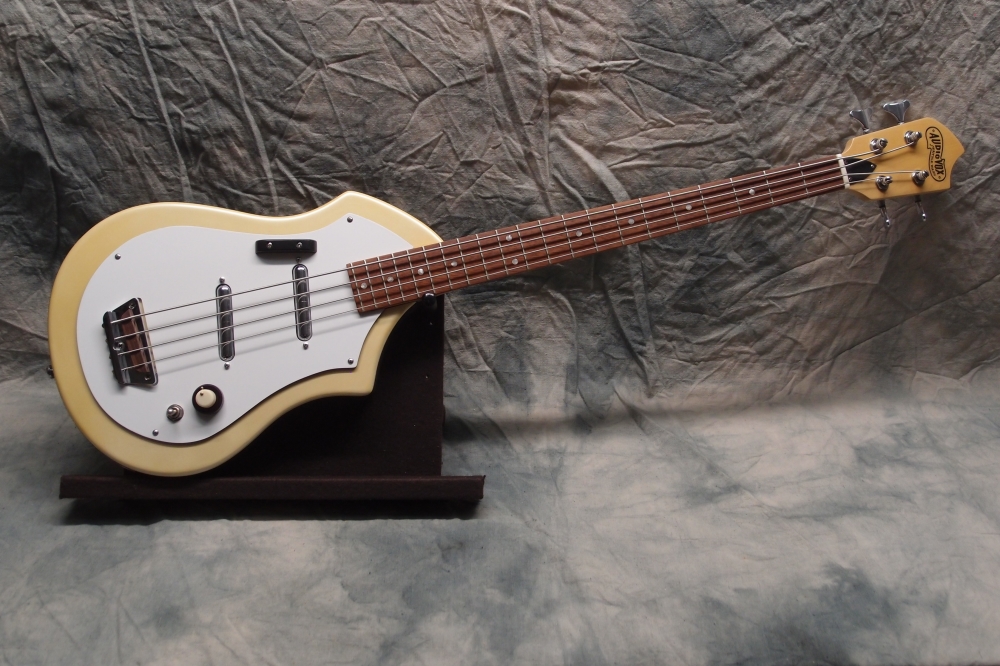
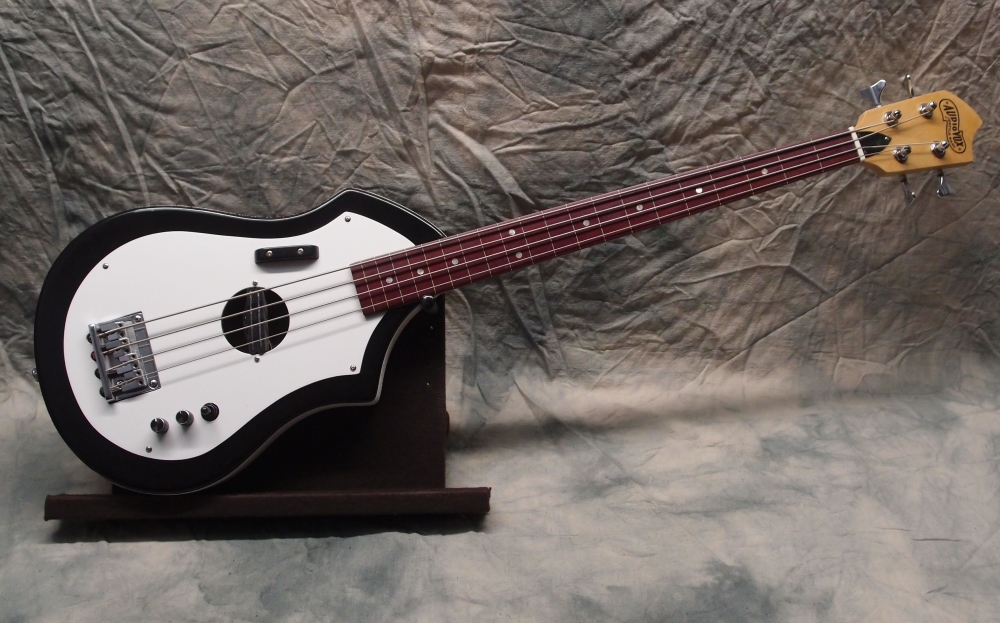
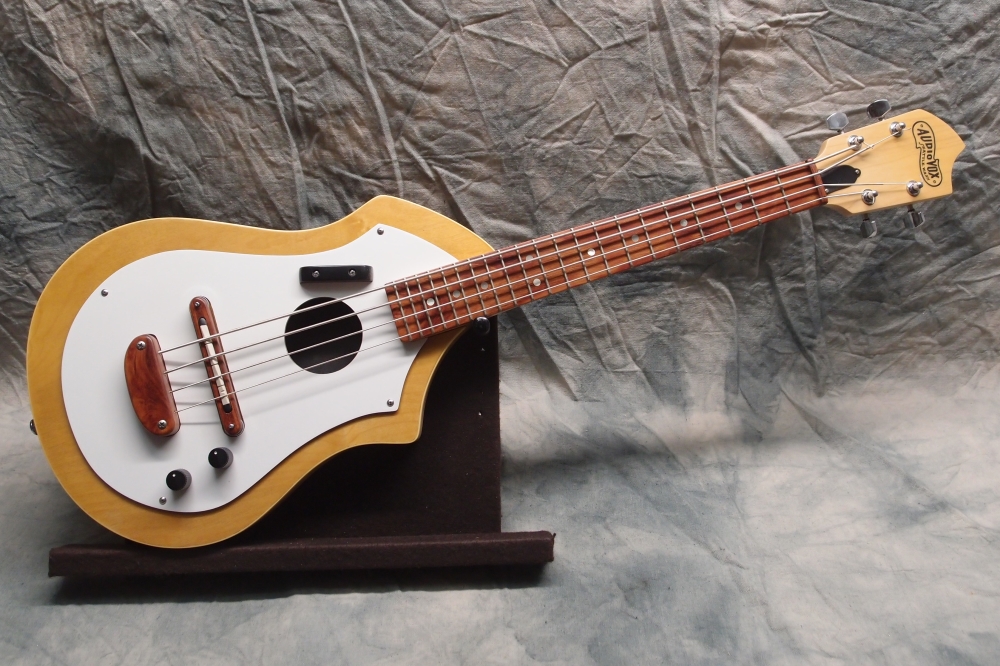
This is the first Audiovox that I have signed. This would be serial number 10. I've built this design as everything from a Uke to a Mandolin to a Strat, but this is the wackiest one yet. Audiovox basses have a really interesting history - look it up. They beat Fender and Gibson by decades, only to have their pioneering pickup technology pirated by Rickenbacker.
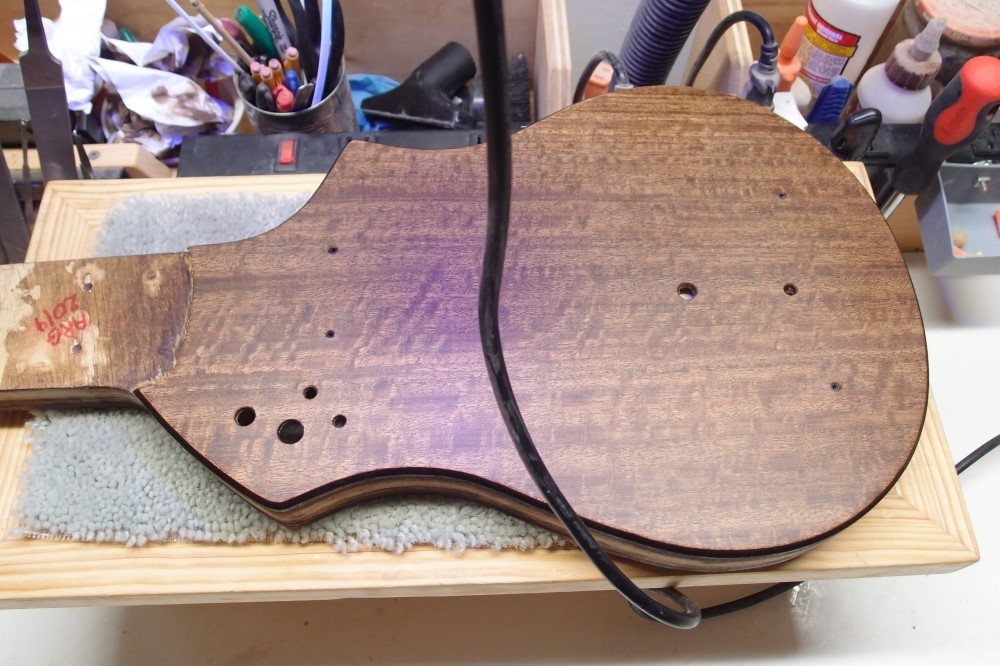
Here you can see the purple curing light on a final coat of UV-poly. The front has a finish on it that equals any factory. The surface is as smooth as Formica, and this veneer started out as the roughest stuff I've ever seen.
Unfortunately, this UV-cure polyurethane has been a huge and expensive disappointment, from the start right up to now. It seems to be repelled by any surface you put it on, including itself !!! In this case, after degreasing with alcohol, I tried rubbing a final coat onto this body, only to have it vigorously bead-up, no matter how thin I put it on and how much I rubbed it. Finally, I wiped it off with a clean paper towel, leaving not much more than the smell. Hopefully, some of it got caught in all the micro-scratches from sanding.
There were still some thin spots in the finish on the back that you could see if you played with the light. You really had to know where they were and look for them, but things like that bug me. I sprayed a few bursts of rattle-can satin poly on the back and rubbed it in with a paper towel, and finally got the results I wanted.
At any rate, the piece didn't get ruined by these finishing experiments. The satin finish on this body looks really nice, even if it was an accident.
Look Sharp!
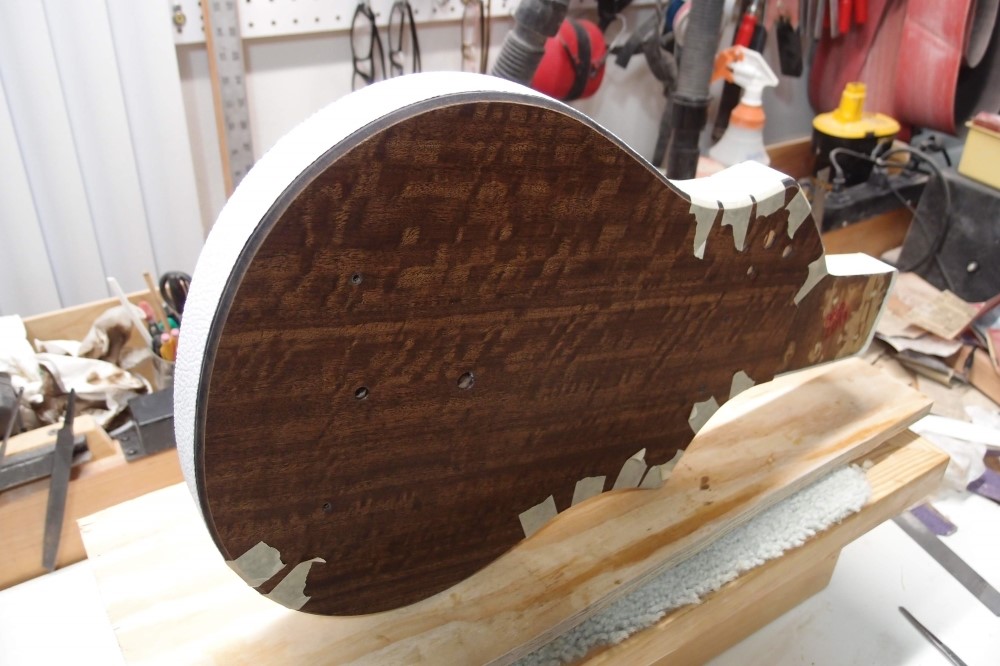
White binding was definitely the best choice. Danelectro-style Tolex, one-piece, applied with wood glue, small brush, damp rag, tape. The seam is hidden under the jack plate.
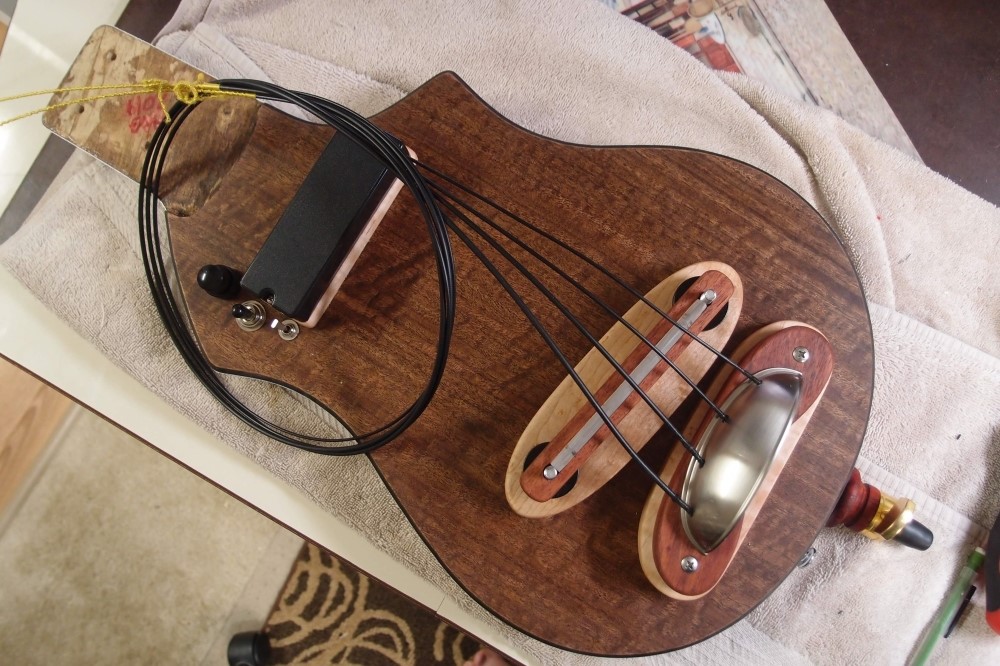
The wiring is all in and working. I'm not going to show my un-beautiful soldering. The controls are:
- volume (top) tone (bottom)
- pickup selector (parallel)
- series/parallel mode for humbucker
Inside is one of my pre-built piezo buffers. Pulling the wires through was relatively easy, thanks in no small part to having access through the battery cavity. All the wires pass through a bend there. The binding came out nice too. The only thing left is to finish the neck, my usual Minwax satin poly.
The endpin ( or guitarist poker, as I am starting to think of it ) is some sort of red wood that nicely matches the rest. The whole thing has a nice unplanned coordinated color scheme. I put all the parts on a scale, and it comes to just under 12 pounds. If I had known it would balance so well, I could have chambered-out a pound or two, but too late now. It's primarily a floor-stander anyway.
Feb 28, 2019
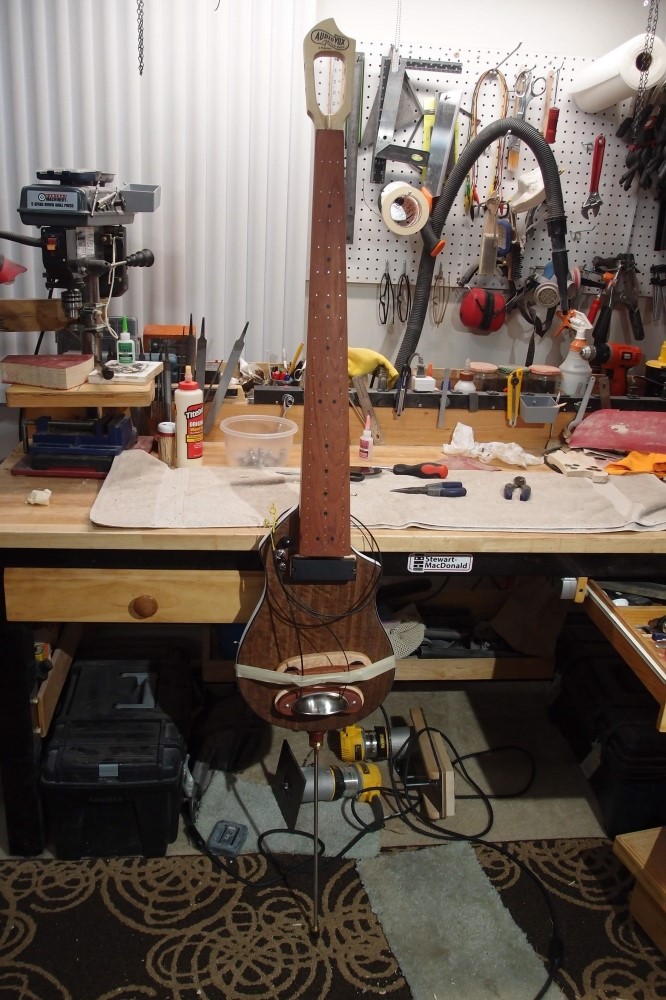
Test assembly. I realigned the neck, and then everything else to match. Everything is a tight fit, from the electronics to the strings. I sanded the neck and the logo. One more day to dry, and then I can put on the final coat of poly.
It stands 5'7" fully extended. The neck and controls fall right to hand. Apart from weighing 12 pounds, it should also play reasonably well on a strap. Pull the peg in, and you can play it sitting down.
Mar 5, 2019
The finish on the neck is hard enough to handle, so I put the upright together and strung it up. Immediately I noticed a problem - very low output from both pickups. That leads me to suspect the volume control. Frequency response is good, plenty of low end.
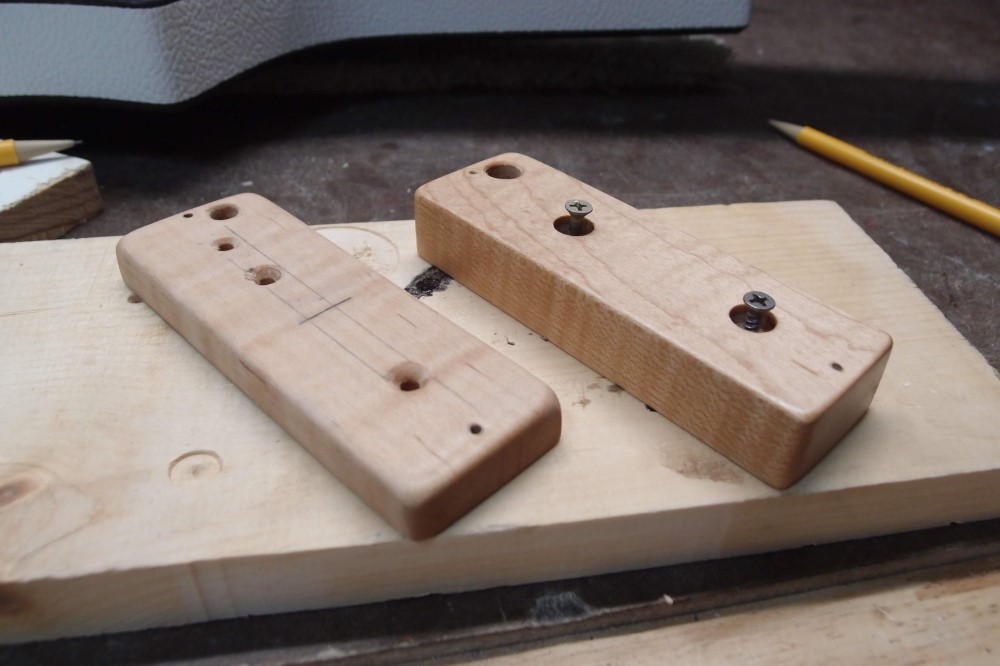
However, it is clear the magnetic pickup can be mounted higher, so I'll look at that first. I had to break a bunch of solder connections to get the pickup off. Then I fished around in the tonewood box and came up with a piece of 3/4" maple and made a new taller mount, using the old 1/2" mount as a model. More maple means more brightness, exactly what you want in a bass, if you believe that sort of nonsense.
This brings the pickup right up to the level of the floorboard
fretboard fingerboard. I'll let the Tung Oil on the new part dry a bit before I reassemble it. Then I can test the magnetic pickup in isolation and figure out what is going on.
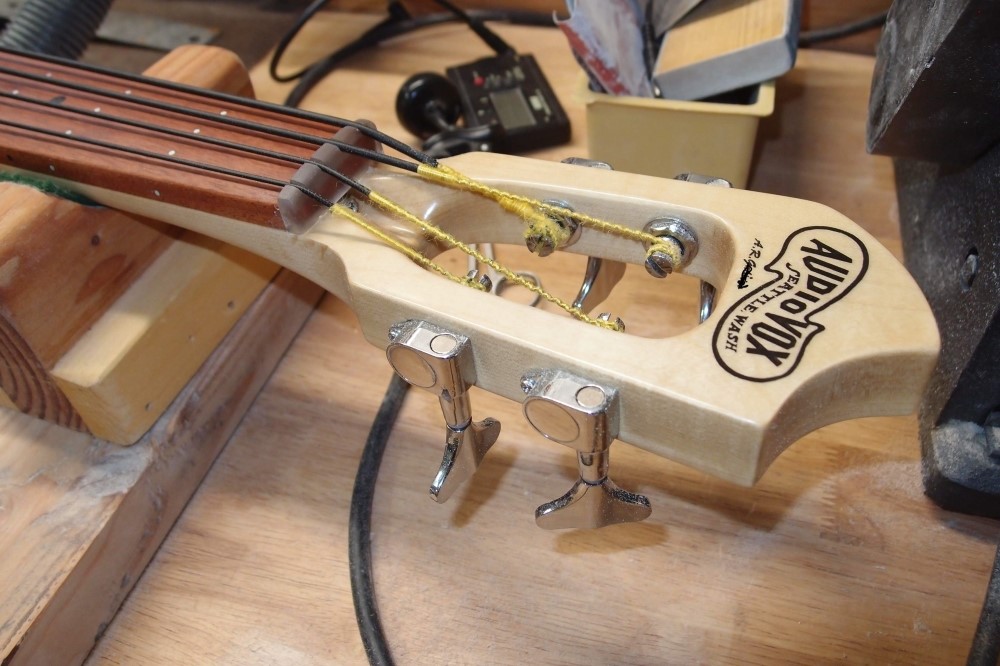
Detail of the assembled headstock. A bit of oil on the acrylic string nut and it went back to transparent, pretty neat. Notice how much extra string length I have. This whole thing is a very tight fit.
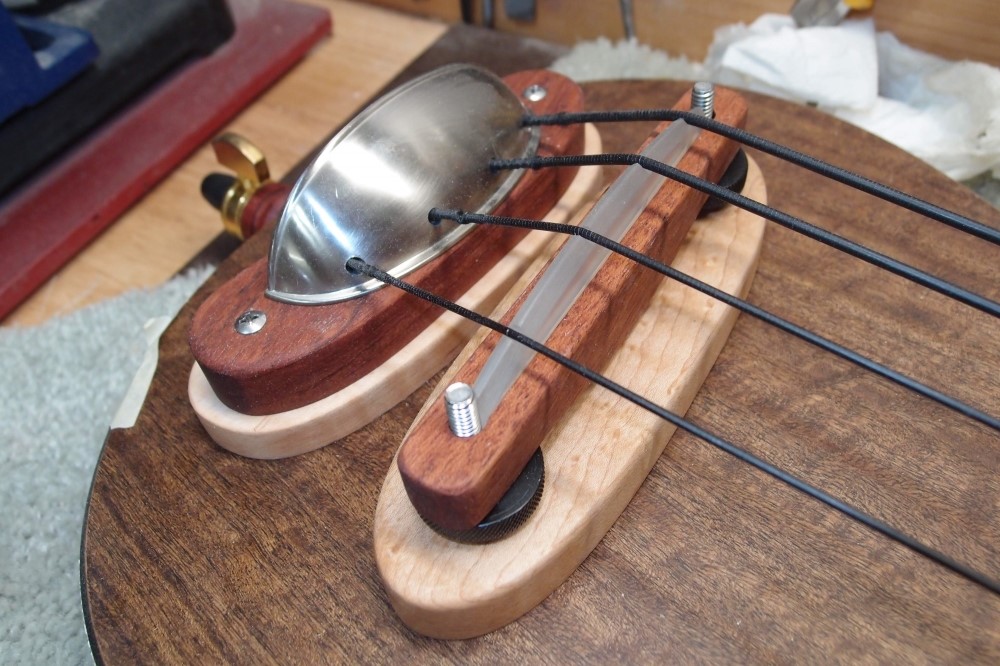
Bridge, tailpiece, and endpin. The drawer pull didn't shatter when I tensioned the strings, so this just might work. I love the big photographic adjuster nuts on the bridge, I already got a second set for someday. I rubbed some oil on the saddle to make it transparent like the nut. I also cranked some reverse on the truss rod, which added a bit of relief until the neck sets into place.
Unfortunately, until I get the electronics issues sorted out, I really can't say what it sounds like. The low output could also be due to the tapewound strings, which I have never used before.
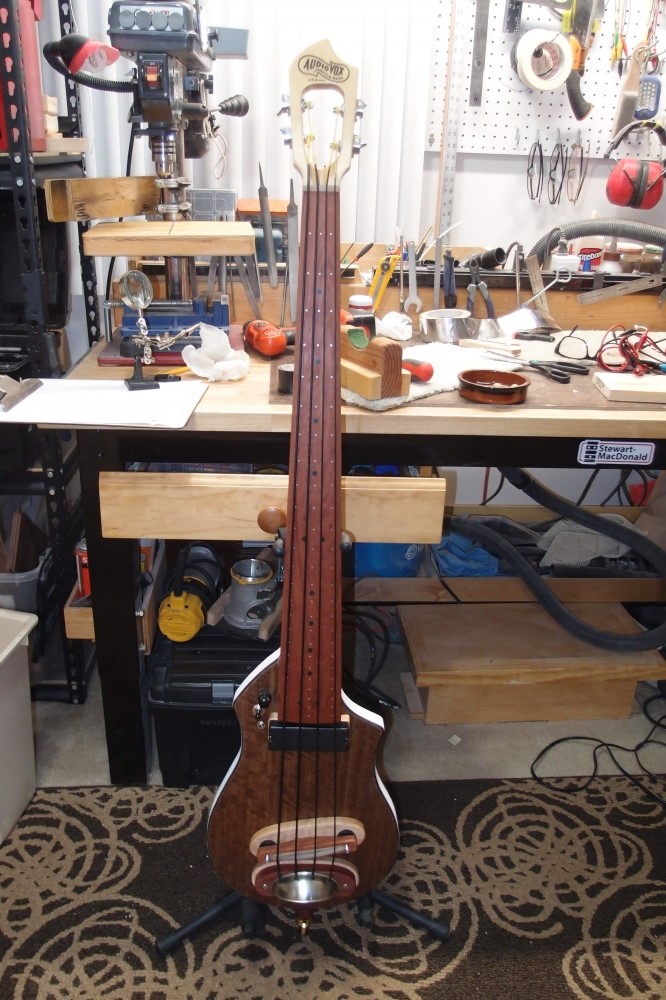
This is still a work in progress. The neck and setup are fine. Raising the pickup brought the output up to what I would expect. However, the piezos seem very anemic; the G string was dead. I noticed the piezos are marked at one end, so I switched them end for end, which made the G better, possibly at the expense of its neighbor. I'm going to pull them and put in a pair of guitar piezos. At some level, all piezos are the same, but maybe these violin piezos are somehow optimized for squeak, and at any rate, they seem to have a very low output.
Also, these tapewound strings leave something to be desired. The G has a nice rattle to it. The windings on the G came loose near the tailpiece. I put a little CA on it there to bind it up, which reduced but did not eliminate the rattle. That string stretches noticeably as you tune it up. I will see if I can get the defective string replaced.
This thing actually balances in your lap and plays just fine horizontally.


