Danelectro Tolex Binding Jig
If you've read this whole site, you've probably picked up on my love of Danelectro guitars. Inexpensively produced for the masses, Danelectros are much better guitars than they have any right to be. Lipstick pickups, masonite bodies, innovative construction, great styling, tone, and playability, at bargain-basement prices. I just love Danelectros, both the old and the new.
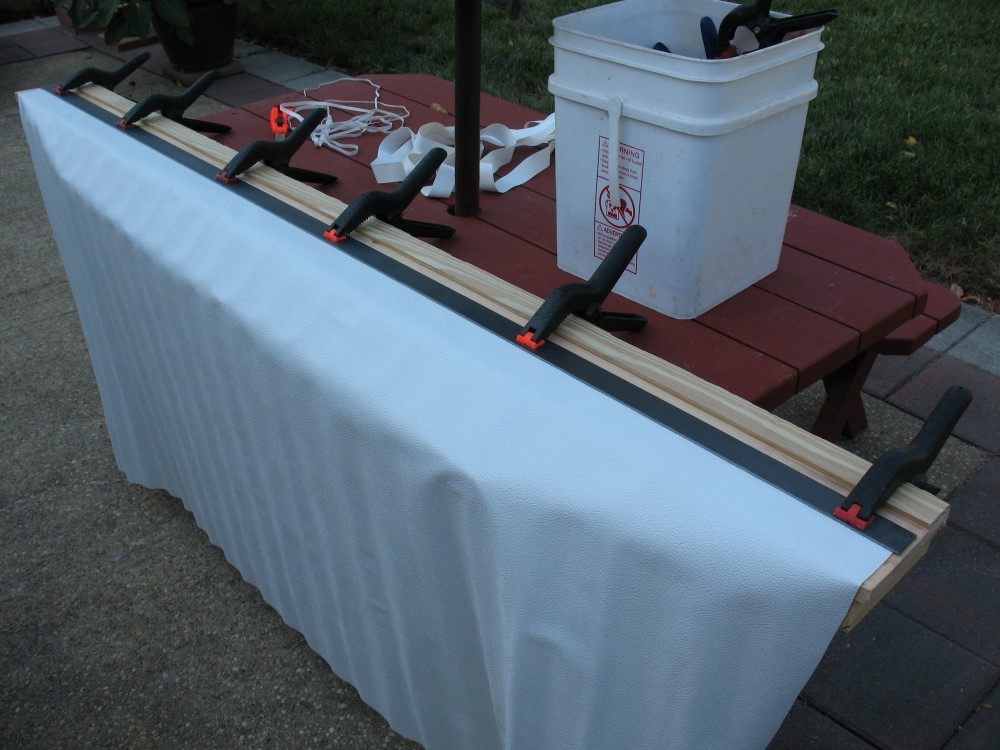
One thing that really defines Danelectro is the body binding - a thin strip of tape or Tolex material that covers the edge of the body. This stuff can be very hard to find. Some people have apparently got the knack of making it, and these 'binding bandits' command high prices for their products. One day I sat down and thought about how to make it myself, and the answer came to me. Below is my Danelectro binding jig. It is easy to make, and easy to use, and costs less to make than one roll of binding on eBay.
It consists of a six-foot piece of wood, with a 1/4" slat attached along one edge as a stop, and some 1x2 'feet' underneath. The cutting guide is a six-foot piece of steel, 1/8" x 1-1/4", which happens to be the right width to make the commonest binding, or close enough. Hunt around your hardware store for other widths; I found a piece of bracing that is 1-3/8", which I now prefer. You also need some clamps and a sharp razor knife.
To start, butt the cloth up against the stop, and put the cutting guide on top, about 1/4" from the stop. Clamp the whole thing together as shown, and get everything nice and straight. Use plenty of clamps. Then smoothly cut the cloth away, sliding the knife against the guide.
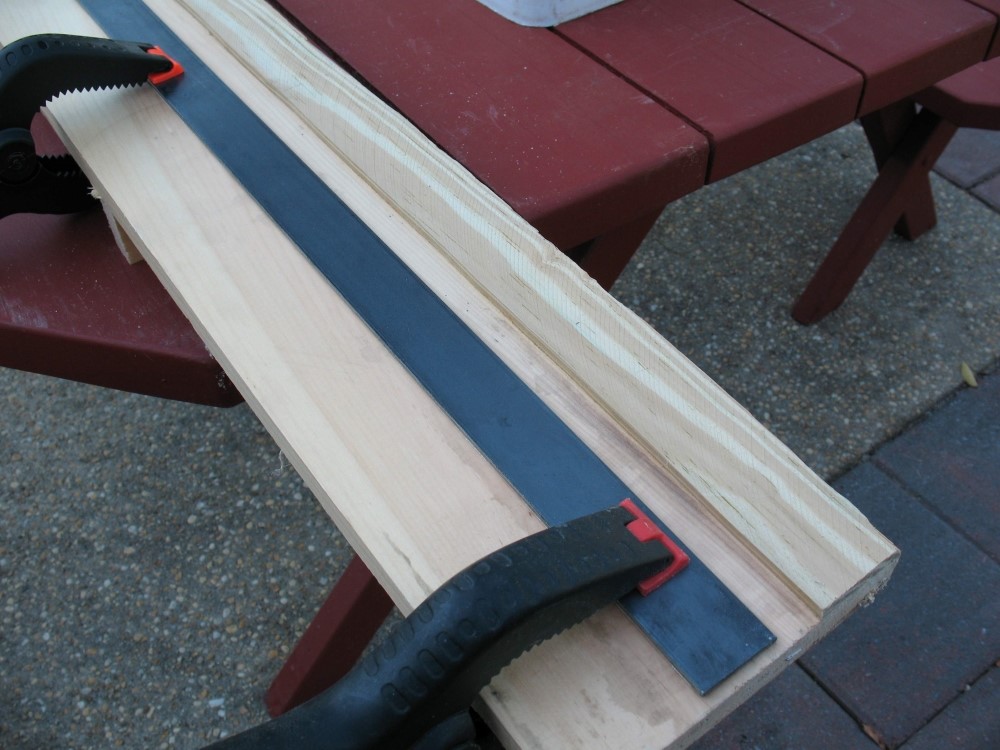
Now, one at a time, move all the clamps to the other side, being careful not to disturb the guide or the workpiece. Then cut the other side of the binding the same way.
Remove the clamps and guide bar, and you will have a perfect piece of binding. Note that it would be trivial to make other widths, at least those for which you can buy a suitable piece of steel for a cutting guide. Clean the steel well before you use it - these are usually shipped with a protective layer of oil that picks up a layer of black filth. I may spray some poly on it to ward off rust.
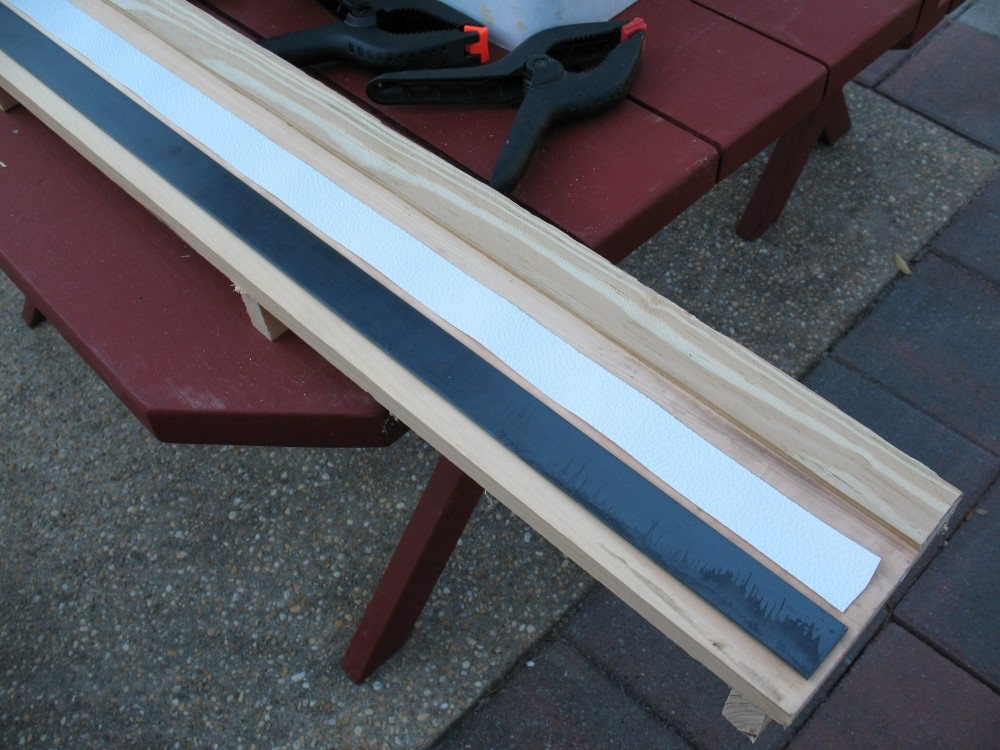
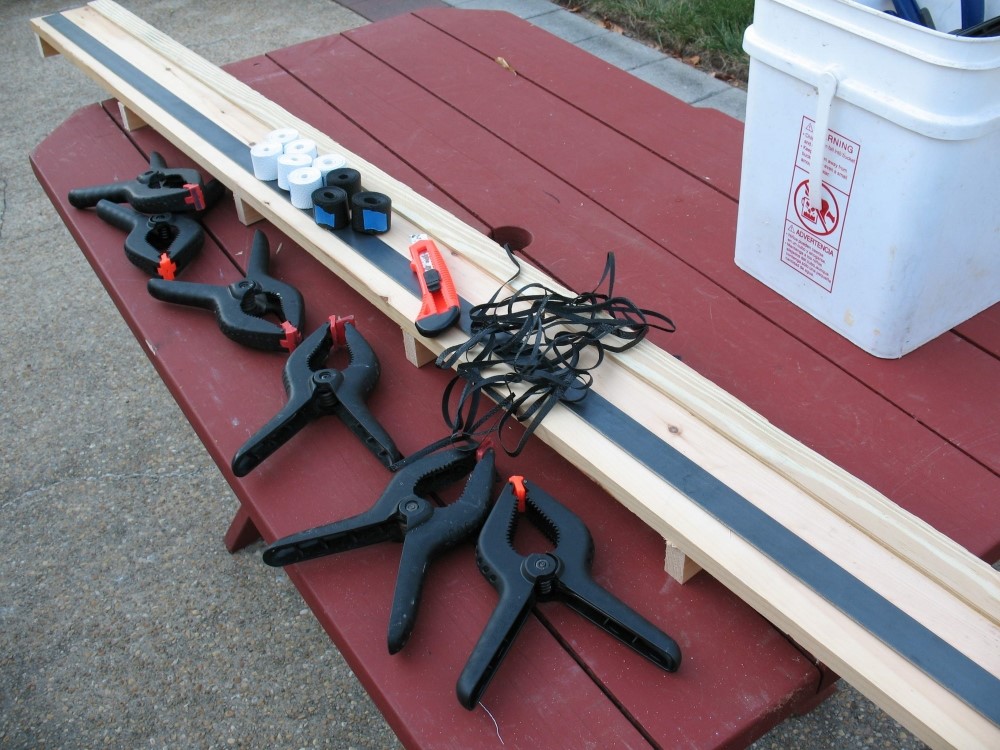
I got all happy and made myself six white ones and three black ones, and I still have most of the Tolex left. Now I can make any color I want. Tolex is typically sold in 54" widths, which is enough for a typical guitar. For some bodies and double-necks, you need the full 72". You can also use two shorter pieces for one guitar, one on top and one for the bottom, lapping them under the strap buttons. Thinner cheaper Tolex is actually better for this application than the nice thick expensive stuff.
Installing the binding using wood glue is described under Building Bodies.
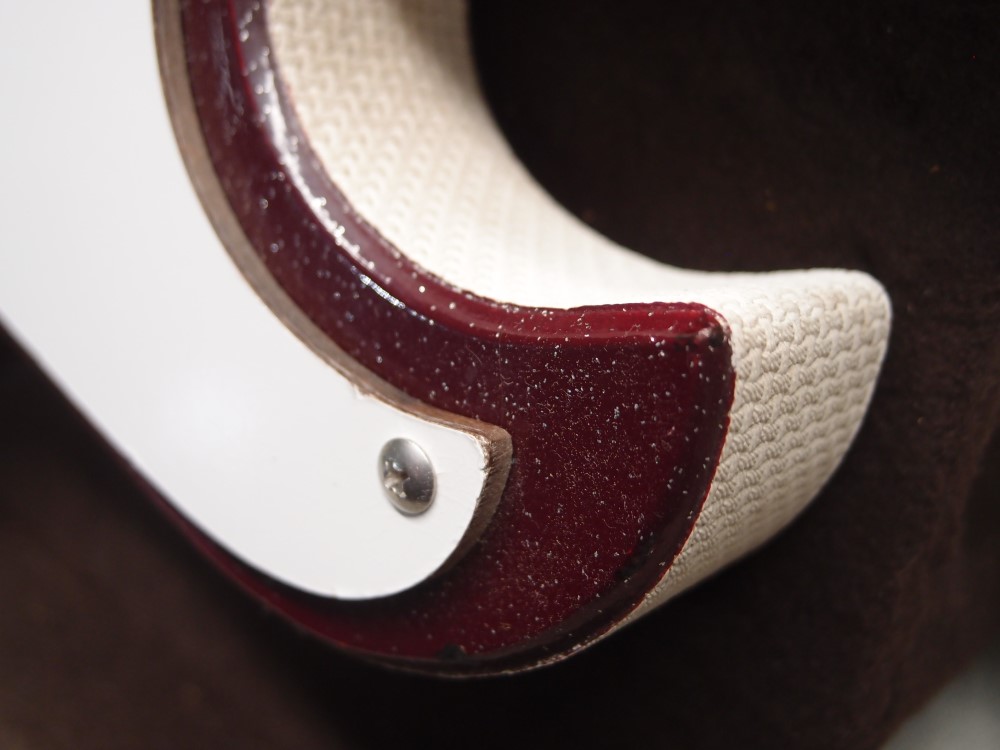
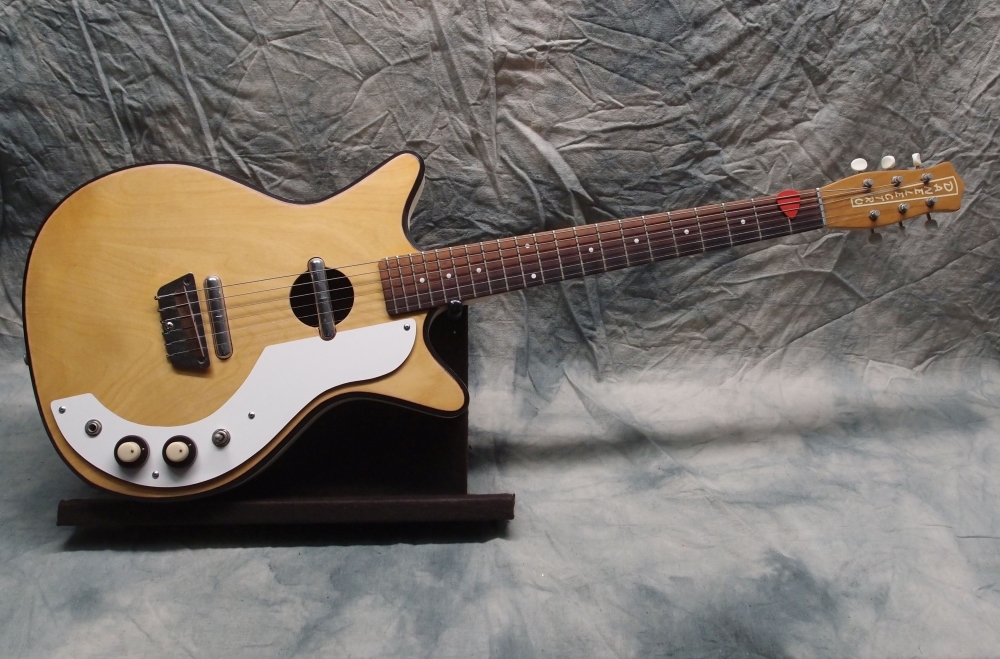
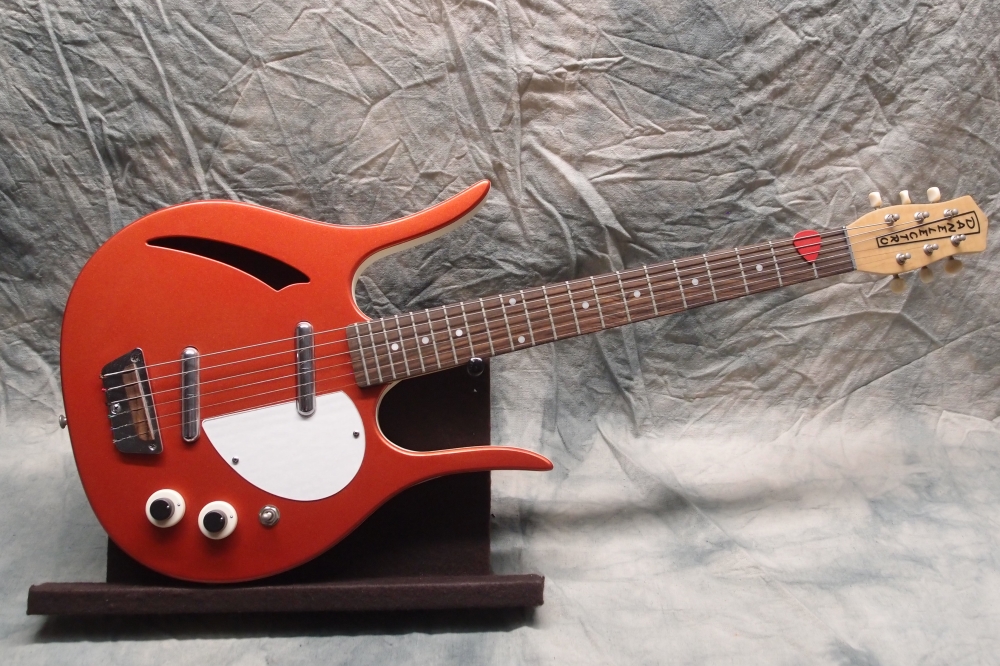
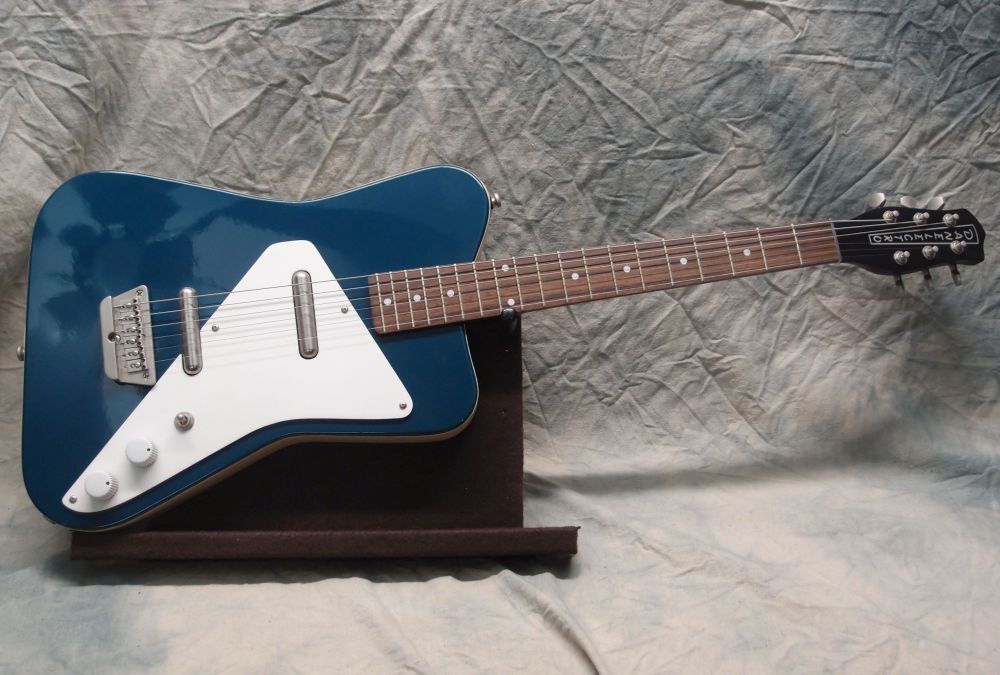
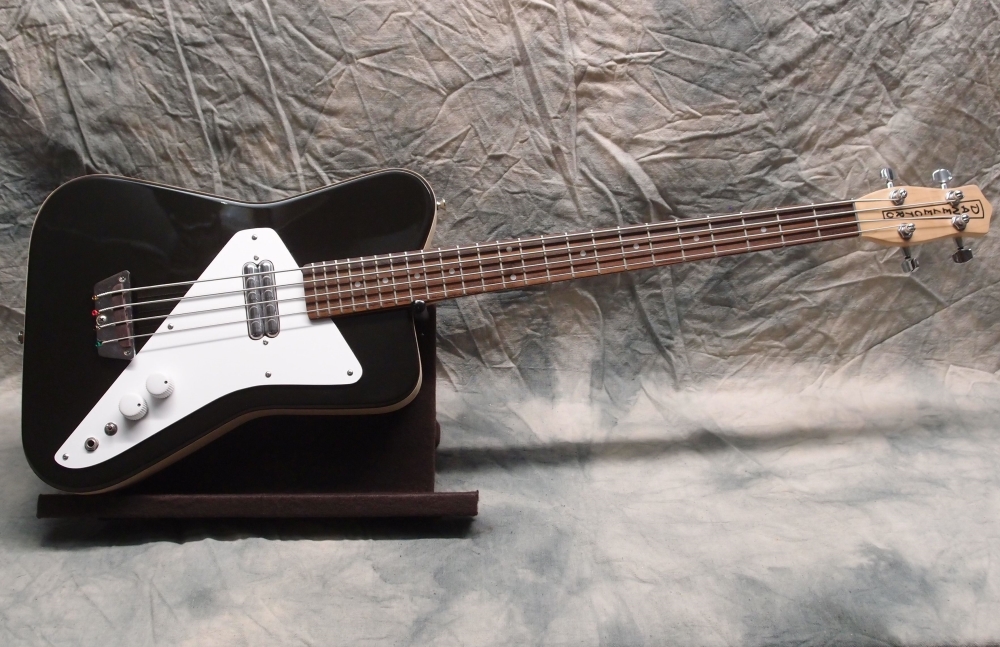
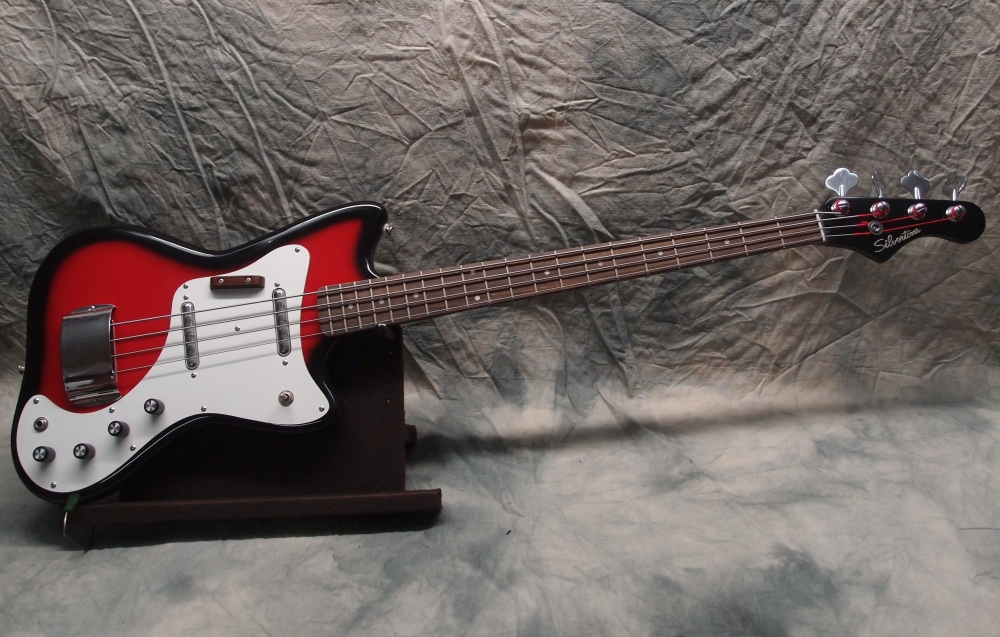
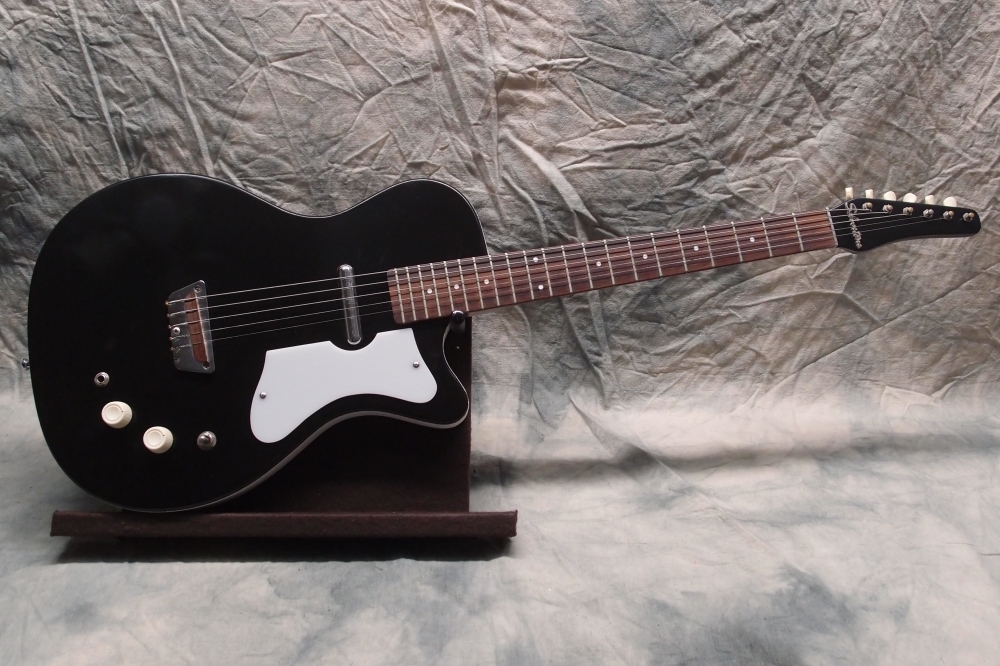
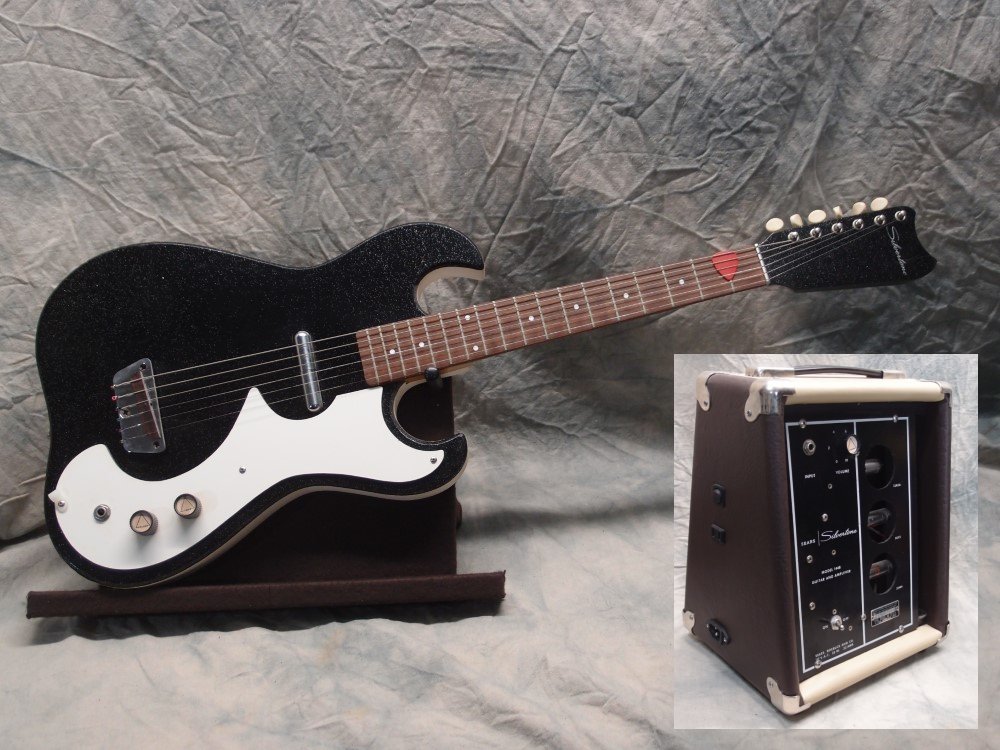
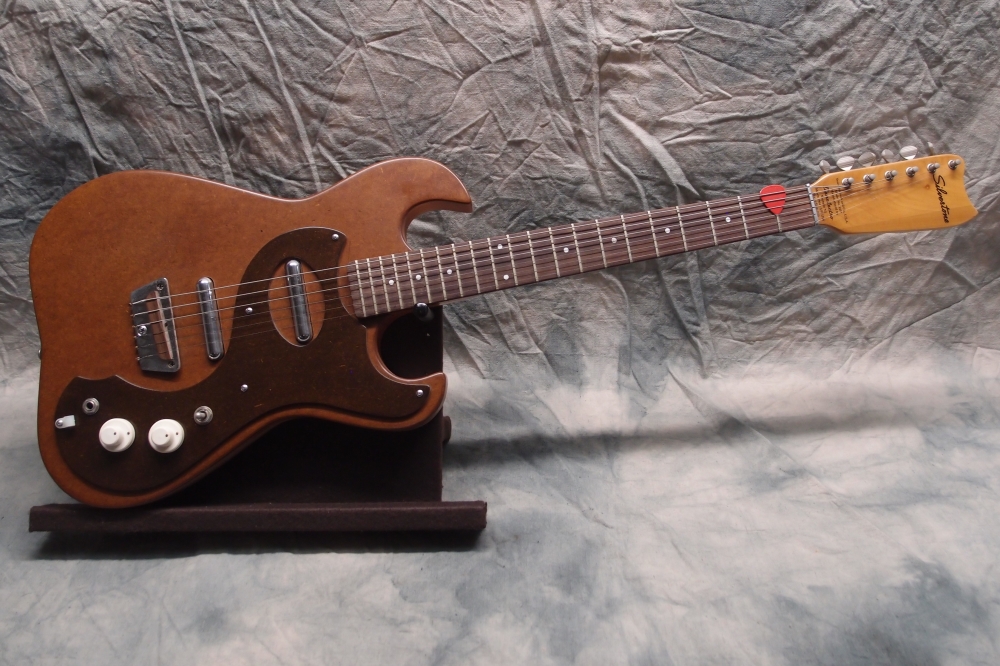
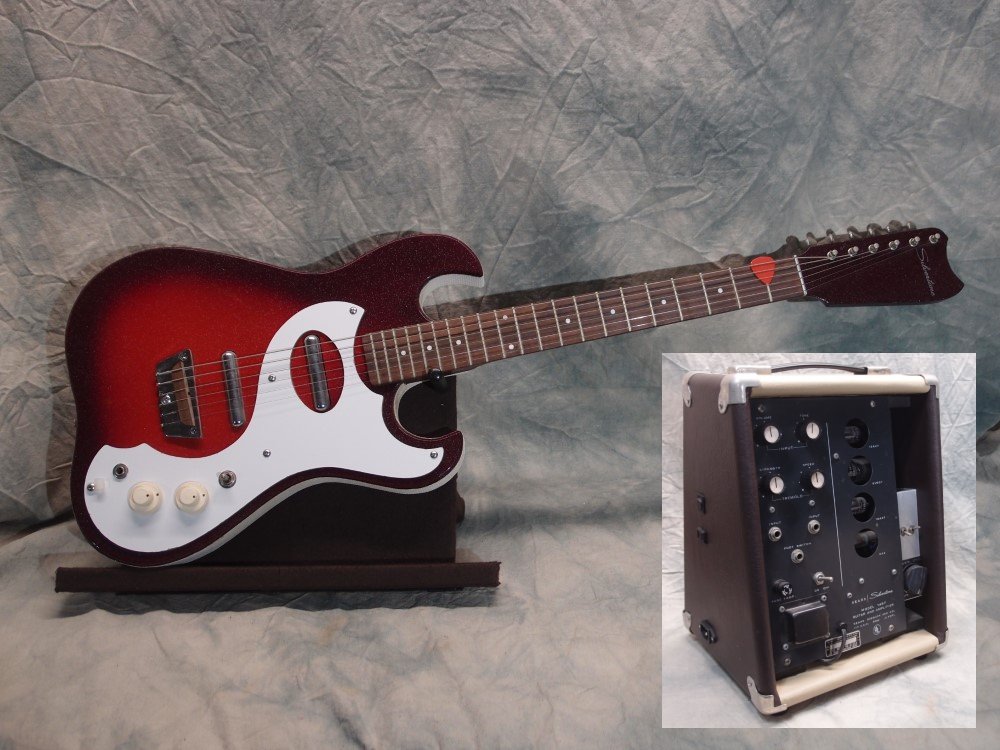
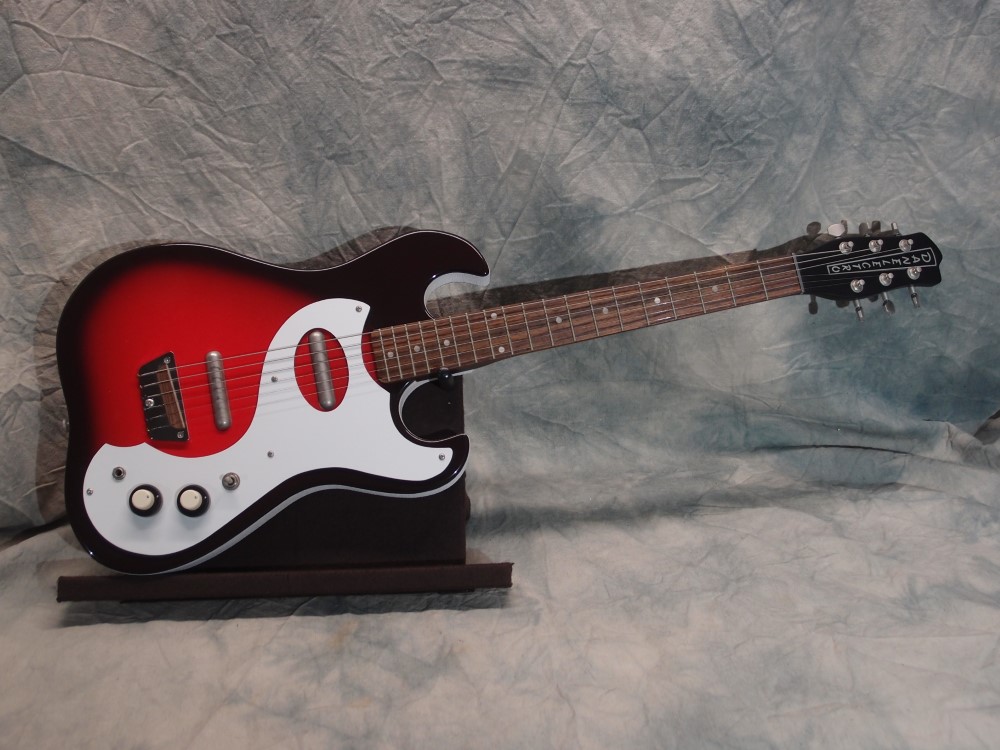
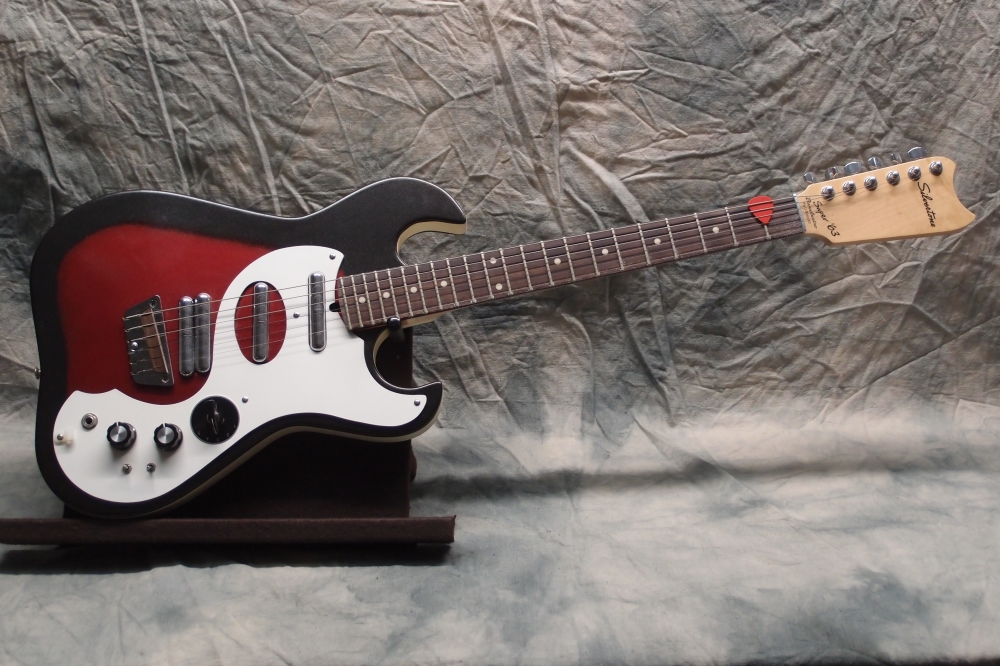
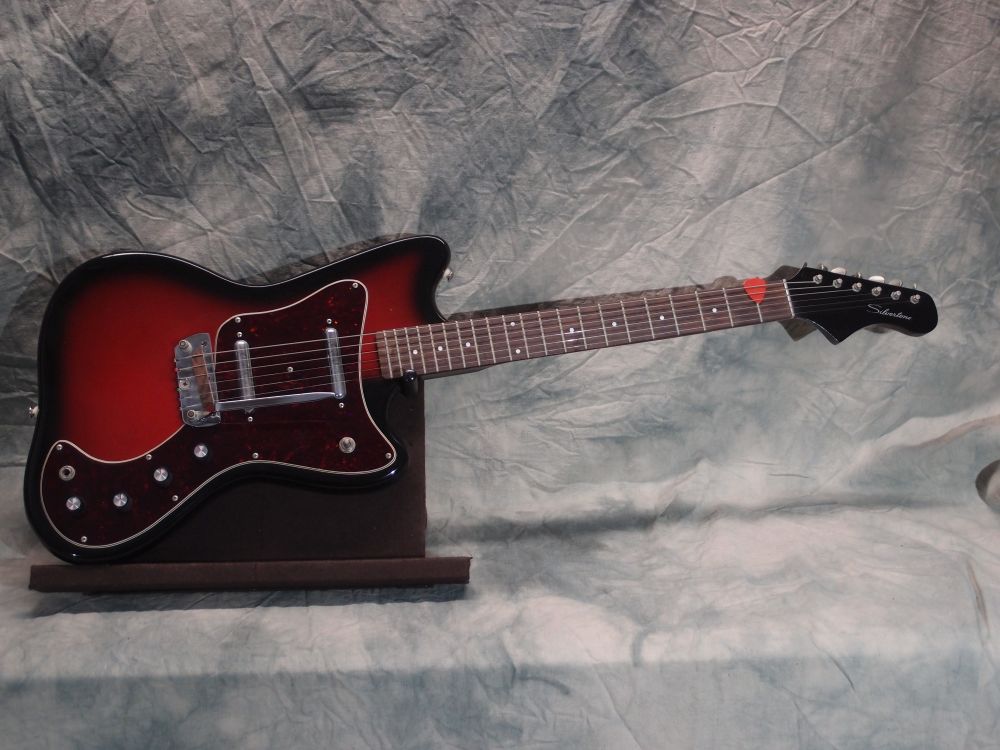
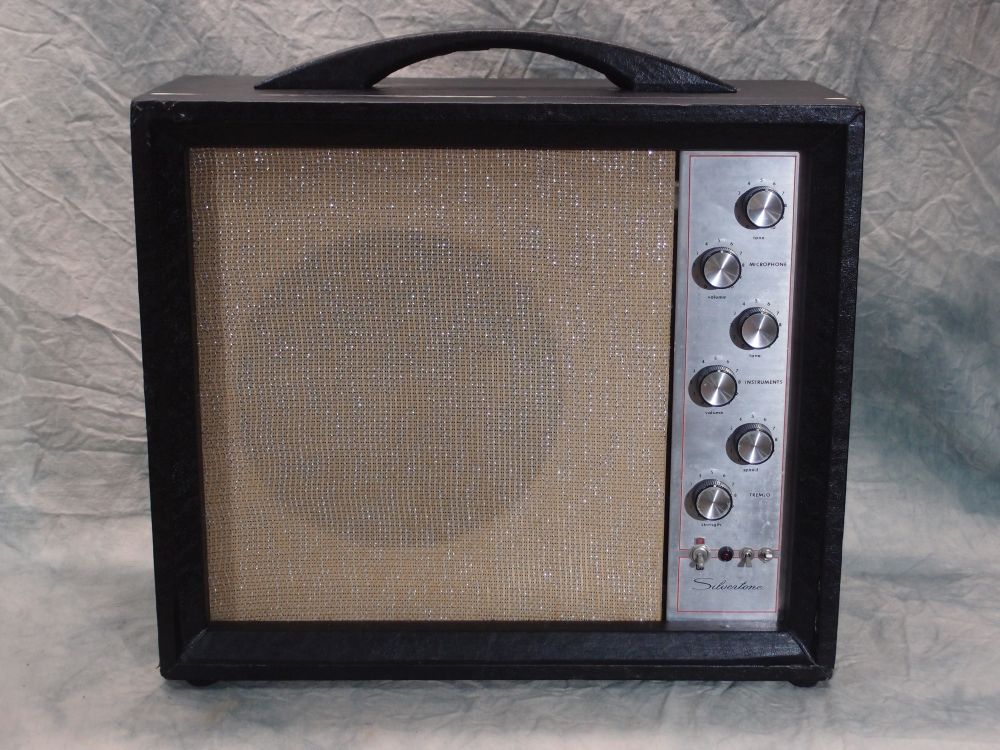
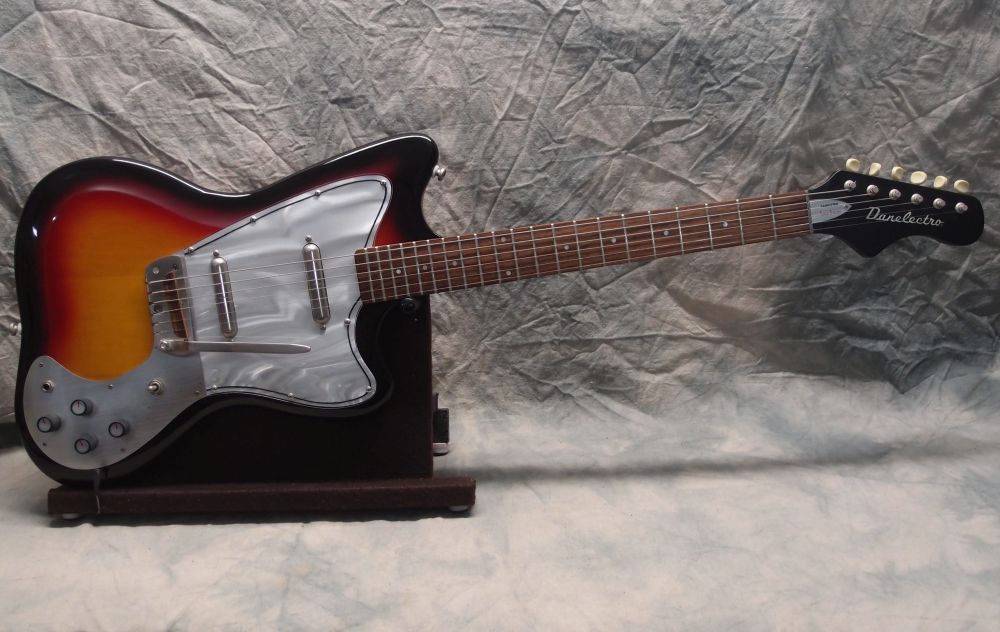
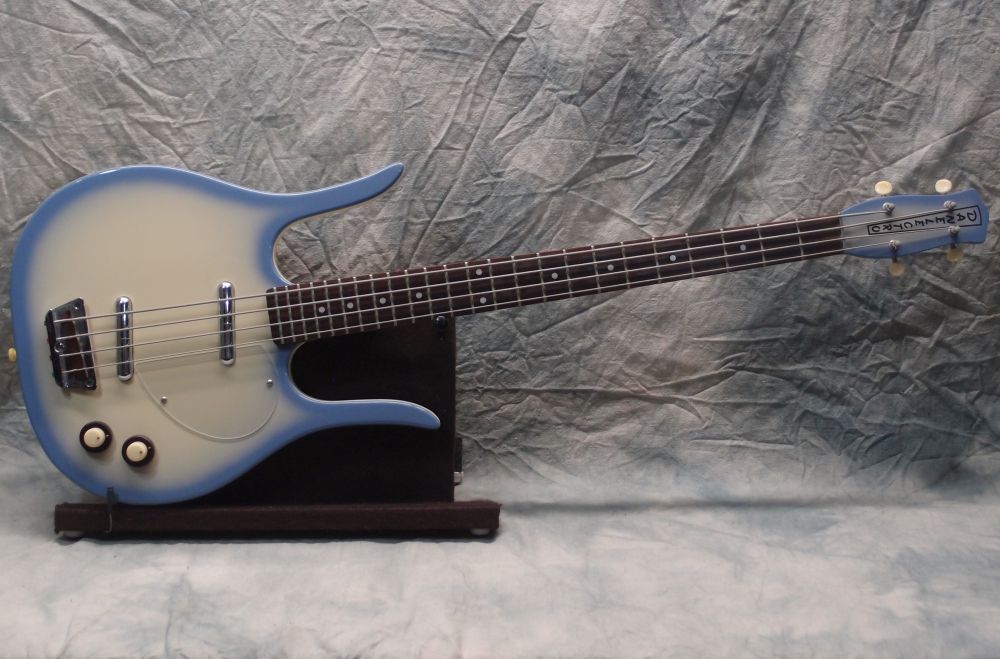
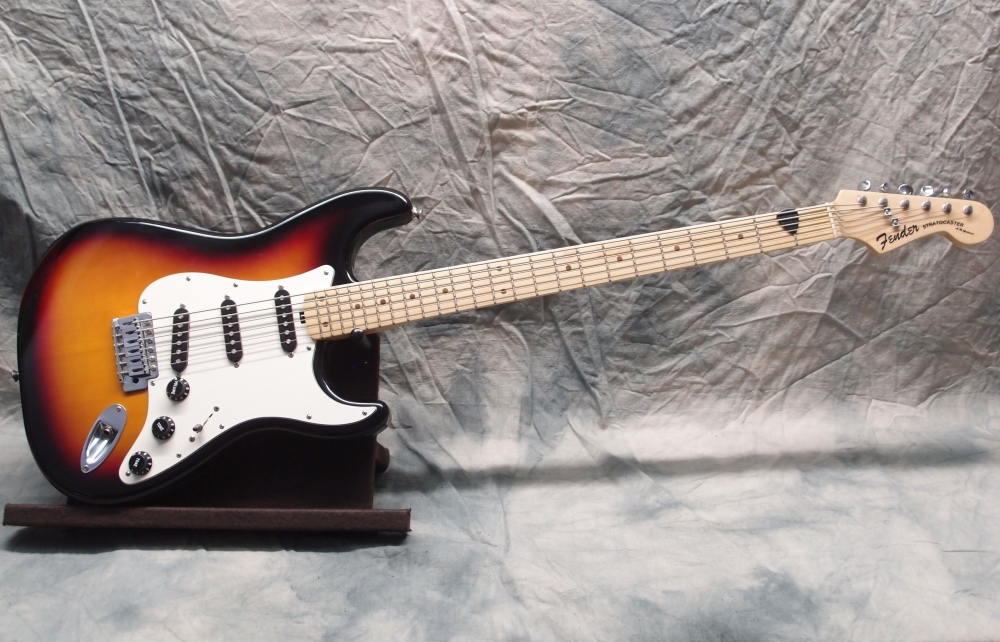
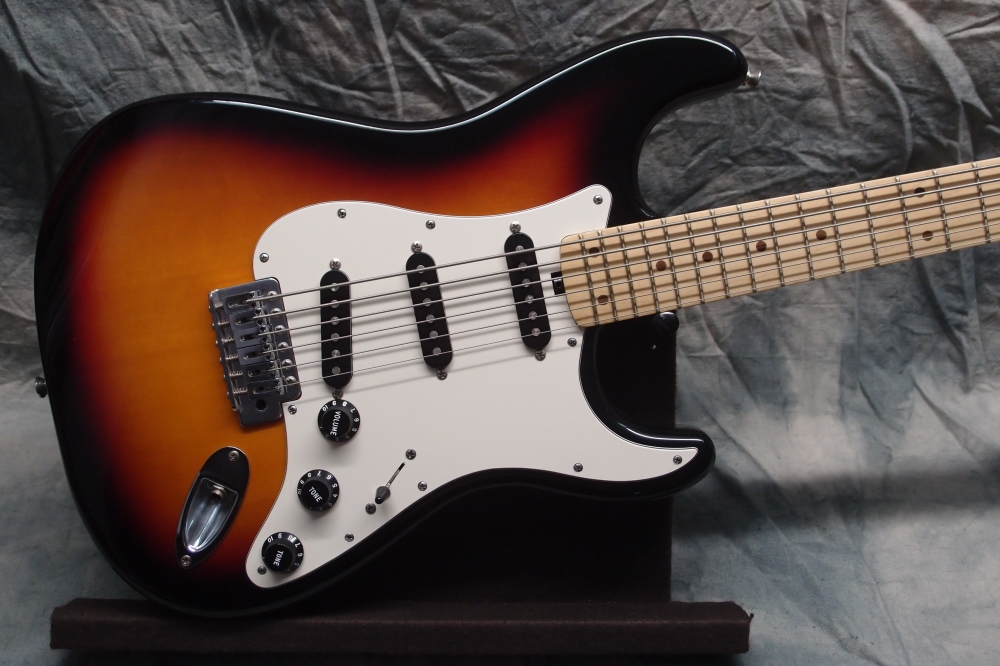
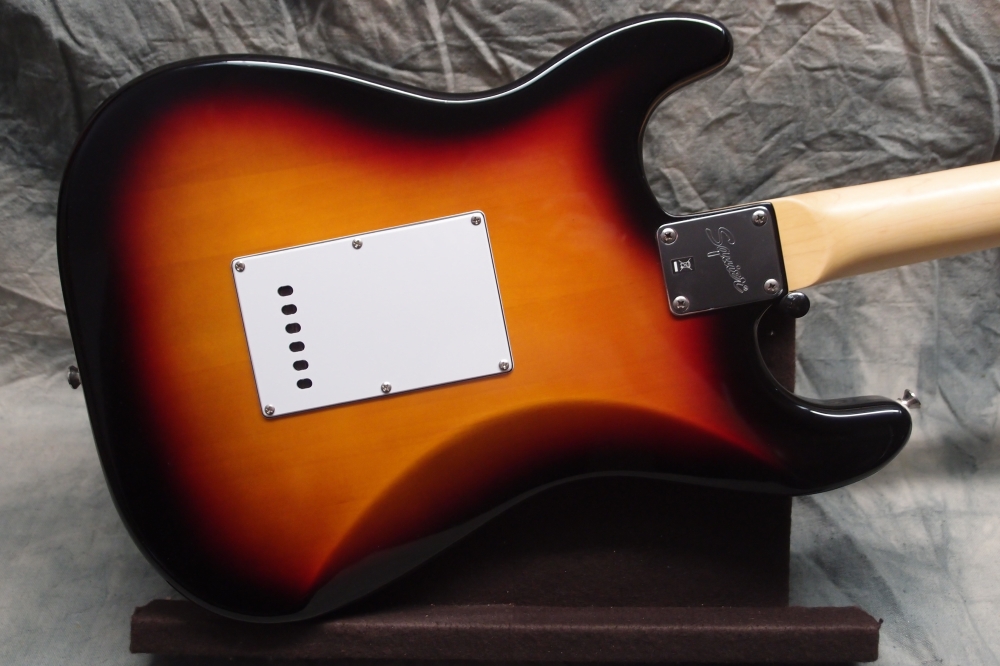
Some projects with Tolex side binding:




moddy:
November 15, 2019 at 7:57 AM
thank u!!