Kubicki Factor Guitar (5/8)
Mar 2, 2019
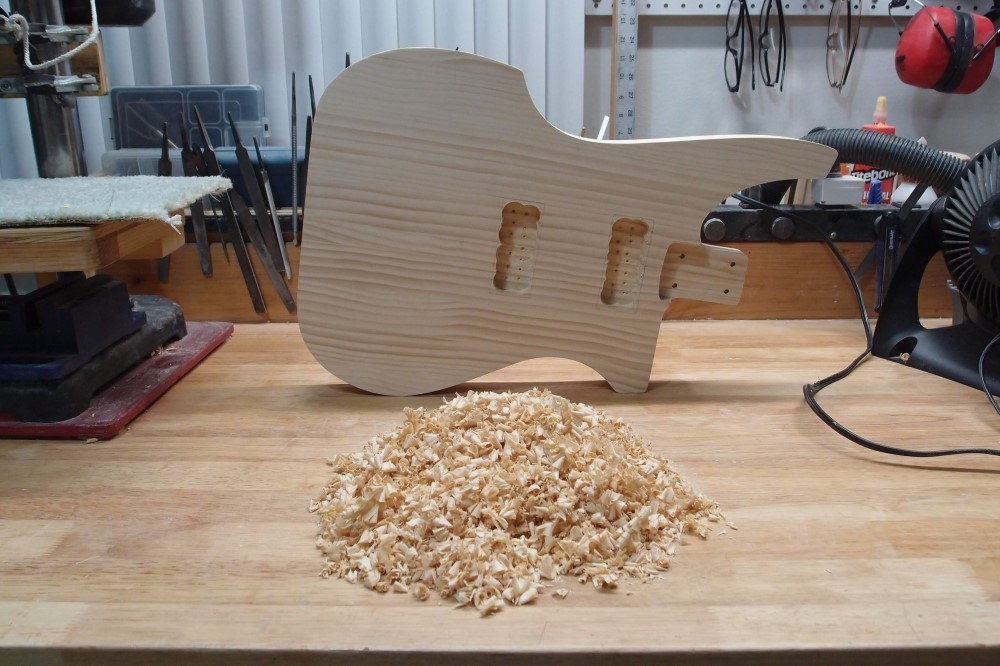
Mar 3, 2019
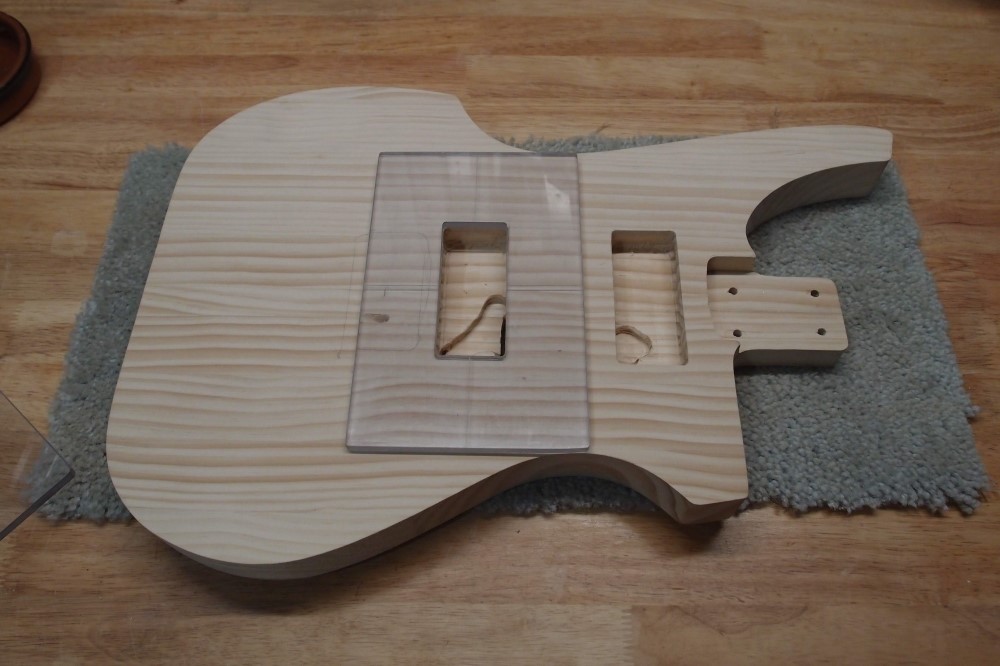

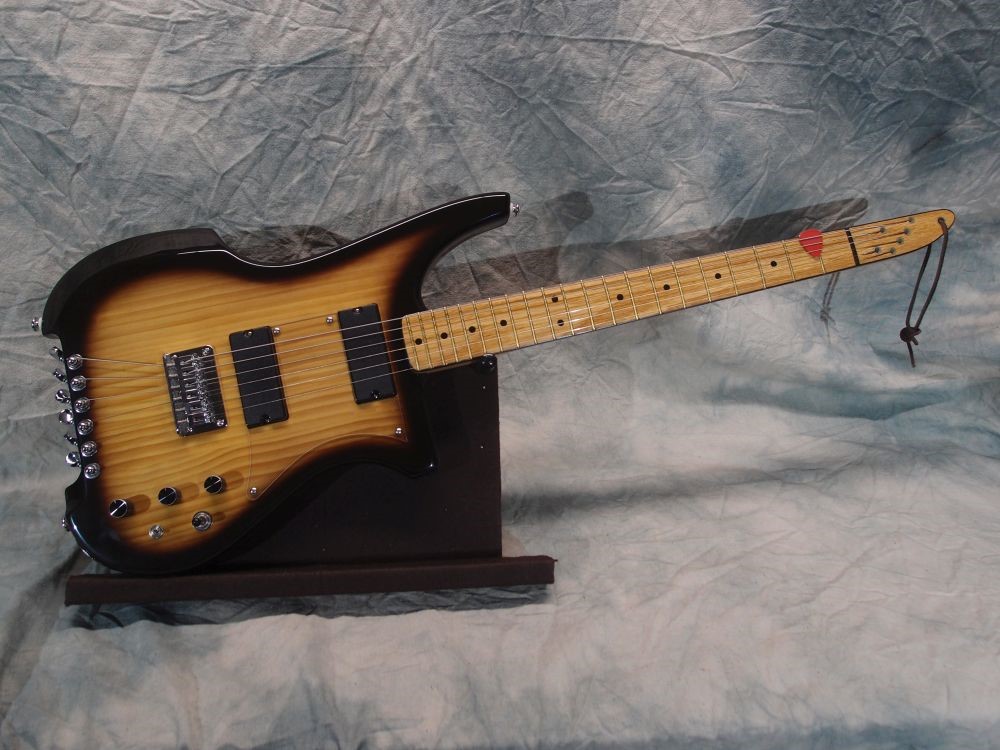
Mounting pickups directly in the wood adds a whole new dimension of fuss and bother. You have exactly one chance to get it right, times two in this case. A word of advice: make the opening slightly undersized, then undercut it all around, so you only have to deal with a lip at the top. Then enlarge it bit by bit until the pickup fits just right.
I used a Dremel in the corners and for the undercuts and hand files on the sides to do the fitting. Even if you have undue faith in your router and think you can go for the finished product in one shot, it won't cut the corners tight enough, so you'll end up doing handwork anyway. A lot of firewood is created with routers.
Again I used the battery cavity as a conduit, which almost backfired. There is barely enough space between the pickups, but with a little filing on the box itself, everything fit. I don't know if this really saves much work, as the battery box then ends up being in the way, and you have to channel around it for the fat pickup wire. A flat drill from the neck pocket would probably be easier, and would never show. The bridge pickup cavity collects all the wires, which go through a big hole into the control cavity.
I just caught myself in a mirror, and I am covered in sawdust and need a shower, so that's all for now.
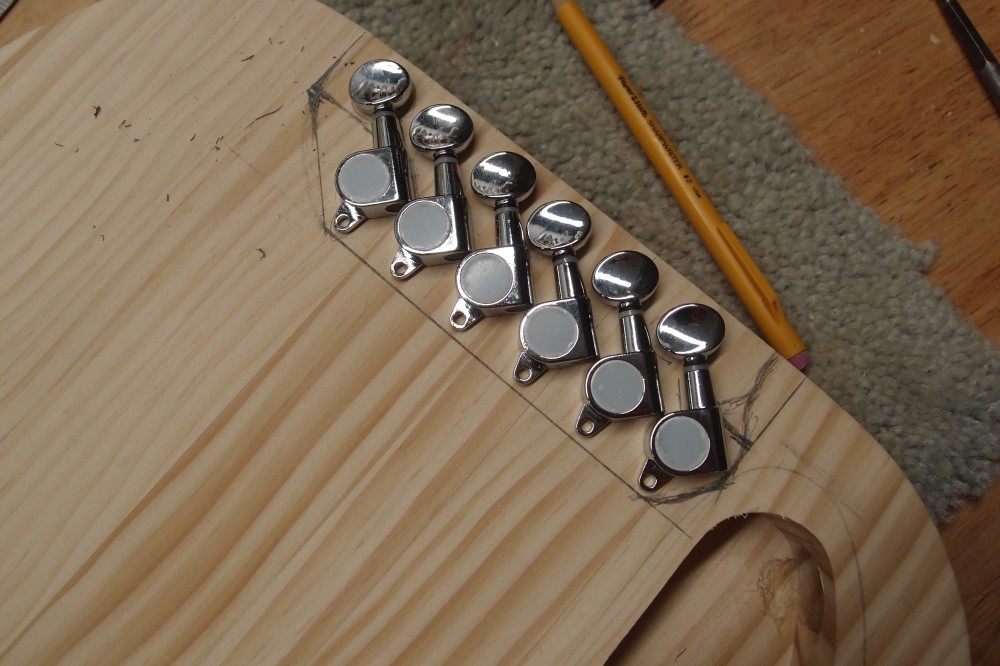
Initial tuner layout. Six holes drilled through, undersized, then widened out with a round file in the direction they need to go. I am right up against the control cover, which I have not yet cut.

Most of the work was done on the drill press, one cut on the band saw, cleaned up on the belt sander. Forstner bit made all the curves.
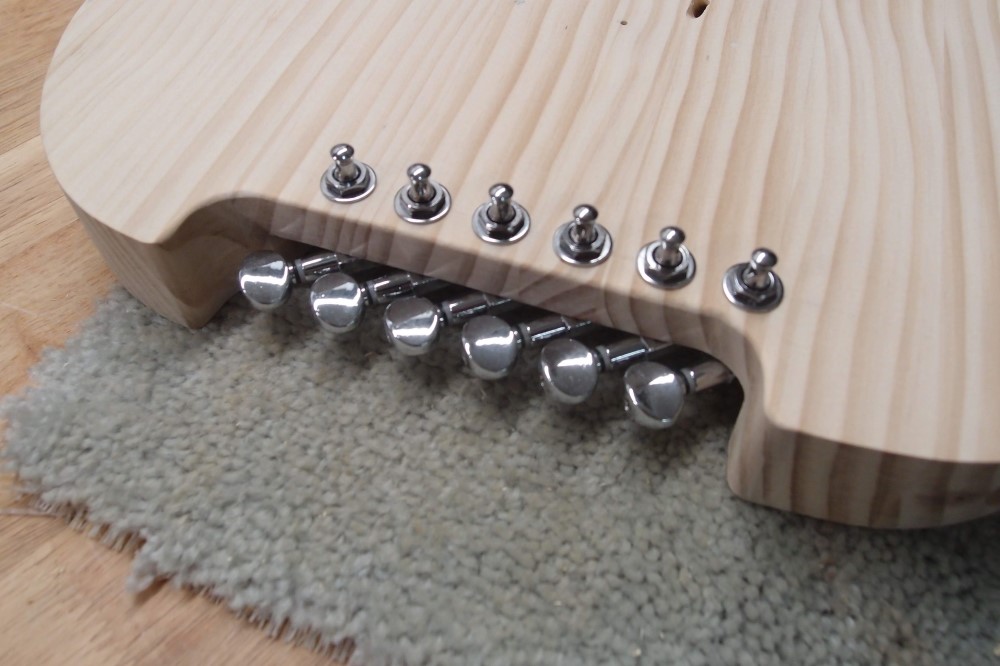
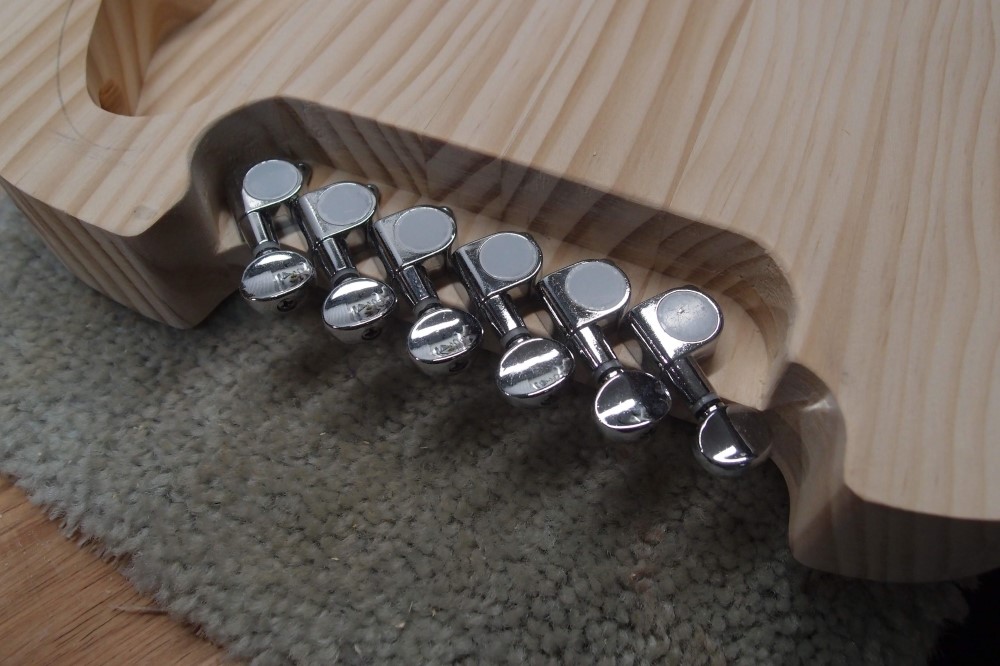
Cleaned up with the router, and a bit of sanding. No template, just clamped a piece of wood for a straight guide and had at it. I don't think you could pack the tuners in any tighter than this. This is where Kramer goofed all those years ago - they spread the tuners across the width of the body. My way minimizes the angles and the length off the bridge. The tuners are recessed so you can stand the guitar on the floor.

I know the luthiery way to make Kubicki's funny body cuts would be to construct a jig to hold the body at the precise angle, build a template with the correct curve, and of course, have a tear-out party with the router. Being lazy and impatient, I grabbed the belt sander and ruined the whole project with a 50 belt, as you can see. Took me about five minutes. I will press on in my ignorance, perhaps something can yet be salvaged of this.
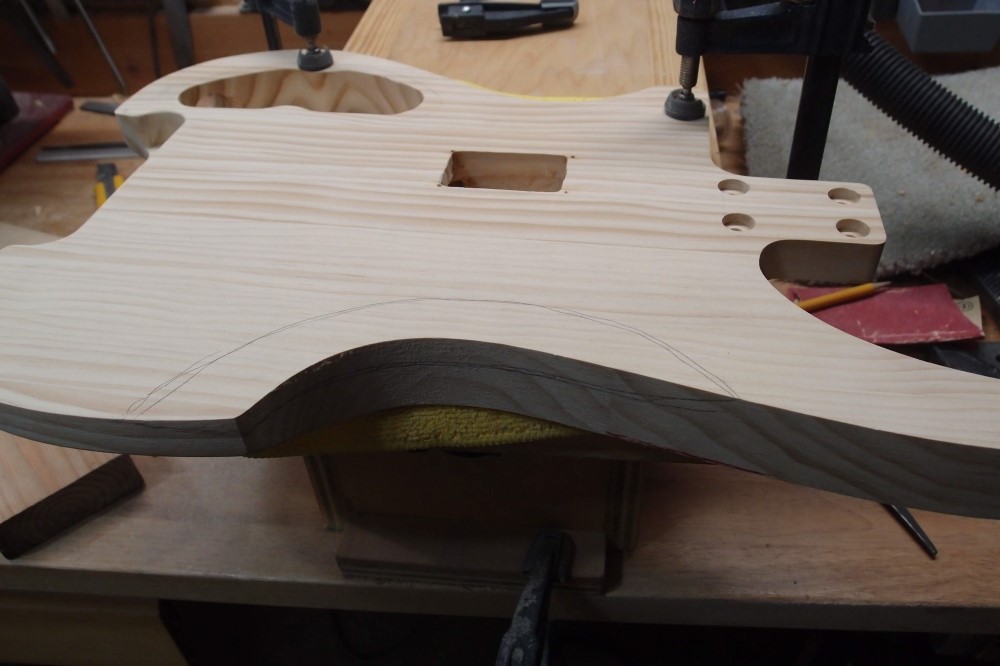
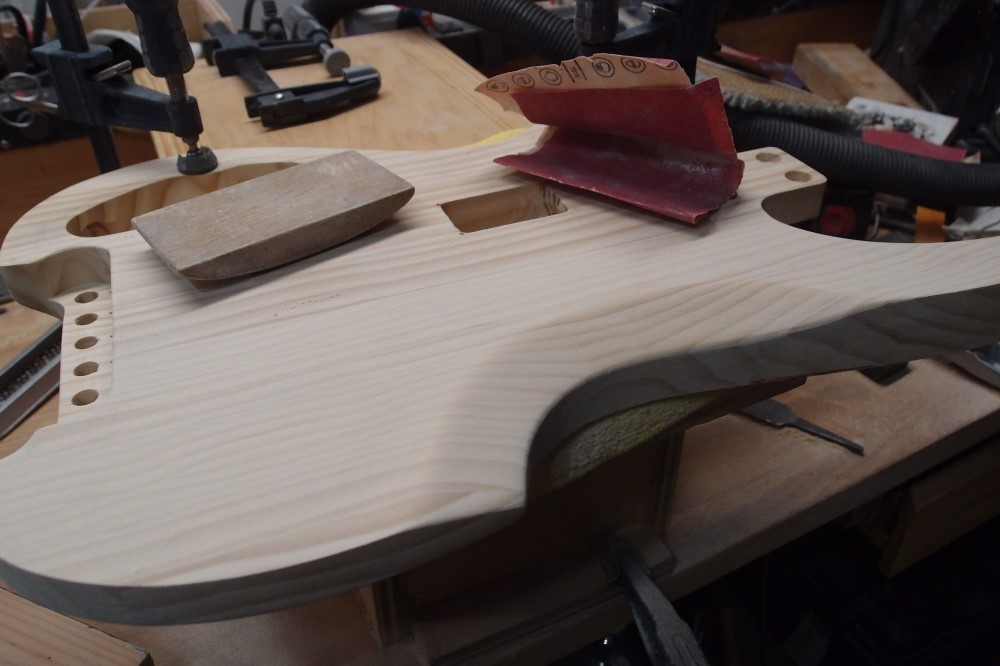
Is there something wrong with my brain? Why did I use the belt sander again? Now I've ruined the back too. Might as well rout the rest of the edges. Maybe at least then I will get some nice tear-out.

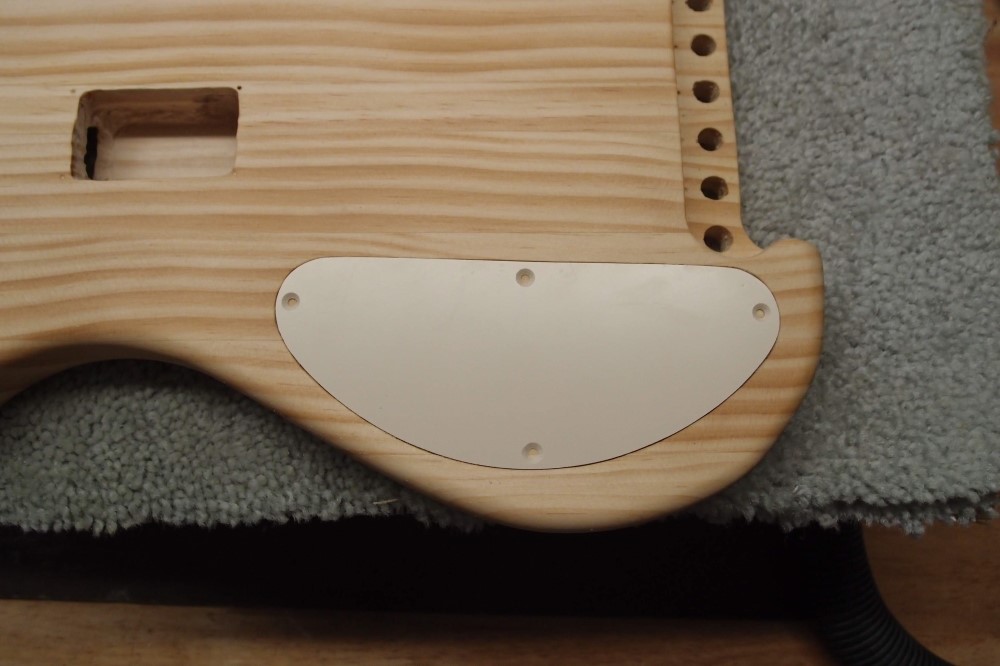
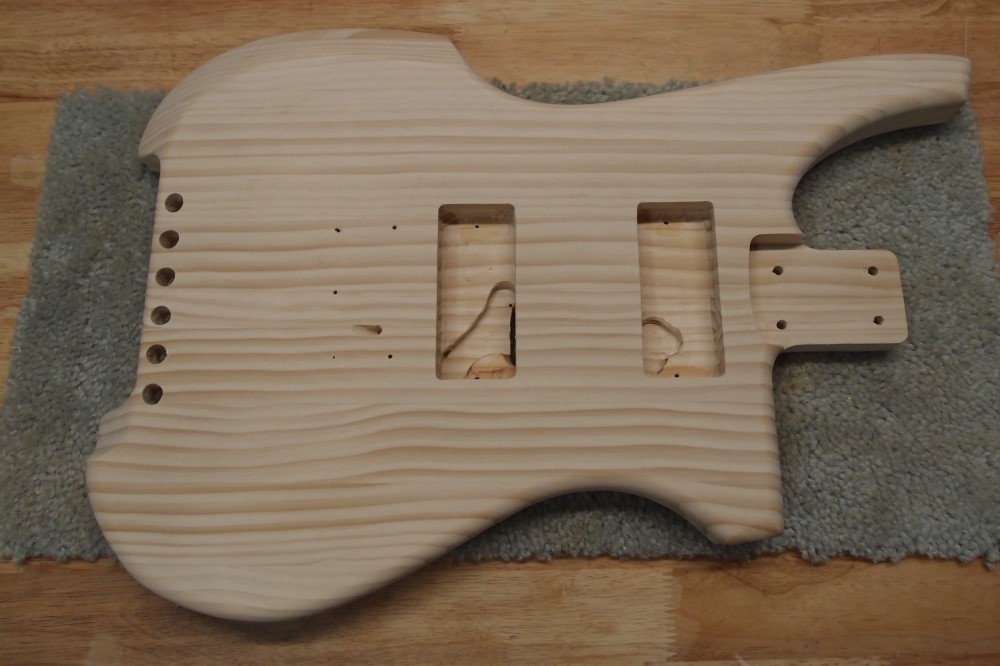
Well gang, this is a prime example of what happens when you ignore long-established luthiery practices and do everything wrong. Drill press and belt sander is no way to luthierize. I barely used the router at all. Speaking of which, neither of my routers "tears-out" properly. In fact, they barely "tear-out" at all. Could there be something wrong with both of them?
Anyway, hopefully, I can salvage something from this disaster.


