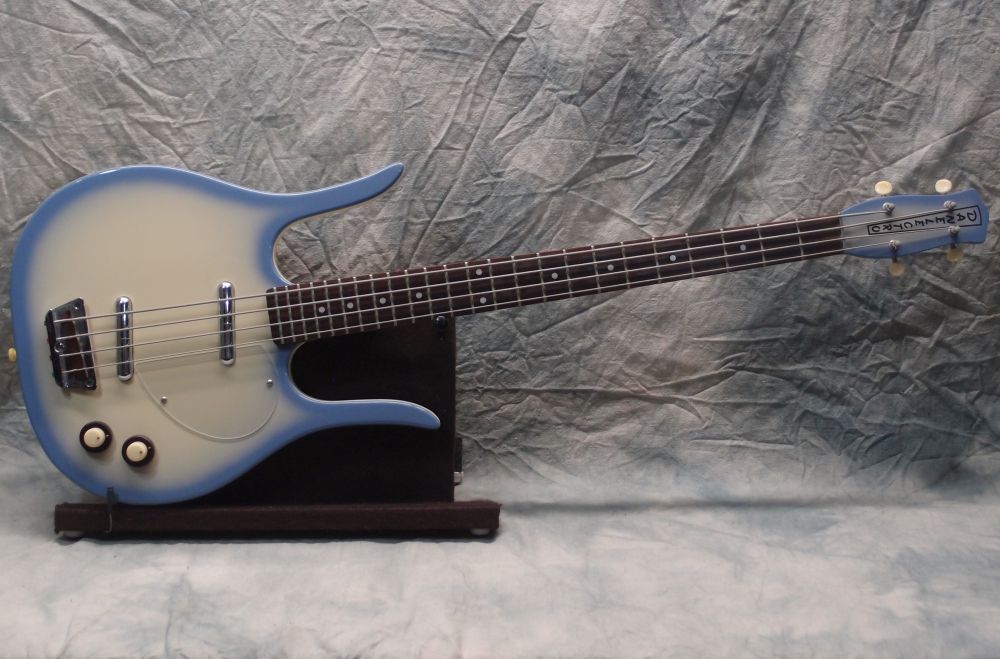
Danelectro Pro-1 Bass (6/7)
Nov 21, 2018
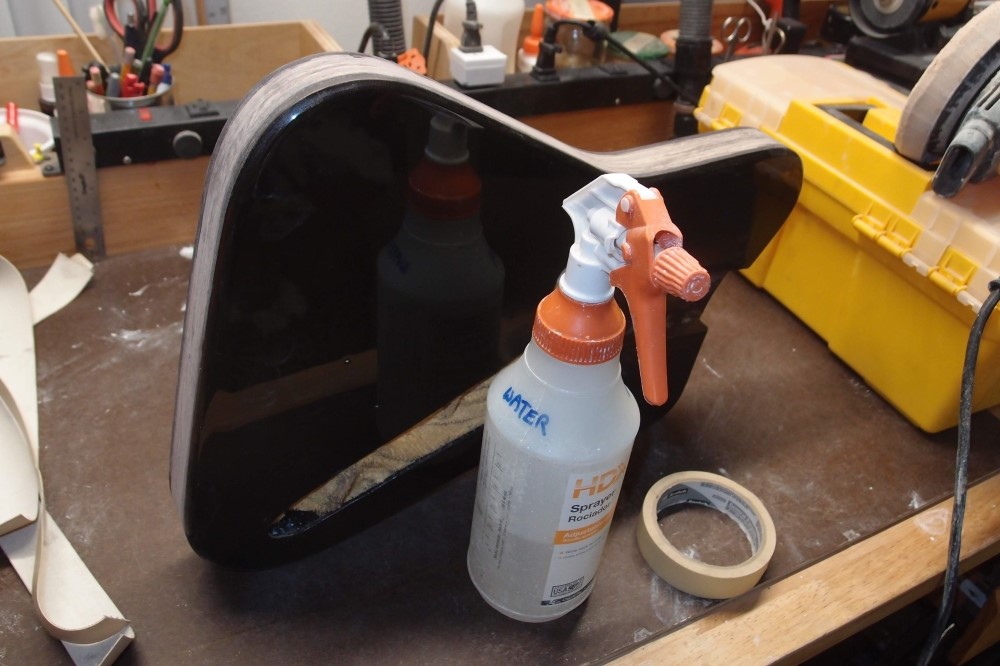
Back to the Pro. First, it got my patented one thick coat of polyurethane, brush-on gloss sprayed with a compressor. After several weeks of curing, I sanded out the rather gnarly result 1200-1500-2000. Then I polished it out with Meguiar's 105 / random-orbital, using a timer for at least 15 tedious minutes on each side, and hand-rubbed a few spots afterward. Finally a coat of Turtle Wax, and clean up with Pledge - the absolute best loothery polish.
Meguiar's does a good job and doesn't stink real bad. I have a jug of 3M polish that smells so bad you have to throw all the rags away, you can't even wash them. It is useful for hand-rubbing small spots, it cuts better than Meguiar's. I've used some Turtle Wax polishes that worked pretty well also. You can get all this from the auto parts store.
I find that 1000-grit scratches are tough to remove. 1500-2000 gives a nice result, but this was going too slow with 1500 so I switched to 1200. The important thing is that you use quality sandpaper. That means NOT MADE IN CHINA. Chinese sandpaper is all grits in one, and you will end up wondering how all those deep scratches got there. Good sandpaper comes from Canada, Switzerland, Germany, etc. - check the country of origin. Home Depot is usually ok, but not Harbor Freight! Your local auto parts store will do in a pinch, but they charge an arm and a leg for it. Better to find it in bulk on eBay.
Lastly, I sanded the edges back to bare wood with 80, for the next step: gluing on the binding. The only way I have found that works in the long run is water-based wood glue. All the modern solvent-based adhesives and self-adhesives attack the Tolex and ultimately cause it to shrink and pull out. Danelectro had only hide glue back in the day, which is what they must have used, and those jobs hold up to this day. I rebuilt one that was held together by the binding !!!
If you go back in the thread, I described how to make your own binding from Tolex, and where to get it. It's so simple.
DRAT !!! I missed a spot.
Nov 22, 2018
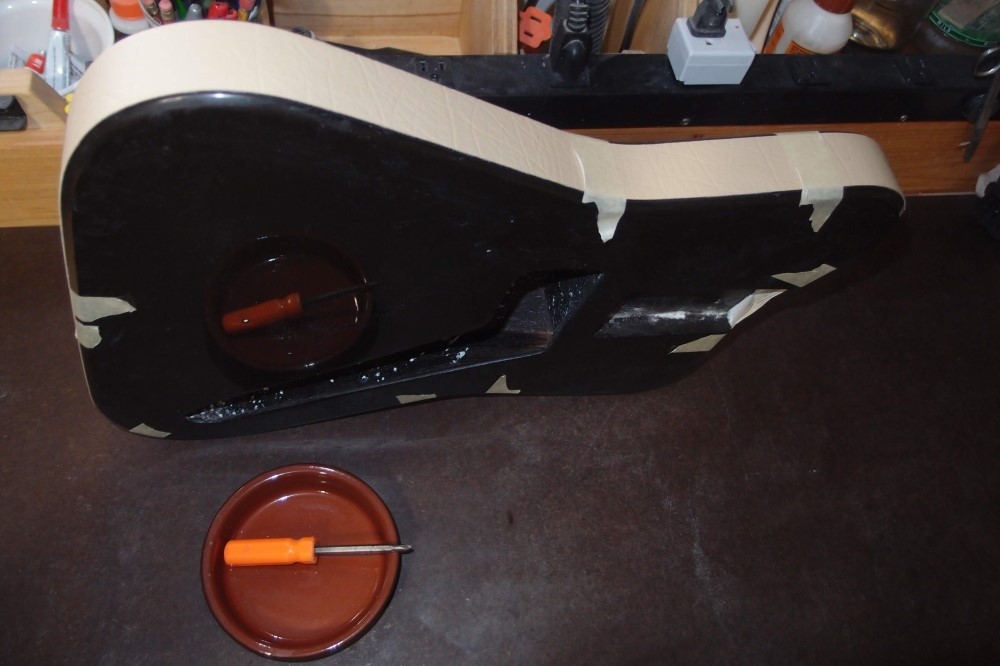
The Pro is all bound up. Again, I used wood glue direct to the bare wood. The glue had glopped-up in the bottle, so I watered it down in a hot bath. A little too much, it came out more like paint than glue, but I brushed it on both surfaces, and it worked fine. Plenty of open time to adjust things, after 10-15 minutes most of it will have grabbed tight, you can see how little tape I used. The excess wipes away with a damp rag, and I even remembered to clean the brush. By next time, the glue should have thickened up to normal.
I made this binding from some excess Tolex I had from an amp project. It is in two short pieces, one for the top and one for the bottom. As it is a little thick, I decided to butt-join the ends rather than overlap them. This is the classic way of doing the joints, as opposed to the reissues. One butt joint is under the rear strap button, the other is behind the neck, where it will be shorter and out of the way. It was surprisingly easy to join the ends this way, from now on this is how I'm doing it. If it was just one piece, I would put the joint under the strap button.
This is my new 1-3/8" binding, the same width as classic Danelectros, rather than the 1-1/4" of the reissues. That is the key to this method. 1-1/4" is too narrow to cover the full edge of a standard body, it can really only be used over a finished edge, and you can't use wood glue on a finished edge. I may build a slightly thinner body to see how the 1-1/4" covers, as I have quite a bit of it. That would be a plywood core of 3/4" plus 1/2" or so.
I must reiterate: this is the only way of doing Tolex binding that works in the long run. No modern adhesive I have ever found has held for more than a year, they all pull out. Crazy Glue or epoxy would work, but I don't even want to think about that job. The factory self-adhesive binding also pulls out, although it may take several years. Danelectro has known about this for years, and they may have finally hit upon a better glue, as the last factory Danelectro I got is still tight. Wood glue lasts forever, doesn't stink, doesn't set up before you are ready for it, and cleans up with a wet rag.
The nice thing about a Danelectro body like this is that you can stand it on edge right away, you don't need to worry about the new finish picking up impressions. There are many other advantages to this sort of construction: you only have to finish the faces, which you can set flat, you actually don't want to finish the edges. You can use a plywood core, and not have the plywood grain pull through, as it inevitably will. Masonite needs no filling or sanding, it is an almost perfect surface as is. All of these materials are cheap and readily available, and easy to work with. You can make the pickguard out of Masonite as well. The hollow body is easy to wire and resonates a bit for unplugged noodling. Masonite and plywood are both fairly heavy, so the hollow body comes out feeling quite solid and balanced.
Since this one is a bass built on a hornless guitar body, I glued half a pound of lead in the tail end. This is kind of like what Fender did with that big dumb Jazz bass body, except lead is much more effective than wood.
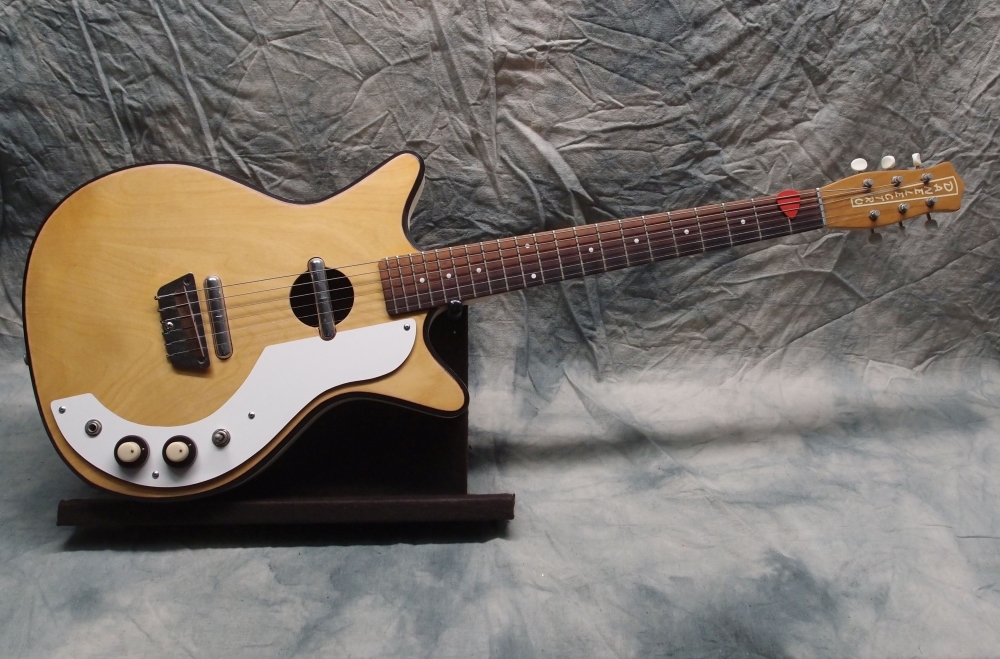
Note that the correct Danelectro body edge is a small 45-degree bevel, not a 1/4" round-over as found on the reissues. The bevel is actually easier to work with, especially with the binding. Size the bevel so that the binding will cover the resulting body sides not quite. On a dark body like this, I run a Sharpie around the raw edge; on a light body, I leave the bare wood as-is. If you really want to be authentic, the bevel should be unfinished, I left mine unpolished for a similar effect. Masonite is not waterproof, so you want to seal it up good. The pickguard edges should be square and unfinished as well.
I'll let this set up for an hour or two, then I can put the whole thing together. Yay !!!
Nov 23, 2018
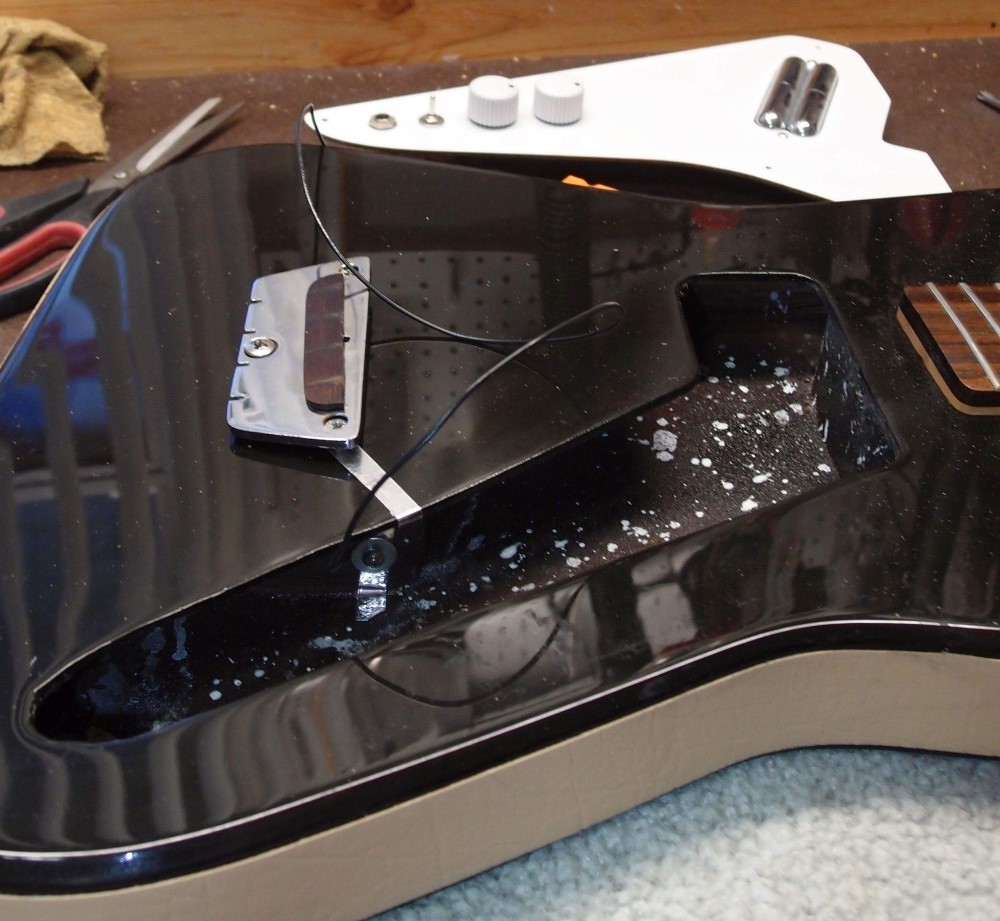
Putting it together is the best part. Here is Plan B for the bridge ground. I had drilled a hole to connect with the nearest bridge screw, but the threads cut the wire off. I could drill another hole to come up in the center of the bridge and connect to the tail screw, but this is easier. A strip of aluminum tape catches the closest screw and the tail screw. When the pickguard is on, it is nearly invisible.
Old Danelectros have no bridge ground - they are so well shielded that they don't need it, and that made them a lot safer back then. I could leave it off, but it doesn't do any harm. The tail of the bridge is held up by a stack of finish washers, so I can tighten it down to the body for sustain. Right. Probably makes no difference. Note the very long ground wire.
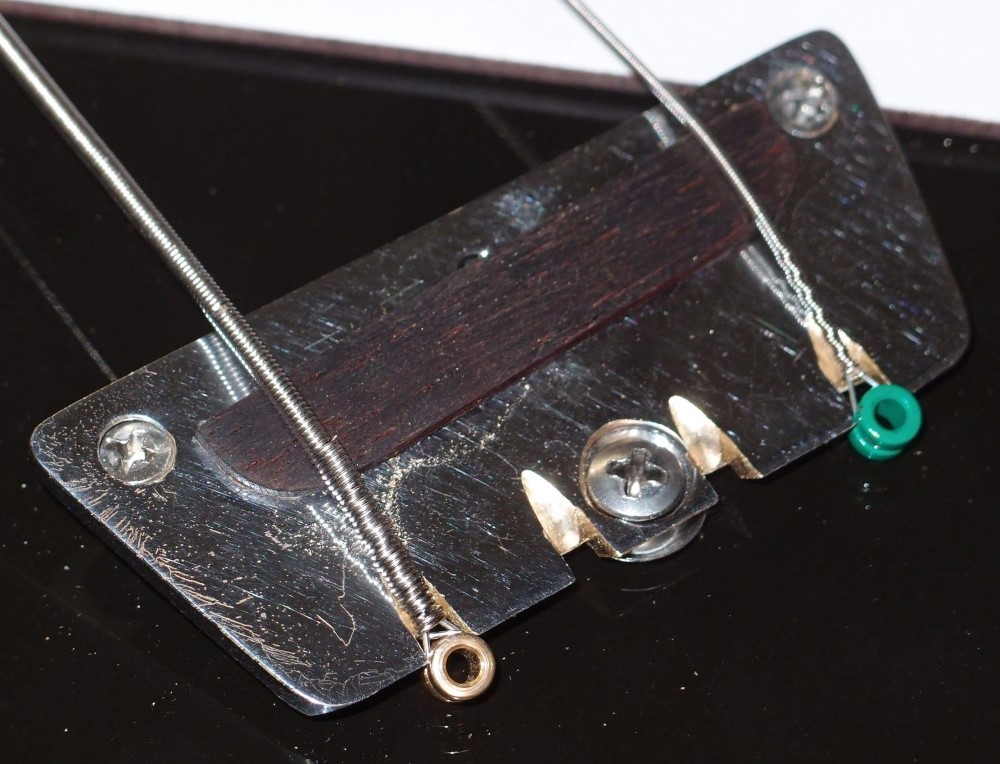
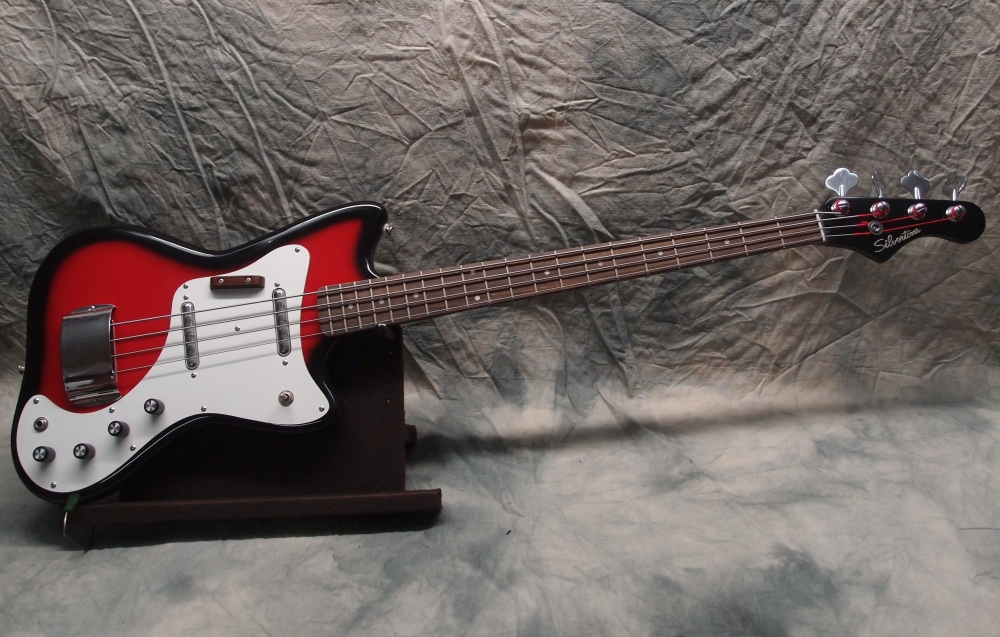
This is a vintage bridge that may be older than I am. I got it on eBay years ago cheap. Now I know why. ( The camera flash makes it look worse than it is. )
Remember the old story about Entwistle trying to record My Generation with a Danelectro? He kept breaking strings, and since there were no replacement strings available, he had to buy several new Danelectros and kept breaking the strings. Finally, he ran out of Danelectros and had to do a dumbed-down version of the bass line on a Jazz Bass. Fortunately, Danelectros don't cost much, so his collection didn't bankrupt him. Good thing he wasn't using a Rickenbacker.
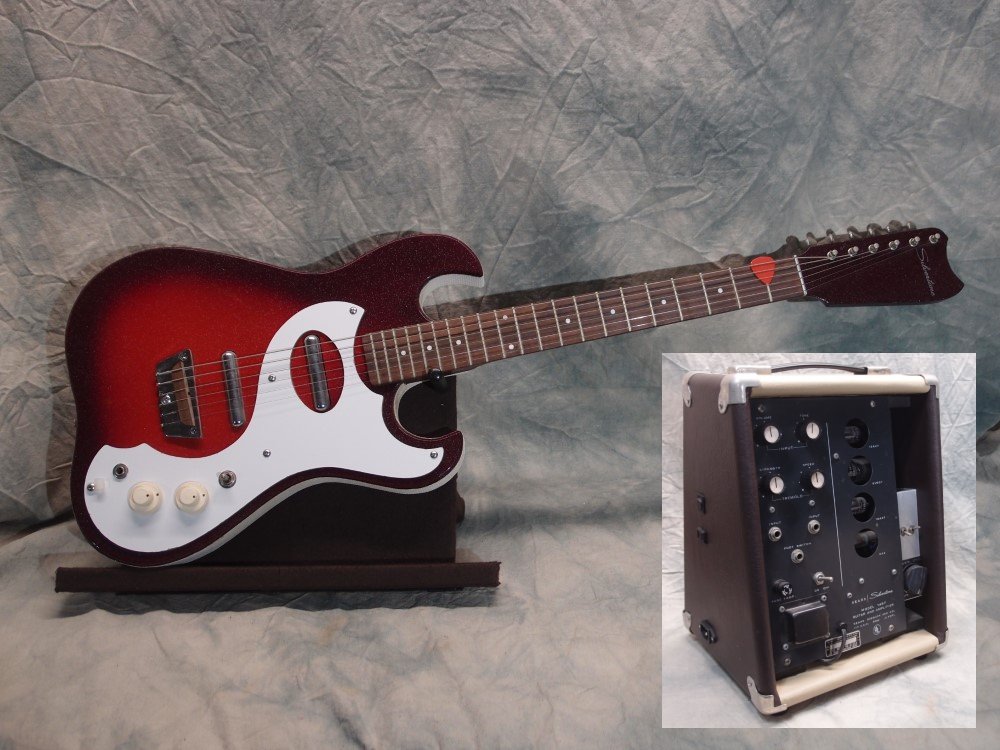
I always thought there was something wrong with that story. Entwistle was a gear-head, and could easily change his own strings. Turns out, the ball ends on the Danelectro bass strings were guitar-sized! I don't know what gauge the original strings were, but probably pretty light, like Bass VI strings - 0.084". Of course, the notches in the bridge are also guitar-sized ( see the first picture, ) and when you try to mount a standard bass string in them, it just pops out. I have a number of old Danelectro guitars, and the notched bridges work just fine, but I never noticed that about this one until yesterday when I tried to set it up.
The solution is simple - just enlarge the notches. I don't know why The Ox didn't just get a file and do that. Turns out the material under the chrome is brass, not the steel I always thought. I could easily have checked that with a magnet. Brass is still better than the pot metal used on the reissues. Brass is much easier to work than steel, and this job went pretty smoothly. You can see that I rounded the notches the way you wouldn't do in a factory.
This also explains why the reissue bass bridges have a solid block across the tail with holes for the strings. They probably tried notches first and found they tore out of the weak pot metal. The guitars use the regulation notched design, which I actually quite like, as it makes it trivial to unstring and restring the guitar.
A sharp eye will also see that the hole for the tail screw is drilled a bit off-center - a factory flaw. I filed it out until the screw is more-or-less centered. Finally, I sanded the top of the saddle smooth where it had old string grooves where I didn't want them. I made up the thickness with a few layers of tape on the bottom, with a few extra layers in the center to compensate for the inevitable sag of these bridges. The old brass bridge sags a lot less than the reissues, you could ignore it, but at this point, I was looking everything over closely. So there are three reasons why I got this part cheap.
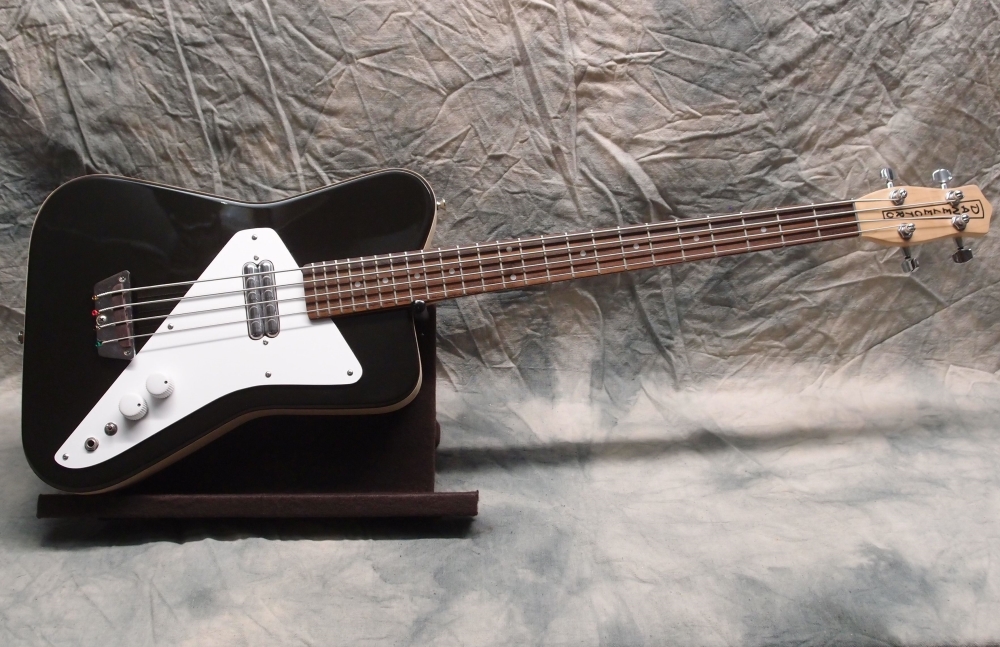
Here is the initial assembly. You can see that all the damage I did to the bridge is covered up. Intonation fell right into place, no adjustment was needed.
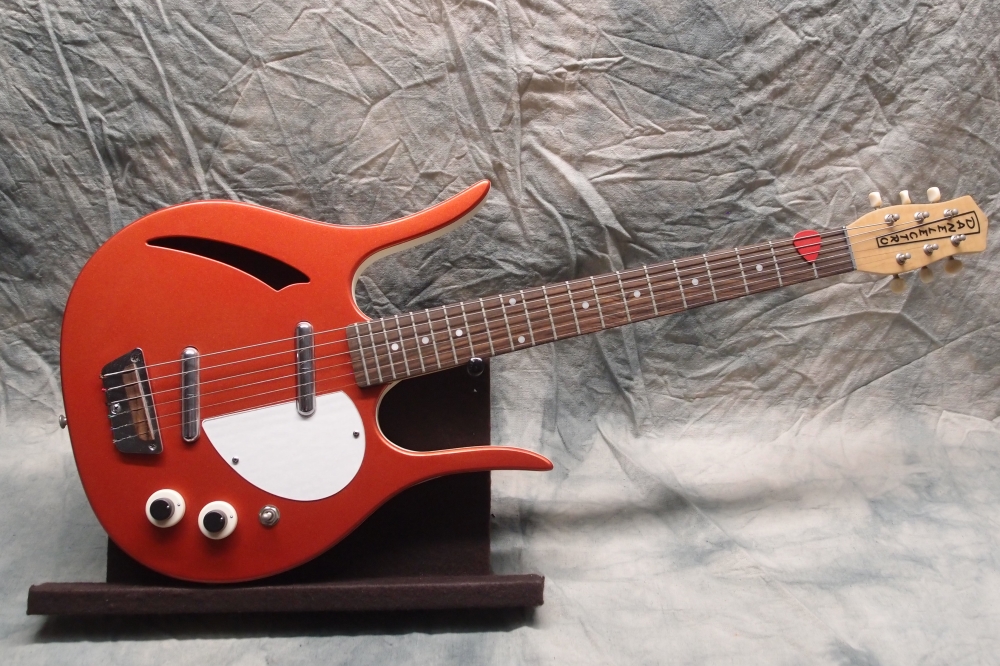
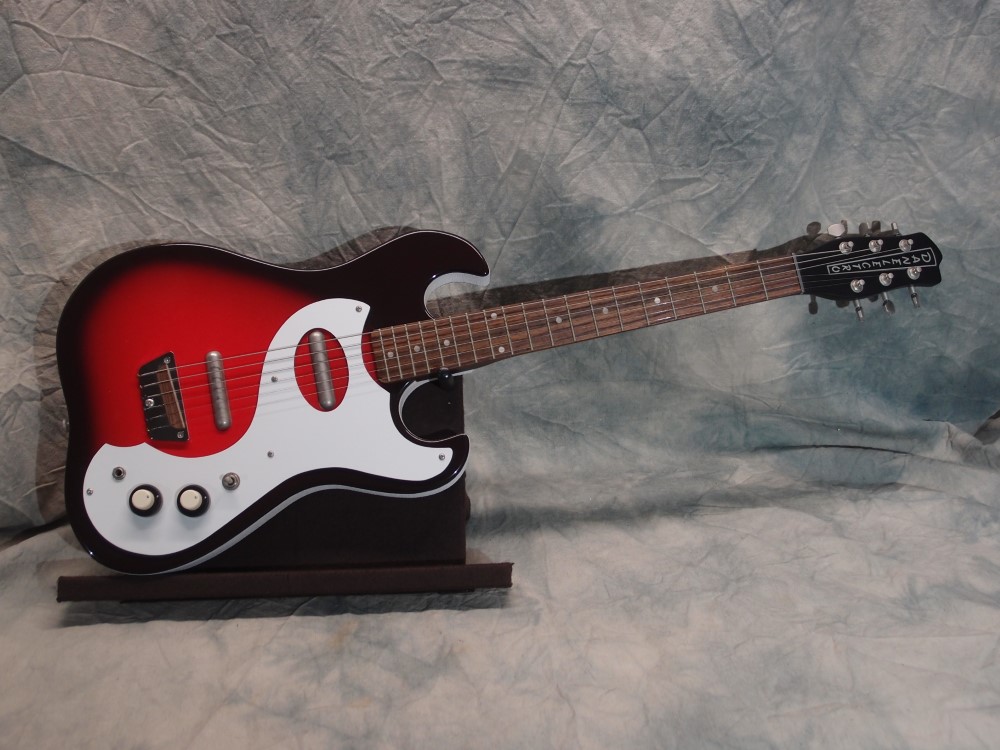
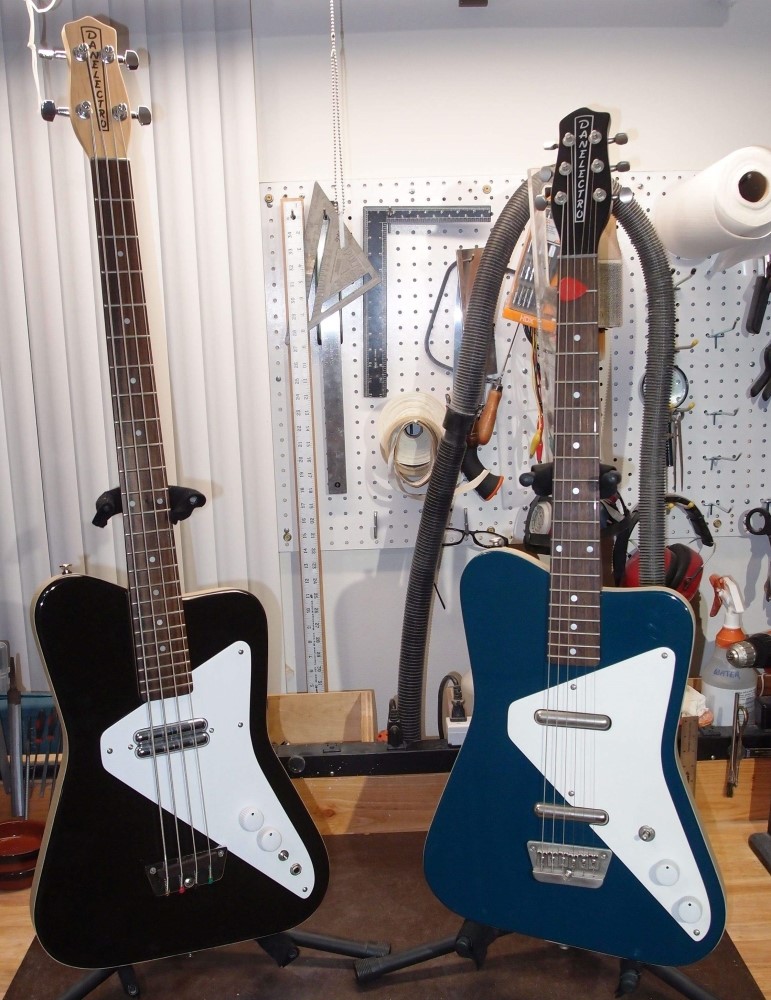
This is such a cool body shape. The whole point was to squeeze every last cent of cost out of an electric guitar, and yet it still looks good. These were the early days of space flight, and I think it is no accident that it looks like it was designed by NASA. It is also often called "the Flintstones guitar". Of course, you could ruin it by scooping out the lower horn. I like this much better than any of Gibson's bombastic designs - you know the ones.
The neck is a very nice piece, with good quality very smooth bass tuners, and an aluminum nut. The scale is slightly less than 30 inches, matching the 25" scale of the guitar, so it is a drop-in conversion. This neck was actually made for the aftermarket, it was undrilled when I got it. The guitar is actually a 19 fret neck, otherwise, the pocket would be the same as mine. Now I remember: I originally mounted this neck and string set to a double-neck body in place of a baritone neck, then changed my mind.
Once I got everything set up, it is a very nice instrument. Balance is pretty good for a bass neck on a guitar body, the lead I added certainly doesn't do any harm. I miss my usual thumb rest, but there's no neat way to install one; the top of the pickup will have to do.
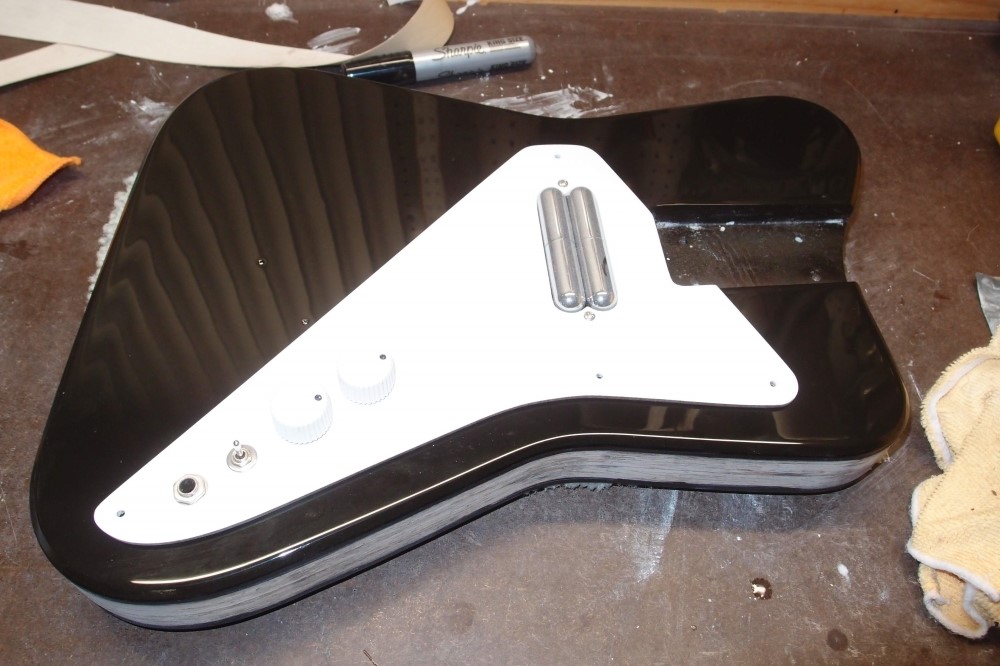
The switch is series/parallel/single. Series is very noticeable, much louder and boomier. The other two settings are more subtle. I think down is single, but I'd have to check the wiring to be sure. I went with this pickup arrangement because I wanted to mount all the electronics to the pickguard.
The pickguard also needs one more screw in the center of the long edge to stop it from buzzing. You can see how I rearranged the screws to support the heavy pickup better. Danelectro really had minimalism down to a science, eat yer heart out, Steve Jobs.
Right now it is apart again. The clear-coat I applied on the pickguard cracked like an iPhone around the screws, so I sanded it down and re-painted it. I also touched-up a few tiny spots on the body with nail polish, which will have to be smoothed out. It'll be a few days before this one is back together.
When it comes to reissue Danelectros, the original Korean '90s models are the most sought-after. Korean quality is much better than the vintage American-made classics. The '90s reissues are also the truest to the originals, with the rosewood bridge. ( The original factory is still there in Neptune NJ. Now it is a pet food concern. )
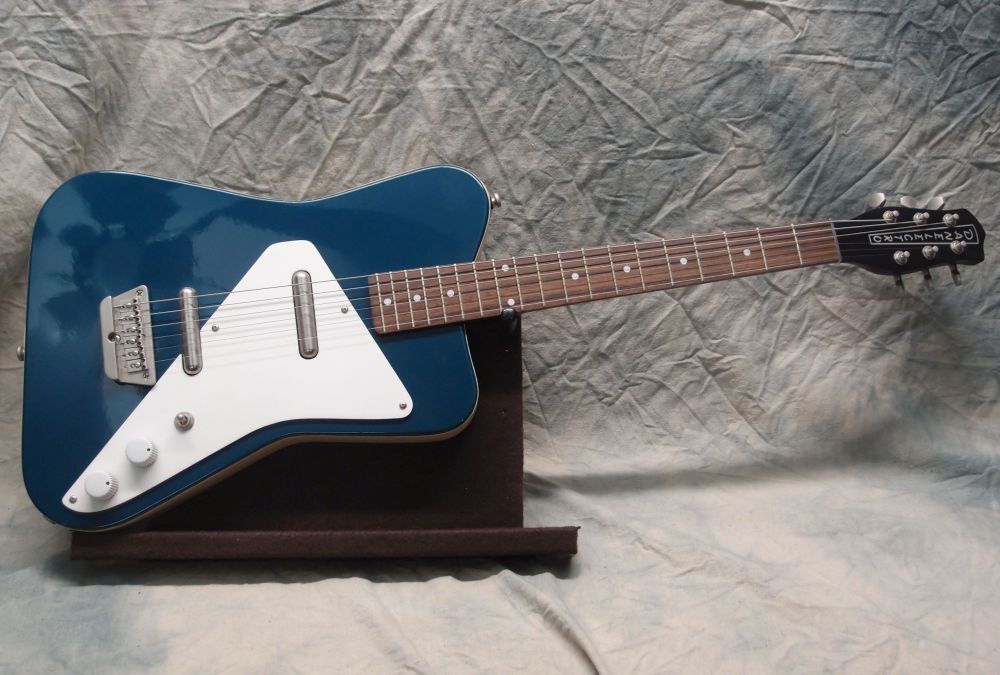
Into the 2000s, production shifted to China and the quality dropped. The blue Pro above is from this era; I have fixed it up a lot. After flagging sales, production went back to Korea, and the quality went back up, although models were more and more modified. For example, substituting a crummy Gibson-style wrap-around bridge for the classic Danelectro, because there is a picture of Jimmy Page with one, although he used stock ones much more. Nowadays Danelectro has gone high-end with a wide range of models and some beautiful Mosrite copies. Which gives me an idea.