Danelectro Pro-1 Bass (2/7)
Sep 6, 2018
Idle Hands Are the Devil's Workshop
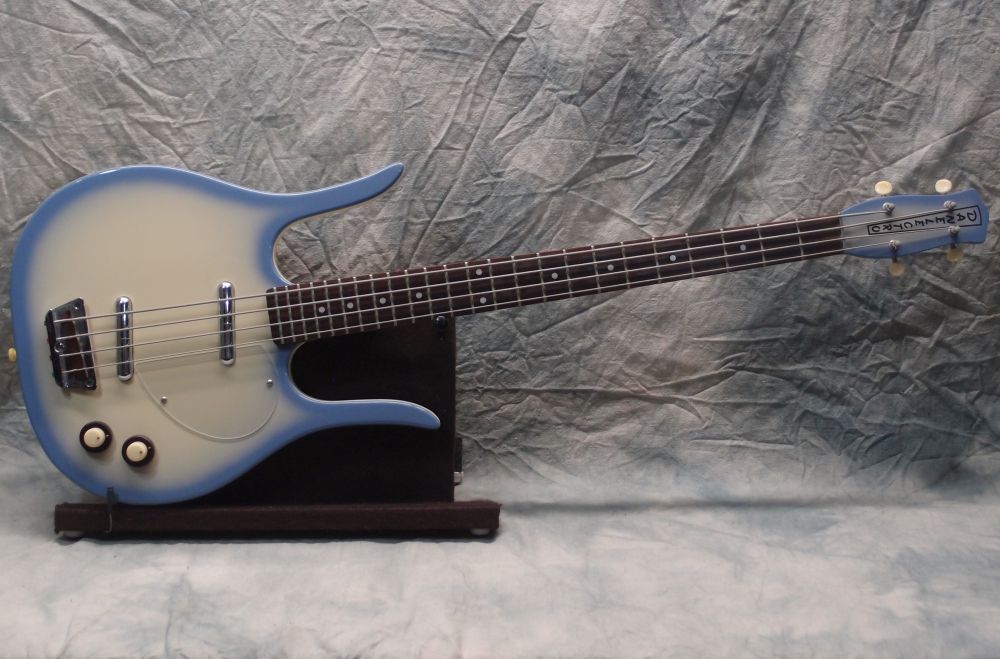
Kitting-up another project. I've had that neck for years, time to do something with it. It is actually 29-3/4" scale, 24 frets. This matches up with Danelectro's 25" guitar scale - you can substitute the bass neck for a standard guitar neck, with no other changes except the bridge, which goes in the same place. Pretty ingenious. You can do the same for 30.3"/25.5", but as far as I know, Danelectro is the only manufacturer that ever actually made use of this. I've done a couple of Strats like this.
I do not intend to alter this neck in any way, I will drill the body to match the existing holes. That means routing a bothersome Tele-style square neck pocket, but somewhere I already have a template for that. There will be a lot of frets buried in the body, but I don't care.
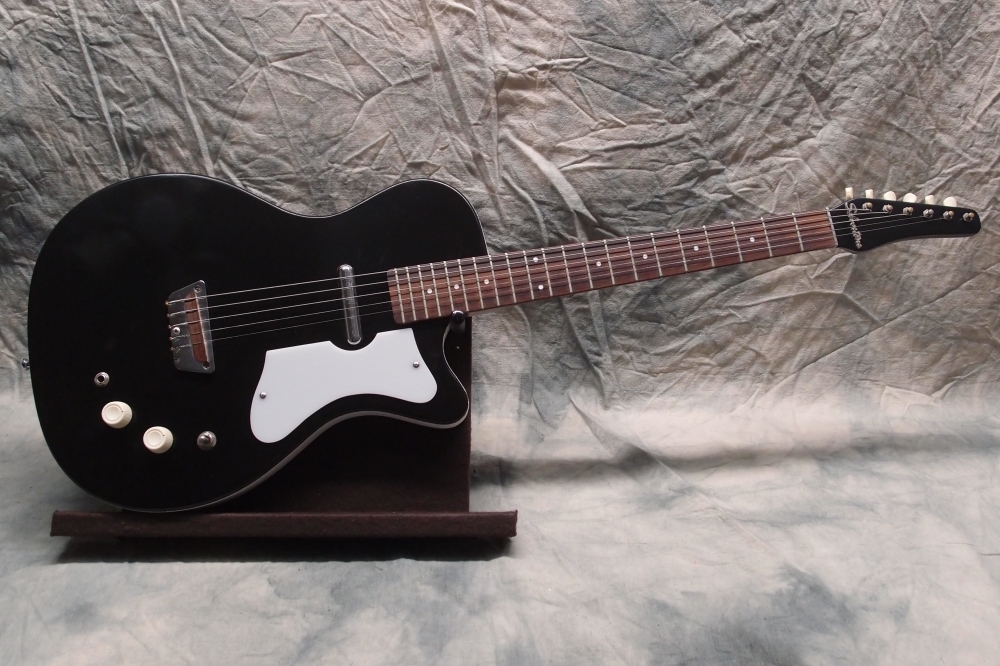
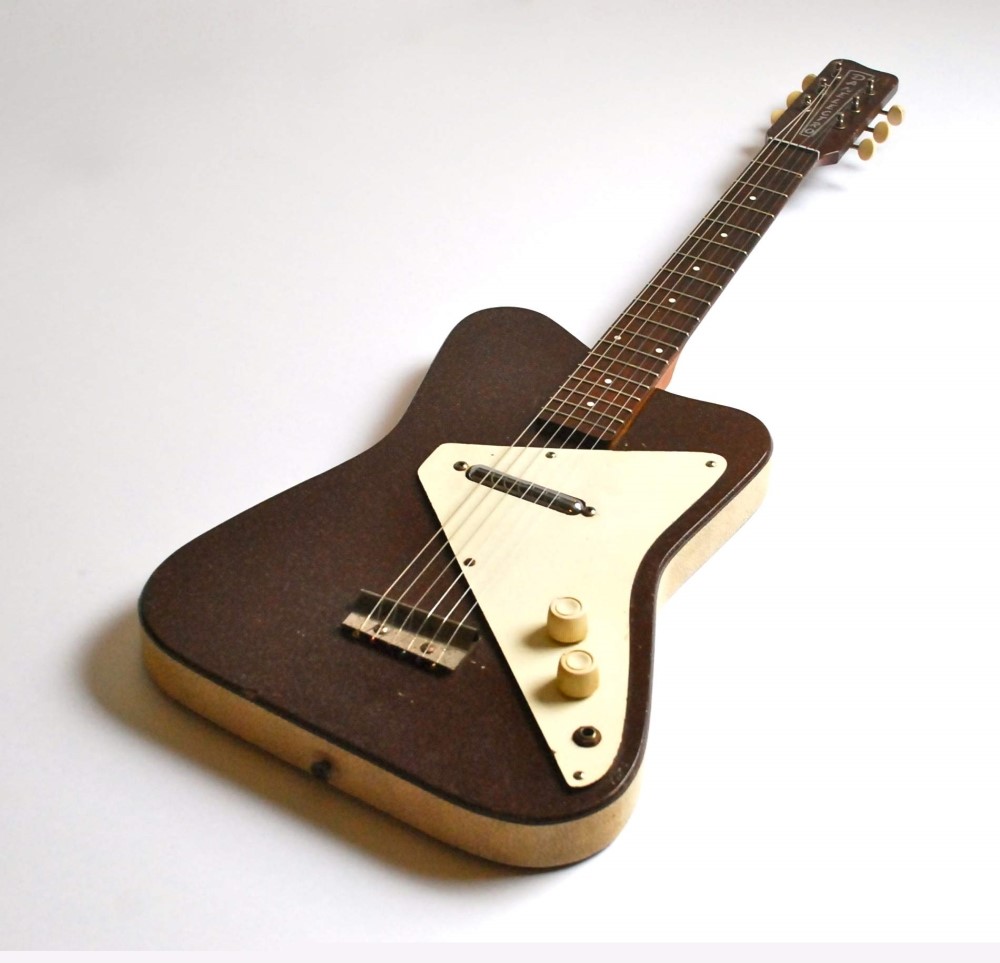
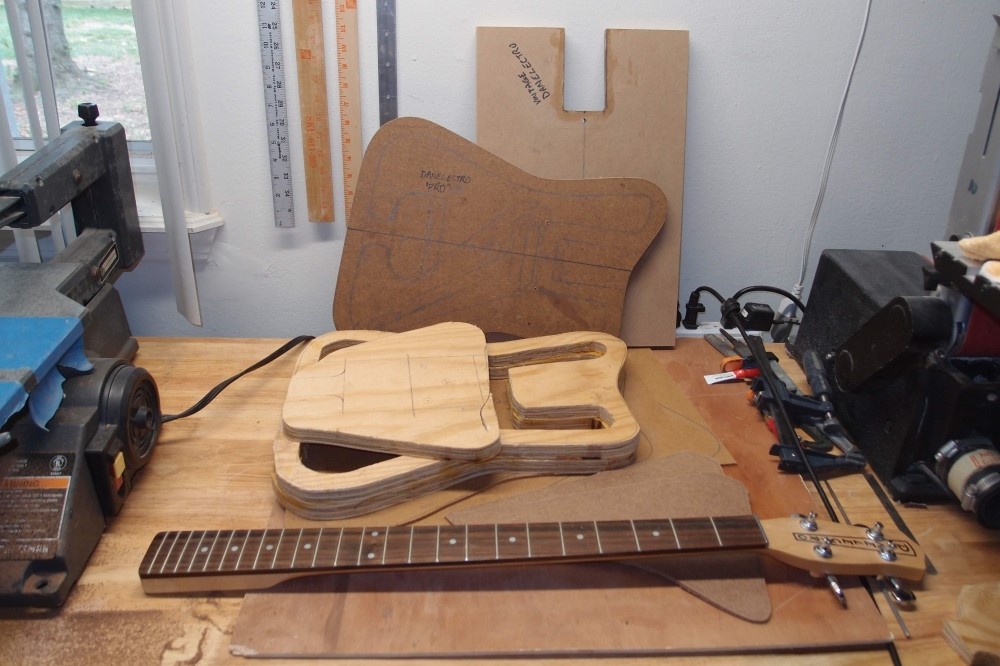
The template there is traced off a Pro-1 reissue guitar. The "Flintstones" model, as it is known. I don't know where that piece of Masonite came from, or what it has been exposed to, so I don't know how it would take a finish, and therefore I would never use it in a build. But it is perfect for a template. The straight edges are truly straight, I did that on the template with a file. I already roughed-out the front and back body faces from a nice new clean piece of masonite. Scroll saw makes short work of this thin material.
The body sides will be cut from 3/4" dumpster plywood. The body will be standard modern Danelectro construction: masonite top, two thicknesses of plywood for the sides, masonite back. In the sixties, Danelectro used pieces of poplar joined with staples instead of plywood. Once it is all glued together, either way is perfectly good. The bandsaw is better suited to thick plywood. I think I will just use a jigsaw instead. It will take longer, but I won't have to switch tools to do the interior. You could do this entire build with just a jigsaw.
For a finish, I will use the same dark brown poly as I used on the Audiovox previously. Masonite takes a finish very well. The sides will get the usual Danelectro Tolex binding, now that I have finally perfected the method for that. This way you only need to spray and polish the flat faces, you can ignore the sides, in fact, the less you get on them, the better.
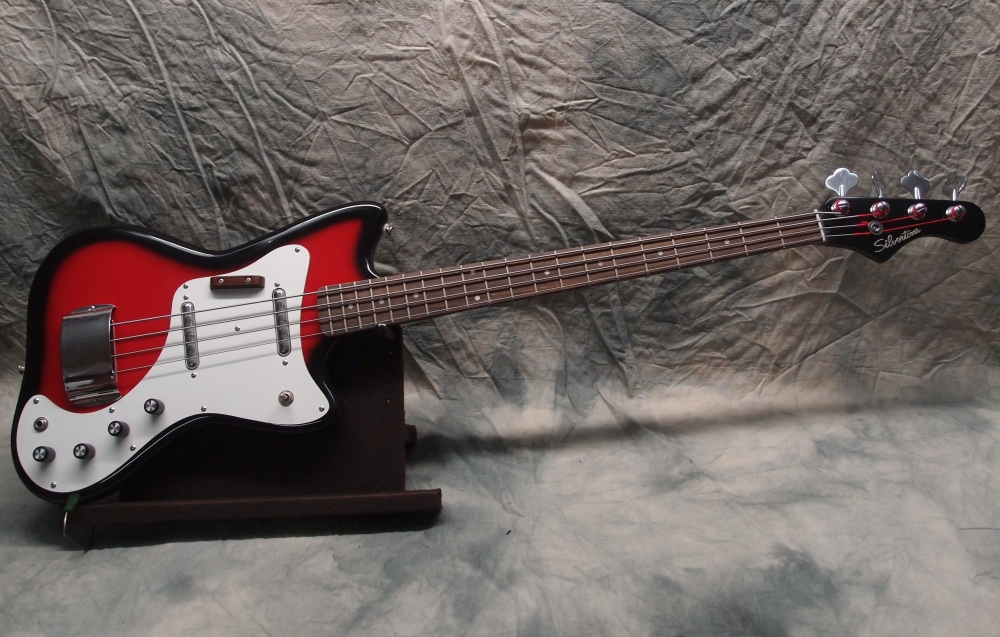
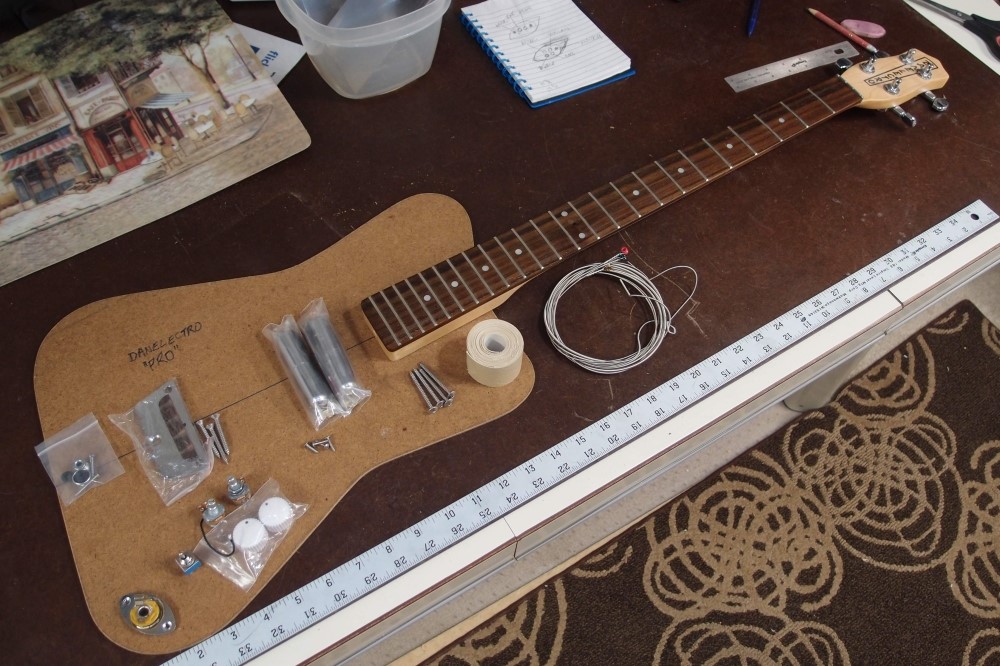
The original Pro-1 had a single lipstick pickup. I will double that up, with switching for 3 modes between the two tubes. That should give it a nice tonal range. Mounting the lipsticks together as shown simplifies installation, as I can mount them to the pickguard rather than the body. The pickguard should be white-painted Masonite, but I may go with plastic. I need to pull the pickguard off the guitar and trace out a template. Note that these are tracing templates, not routing templates. Everything will be shaped on the belt sander.
Everything in the picture came from parts on hand, including the correct cupcake knobs. That bridge is an original from the sixties, solid steel and straight, much better than the reissues. However, it is not correct, there really is no correct bridge for this build. The Pro-1 was only a guitar, and came with the sketchiest sheet metal bridge you ever saw, not a standard Danelectro bridge. I will try to think of something suitably crude if I can, otherwise, this bridge will do.
I think the "Pro" moniker was a joke on Danelectro's part. The "Pro" was actually the simplest and cheapest guitar they ever made - luthiery with all the fat boiled away. It was still a perfectly good instrument, and originals are highly sought after today.
That gives me four projects in the works - the last Audiovox, two Rics, and this. So no matter what is hung up, I can always work on something when I get the urge. This is going to be a really simple build, so if you've never done one before, pay attention. If you want to 'build-along', you can use a paddle-head neck from Eden, any Fender-style bridge, and pickups of your choice.
Sep 7, 2018
I slept on it, and decided that if Danelectro had built a "Pro-2" bass, they would have used their standard bass bridge and not tried to adapt the tin thing from the guitar. First, they already had the bass bridge, $$$, and second, their designs were engineered, not luthiered, and they would have been concerned with making it strong enough, unlike some other manufacturers. Compare that to, say, Gibson pop-off headstocks, which they have not only never fixed, but never even admitted there is a problem! Note that the 'tin thing' on the guitar is perfectly adequate. I think that redesigning it to hold up on a bass would simply not be worth it.
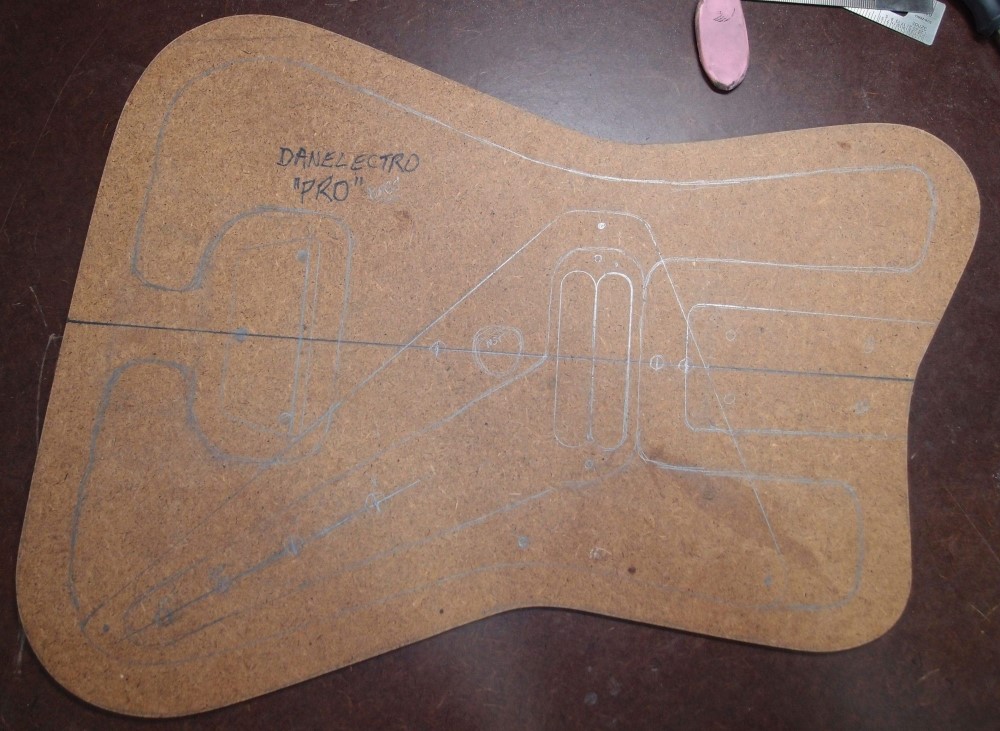
So here I have traced on the pickguard and sketched in the other features: double pickup, neck pocket, bridge mounting, internal cavities, and body openings, and controls. The bridge block is joined to the body, not for strength, but to save me the trouble of locating it later. Plywood is heavy ( and so is masonite ) so I want to remove as much of it as possible. If it needs some help balancing, I can glue half a pound of tire weights in the ass-end, where they will do the most good.
This is pretty much a complete design now. It's tempting to give it a lower horn and get 8 frets back, but I think this shape would be ruined by that, so I'm going to let style win over functionality. Those are all squeaky guitar notes anyway.
Finally got a break from the heat, so today I want to play with my new welder. If this is my last post here, you'll know what happened, and you'll just have to carry on yourself.
Sep 8, 2018
Here are all the rough parts and templates for the Pro bass. I cut out two body frames with the jigsaw and glued them together. I ended up sawing off the bridge block, so I marked out a new one on scrap. This plywood is very rough, and I found a big void that would have been in the neck pocket, so I reversed the two pieces to put it where it won't matter. I'm also re-working the neck pocket template, which was not very good. So far I haven't spent a penny on this build, just cleaned up the woodpile a bit.
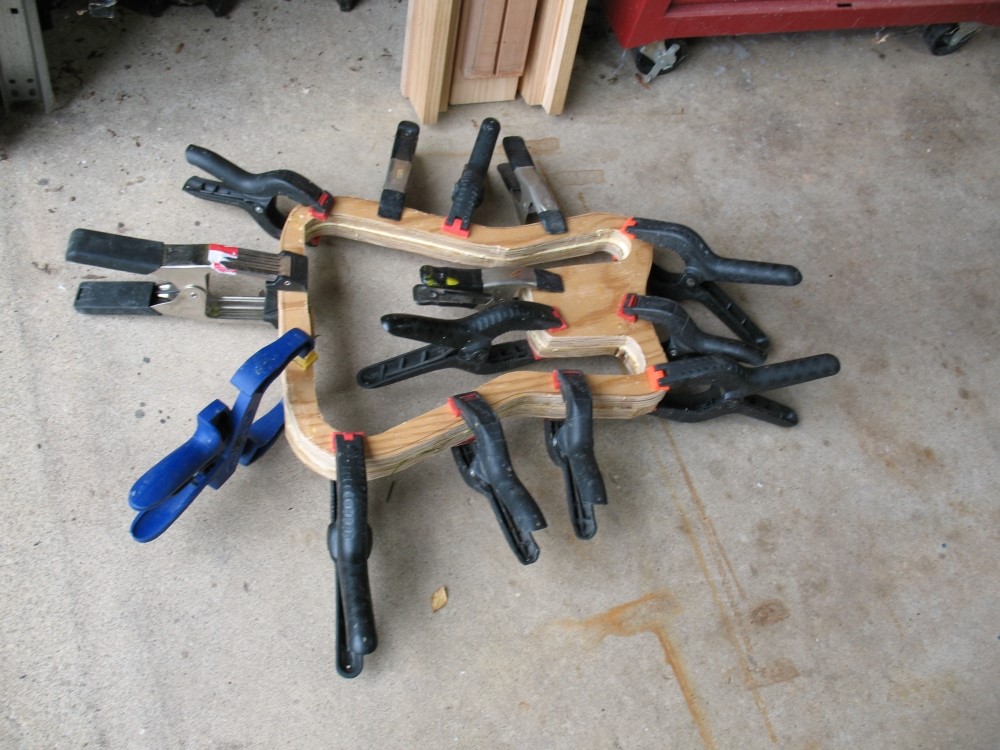
A little out of order ... here are the body frames being glued together yesterday. When I cut them out, I stayed well outside the lines, so that when I make the final shape I won't have to worry about where the two pieces don't overlap.

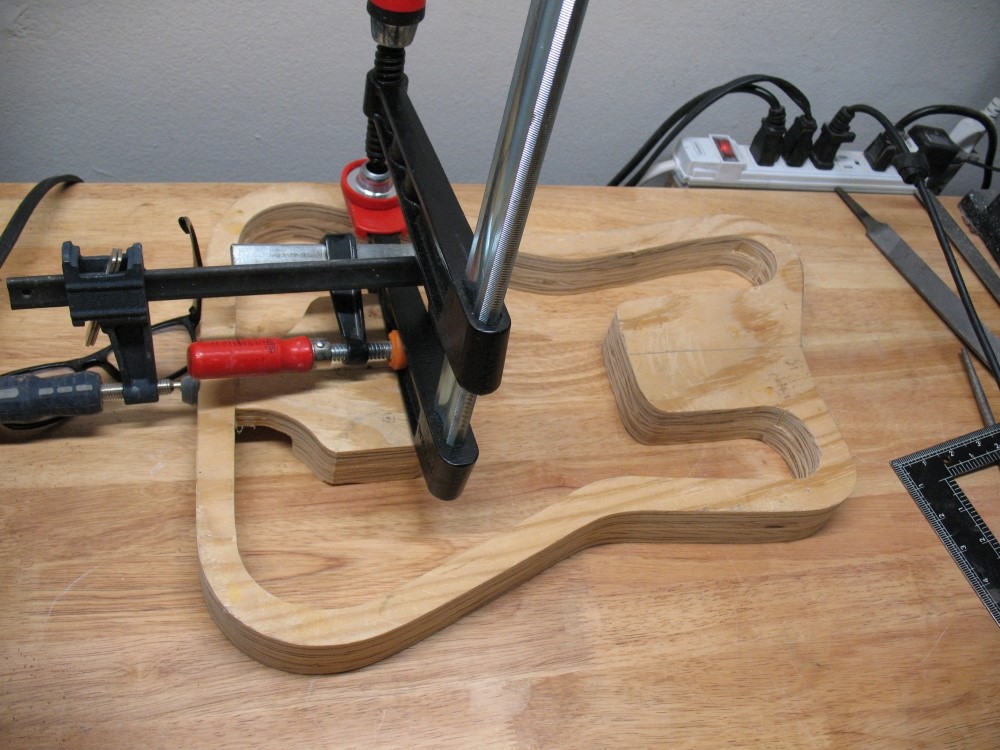
Here is the body frame after shaping, resting on the template. I did the outside with a 50 belt. Then I cleaned up the inside with a jigsaw, and further with the sander, only for the picture. The sander doesn't give a perfectly perpendicular edge, so from time to time simply flip the piece over to correct it. I just checked it with a square, and it is square. I also took the frame and rubbed both faces on a nice patch of cement walkway to take any high spots off. Note the driveway full of sawdust.
Chipping can be a problem with plywood, and I had to put a couple of small bits back in with Crazy Glue. You can also fill plywood with Bondo, or wood filler. Since the edge is going to be covered on the finished body, I'm not too concerned with getting a nice finish.
This body shape was achievable with only the belt sander. That's no accident, Danelectro meant for this model to be easy to manufacture. They would have used pieces of poplar instead of plywood: probably one big one for the neck pocket and 'horns' up to the waist, and one for each of the remaining sides. I doubt there was even a bridge block, but a bass needs to be stronger than a guitar.
I also made a bridge block from scrap with the jigsaw. Scrap is my favorite tonewood. Since I was moving along at a good pace and didn't want to wait for the glue to dry, I wrapped the pieces in rubber bands and threw it in the microwave. Two thirty-second nukings did the trick, and then I shaped the block on the sander. I also shaped two pickguards with an 80 belt, one for the project and one to join the body template in the templates box.
To transfer locations from the template to the workpiece, I drill small holes in the template in strategic locations and pencil through. You can see the spots for the three-point Danelectro bridge.
Finally, I glued in the new bridge block. The 'neck' will keep it located when I attach the top and back. Note the Tone Tunnel behind the bridge block, Patent Pending. The Tone Tunnel allows tone from the upper part of the body to mix with tone from the lower part, in a precisely controlled manner. I am my own marketing department.
Note: This stage of the project generated piles and piles of the most horrible fine sanding sawdust. You do not want to breathe this stuff, not any at all. I wore a breather mask, earmuffs, and safety glasses the whole time, including cleanup. Plywood sawdust is especially awful, along with masonite and mdf. That is also the reason I took this job outside. For cleanup, I reversed the shopvac and blew it all out on the lawn. Fertilizer.
That's it for today, I'm bushed and my back is sore from hunching over the welding table yesterday.

Feeling better after a long hot shower, so I decided to do the rest of the glue-up.
You'll note that the body facepieces are no particular shape. I traced the template onto the material to make sure it would cover, and cut it into two pieces. I traced the frame onto the back and then painted glue inside the lines with an acid brush. I used the same brush to wet down the wood and pushed it on. Then I painted the top of the frame and pushed on the top piece. No need to wet the masonite, in fact, you don't want to. Note that there is no precise alignment of the parts - as long as the faces fully cover the frames, good enough. The bridge block is glued on both sides, as is the neck pocket.
Then clamps, lots of clamps, many more than when I glued the frames, because masonite is nowhere near as stiff as 3/4" plywood, and you want the entire periphery held down tight. One giant mega-clamp for the bridge block. Wet glue is slippery, so make sure the parts stay aligned while applying the clamps.
Lots of nice glue squeeze-out all around. Squeeze-out means you've filled between the pieces, and also fills the small gaps around the edge. You don't want to be over-tight and squeeze out too much glue though, you need a distinct layer for a good bond. In the morning this will be ready to go.
This is a very common way to build a guitar, although masonite is peculiar to Danelectro, thin plywood would be more usual. You could use slightly thinner plywood for the sides and 1/4" plywood for the faces and make a more or less standard thickness body, all from the hardware store. The nice thing about masonite is the smooth clean edge you get, unlike plywood. The advantages of plywood over wood wood are dimensional stability, strength in all directions, and resistance to cracking. And cost. If you made a thin frame like this out of a single piece of wood, it would be much more expensive, and probably not hold up well.