Audiovox Mandolin (5/5)
Feb 28, 2018
Nut, Nut Slot, Decal
I hadn't decided what to make this nut from: plastic, bone, hardwood, brass, or aluminum - all good choices. The aluminum stock I ordered proved to be unsuitable, but the bone blanks arrived unexpectedly early from exotic distant lands, so that's what I went with.
Since I made the fretboard by sanding, it is on the thick side, and the bone blanks were not tall enough. So I glued three of them into a slab ( Crazy Glue ) and sawed it down the middle to make two tall ones. The seam is hard to see, and will disappear after finishing. After some more sawing and gross shaping on the belt sander, I resorted to files to make the final product. You need a good assortment of files.
The bone chipped a bit around the edges, but I filled the gaps with a mixture of Crazy Glue and bone dust, which I had plenty of. I even saved some in a 35mm film canister - those are super useful, you can get a bag full of them from anywhere that still processes film.
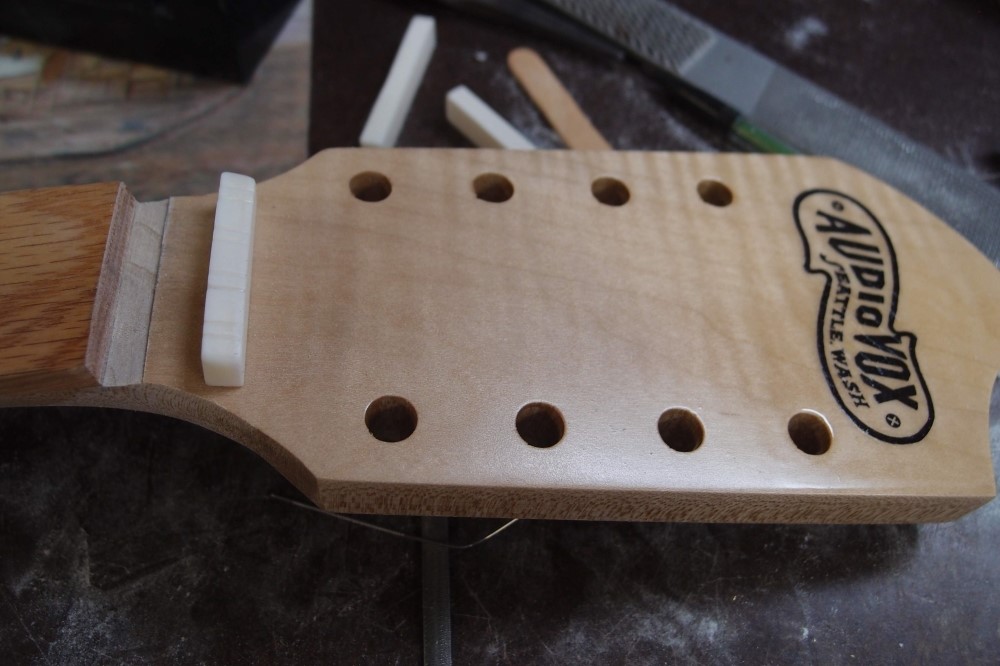
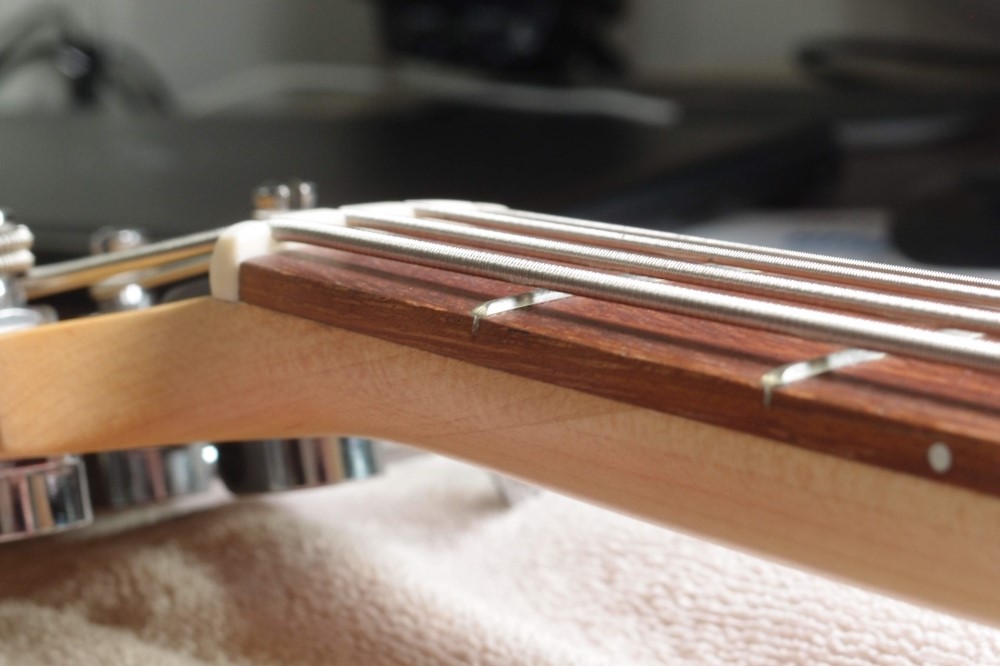
For the nut slots, I took the overall spacing from a bass nut, but evened it out ( bass nuts are not evenly spaced because the strings are so thick. ) I took the pair spacing from a mandolin nut that I had no intention of using otherwise, it is very narrow. Mark with a pencil, and cut a preliminary slot with a razor saw. The little vise above was used throughout this operation.
Once I had eight saw cuts in the top of the nut, I began widening and rounding them to fit the strings. For bass nuts, you can do most of the work with needle files, but those are much too big for guitar slots. On eBay, you can find welder tip cleaners sold as nut slot files that work very well in non-metallic materials, and are quite inexpensive. Finally, I cleaned up the surface of the nut with a sanding pad.
The end result is eight guitar strings on a narrow bass spacing, at both the bridge and the nut. For the nut slot, I traced a line on the wood and cut inside of it with the razor file, about 1mm deep. Then I used the files to remove the wood behind the cut and filed the end of the fretboard down to bare wood so the glue will take. The nut will be installed with white glue. I worked over the whole affair until the nut fit perfectly, then used the corner of the file as a chisel, and scooped out the middle of the slot just enough to assure that the ends will sit tight.
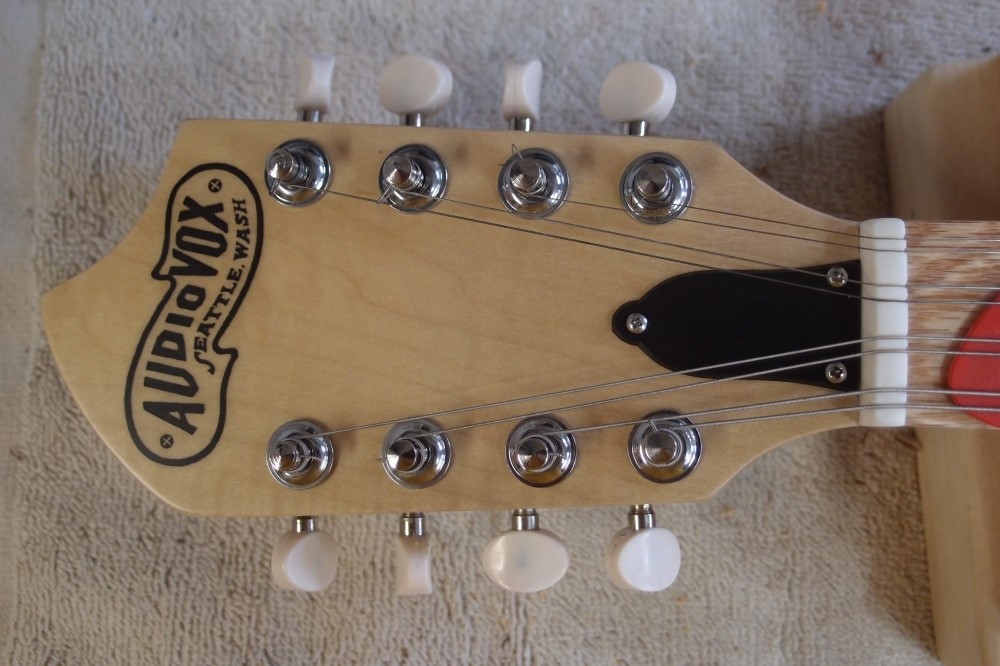
I also started the decal application. I have described that procedure previously. I rushed the second coat of poly, and it caused the first coat to crinkle, but that doesn't matter. The decal itself was unaffected, and there will be a good deal of sanding and re-coating before this is done. Actually, a couple more coats have already smoothed it out.
Once I have a good protective coating over the decal, I am going to shorten the headstock about 3/8", so it doesn't look so gargantuan against the short neck. I'm making this up as I go, something like this has never been made before, to my knowledge. This instrument will have aspects of a guitar, a bass, a mandolin, and a ukulele. I haven't figured out what to call it.
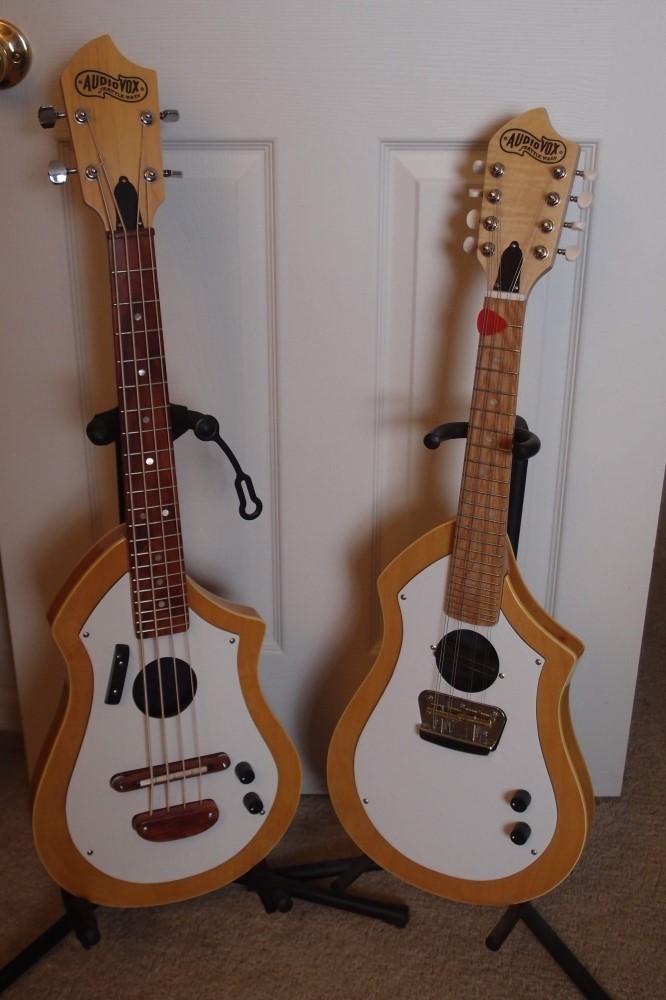
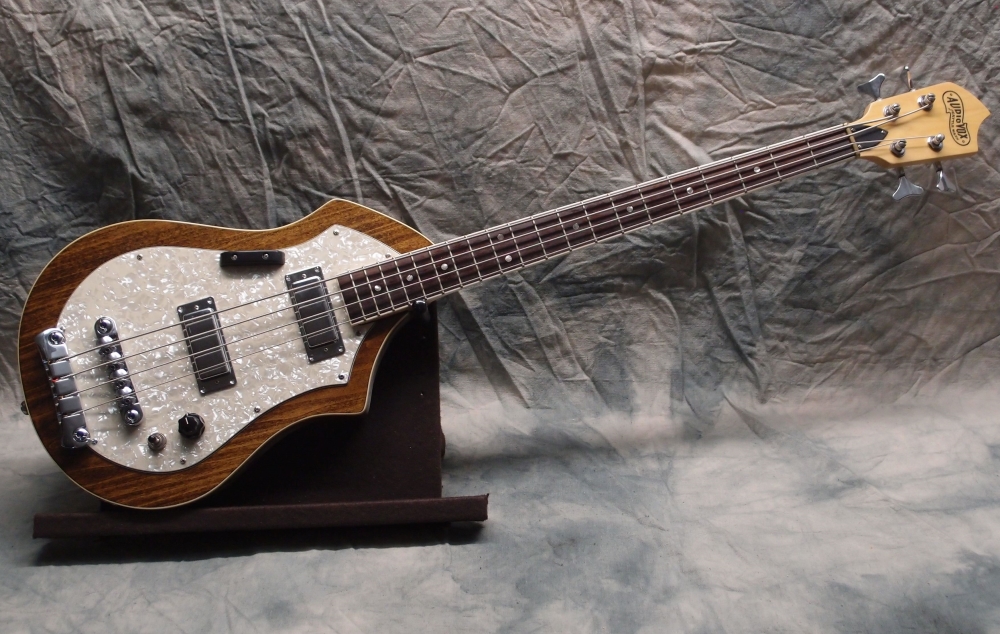
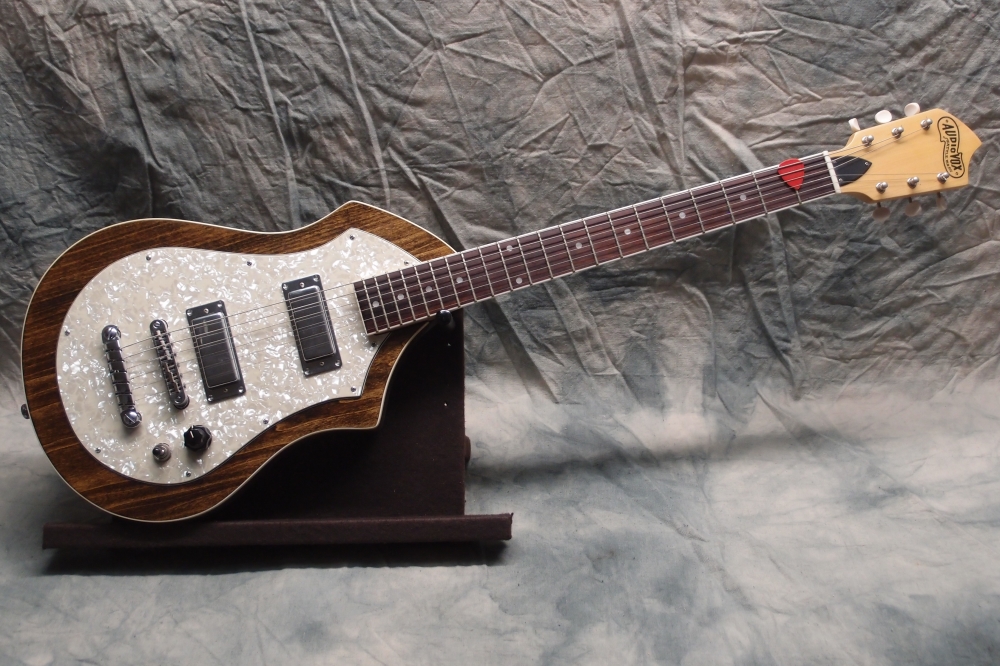
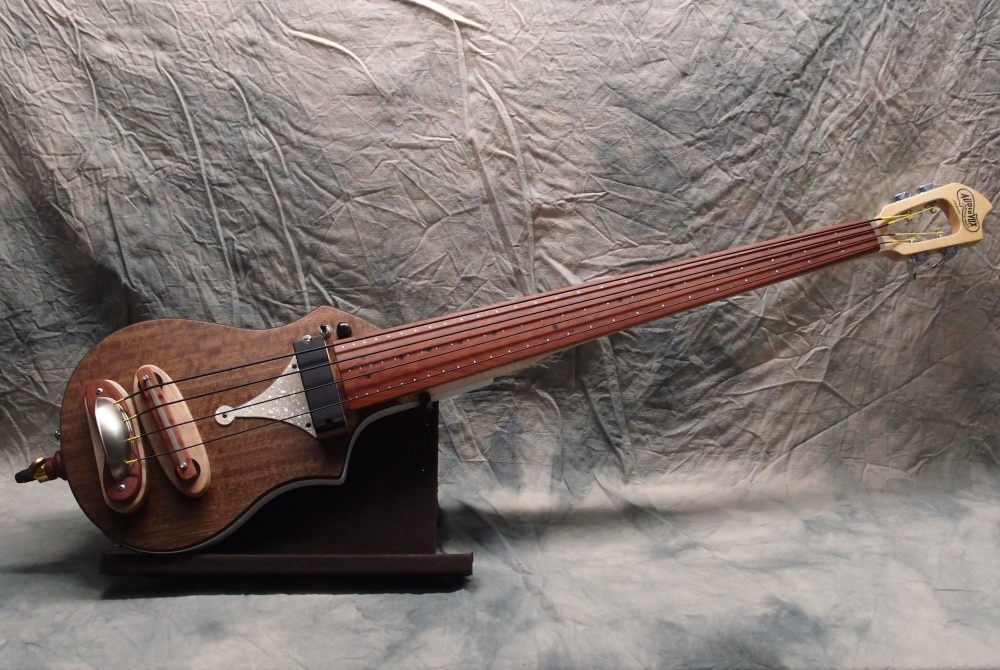
I finally finished this, on the right, next to the Uke bass. I don't even know what to call it. The starting point for the design is: capo a guitar at the seventh fret, and discard the highest and lowest strings. That leaves EADG like a bass, but up an octave from a standard guitar, with a 17-inch scale like a big ukulele. Then double all the strings like a mandolin, and what the heck, give it 24 frets. If anyone can come up with a workable portmanteau of guitar, bass, ukulele, and mandolin, I'd like to hear it. I know: guikulelin !!!
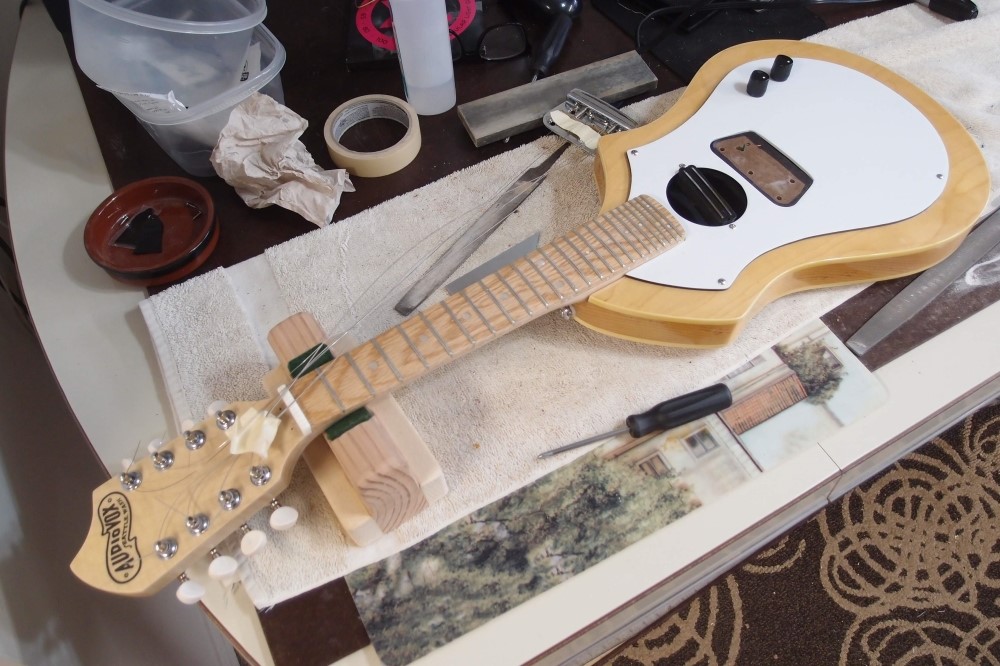
Here it is during its lengthy setup process. On its first assembly, I would rate it awful, but I made a list of all the adjustments and corrections, and tore it down, and fixed it. I had to rework the nut and raise the bridge up with a shim, as well as do a very fine fret leveling. I also fixed a brainfart in the electronics ( simple volume/tone, with a series/parallel switch on the tone. ) These Chinese tuners are the worst I've ever seen, but I tore them apart, lubed everything, and found the right place to smack them with a hammer, and now they are acceptable.
The build is very similar to the uke bass: 1" white pine core capped with maple plywood, maple neck with red oak fretboard. This body is extremely light, probably too light to even carry a full-scale guitar neck, so this was a good way to salvage it. There are a lot of ugly modifications under the expansive pickguard, including a new bridge block where there was originally a pickup rout. The sound hole doesn't do much, but it adds a visual feature to what would otherwise be an awful lot of white pickguard.
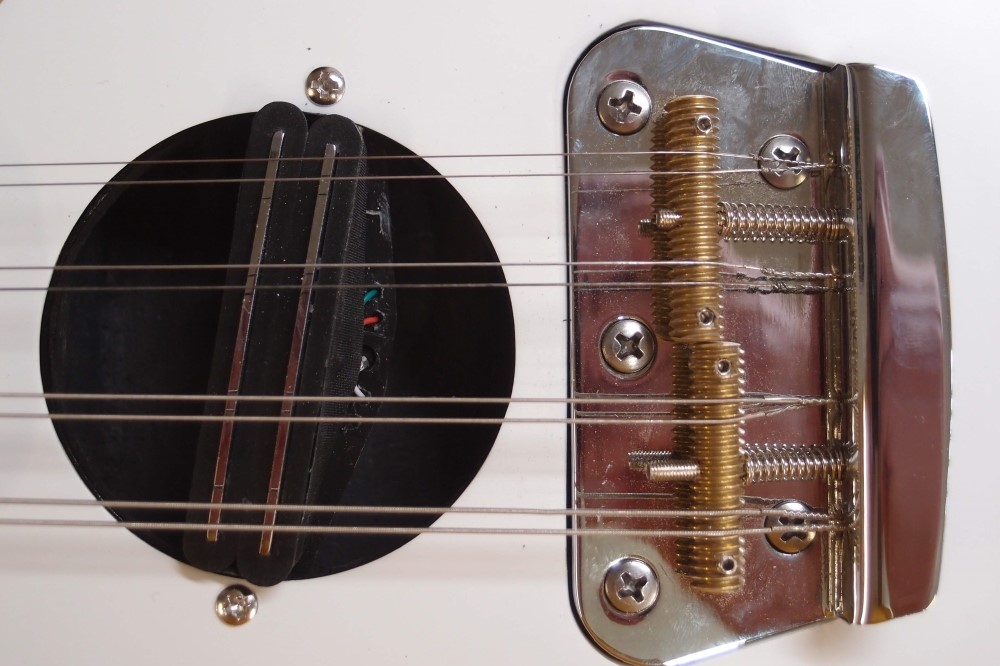
The bridge is a modified Bronco bass part. These are readily available and inexpensive, and have the advantage of being narrow gauge - the same string spread as a guitar. I made new saddles from 3/8" brass rod and spare parts. You could also use a 3/8" brass bolt from a marine supplies store, but I didn't think of that.
You can see the string spacing works out very nicely. I ended up shimming the bridge up with a piece of pickguard material, so I could have saved myself a lot of bother and just screwed the bridge down onto the pickguard without making a cutout, and then a shim to fill in the cutout.
The inter-string spacing is as a bass, and the neck is standard guitar width at the heel. A standard mandolin bridge is hooked for loop-end mandolin strings. I wanted to use regular guitar strings. I also didn't want a super-skinny mandolin neck.
The pickup is a cheap Chinese humbucker. I like these, they sound good for both guitar and bass, and there are 4 wires so you can separate the coils and do fun things. I like the soundhole mounting, and it is easier than making a tight pickup route.
Here is a detail of the other end. The nut is bone, jazz-bass-width, and went through a good deal of production before I was happy with it. The truss rod cover is fake, there is no truss rod adjustment, just a steel bar. Another way to fill in otherwise empty space. The strings are all tuned in unison. I used 30-22-14-11, all from the big box of misfit strings. This is basically the middle four strings from a light guitar set, times two.
It sounds very dinky unplugged, but it sings when you plug it in. I'm kind of lost on a 17" scale, my fingers feel huge. ( A real mandolin has a 13" scale, I'd probably crush it. ) The frets above 20 are not very playable - just look at the spacing. You'd have to have some really hard callouses to make clear notes up there. But they look cool, and improve access to the frets that are playable, and lengthen a neck that would otherwise be even shorter. You can make power chords on the lower frets. An alternative would be to string it up DGBE, like the upper four strings of a guitar. Then you would have all of those chords instead. ( One of my goals was to build an instrument that didn't require a lot of transposing. I don't know a whole lot of guitar chords, and I'm damn well not giving up any. )
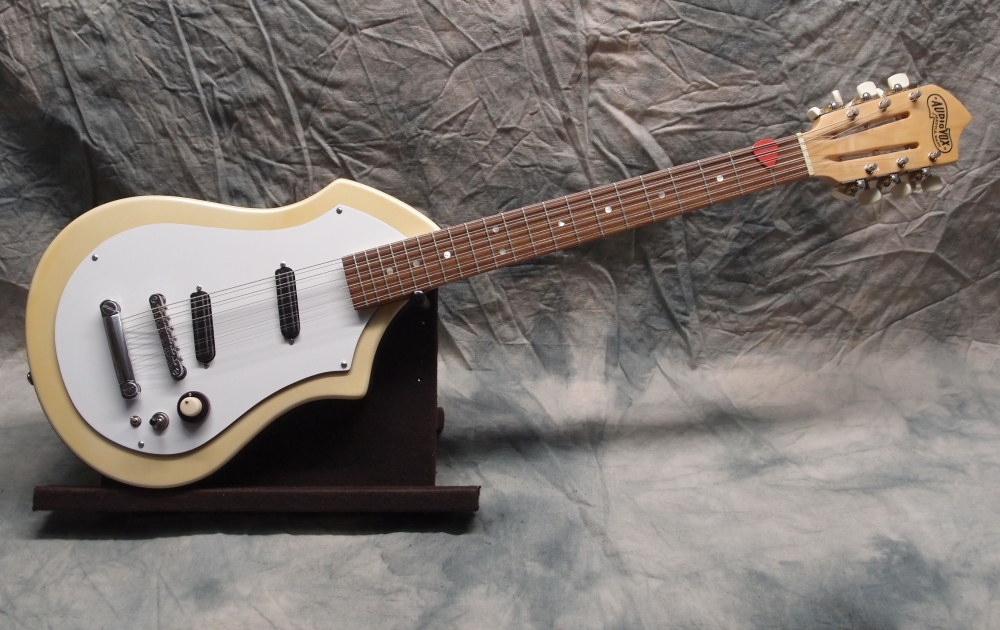
I almost forgot my other inspiration:
Video also features the incomparable Derek Smalls on bass.
... and where are they now, the little people of Stonehenge?


Questions or Inquiries?
Just want to say Hello? Sign the .