Audiovox Mandolin (4/5)
Installing Frets
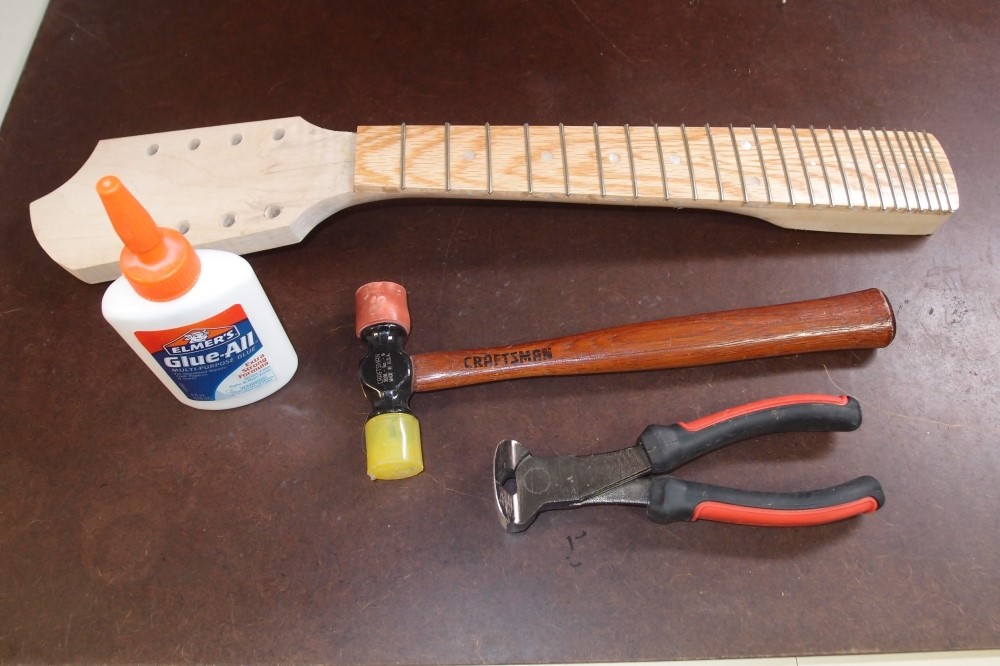
StewMac's fret press is a terrific tool, but this little neck presents some problems in using it, so I decided to go the old-fashioned way. The nylon end of the hammer does a good job. The end cutters have been ground flush. I have some large coils of fret wire from which I clip pieces to minimize waste. Pre-cut Fender frets also work well, but at a higher cost with more waste. The coils are about a foot in diameter, which works fine for the fret radius.
To set a fret, put some glue in the slot, then hammer in the ends, and finally work in towards the center. This way the over-curve in the fret will help hold the ends tight. If you set the center first, the fret will flatten, and you may have a hard time getting the ends to stay down. Fret wire is soft and weak and will largely conform to whatever shape you beat it into. You don't need any expensive fret radiusing contraption. Discard any piece with a side-to-side bend, those are much harder to install.
White glue works well - it is strong enough, and cleans up well with just a damp rag, even after it dries. Wood glue would also work, as long as you are prompt about cleaning it up. For problem spots, you can resort to Crazy Glue. Make sure your fret slots are clean before you start. If the slots are full of junk, the frets won't go in. This is not rocket science, just hammering. Set a few frets into some scrap wood to get a feel for it. For the hammering, fold a towel over your knee.
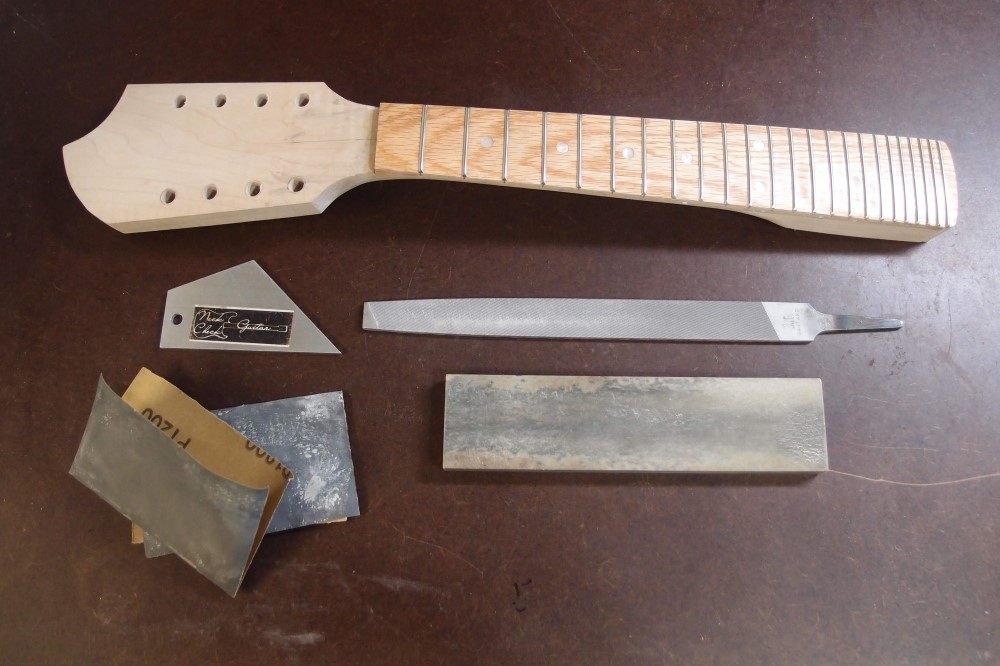
Once the frets are all in, they need to be dressed. To dress the ends, clip them off as close as you can with the end cutter. Then file them flush with the wood. Angle the file slightly away from the wood and work it lengthwise over the fret ends. You're not doing one fret at a time, you're doing all of them at once. The heel end will take more work than the nut, as the frets are closer together and more resistant to filing. Up by the nut, you may end up filing frets individually. During this process, you should not be touching the wood until the very end, when the fret ends are flush.
When the ends are flush, cant the file over about 45 degrees and bevel the ends the same way. Work the whole thing over until you are happy with it. Polish out the file marks with 1000 grit sandpaper, and clean up the wood with 400 grit. Finally, give all the frets another good whacking with the hammer, from the outside in as before. Look for any big wobbles with the rocker tool, and smack those down again. You want to make sure a high fret is hammered down as much as possible before you resort to filing.
When the frets have all been beaten into submission, I like to stone over the whole neck with a soft sharpening stone. The edge works better than the face. This will take out any high spots much more gently than filing. The soft fret wire tends to gum up the stone, which can be cleaned with Brillo. This neck will get a final misting of polyurethane over the fretboard, which will wear off the frets from playing. A thicker coating of poly on the back and sides will smooth out the fret ends even more.
All of these methods can also be applied to an existing neck. Many guitars are made in warm humid places, and in their first American winter, the wood dries and contracts. This is the source of all the pissing and moaning about 'fret ends that could slice your fingers off'. Now you know how to fix that, and it only needs to be done once.
Feb 26, 2018

Not much luthiering today, but I did manage to produce this. This is a Bronco bridge with a new set of threaded brass saddles. This must be how Leo Fender made the very first Telecaster, and some models are still offered like this. To begin with, I got a foot of 3/8" threaded brass rod on eBay. I cut sections off it slightly longer than the Bronco saddles, and wrapped them in tape on which I marked the hole locations. This was all done by Mk 1 eyeball, no measuring.
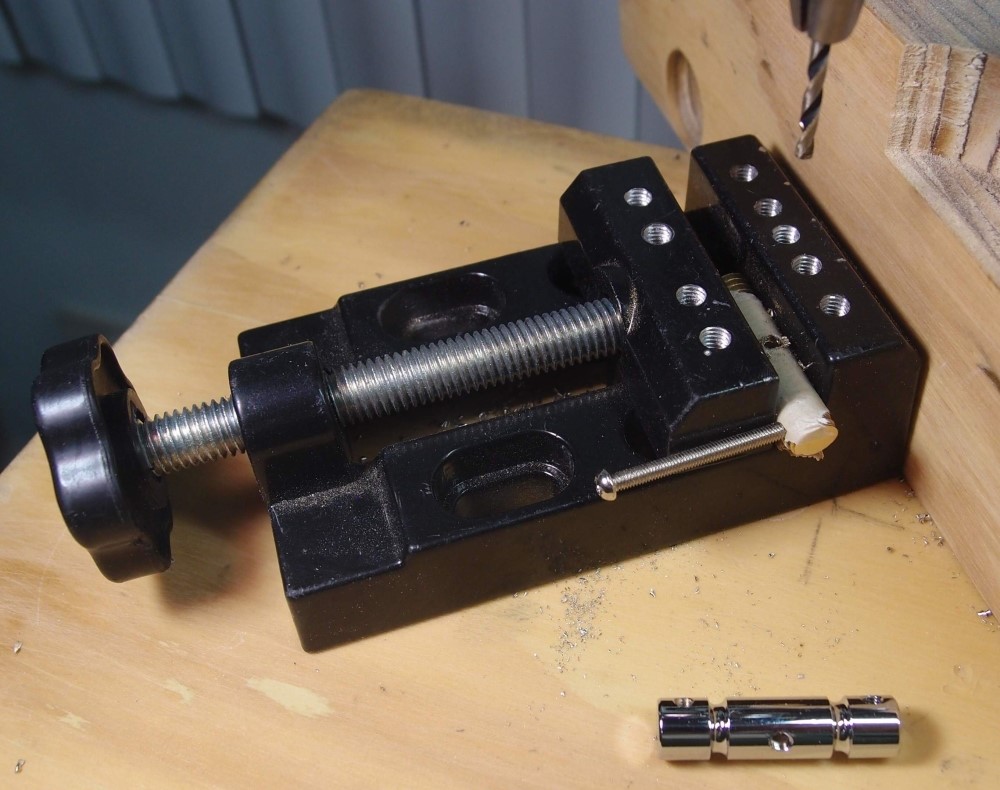
I clamped the pieces in a small drill vise and drilled the height holes first. On the prototype, they are visibly crooked, but the second and third pieces came out perfect. I removed the part from the vise and threaded the holes, then inserted the scale adjustment screw and used it as an indicator. By aligning it to the lines of the vise, I was able to mount the saddle in the vise so the holes would be perpendicular. This vise would also be useful for making nuts.
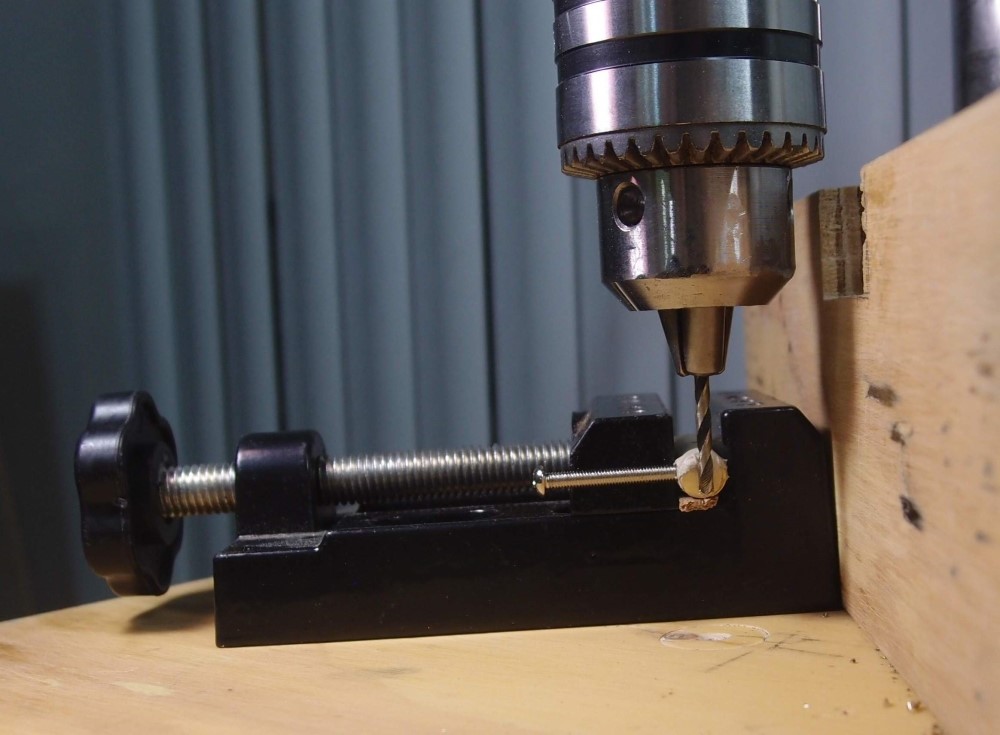
Here's a shot of getting everything aligned on the drill press. The small piece of wood under the saddle is to keep from drilling into the vise. All of this was done by eye. Since none of these parts need to mate precisely, you just want everything to look straight. Finally, I filed the ends of the saddles to fit on the bridge and sanded a nice finish on them.
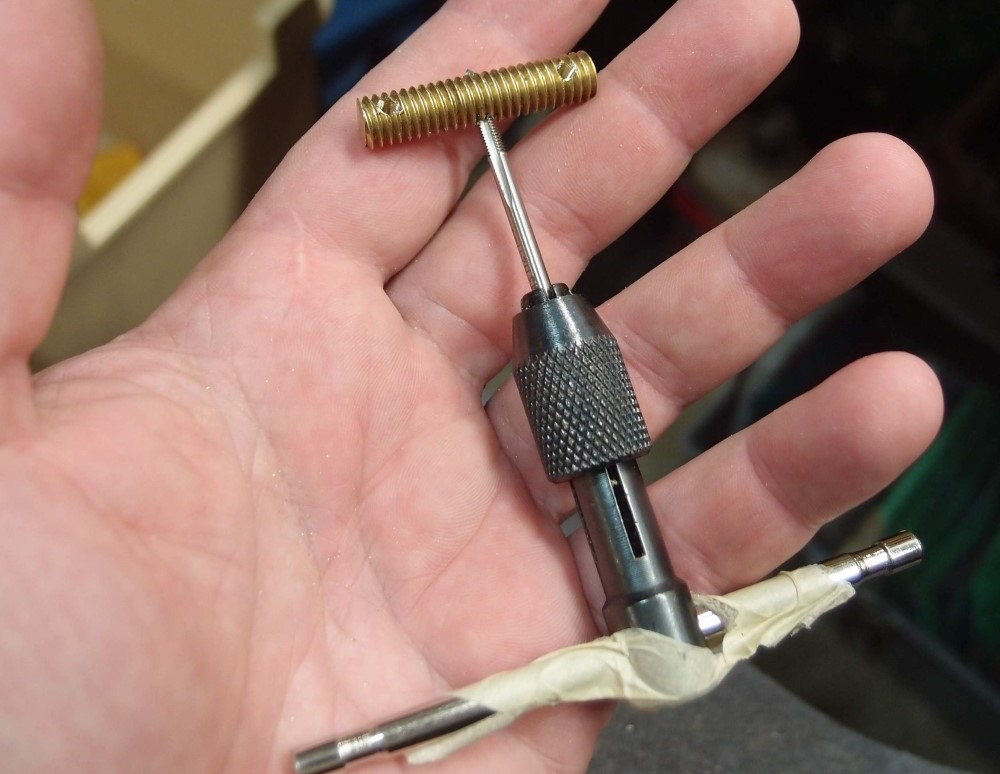
This is a tap, for threading holes. All of the threads on this job are M3, or metric 3mm diameter. That is the thread of the original Squier parts, which I re-used. A tap is used with a special matching drill bit, get both at the same time and keep them together. The opposite of a tap is a die, which is used for cutting external threads.
I actually had another bridge that I have no use for, so I stole the screws and springs from it. That means I now have a complete set of Bronco saddles, which may be useful someday. For example, they could be mounted on a Strat tremolo.
As metals go, brass is Play-Doh - very soft and easy to work with. That is the real reason it is used in luthiery, not any tone or sustain nonsense. If this had been steel, it would have been a real headache, but with brass, I didn't even bother to lubricate the tap.
The whole point of this is to convert a four-string bridge to 8 strings. Each pair of strings will share a single retaining hole on the bridge plate. With all those threads for string slots, I am hoping I can get some reasonably good string spacing. It worked for Leo.
On another note, I was always dissatisfied with the amount of runout or wobble on this cheap little drill press. So I knocked the chuck off the quill and reset it, and it is much better now. Must have been my fault, when I first assembled it.
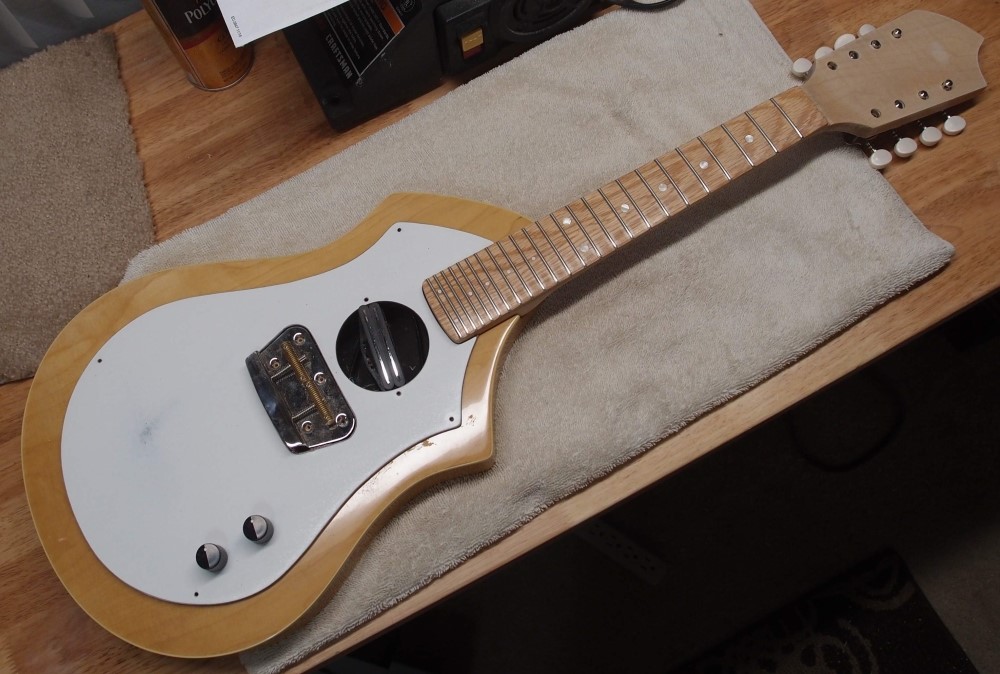
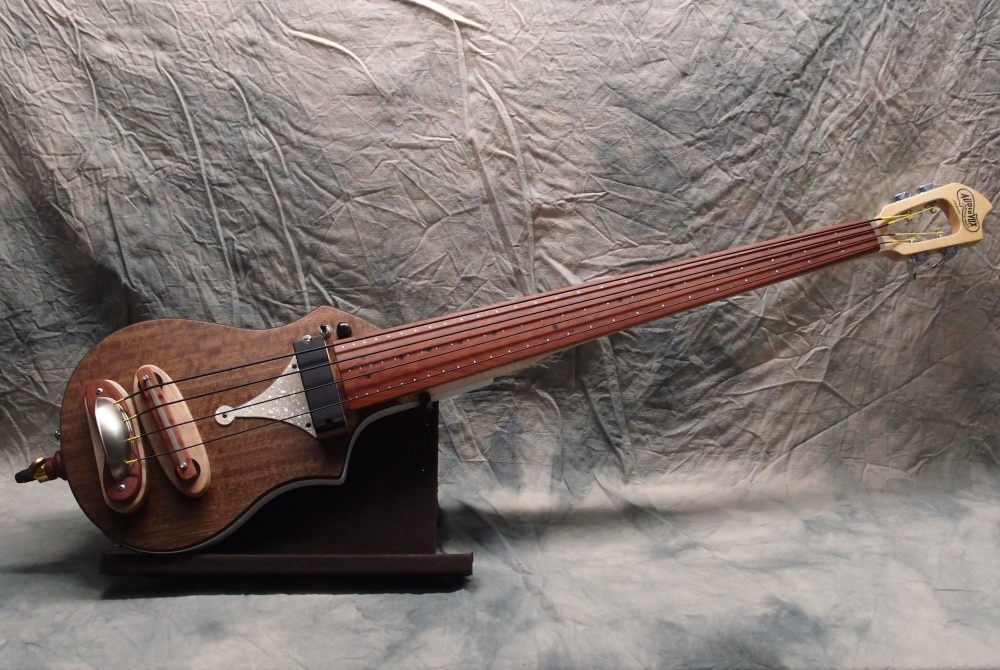
This is beginning to look like something. First I deepened the neck pocket to the standard 5/8", cut the neck pocket into the pickguard, drilled the neck, and assembled the neck and pickguard onto the body. Then I marked the bridge location on the pickguard and traced out the shape.
That left just enough room for a soundhole/pickup mount, so I traced that onto the pickguard, and cut out both on the scroll saw. I rounded-out the sound hole with a small can wrapped in sandpaper. I put the pickguard back on the body and traced out the soundhole, then stuck the template on and routed it through. The last step was to blacken the inside of the body with a few drops of shielding paint, which is about as black as black gets ( or none more black. )
I spent a while filing the bridge opening in the pickguard until I was happy with it. I drilled the holes for the bridge and ground, nipped out the ears in the body soundhole for the pickup, and recut the channel for the pickup wire. The only way to get at the electronics on one of these is to un-string it, so those will be simple and bulletproof - volume, tone, and series/parallel pickup mode on a pull switch.
That's all the woodworking, it is now down to final finishing and assembly.