Audiovox Templates

These are the two main templates I used to build all the Audiovoxen. The image is straight from the camera, simply save it and print it out at the proper scale. The dimensions of the body template are 17" long and 11-1/2" wide. The overall length of the headstock template is 10-7/8". The neck pocket is Fender-standard.
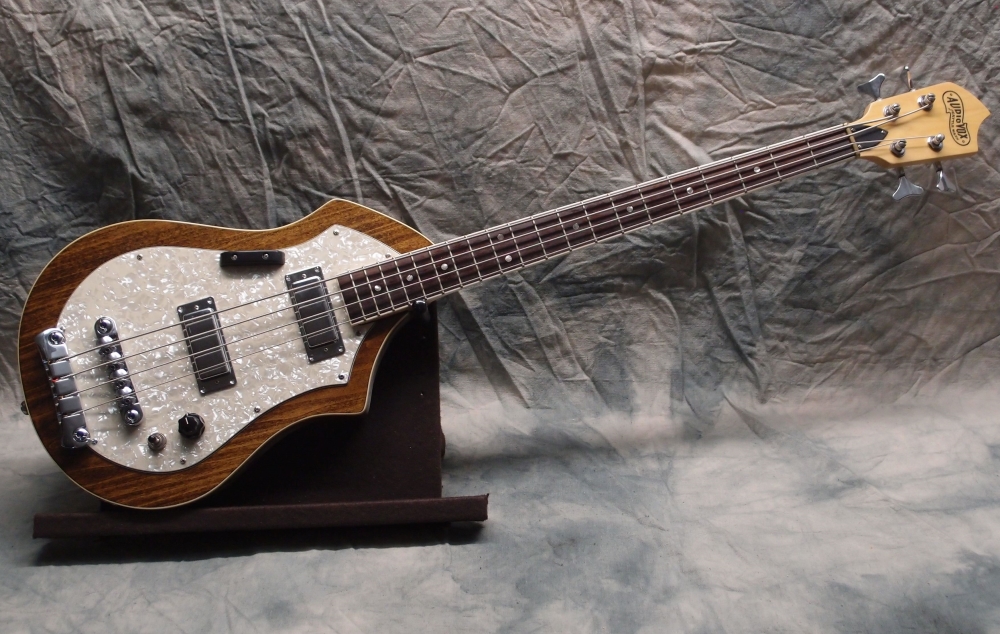
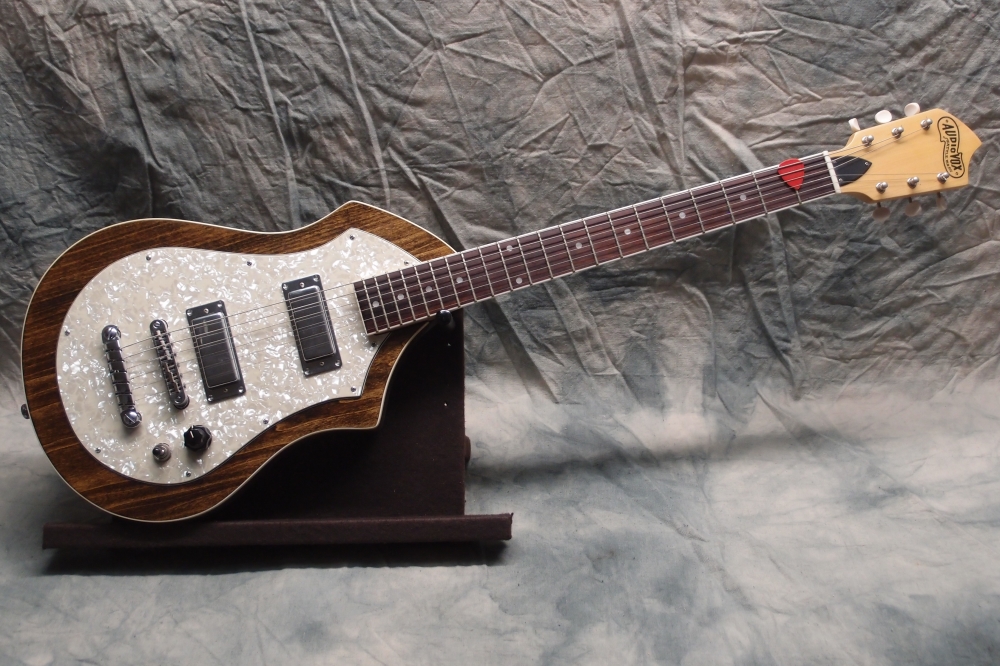
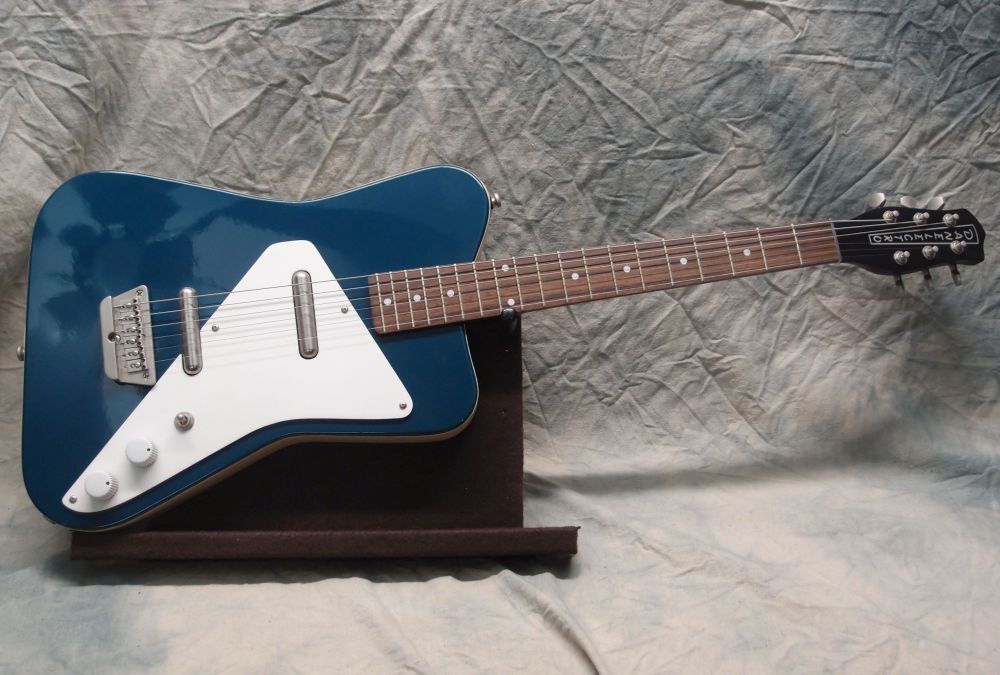
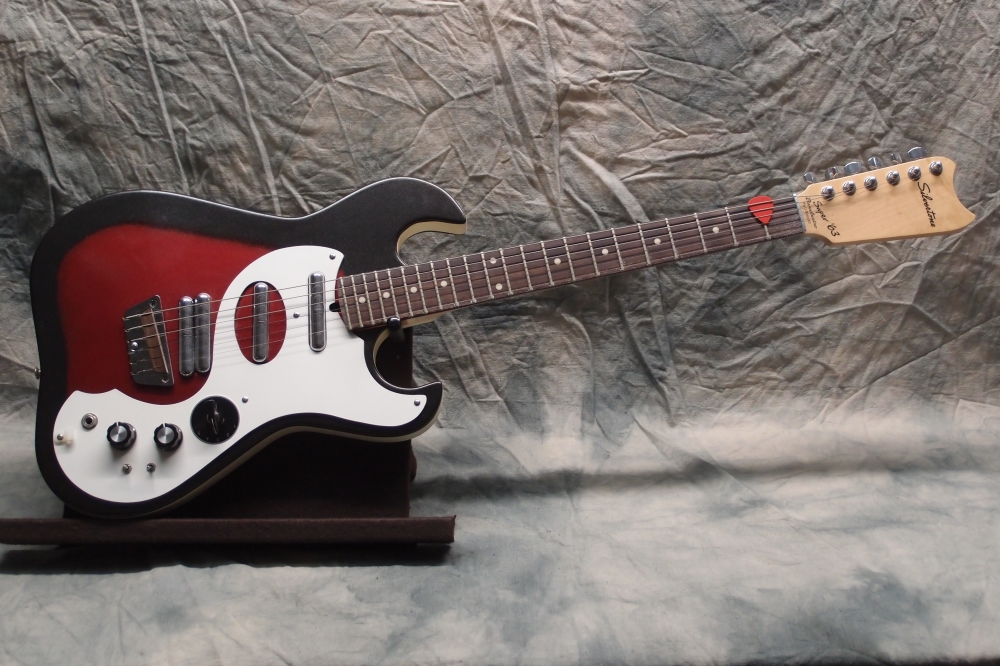
This is my own original design, it is inspired by the old Audiovox, but not copied from it. My original design was an accurate copy, and it didn't work very well. Therefore, nothing needs to be exact if you want to build one of these, there are no official factory specifications.
The easiest way to reproduce this as templates is to use a projector and shine the image on a piece of paper taped to a wall. Fool around with the distance until the dimensions come out right, and then trace the outlines with a pencil. Make sure the projector is square to the wall. Or print it out in quarters and tape them together, or draw it out by hand. I've done both ways, the projector is much easier if you have access to one.
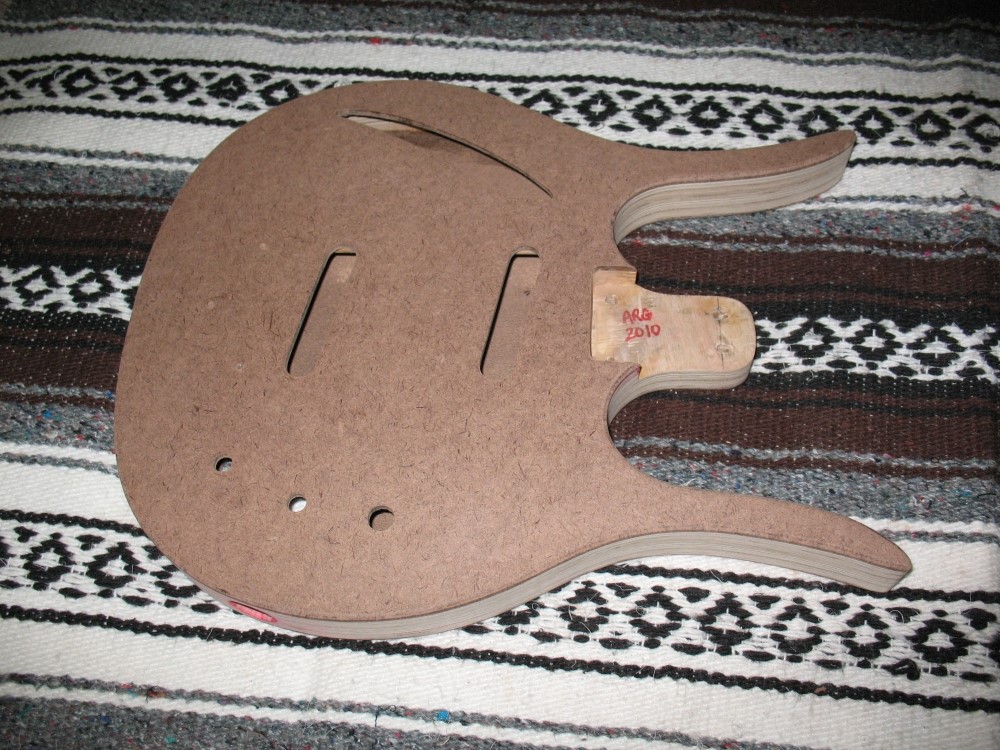
If you have a projector, you can make your tracing directly on a piece of 1/8" Masonite instead of paper. Otherwise, you can cut out your tracing and transfer it to a piece of Masonite to make a tracing template, in case you want to make more than one. Masonite is cheap, don't be afraid to throw away your first one and try again. This is your chance to fine-tune your design. You can also make templates of the pickguard and cavity if you want.
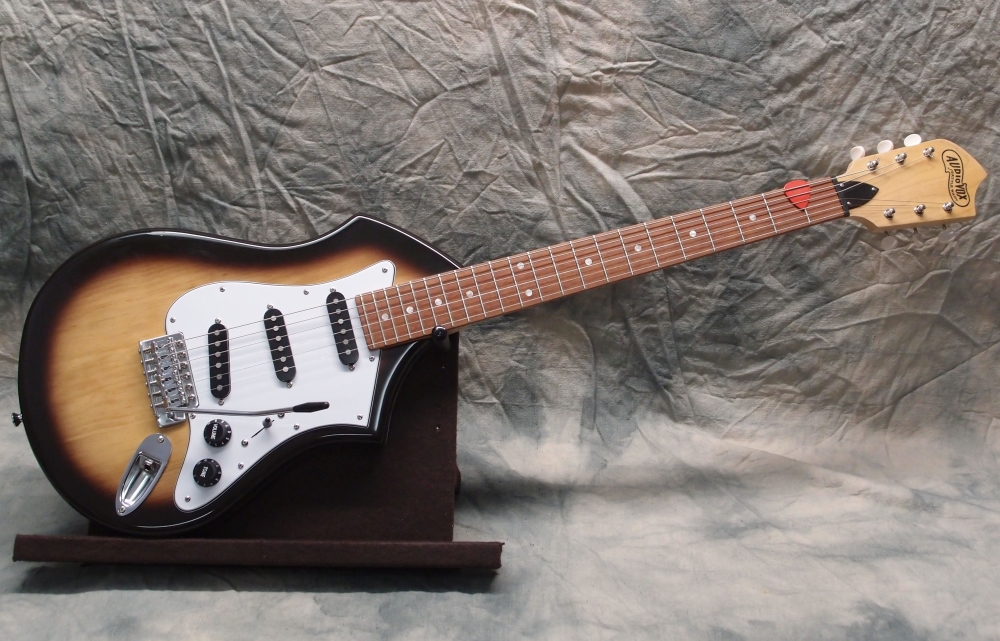
To make this design, I traced a Stratocaster on a piece of paper. Baking parchment from the supermarket is ideal for this. That gave the nice offset waist. Obviously, I removed the horns and the neck attachment and sank the neck into the body. Then I rounded the end, and shrank the width a bit to fit the wood blanks that I had. Starting with the Stratocaster, everything is pretty much just eyeballed.
One thing that is not obvious is that the center line (neck alignment) is not actually centered. It is offset a bit and crooked to give a little extra room for the controls. The offset is not actually noticeable, it was the easiest way to fix the smaller body. If you go with Strat dimensions, you could make the center line straight. You could also use a Les Paul as a start, that might work even better. I do like the compactness of my design.
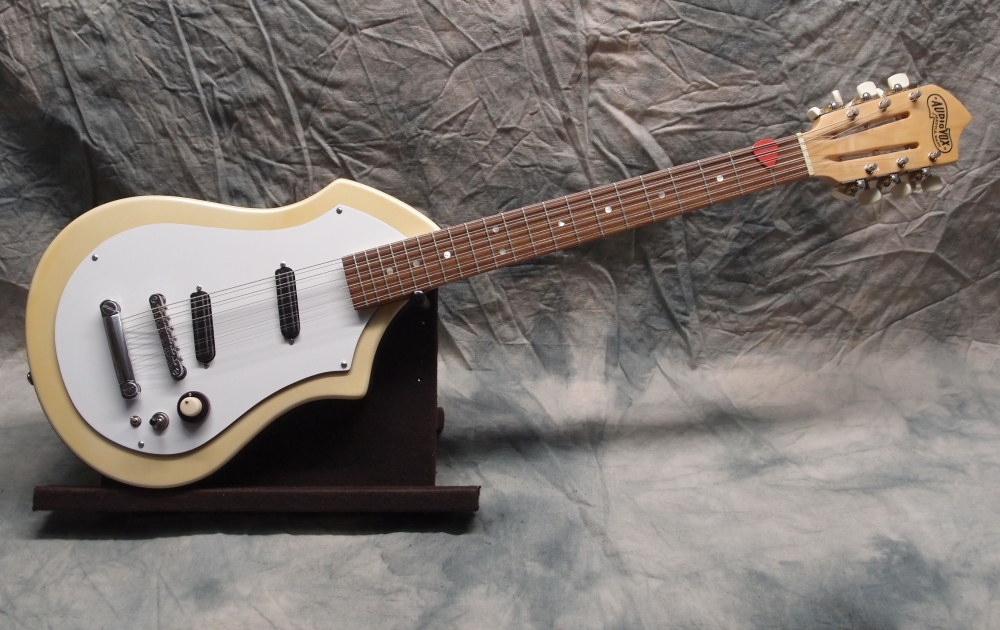
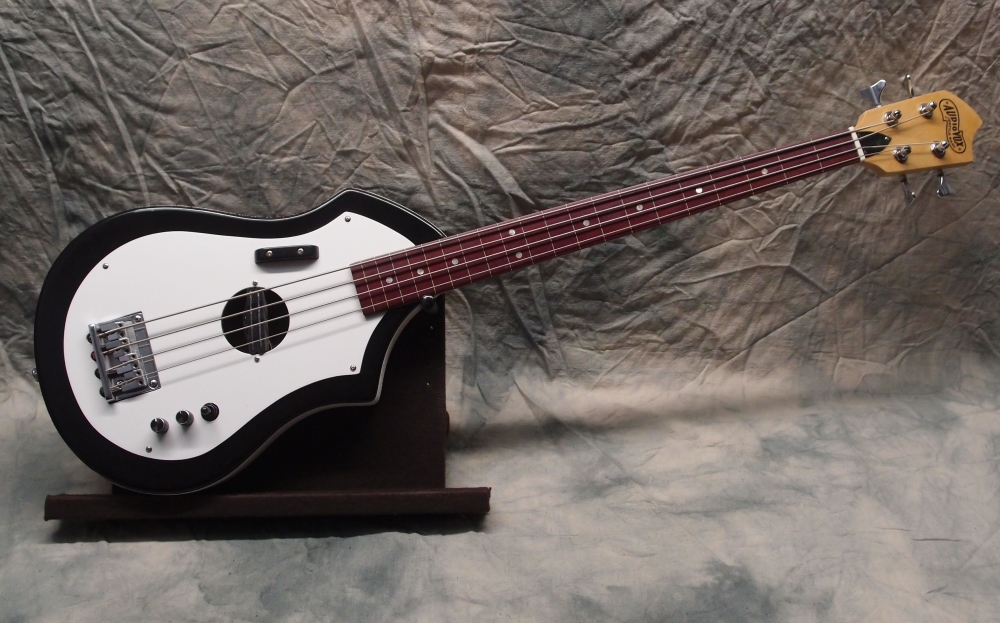
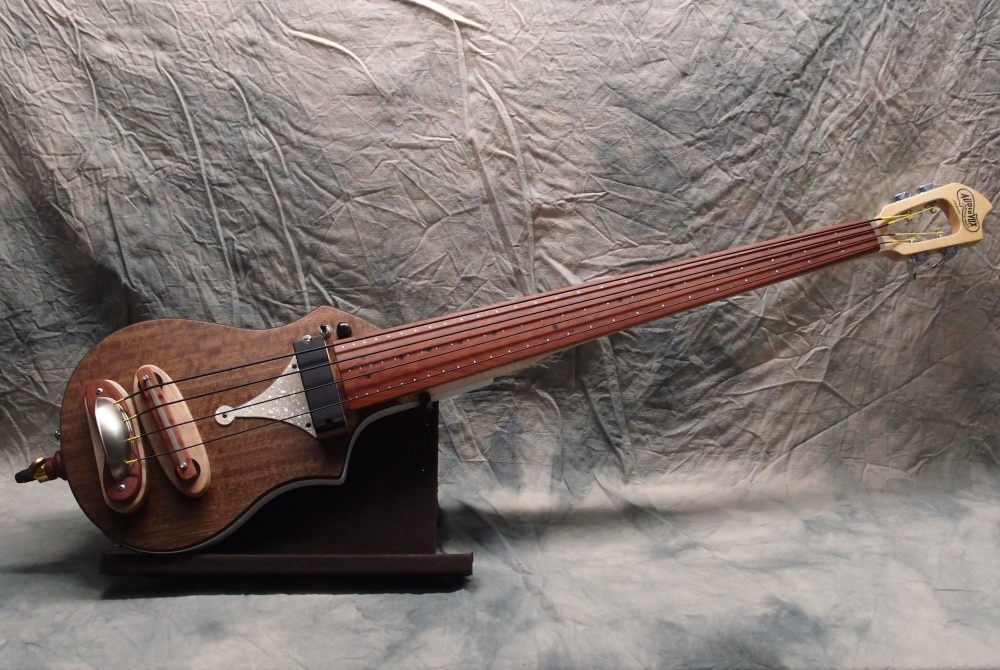
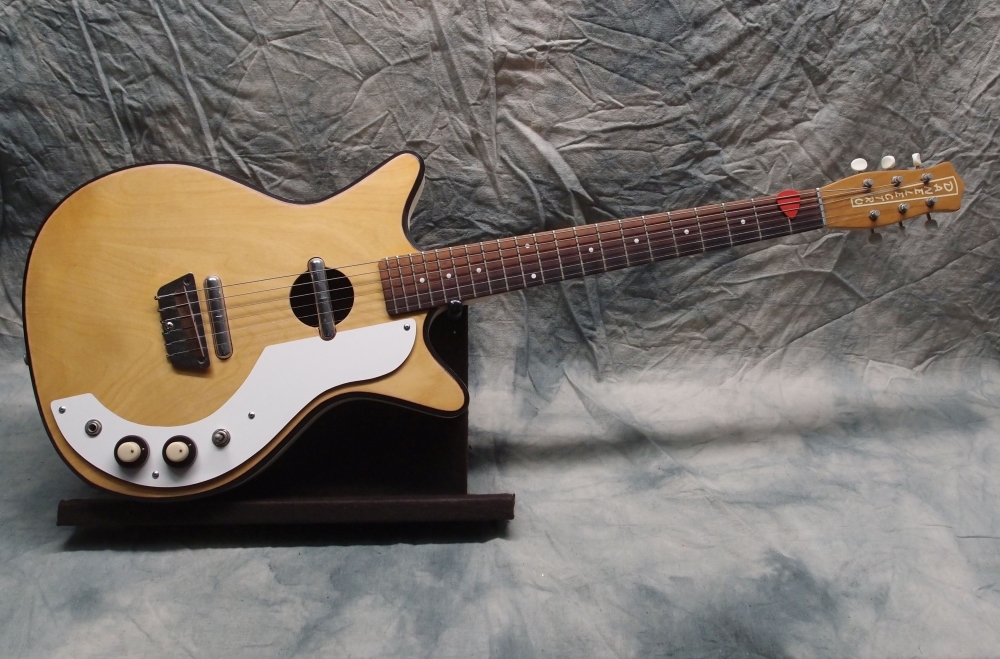
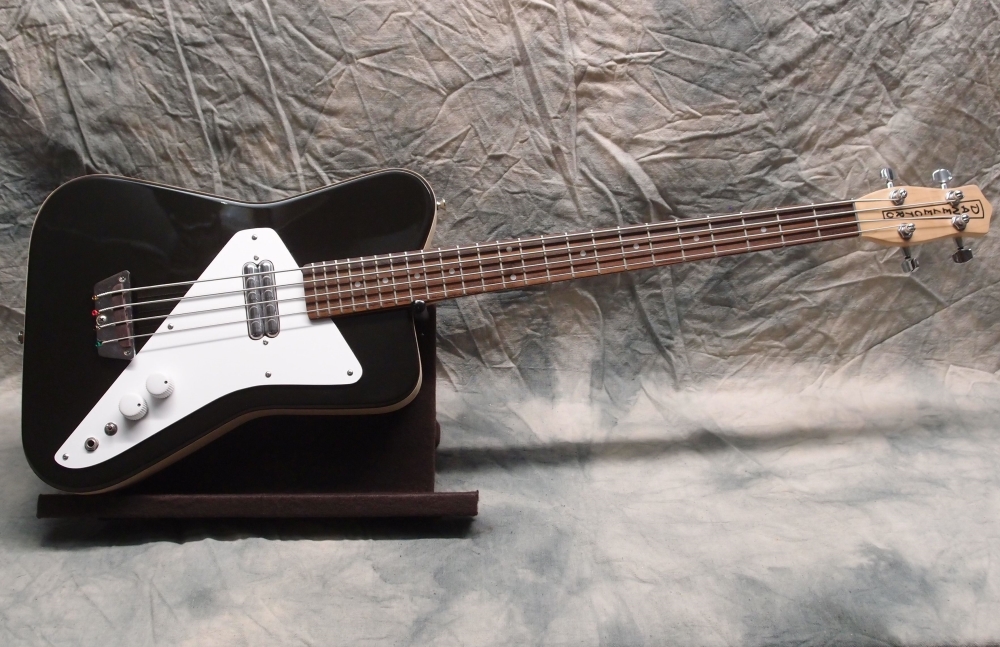
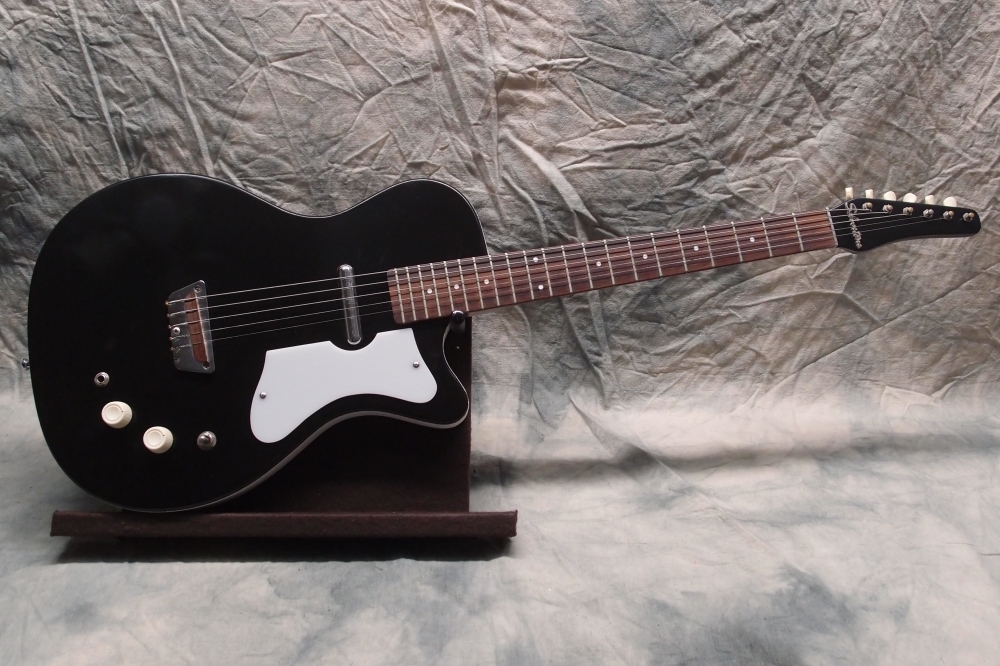
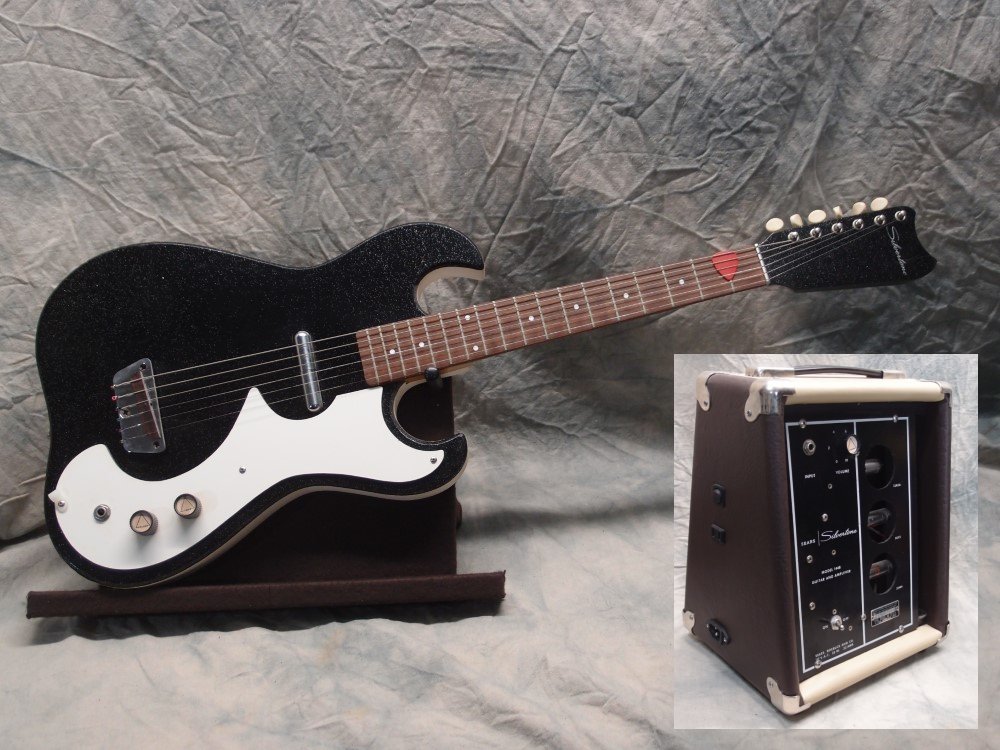
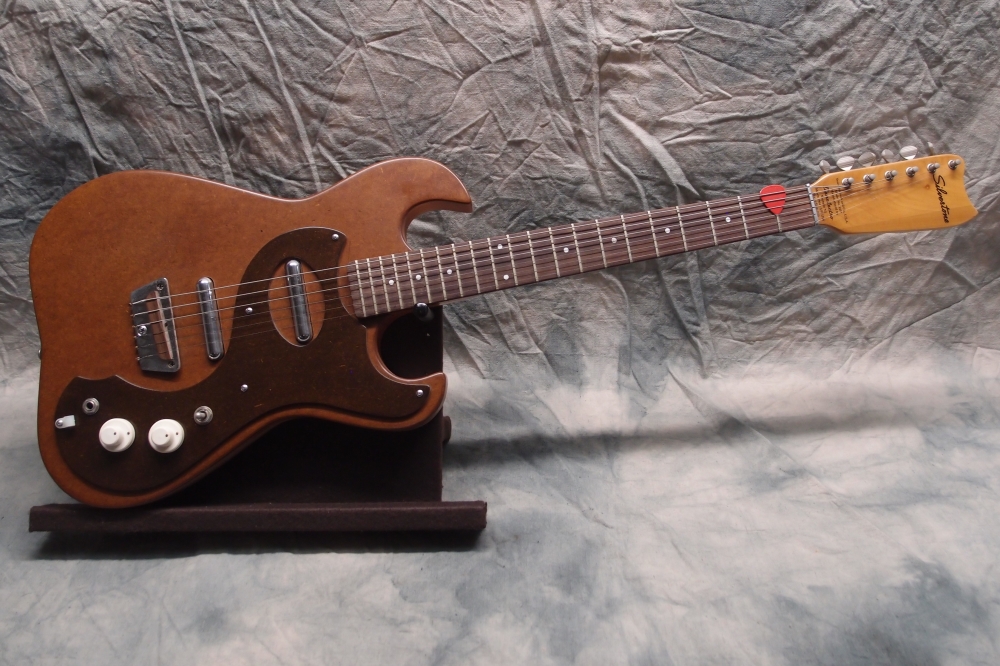
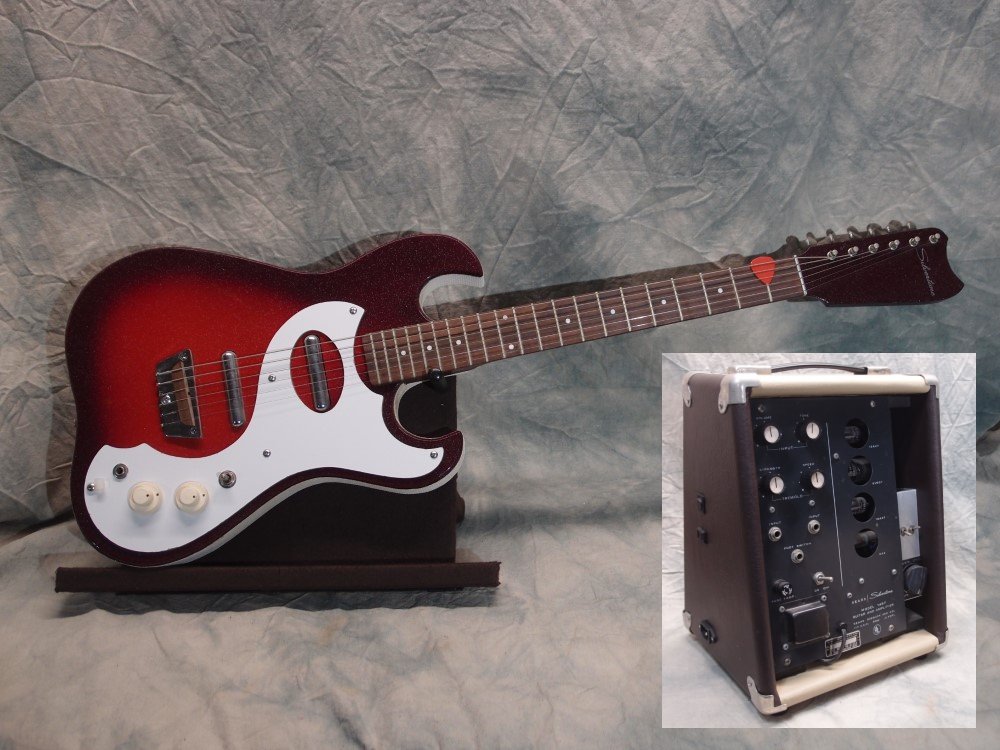
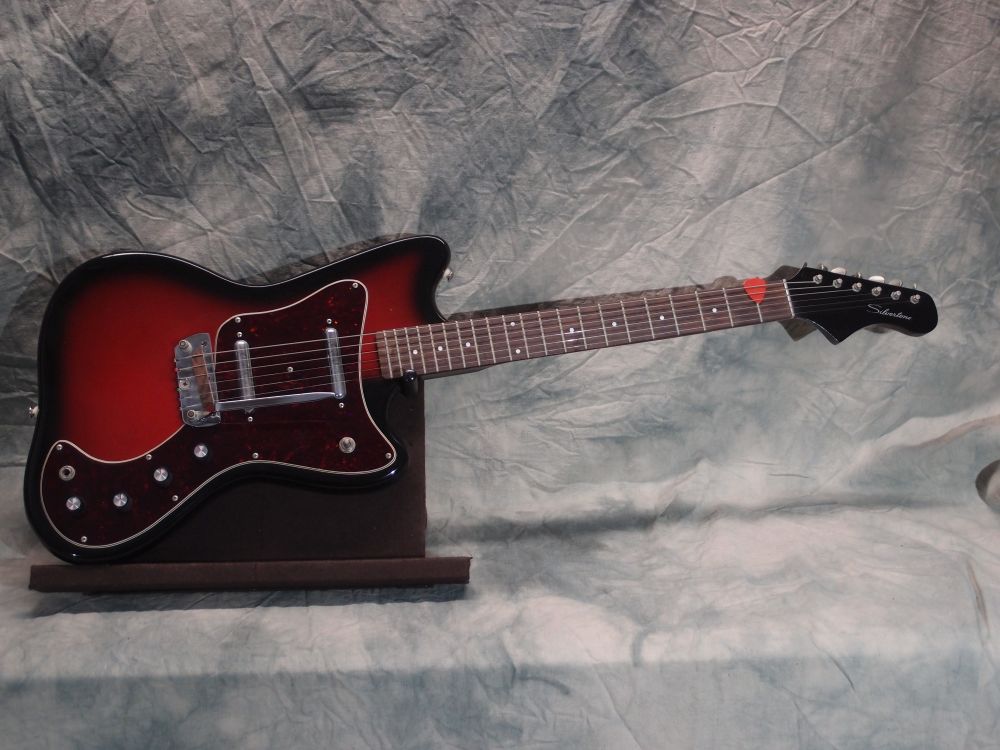
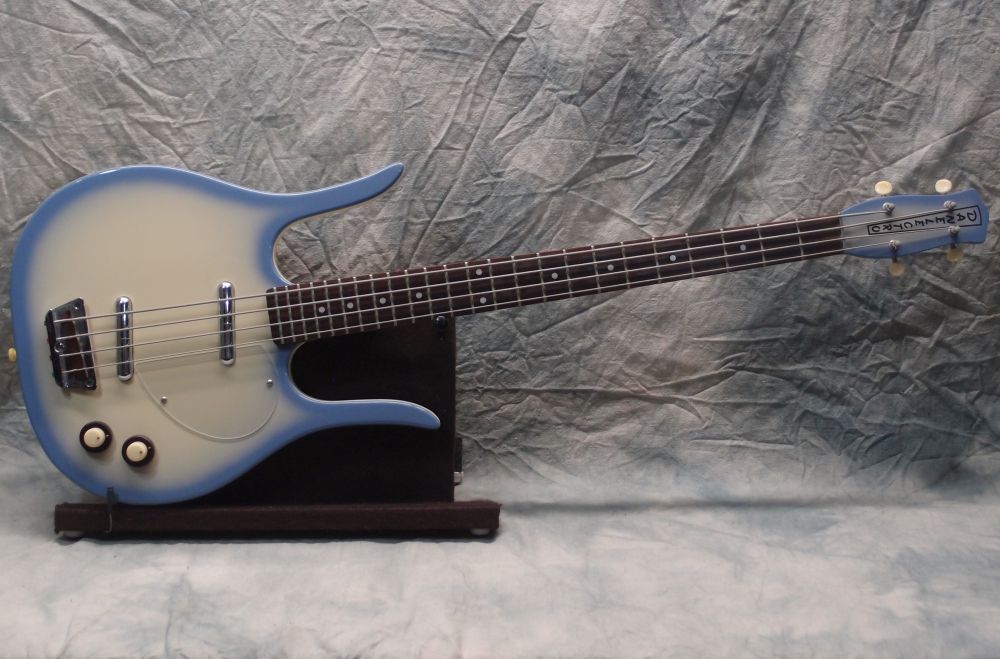
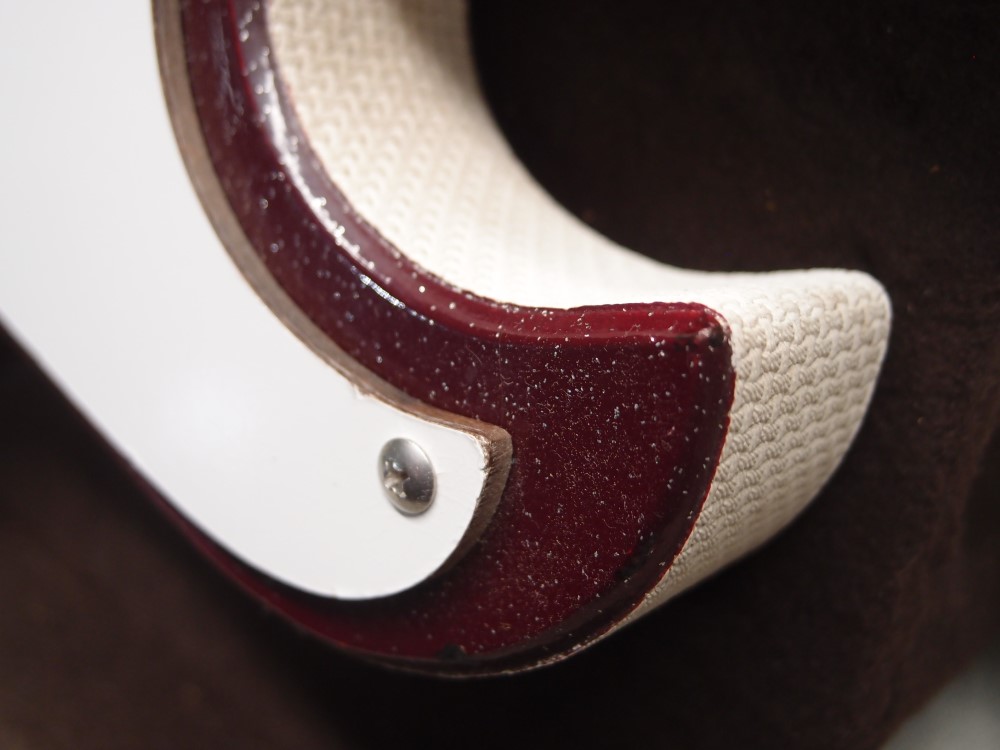
The body edge of the solid-bodies is a 1/4" or 3/8" roundover. For the Danelectro-style bodies, the correct body edge is a 45 degree bevel, not a roundover; this works much better if you are going to do Tolex binding. As shown above, you cannot use a standard neck plate to install the neck, you must use individual bushings. To use a neck plate, leave yourself an extra squared-off bit of wood. Look at the upright bass for an example.
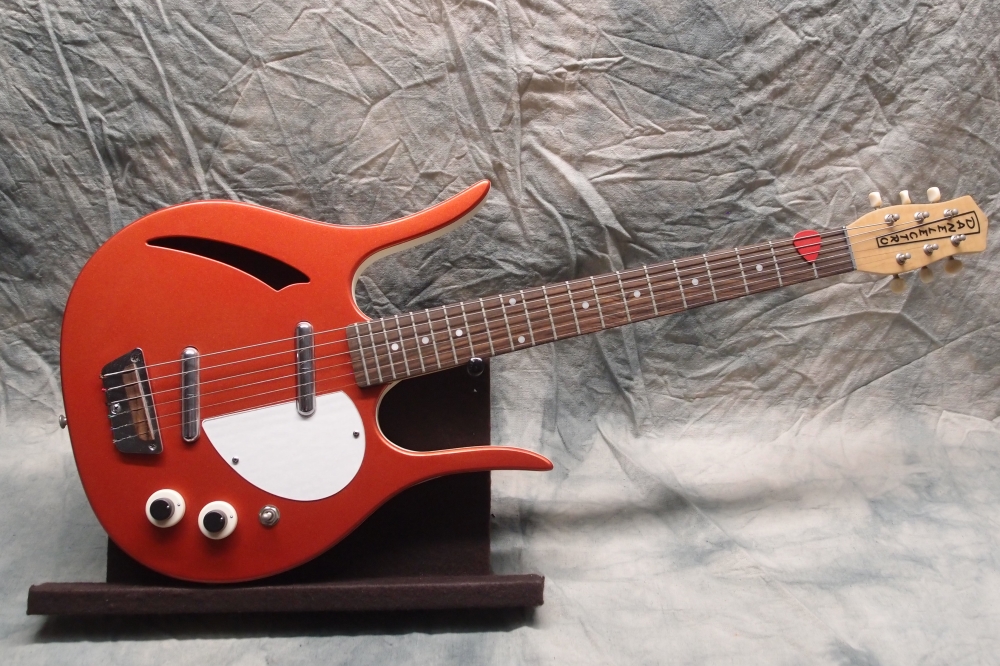
Drawn on the template are the outlines of the full-sized pickguard and the control cavity for the hollow body. For a solid body, you can make a much smaller control cavity. There is a major disadvantage to the full-sized pickguard - it surrounds the bridge and makes maintenance of the electronics much more difficult. Either keep the electronics simple, or install a hatch on the back for easier access. The full-sized pickguard also requires an entire sheet of material, which can get expensive, unless you use dry-erase board or something else.
This body shape is quite simple with no deep interior curves, so you can do all the final shaping easily with a belt sander. The same is true for the pickguard. The only routing required is for the neck pocket. If you are only doing one, you can probably even get away without using a template. Trace your neck onto the body, and stay inside the lines, never touching them. Finish the job with rasps and files for a nice straight edge. You might want to invest in a routing template, or make your own, if you plan on building more than one.
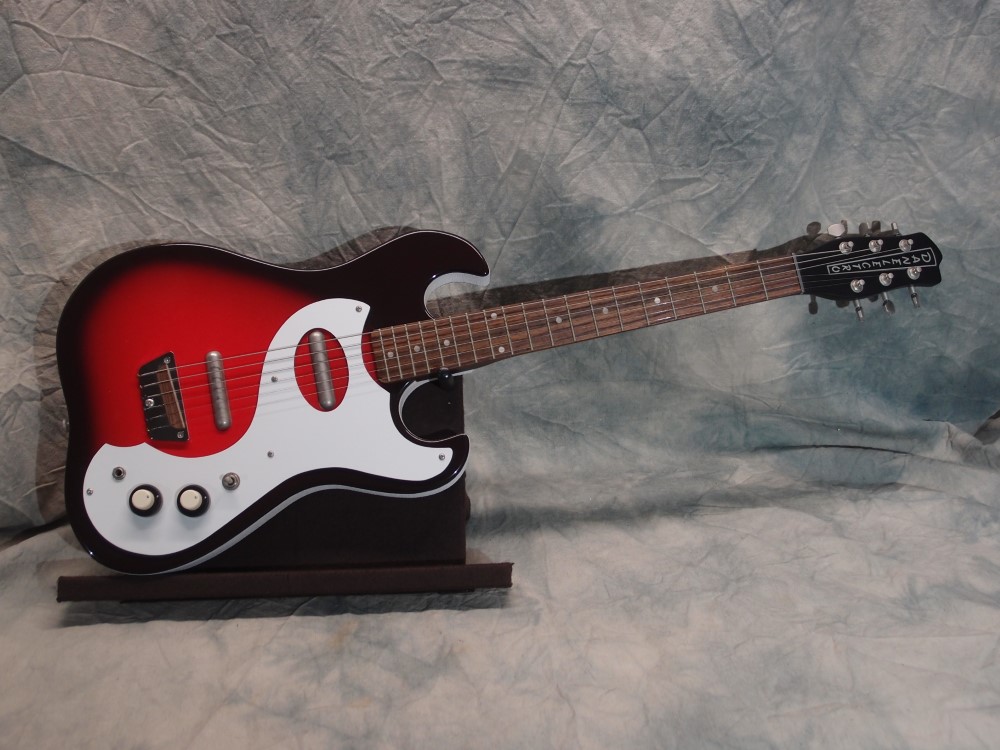
The headstock template is likewise inspired by Audiovox, but modified to actually work. You can see multiple sets of holes for six-string guitar and four-string bass. Pick whatever fits your tuners best. You can get good quality paddle-head necks on Amazon or eBay for around $60.
Below is the logo graphic you can print out on decal paper. Fiddle around with scrap paper to get the scale right first. I recommend a laser printer, I don't know how well an inkjet would work. You could also print it on a self-adhesive label and stick it on, but that's a little crude for my taste.

If you've never built a guitar before, then I strongly recommend prototyping everything on cheap materials first. This avoids potentially ruining body blanks and other overpriced luthier materials. Build a body out of plywood. If it comes out nice, keep it, otherwise throw it in the fireplace and build another. Practice makes perfect.
You can find detailed instructions on all of these subjects scattered throughout the website. The most complete build documentation is the Danelectro Pro-1 bass. Take a look at the Cowbell bass for an easy spray-can finish that is tough and requires no polishing. Have fun!


Questions or Inquiries?
Just want to say Hello? Sign the .