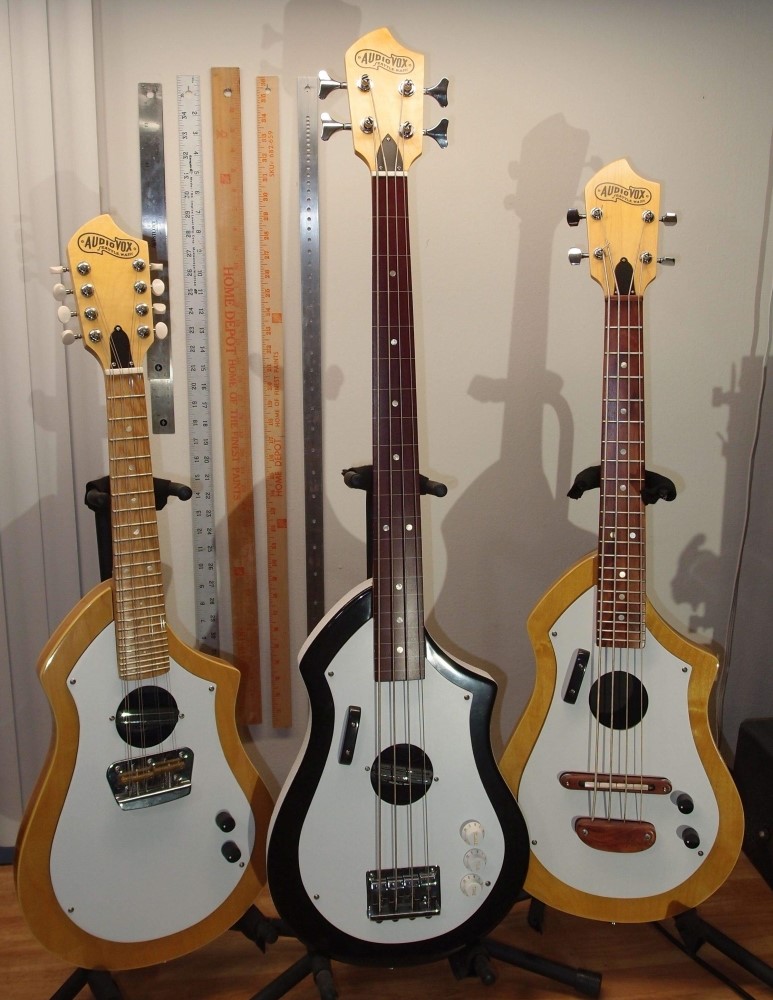
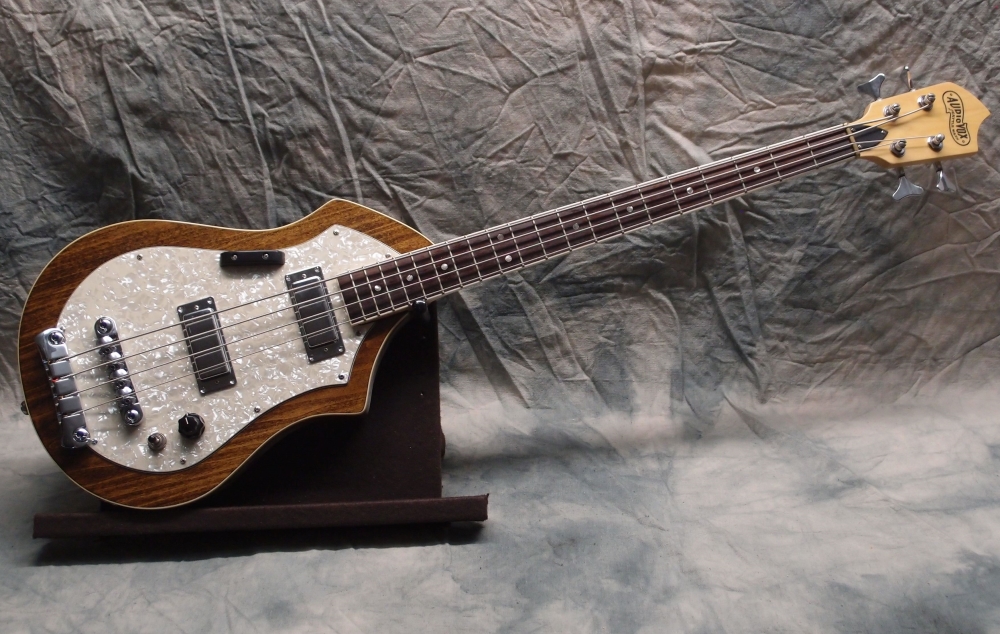
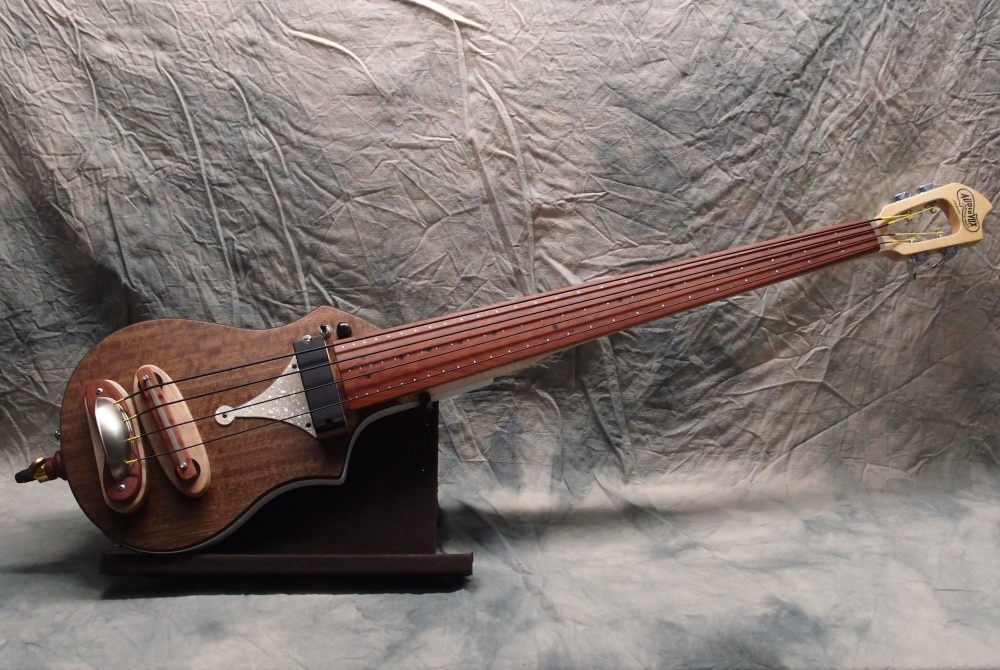
Audiovox Fretless Bass
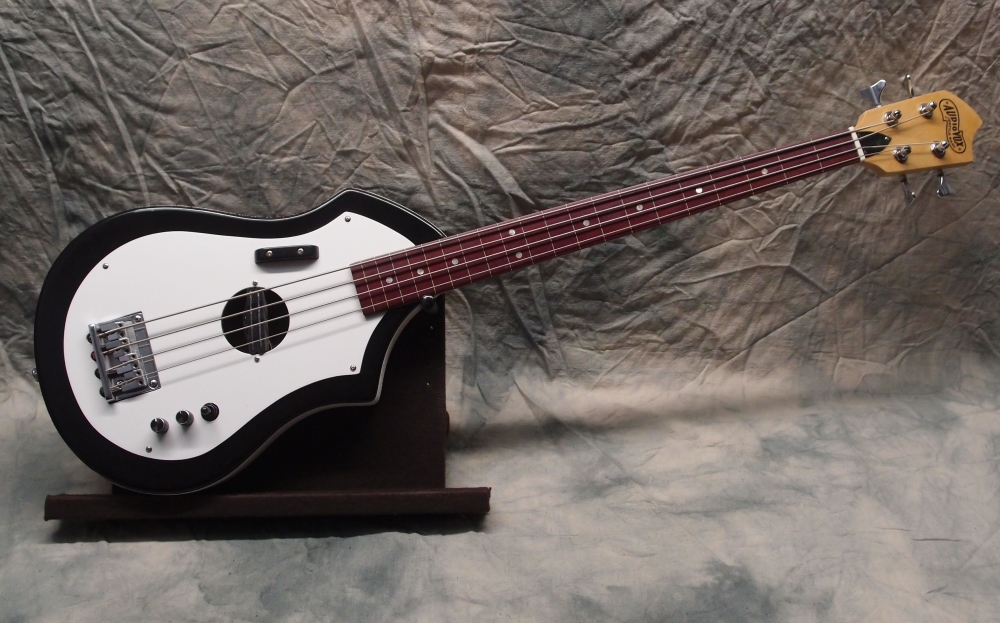


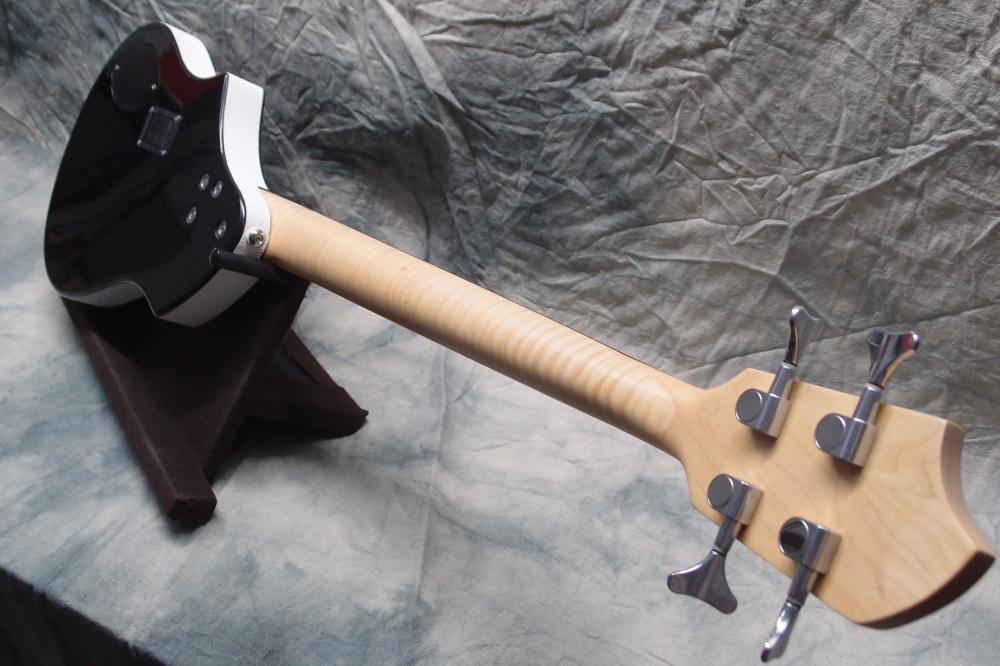

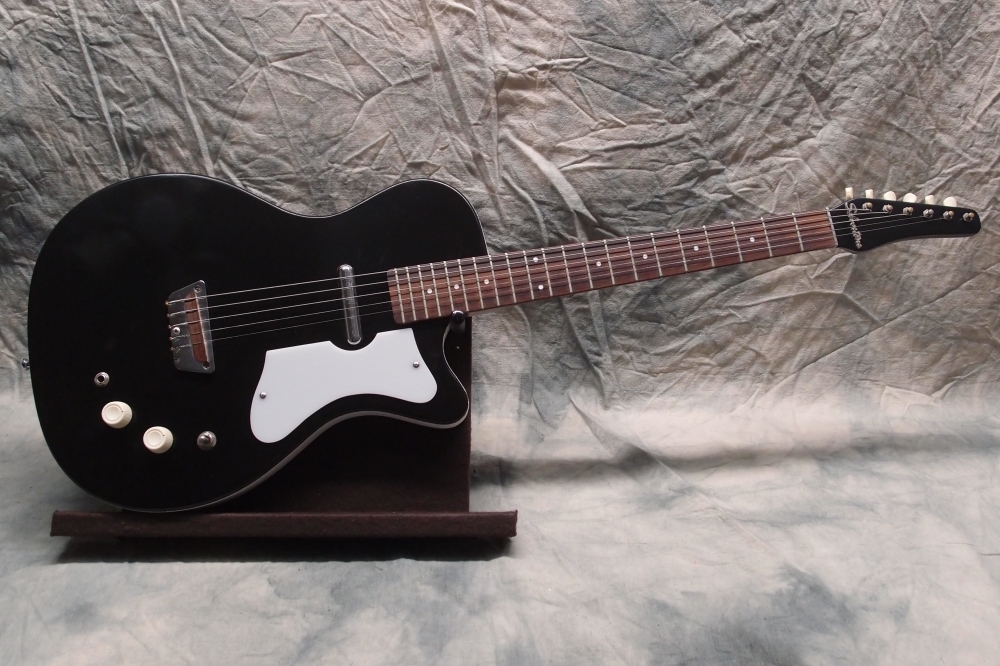
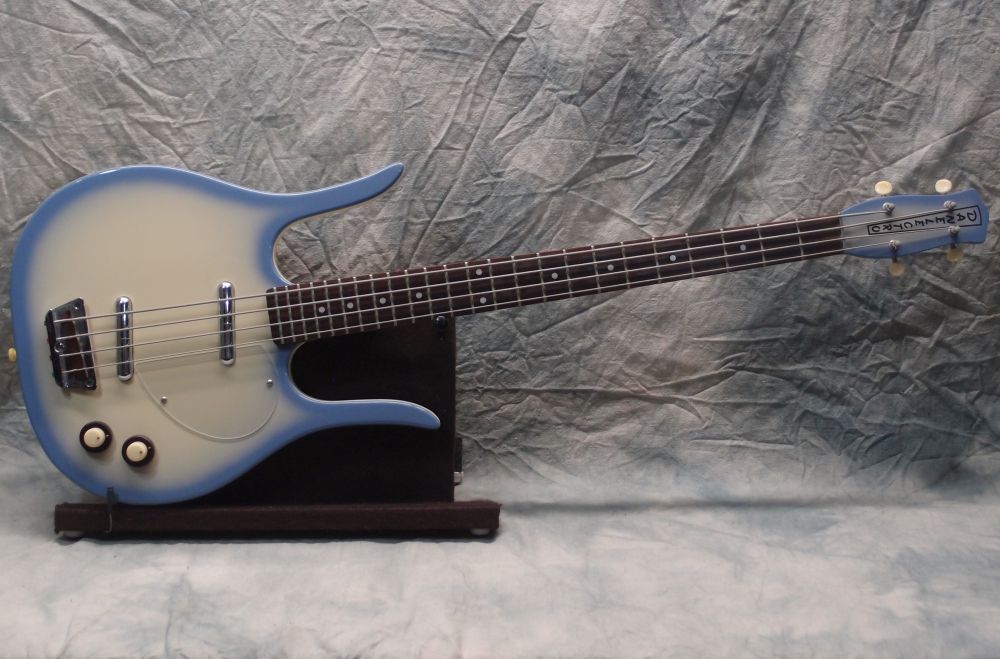
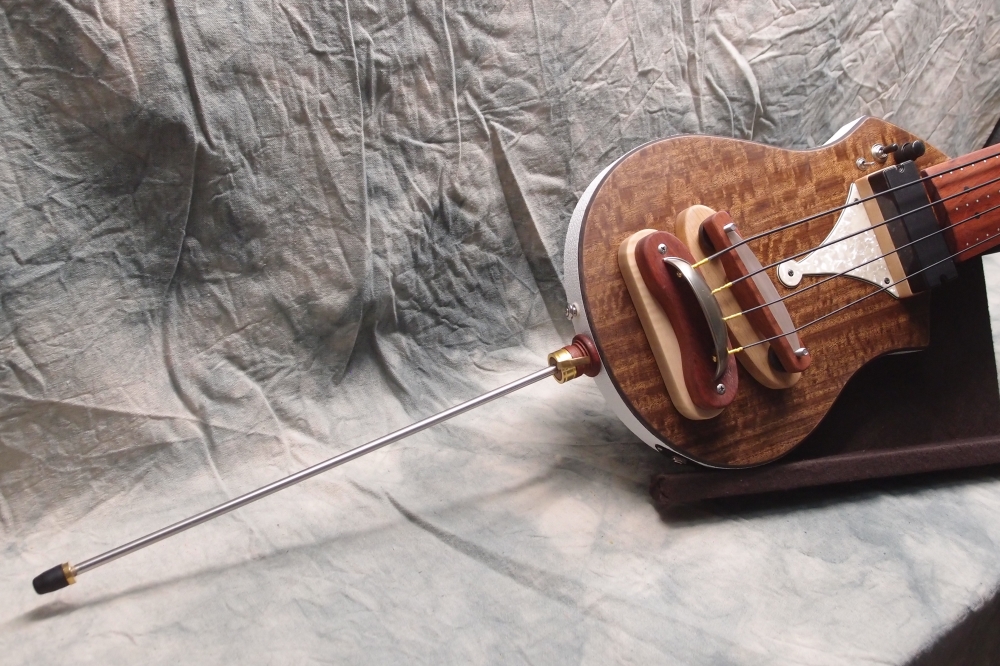
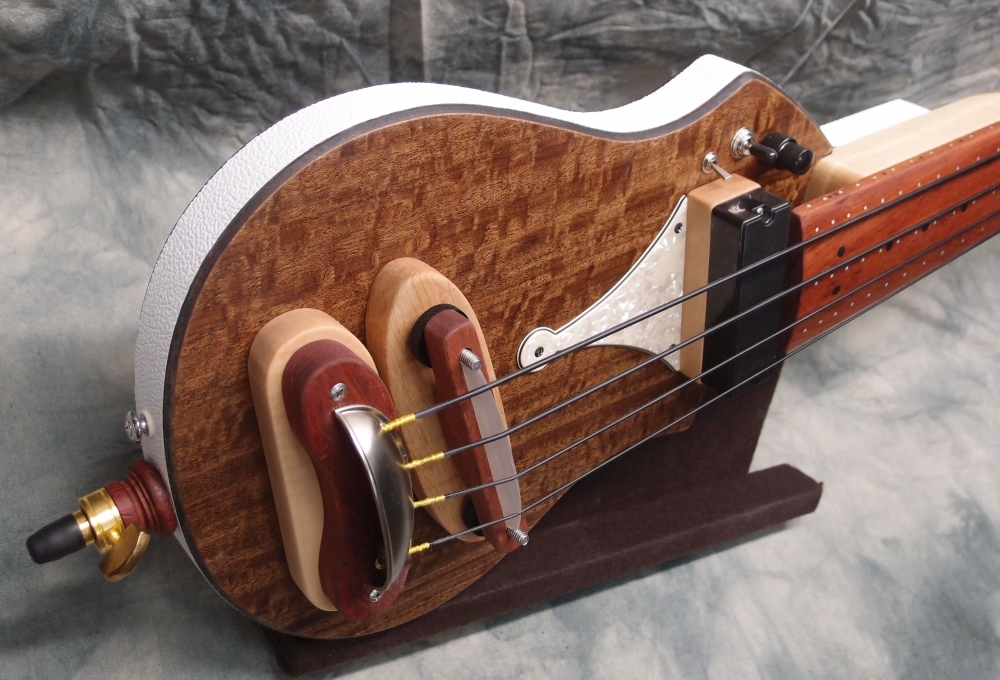
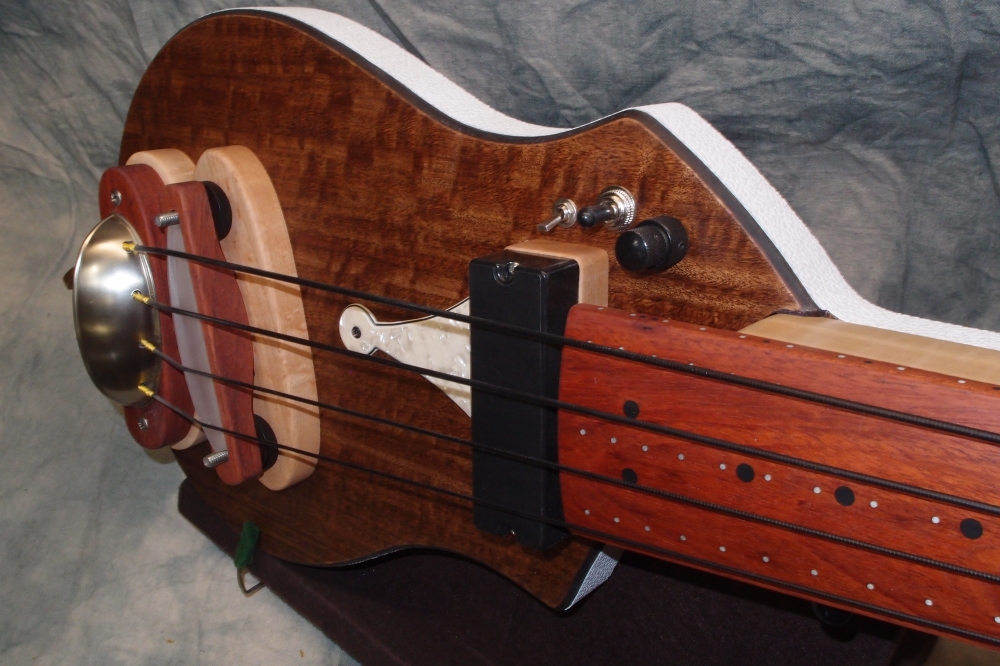
This one is almost identical in construction to the Danelectro-style - masonite over chambered plywood body, masonite pickguard. The neck is purpleheart over maple, with plastic fret lines. The soundhole merely serves as a pickup mount, and the pickup was just insurance against never getting the intended piezo system to work. Eventually, I did get it to work, the piezo is incorporated in a modified bridge, and sounds great. 30" scale.
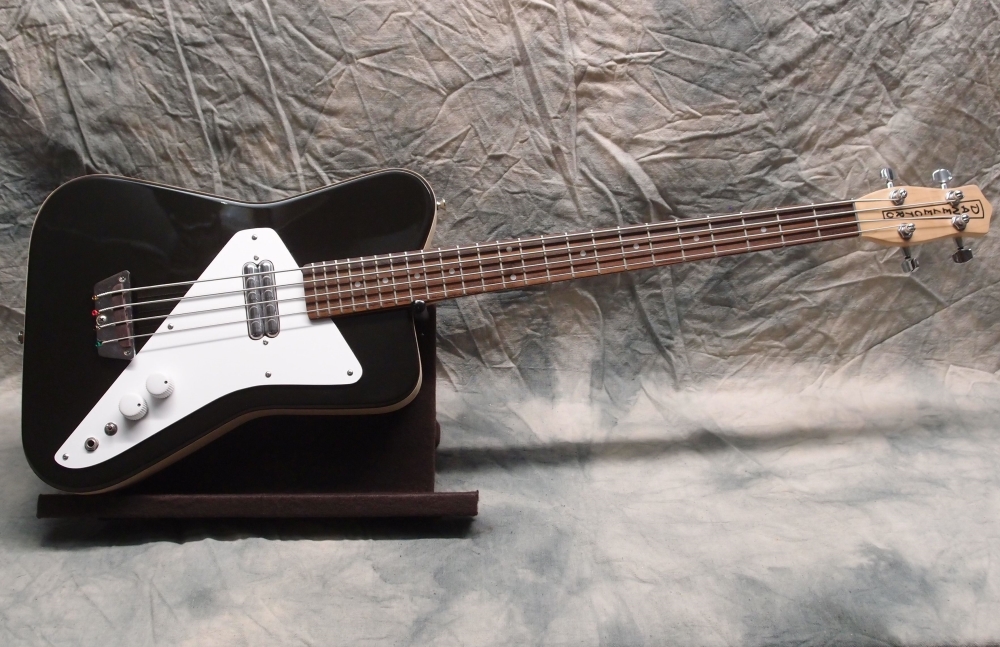
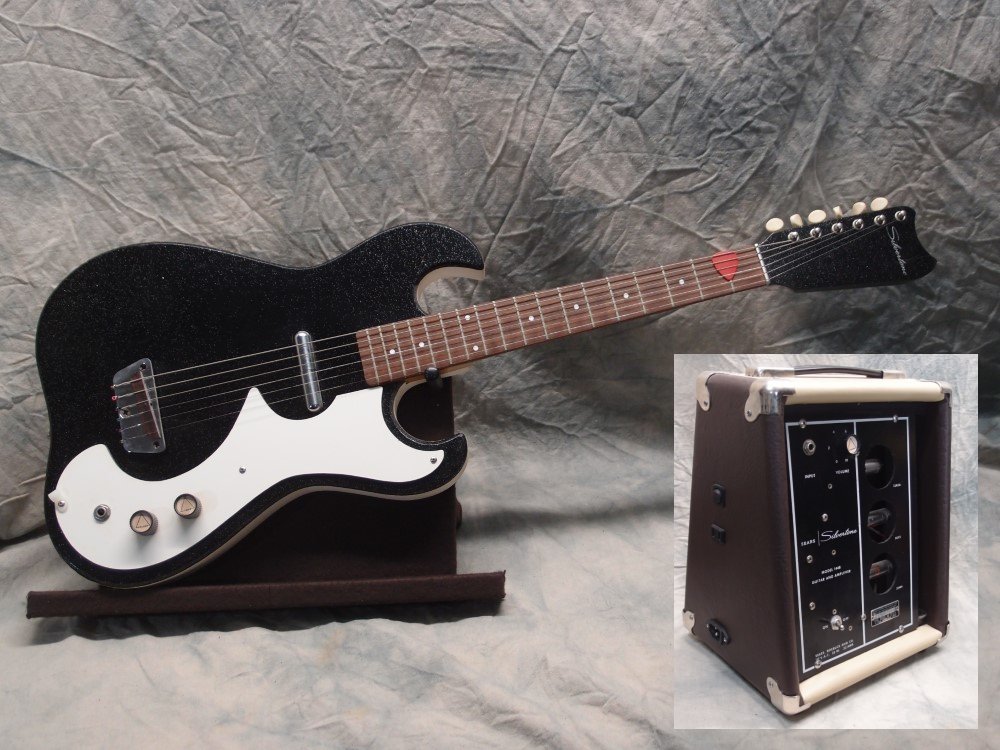
This body started out the same as the two yellow ones. I intended to shoot a thin burst around the edge, but that didn't work, so I shot the whole thing black.
Sep 5, 2018
I set up the fretless Audiovox, the exact same procedure as the previous one. I reversed the truss rod from push to pull, filed the nut slots, and lowered the bridge saddles. After a couple of cycles of tweaking, I got it pretty much where I want it.
Been thinking about the radical adjustment to the truss rod. Maple is a strong hard wood, but Purpleheart is much stronger and harder. So the front of the neck is going to be much stronger than the back, and initially, I had to use the truss rod to make any relief at all. But all wood creeps under steady load, and after a few months of string tension, the relief was now excessive. So I reversed the rod. That seems like a good explanation to me. This problem seems to be unique to short scales, which have much less string tension and relatively stiffer necks. Long scales seem to pull into shape on their own.
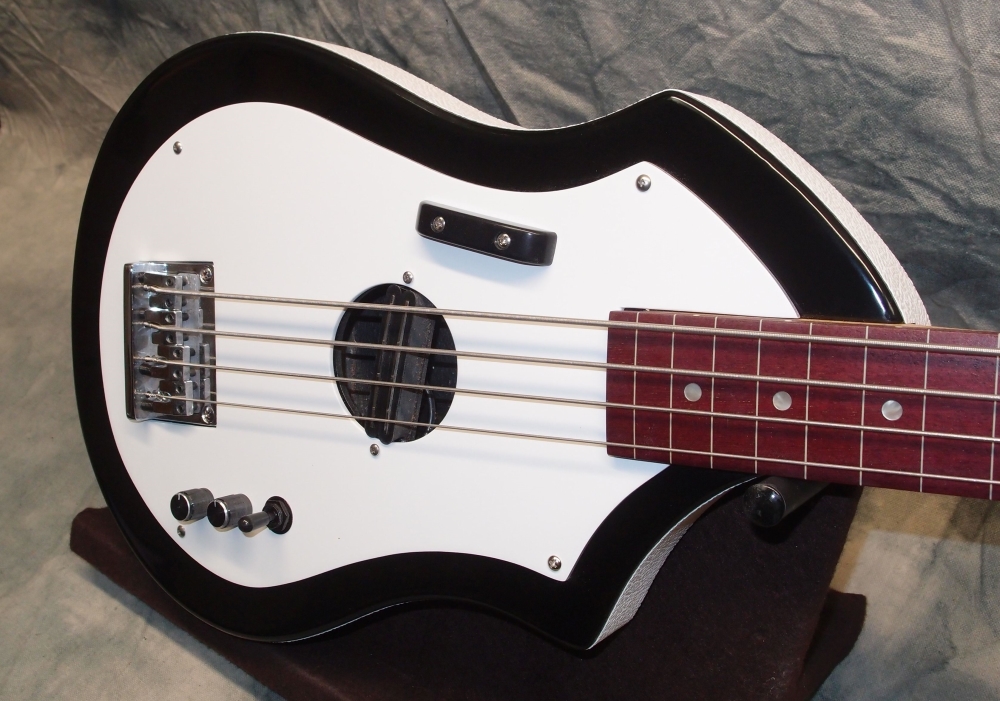
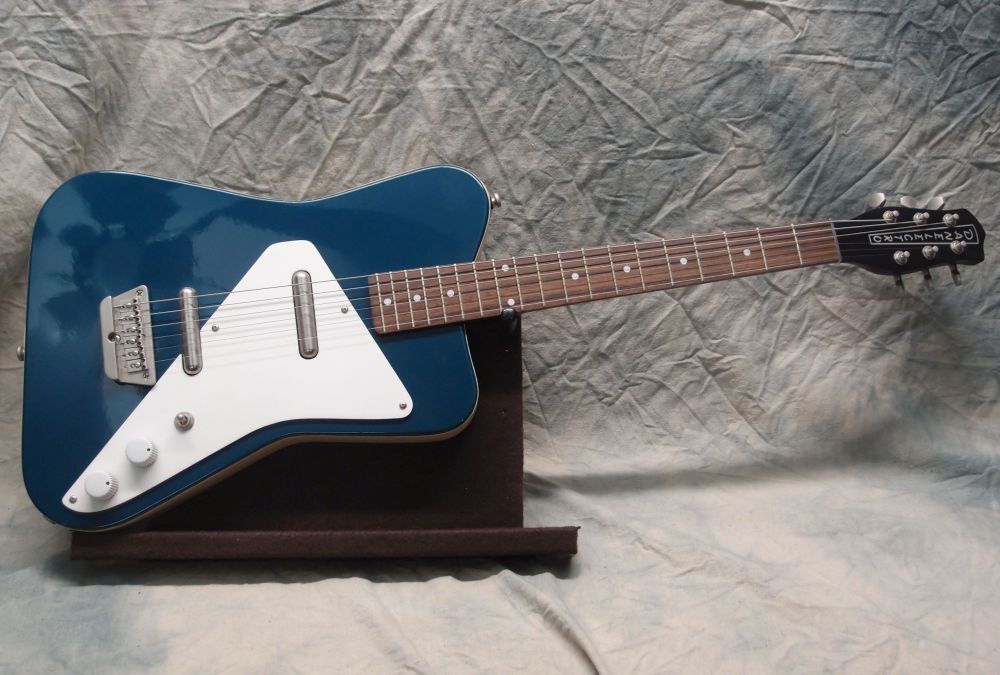
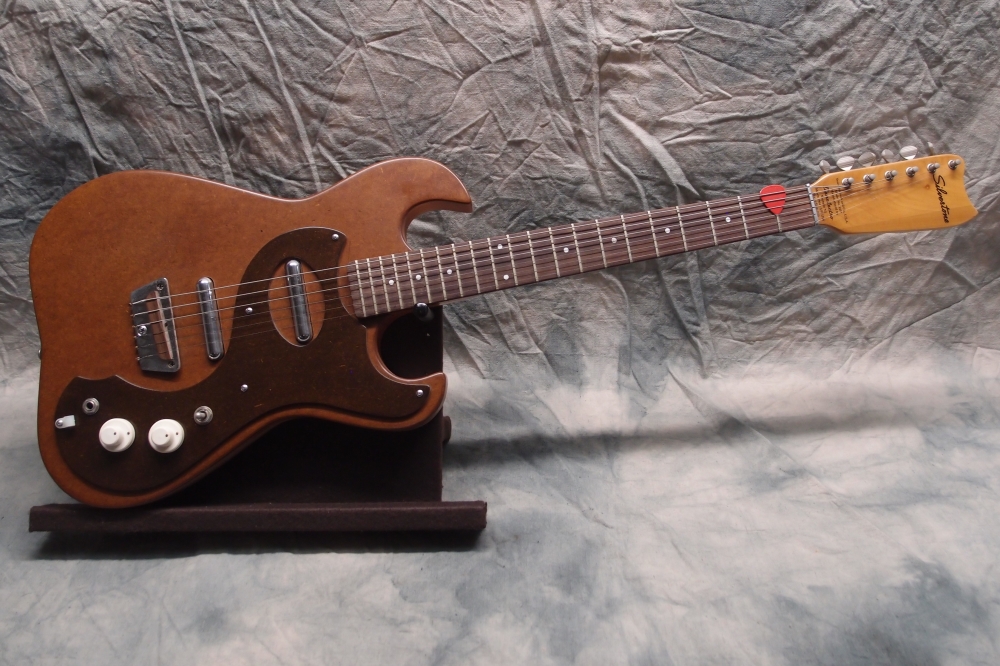
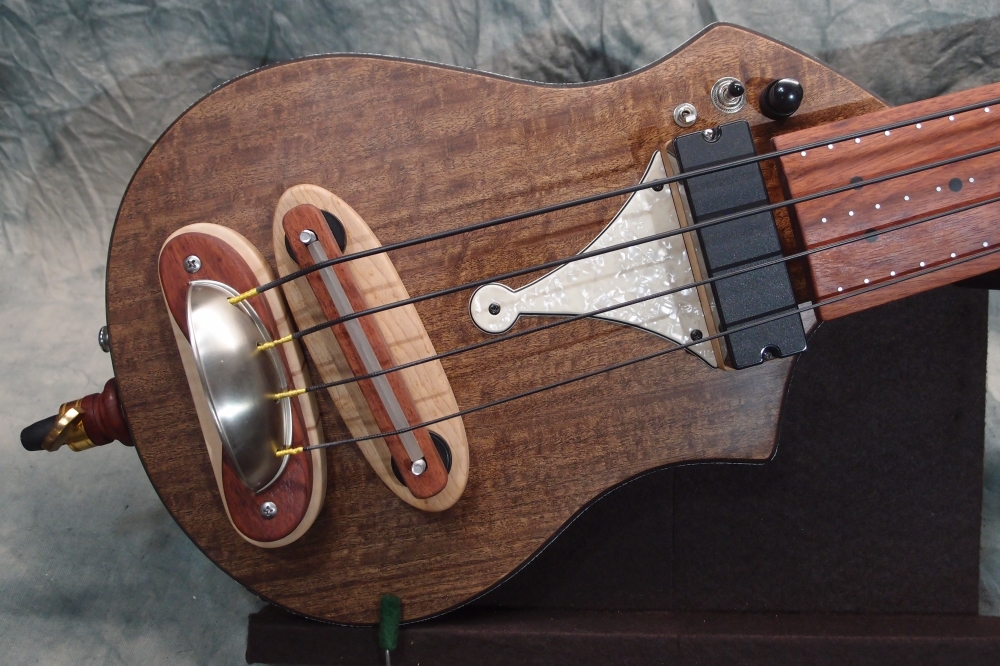
The fretless has half-rounds on it. I want the round-wound sound without tearing up the fretboard, and I got it. As you can see, purpleheart turns into brownheart after a while. It still looks purple under the right light, but that will eventually fade away. Still a nice wood, though, reasonably priced and free of CITES complications. The fretless was supposed to get a piezo rig, but I just couldn't get it to work to my satisfaction, so in the end, I left it off, and just gave it a single pickup. To give it some more range, and justify the battery box, I put in active bass and treble, and also series/parallel on the tone knob.
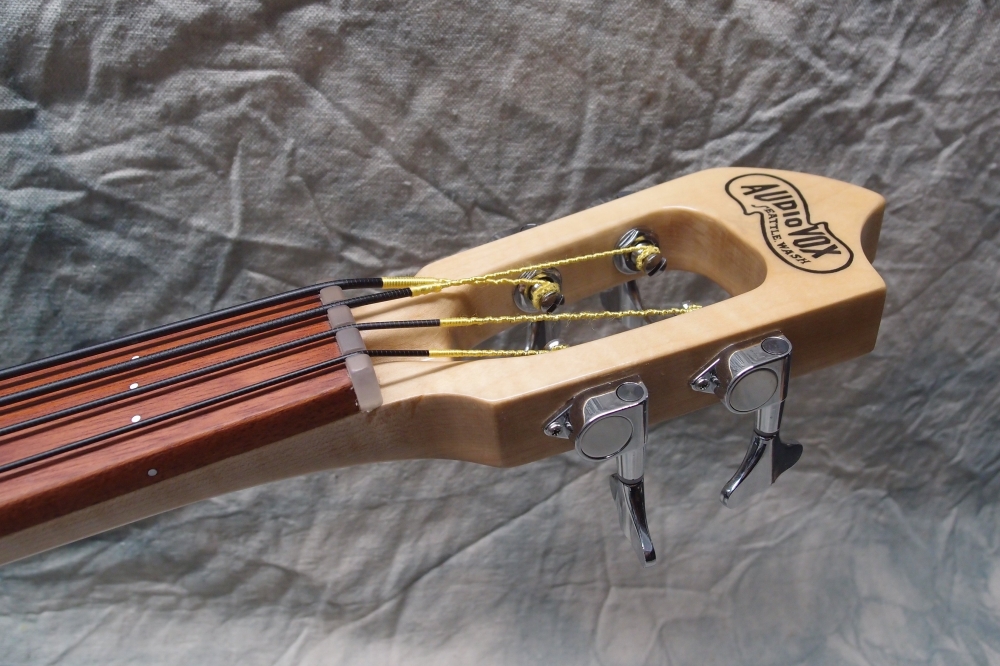
You want a very hard wood for a fretless fingerboard, so purpleheart is a good choice. The fret lines are 0.020" light gray plastic sheet. I cut fret slots as usual with a 0.023" saw, then set strips of the plastic into the slots with Crazy Glue. After sanding off the excess plastic and Crazy Glue, I finished the board with satin poly. The plastic sheet is from the local hobby shop, you can also find it on eBay. Or you can be a real man, and not have lines, or markers. Jaco had lines. Good enough for me.
The soundhole in the bass is really just a simple way to mount the pickup. I actually made a template for this hole, which exactly fits that pickup. You can make a perfectly round soundhole without a template using a soup can wrapped in sandpaper. Saw the hole out the best you can first, then twist the can in it until it is smooth and even.
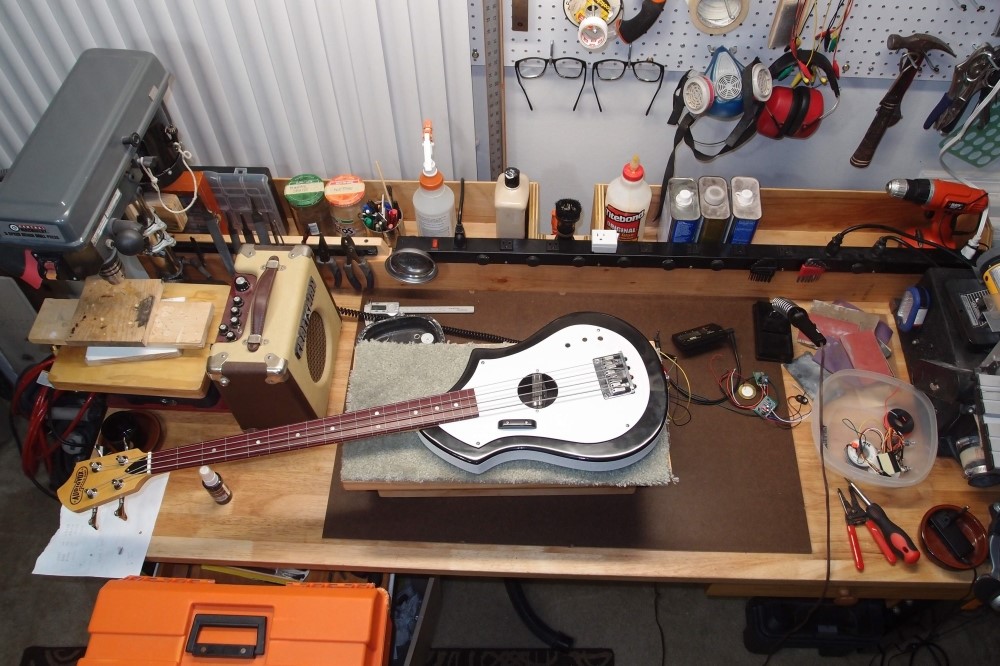
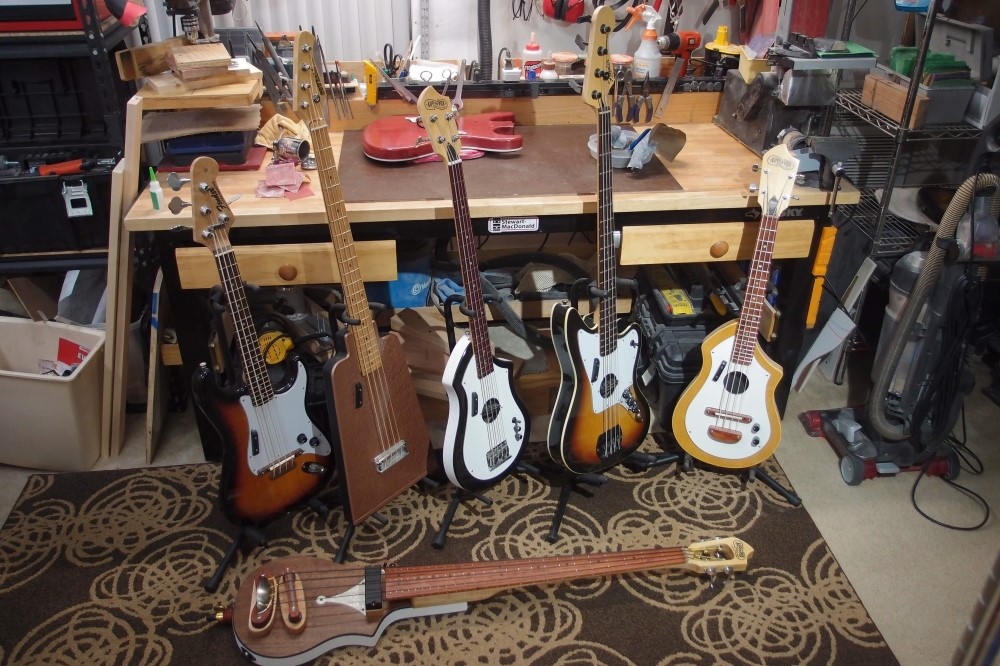
Next to the fretless are its two soundhole siblings. On the right is a 21" Uke bass. That has a piezo in the bridge that works very well. The soundhole doesn't do anything except fill up the big blank space.
On the left is a weird little mandoline/uke/guitar contraption that I built. The scale is 17", and it is tuned EADG in unison a full octave above a guitar. Or a guitar capo'd at the seventh fret. I realized that I just threw it together and moved on to other things, and it hurt to play, so it got some setting up too. All 8 nut slots were lowered considerably, as well as the bridge, and now it plays much better. That was a lot of tedious filing.
Both of these have no truss rod adjustment at all - the truss rod is just a steel bar. The necks are so short, I doubt they even need that, but just to be safe I included it. This sort of fixed truss rod works just fine for a guitar, but you need some adjustability for a bass.
Then I started worrying about what state I left the 12-string in. Oh no! I just did 12 nut slots, that's 12 more. I got it down from the rack, and found it is all set up perfectly. What a relief. Of course, it's totally out of tune, but isn't that what 12-strings are for?
Sep 30, 2018
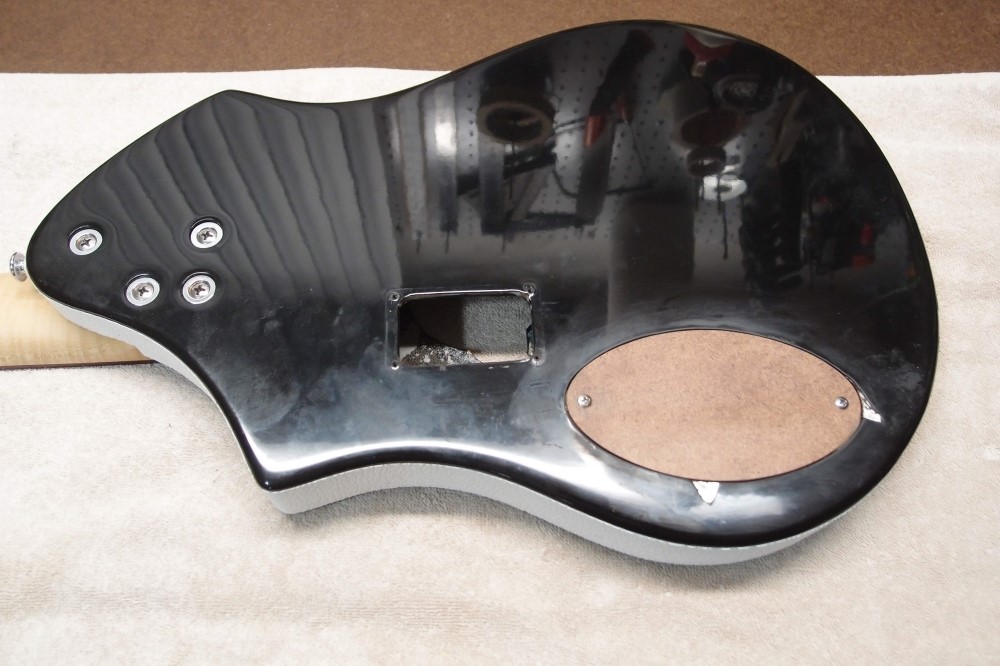
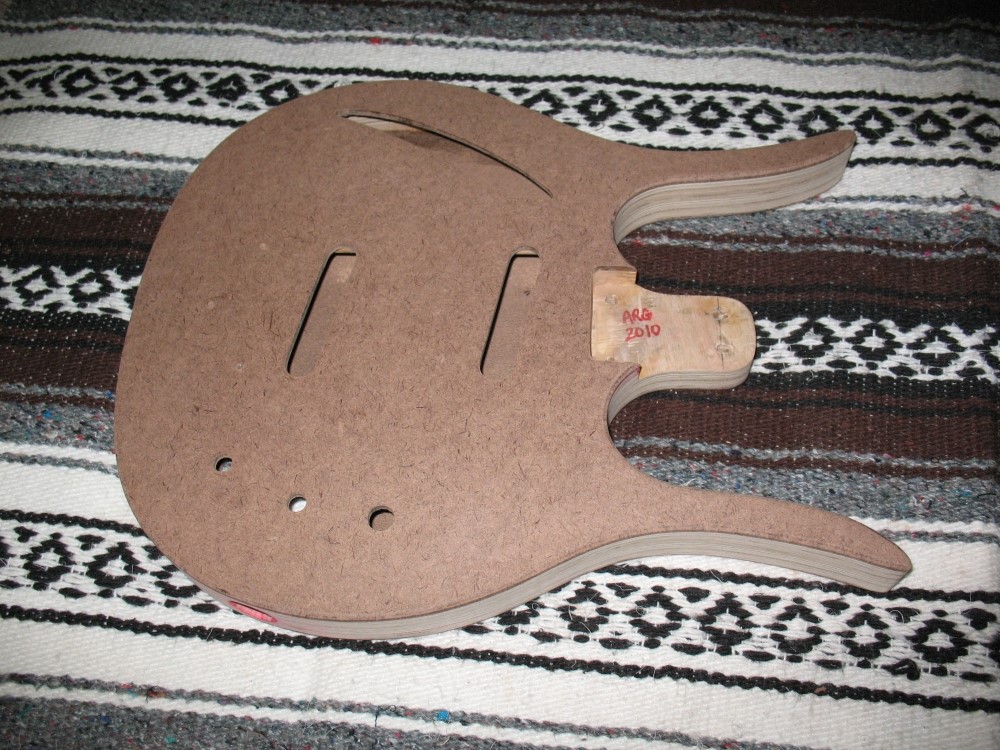
The Audiovozen all have expansive pickguards and simple electronics, so no rear access was required, but this one can use it. Cutting a finished body is problematic, to say the least.
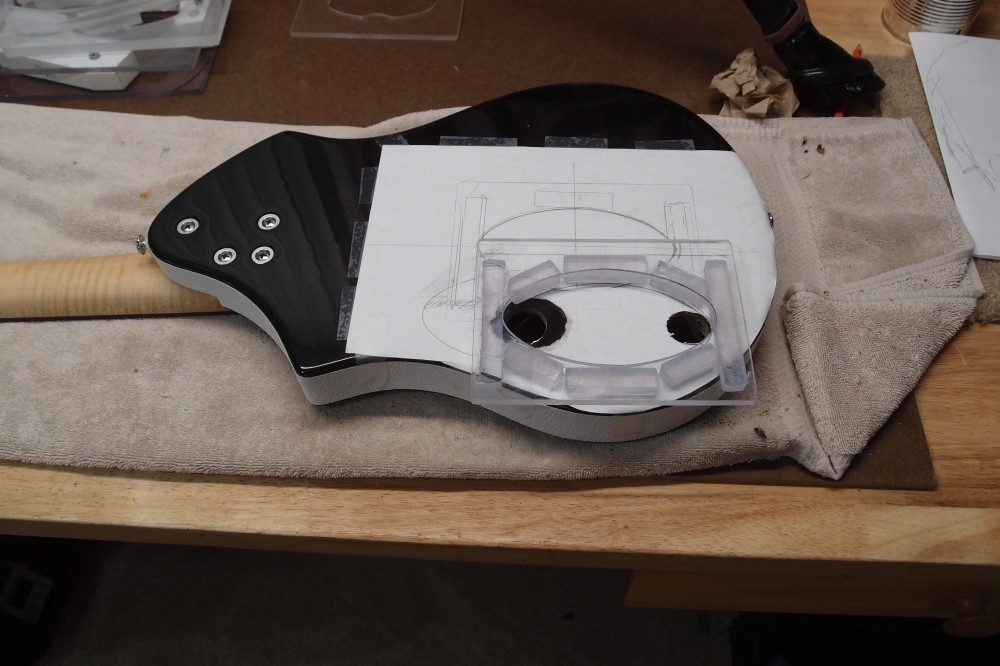
I scotch-taped a piece of paper over the finish, then Forstner'ed the two end holes. I will connect them with the jigsaw, and then make the final outline with the router and the template. Driving big Forstner bits is a good job for the corded drill, it never gets tired. The cut edge of the finish tends to separate, so I will run some Crazy Glue around it before it does.
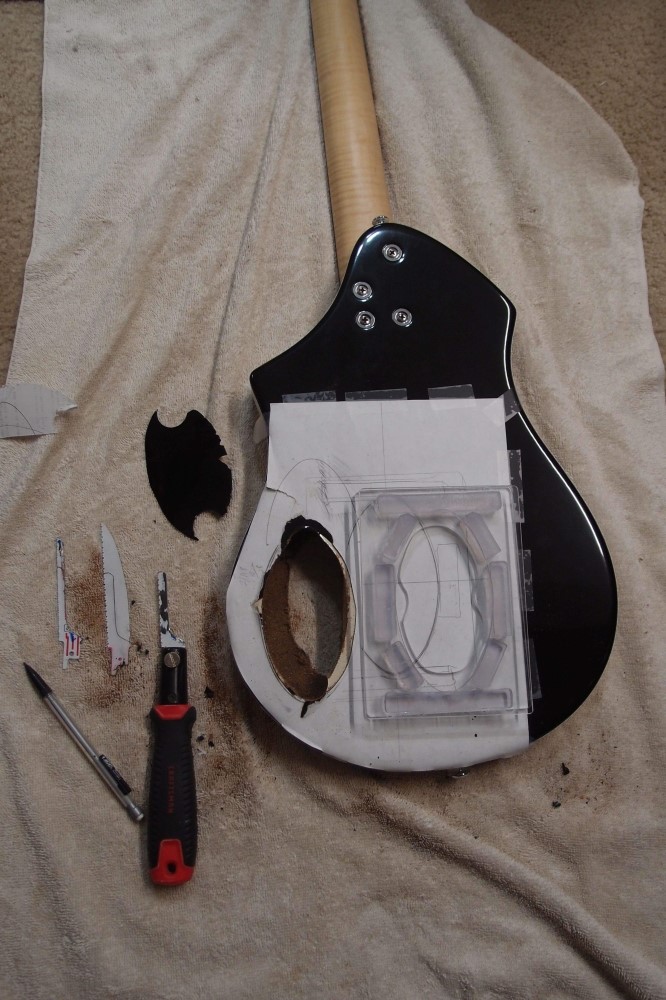
Moved to the floor, because the bench is a mess. Now I have sawed out the rest of the control cavity; I will route it clean in the morning. The interesting thing here is the little saw. This would be a natural job for a jigsaw with a shortened blade, but I didn't want a jigsaw clattering over the nice finish. The handle in the picture takes standard Sawzall blades and works really well. But what I need is a jigsaw blade. So I traced a jigsaw blade onto a Sawzall blade, and cut it out with a 4-1/2" cutoff wheel. I ground it to a nice shape on the 6" benchtop grinder. First I did a free hacksaw blade, at the left, just to see if it would work, and it did. Then I bought a fine-toothed wood blade and cut it down to the same profile. That left me with more than half the blade as scrap, so I cut a new mounting tab into it, the blade in the center.
While using it, I realized a shorter blade would work better, so I snapped the end off in a vise and cleaned it up on the tiny grinder. I'll make the other two blades match this profile. Now I have a handheld jigsaw. And it did this job very well. I did pull a chip out of the finish along one edge. Fortunately, black is the easiest color to fix. Before continuing, I scribed the outline with a razor, so that it would not tear out past the cut. At that point, a big piece peeled right off, which is the odd-looking black thing.
This guitar was originally finished in pearl-like the other two. I tried to shoot a thin burst around the edge, but that didn't work out. Plan B was then all-black, which came out nice, but apparently, the poly didn't adhere to the undercoat very well. The big piece that came off is 20 thousandths thick and quite flexible. I'm going to save it, it might be good for a curved truss rod cover.
These are plain steel blades, I did not want to find out what happens when carbide meets high-speed ceramic. It occurs to me that this saw might work better as a push than a pull. It certainly would have been less likely to pull up the finish. I may get another blade and grind a mounting tab on the other end.
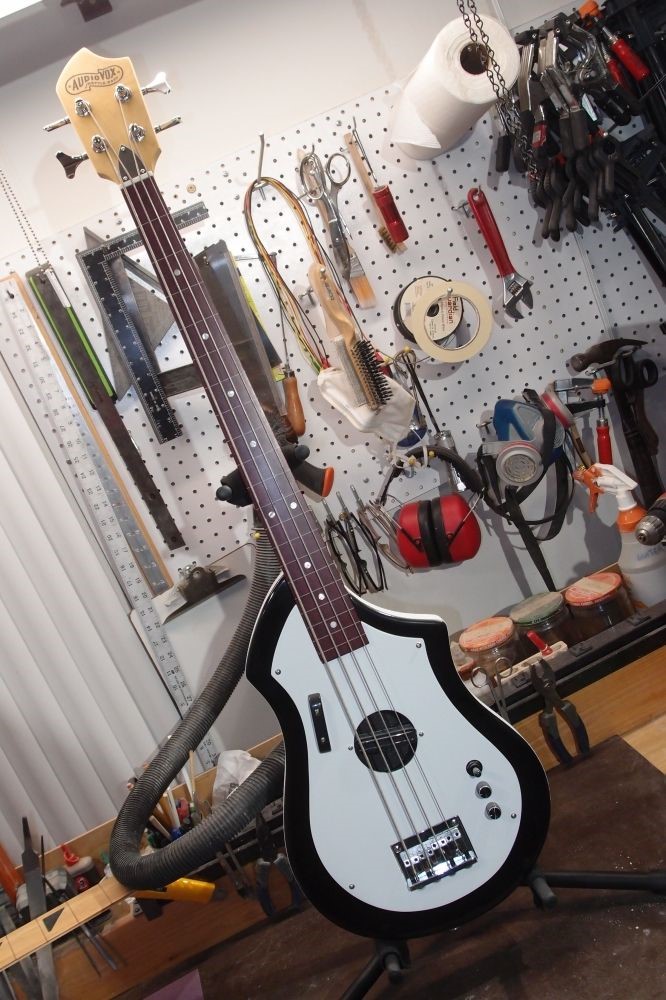
This is one of my Audiovoxen, the fretless, which I plan to do some electronic experimenting with. Turns out, to remove the pickguard, I had to remove the strings and the neck. Now that's bad design. I modified the body and the pickguard so now there is no need to pull the neck, only the strings. But for experimenting, I need better access than that, so I decided to add a rear access hole. But neither of my templates would fit on this small body with a battery box in the way. That was the motivation for the new even-smaller template, which got me thinking over the whole template business.
Oct 1, 2018
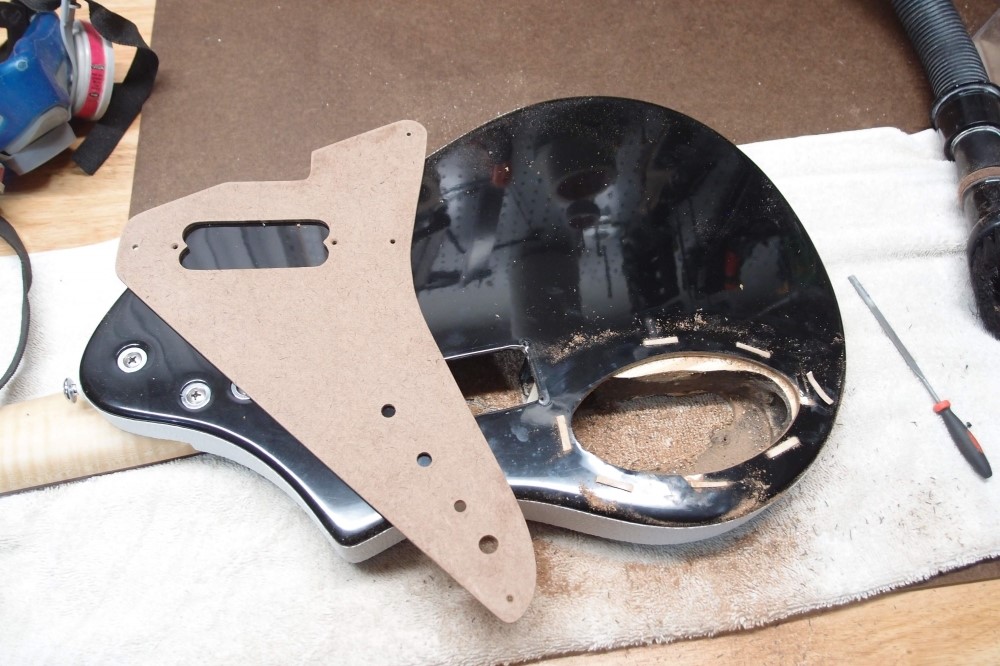
Made some mess with the router. The lipstick template worked perfectly. I screwed the template over the part into a piece of scrap and set the router to go just deep enough. I'm going to add some magnet strips to my template box where I can keep an assortment of cheap flat-head screws for this purpose, and not have to chew up good stainless ones.
The damage to the black body was more than I initially thought. I pulled off the paper, removed any loose chips, and Crazy Glued all the edges. Then I stuck the template directly to the body with the smallest pieces of double-sided tape I could imagine would work, and routed the finished outline. The template came off with no damage. When you use very small pieces of tape, no one of them is strong enough to pull up the finish, but all together they get the job done. How long it took me to figure that out, now you get it for free. And Harbor Freight double-sided tape sucks, stick with the good Scotch stuff.

Here's an example of an awkward angle - solved with my workbox.
I flipped the template over and traced it onto a piece of masonite, and shaped it on the belt sander. The final shaping was done with my oldest dullest 120 belt, it's much too easy to go too far with power tools. Then I glued bosses for the screws inside the body, made from scrap wood, and shimmed them up with cardboard until the cover is almost flush with the body. It's a good fit, and I can flip it around and it fits just the same, so I nailed the symmetry.
I like this shape, it has no up, down, front or back, and no straight edges, it's almost trivial to make. I think I will add support tabs at the top and bottom, but two screws is enough. If this was a solid body, it would be supported all around.
The chipping is nothing that I can't fill in and blend out, black is easy, I'll have this looking almost like new. Two chips are little more work than one, and it's only the back anyway. But right now I want to get back to what I was working on before all this if I can remember.
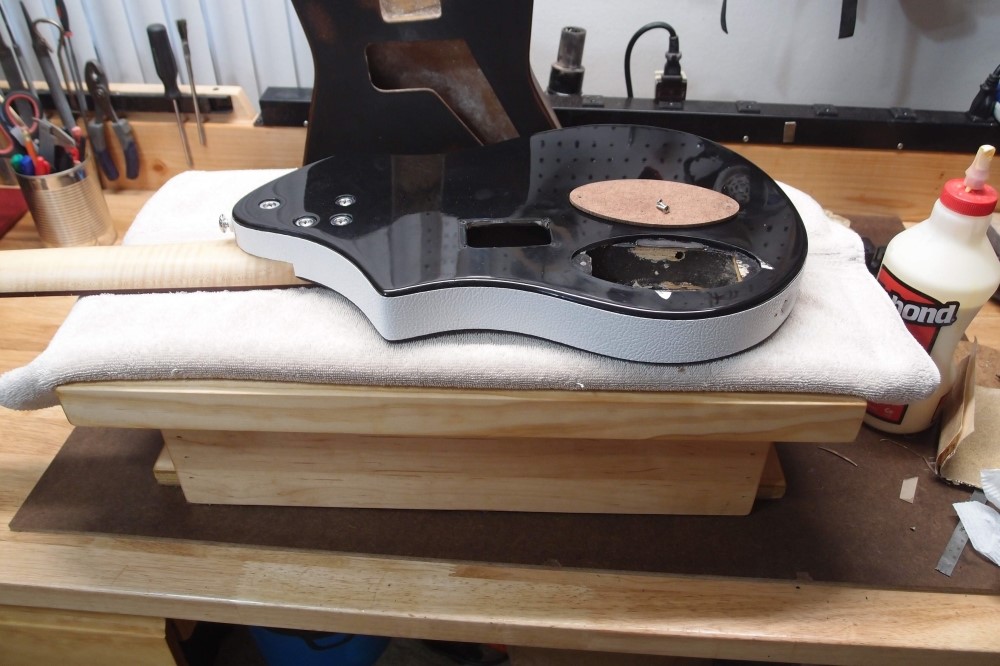
With the extra supports, the cover plate no longer wobbles. The material is actually thinner than the body material, and I routed a little too deep, hence the shims. Cardboard is in the masonite family of tonewoods. This workbox is going to be useful in ways I have yet to imagine.
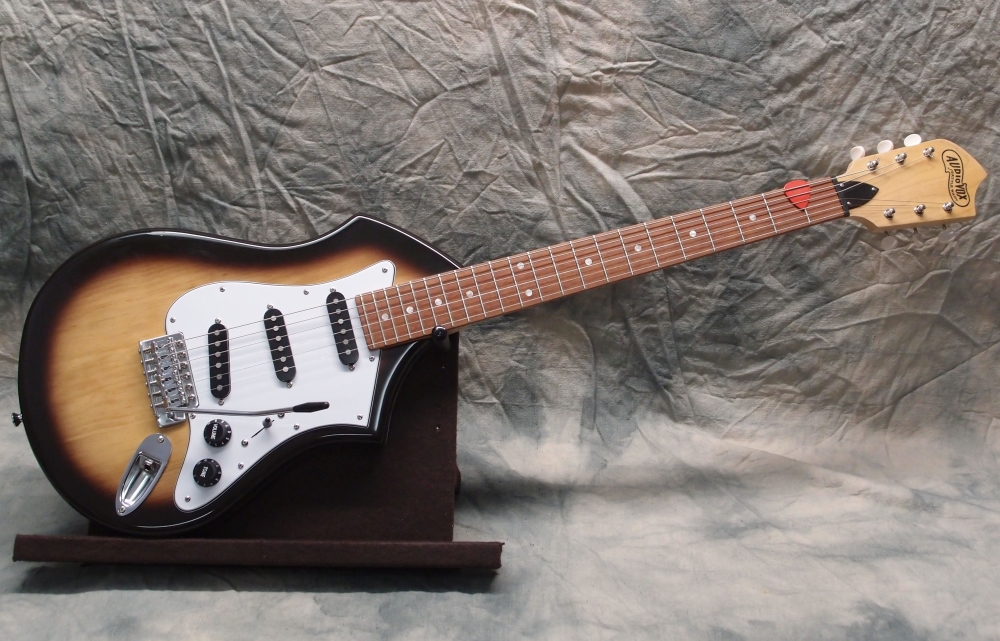
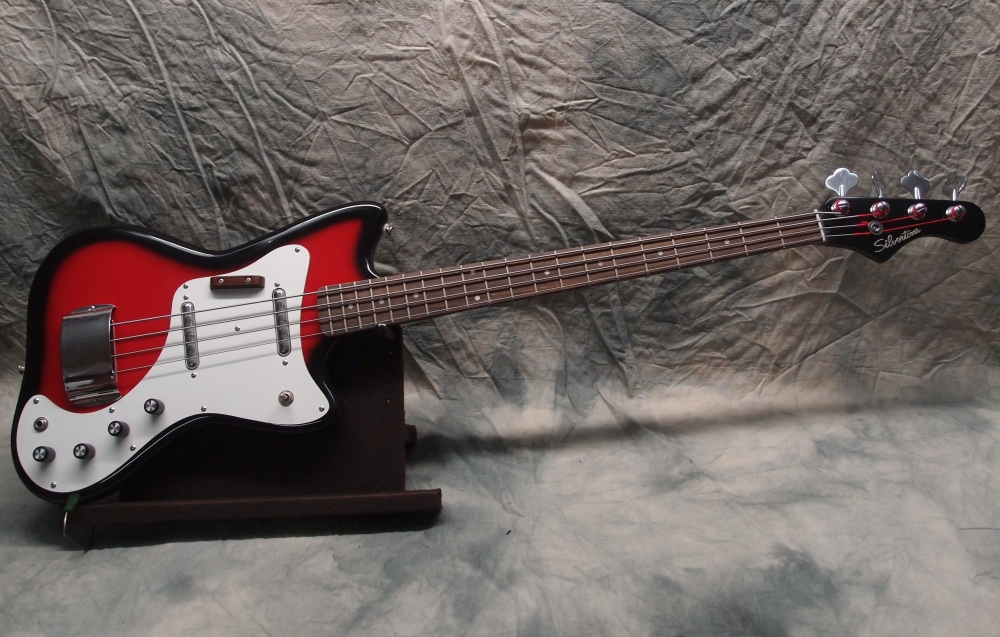
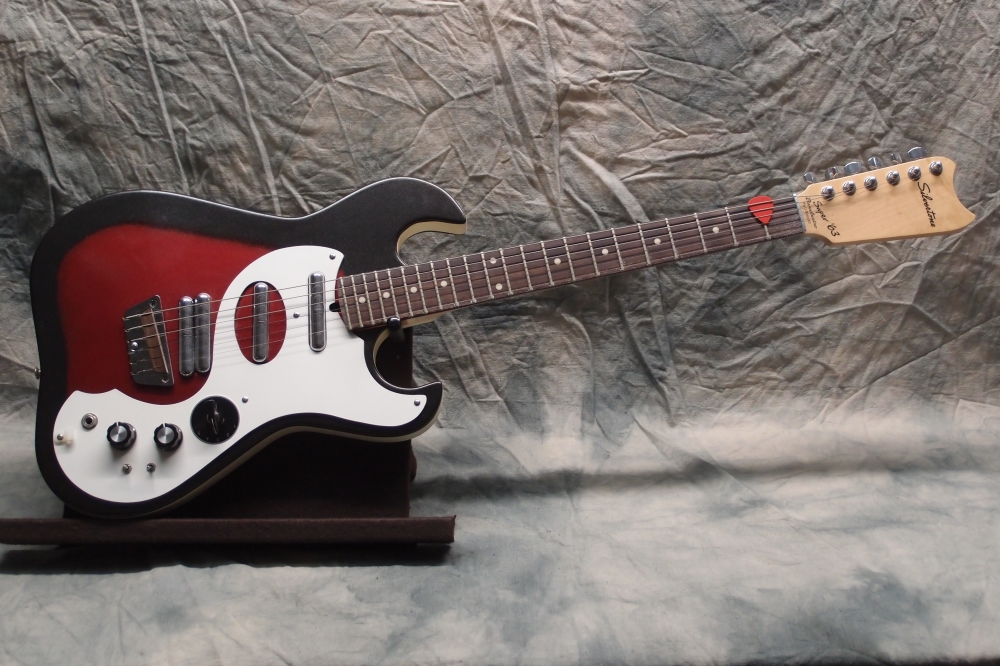
In hindsight, these Audiovoxen, with their expansive pickguard that wraps around the bridge, should have had rear access from the start. It is just too difficult to fix the electronics, you have to take the whole guitar apart. I knew that from the start, which is why I made the electronics in most of them absolutely simple and bulletproof. But this one is different. If I ever build any more of these ( nine is enough for now ! ) I will either include the rear cavity from the start, or use a smaller pickguard that can be removed without unstringing. Speaking of which, the Strat version is ready for polishing and assembly. Too many projects at once.
Oct 2, 2018
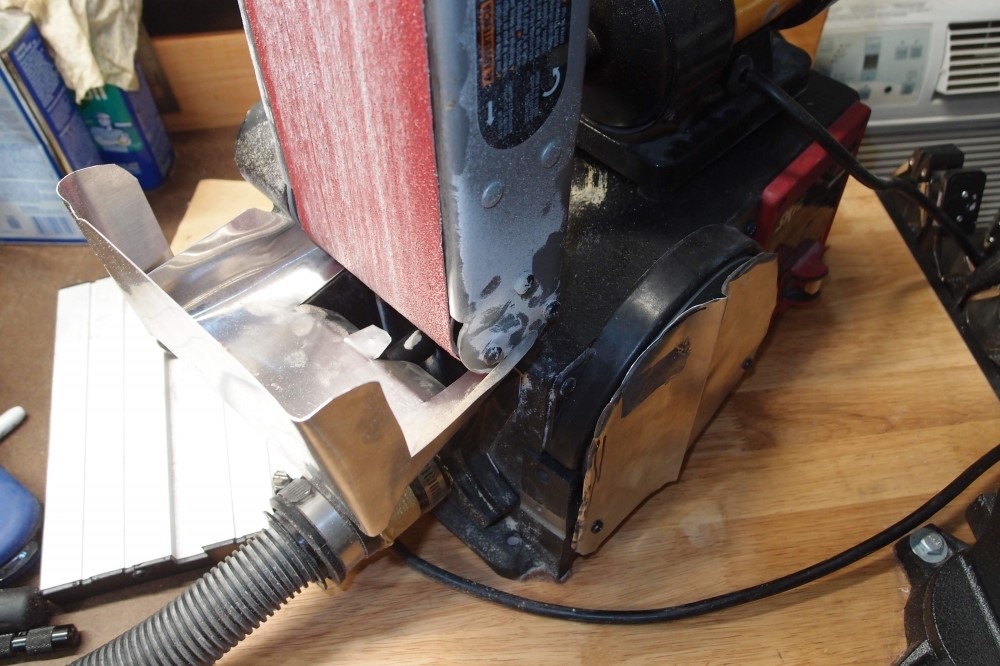
I made this dust collection shroud for the belt sander from a 50 cent piece of aluminum roof flashing. Hardly anything escapes it, not even plastic, which is awful stuff. The nice thing about this shroud is that it pops off with no fasteners to give access to the end roller.
I got two pieces of flashing, figuring one to mess up and one to make the final piece, but I got it on the first try, so I used the other to make a cover for the useless and dangerous sanding wheel. You forget it is there, spinning, until you find it with your knuckle. It also chewed up the power cord one time.
I'd remove the wheel entirely, but the back of it is the radial cooling fan for the motor. To make it safer, I removed the sanding disk and polished the wheel smooth, but this finally fixes it properly. I also blocked off the duct to the sanding wheel, so all the suction goes to the belt.
This Audiovox now has rear access for the controls, which means the pickguard will never have to come off again. It is basically part of the body now. The workbench has seen a lot of additions and upgrades.
Oct 31, 2018
Eureka!
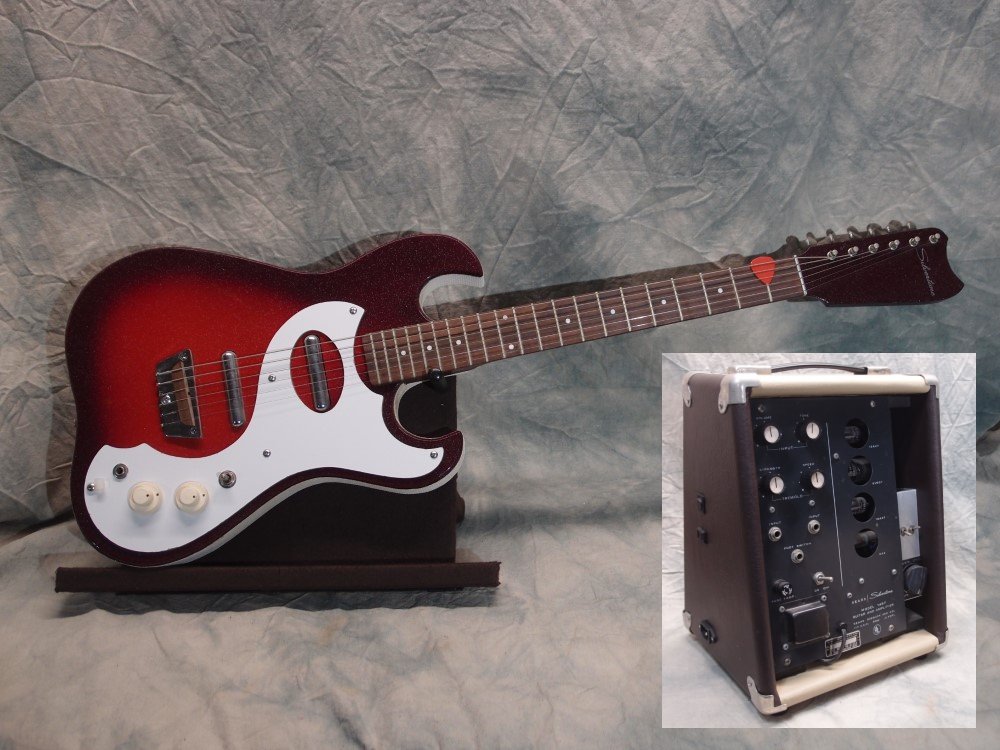
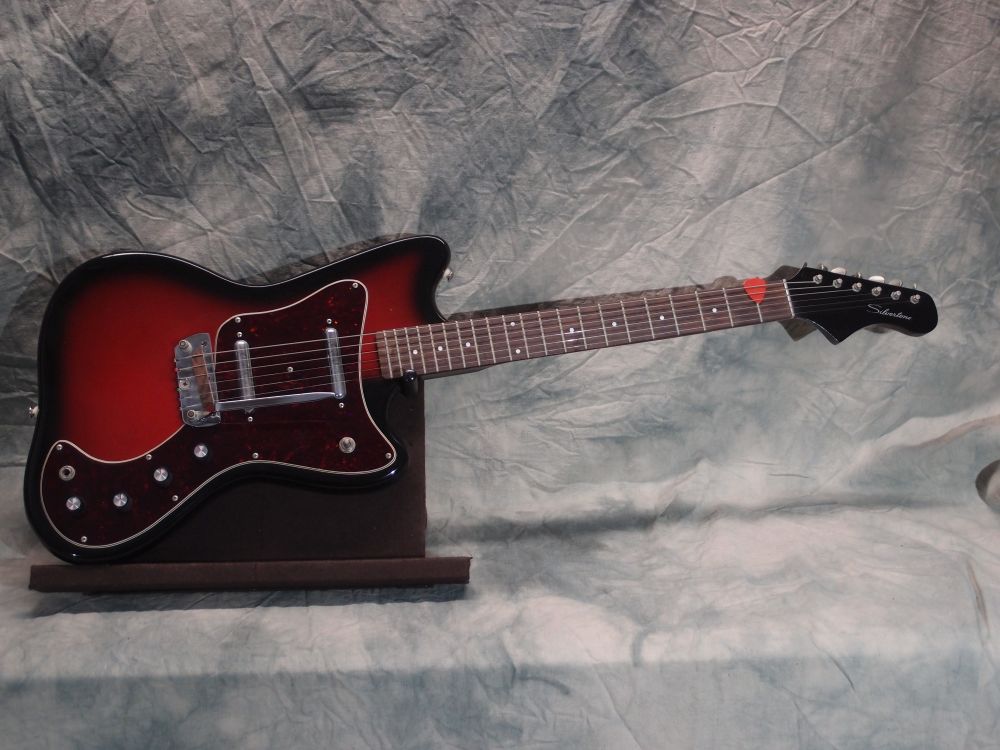
I finally got the piezo working that I always intended for the fretless Audiovox. It sounds great - strong, and full-frequency, right down to the bottom. Can you see it? No, you can't, and I'm not saying how I did it. I made a new pickguard for it, for a simplified control layout, and stripped out the active controls. The piezo uses a simple one-transistor buffer circuit that I can build now with 100% success. The switch selects between the magnetic pickup, both in parallel, or the piezo. The magnetic pickup swamps the piezo, so I added a trimmer for it, basically half a jazz bass setup. Now they are pretty well balanced. You need a battery for the piezo to work, without a battery you only have the humbucker. I still need to do some work on the back to fix the damage from cutting in a control cover. I have all the chips filled in, but I will give that a few weeks to harden before I mess with it.
Apr 5, 2019

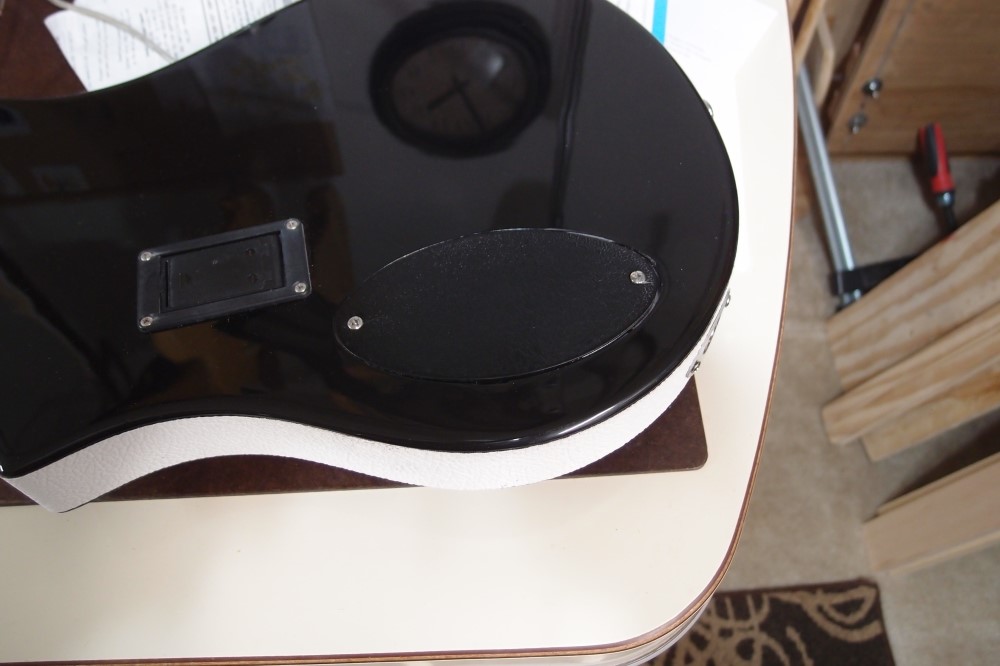
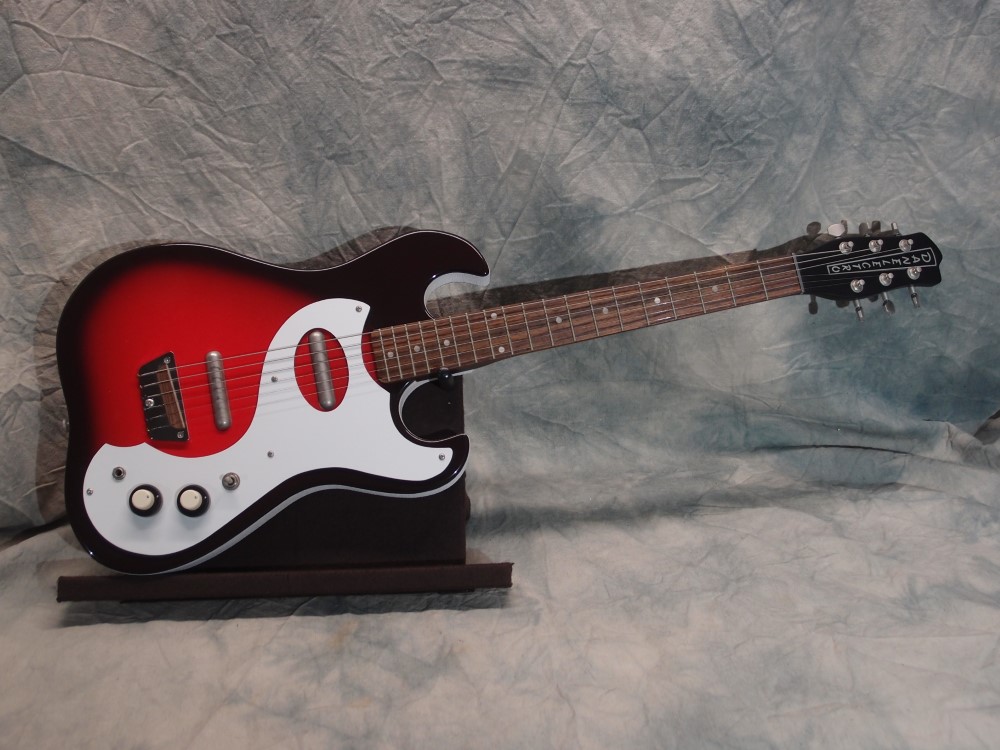
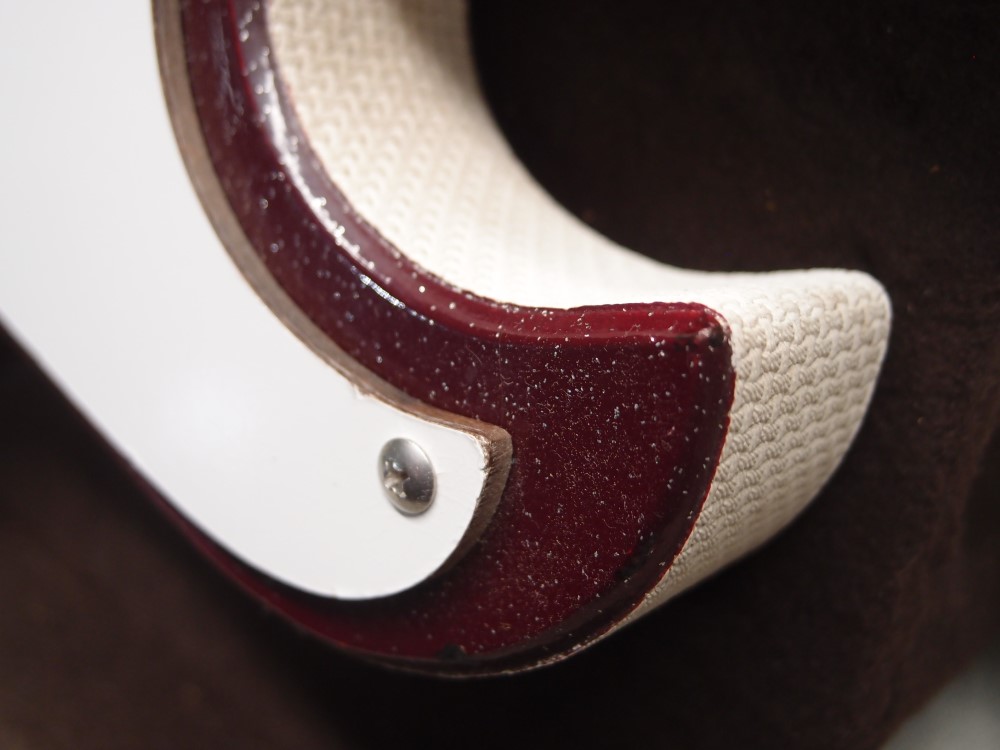
Cutting out the back control opening did some damage to the finish, as is evident in the first shot above. The thick poly finish was too strong, and the blade pulled it up in spots. I glued down what I could with CA, and filled the rest with matching black poly. The second shot shows this sanded smooth several weeks later. The last shot shows the repair buffed-out to a shine on my new wheel. You can still see that it is a repair, but you have to look close, and it is only the back.
The back cover is masonite, with an unintentional crinkle finish that I decided to keep. I got two huge free cans of black spray paint. The paint comes gushing out of them almost uncontrollably, and the crinkle is what happens when the paint is too thick. I'll have to remember that trick!
That finishes this build.


Questions or Inquiries?
Just want to say Hello? Sign the .