Audiovox Solid-Body Guitar (1/2)
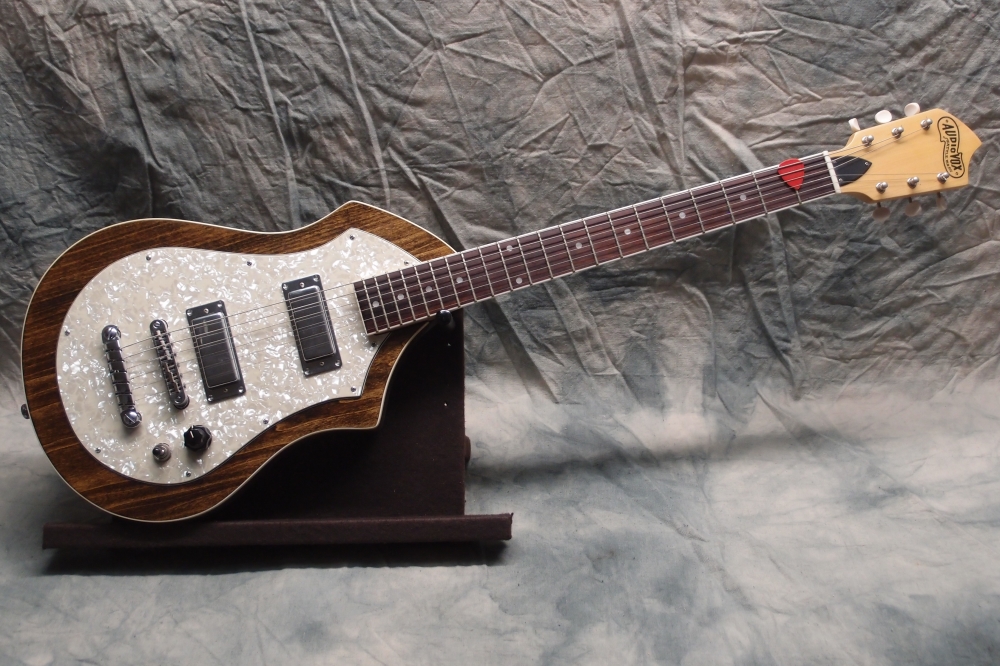

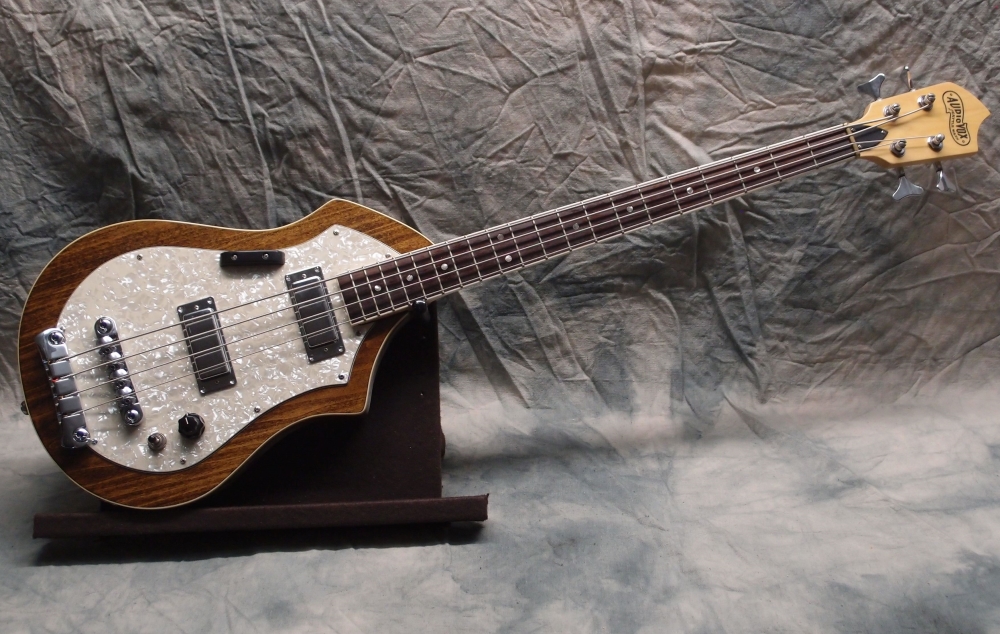
This was the first of my modified Audiovox design to be completed. Solid poplar bodies, stained to look like walnut, with single bindings. Each pickguard used an entire sheet of material; only these two got the pearl treatment, the rest got much less expensive masonite pickguards.

Except for being a guitar and a bass, these two are nearly identical - the same humbuckers and electronics, knobs, etc. The scales are 30" and 25.5".
Mar 9, 2016
May 30, 2016
Here are the first two bodies, almost ready for final finishing:
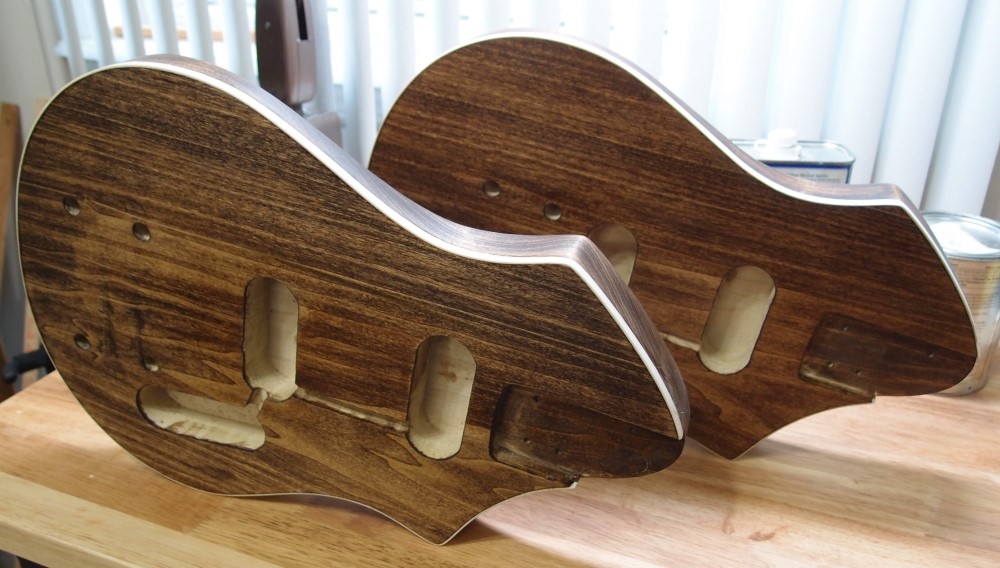
These are solid poplar, with a 3/8" radius and relief on the back, and white binding on the front. In staining them, I took advantage of poplar's very bad staining properties. The color on the can is a light brown, while the color on the bodies is pretty much walnut. I already knew that staining raw poplar would do that. Pre-treating, say with several coats of 'natural' stain before the color coat, gives a completely different shade. Just goes to show that the results of a stain job have much more to do with the wood and application than the color on the can. The manufacturers offer myriad shades that are almost indistinguishable, and it really doesn't matter. I've made this same stain come out honey-brown, and everything in between, and I use it on everything from guitars to furniture.
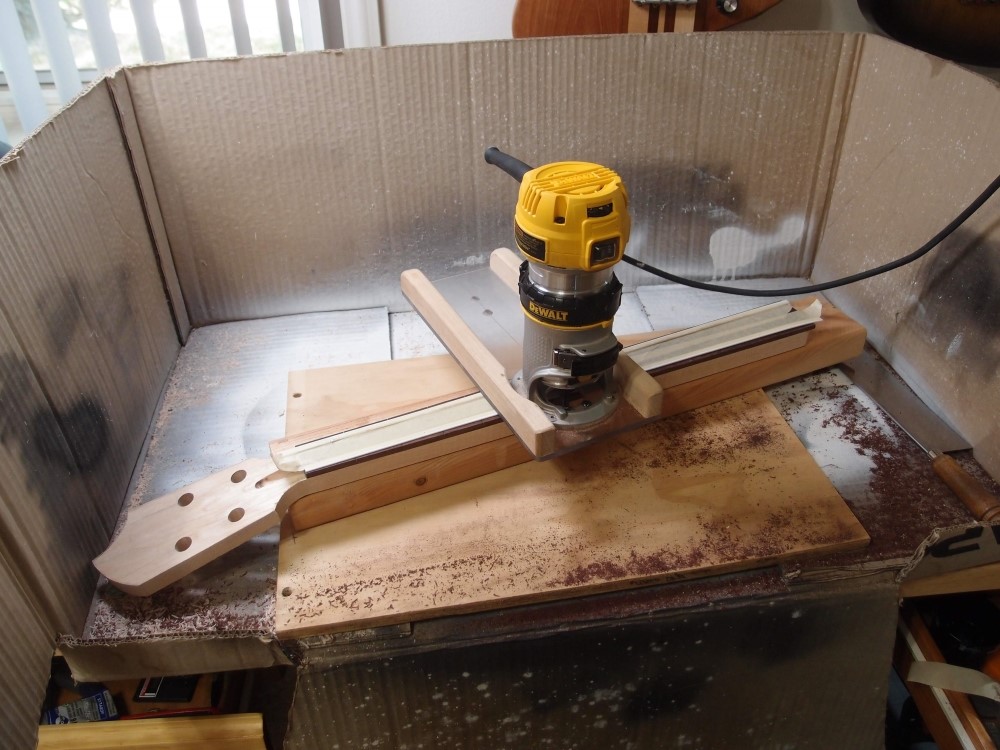
I did all the routing and smoothing first, including the binding notch. My binding jig turns out to be nearly foolproof if you use a bit with a smaller diameter than the follower. That causes the bit to lose contact with the piece whenever the angle is not perfectly perpendicular. In other words, it cuts shallower if your angle is off, whereas a larger bit would cut deeper, which would be bad. The binding didn't take on one of them, the stain caused the glue to not adhere, so I pulled it off, cleaned out the notch, and did it again. The moral of the story is that you want to get the stain all around the notch, but as little as possible actually in it, and let it dry for a good long time. You need to stain first, otherwise, the glue soaks into the wood and will repel the stain. After I got everything smoothed down, I re-stained and then buffed the bindings back to white with 1000. They're almost ready for a nice thick coat of poly.
Jun 14, 2016
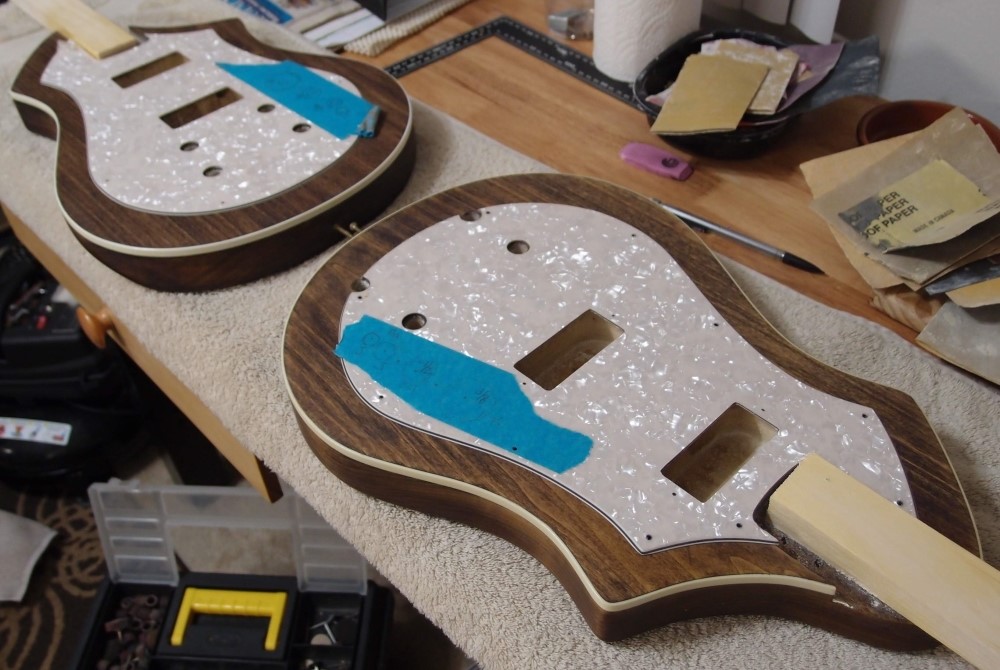
These two are ready for final finishing. Right now, what you're looking at is a thick base coat of poly sanded smooth to 320. I used no grain filler, I'd rather just use a few extra coats of poly. I apply each coat as soon as the previous one gets tacky, so they all dry into one layer, like lacquer. A week in the hot attic and the goop is nice and hard. Sanding gets rid of the residual grain pull-through, all the nits and gnats, and a couple of spots where I got a little too happy with the sprayer. I sanded through in one spot, and simply re-stained it, it will be invisible. A careful thin final coat will give a smooth finish that can be polished up to a high gloss.
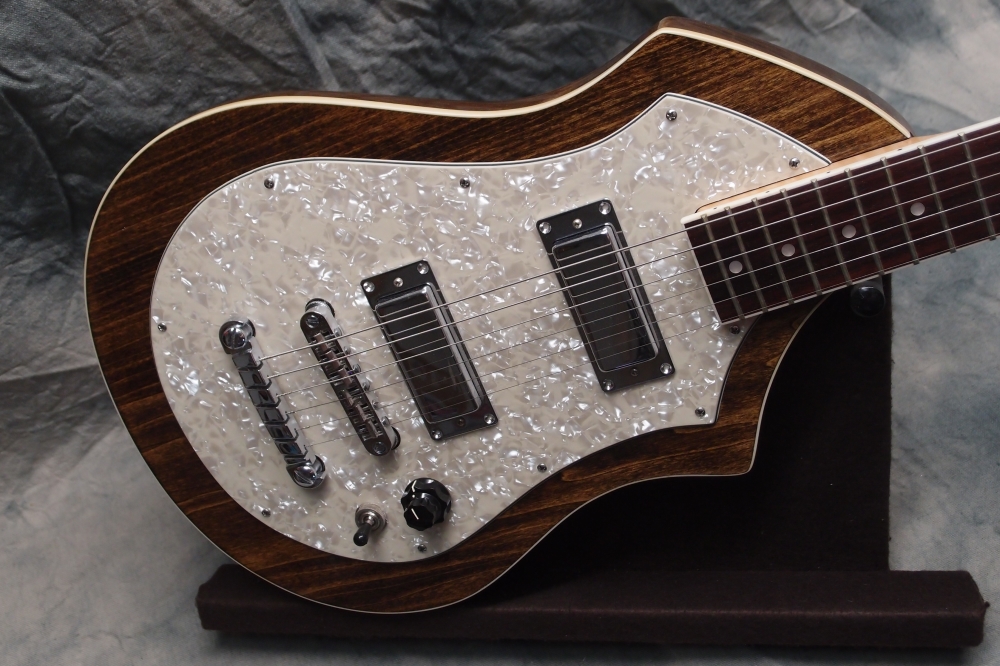
Note the pickguards. Each one takes a full sheet of material. In fact, each pickguard is the size and shape of my first Tutmarc, which is a pretty faithful copy of the original. These will get mini-humbuckers and tune-o-matic bridges. For the bridges, I made a template and a bushing-puller, and got a set of metric drill bits. They are a perfect fit. You can also see the long screws in the strap-button holes. These work with the neck handles and my painting stand.
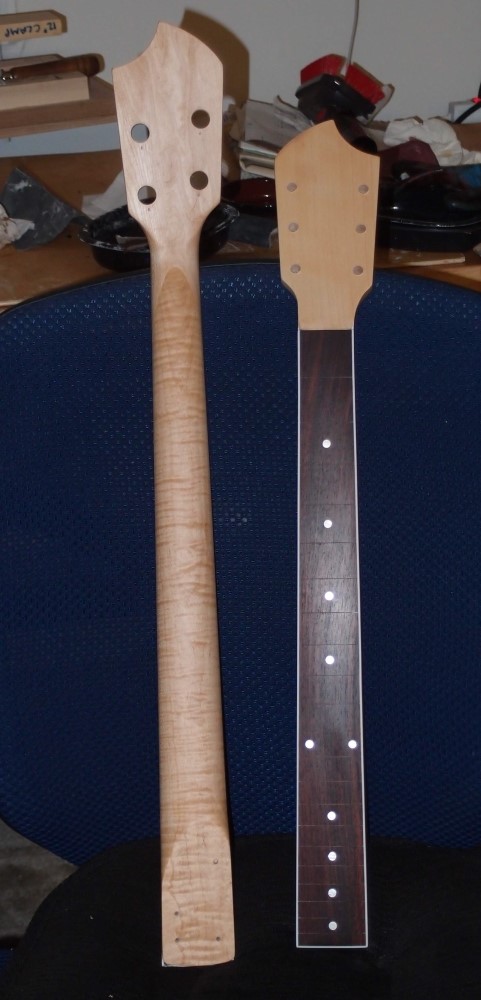
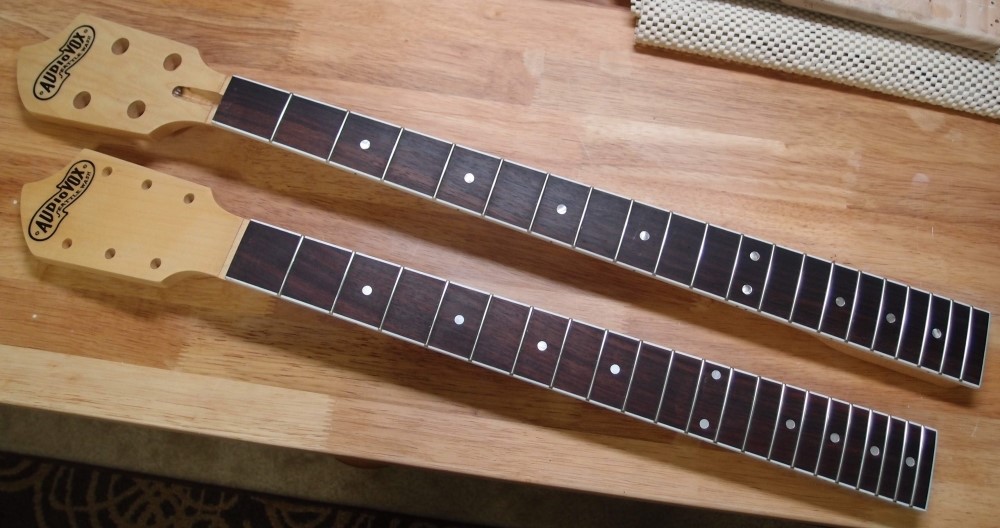
Speaking of necks, I've barely even started on those. This is going so slowly. I have these two bodies, and 5 others, and two other projects that I work on alternately when I can.
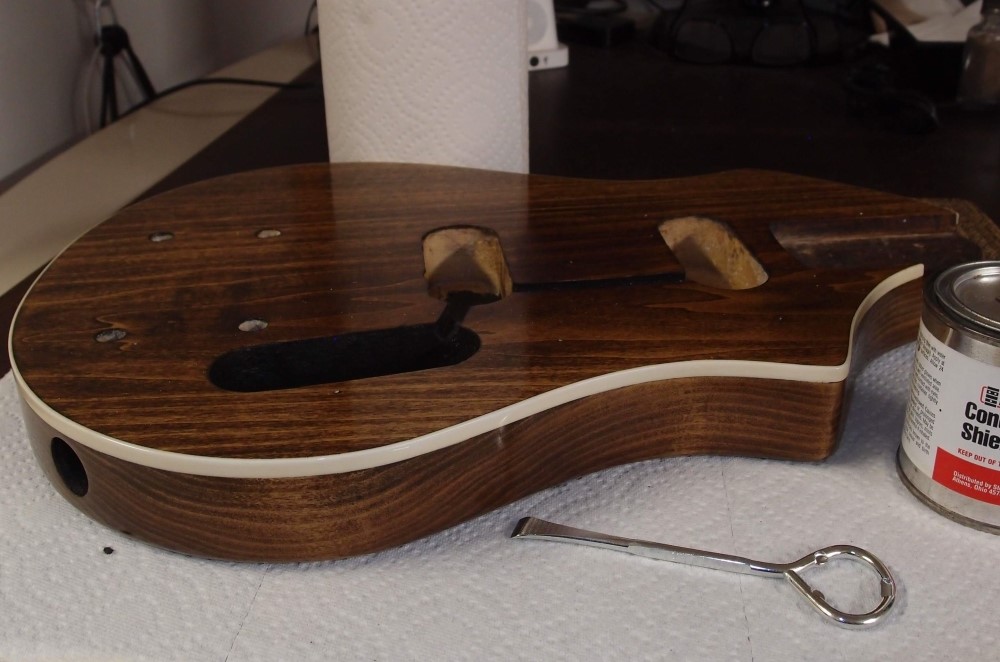
I decided to go with my original impulse - chrome side jacks, for a nice uncluttered pickguard and a bit of extra shiny. The original Audiovox had just one big black volume knob, mine will have a concentric volume/tone and a pickup switch. That's reasonably modern, and simple, I'm tired of wiring up monstrosities. Also, I want it to be reliable, as getting into the electronics for repair will require removing the bridge. If the jack goes bad ( don't they all? ) it is easy to fix without disturbing anything else. So I sharpened up my 7/8" Forstner bit and made a surprising pile of sawdust.
Jun 30, 2016
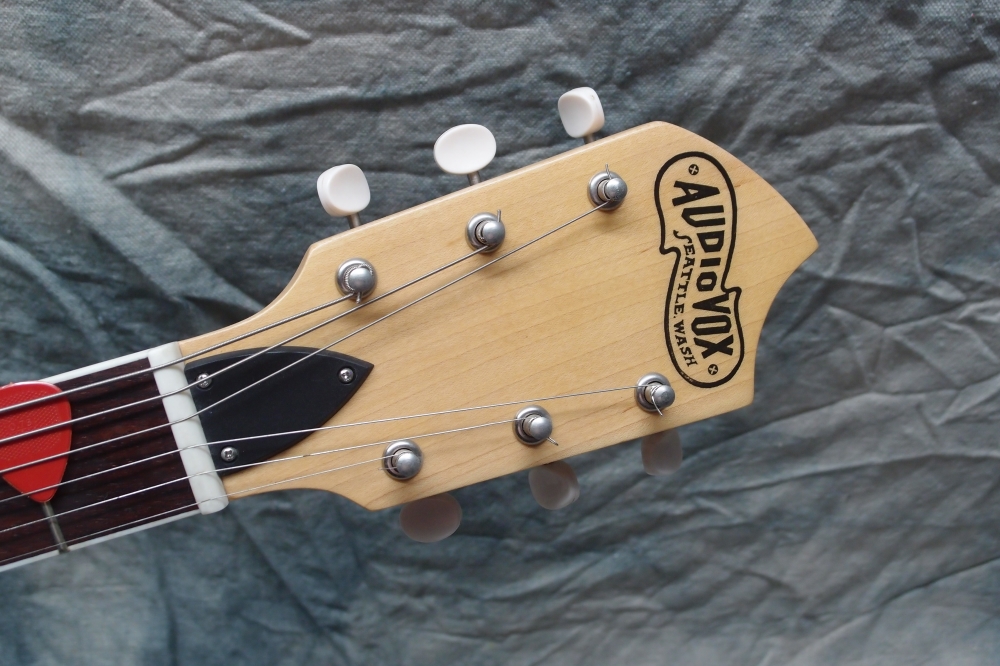
These are coming along nicely, just about ready for final finishing. The decals are laser-printed on blank decal material and applied over a base coat of poly. They will get thickly over-coated with more poly, then polished smooth. You can get the material from a hobby shop or online, also available for inkjets.
Mar 16, 2017
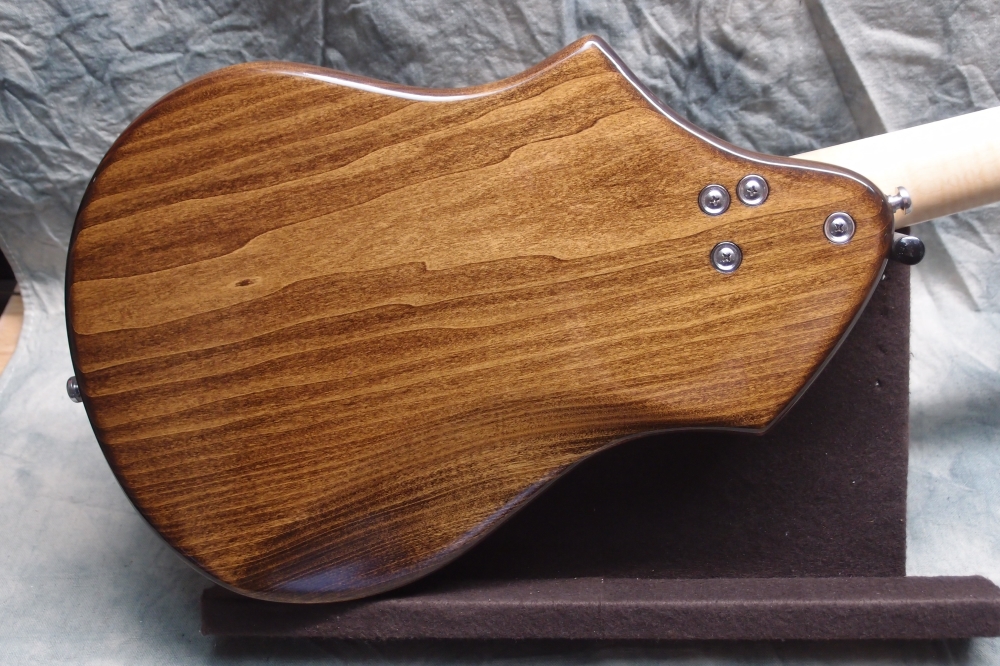
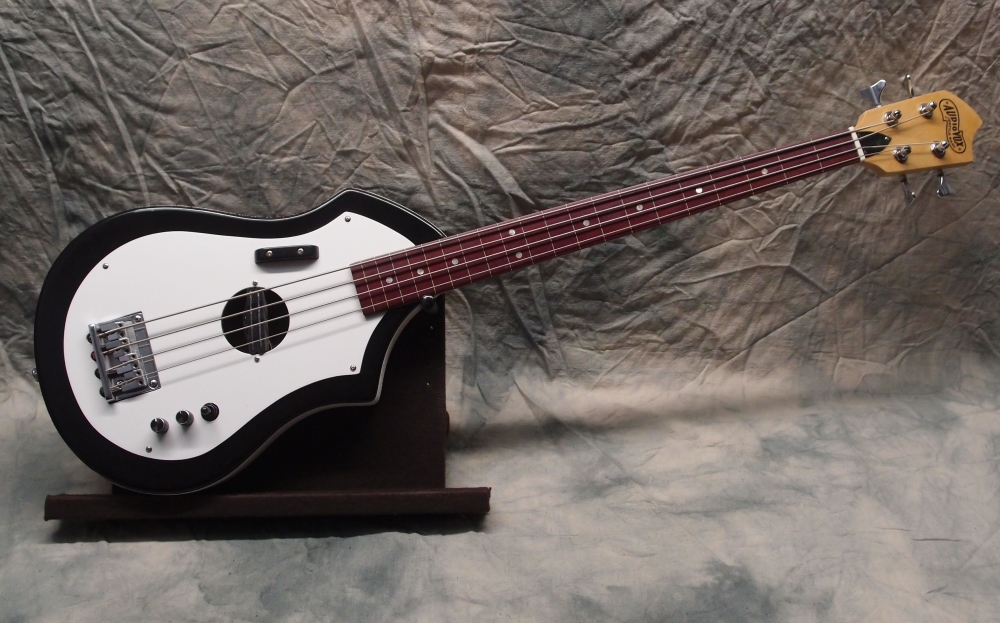
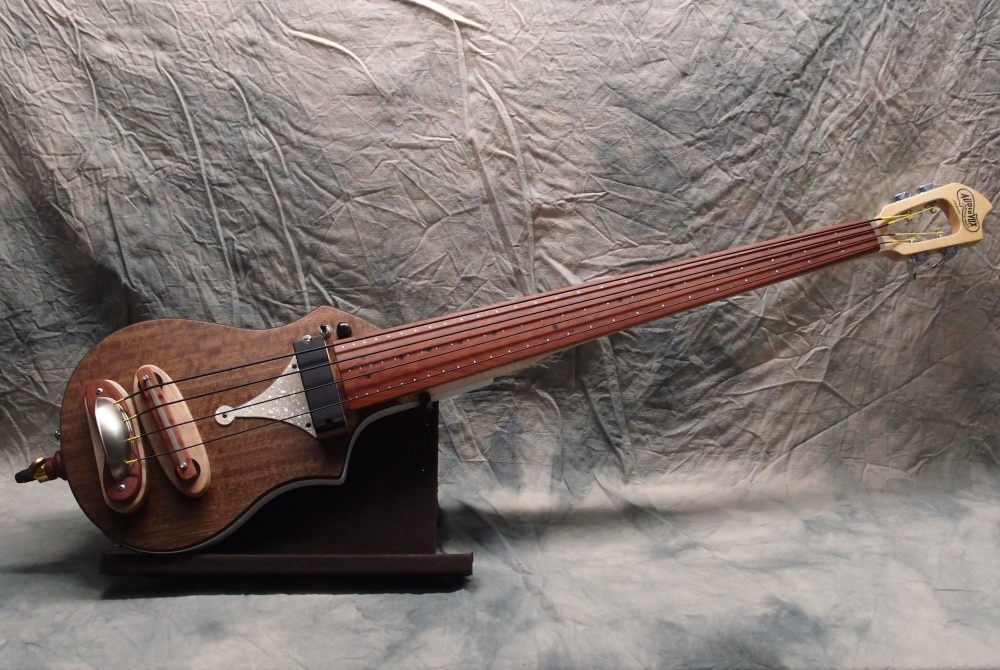
Here is the first Audiovox bass body. It is now finished to my satisfaction. Well, actually, nothing is ever finished to my satisfaction, but enough is enough. It is better than most of the Gibsons I see on the wall at GC. Mind you, most of the top will be covered up, so I only polished around the edges.
I was working on a bunch of these last fall, and as usual, the finishing became troublesome. I got aggravated and shelved the whole thing. I do this for fun, and when it stops being fun ...
So a thick base coat of poly got to dry all winter. Then we got a freakish warm spell, so I decided to smooth it down with 1500 and top-coated it. For that I used aerosol, and let it set up for almost a month before touching it. Finally, I used 2000 to knock down the orange-peel, followed by 3000 and 4000, then rubbing compound, and lastly polishing compound on sponge pads on the random orbital. All of this stuff can be found at better auto parts stores. Oh, and a coat of Turtle Wax, to make sure the pores are completely strangled. Polyurethane is a bitch to work with compared to lacquer, but the result will last forever, whereas lacquer literally self-destructs.
To recap, the body is poplar, stained with whatever I had on the shelf, relying on poplar's horrible staining properties to turn it walnutty. I'm calling this one done, final assembly should a quick and easy, the only hang-up now is getting a few coats of shielding paint on. The twin guitar will follow soon after. These are not straight reproductions. I did one of those and found it to be a lousy player. So I thought about what was wrong with it and designed these.
Mar 20, 2017
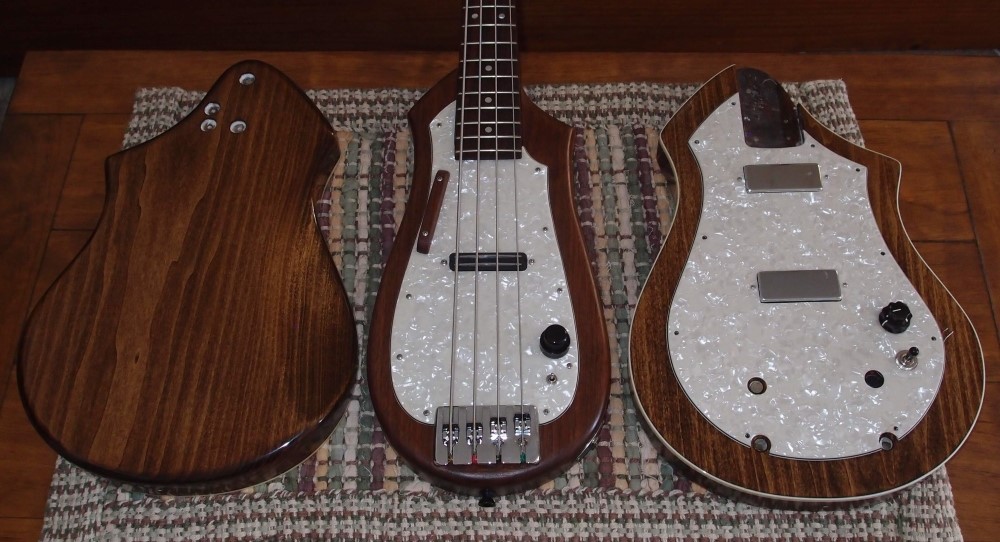
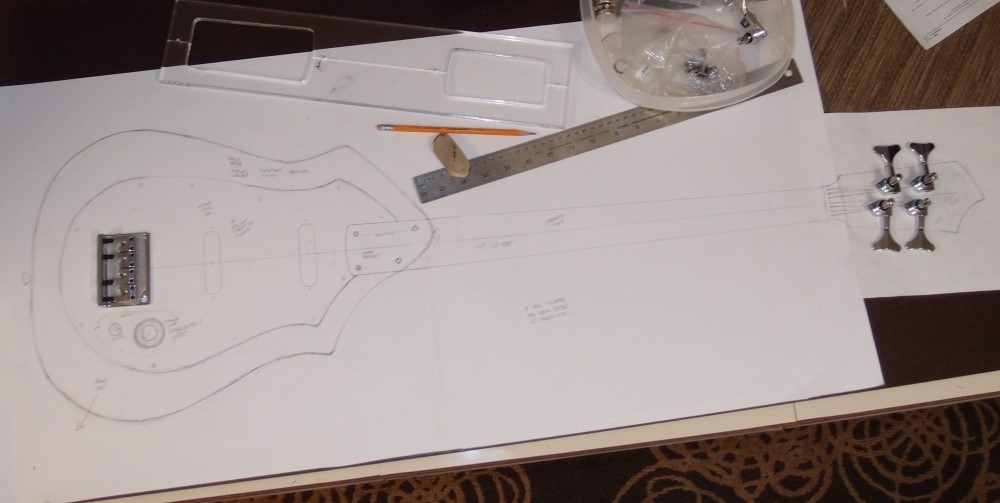
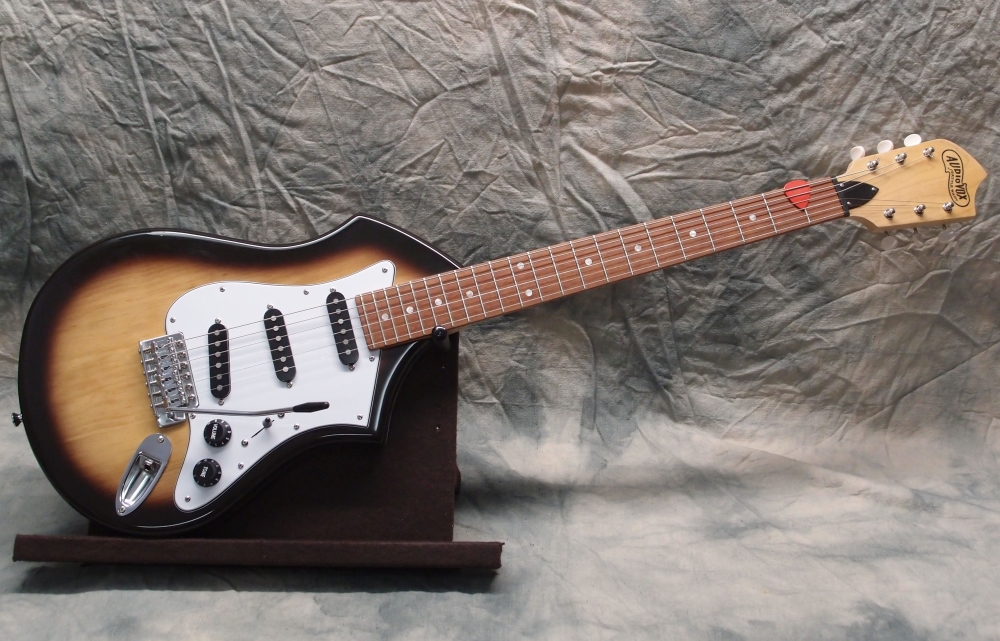
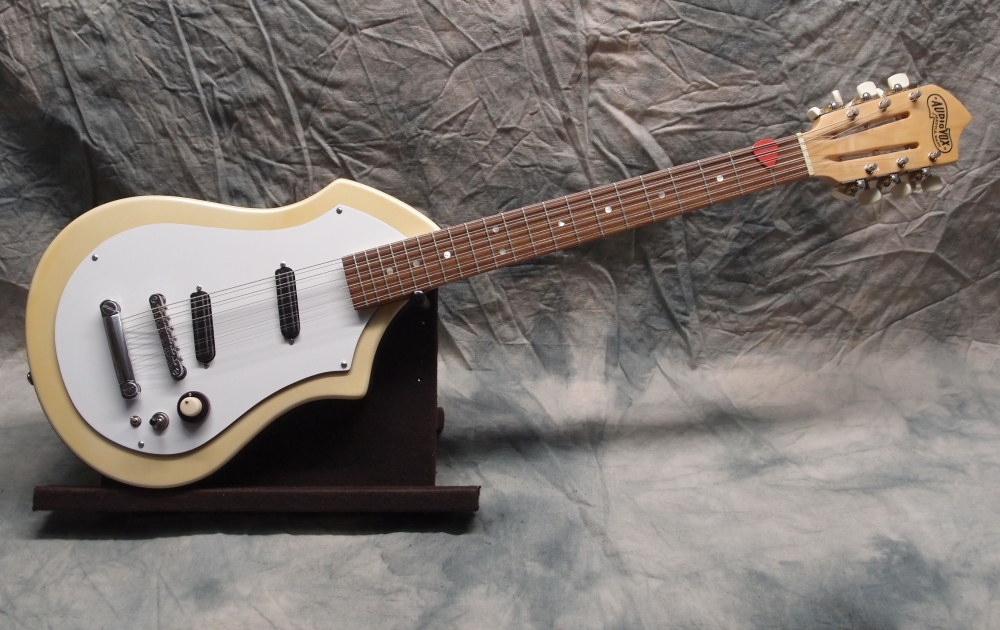
In the center is a fairly true reproduction, at least the shape, just scaled-up a bit. The problem is, it is too narrow and too light ( even though it is solid walnut. ) It won't sit right in your lap, and it doesn't hang well on a strap either. Much like a Steinberger, which, as you might know, requires all kinds of extra clap-trap to actually be playable, because Ned Steinberger doesn't play, and wouldn't know the difference. Tutmarc made all the same mistakes as Steinberger, just a lot earlier.
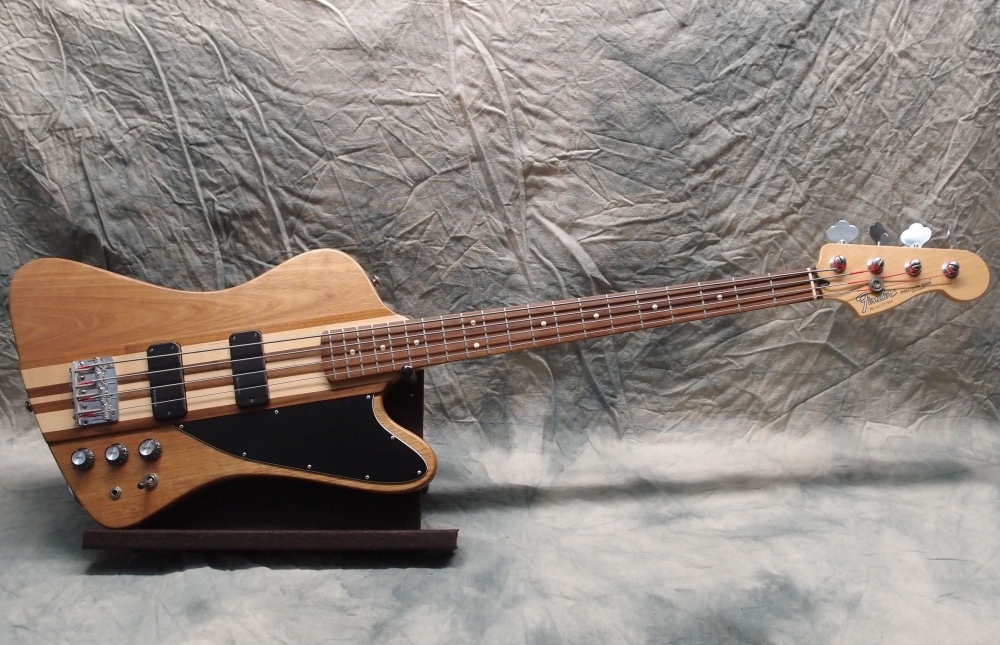
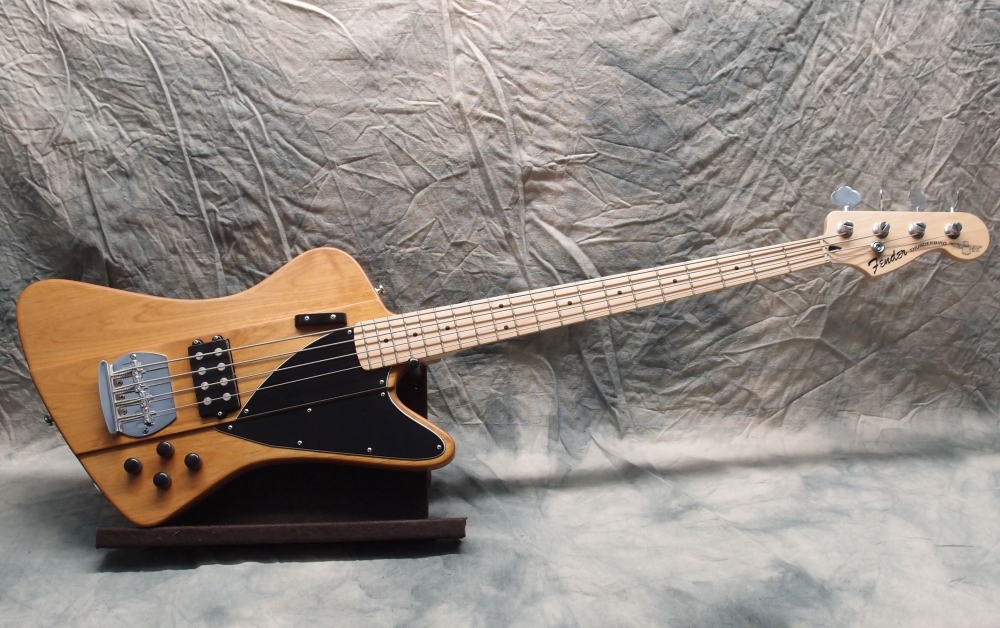
You can see that my updated design is wider and heavier, with a big round ass to counter-weight the neck, and a properly contoured lower edge to catch your leg when you are seated. ( Actually, you could take a Stratocaster body and grind it down to one of these, I basically did that on paper first. ) On the left, you can see I added a Strat cutaway to the back, so it sits even better. Also, the original headstock design just doesn't work, and Tutmarc's narrow banjo neck looks pretty much unplayable too.
Aesthetically, Tutmarc's original is about as attractive as an old table leg, and his brass pickguard is hideous (IMO, Bakelite would have been a better material.) He did the best with what he had. I don't mean to take anything away from his invention, but it really is crude and ugly. I much prefer my pearl pickguard and curvy bound body. I fixed the headstock issues as well. One thing I kept was the big black knob, although mine is split in two to add a tone control.
The tiny switch on the middle one controls the pickup mode - it is like being able to switch between a P and a J. It plays and sounds a lot like a Fender, albeit with the ergonomic issues I already described. These bodies are in final polishing and the necks have been done for a long time, so from here it is all screwdriver and soldering iron, I should have them all together soon.
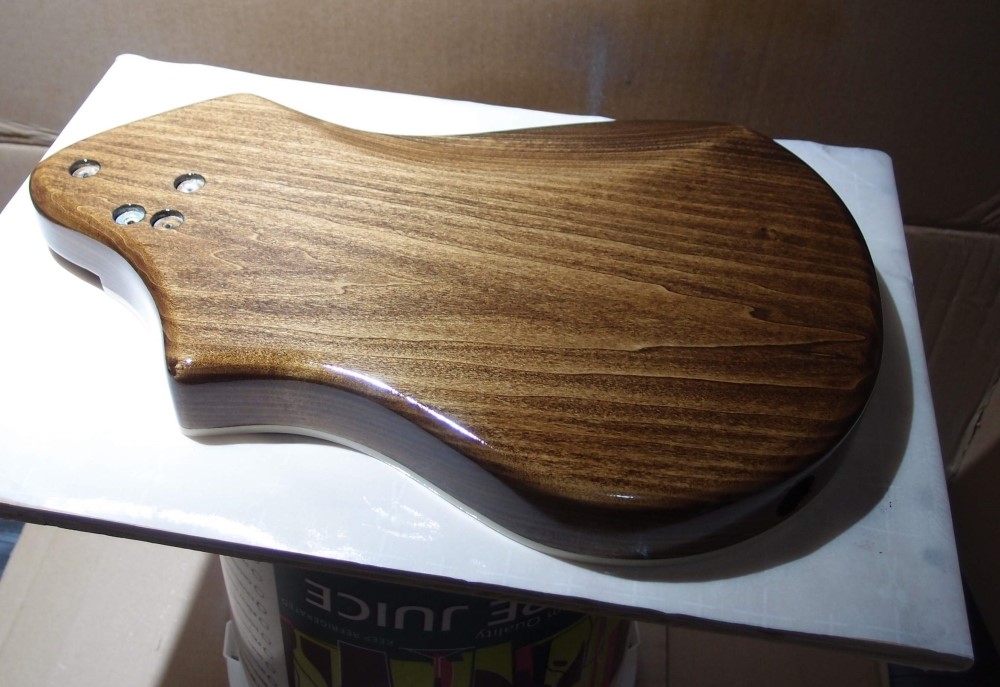
And aw shoot! The bass needs a quick trip back through the spray booth. Can you see the spot I fixed? Ha ha - good!


Questions or Inquiries?
Just want to say Hello? Sign the .