Neck Binding
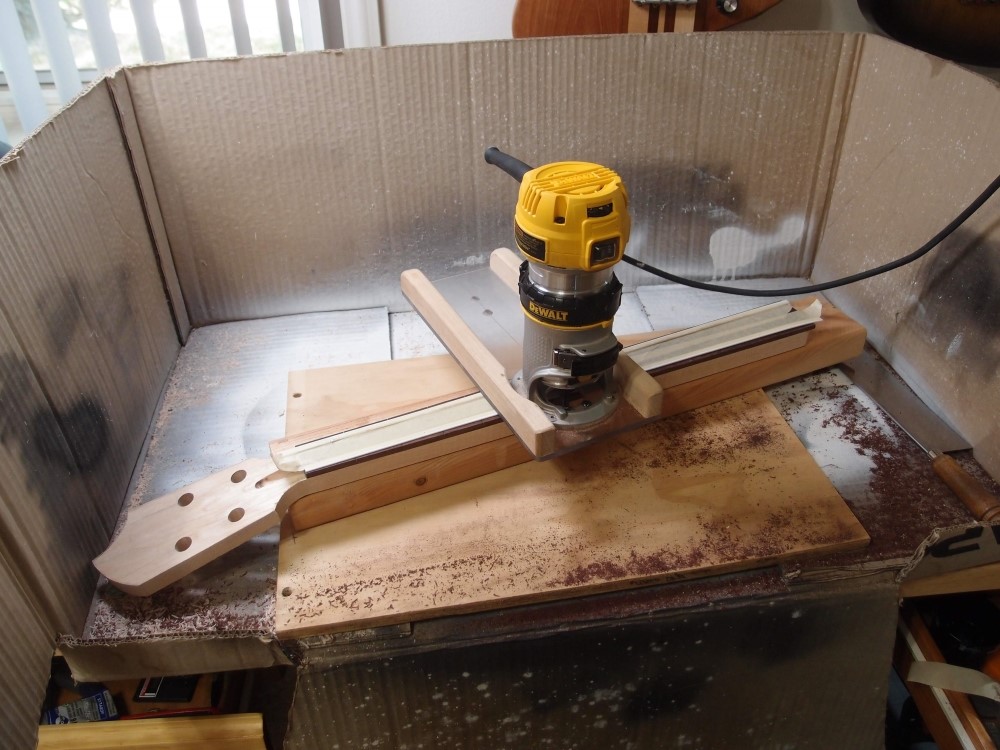
I decided that two of my Audiovoxen should have bound necks to go with the bound bodies, because binding is really super classy. So here I'm routing the edges for that. I've taped two strips of scrap binding to the top of the fretboard to act as guides, since it is already radiused and otherwise the router would rock on the curve. The neck is stuck onto a piece of 2x4 for clearance, and the whole arrangement is inside a big box to catch most of the mess. You want to go in one long smooth run rather than nibble at it; you're not taking such a big bite that you can't do it in one pass. Those same pieces of binding are going to get glued on later. Notice that the neck still has a square back. This is actually a pretty easy job and would be even easier if it was done prior to radiusing the fretboard. Set the height of the cut to just remove all the rosewood, so the binding butts against the maple. The depth of the cut is not fussy, as there is still a lot of contouring to do.
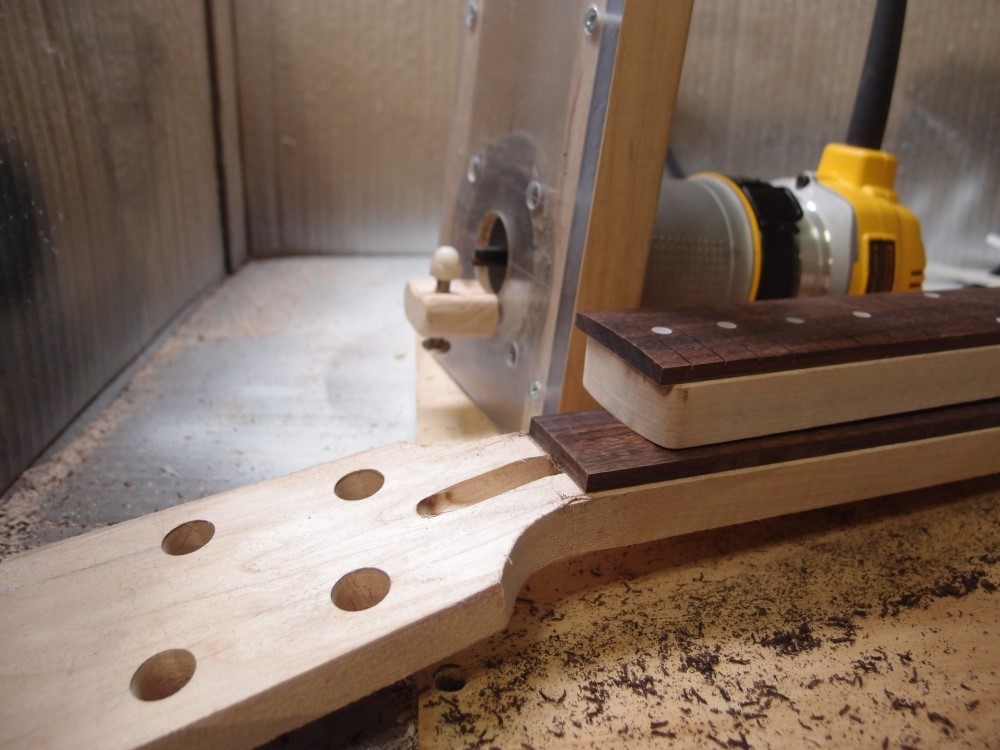
At this point it would be really bad to screw up, I would lose all the work so far, plus the expensive rosewood. So I didn't. Screw up, that is. It gets a little tricky at the ends, I stopped short and did them by hand with a file, then used the file to do some final smoothing and straightening. The flat side of a half-round file works best, as it has a narrow edge and is fairly coarse - better for woodwork. The little nib in the lower neck will get routed off at a later stage. You can see how I used a regulation Fender neck heel with overhanging square corners for an old-timey look. Also another shot of my binding jig, which is really classy.
Binding also complicates the fret installation a bit, as you need to nip all the fret tangs to fit. You can make a fret tang nipper from a sheet metal nibbler, or buy one from StewMac for like a thousand bucks.

Questions or Inquiries?
Just want to say Hello? Sign the .