Neck Adjustment
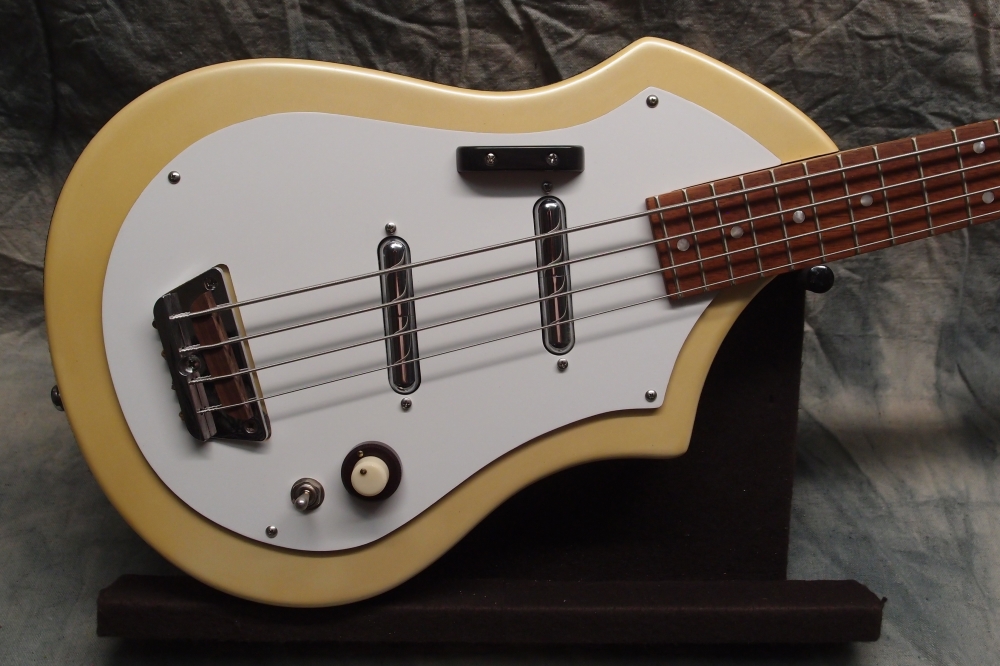
The yellow Audiovox bass has been together for a few weeks now. That has given the neck time to settle into shape under tension. Now it's time to go for a better setup.
First, I reversed the truss rod - it was originally pushing, and now the relief was a little excessive. So I backed it through slack and into tension to pull the neck back and near straight.
There has been a lot of fear built up around truss rods. Techs want your business. Don't be afraid of your truss rod. The neck will not snap off if you adjust the rod yourself. Most of the truss rod 'lore' is built around the horrible single-rod skunk-stripe type rod. These are notoriously finicky and can require almost constant adjustment as the weather changes. They also place extra stresses on the neck. The skunk-stripe is the worst way you could possibly design this mechanism. The best way to deal with one of these is to not own one. Older Rics also have incredibly awful truss rods that require great care.
A properly-made modern truss rod is very easy to adjust. Most import guitars actually have much better truss rods than USA-made 'classic' designs. You can see I just reversed this truss rod from push to pull - a lot more than the quarter turn that you are never supposed to exceed! For a big change like this, I will come back in a week or two and probably give it a final tweak, or maybe not. After that, unless I change strings, I would expect to never touch it again.
( Why was this truss rod pushing? Installing the frets puts the fretboard into compression, which can bend the neck backwards, depending on how hard the fretboard wood is, how skinny you made the neck, and how tightly the frets fit in the slots. This is pretty common on a brand new guitar and can work itself out over time. Sometimes it doesn't, especially on shorter scales where there is less tension. That is why you always want a double-acting truss rod. )
I dropped the G-end of the bridge maybe a quarter turn, the E-end seemed ok. The final step is to adjust the other end - the nut. Actually, getting the nut right is more important than the bridge - the nut has far more influence on where you actually play bass.
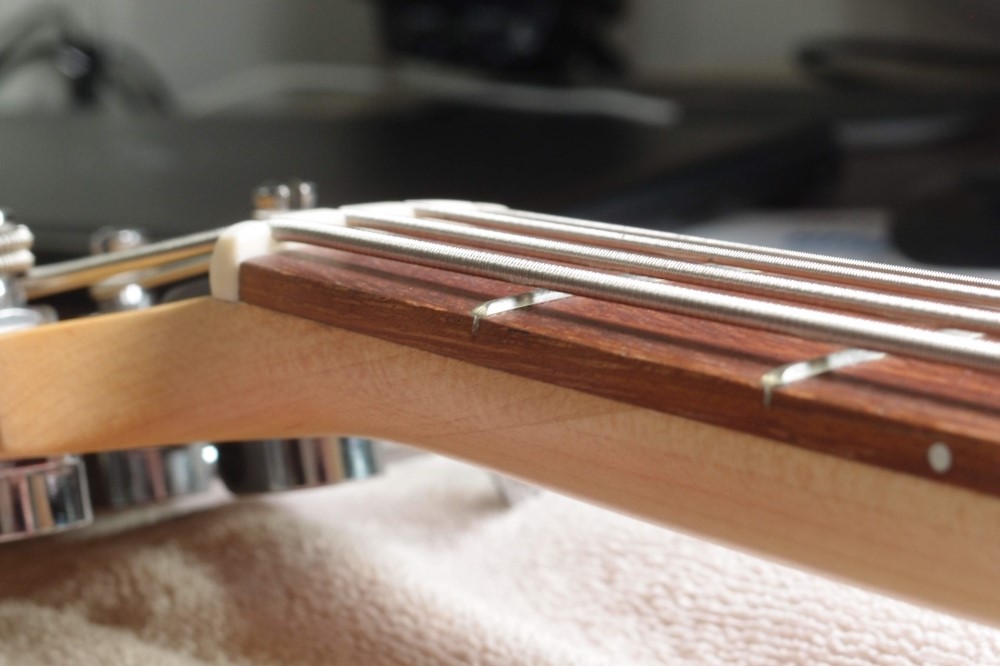
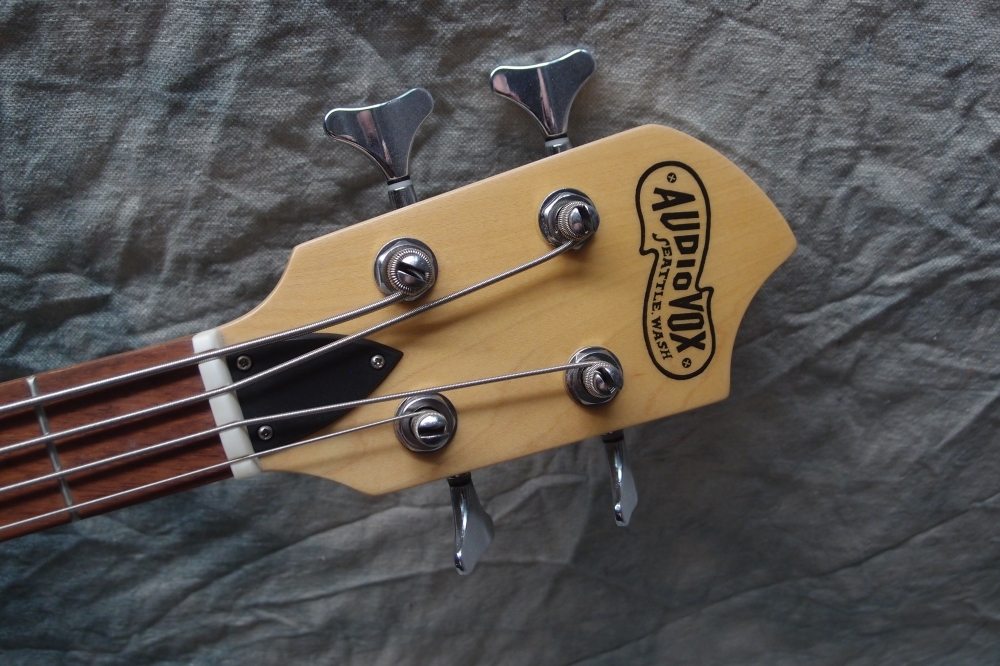
This is hard to photograph, so here are two shots. The first one pretty clearly shows the height over the first fret after filing the nut - about a millimeter. I've gone lower, but it gets risky; a little extra height does no harm. The amplitude of the string vibration is very small here - you don't need a lot of clearance.
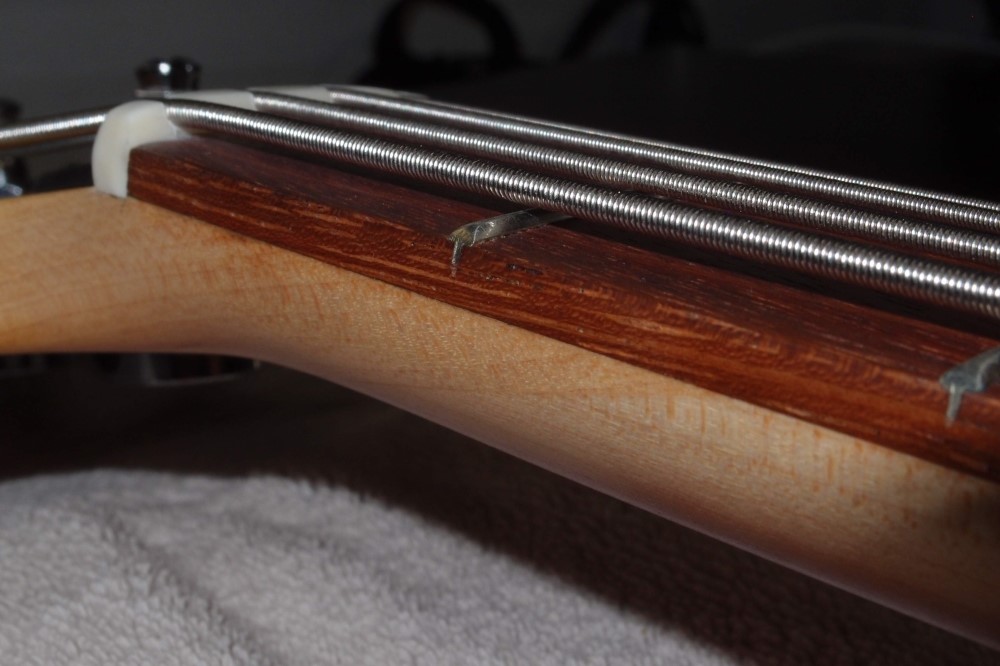
The second picture shows the bone nut itself. Note that the nut slots are nice and deep, fully enclosing the strings. You may not find this on a factory guitar, but it's a good way to go if you are building it yourself. That's true in general - you can do a better job than the factory at just about everything.
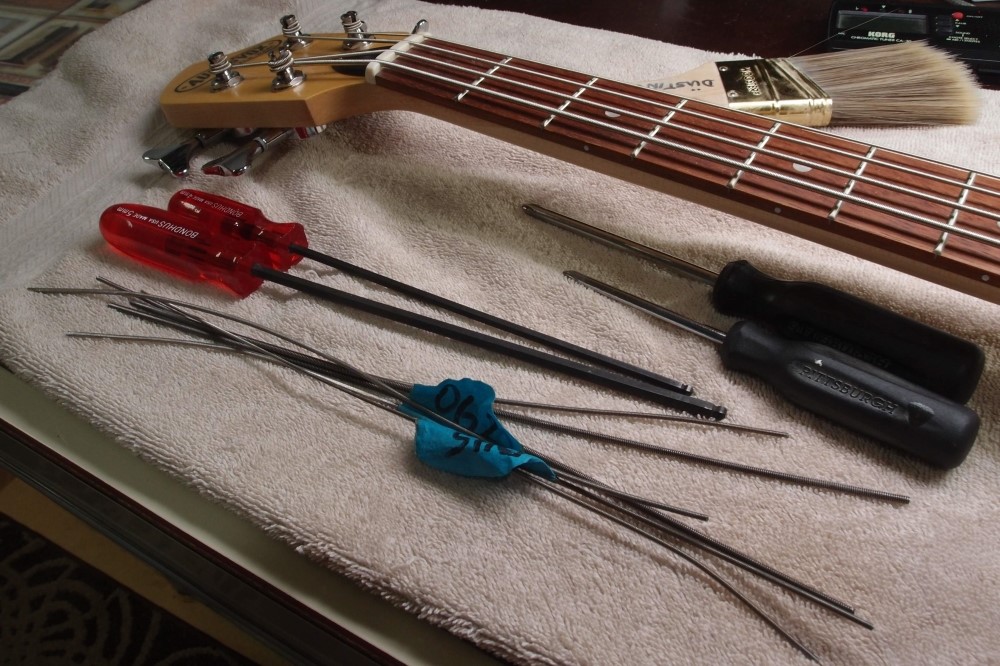
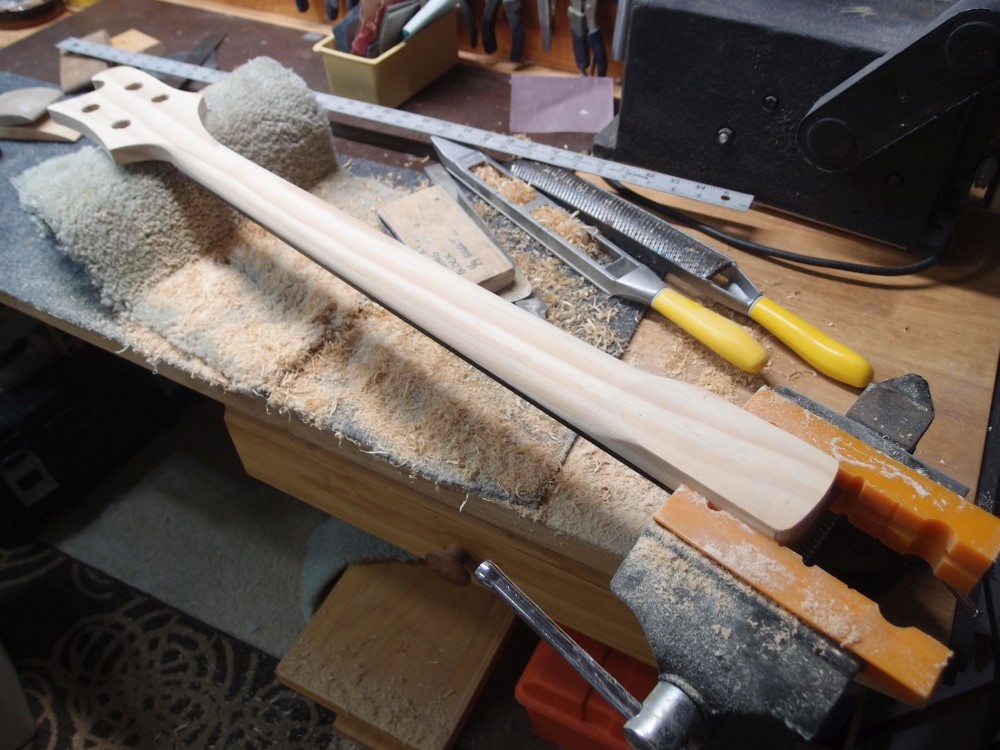
Here are the tools of the trade - Allen wrenches, screwdrivers, and files. You can find these Allen wrenches on eBay, 4 & 5 mm will fit most hex truss rods. The files are actually threaded rod. As I recall, .105 and .085 are close enough as-is, .062 and .045 are ground down on the sides. Threaded rod is mild steel, not tool steel like a real file, but it has a nice round profile and cuts softer materials like plastic and bone perfectly well. You can find rods like this at McMaster-Carr. You can also use needle files. I will rough-in a metal nut with the Dremel, but for real adjustment, do it slowly by hand.
As far as the width goes, close is good enough. It is more important to get the slot angled correctly, down towards the headstock, so the string departs from the very edge of the nut. The harder the material, the more important this is, you can get some bad buzzing from a metal nut if you don't angle the slots properly. Plastic is more forgiving.
The threaded rods are bent because that's the way I use them. Bend a curve into it, and then use the outside to cut the slot. This makes it easier to get in close without marring the finish around the nut. Pull the string out of the slot, give it 10 or 20 swipes, put the string back and tighten it up, and see what you've got. Repeat until satisfied. Go slow and check often - you don't want to over-cut. If you do go a little too far, a drop of Crazy Glue can restore it. When I started, the strings were about halfway in the slots, which should give you a good idea of just how much I cut.
There's a good deal of personal preference in setting up a guitar. If you play hard, you'll want a higher action. If you have a very light touch, you can go for rock bottom, like Entwistle. I find a slightly higher action also has better tone and dynamics, as do slightly lower pickups. Fret leveling is another important subject and something you can do yourself much better than the factory, but that's a whole other post.
Fret buzz is the trade-off between low and high action. You may find a certain amount of fret buzz is acceptable. I typically do a setup unplugged, which makes any buzz noticeable. When you plug in and turn up, that tiny bit of fret buzz will go away. The hardest spot to get all the buzz out is above the octave on the E and A strings. Here's something to consider: do you actually play there? After all the fret leveling and adjusting is done, you might just want to accept some buzz there as a tradeoff for a lower action all over.
At this point, I should mention that neck shimming is also a very useful tool in setting up an instrument. The truss rod cannot be used to set the action if you run out of adjustment on the bridge. That will result in a warped neck that will never play right. The truss rod should only be used for relief. This is why I prefer a bolt-on neck to set or through. If anything goes wrong with either of those, you're just out of luck. The real problem is not when the bridge won't go high enough, they all usually do. The problem is when the bridge won't go any lower. What do you do then? Major surgery.
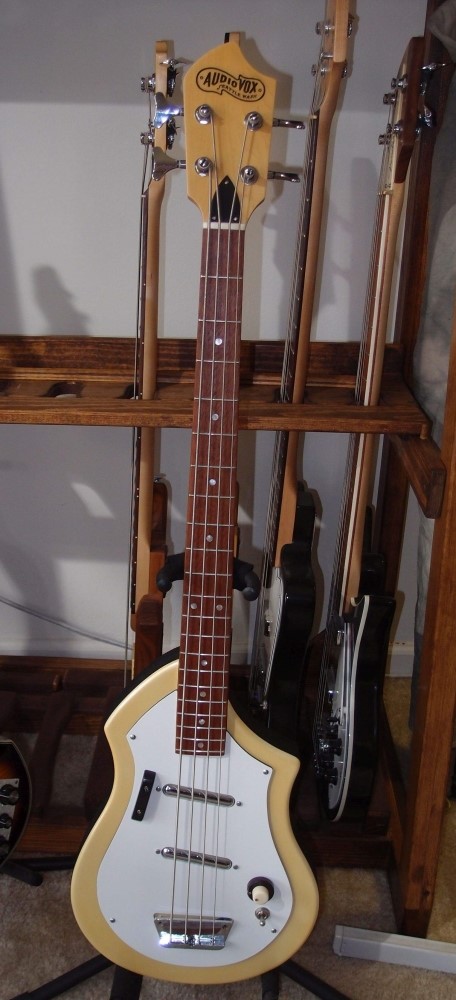
Here's a parting shot. It plays much better now - night and day, and it wasn't all that bad before. After all the other tweaking, I actually raised the bridge a tad. And I snugged-up all the other fasteners - tuners, neck, etc. Like I said, setting up a guitar is very much a matter of personal preference, and you're much better off learning to do it yourself than paying someone to do it. It usually takes me several passes on a new instrument to get it just right.


Questions or Inquiries?
Just want to say Hello? Sign the .