Neck Shaping
This guy is obviously a master with a belt sander, he makes this look easy, and he does it fast too. I used to use a belt sander for neck shaping, but there are a number of difficulties with that, it is easy to screw up, and the dust flies everywhere.
The secret to shaping a neck on a belt sander is to use the roller only and never stop moving. Any time you stop, you'll cut a valley into the wood that you'll have to sand out. Do that enough times, and you'll have a nice piece of kindling for the fireplace. Don't try to use the flat of the belt, the rollers will cut deeper, with the same result.
The headstock and heel can also be shaped on the belt sander. A router is likely to chip and ruin hard neck wood like maple.
Now I shape necks by hand, which may seem like a step backwards, but with the right tools, it is actually much easier, quieter, and cleaner, and just as fast.
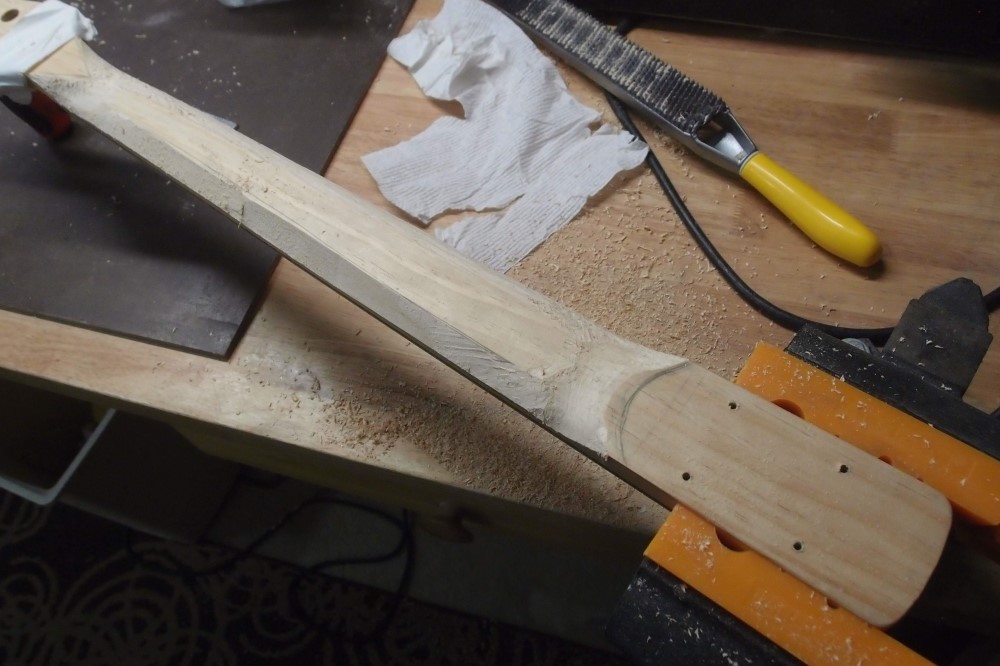
Above is a neck at the beginning of the process. The heel is clamped in a padded vise, and the head is supported at the right height. The curves of the headstock are taped-off to protect against slips. I have already band-sawed away the corners and roughed-in the neck heel and the transition to the headstock. Now it is time to make the actual curve.
There are a number of tools you can use for this:
Ordinary mill bastard files are a bit slow for rough shaping but work well for fine adjustments. You can do the entire job with just a big half-round file, but it will be slow going.
Japanese files are expensive and very aggressive and tend to make deep gouges that have to be removed with other tools. I don't like them.

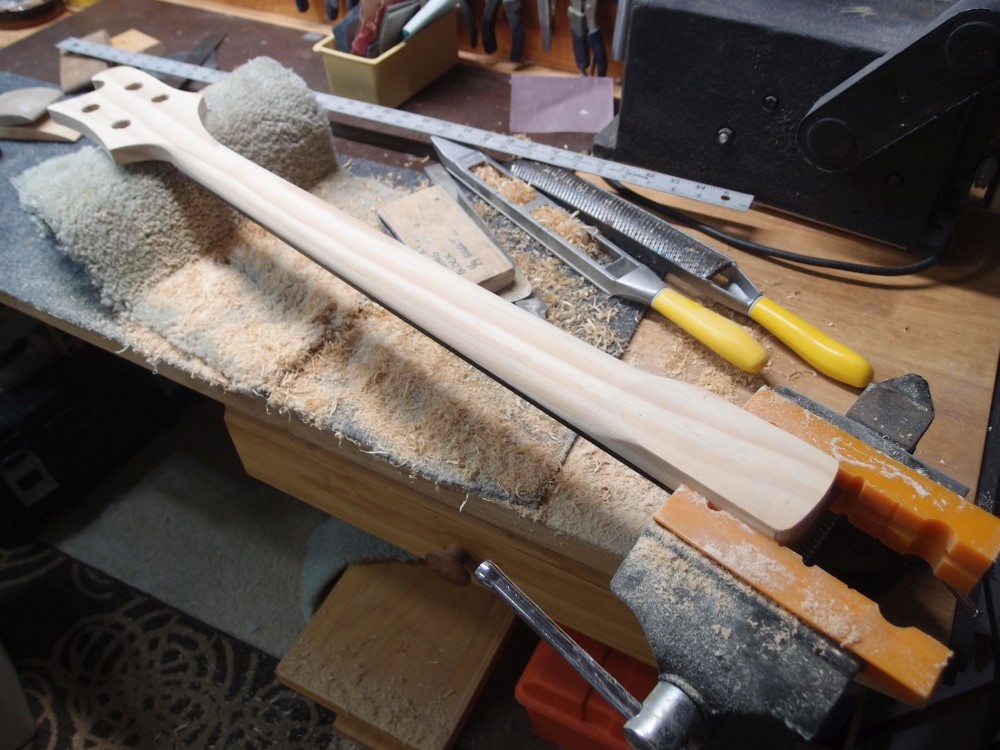
Surform files ( that's one in the picture, and above ) are my favorite. They remove material quickly without gouging, and they make shavings rather than dust. Both round and flat ones are available. The best thing is, they are inexpensive and available at home centers. The blades do break if forced or mishandled, so get spares.
Once you have the shape you want, switch to a bastard file to smooth out the surface. Use a straightedge to check for bumps. Scribble some pencil on the high spots, and take it off with the file. The important thing is to get a nice straight taper from end to end. You should be able to run your hand up and down it and feel nothing. Pay extra attention to the transitions at the ends, don't over-cut them. The actual profile doesn't matter - that's just marketing nonsense. If it feels good, then it is good.
Neck shaping is an art, it takes practice. However, if you are careful and deliberate with hand tools, you might just make your first one come out.
Questions or Inquiries?
Just want to say Hello? Sign the .