Rickenbacker 4001 Bass 2
July 17, 2020
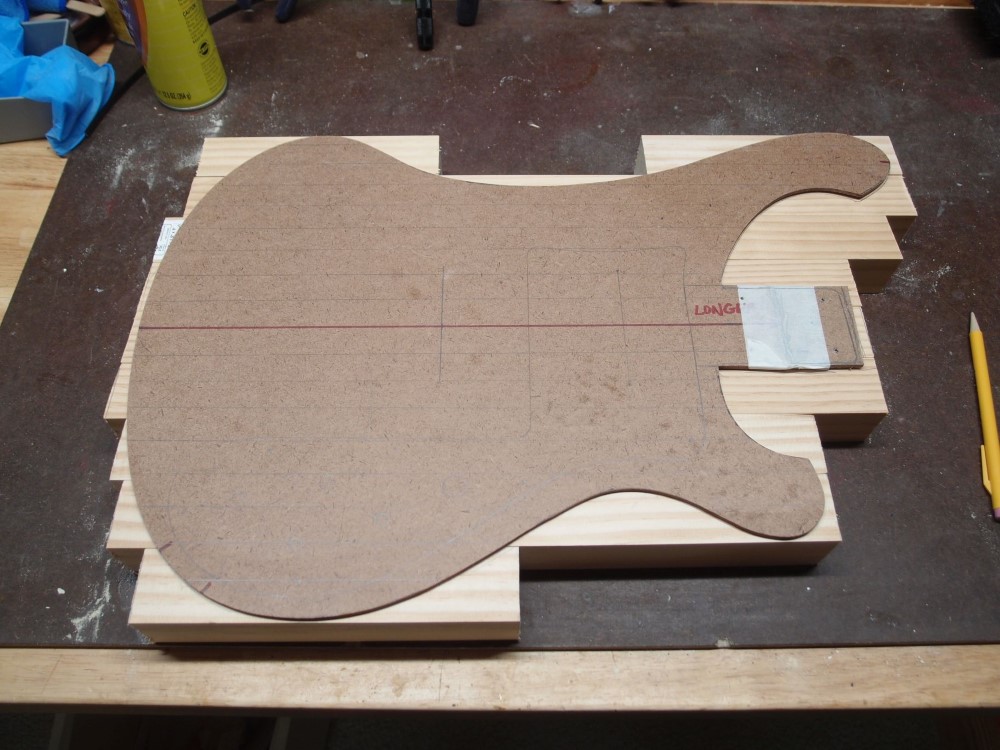
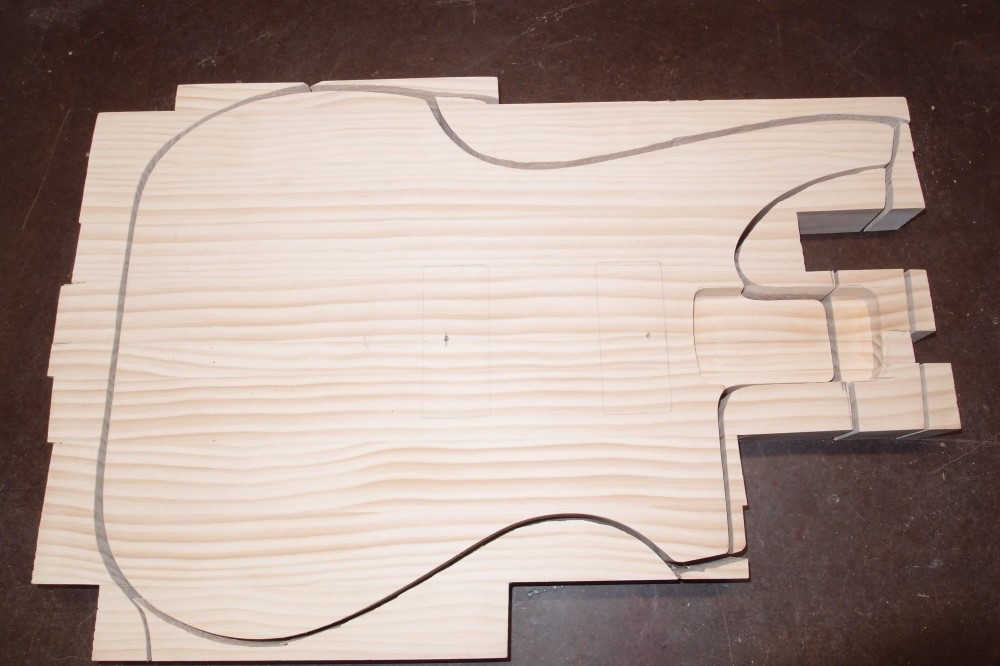
This is the Ric body template I made earlier. What's the point of making a template if you only use it once? Underneath are the sections for the new body. I used about 13 feet of 2x2" lumber, under $20 at Home Depot. I arranged the pieces so the stripier faces show. I'm also extending the tongue on the template. I had a brain fart and cut it too short when I made it.
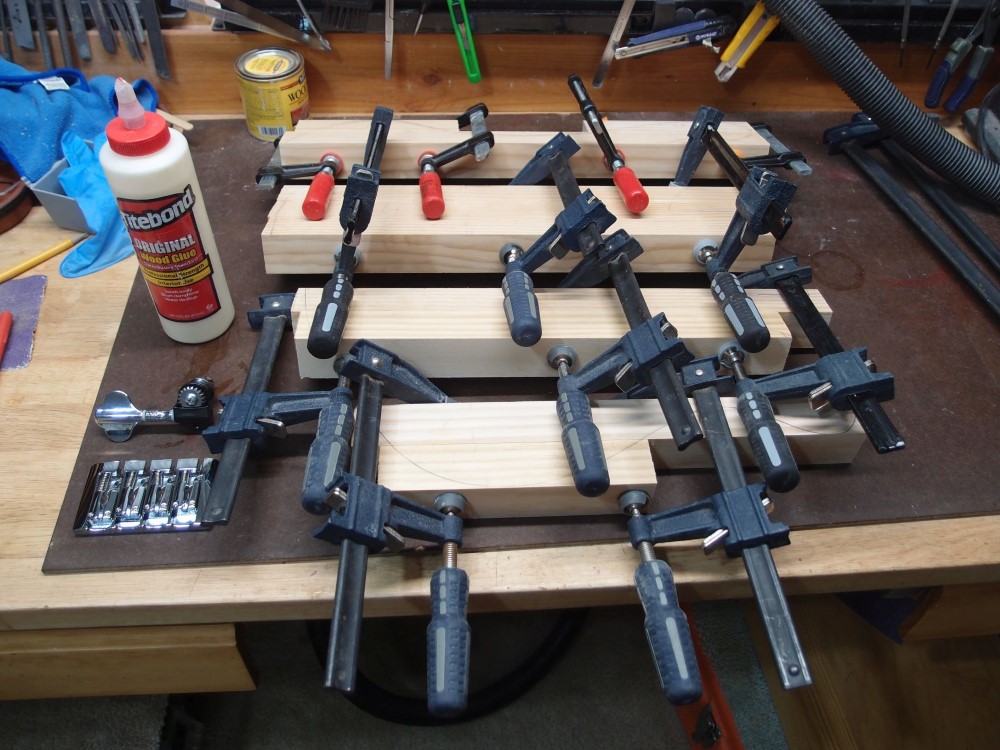
Now gluing the pieces together. I'm trying something a little different - I aligned all the back sides flush, so all the mismatches in thickness will be on the front. On previous builds, I collected all the differences on the back, this is easier. Ten pieces become four, then two, and then one. Then belt- and block-sand both sides flat and smooth and re-trace the outline. The blocks are arranged so that there are no small orphans at the top and bottom. This makes a much nicer edge if I leave the grain showing.
This will come out a little thicker than a real 4001, but the pine is lighter than maple, so it will be a wash on weight. You can also see the nice bridge I got at the lower-left, and one of the tuners. The string geometry will be 32", Fender spacing. Obviously, the neck will be a bolt-on. Finishing a separate neck and body is easy. Finishing almost four feet of neck-through is bigger than the facilities I have unless I go with a lousy oil-rubbed finish like everyone in the talk_ass "build-offs". If I'm going to do something, I'm going to do it right.
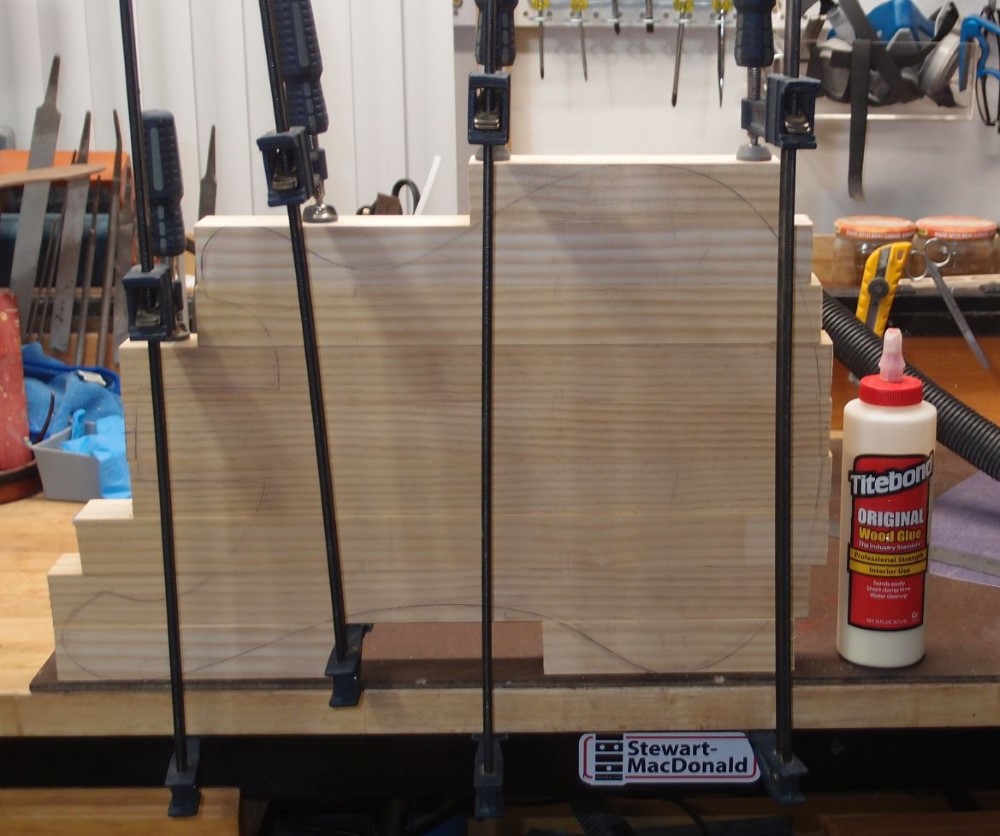
And here is the final assembly, upside-down. It is clamped vertically to the workbench. I never did it this way before; it seems easier. The blank has a bit of cup on the back side, maybe 1/16", and a corresponding bulge on the front. On previous builds I flipped the pieces around to minimize that; I didn't bother on this build, I just trusted that the parts were pretty square and let the random universe take care of the rest. It will all sand out when I dress the faces. This can sit overnight.
I used about an inch of glue from that bottle. You really don't need a lot of glue, just a thin layer on both sides of the joint and then lots of clamps and a damp rag to clean up the squeeze-out. Don't over-tighten the clamps and squeeze all the glue out. They need to be just tight enough to close up the gaps. With just those four two-foot Harbor Freight clamps and a hand saw, you could do all this in your kitchen. What I really love about this is the beautiful result you get without resorting to over-priced "luthier grade" materials; just a couple of sticks from Home Depot. Search this site for "radiata" to see.
July 18, 2020
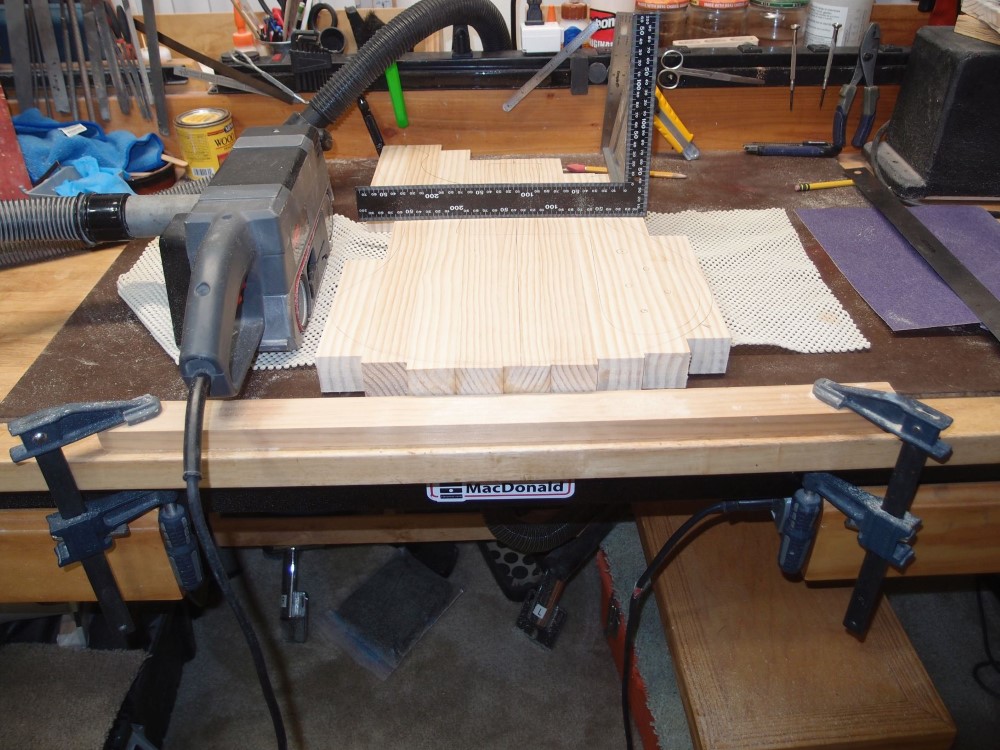
The glue is all dry, time to flatten out the blank. I clamped a piece of scrap wood at the edge of the bench for a stop and laid the blank up to it on some padding. This will stop it from shooting off when the belt sander hits it. I sorted through all the vacuum cleaner parts I have collected over the years, and finally made an adapter to hook the sander to the little shop vac under the bench. Then I put on a new 80-grit belt and went at it.
Happy to report that the dust collector works great, it got 99% of the dust. Normally this is a very messy job, but not anymore, just a little spillage to vacuum off the bench, and almost nothing went flying. The blank is now as flat as I can get it with the belt sander, time to switch to a block sander and go at it by hand. Time: about an hour.
So if you think you need a surface planer to make a guitar blank, think again. Very few surface planers are big enough to do a piece this size, and the ones that are are very expensive and take up a lot of storage space. The belt sander lives in a box.
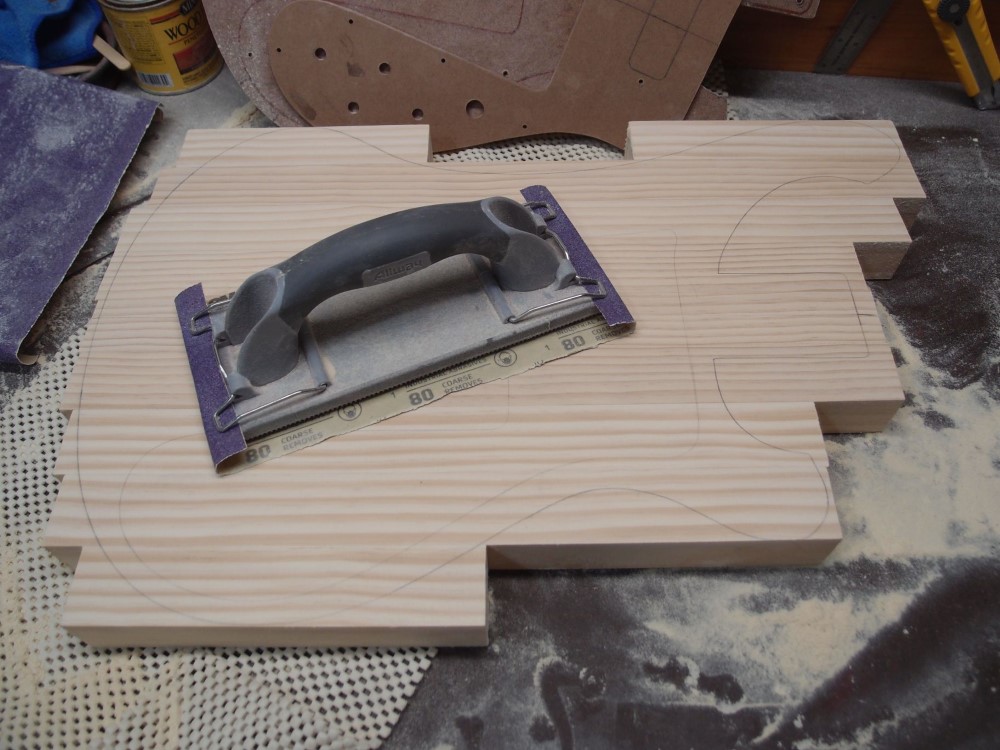
There's the front all sanded down, with a new outline traced on. The tool is a drywall sander, but it works fine for this and is much easier on your hands than wrapping a piece of sandpaper around a block of wood, especially 80-grit. Despite the fact that I'm using the same grit as the belt sander, the result is coming out much smoother. I can't feel, see, or measure anything on the front now, it is as flat as I can make it. This is a bigger mess than the belt sander made! My arm is tired, have to do the back later.
I am doing all the rough sanding before I cut the outline. This way I can't accidentally over-sand the edges. I'll do the finish sanding after I shape the outline, that way if I mark-up the faces while doing the edges, I'll automatically fix them later.
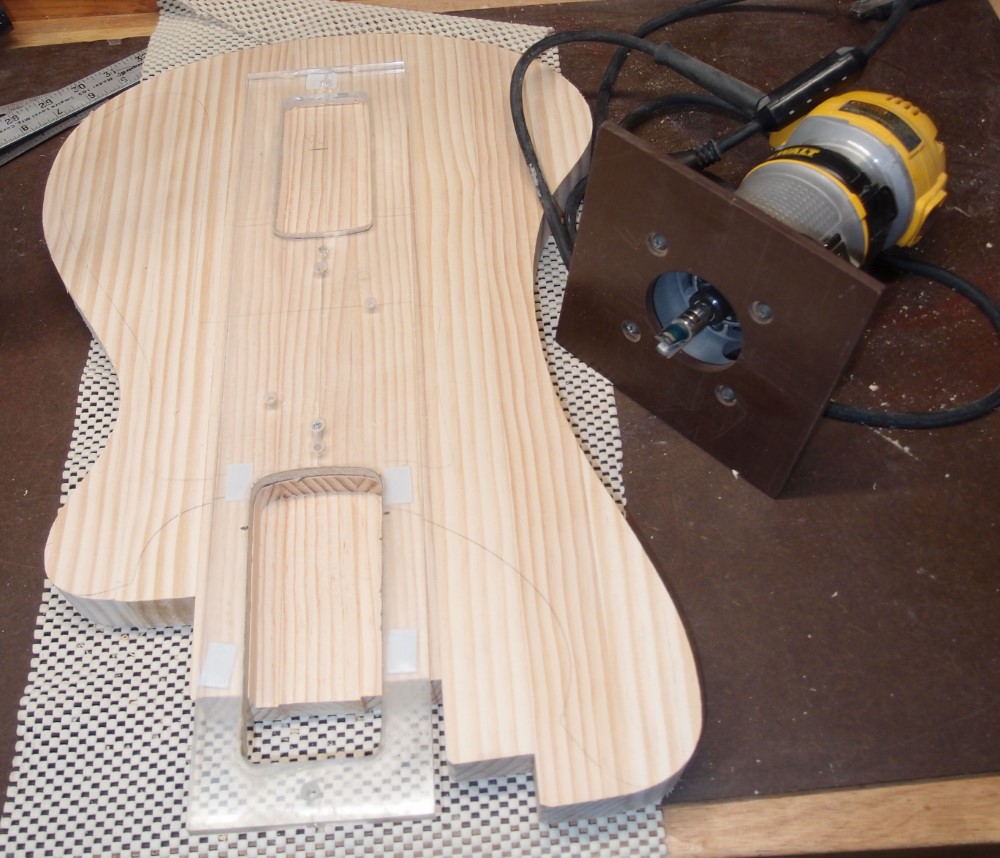
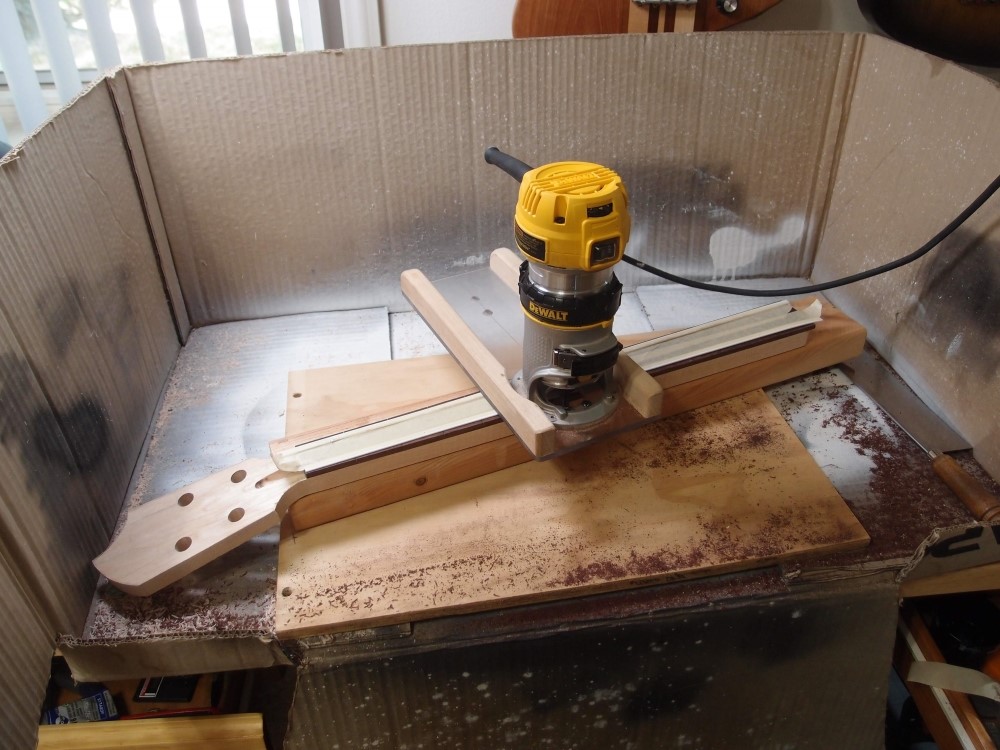
I've cut and sanded the outside edges but left inside the horns to support the router. I just finished a regulation Fender neck rout. The router was already set up for just this job - the joy of having two routers. Alas, I still haven't gotten them to mate and have a litter of Dremels.

From the chaos, a familiar shape emerges. I still have to work out the details around the neck mount. Mostly bandsaw work, except inside the upper horn where it just wouldn't reach, I cut a little by hand with a coping saw.
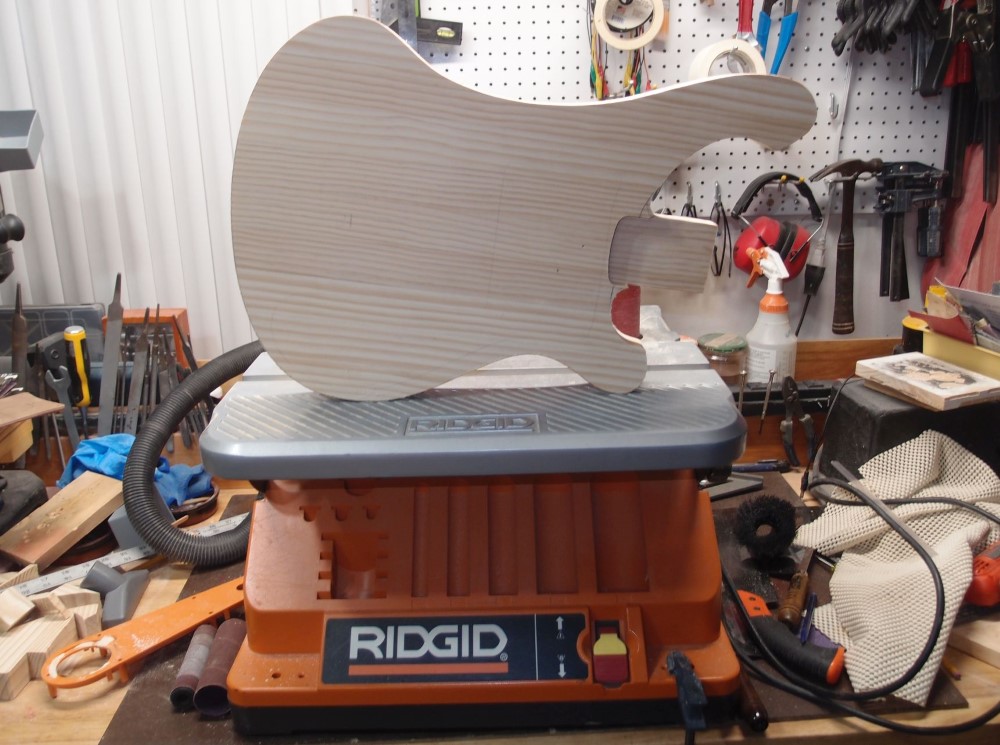
The thickness is about 1-3/8" and very consistent all around. That's down from the original 1-1/2", or about 1/16" off each side, which is what I originally estimated the cup to be. Still thicker than a real Ric.

And my favorite - the jigsaw puzzle shot. How's that for no-waste luthiery? That's it for today, I'm tired and I don't feel like doing the neck mount and screwing it up. I need to work out the width and alignment, and those tight corners.
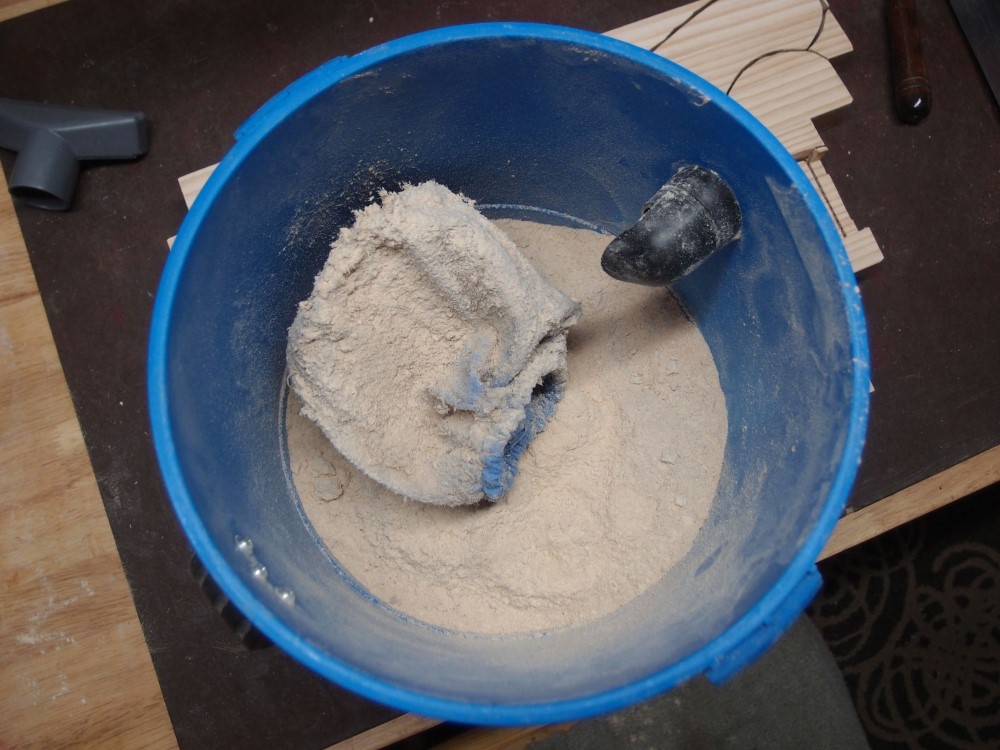
About two inches of sawdust in my little shopvac. It was barely sucking anymore, filter completely choked. I'll just take it outside and beat it clean against a fence post. Almost all of that is from this project. Dust collection is very important, but it doesn't need to be expensive. In fact, any vacuum with a hose will do in a pinch.
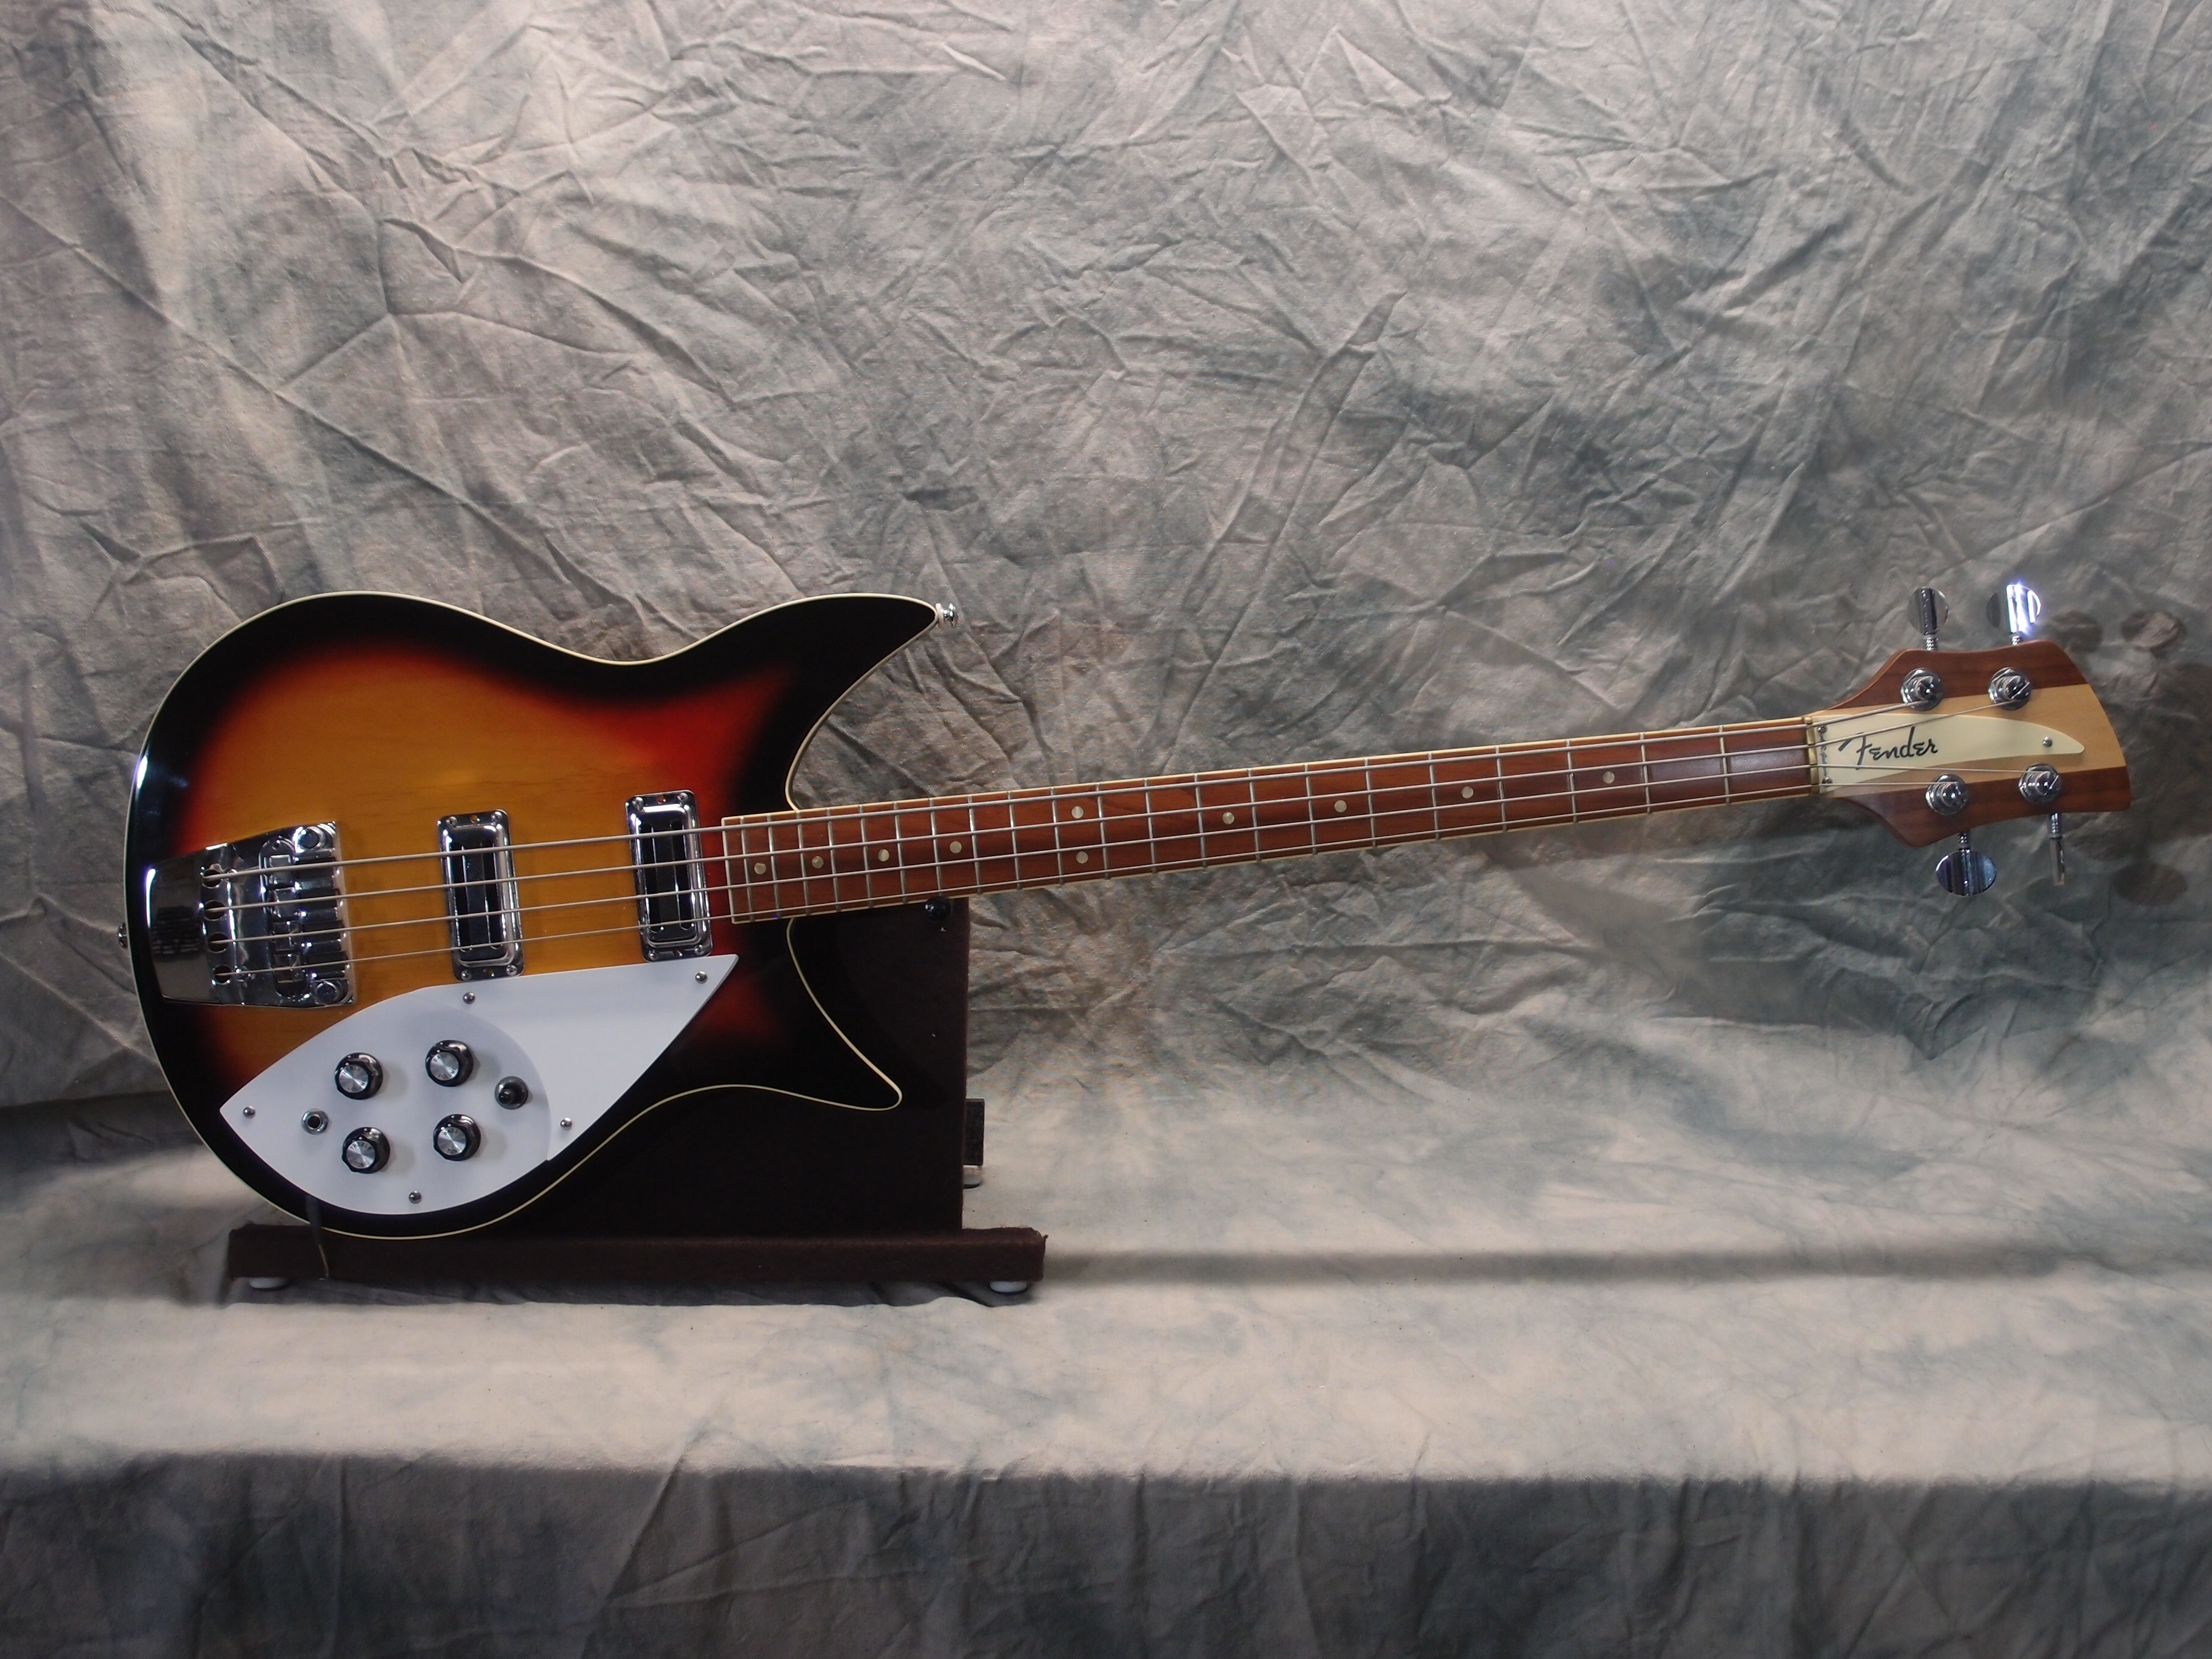
I'm thinking of putting a Fender headstock on this - make it a "Rickenbird", or would that be a "Fenderbacker"?
July 19, 2020
A lot of work for not much to show

I made some small adjustments to the outline and finished the neck mounting. And a lot of sanding. The drywall sander is a godsend, it works much better than a block, and really saves your hands. But my arms feel like lead.
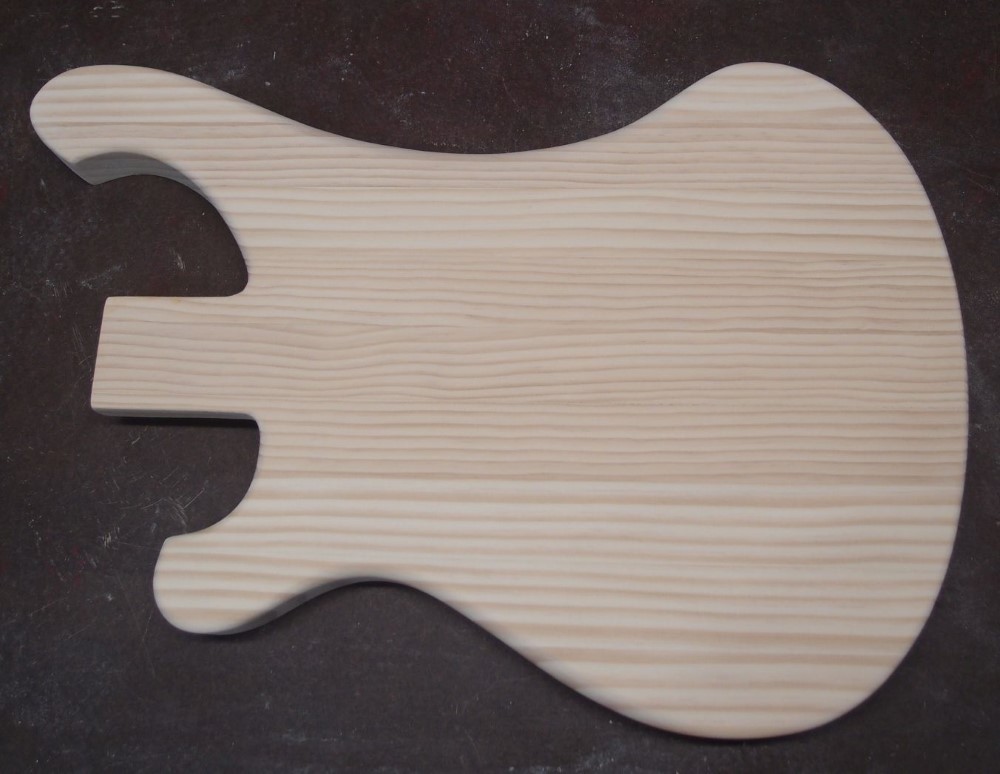
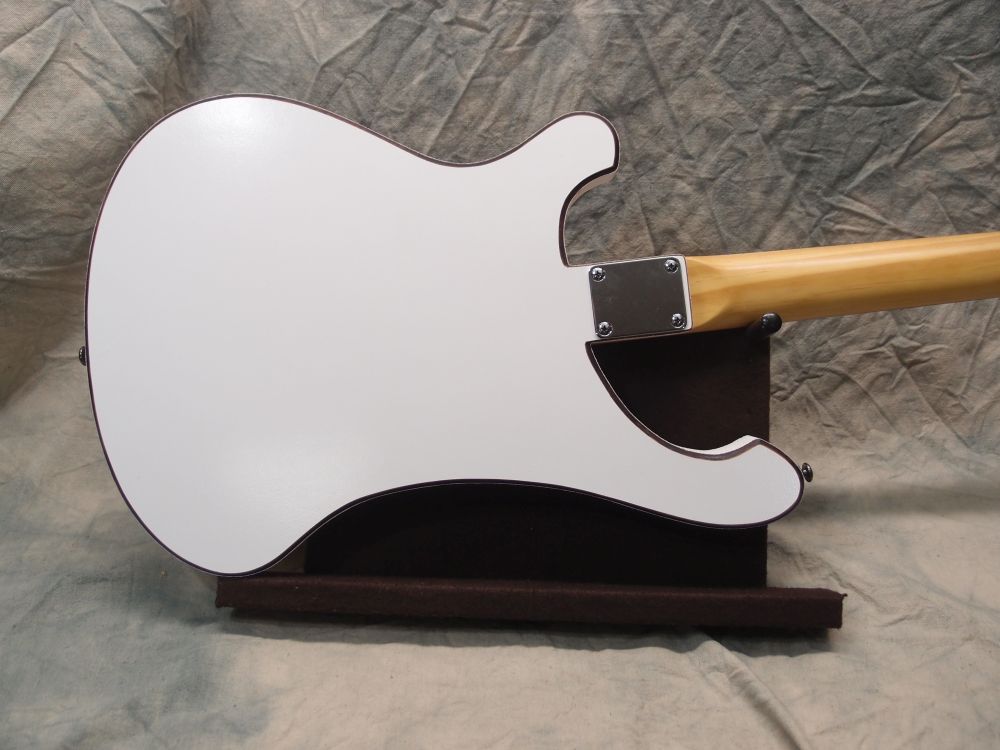
I also did the roundovers on the back, a mix of 1/4" and 3/4". You can see the small fillets I left at the base of the neck mount. I could have squared those corners with a file, but this will be less prone to crack the finish. The neck will cover them.
And a lot more sanding on the back, I found a spot where the belt sander had dug too deep. It's as flat as a mirror now.
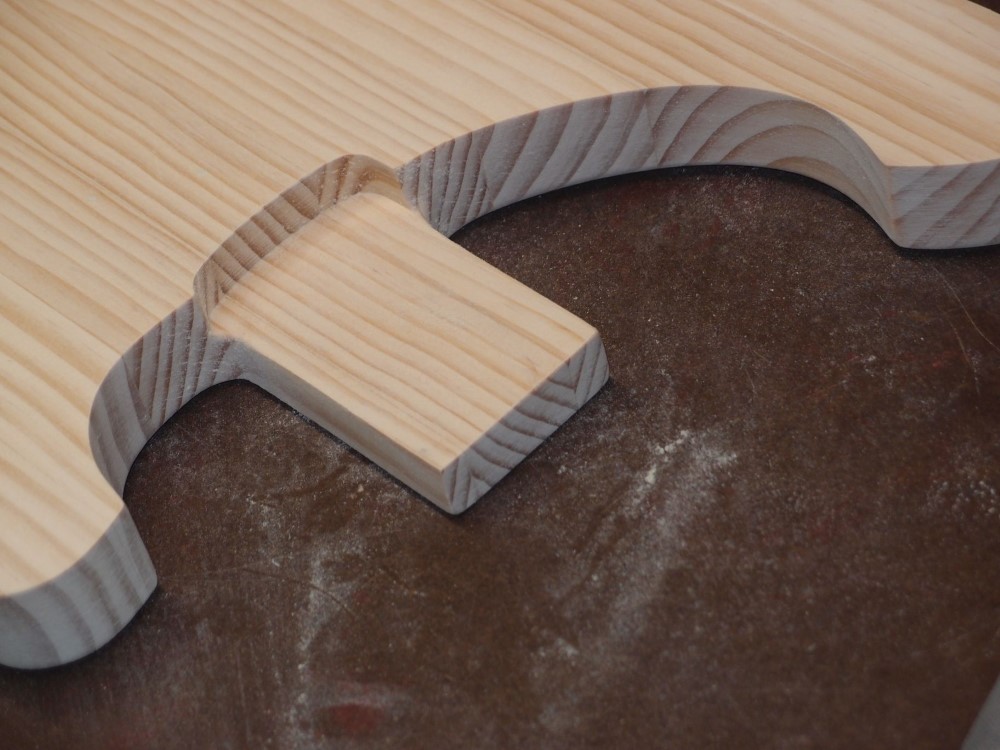
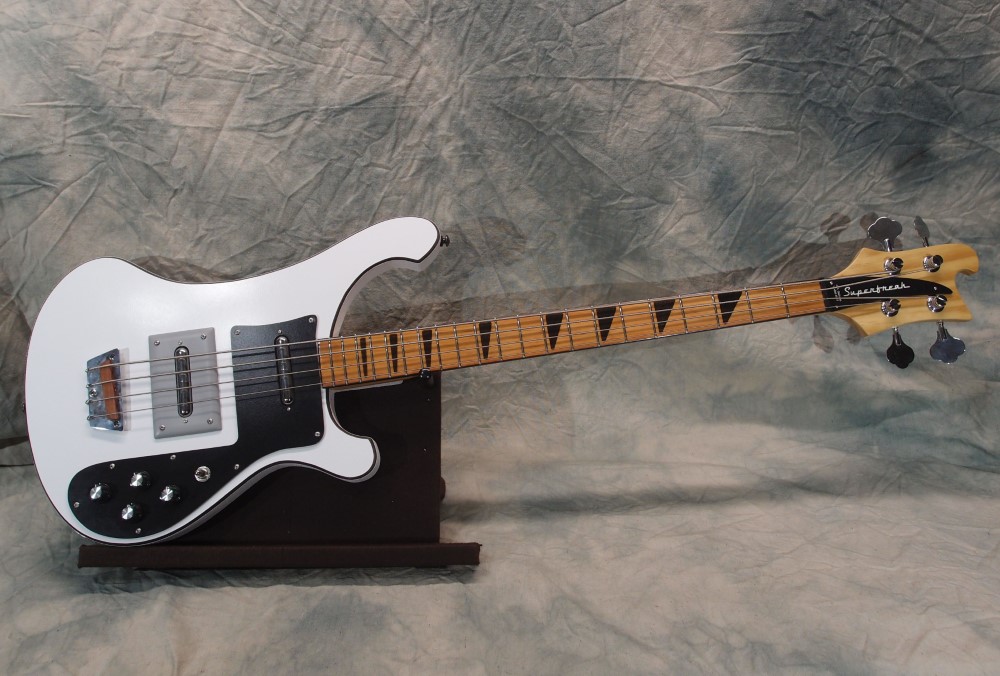
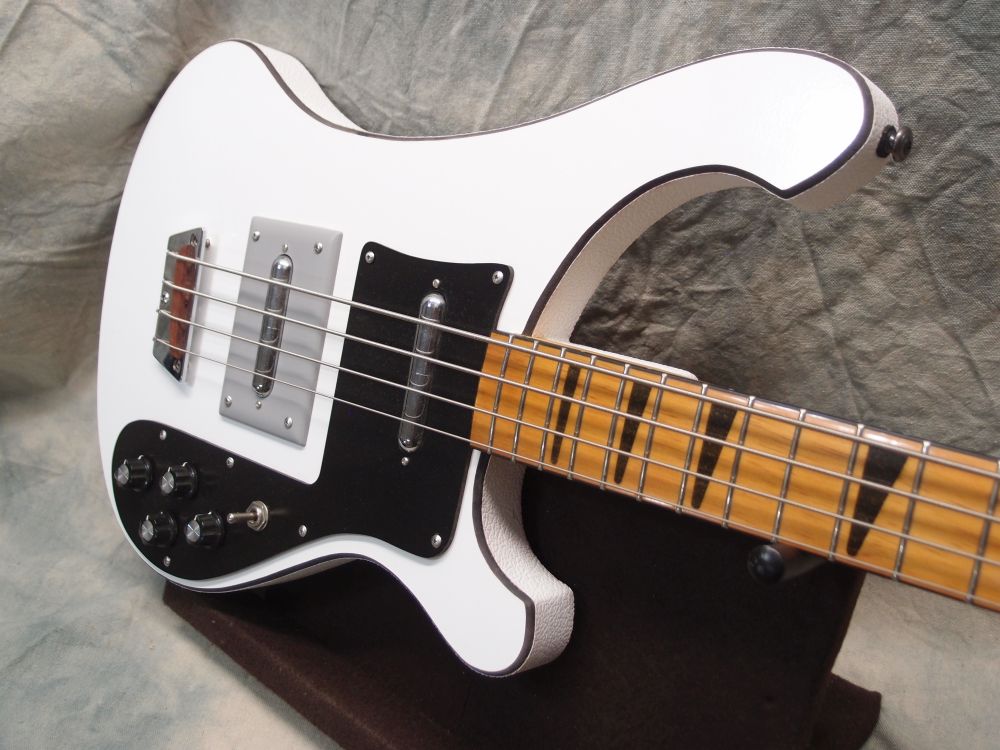
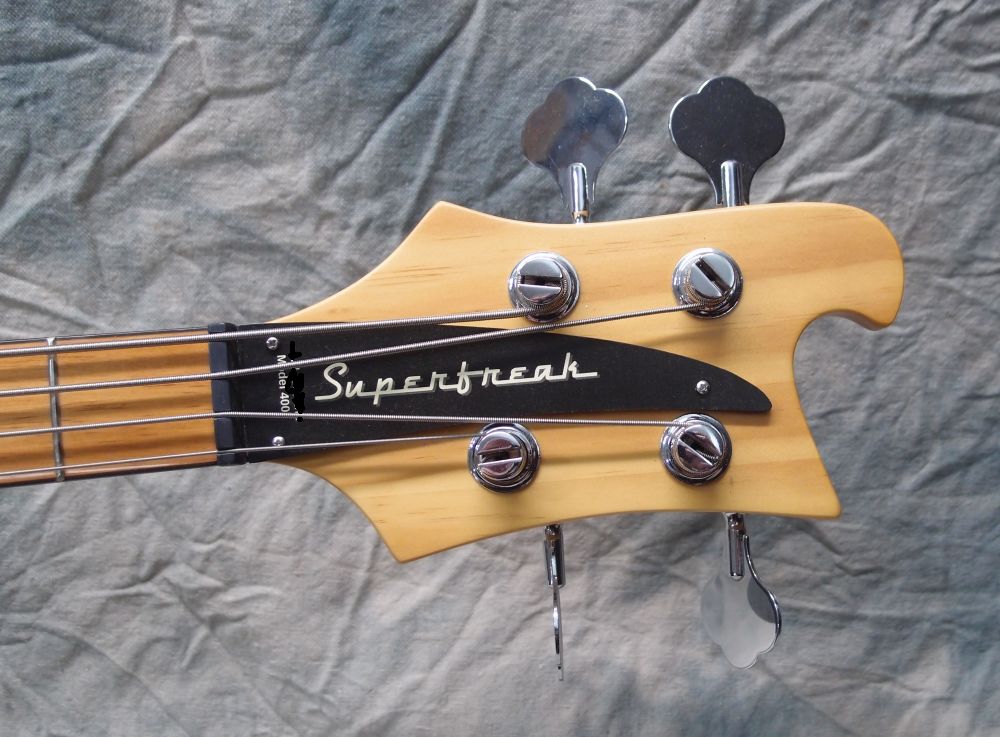
Detail of the neck mount and horns. I'll use a standard Fender mounting plate for the added strength since this body is rather thin. The front body edge will get binding. Now I think it's time to start roughing-out a neck. Fortunately, I have a model right at hand that I can simply copy - the Superfreak. Speaking of which, that one is ready for final assembly.
July 20, 2020
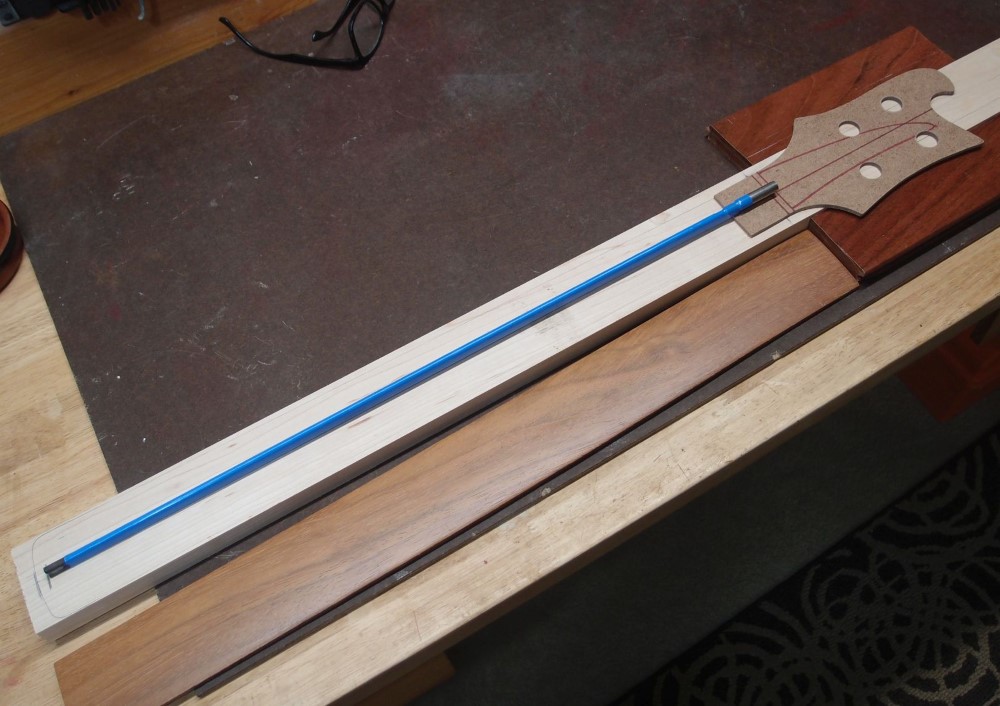
This is what I’ve settled on for the neck. The main part is plain maple from Home Depot. The headstock wings are leftover floorboard from the upright project, Brazilian Cherry. The fretboard is also Brazilian Cherry. The truss rod is 540mm, which will require a 21 fret neck. Or I could cut it down a bit and weld the ends back together, but that’s more work.
July 23, 2020
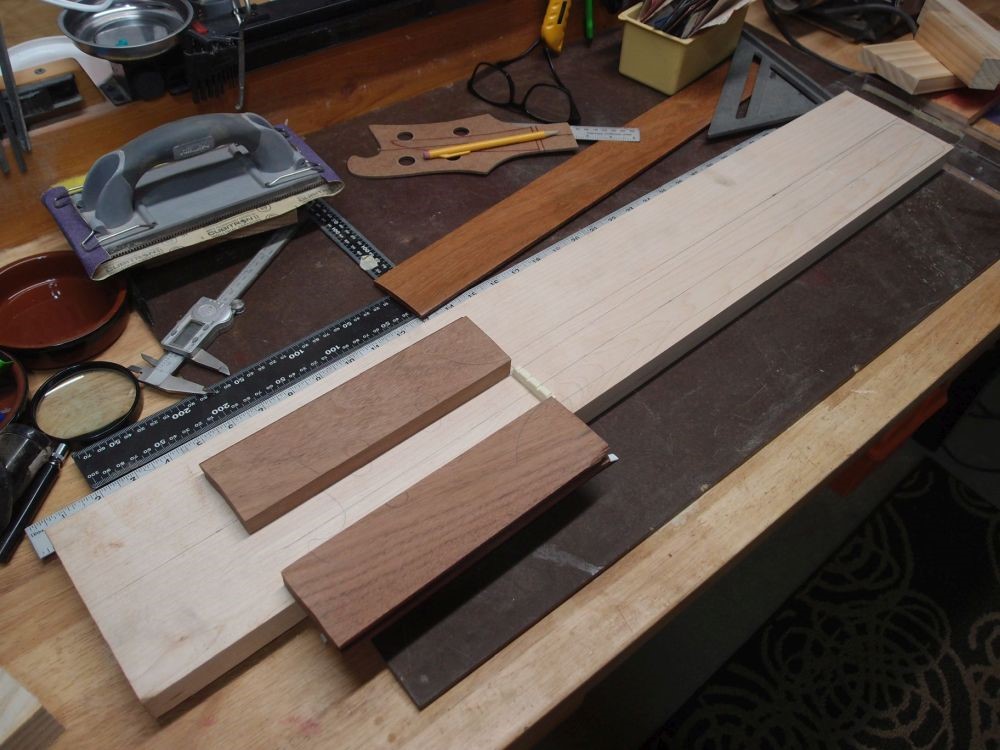
Yesterday I hunted around for stuff. The trusty local hobby shop is all out of everything but balsa, and it didn't sound like they were getting anything else in, ever! So I went down the road a piece to the high-end builder's supply/lumberyard (Dykes) to see what they had. And I turned up this nice piece of 5/4" x 6" maple. 5/4" is actually 1", the same way 1" is actually 3/4", and 6" is actually 5-1/2". I looked at a couple of pieces and took three feet off the nicest one for about $18.
Today I took the piece to the table saw and split it, so I'll get two projects for under $10 each. Yesterday I reconsidered the hardwood 'wings' I was working on. The first one turned out nearly perfect in thickness and will require no more shaping except to make the outline, so I finished the second one. I'll glue them on at a slight back angle and they will serve as guides for shaping the maple, which is not as hard.
Note the burn marks from the saw. It's hard not to do that with maple and any high-speed tool. They sand out, or in that case, they won't matter at all. Unfortunately, the humidity has gone crazy and the board that was straight has gone a little crooked at one end. I'm not worried about it, I just won't use that part.

The only usable material I could find in eBay was a single piece of soft western maple labeled "luthier" and therefore $35. Just look at this ratty piece of "luthier grade" wood. It looks like it came from a pallet. If you actually go to a luthiery supply place, you'll pay a lot more than that.
My lumberyard had all of these in 1", 5/4", and 2": ( prices for 5/4"x6" )
- maple - $5.75 / ft ( also 2"x4" )
- mahogany - $6.75 / ft
- cherry - $6.25 / ft
Home Depot and Lowes have lots of nice 3/4" maple as well. And you get to pick and choose.
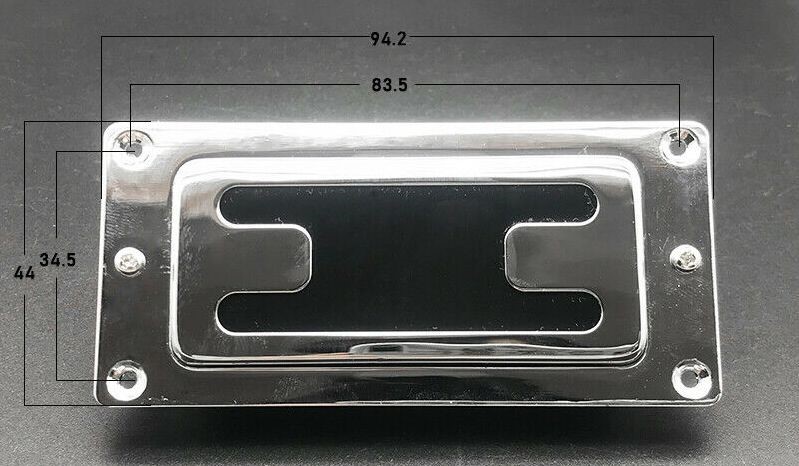
These are the pickups I've settled on. Inexpensive toaster-style humbuckers, with no pole pieces to be misaligned with the strings. They look pretty Ric-ish. They're going to go in the classic 4001 spots, so they should sound pretty Ric-ish too. They're just two-wire leads, so I can't get all silly wiring them up. Instead ...

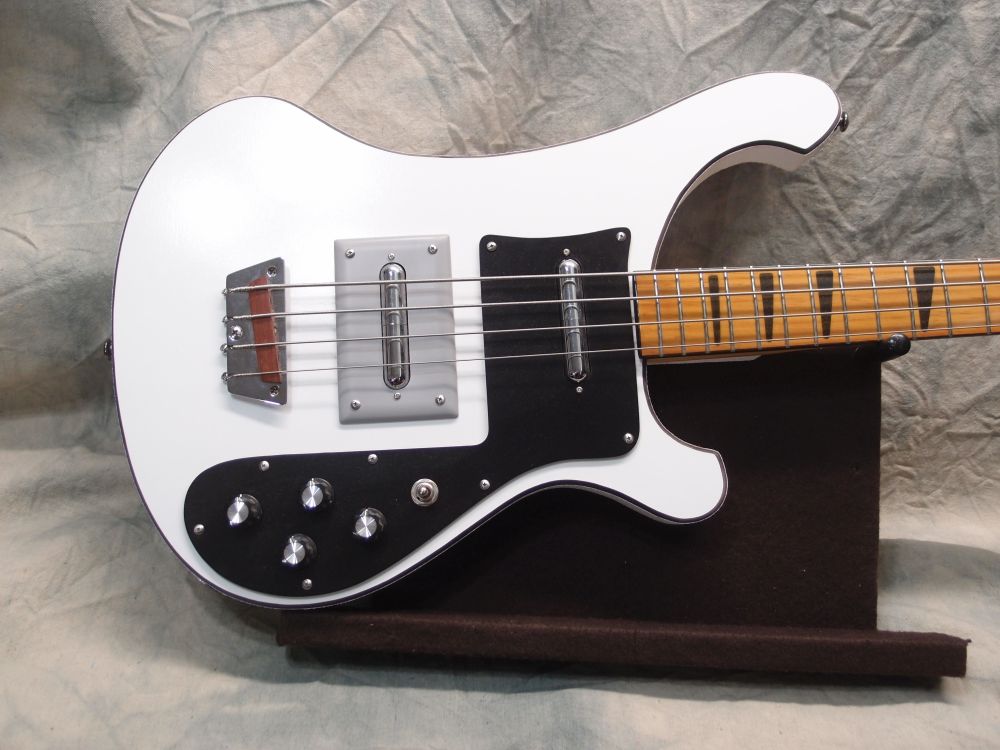
I want to put active controls in this project. That means volume-bass-treble. After playing around with it, I like the arrangement above, and I'm also going to use those Strat knobs. I actually like that better than the standard Ric setup. It's going to be a very Fender-y Ric. And that's all for today.


V. DaDileneo:
September 23, 2022 at 1:40 AM
Did the template require the vintage or contemporary with the horn thickness?
alder:
September 24, 2022 at 3:36 AM
It is from a 1978.
Alphonso:
October 1, 2021 at 9:41 PM
Awesome project, Where did you get the templates?
alder:
October 2, 2021 at 11:19 AM
I traced them off a real one.