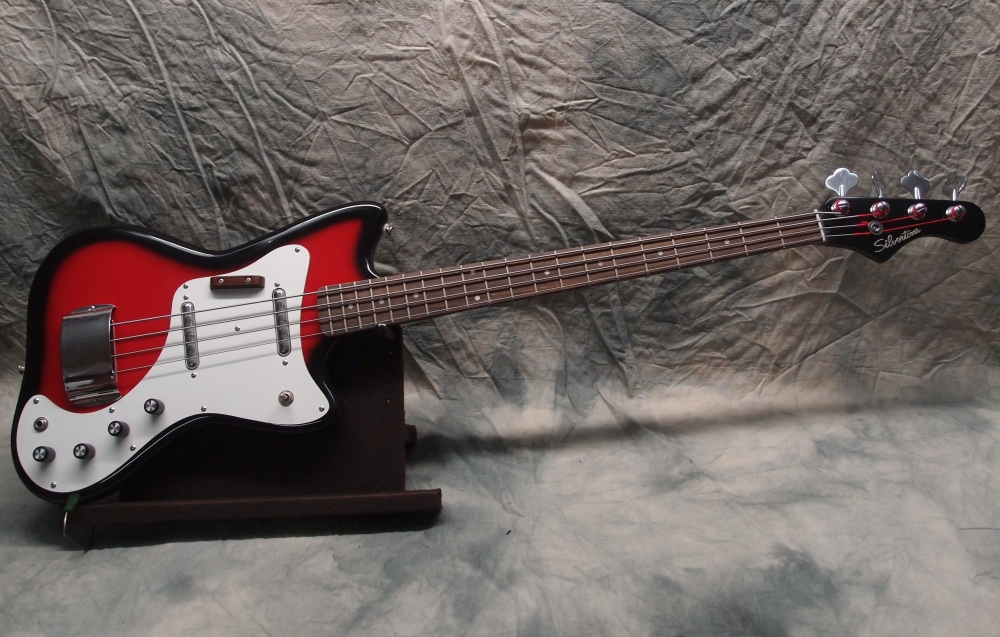
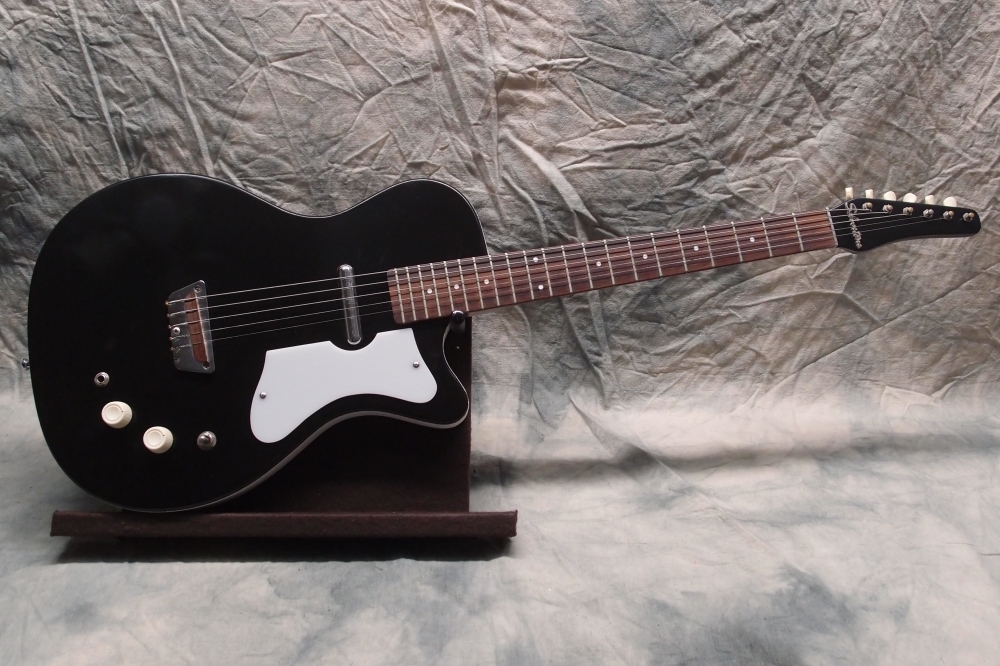
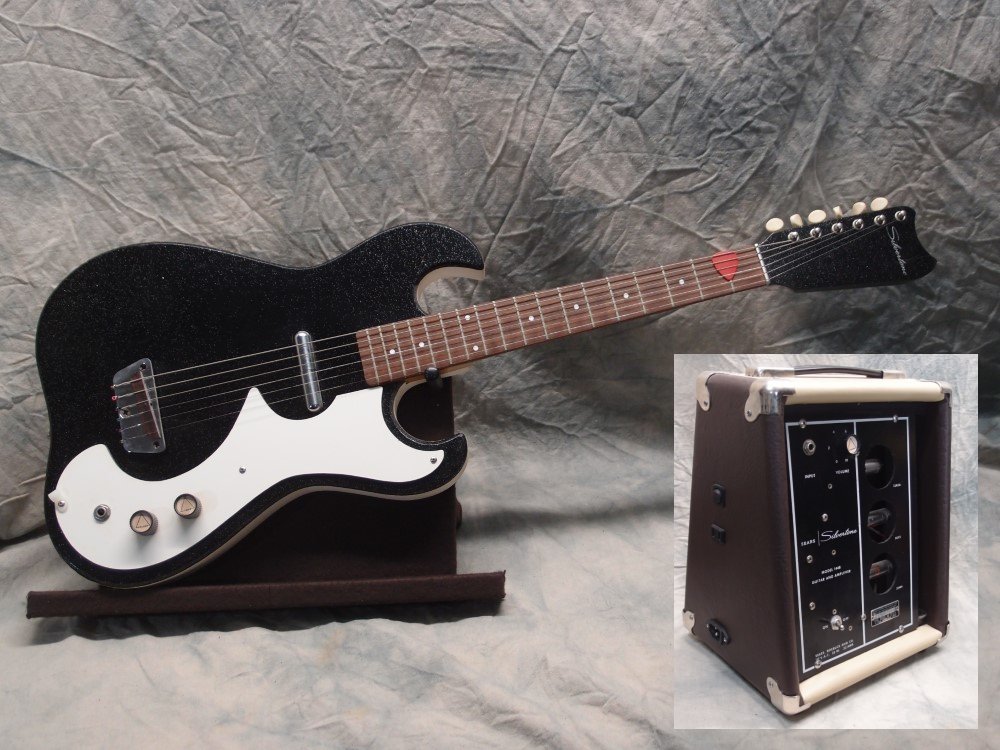
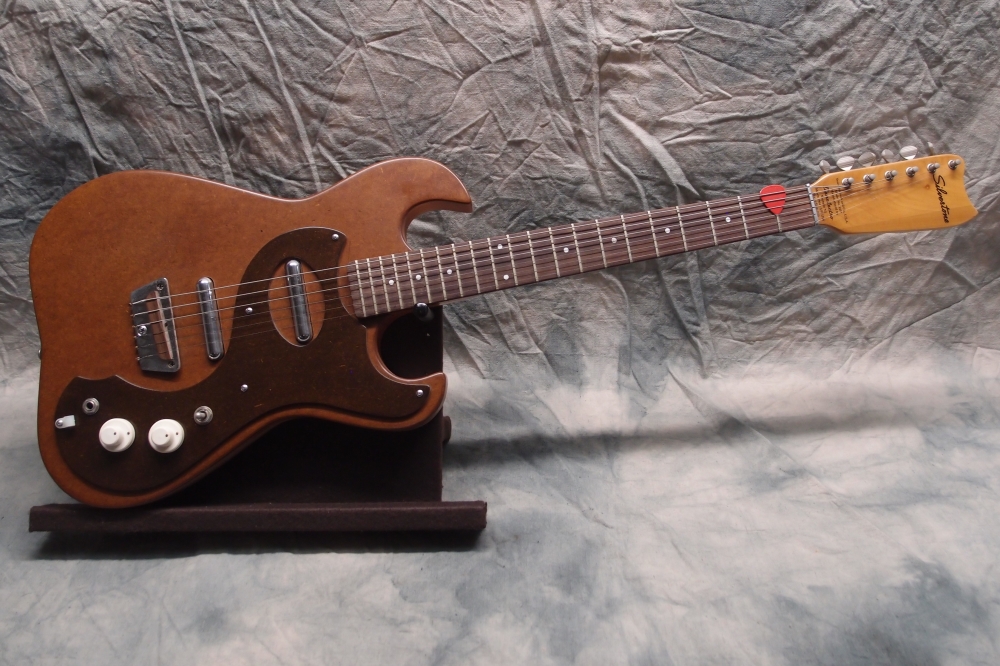
Danelectro Pro-1 Bass (3/7)
Sep 9, 2018
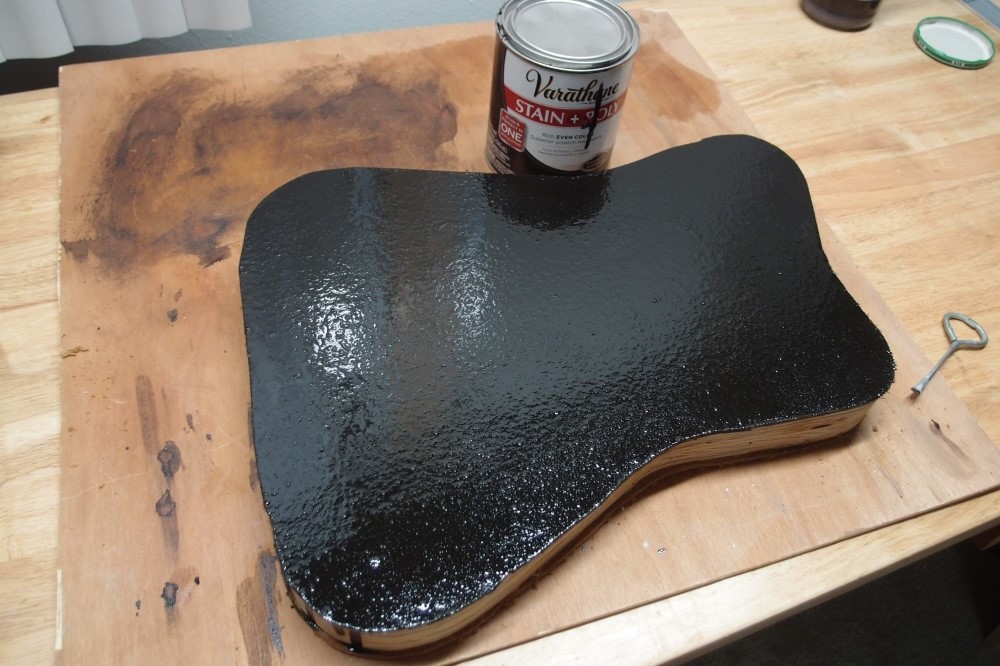
Clamps off, then I removed the excess face material with the scroll saw, to get back to the basic shape. You don't want to touch the sanded edge with the saw blade. The final contouring will be done on the belt sander again, carefully taking the masonite into the frame. At that point, any glue drips and other things will be taken off, but I have already established the final shape, so any further sanding will be very light. The Tolex binding is about 1/16" thinner than the plywood, so all the sins will be covered up.
I think this piece of masonite is very old and seems a little soft. Now I wish I hadn't used it. Masonite is normally very hard, harder than most woods, unless you get it wet. For protection before going any further, I brushed on two generous coats of polyurethane in the final color, and let it flow out. That gave this interesting crinkle finish, that has never happened before. Since I don't have a handle attached, I'll have to wait for this to dry, then flip it over and do the other side. That brings the bodywork to a screamin' halt. I have plenty of other things I can do.
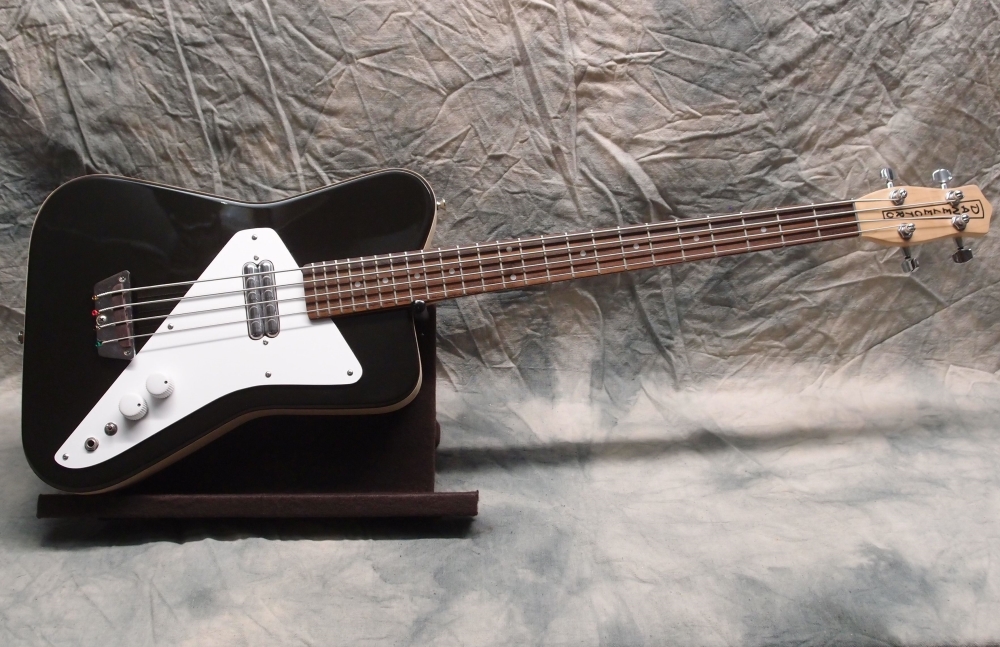
This color is called Espresso - coffee - a very dark brown, almost black. It was a free can, and it's actually not a bad match for the original Pro-1. I checked on the Audiocaster the other day, and it has hardened-off to where a fingernail doesn't dent it, but I will give it a full month before I go back to it. This is floor-grade poly, and very tough when fully cured, which unfortunately can take six months to a year, depending on the thickness. That's still better than lacquer, which has a full cure time of NEVER.
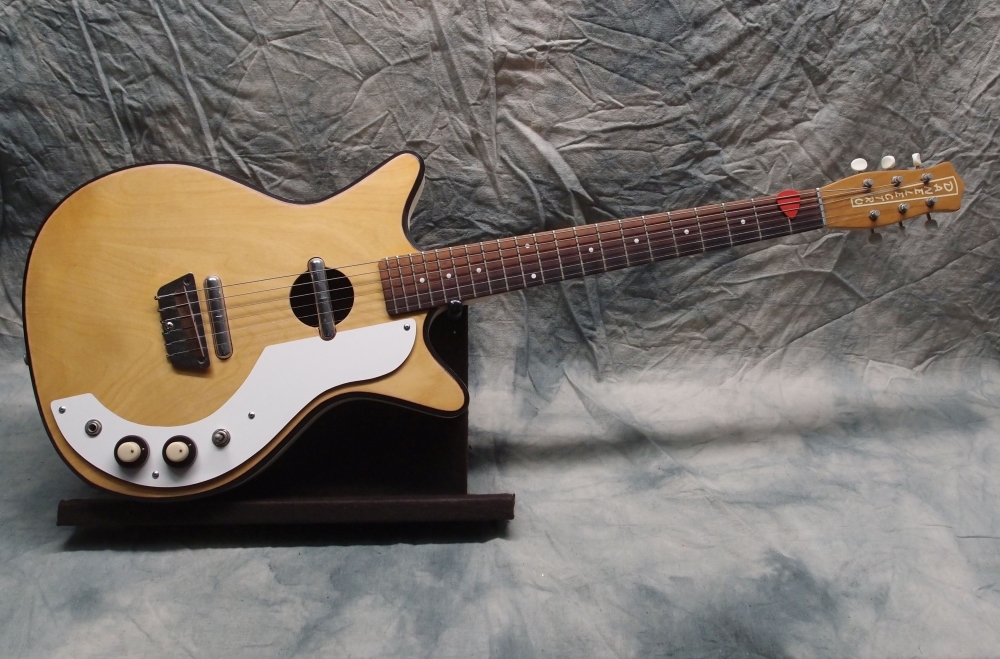
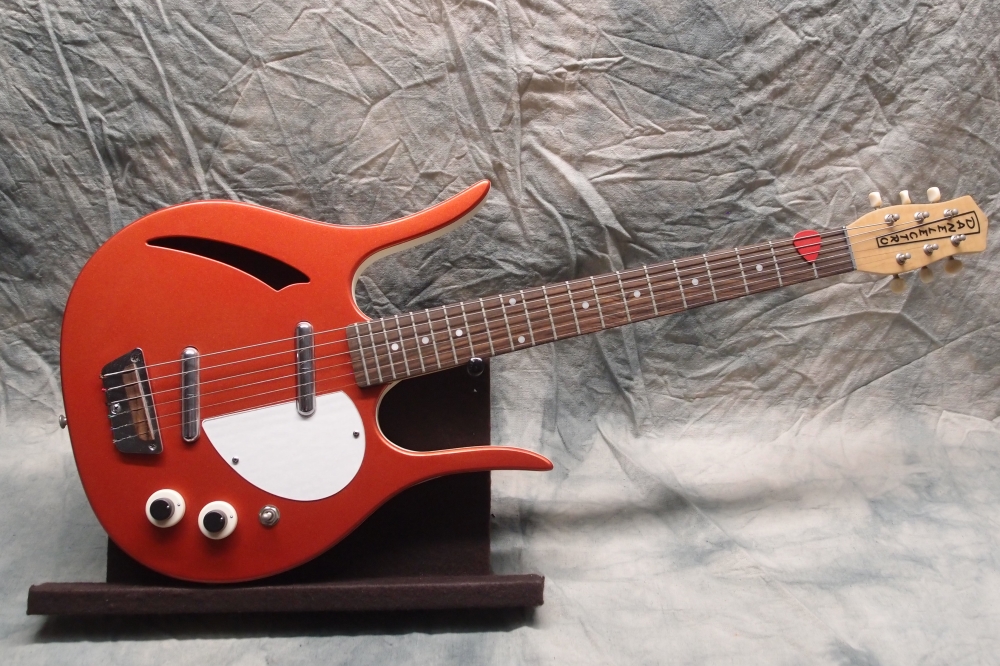
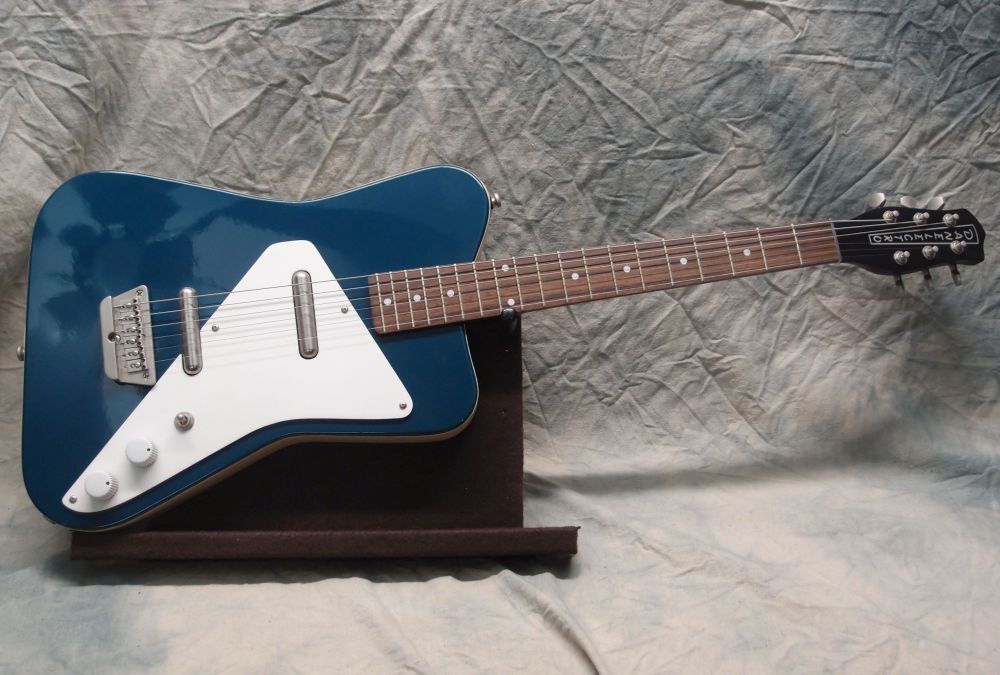
The more I look at it, the more I think that is a really cool body design. Nathan Daniel designed his guitars together with session guitarist Vincent Bell. Daniel was not a musician, he was an electrical engineer. Among other things, he designed the RF shielding for the Jeep ignition system, so you could use a radio next to one. That was pretty important in World War II. Unlike Fender, Gibson, Rickenbacker, and every other manufacturer, this guy actually understood electrical noise, magnetic pickups, shielding, and design.
Bell brought in the musician angle. Despite being inexpensively made, Danelectros are great players. He understood that playability is 99% neck, and Danelectros have great necks, with the same 25" scale that Paul Reed Smith later chose for his highly acclaimed instruments. Some of the body shapes are unusual, but they all work - you won't find any lap-sliding, neck-diving, back-breaking, unplayable messes in the Danelectro catalog. ( Talking about you, Gibson! )
Between them, Daniel and Bell distilled the electric guitar to its core essentials and sold well-made guitars at incredible prices to the masses.
Next up is the truss rod. That build is detailed on the truss rod page in the Workshop.
Sep 14, 2018
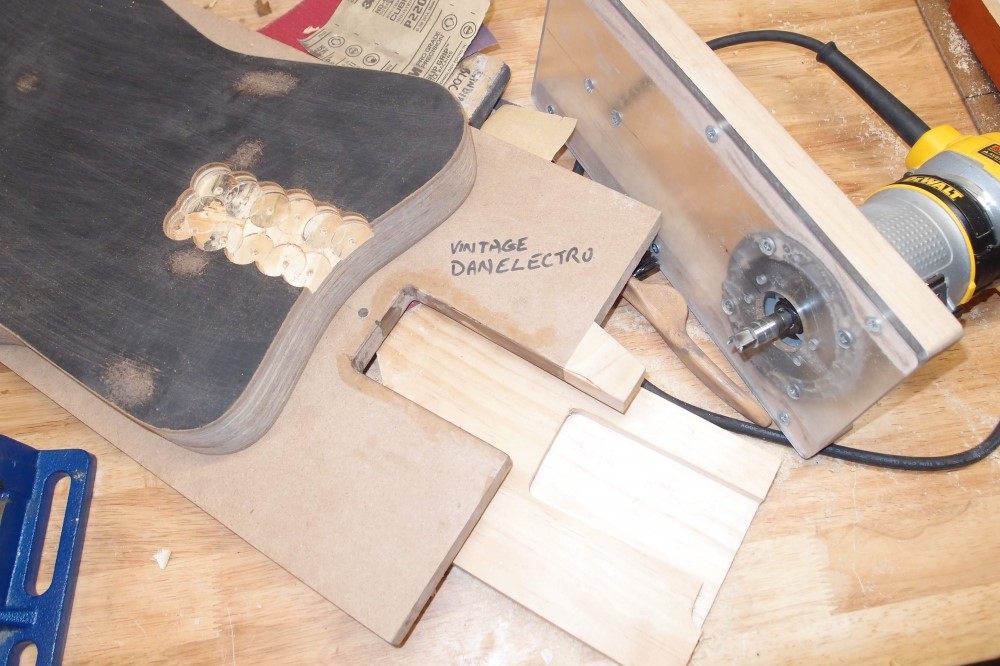
Here, left to right, are:
- The body, with material removed from the neck pocket to a depth of about 1/2", with a Forstner bit in the drill press
- The template, with a small extension added
- A test cut in a piece of scrap pine
You can also see the router, with a 1/2" bit and a tall stack of bearings and bushings to clear this thick template. This is one of the first templates I ever made, and I spent a while fixing it up.
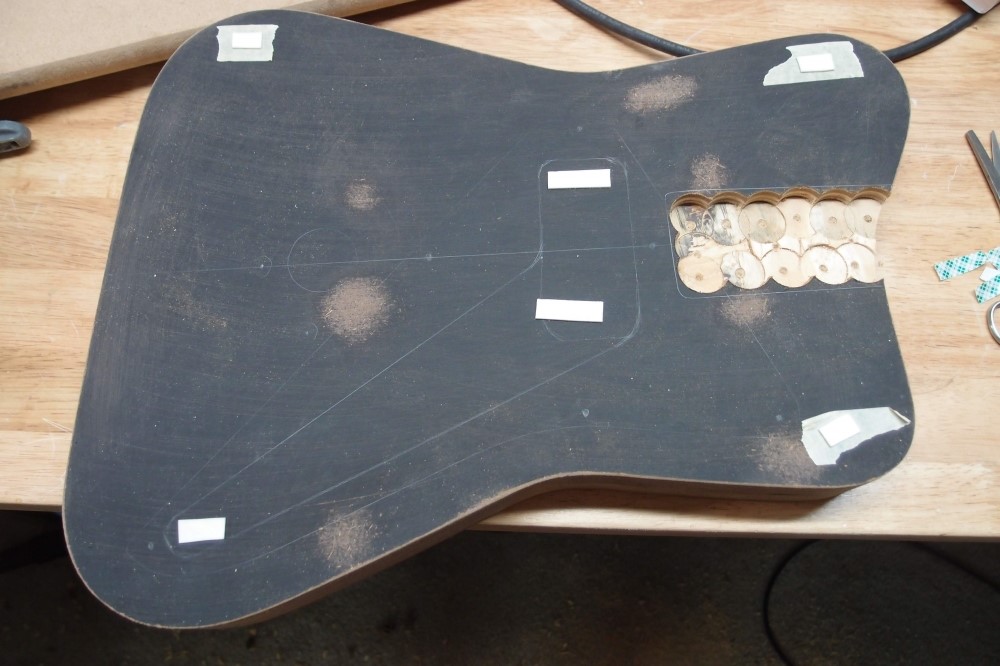
I'm worried that the double-sided tape might pull up the material, so I'm either placing it where it won't matter, or putting masking tape under it. I've drawn on the centerline, pickguard outline, and control opening.
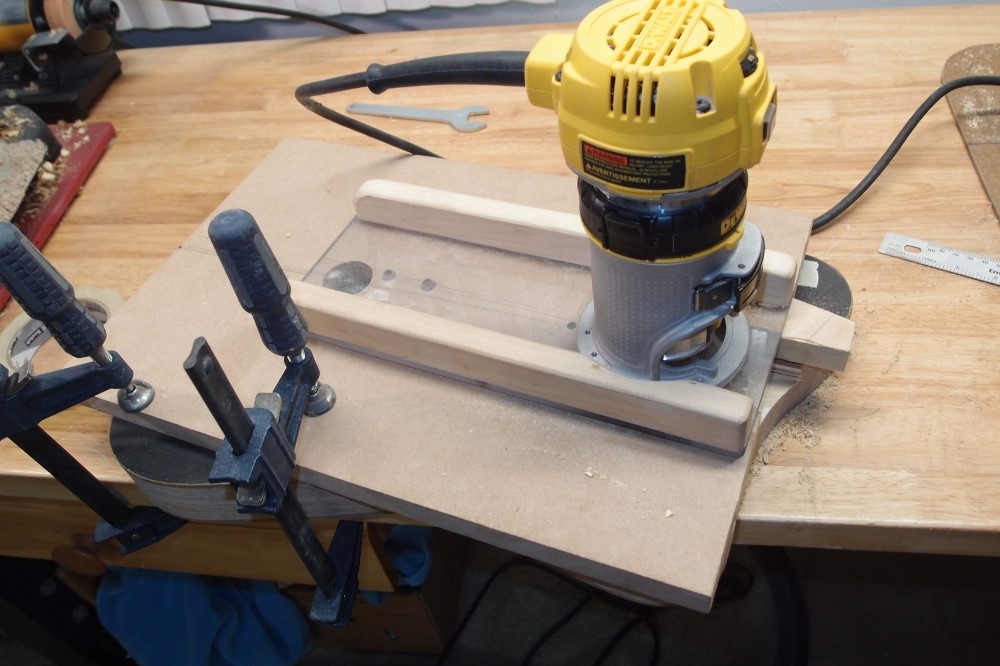
Part-way through the cutting process. Note the large area of contact between the extended router base and the template. No tilting here. I lined the template with a piece of masking tape to make it cut a bit tight. I can widen out the pocket with a file if necessary. You can also see the large sight hole I made in the template, so I can line it up on the centerline.

Cut to full depth - 5/8".
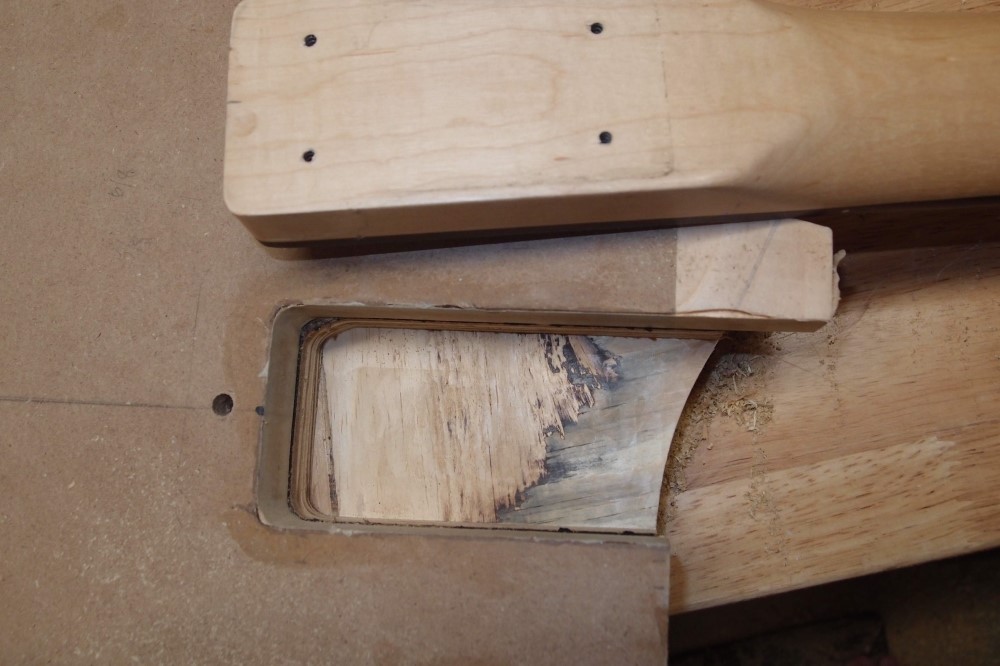
One thing left to do - nip out the corners with a 3/8" bit. The 3/8" top bearing is tiny and delicate, and you want to minimize the amount you use it. This was Fender's mistake on the Telecaster, which he fixed on later models - you can do a Strat neck pocket entirely with a 1/2" bit. He should have fixed that on the Telecaster, but in luthiery, once you do something, it is set in stone forever, especially if you did it wrong. It would be easier to round-over the corners of the neck on the belt sander, but I don't want to modify it.
The corners of the template are not precise, I filed them out sharper than 3/8". The radius will come from the bit itself. I can't seem to find the 3/8" bearing, so that's all for now.
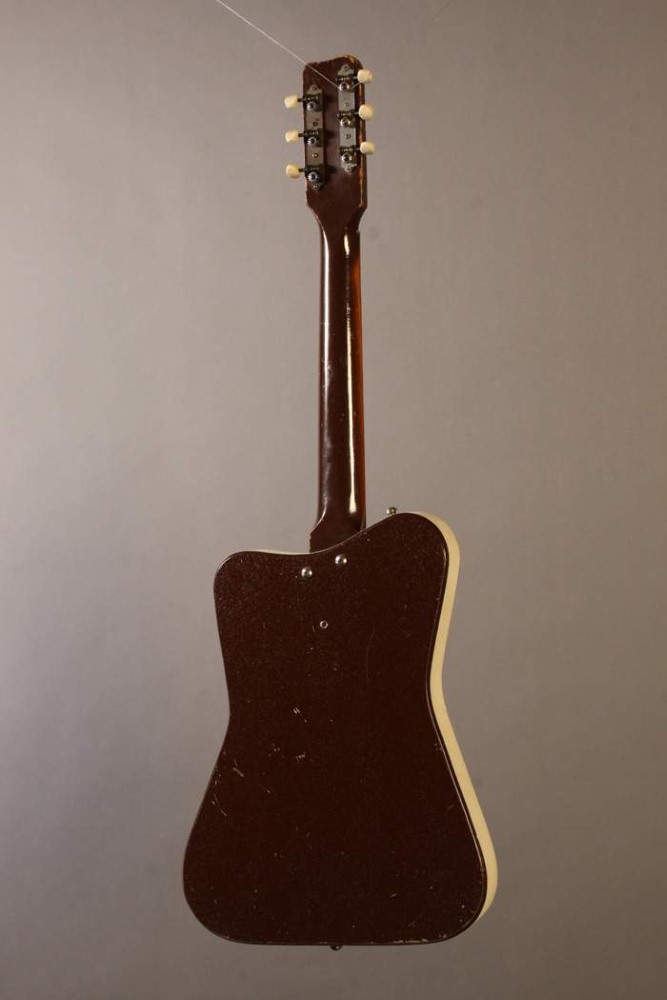
The vintage Pro-1 used just two screws to hold the neck, the two outer ones. The other end of the heel is in compression, so the screws there aren't really needed, right? That's a little scary, but the Pro was actually a short-scale guitar, 21" I think, so the stresses on the neck were minimal. Instead of four screws, there was a tilting mechanism built-in. There was no height adjustment on the bridge, you set the action with the neck tilt. It's a different way to build a guitar, and it works just fine. But all of this was just too weird, even for the sixties, and the model sold poorly. The reissues are completely conventional, as will be my bass.
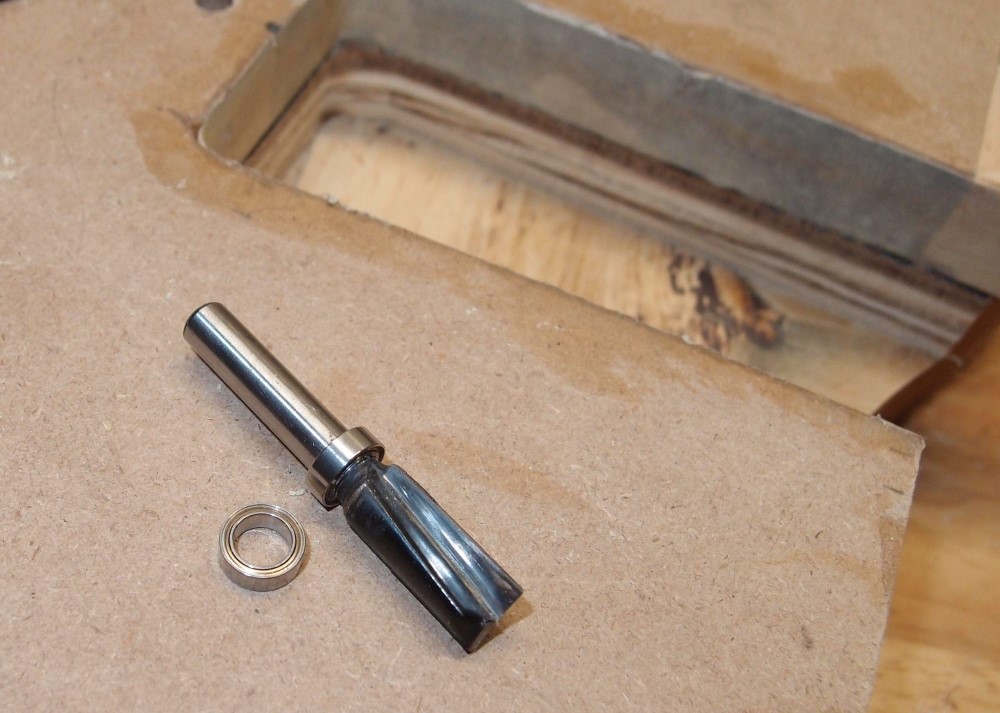
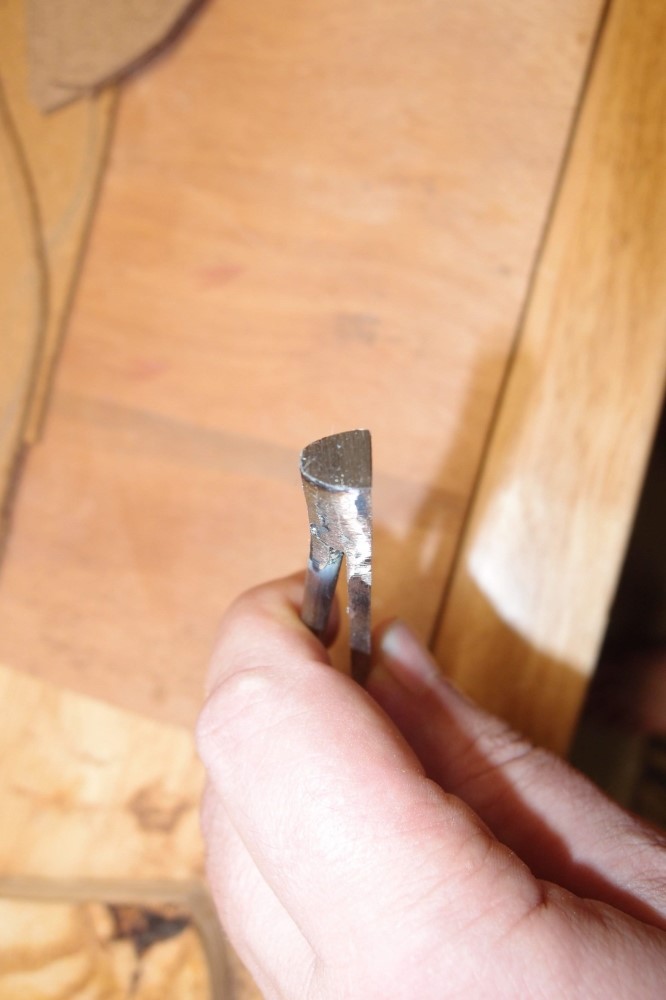
I found those tiny bearings, and here they are. The ring thickness of these is 1/16". A little figuring in my head during the drive home, and the rotating elements must be about 20 thousandths of an inch in diameter. That's kind of mind-boggling. No wonder you don't want to spin one of these at router speeds for very long. I got these from StewMac.
I also thought of a corollary to my criticism of Leo's Telecaster design. Danelectro ( my favorite ) clearly copied their neck heel design from Fender's initial design. However, while Fender realized his mistake and corrected it, Danelectro used the square-end too-sharp neck heel for their entire product line. I'm sure their production tooling was nothing like this and didn't involve these funky little bearings. Once they got the factory set up, why change? Which makes you wonder why Fender did change. Just another mystery of luthiery, from the misty distant past of the 1960s.
I like the look of a squared-off neck, but I get it by overhanging the corners of the fretboard; I always use rounded neck heels.


