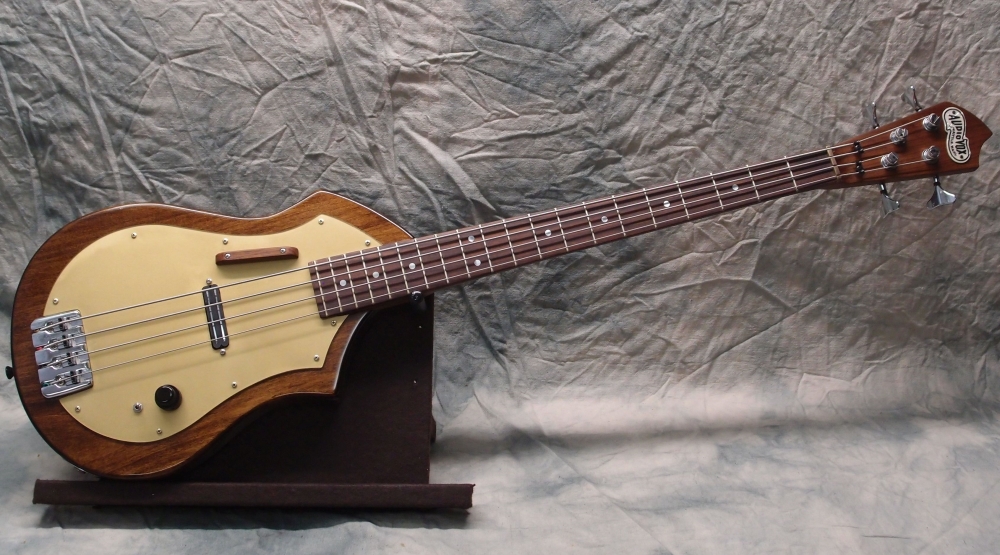
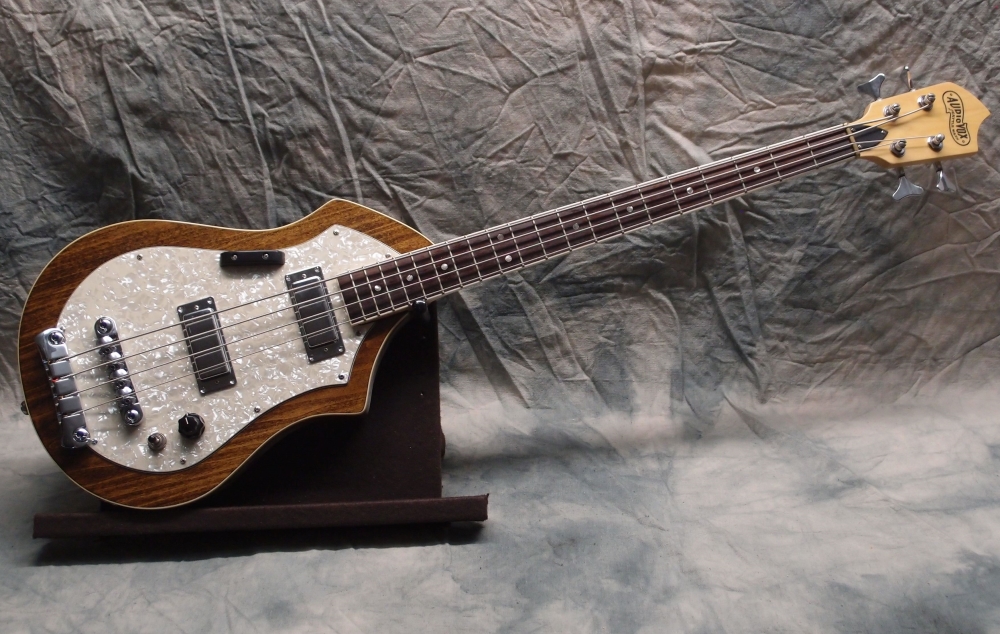
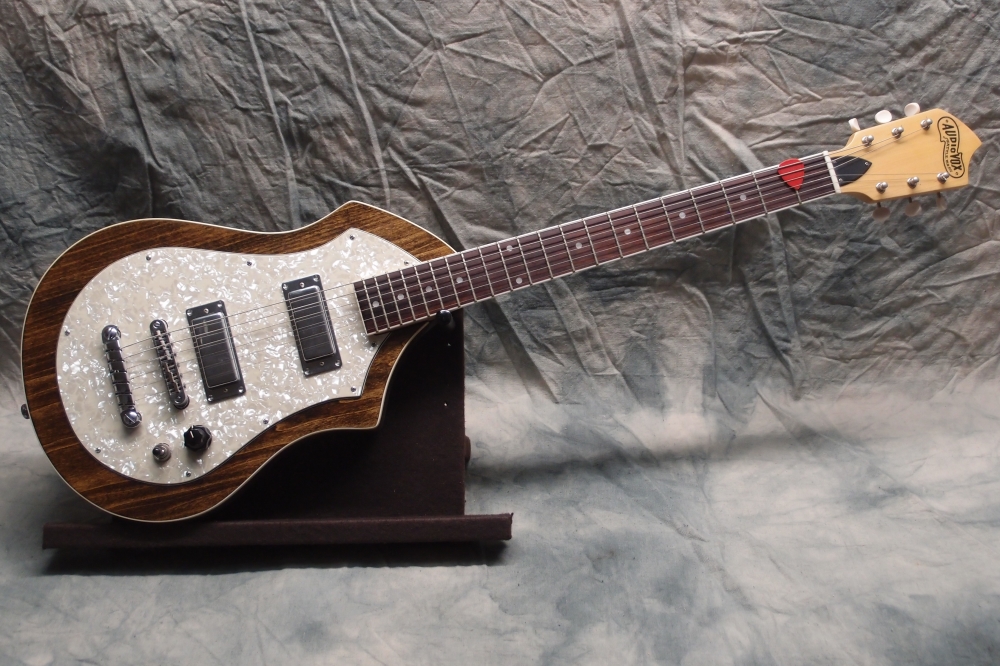
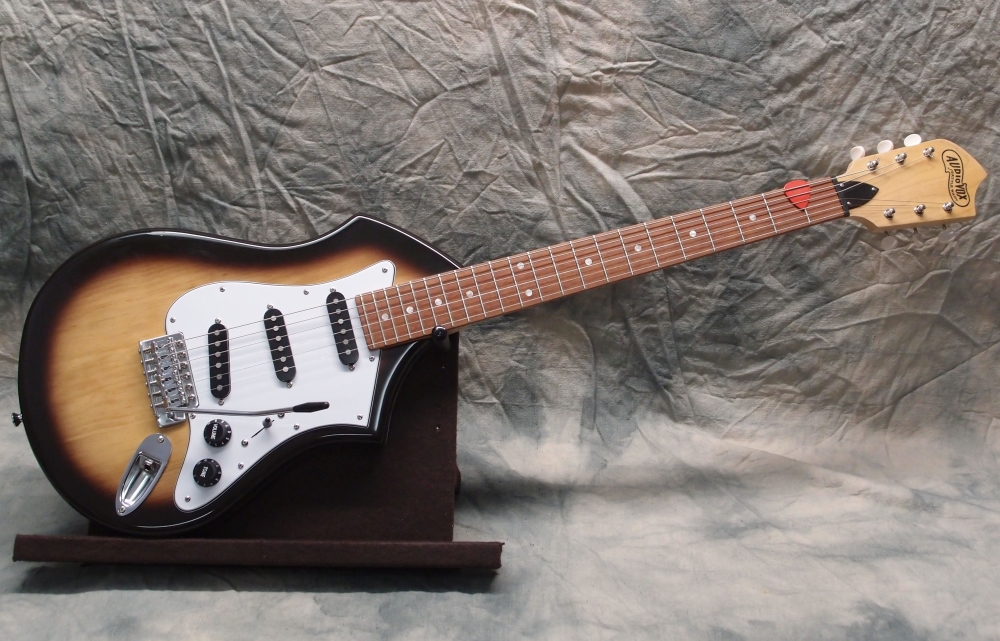
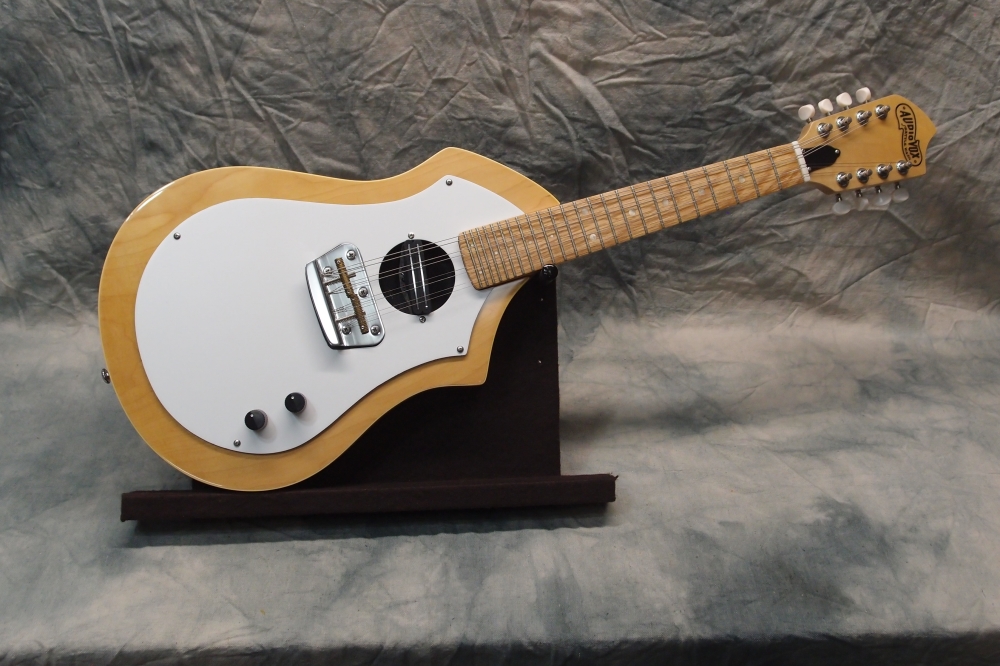
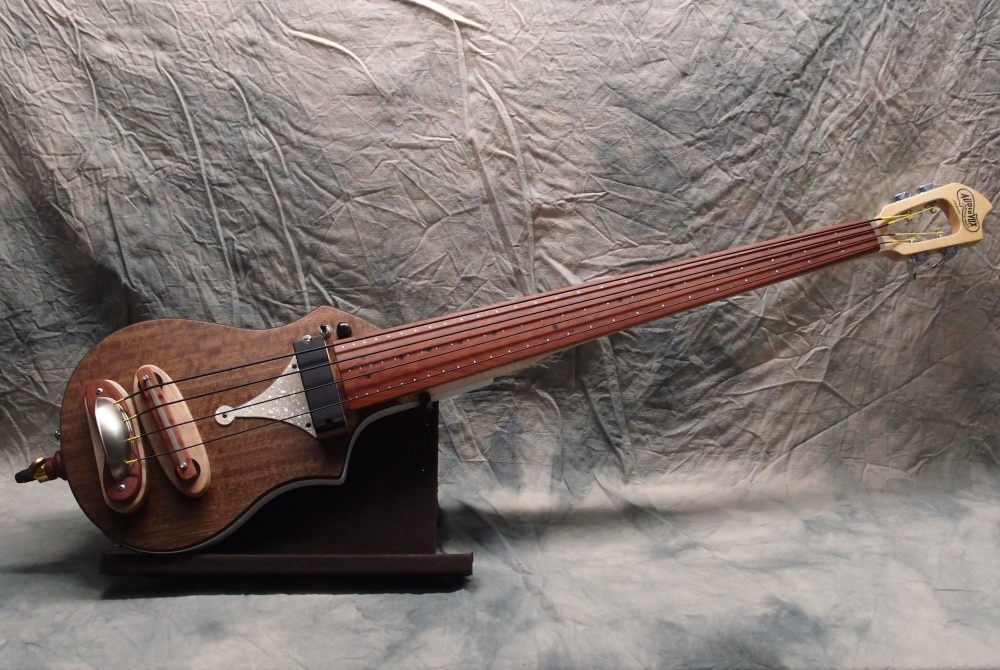
Audiovox Mandolin (3/5)
Feb 16, 2018
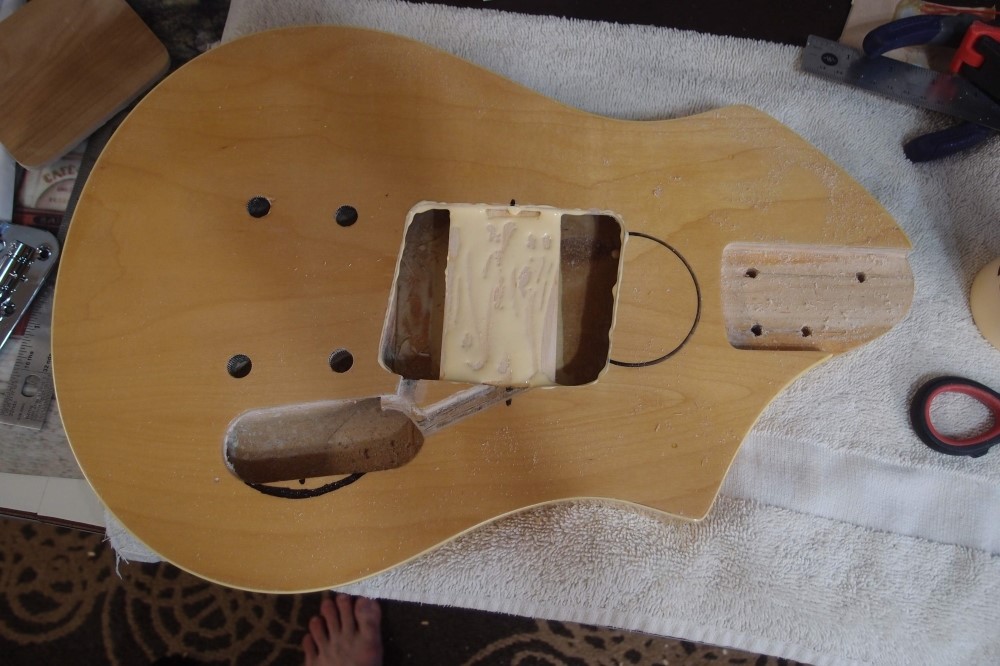
This is the body that was going to be the twelve string, but it is just too light to balance that heavy neck, so I stole a heavy body from another project. This body came out pretty nice though, and I am re-purposing it. Here, I have cut out a 'bathtub' between the pickup routs and installed a new bridge block made from a scrap of the same pine core material. The old bridge mounting will be abandoned, although all the extra wood gives the body some extra backwards balance.
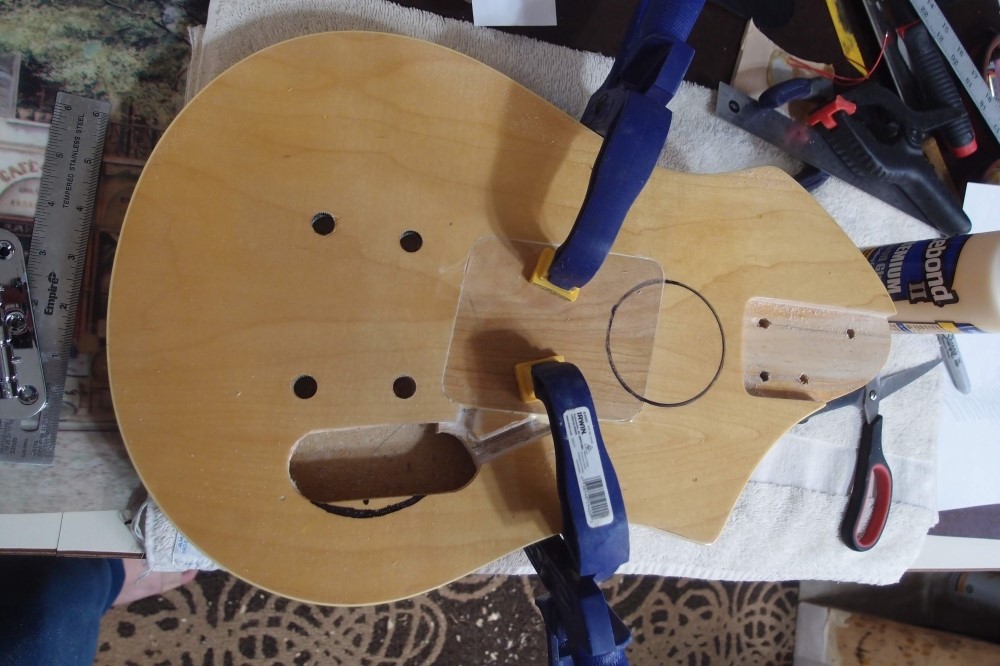
Then I made a patch from 1/4" plywood and glued it on top. I straightened the edges of the bathtub with a file, and then patiently carved out the patch on the belt sander. None of this will show. Everything is glued together so that the bridge block is supported by both the top and the back. This was less work than I expected.
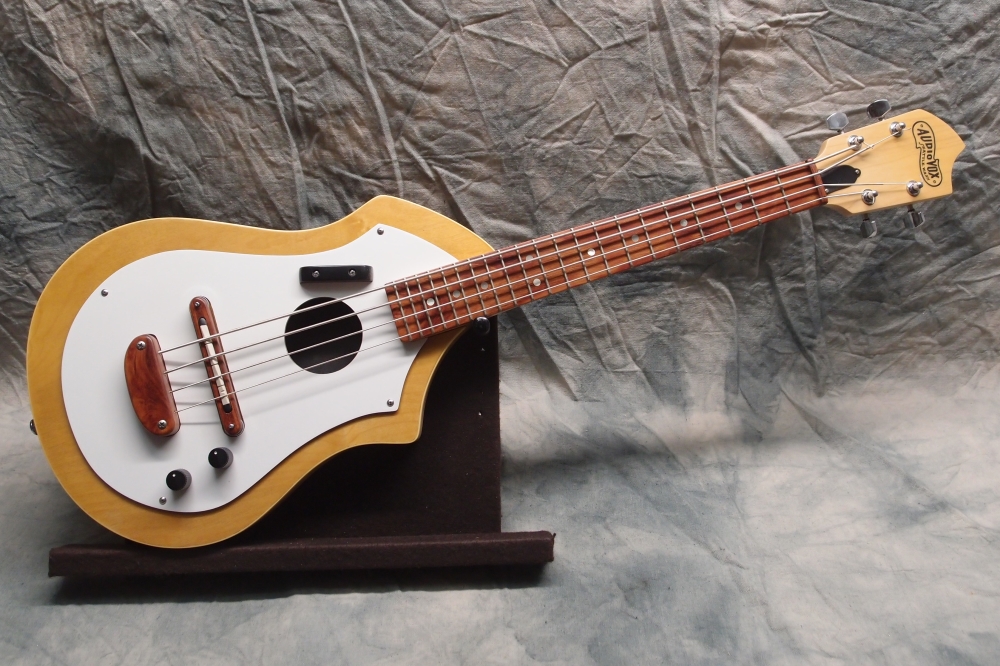
I'm thinking of doing a soundhole mounting for the pickup. There is just enough space between the bridge and the neck. A soundhole isn't very functional on a thin body like this, but it looks cool. The control setup will be simple: passive volume-tone-mode, where mode will switch the single pickup between series and parallel.
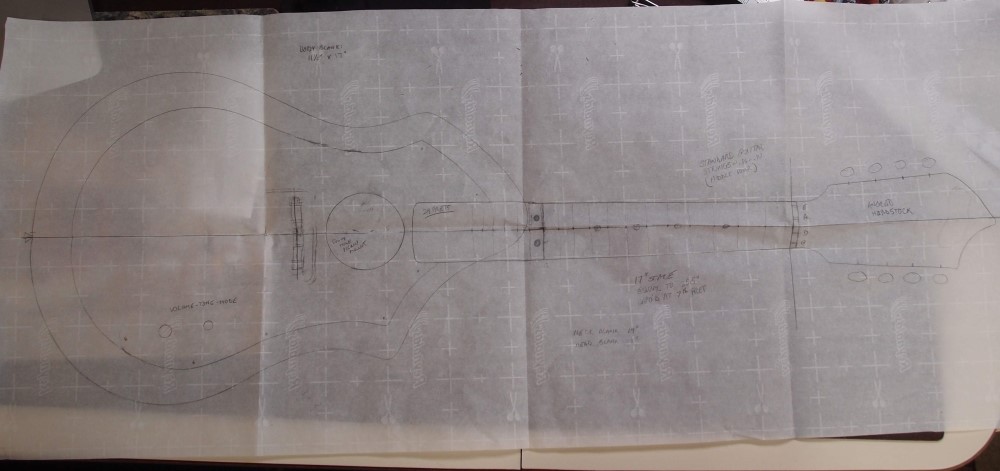
This is the full-scale plan I drew up. This build was originally going to use the Radiata body I constructed earlier, but now I will use that for something else.
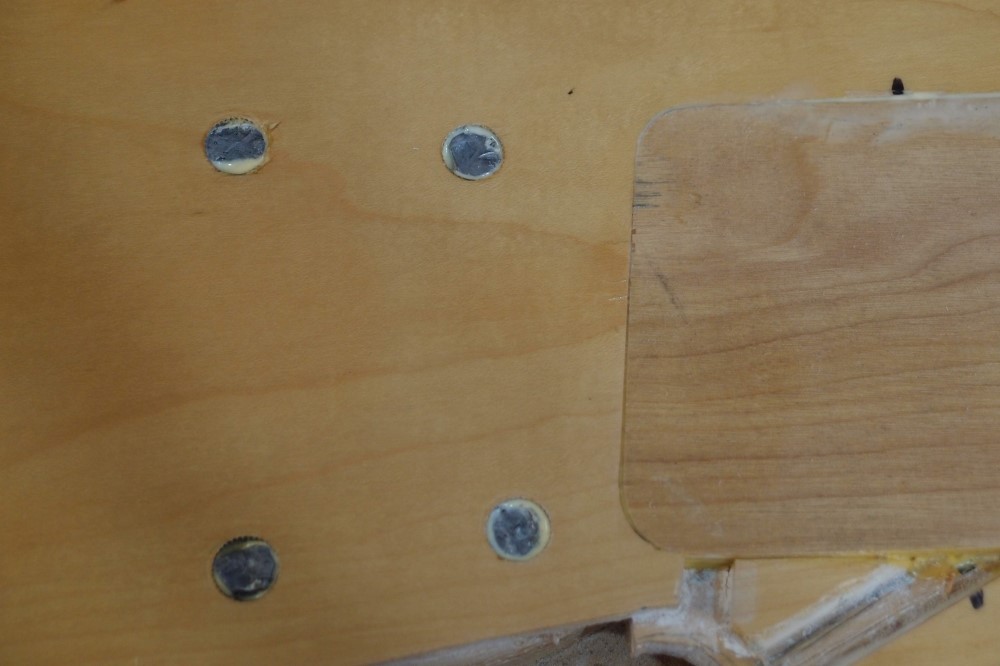
Actually, though, I have lots of lead tire weights. Lead is easy to form, you can beat it into shape with a hammer or crush it with a vise, so I made four half-ounce plugs. Brass is expensive. The plugs are a press-fit in the holes, but I injected a little wood glue anyway. Wood glue doesn't properly adhere to non-porous materials, but if you get a mechanical lock when it dries, that is just as good.
I don't know why everybody is so hung up on epoxy. Nasty smelly bothersome stuff that is difficult/impossible to clean up. Make a mistake with epoxy, and you've really made a mistake. CA (Crazy) glue is much better, in both liquid and gel, and you can use it with baking soda or sawdust to make filler putty. If I was building a space shuttle, I would use epoxy. Otherwise, I avoid it like the plague. Especially in woodwork, using an adhesive that is so much stronger than the wood is pointless. There's a lot to be said for 'cleans up with water'.
Feb 22, 2018
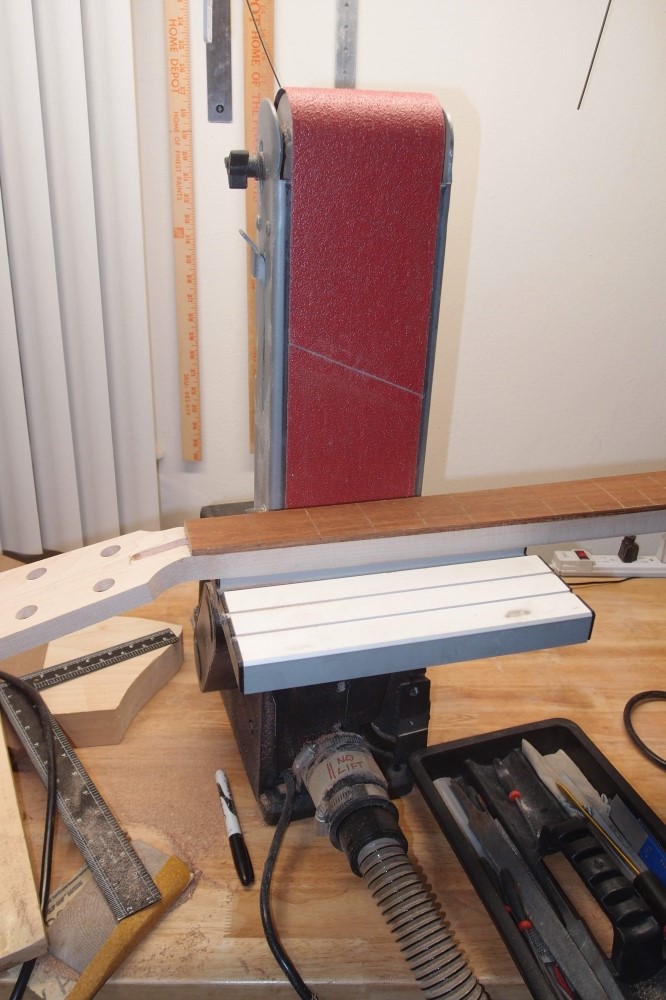
When I build a neck, I make the final dimensions in the maple first, that way if I screw up, a trip to the hardware store and I have a new piece of wood. I don't attach the fretboard until the maple is all set, since fretboard wood is often not so easily replaced. After gluing the two pieces together, I saw off the excess fretboard and sand it in to match the maple. Lately I've been using the benchtop belt sander for this, as shown above. The key to this is a light touch and constant motion.
When I've gotten as close as I dare with the sander, I switch to a coarse file. Always de-burr the handle end of a file before you use it like this. Run the file lengthwise along the sides of the neck, avoid crashing into the headstock. Remove the last of the glue and continue until you have a smooth straight edge. Check for straightness with a rule, and mark any bulges. Take it back to the sander, and gently grind them out, then file smooth. Stay away from the heel - you don't want to make it too skinny. Remember, the back of the neck is going to get ground away into a nice curve, so you don't need to be concerned with it.
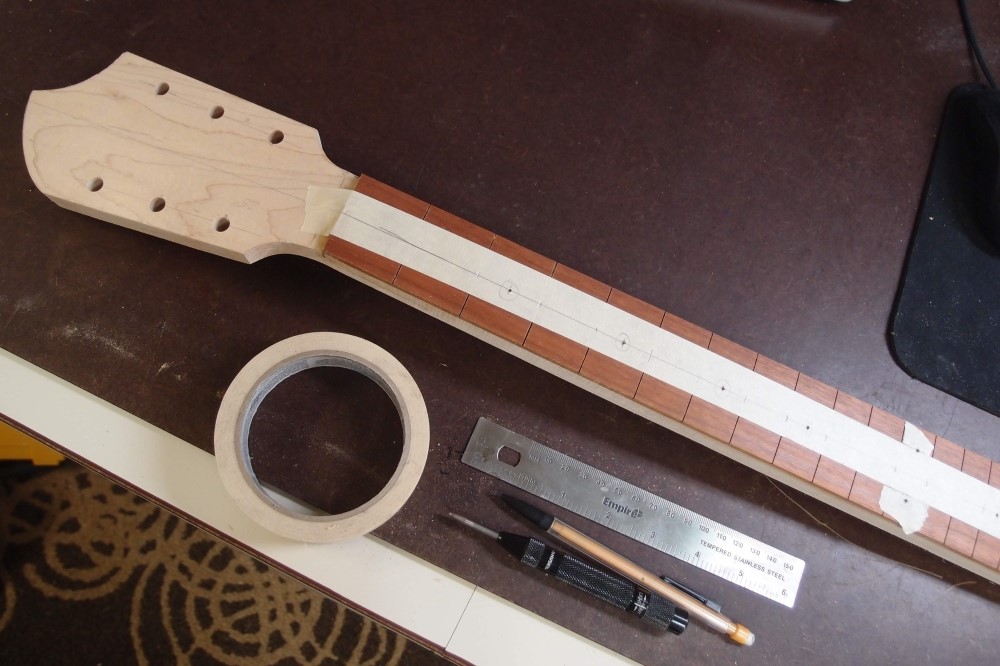
Once you have the edges and the fret slots in place, you can set up the markers. I just use 1/4" dots, that you can buy or make yourself with a 1/4" plug cutter. A piece of tape down the center of the fretboard helps with visibility. First mark off the centerline, then mark off the spots between the frets. For the larger gaps, I measure, for the smaller ones I just eyeball it. The octave markers are at the 1/4 and 3/4 locations, or centered on either side of the centerline. Double-check and then pre-punch all the spots.
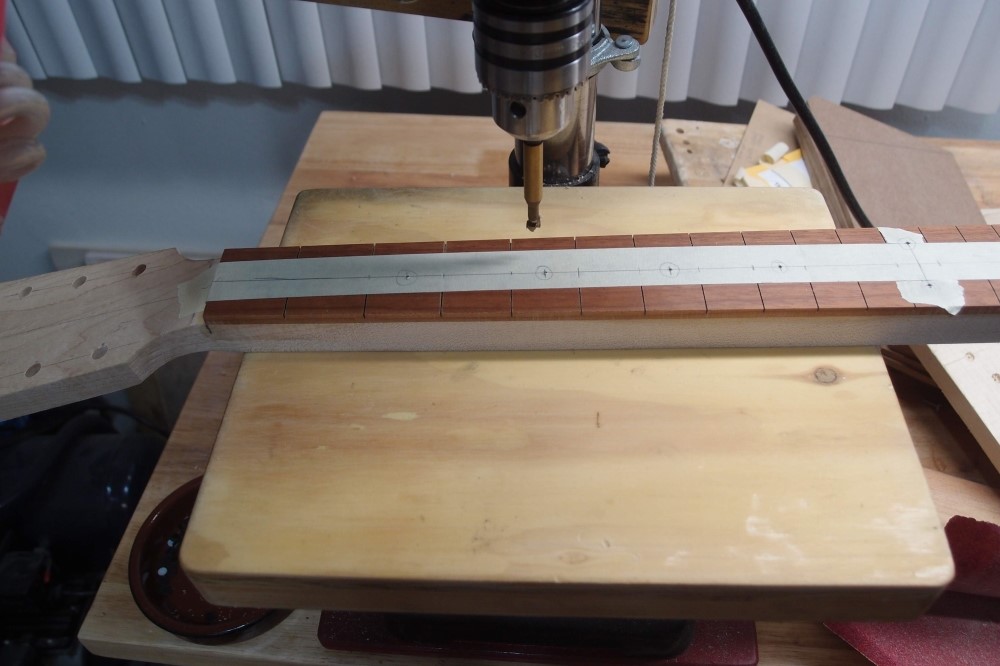
Off to the drill press, with a 1/4" Forstner bit. It really helps to have a foot switch to control the drill press. Mark the drill bit at the approximate depth you want, a little less than the thickness of your dots. Lower the center point of the bit into the dimple you punched, and start the drill. Hold the neck loosely and let the bit find its center, then drill. Practice on scrap first !!! To deepen a hole, lower the bit into the hole first, then start the drill.
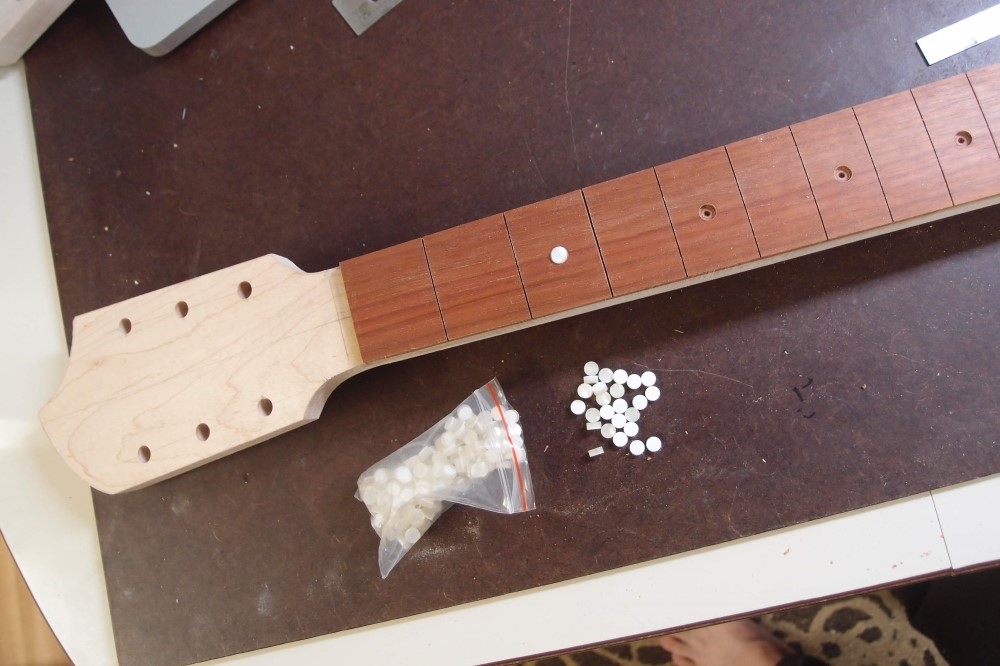
And you get this. I use Crazy Glue for pearl or plastic dots. Put a lot of it in the hole, and push the dot in. You want to see the glue well up around the dot and fill the space. The wood may drink up a lot of the glue and leave gaps. Fill them in with more glue, don't worry about the mess. When it's all done, the dots should be sticking out of the fretboard just slightly. Take a fine file, and work them down level, much the same way as dressing the edges of the neck. You want to use a lengthwise motion along the neck with the full length of the file.
Side markers are done basically the same way. Pre-punch everything. Since the neck is square, you can stand it on edge straight enough to drill the holes. Insert the dot material and cut it off a little long and tap it in. When all the side markers are in, file them down the same way you did the fretboard markers. Side markers seldom need glue.
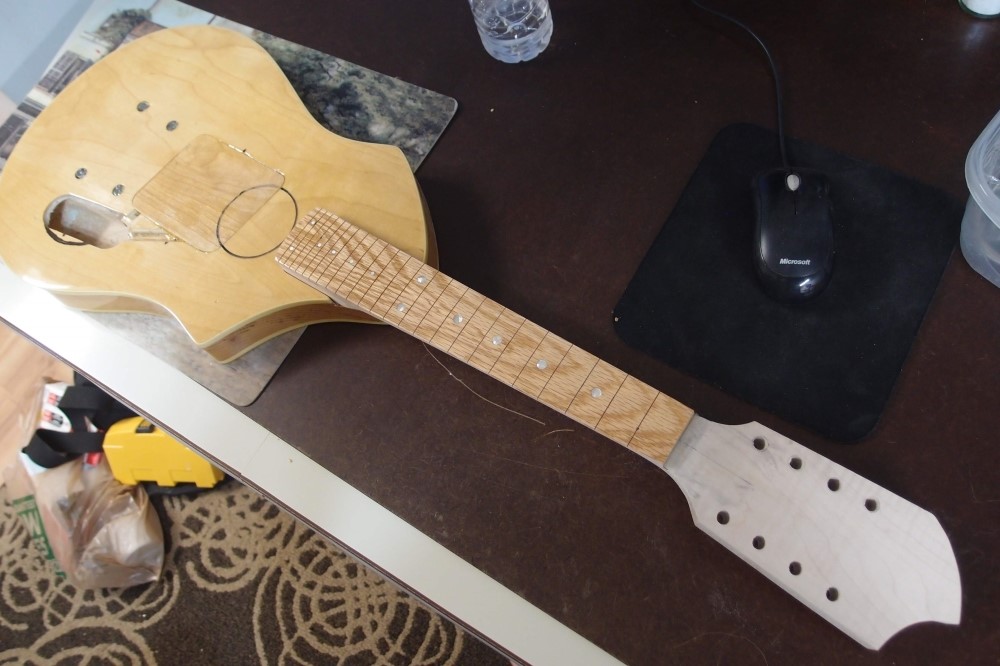
Finally, clean out the fret slots and refinish the fretboard as necessary. You can clean frets with the same saw that made them, or a special tool. Those little 6-inch pocket rulers are the perfect size. Here is the dinky neck, markers all installed. Up to the octave is pearl, then I switched to aluminum wire, which I also used on the sides.
What you can't see in the picture is that the back of the neck is done as well. This guy's demonstration is the best I have found:
I did this neck his way, and I have never banged out a neck so fast, and on the benchtop sander - a first for me. I don't get all hung up on the actual shape of the neck. If it feels good, it is good. Nice and round, more or less symmetrical, even taper, with no bumps or dips. If I run my hands over it, it just feels smooth. I tend to leave them a little chunky, the extra wood makes it much more stable.
To finish the dinky neck, I sanded the fretboard with 400 and coated with satin poly for a smooth finish. When that hardens, it will be ready for fretting.


